Add Image(s) to Stock Adjustment Workflow
This section will demonstrate how to add image(s) to the Stock Adjustment workflow.
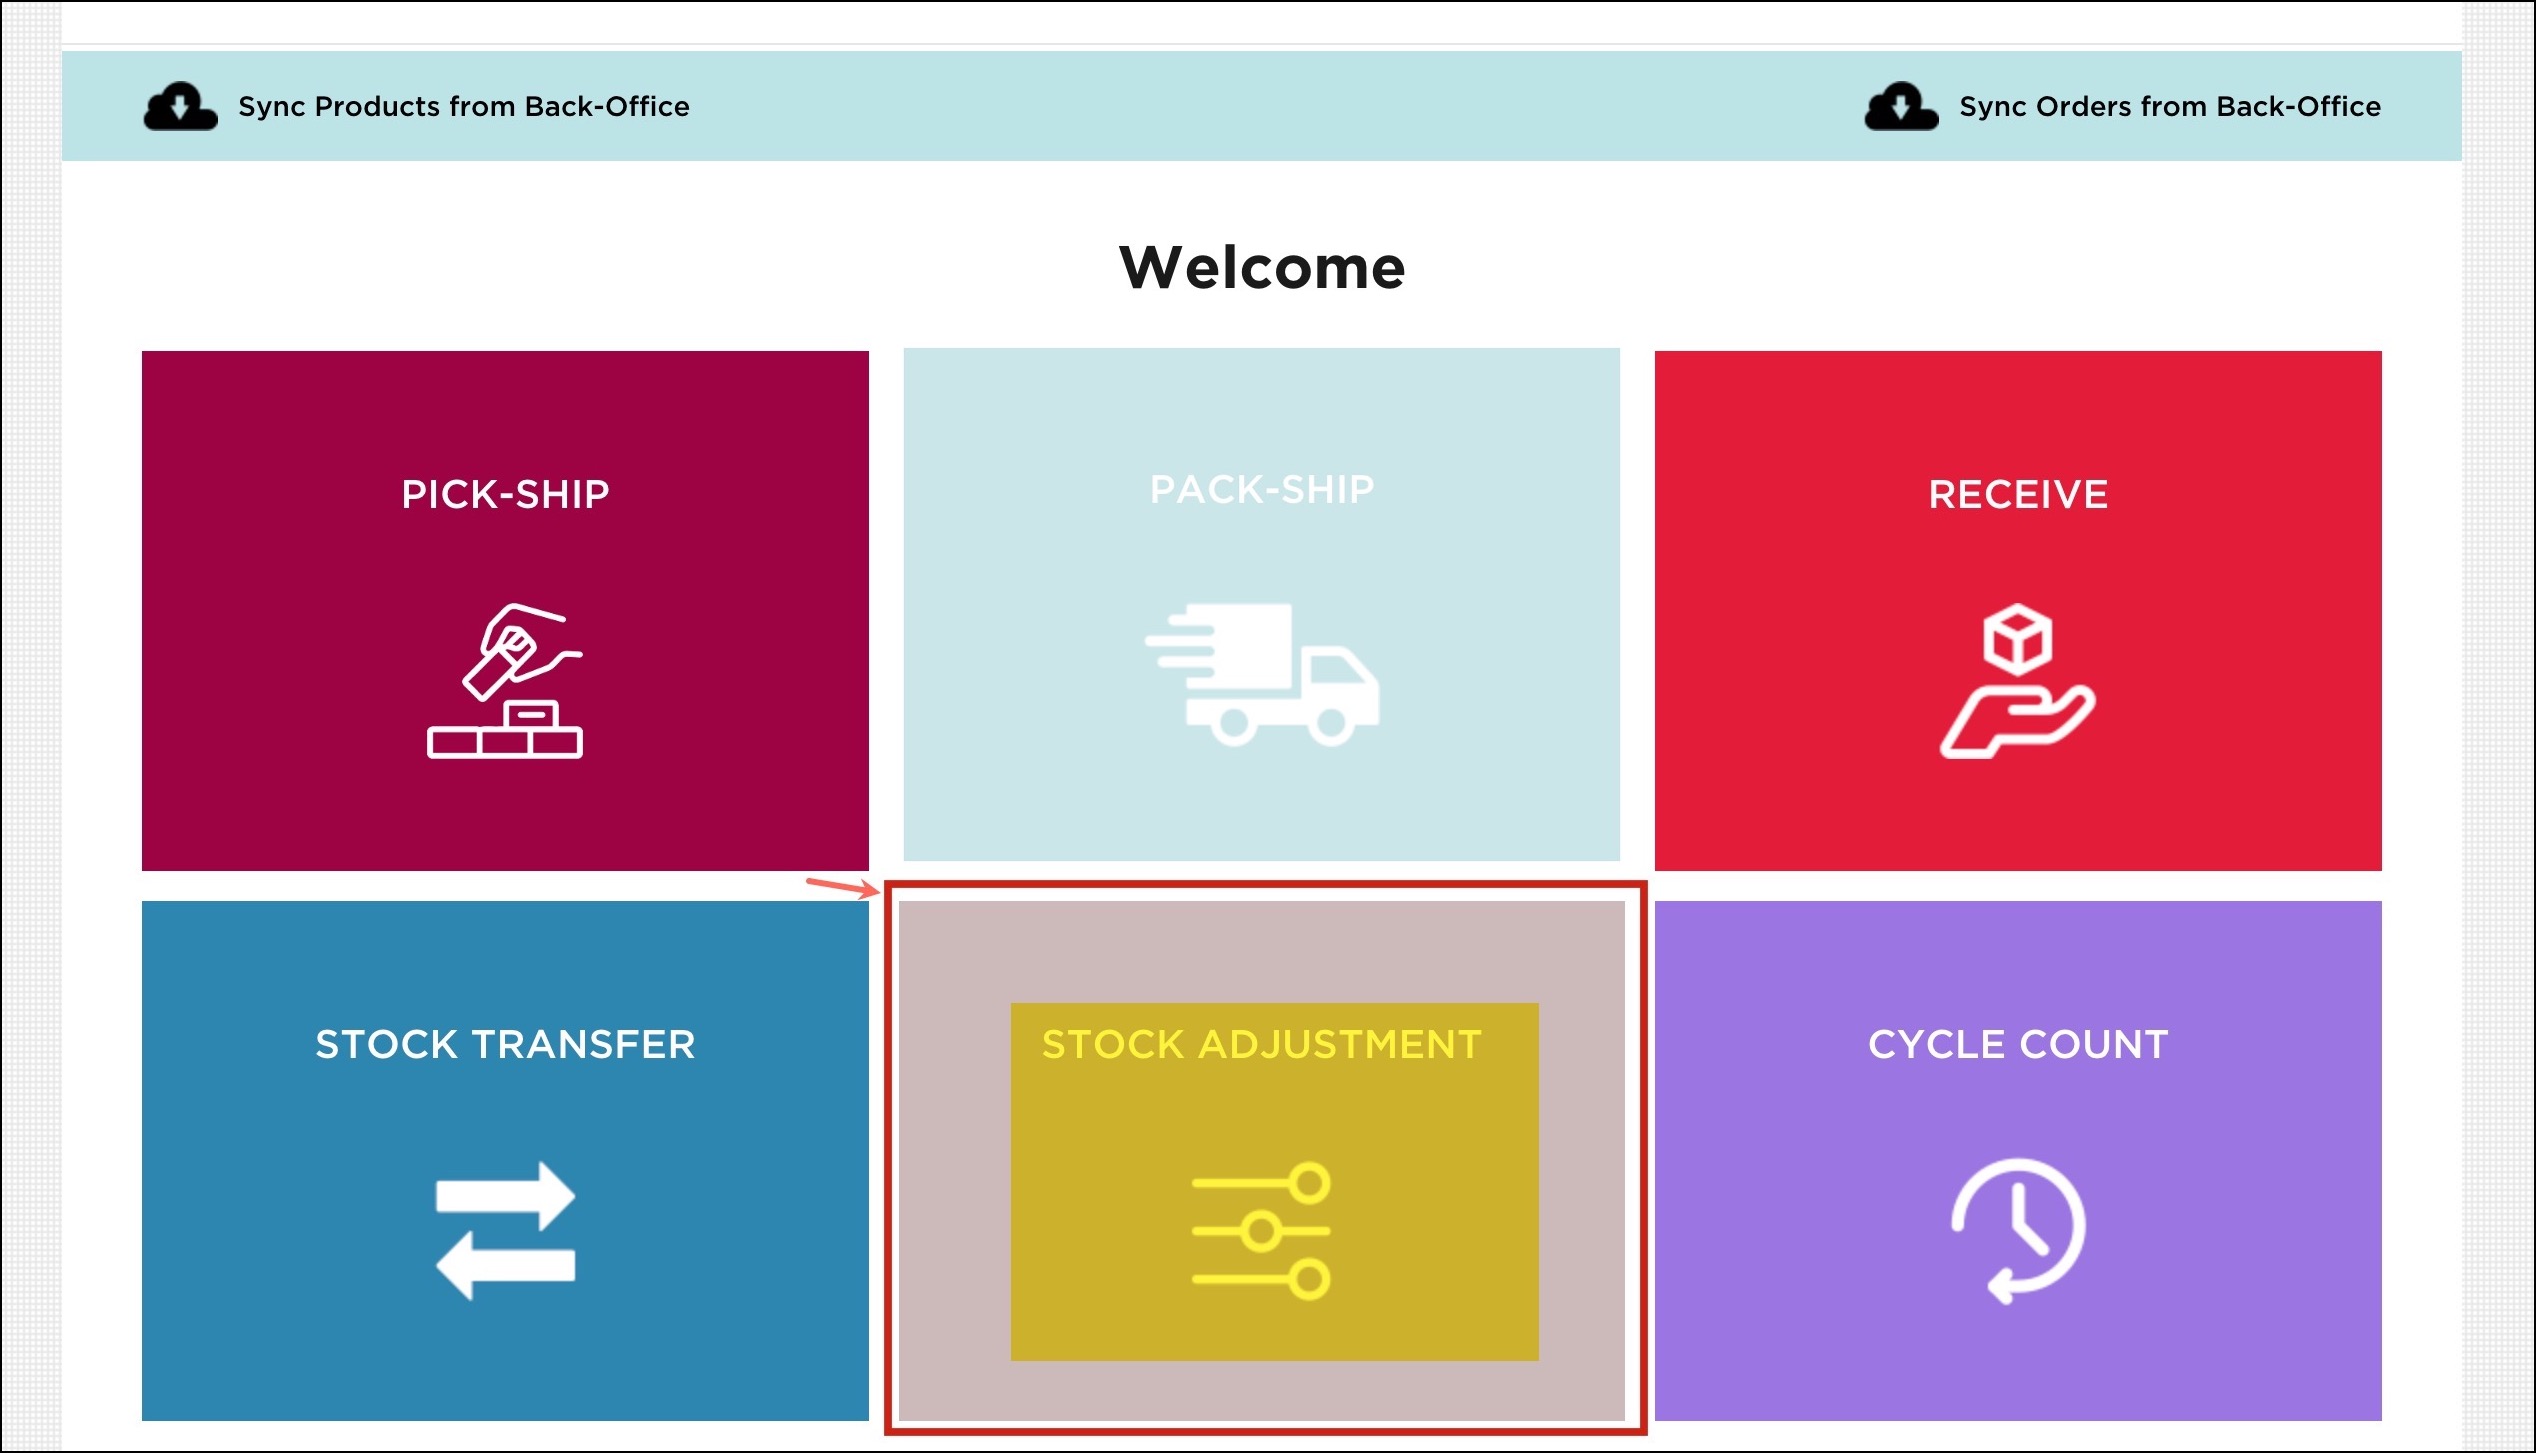
- Click on the Stock Adjustment workflow on the home screen to begin.
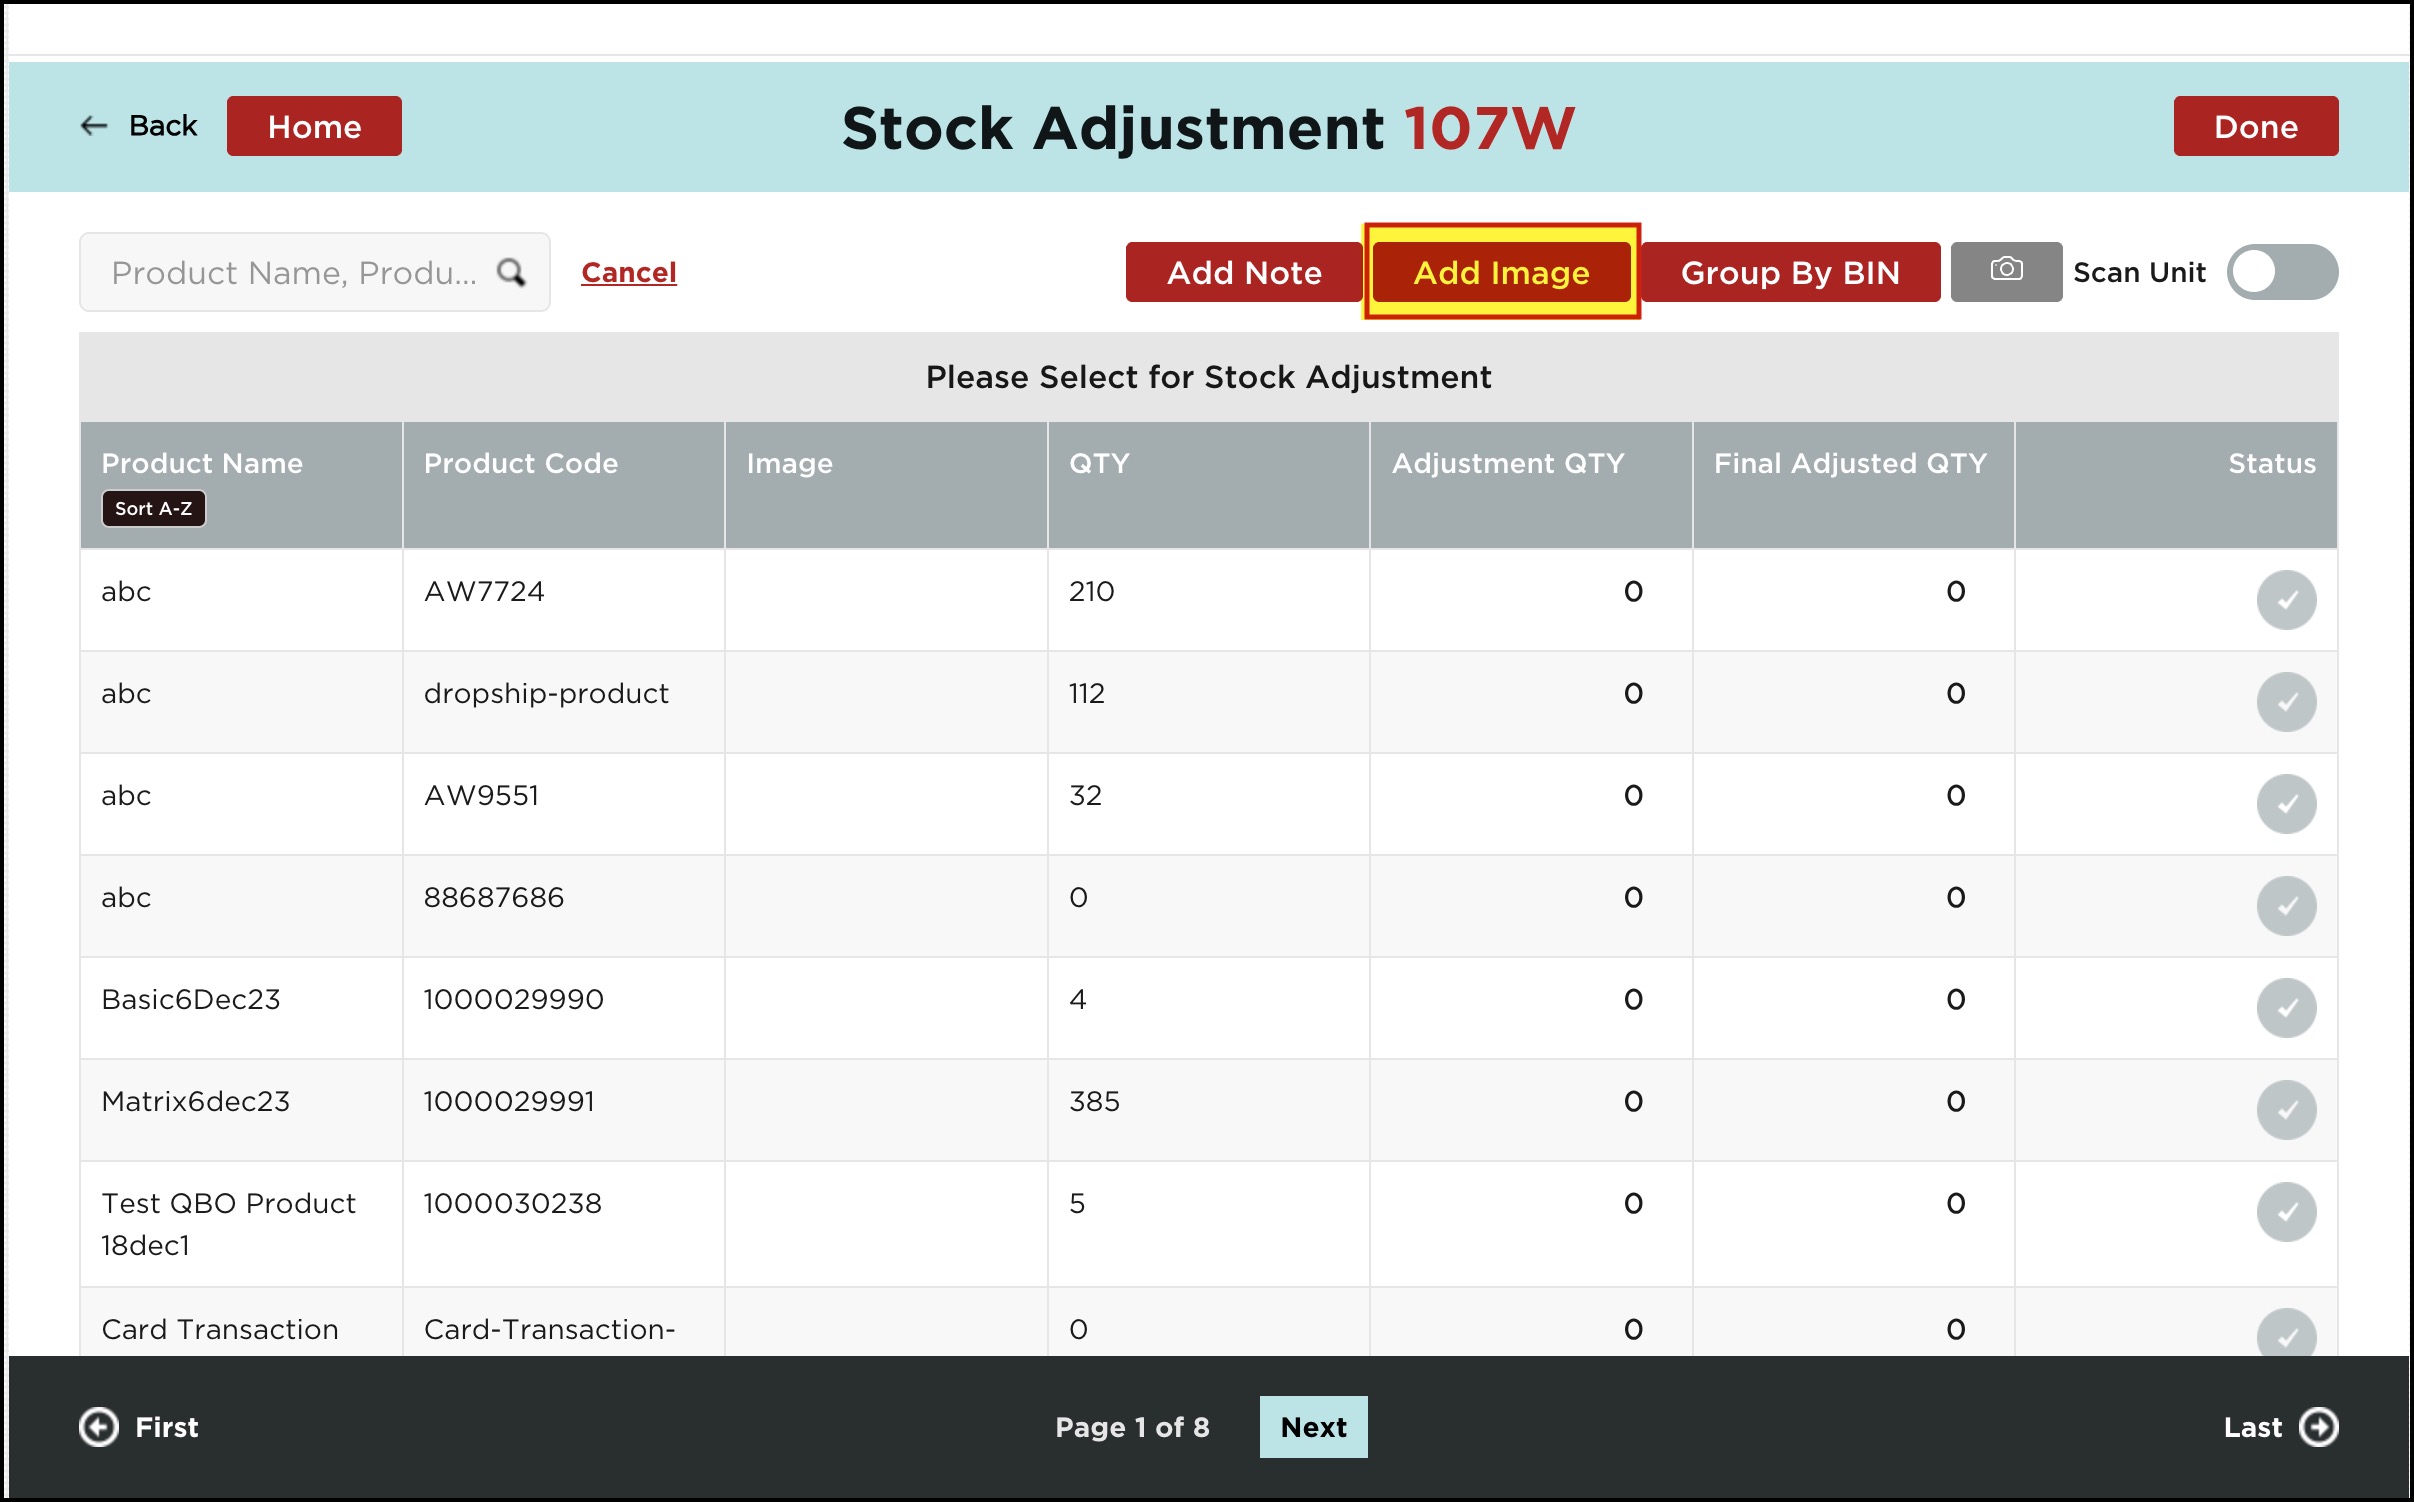
- In the Stock Adjustment workflow, you can see the Add Image button. Click on it.
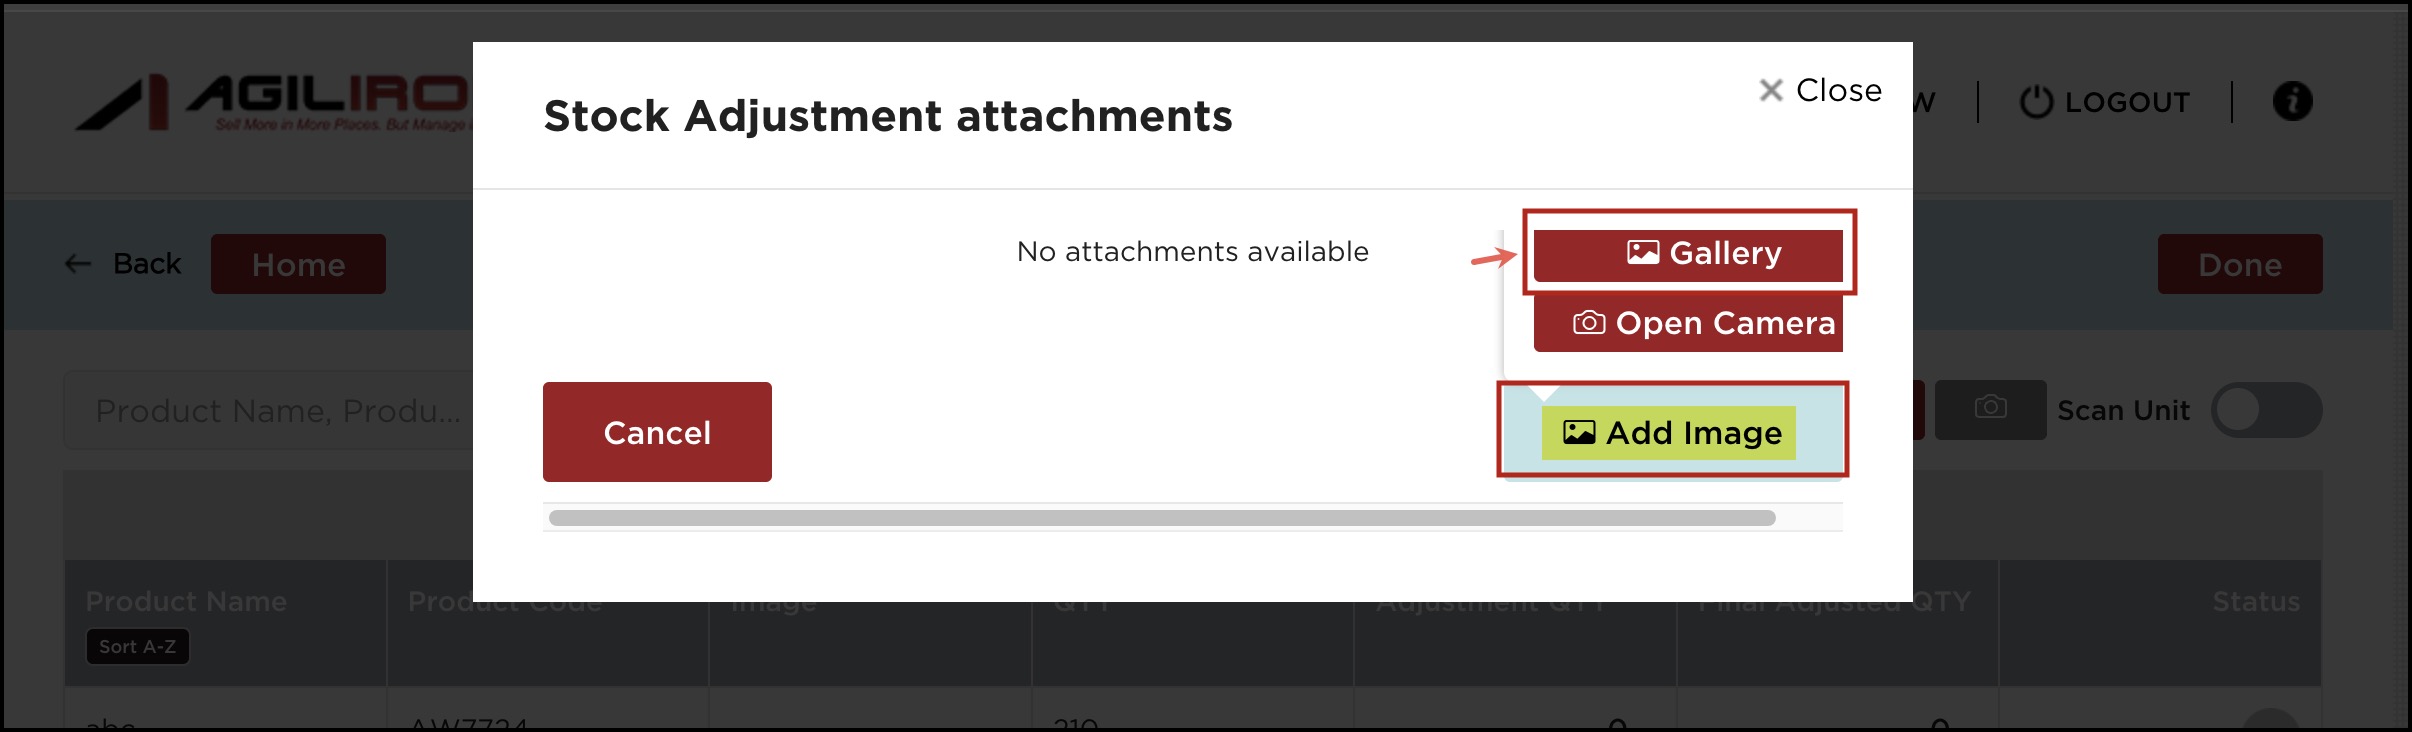
- A pop-up will appear where you need to click on the Add Image button. You can either select from Gallery or Open your Device Camera to click and add an image. For example, we've added an image from the Gallery.
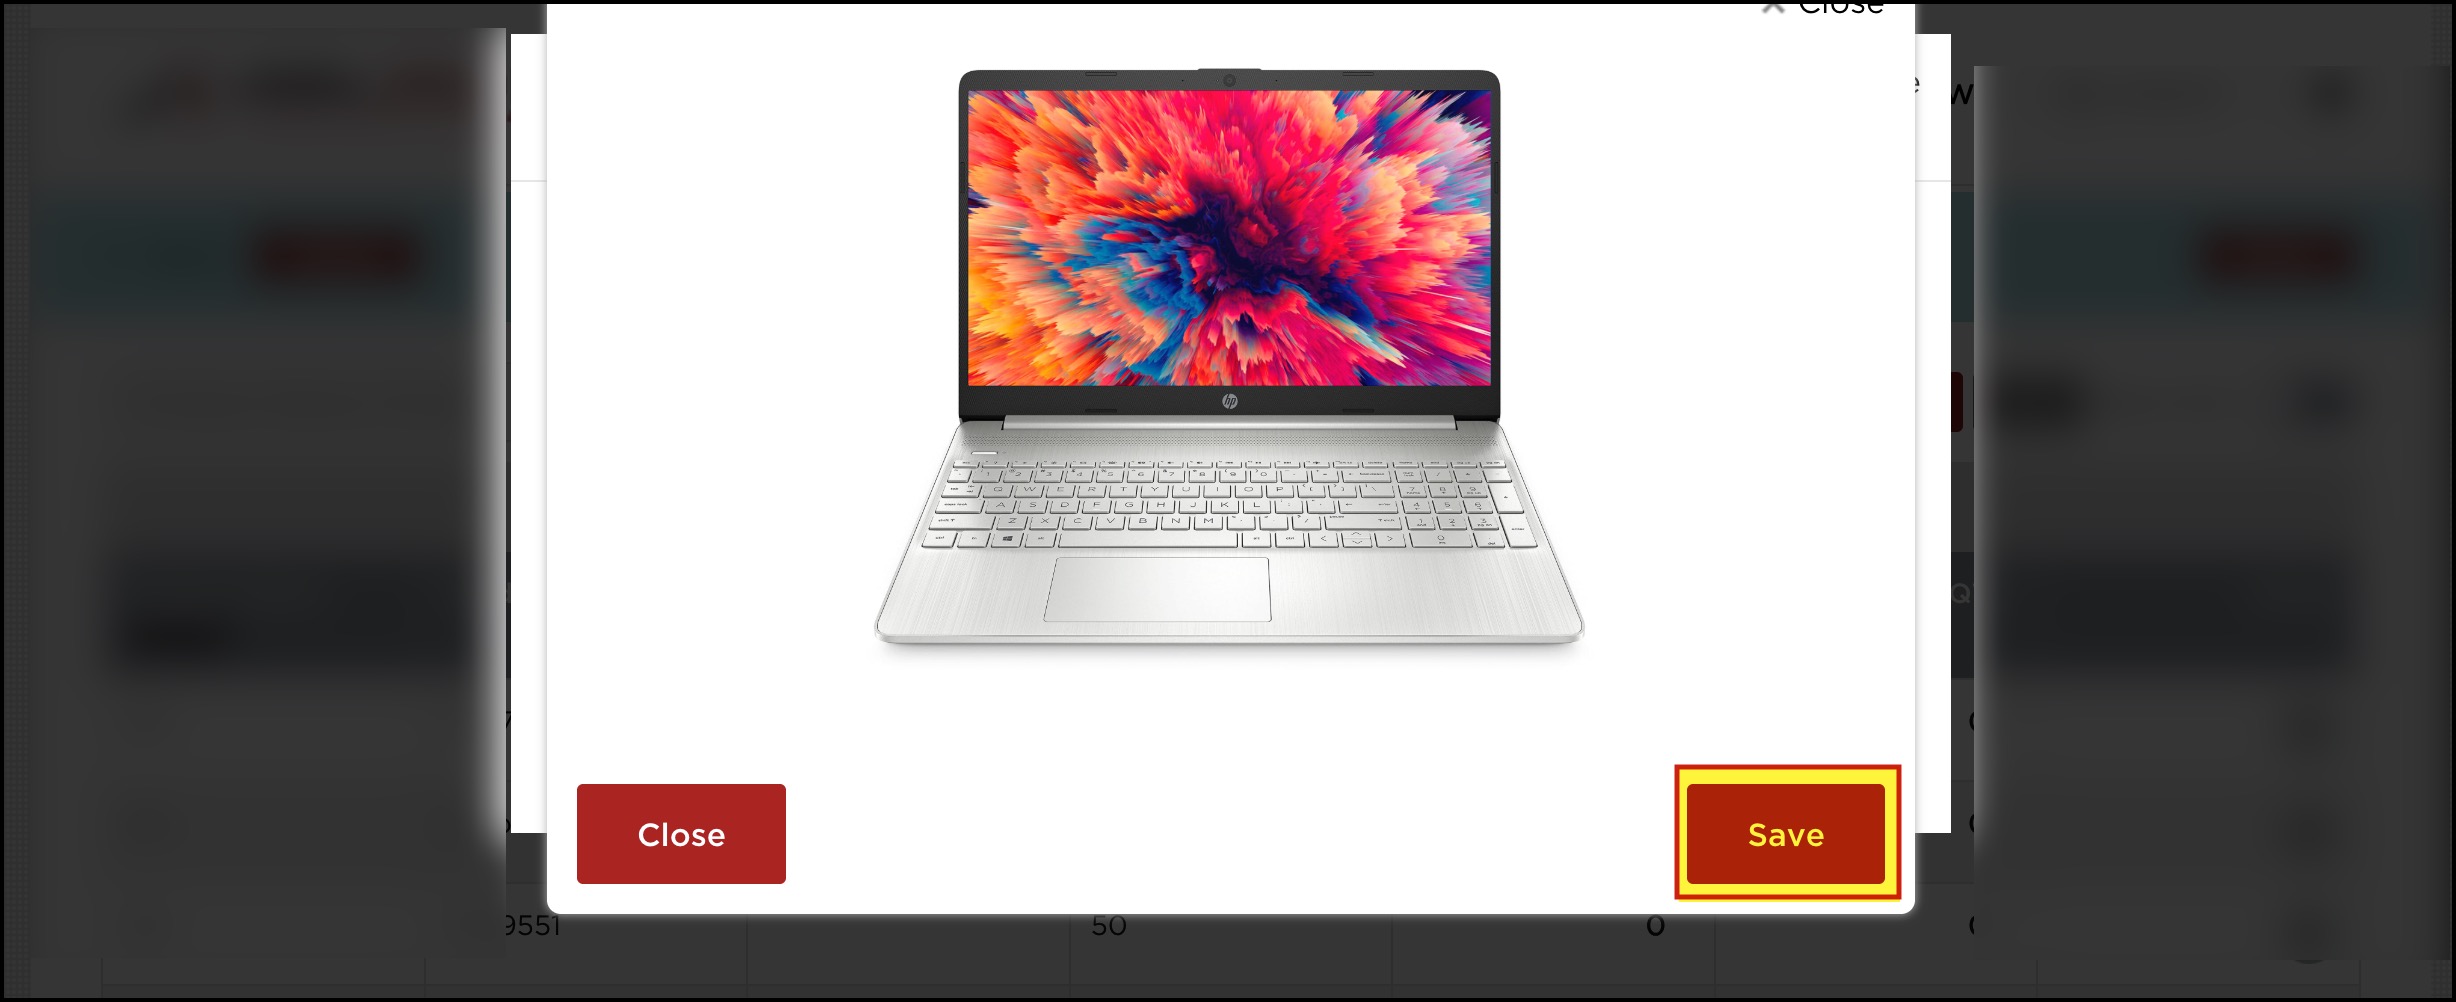
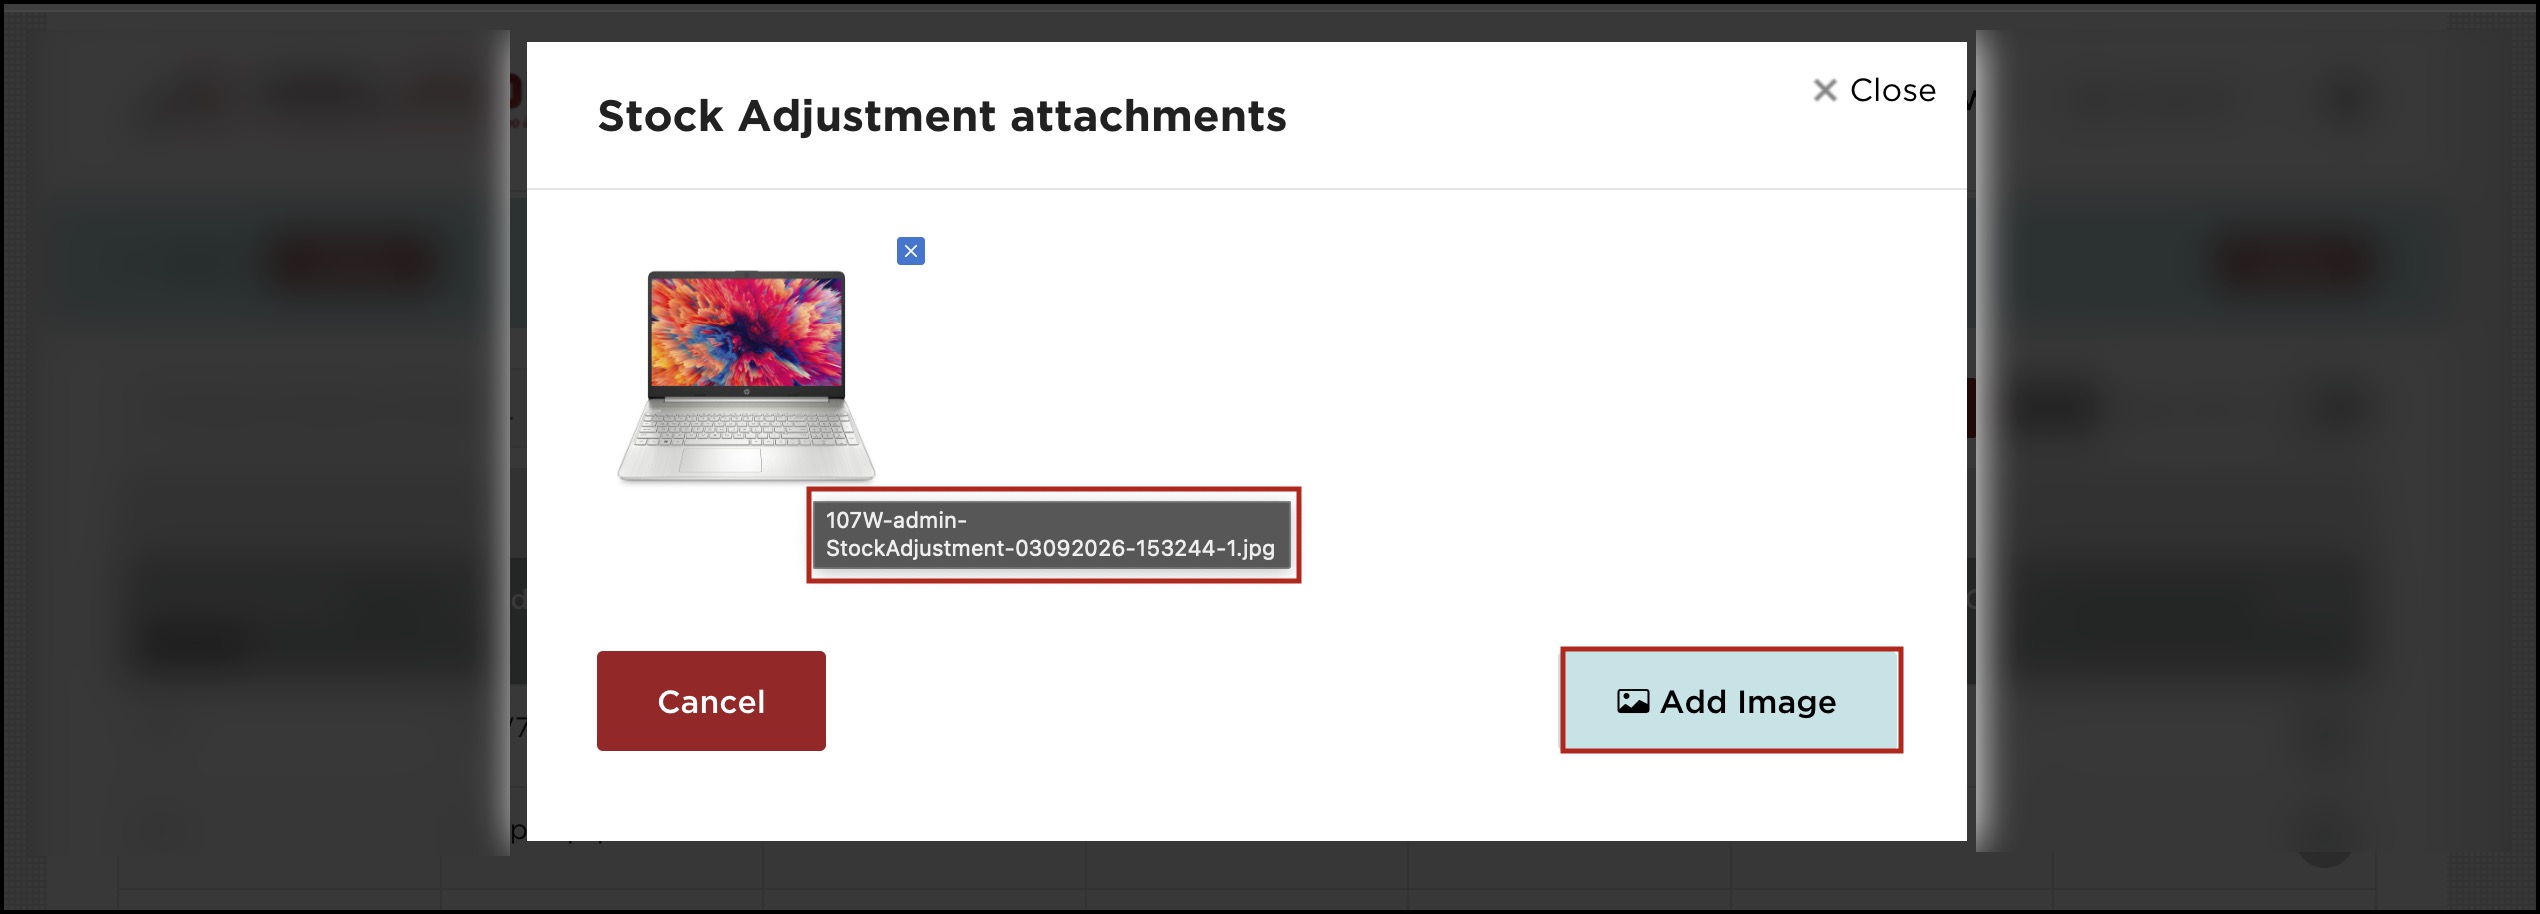
- Select the picture and click on Save.
- Just by hovering on the image, you can view the name of the uploaded image (This is to identify the image in the back office -> Attachments module)
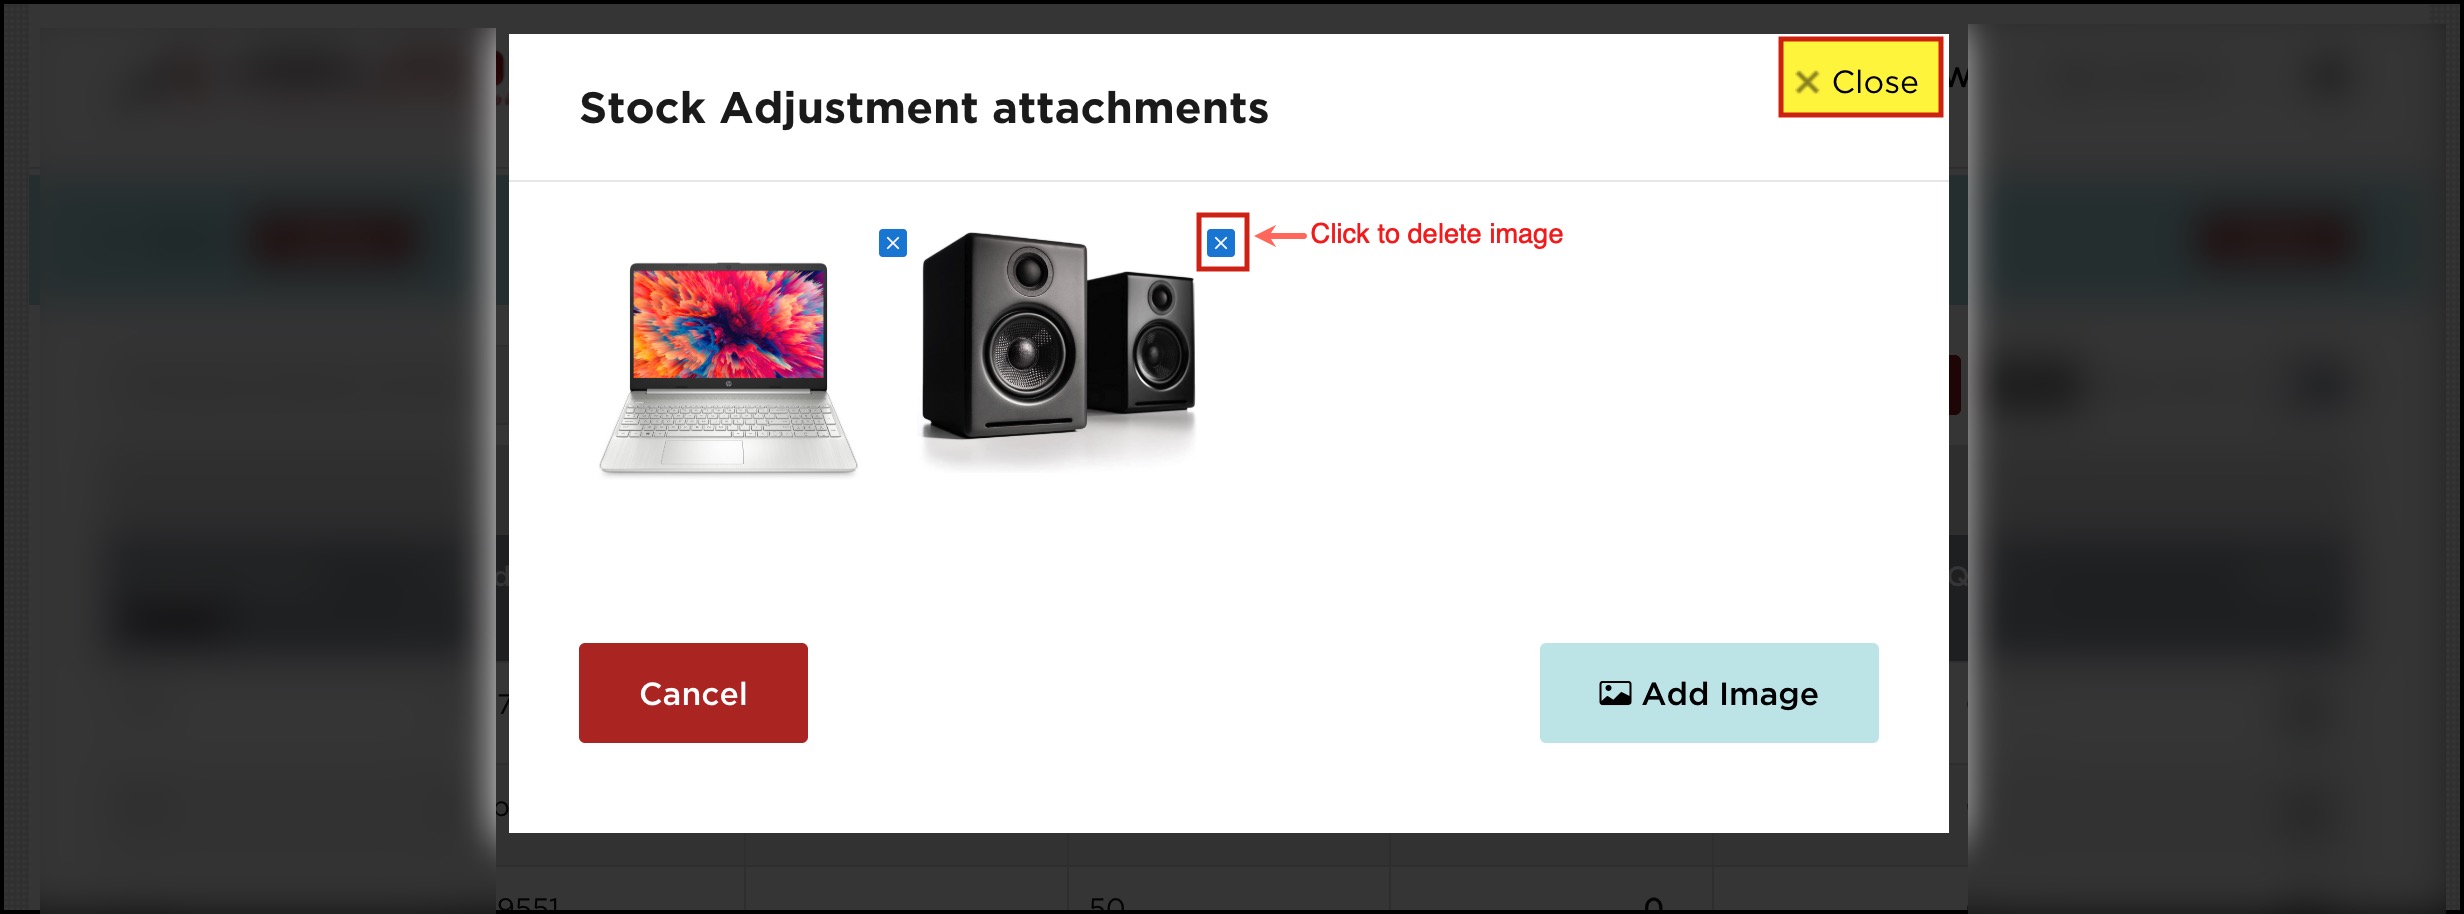
- Add multiple images if needed by clicking on the Add Image button again.
- To delete any image uploaded, you can click on the "x" sign next to that particular image.
- Now, after you have uploaded the image/images, close the Stock Adjustment attachments pop-up screen.
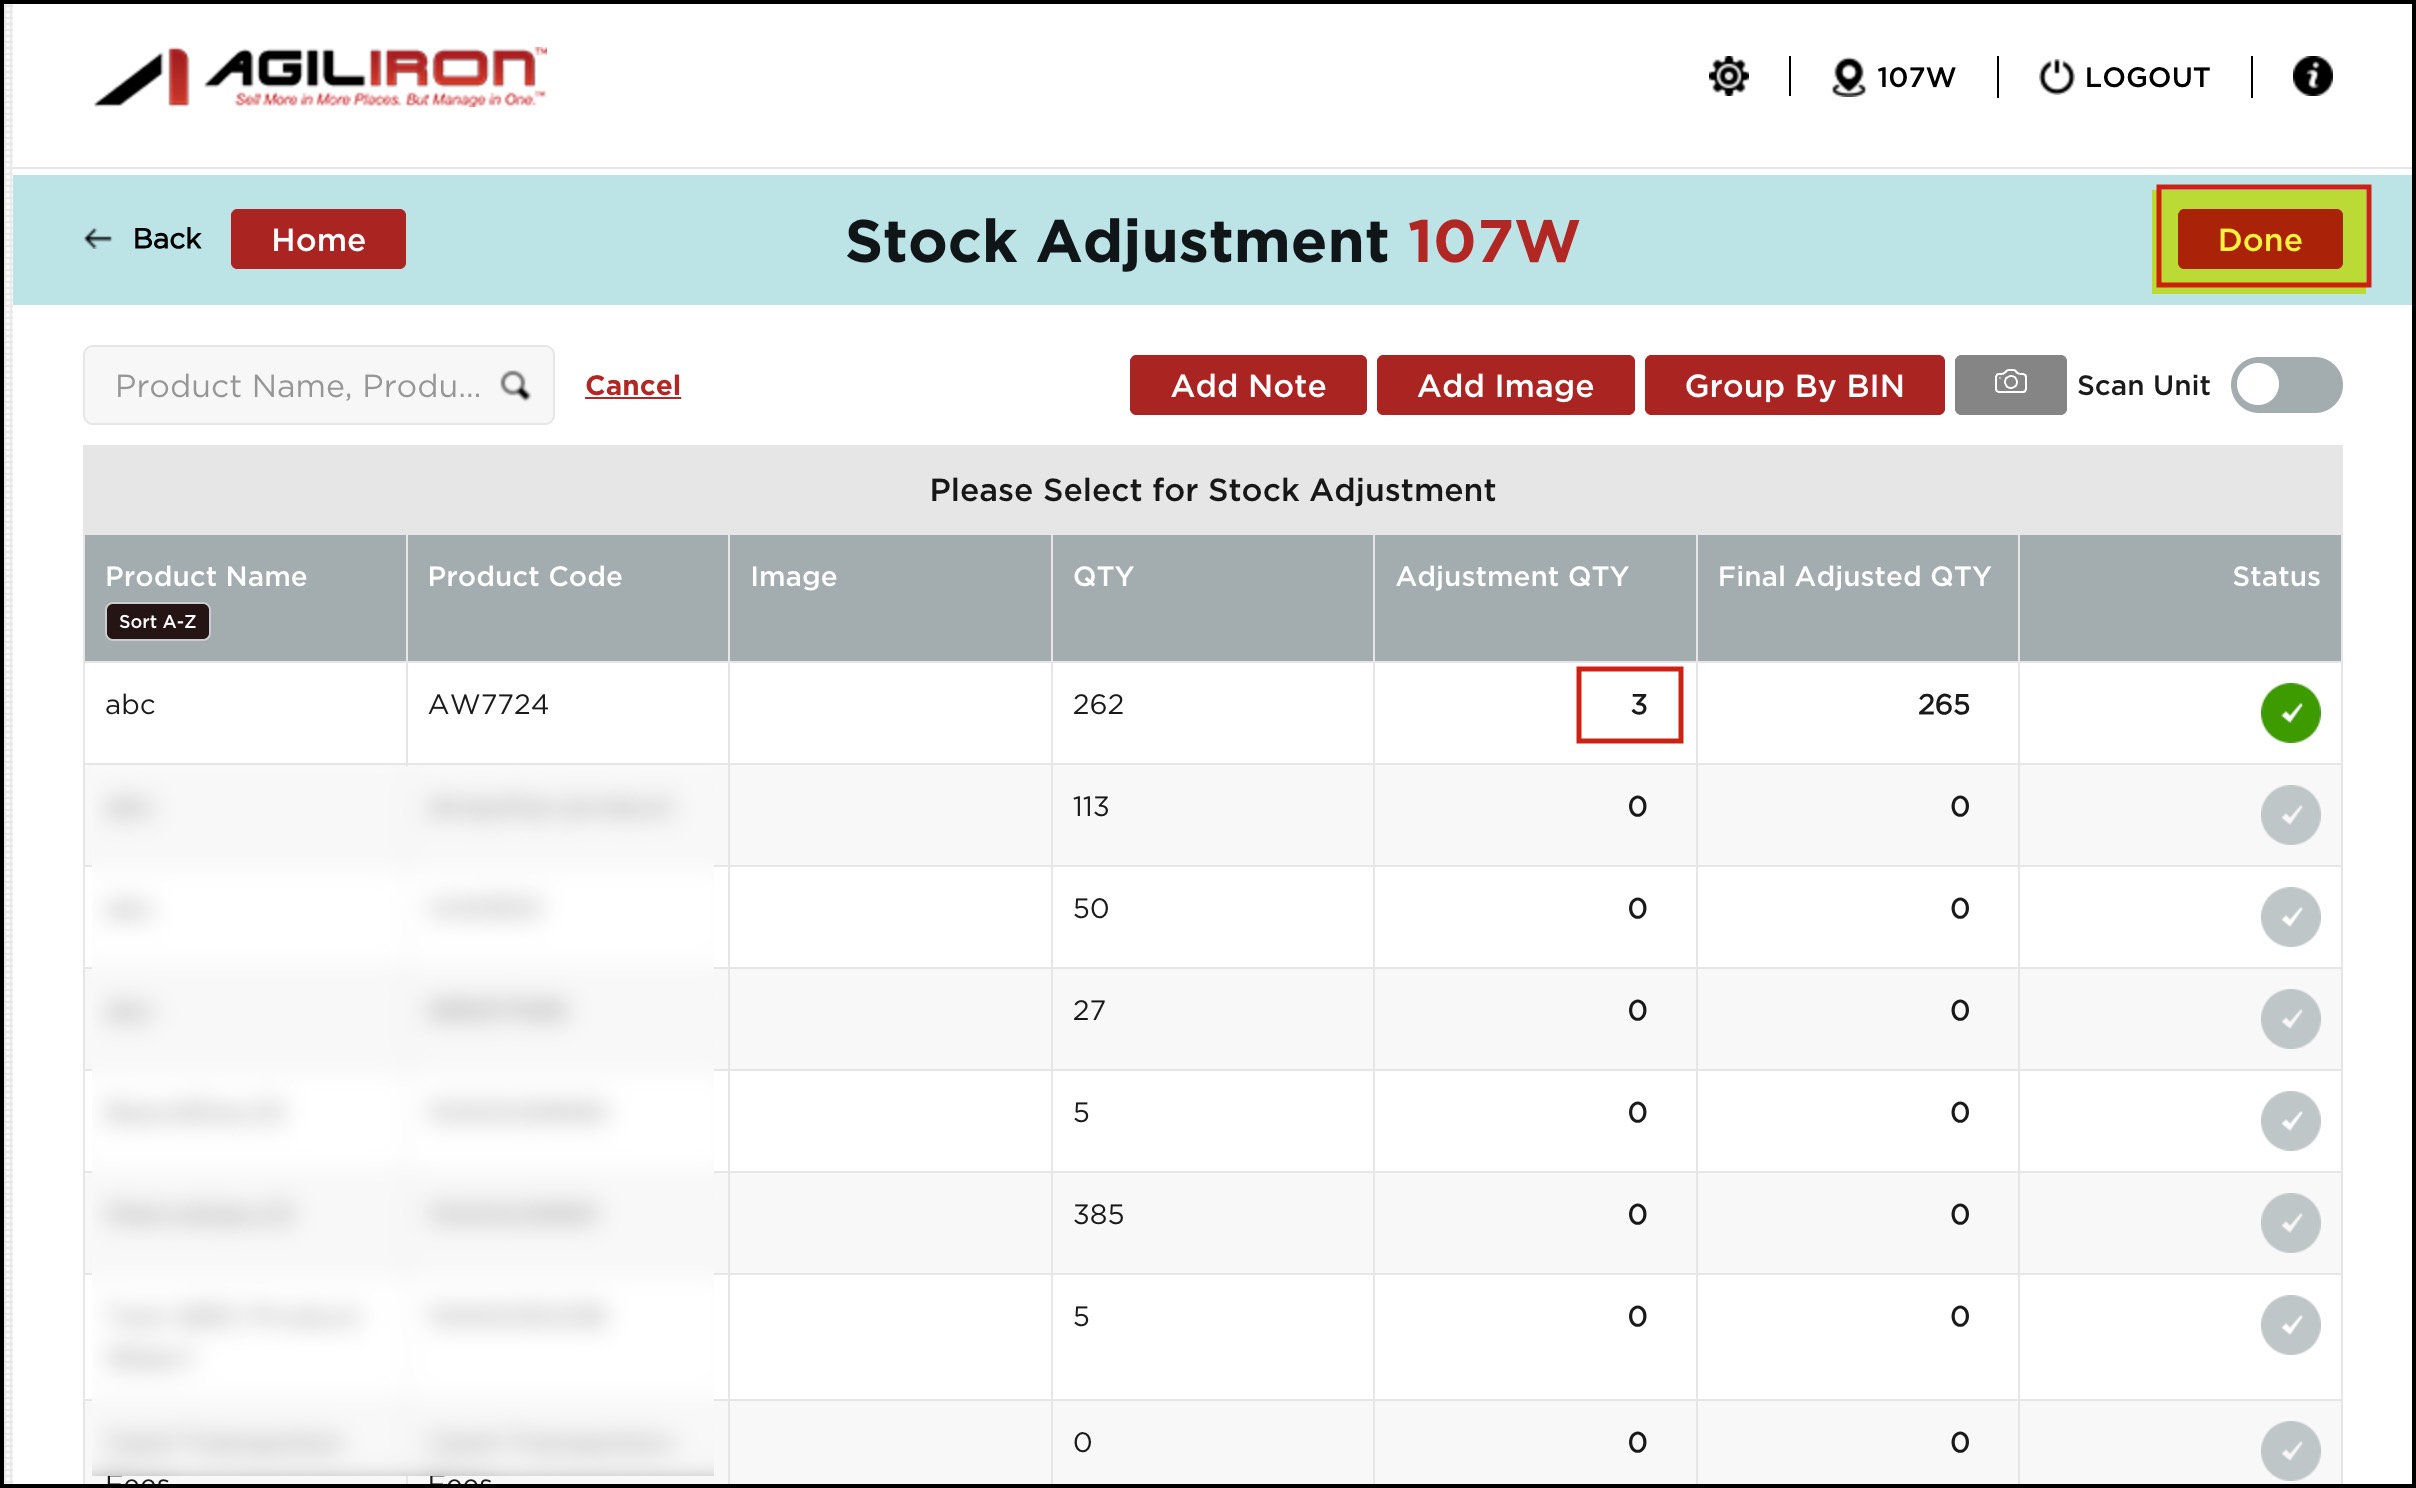
- Now proceed with the Stock Adjustment process.
- Once completed, click on Done.
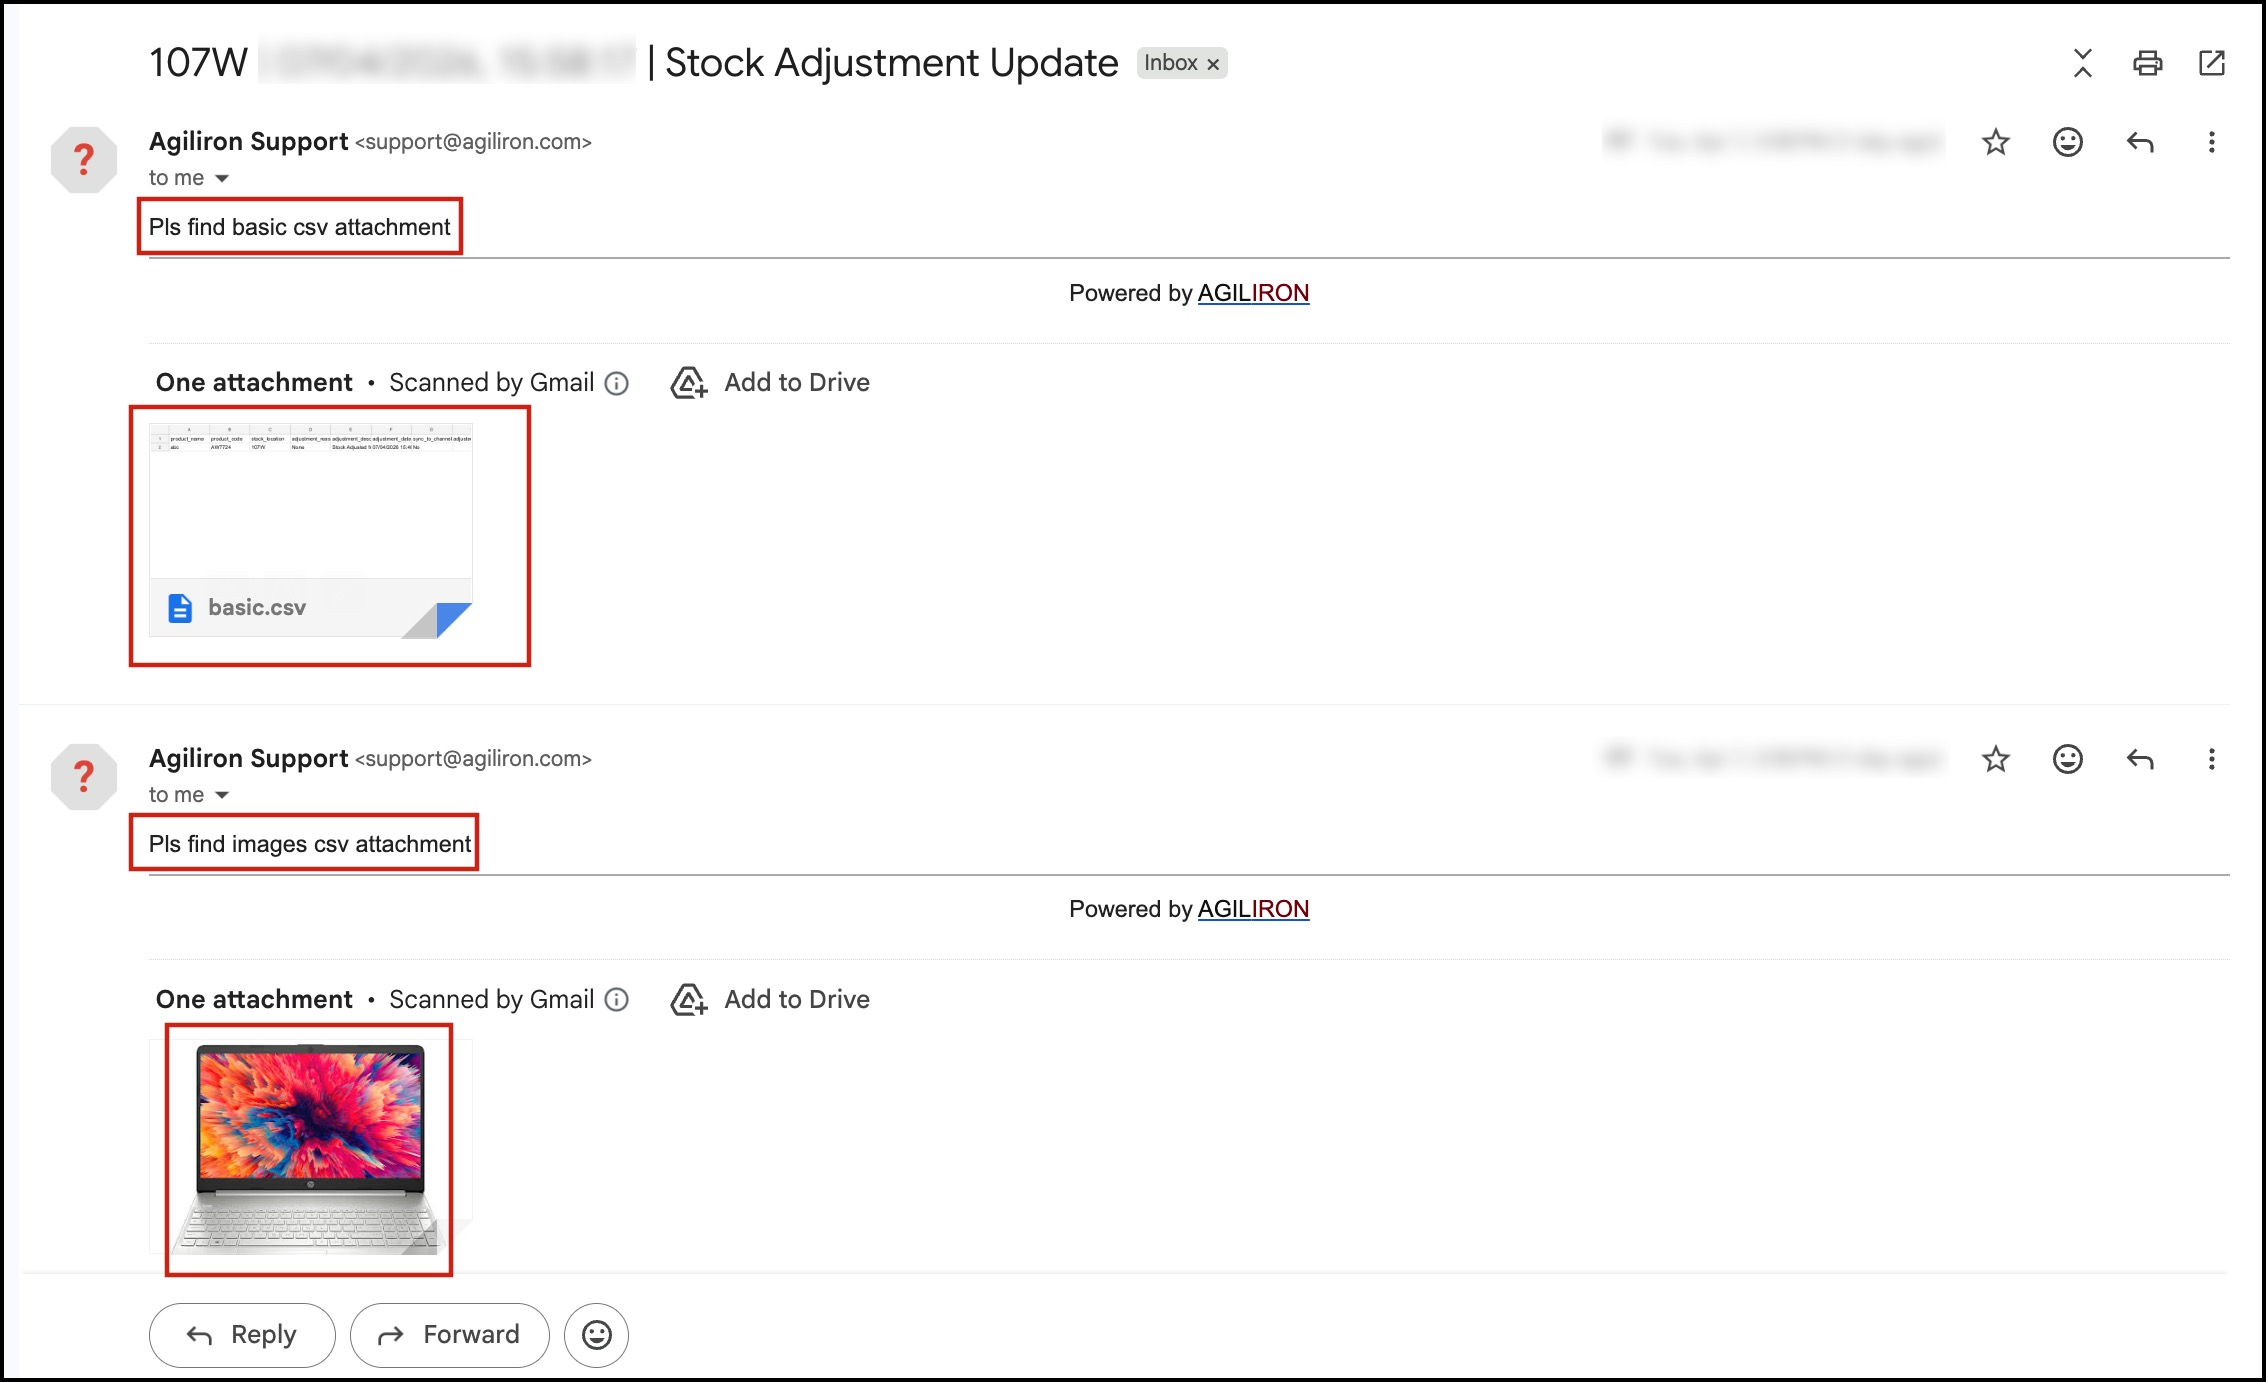
- If the Enable Auto Inventory Update Email setting is set to On, you will see a message asking whether you want to send an inventory update CSV email. Stock Adjustment update, along with the image added, will be emailed after clicking on OK.

NOTE:
- These images are maintained and associated with this Stock Adjustment. So, without doing a Stock Adjustment, if you sync inventory, those images won't get uploaded to the back office.
- If you click “DONE” and then come back to the Stock Adjustment screen again, the previously added images will still appear in the dialog. Only once synced to Back Office, the Stock Adjustment associated images will be cleared.
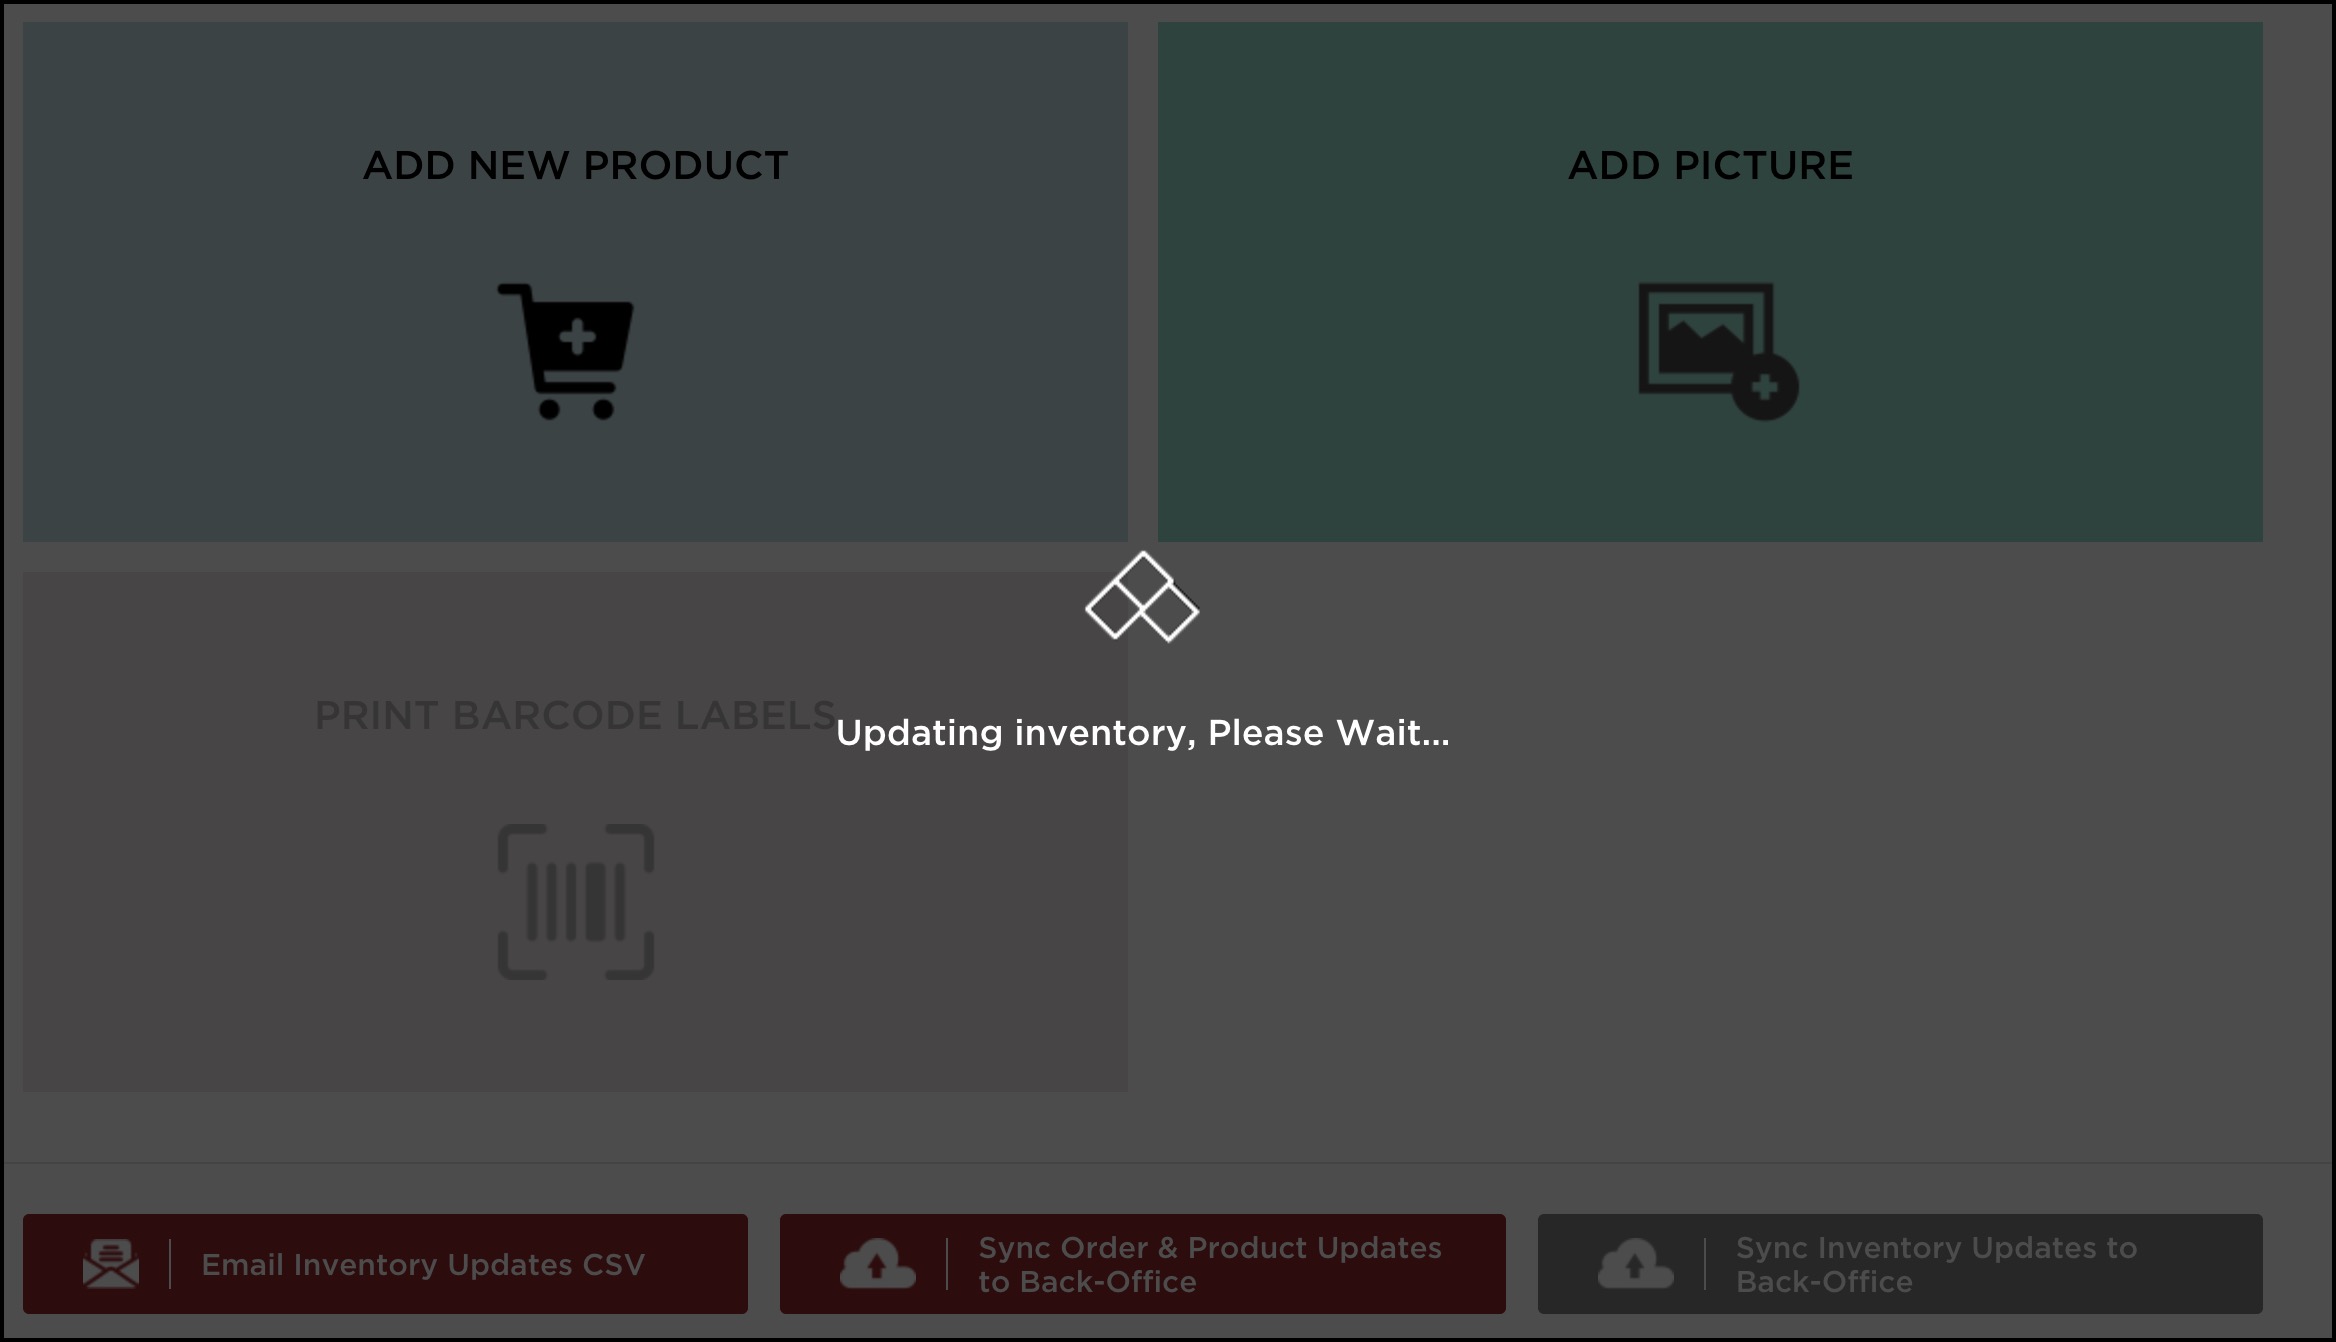
- On the home screen, click on Sync Inventory Updates to Back Office button.
- The inventory update will start. Once done, switch to back-ofice.

- When you go to the Back office -> Attachment module, you can see the image/images that are added.
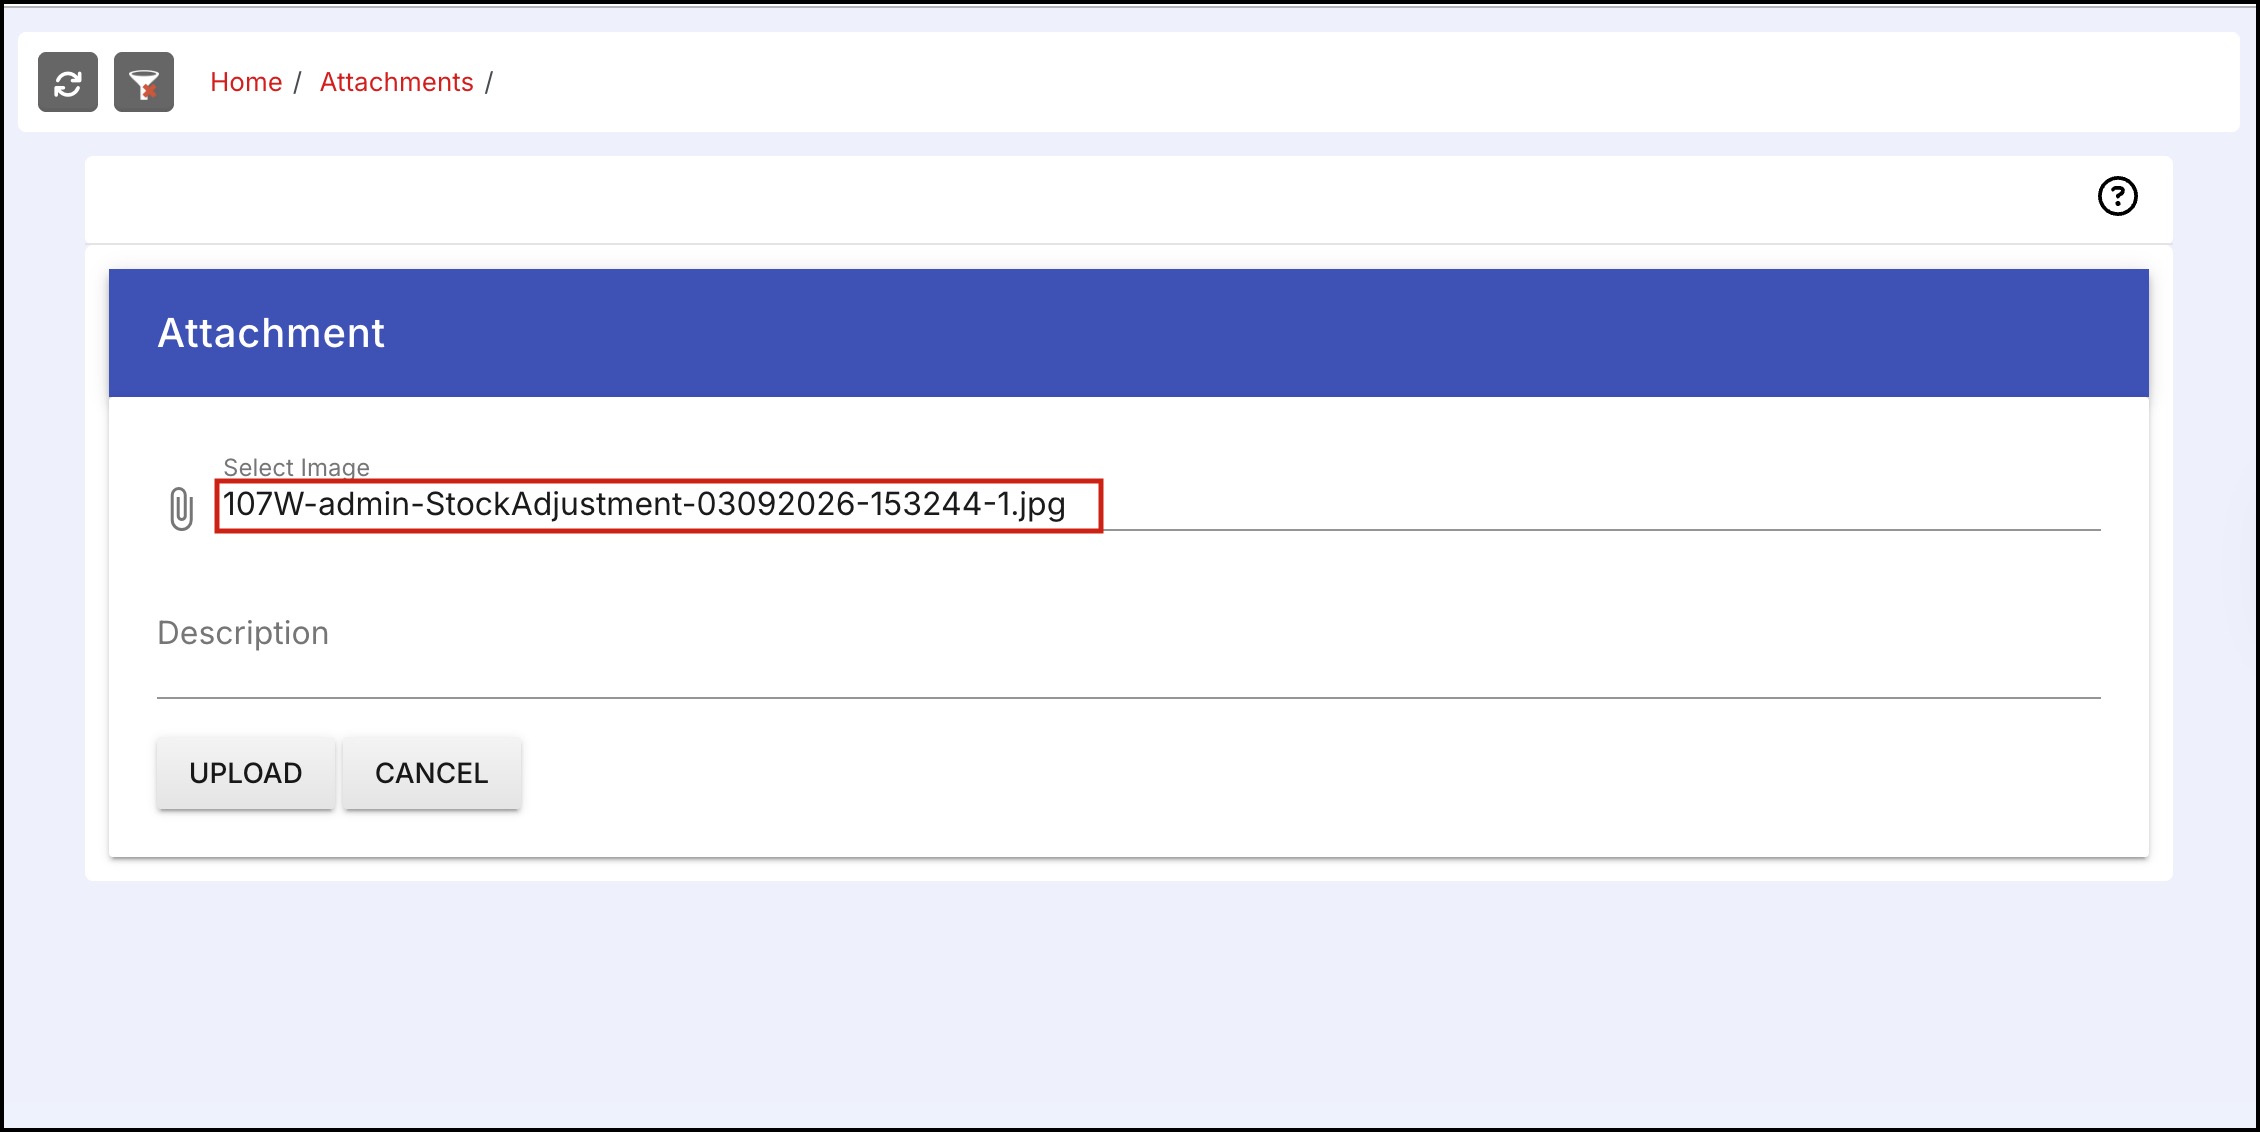
- Click on the Edit icon to check the image name, if required.
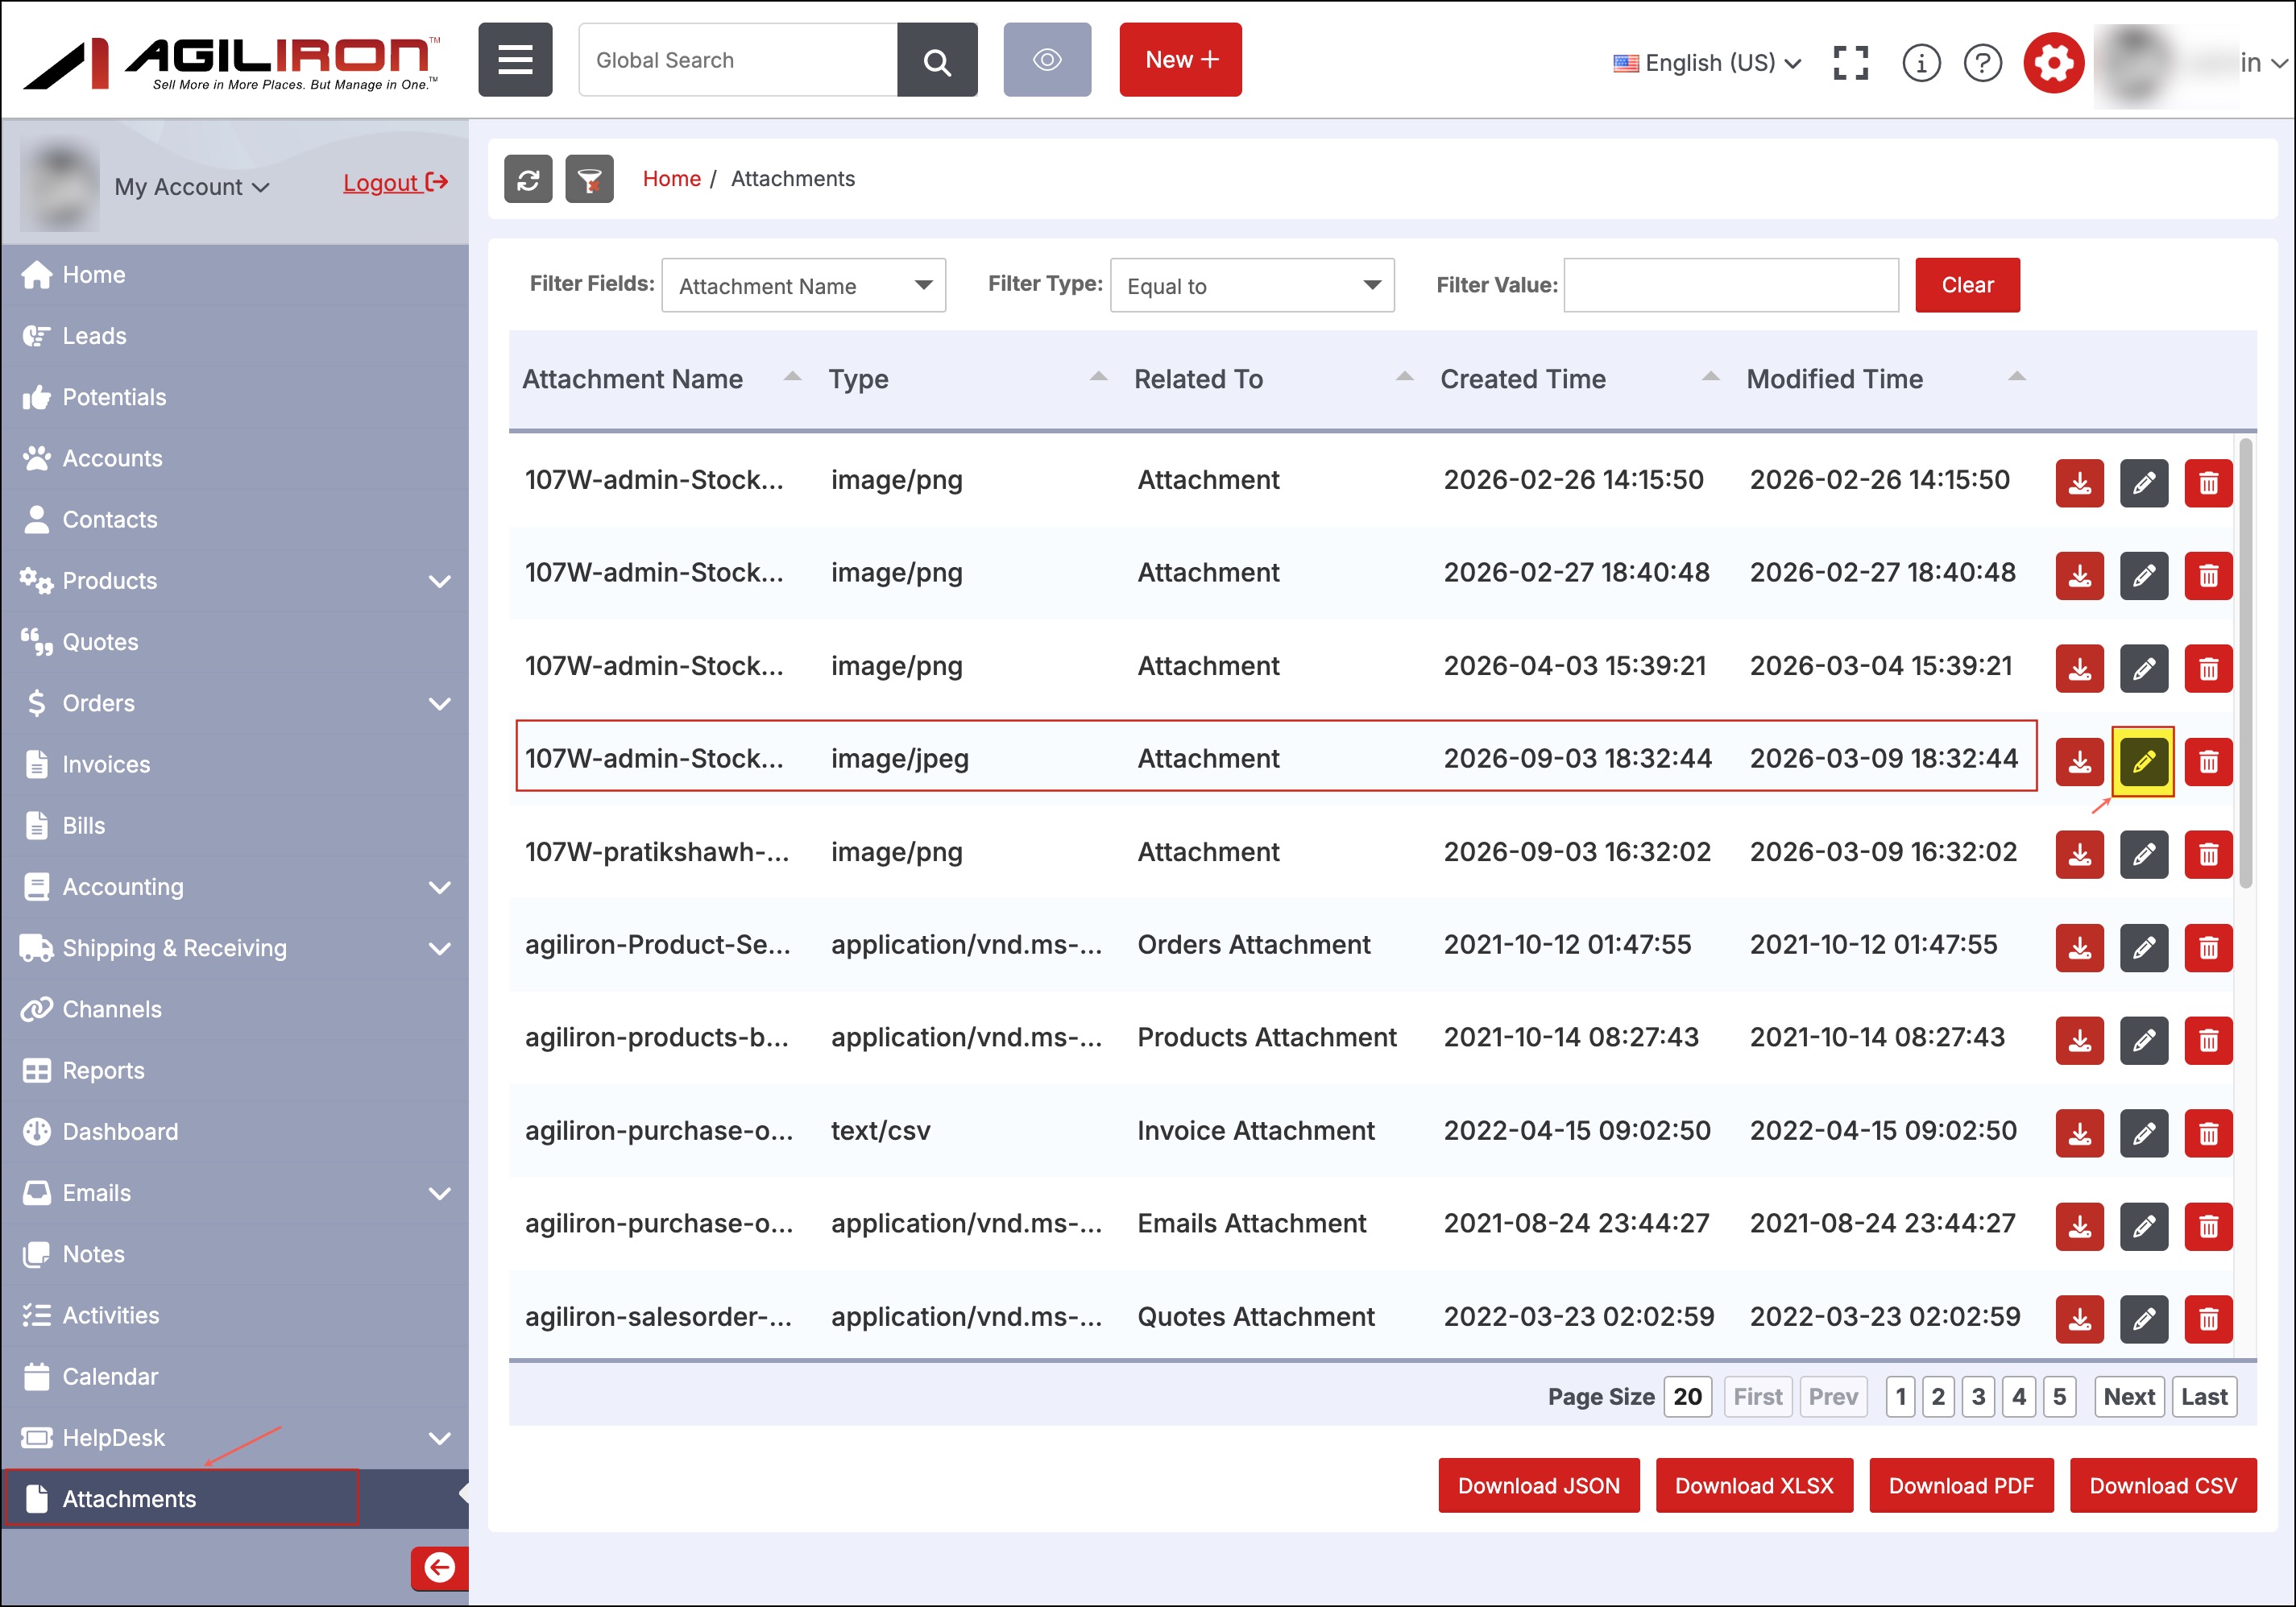
You can identify the image by comparing it to the image name that you noted while you hovered over the image. (Check the screenshot where the image name is seen after hovering)
Updated 4 months ago