NetSuite Integration Setup
To setupNetSuite:
- First login to your NetSuite account.
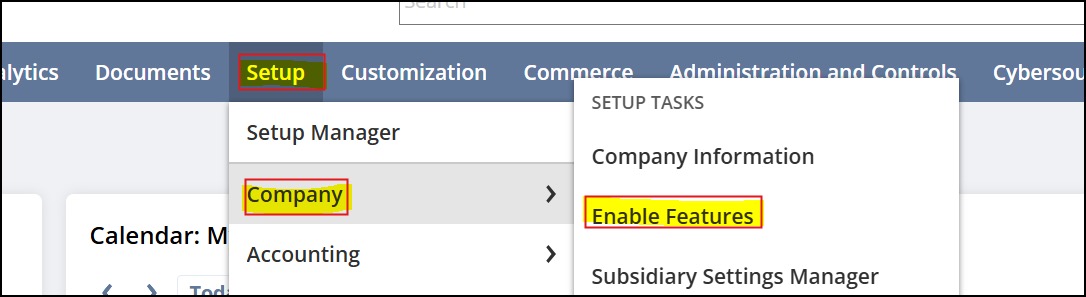
- Go to Setup -> Company -> Enable Features
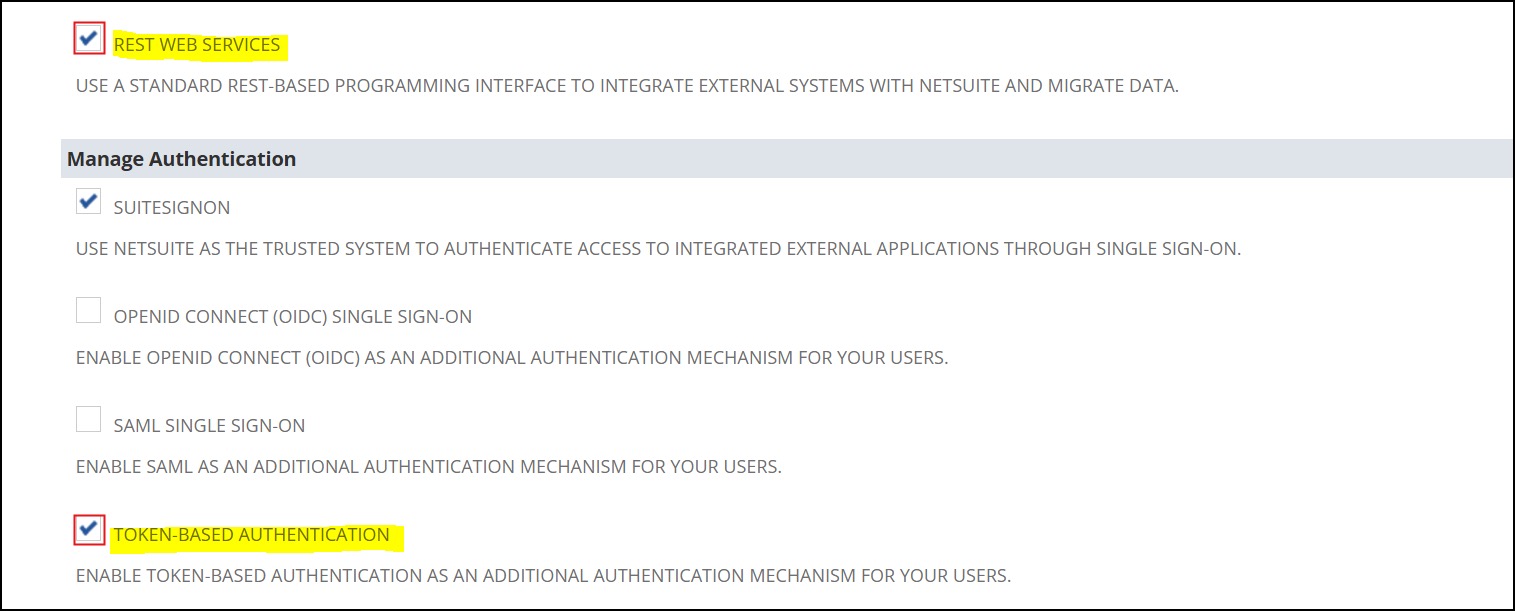
- Navigate to SuiteCloud tab.

- Turn ON Rest Web Services.
- Turn ON Token Based Authentication.
- Click on Save.
- Go to Setup -> Integration -> Manage Integrations -> New
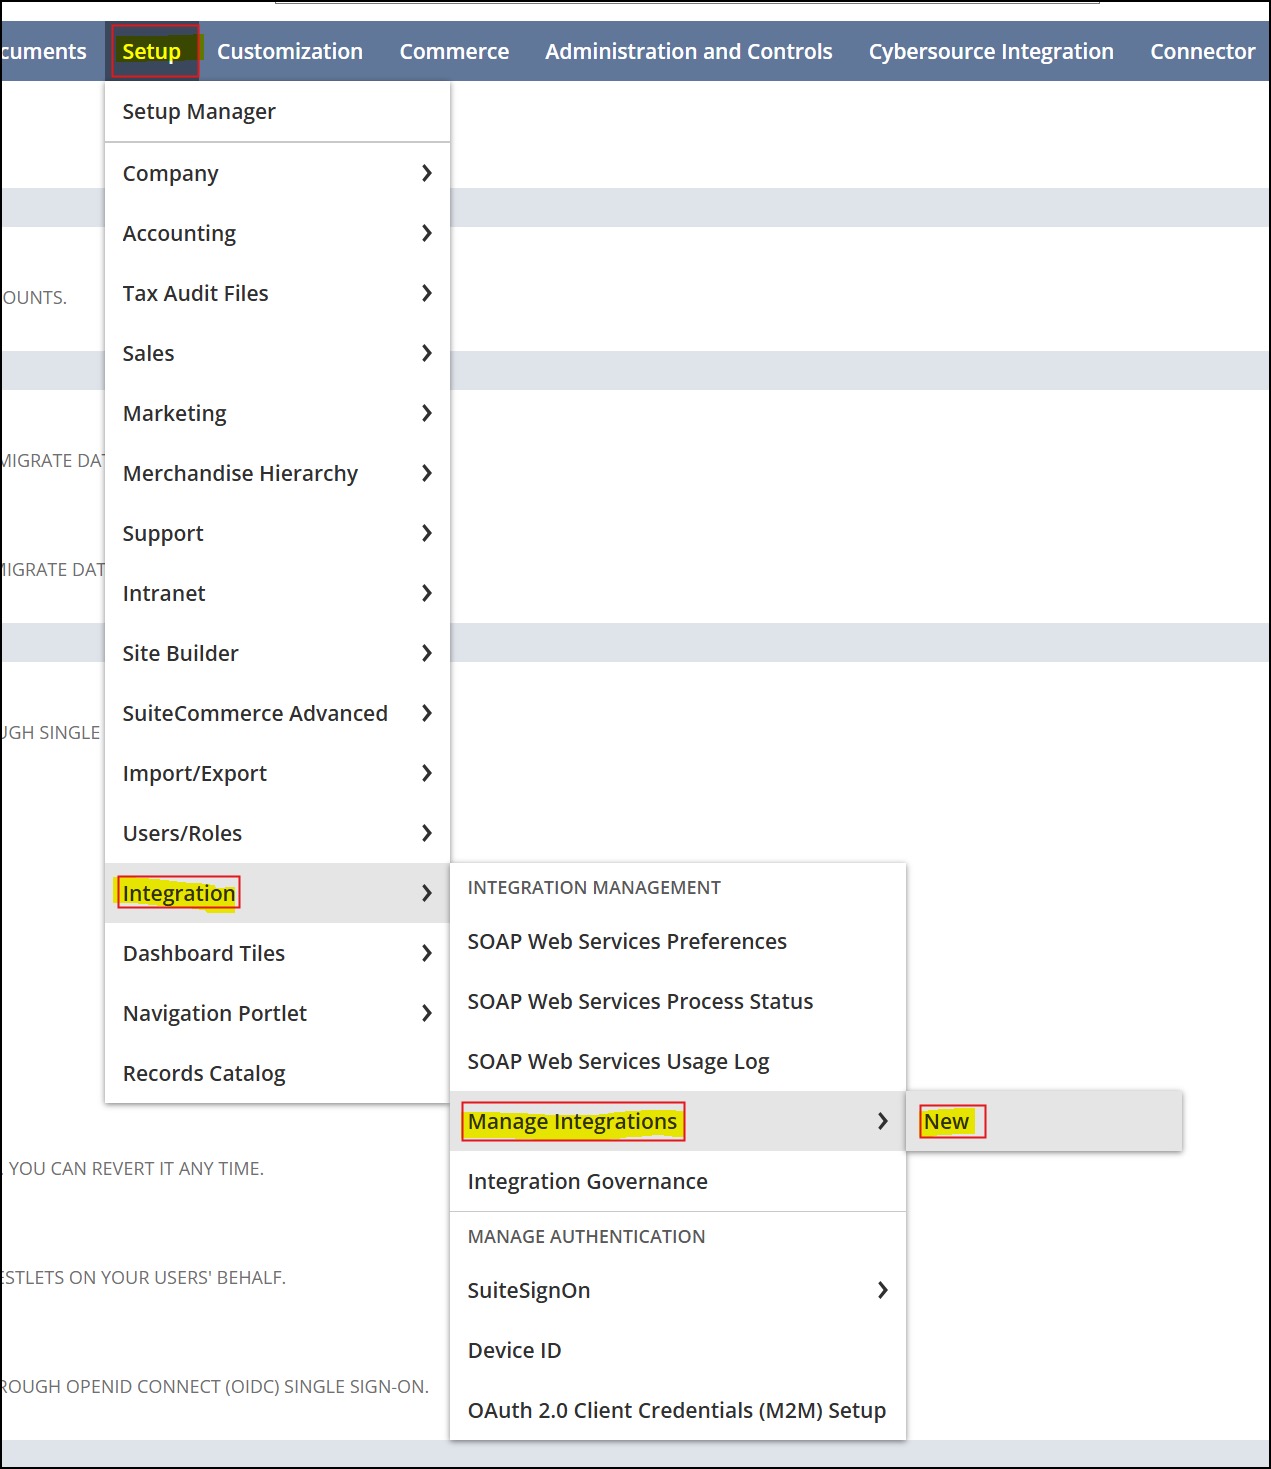
- Create a New Integration (as shown in the screenshots below).
- Turn on Token Based Authentication.
- Click on Save.
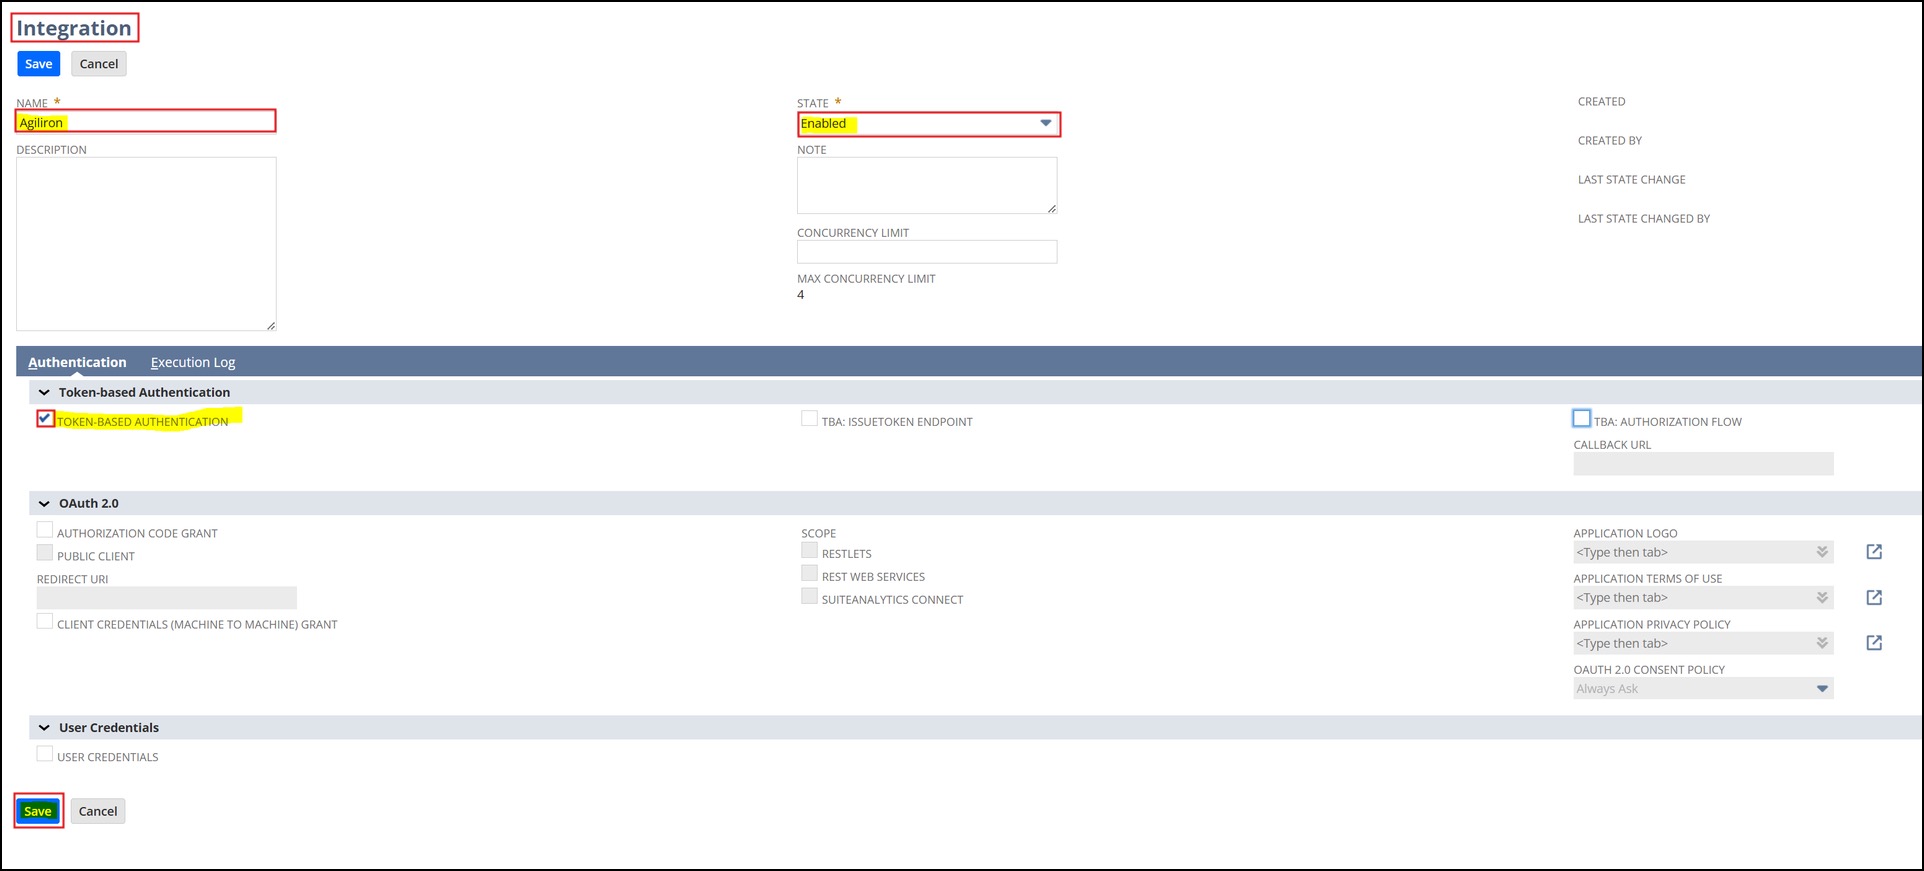
Note - Copy the Consumer Key/Client ID and Consumer Secret/Client Secret at the bottom of the screen - It will be visible only once after saving the integration.
- Go to Dashboard -> Settings Panel (Left Menu) -> Manage Access Tokens


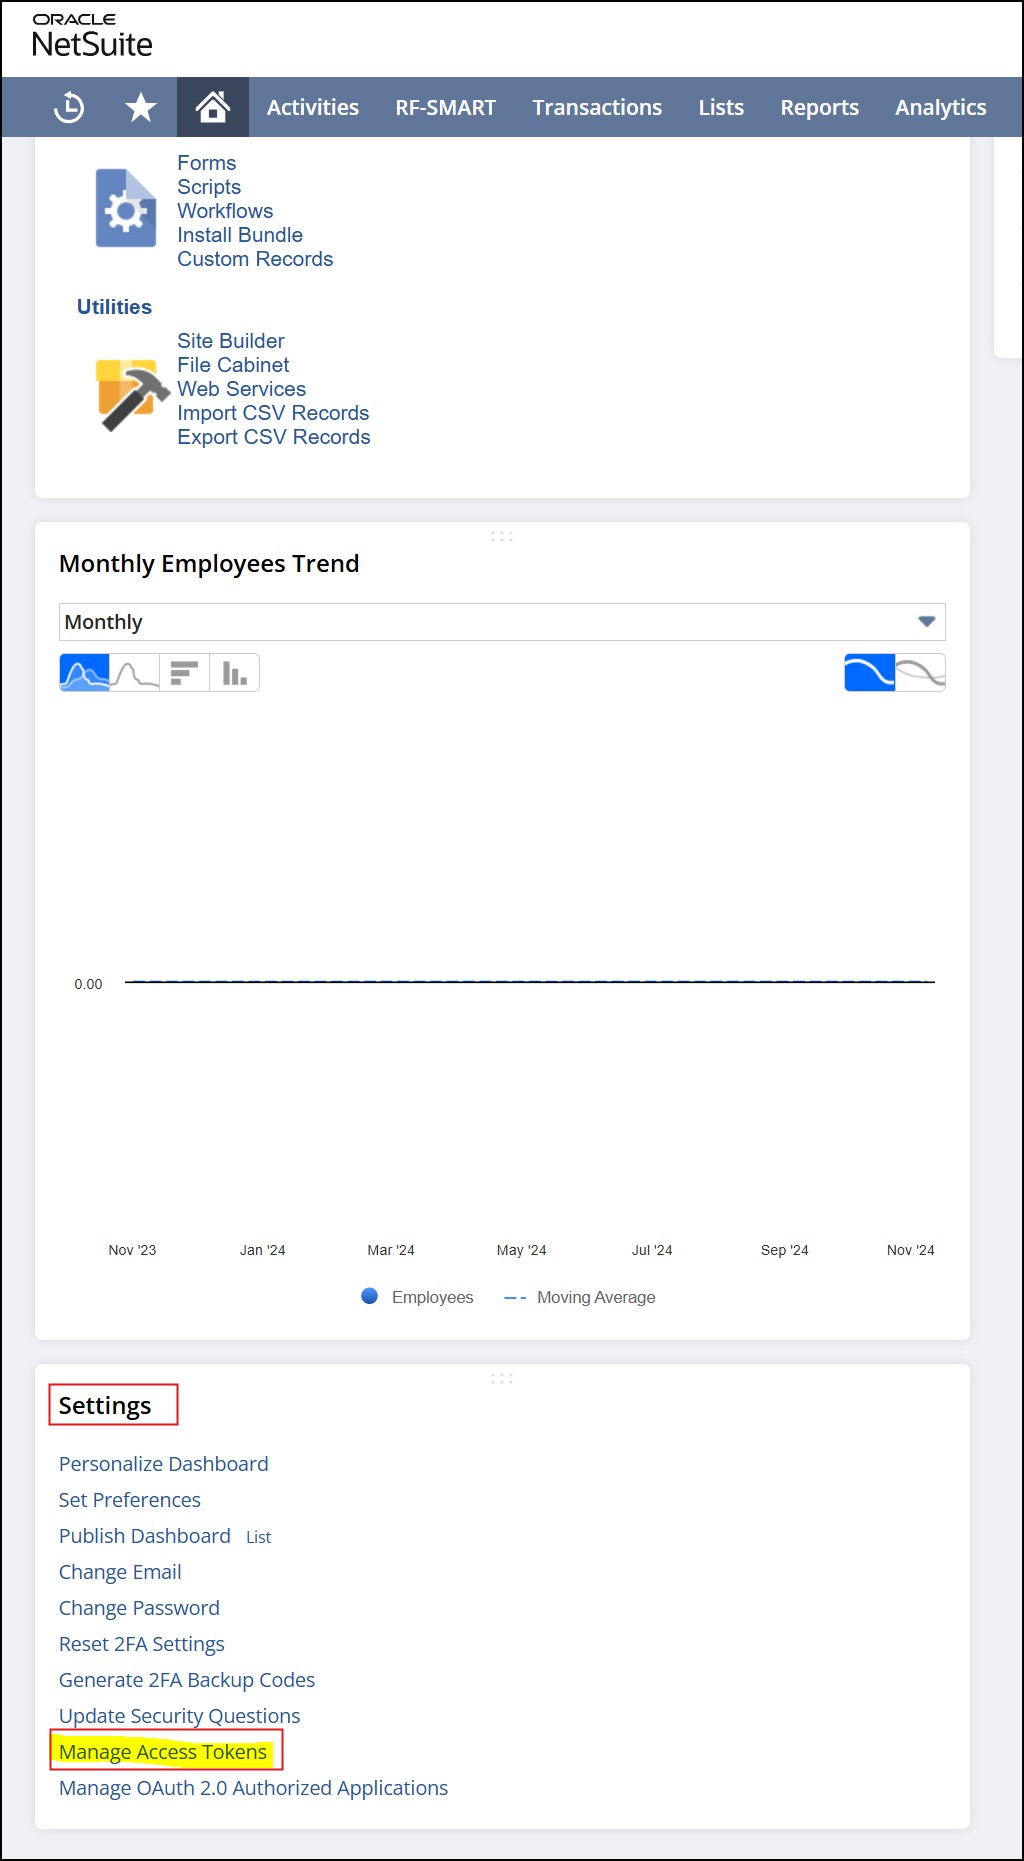
- Create a New Access Token for the “Agiliron” integration created in Step 2 above.
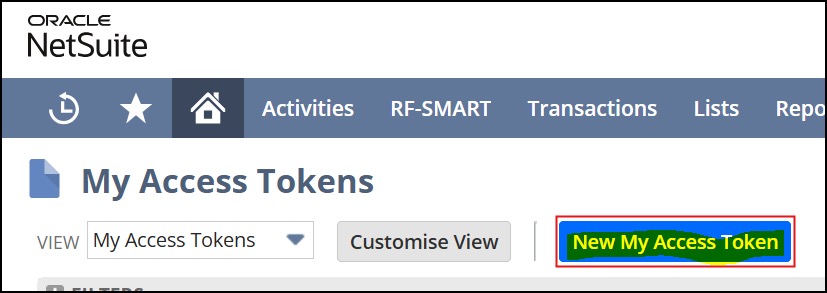
- Copy the Access Tokens displayed at the bottom of the screen.
- Setup -> Company -> Company Information
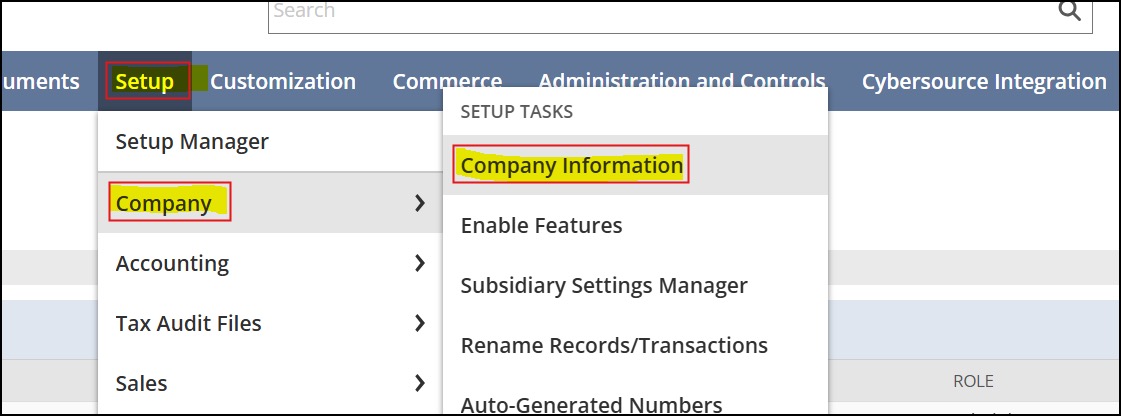
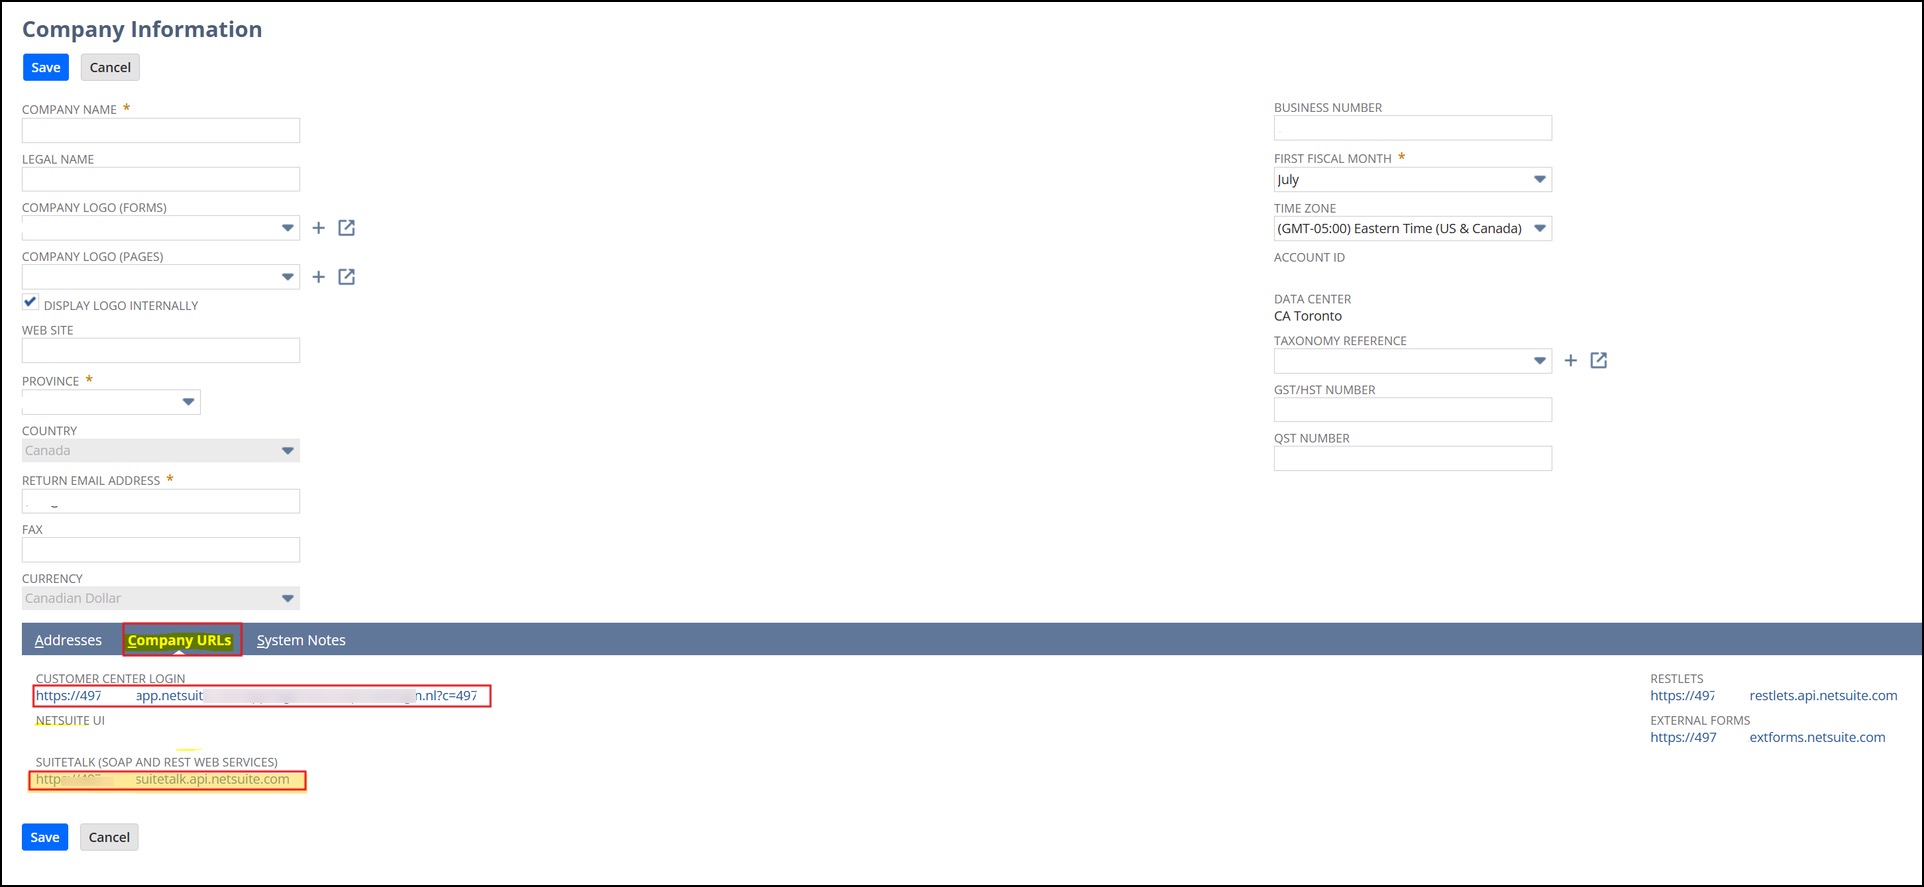
- Navigate to the Company URLs tab.
- Copy the SuiteTalk (SOAP and REST web services) URL.
- Now login to your Agiliron account.
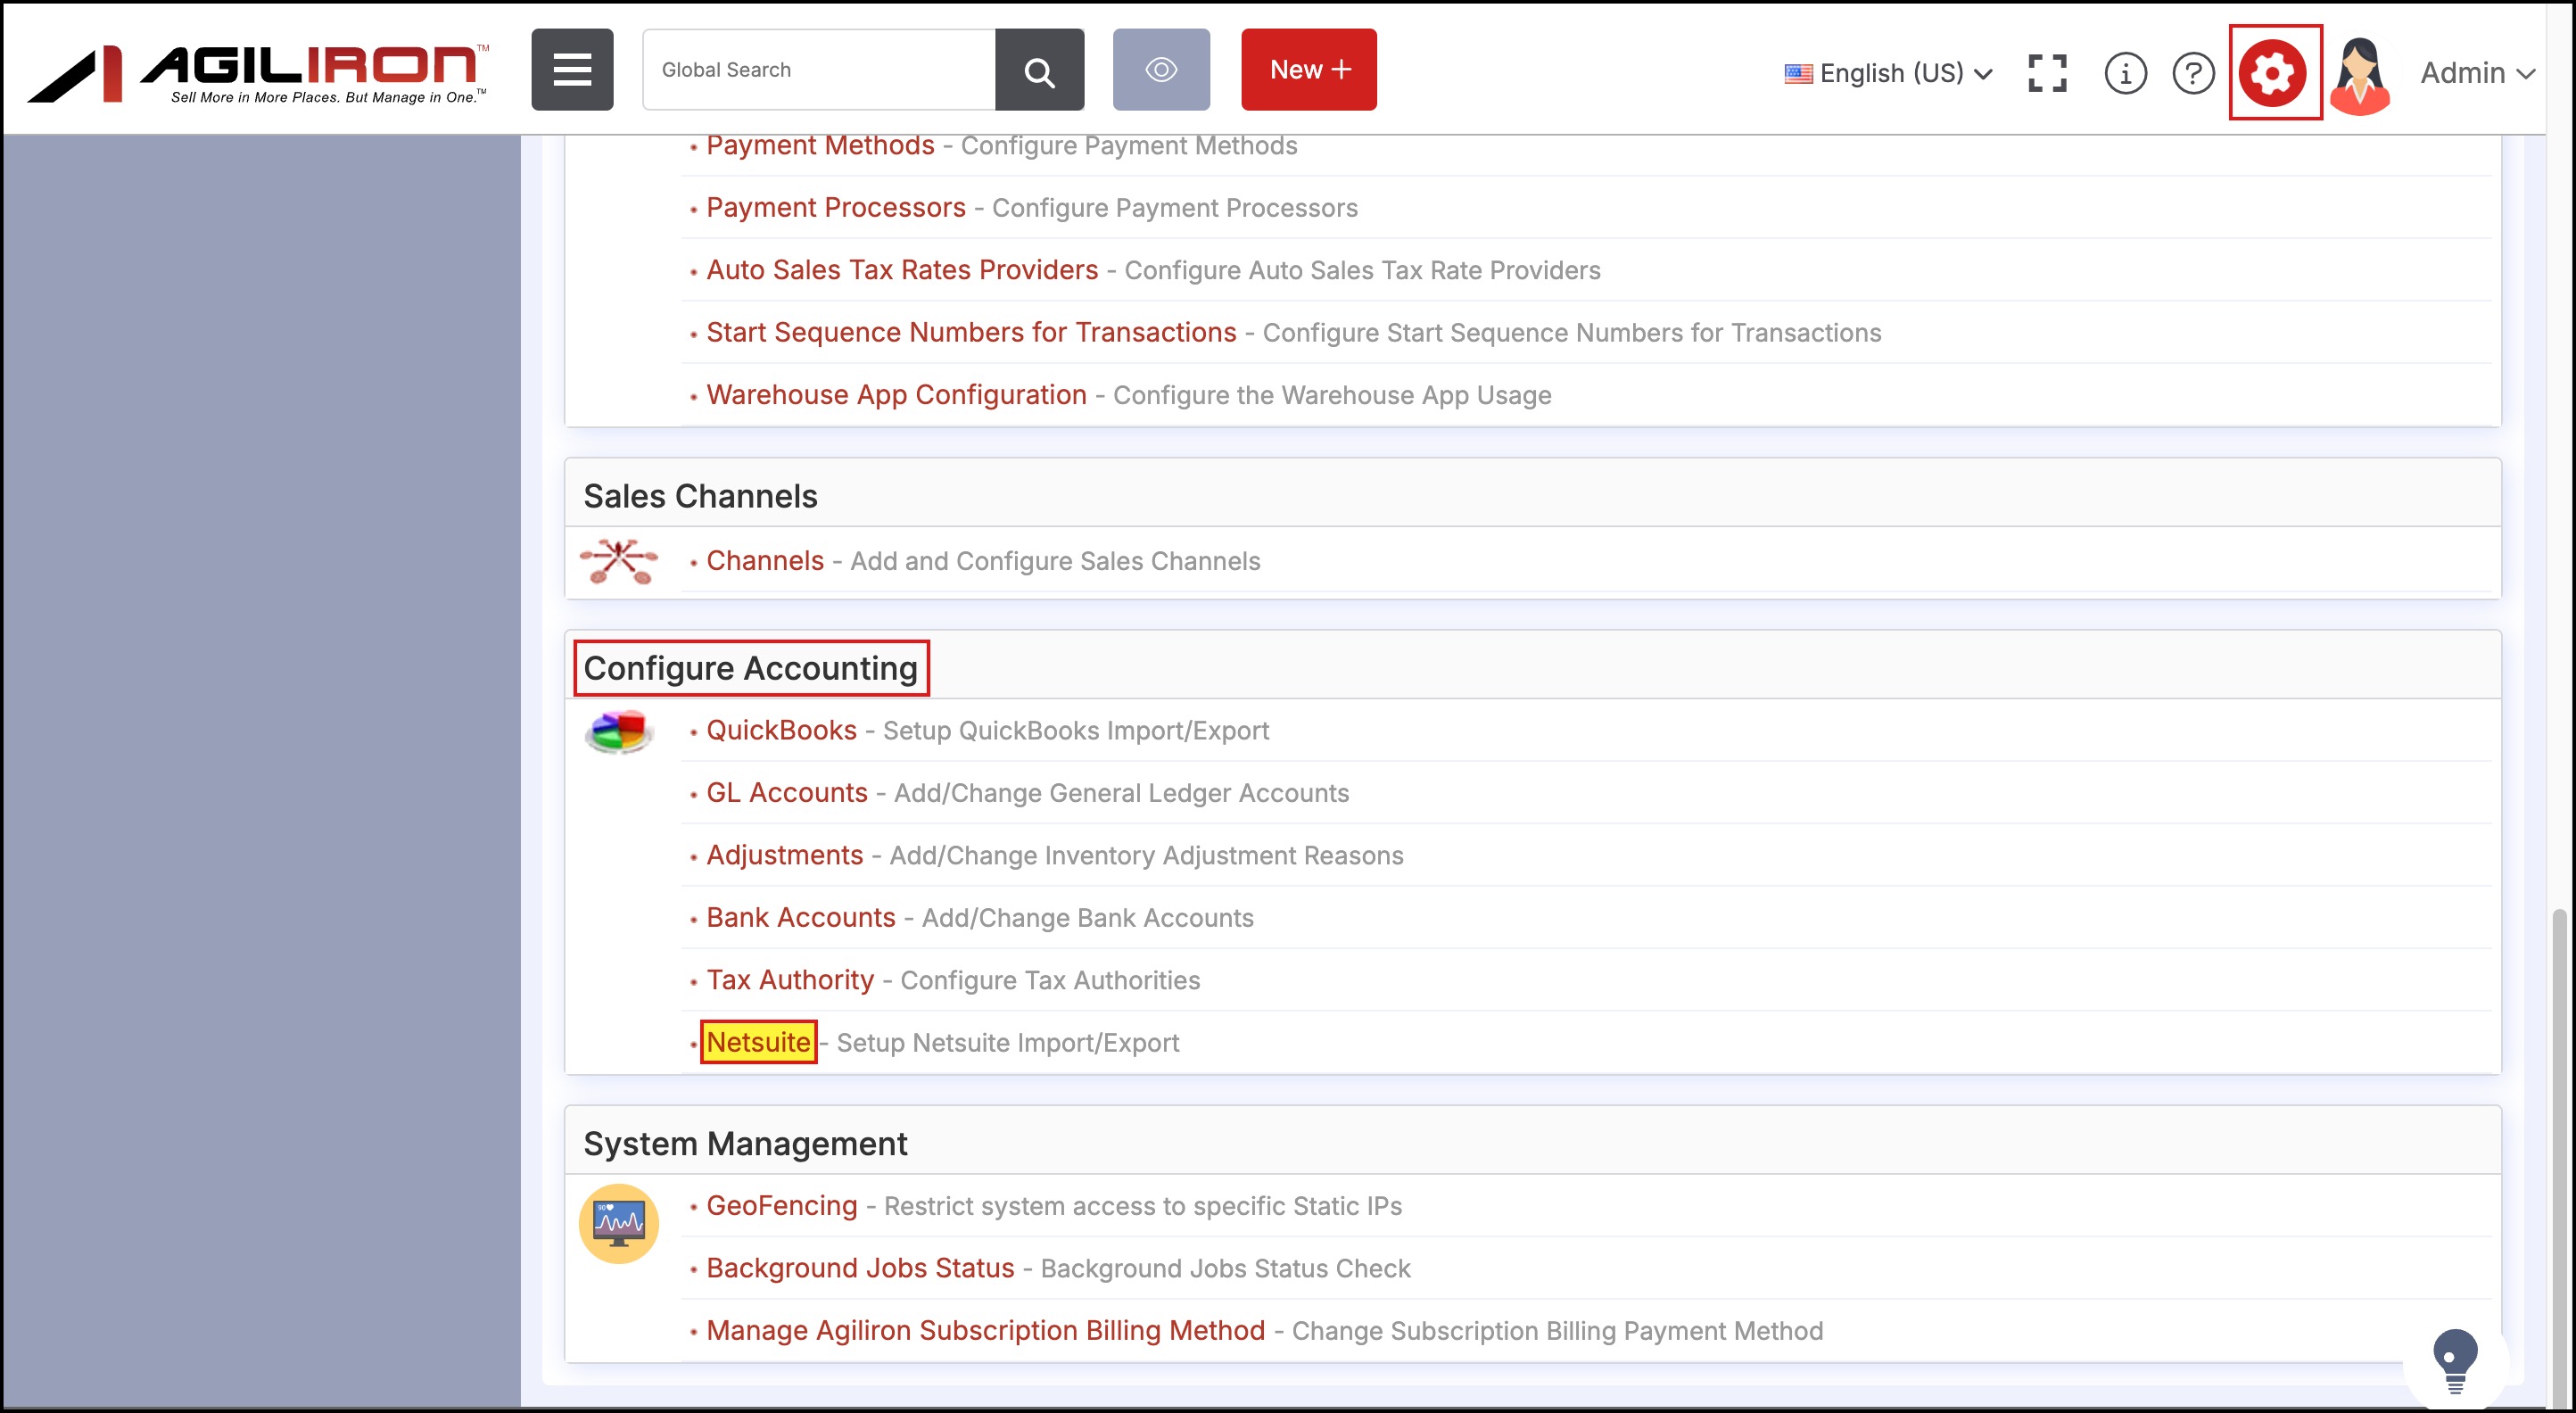
- Go to Settings -> Configure Accounting -> Click onNetSuite.
- Enter the collected information from Steps 2-4 above from NetSuite into the “Settings -> Netsuite” screen, in the respective fields (as shown in the screenshot below).
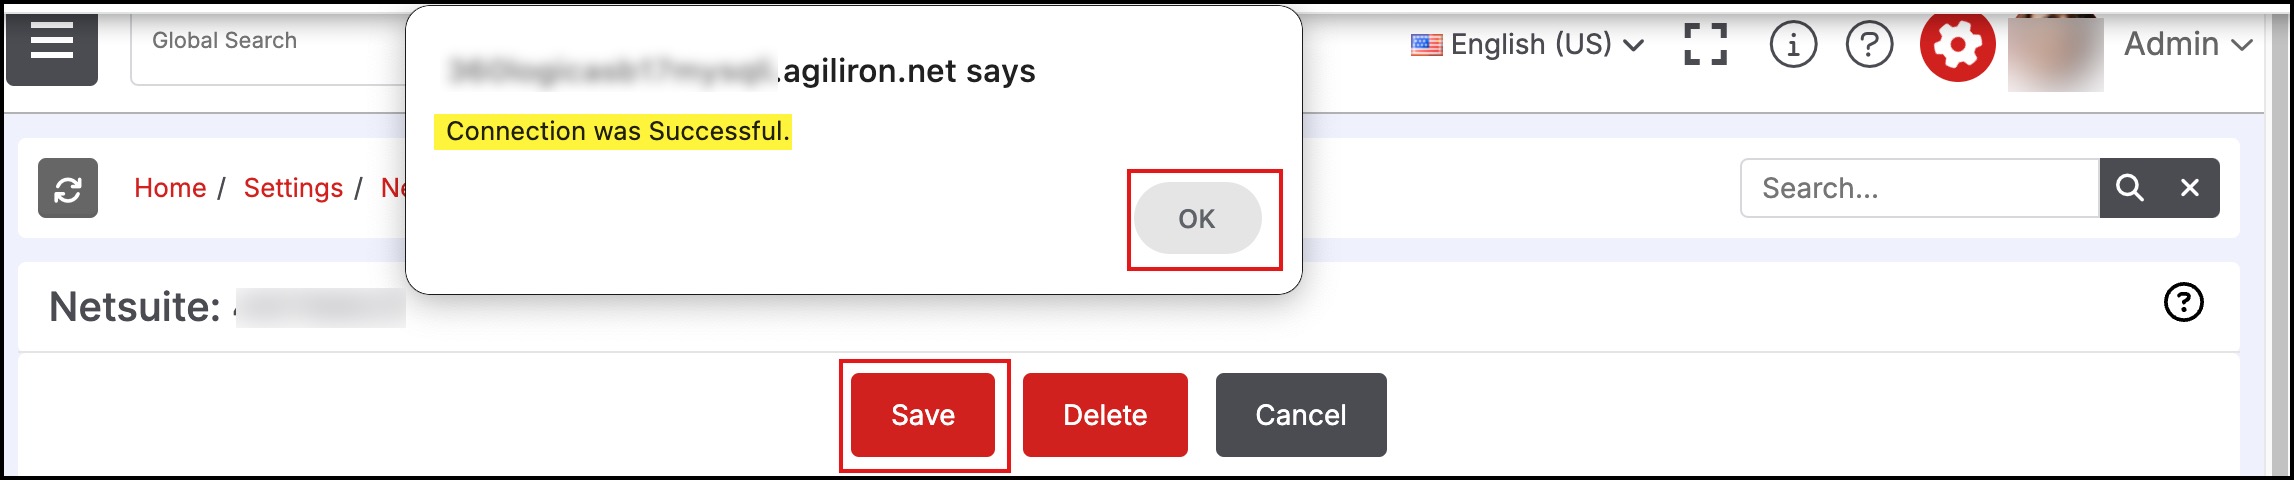
- Then click the Test Connection button to test the integration connection.

- After the test connection is successful, click OK.
- Lastly, click on Save.
Updated over 1 year ago