Layaways
The Layaway feature allows customers to purchase products and pay for them at a later date. Please note: The Allow Layaway Orders option must be set to yes in the POS Settings Configuration in order to use this feature.
- In addition, a customer account must also be selected in order to apply the layaway balance to the customer's account.
- Select or add the customer information and add the products to the order.be displayed
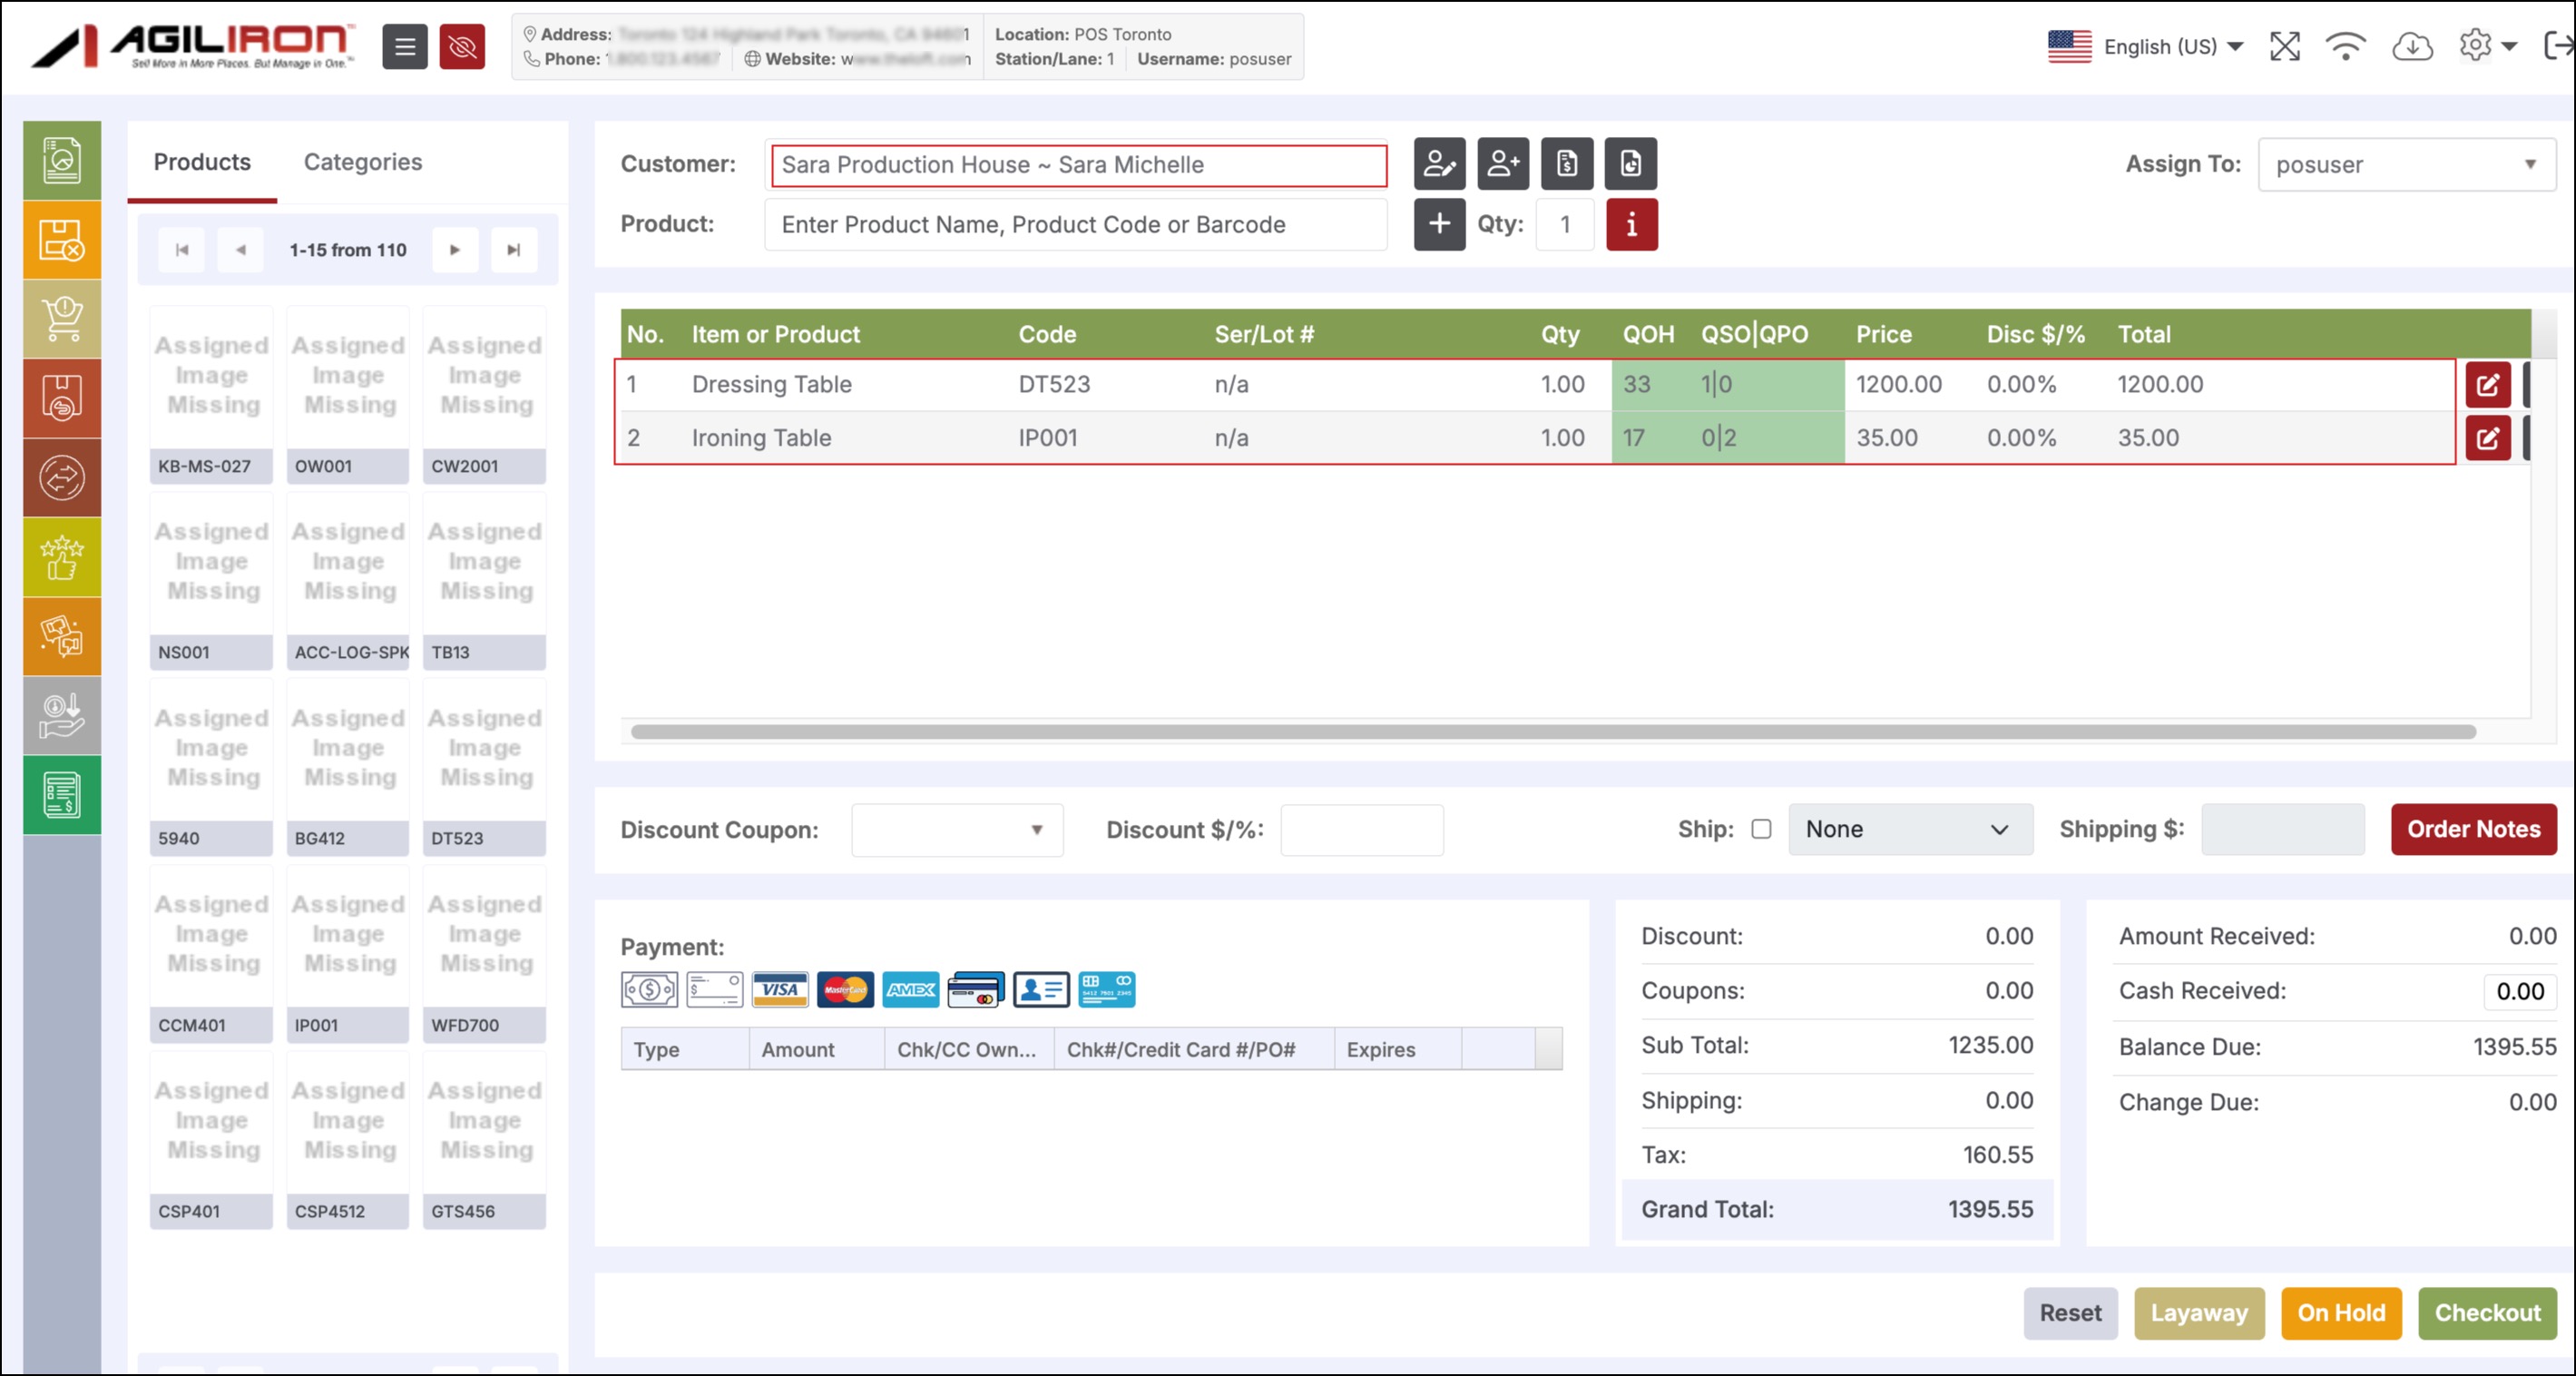
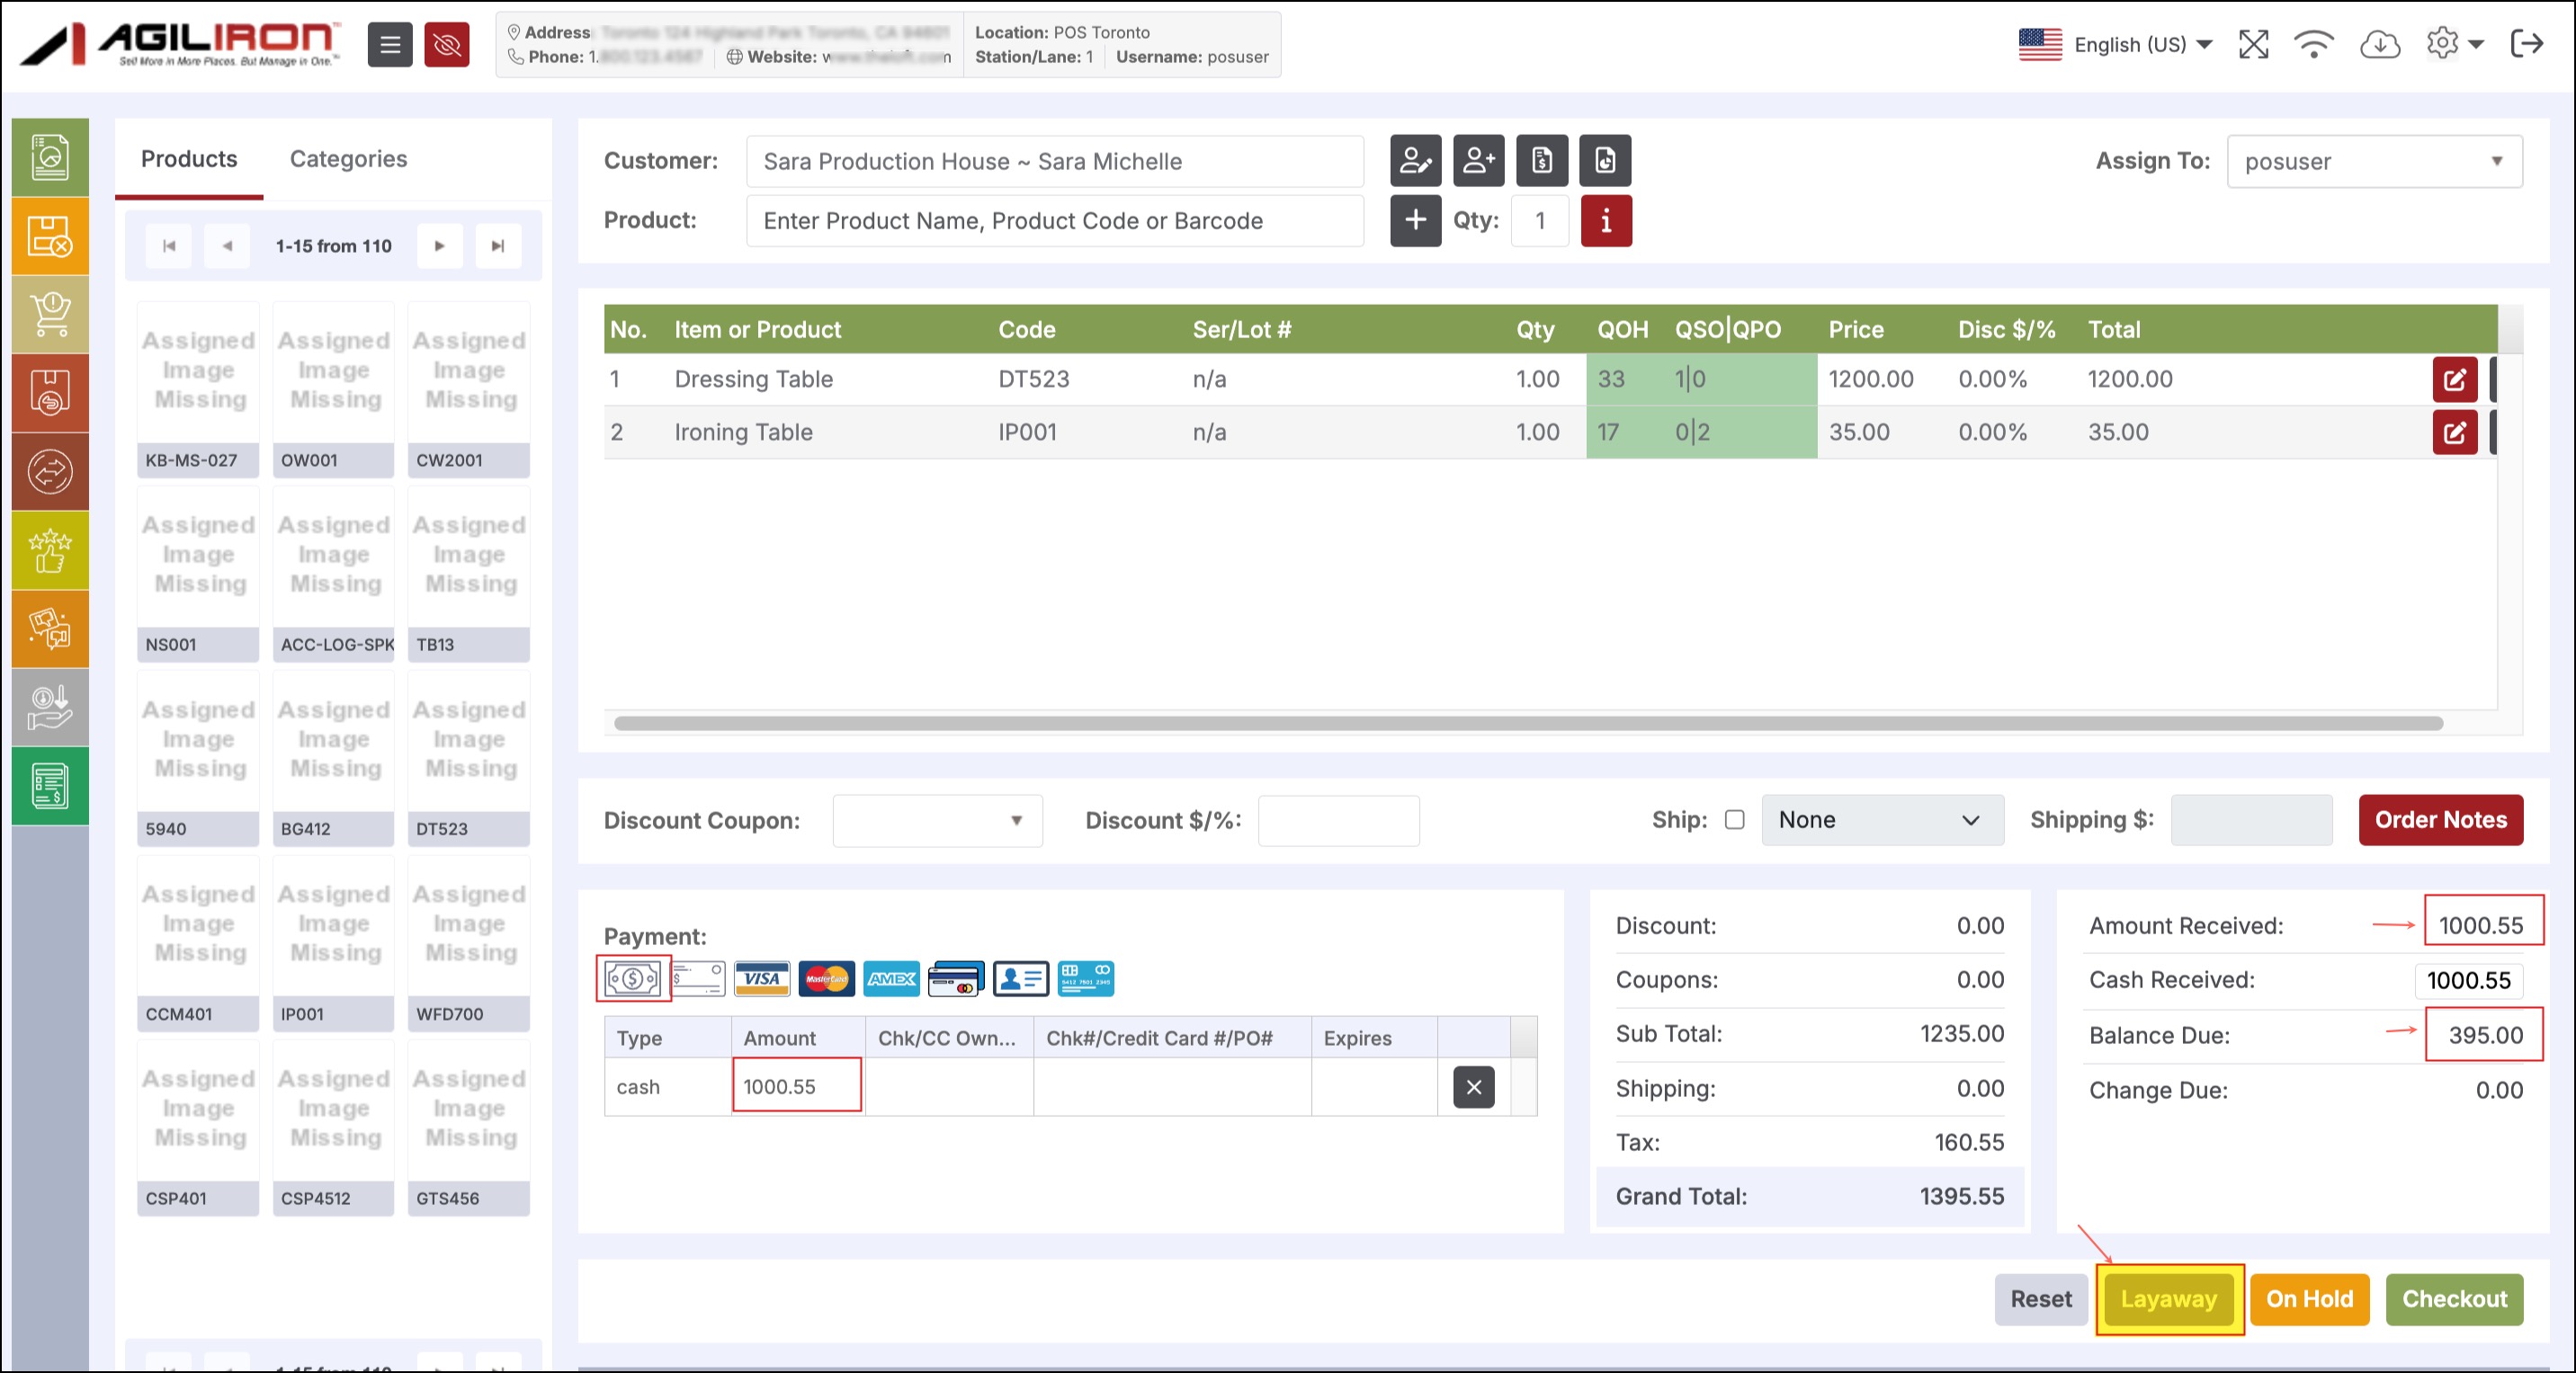
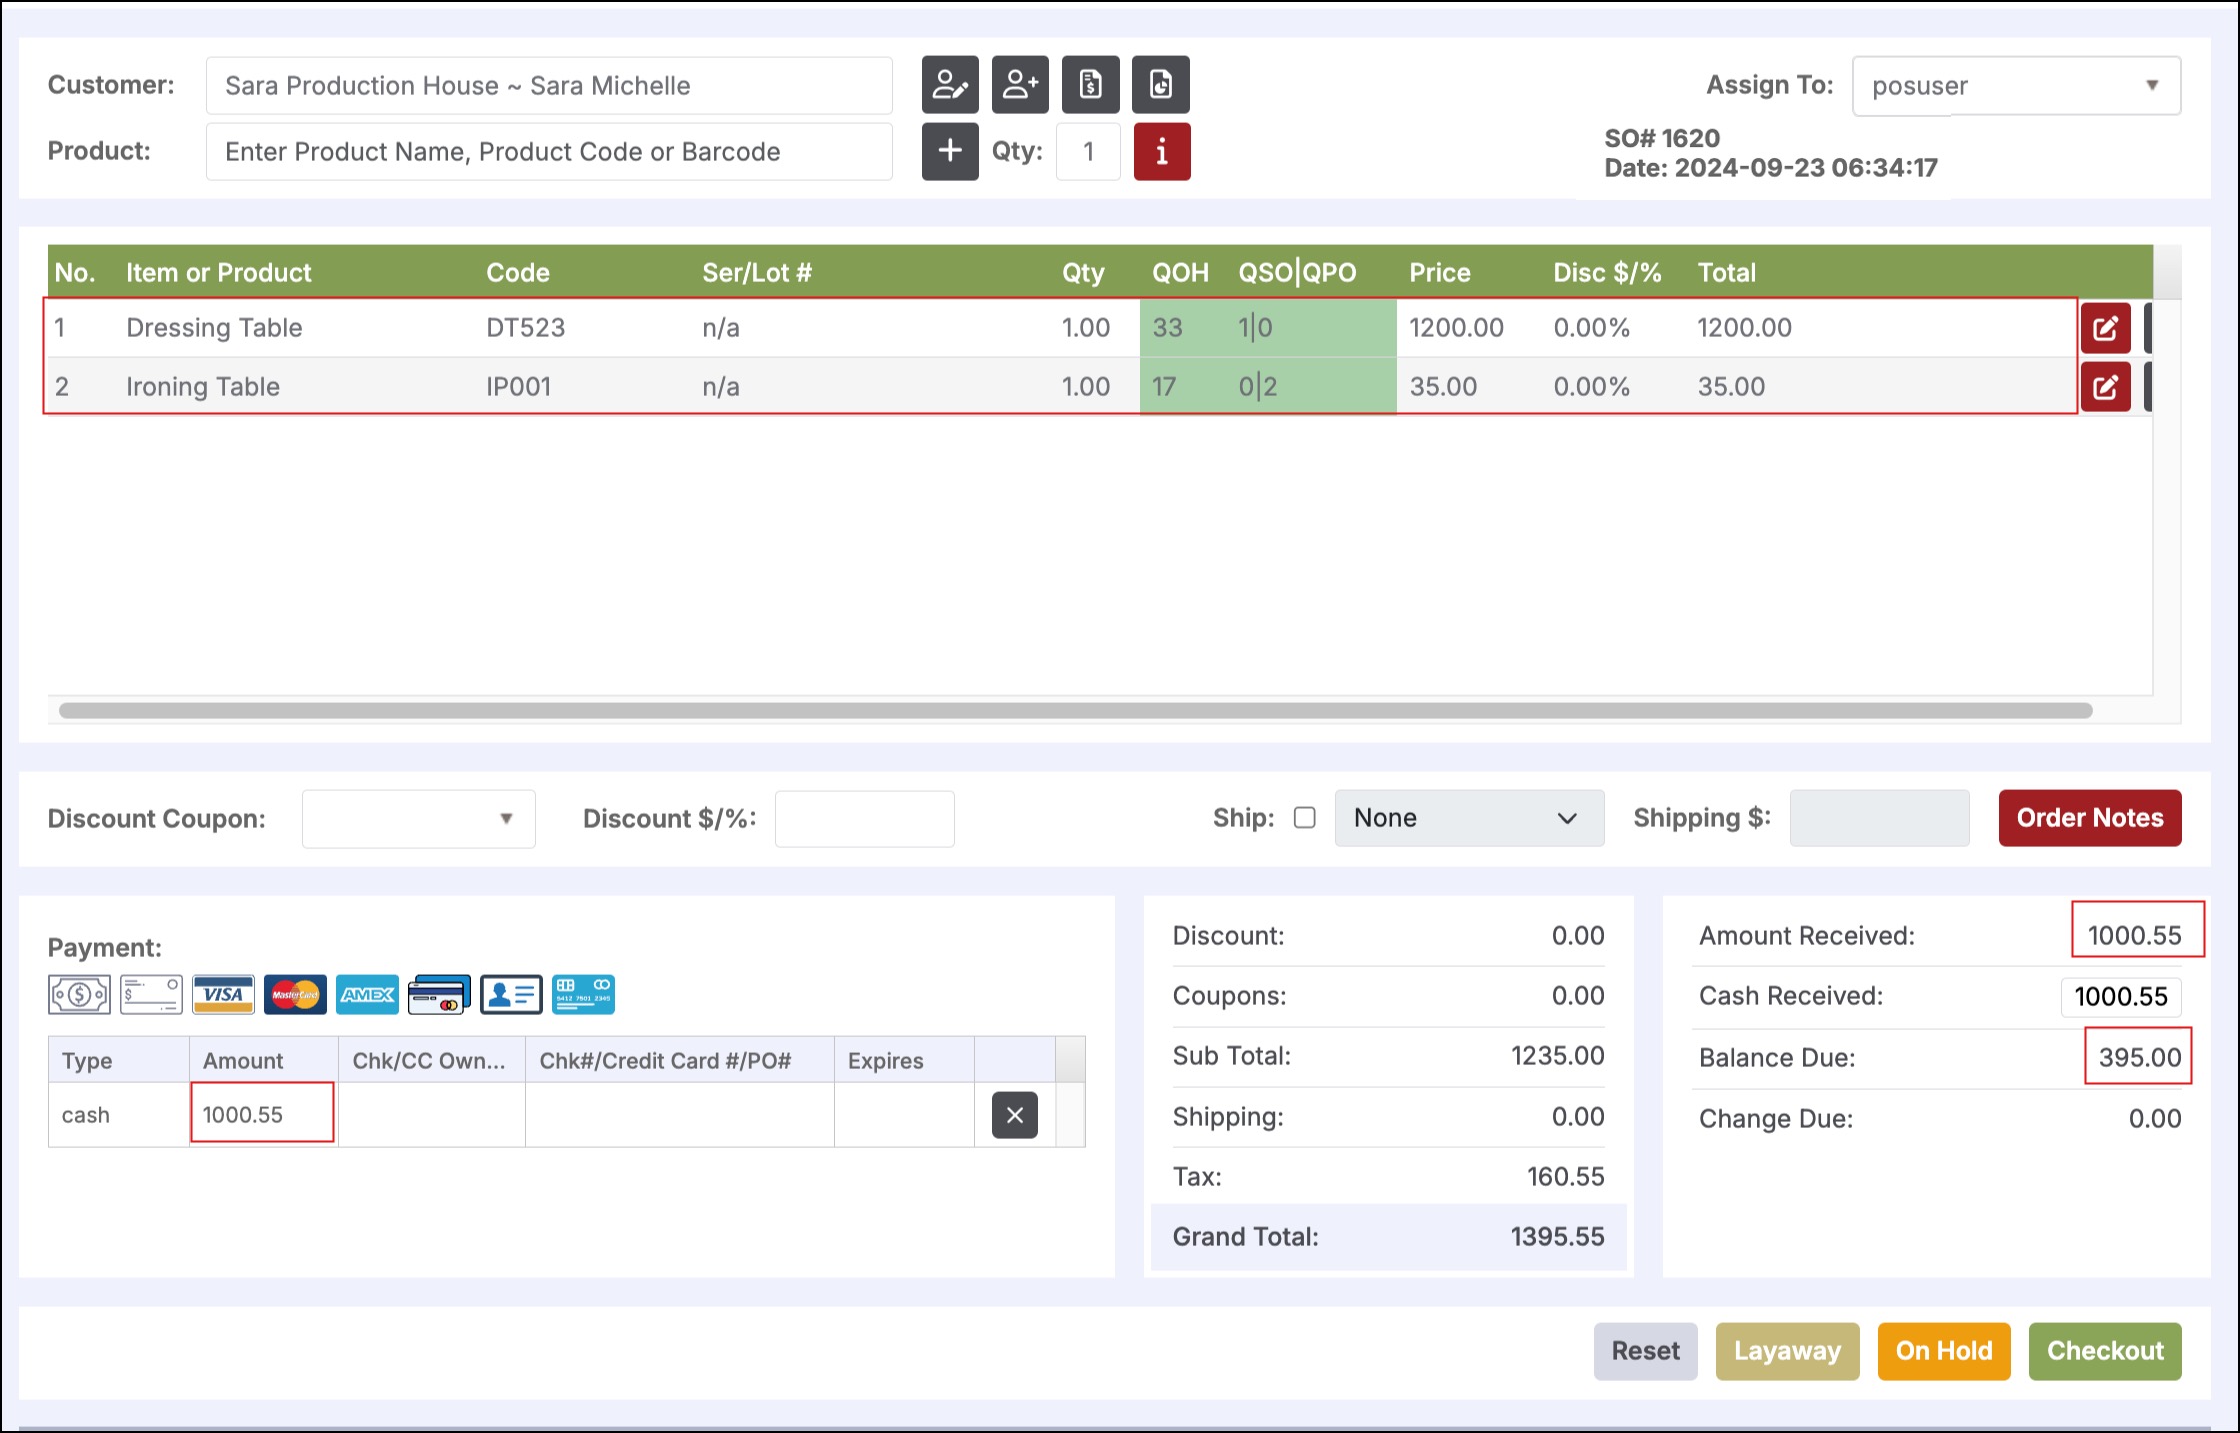
- Select a payment method and enter the payment amount.
- In order to process the layaway, the amount received cannot be zero.
- The Balance Due is the amount that will display on the customer account.
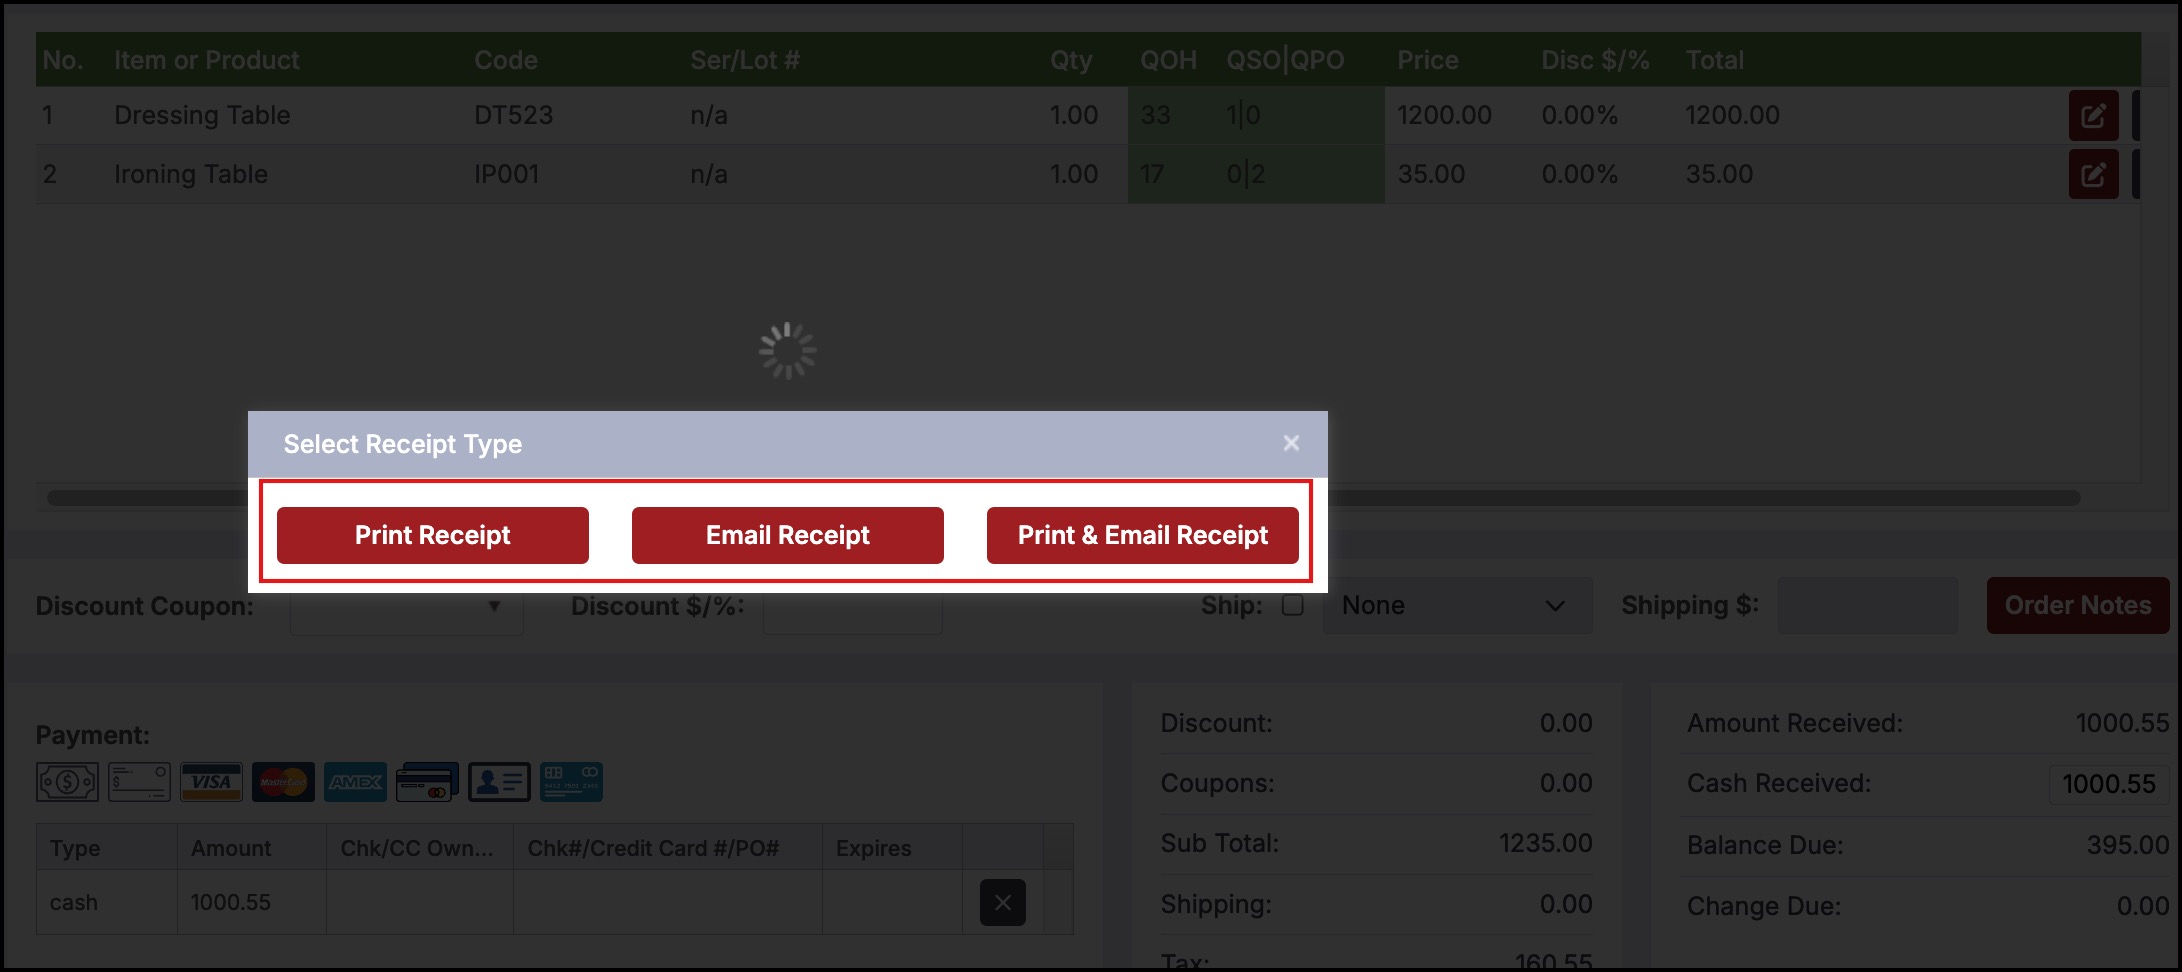
- Click the Layaway button to process the order and print or email a receipt if desired.
- The account balance in the back office will reflect the layaway balance (in addition to any outstanding balance on the account).
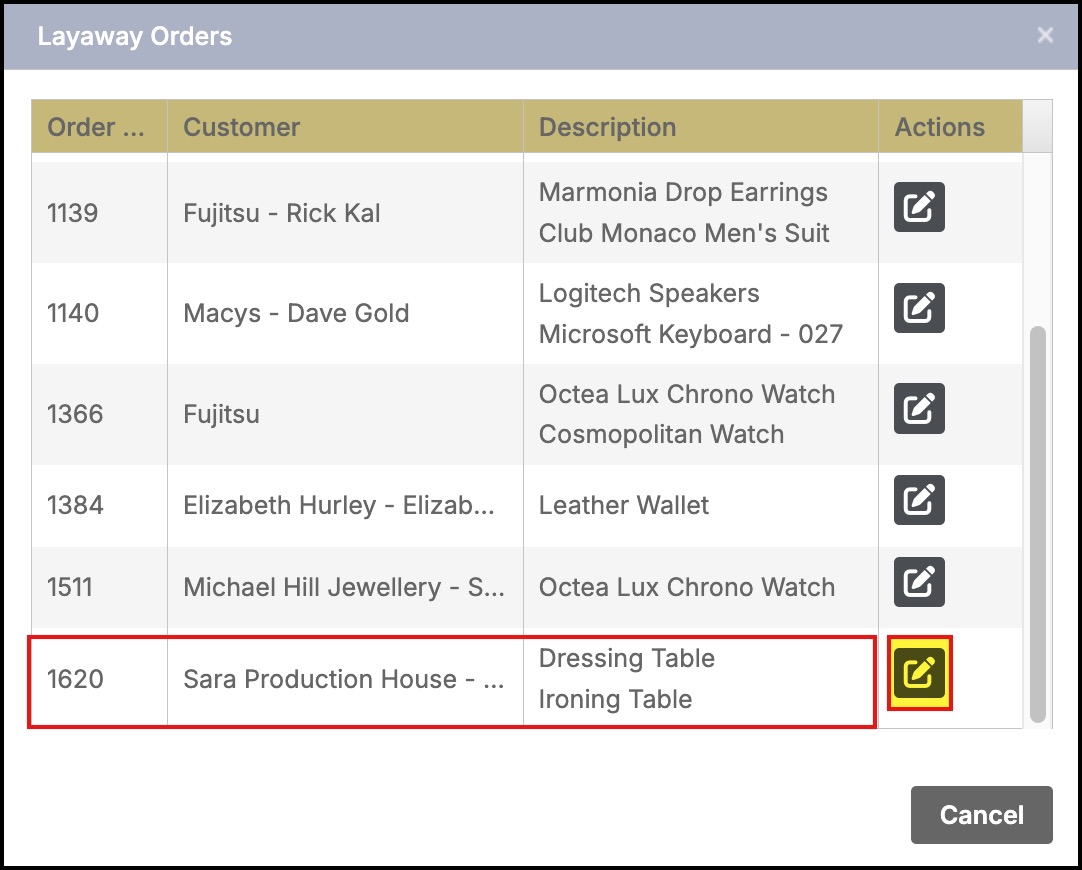
- To review the layaway order or to collect payment against the balance, select the Show Layaway Orders icon.
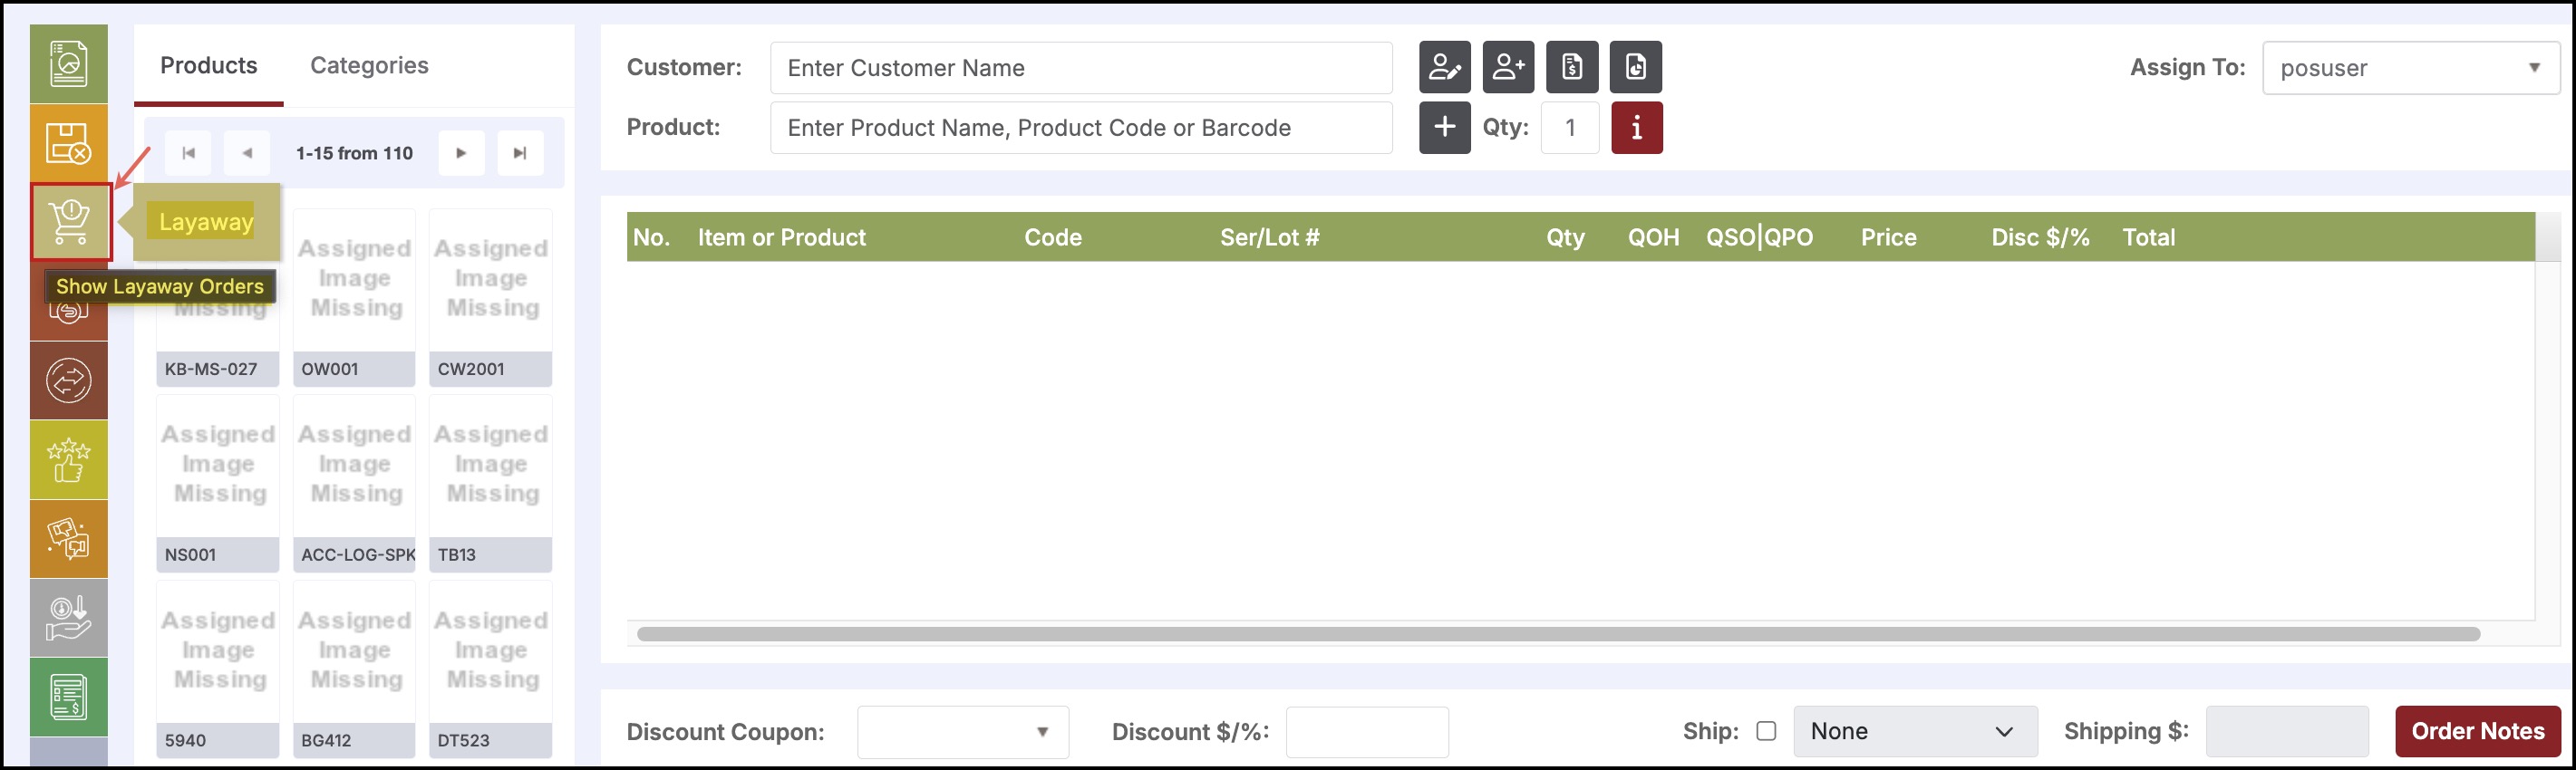
- The following pop-up window is displayed.
- Select the Reload Order icon to review the order. Alternatively, you can select the red X to delete the order (this option is not available once the cash drawer has been closed out for the day).
- From here you can edit the order if needed.
- The last payment amount received is displayed next to Amount Received and under the Payment section.
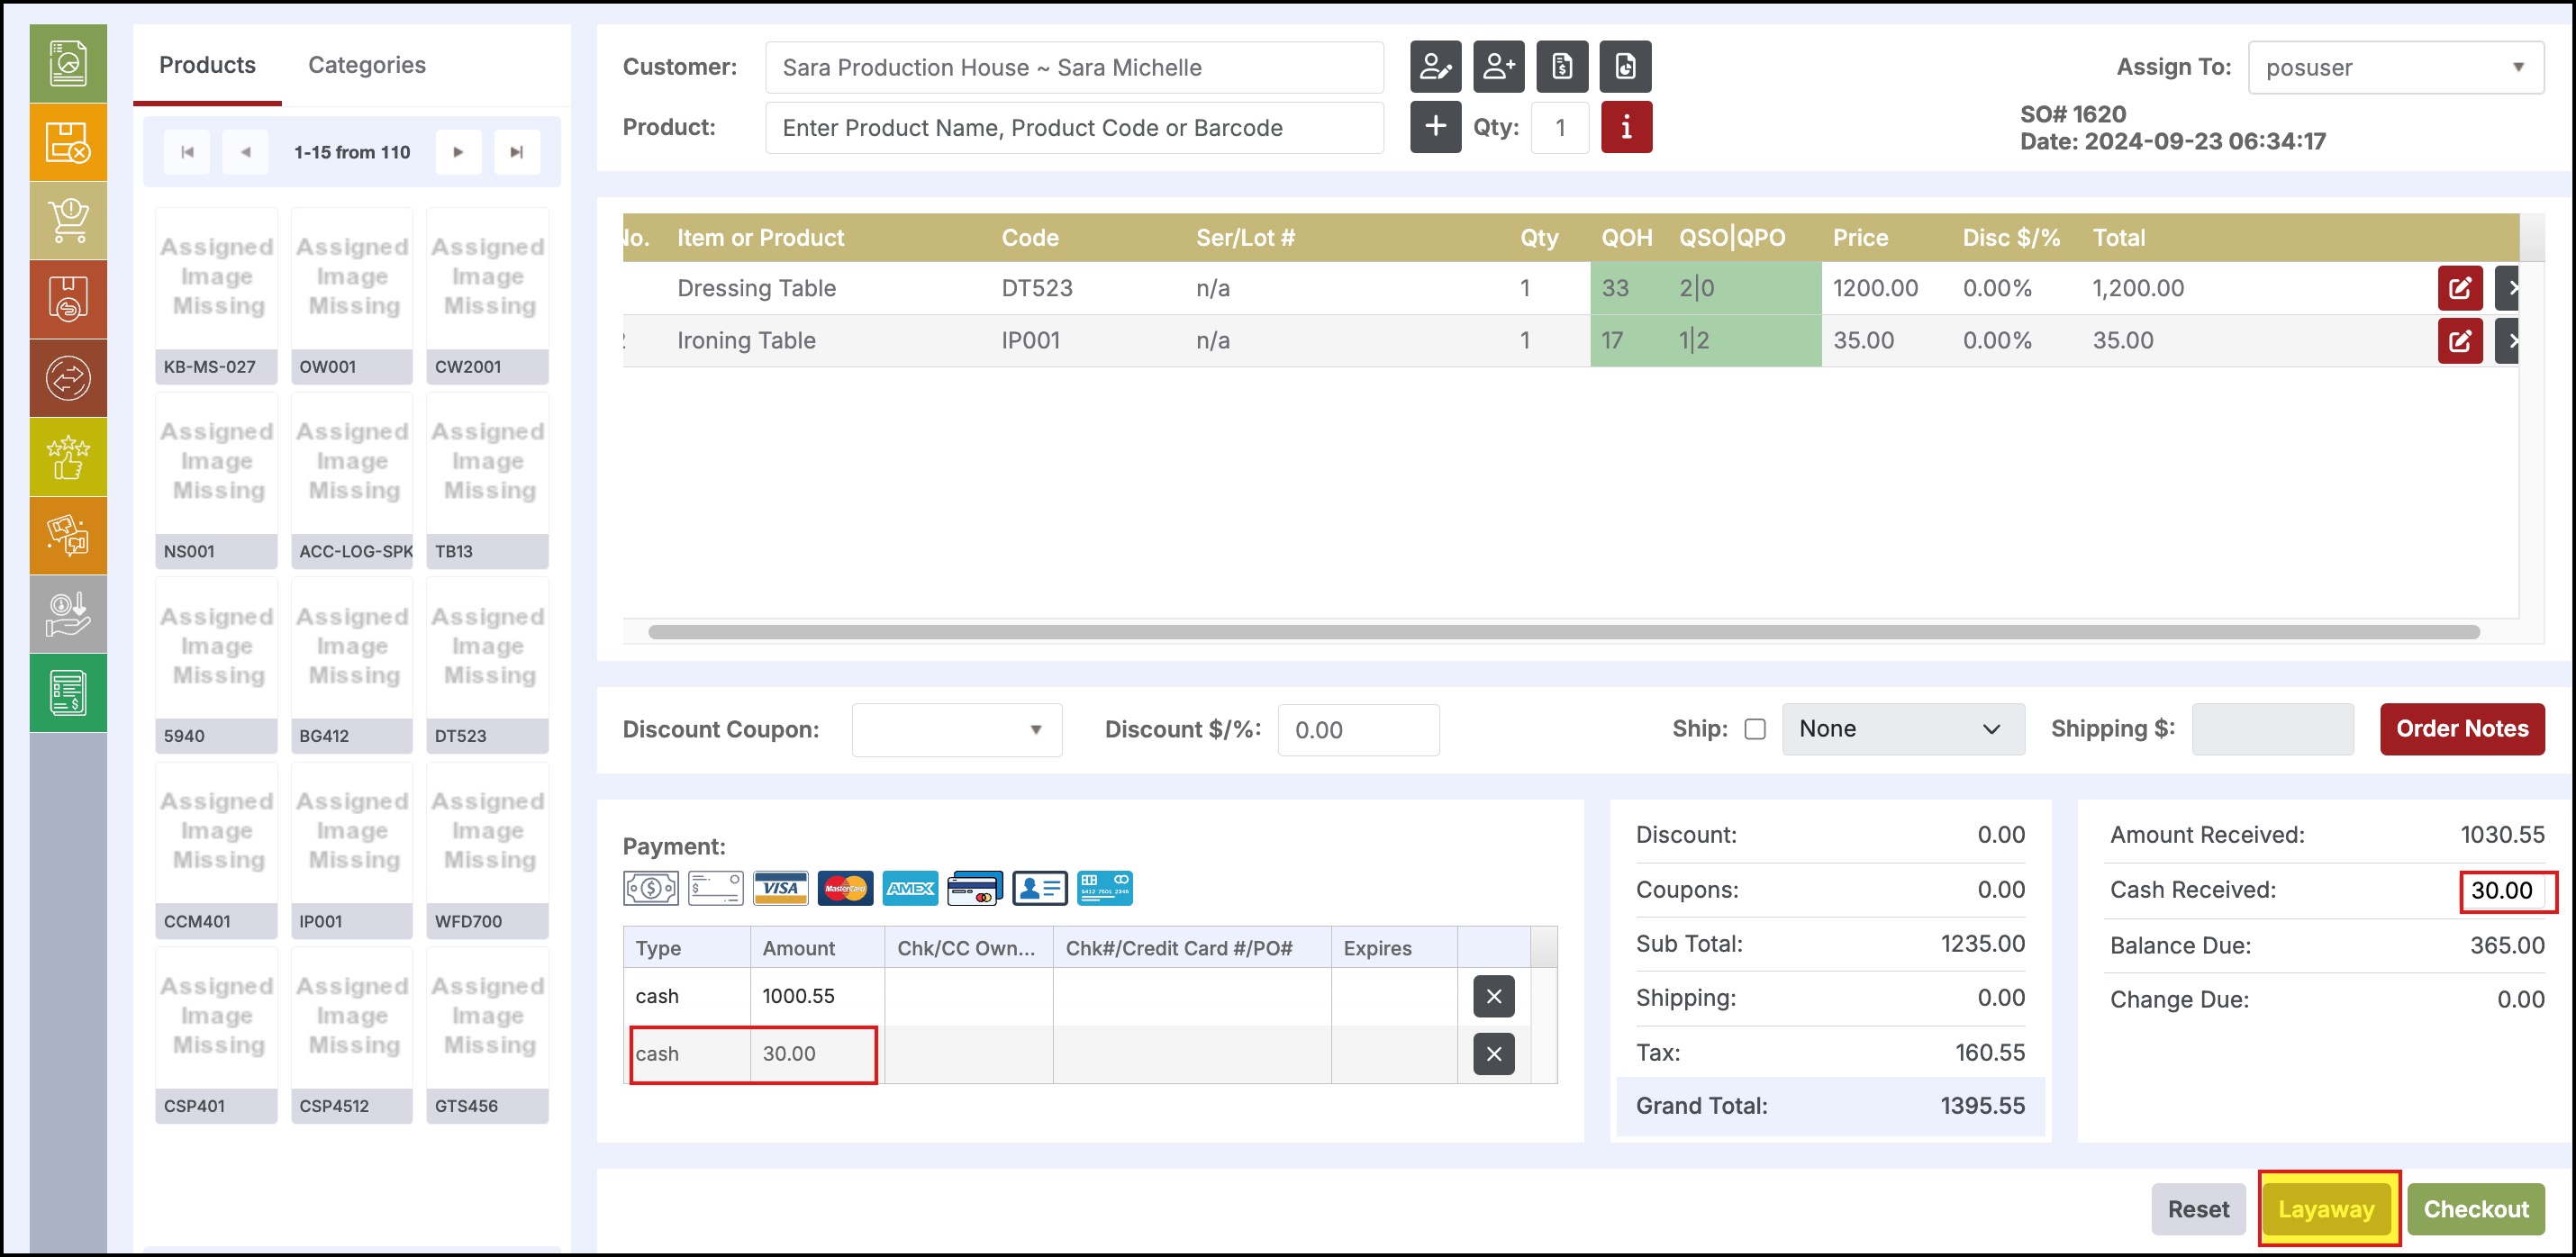
- To add a payment to the order:
- Enter the payment method and enter the amount received.
- Click the Layaway button to save.
-
To receive payment in full, select the payment method and then select the Checkout button to process the order.
-
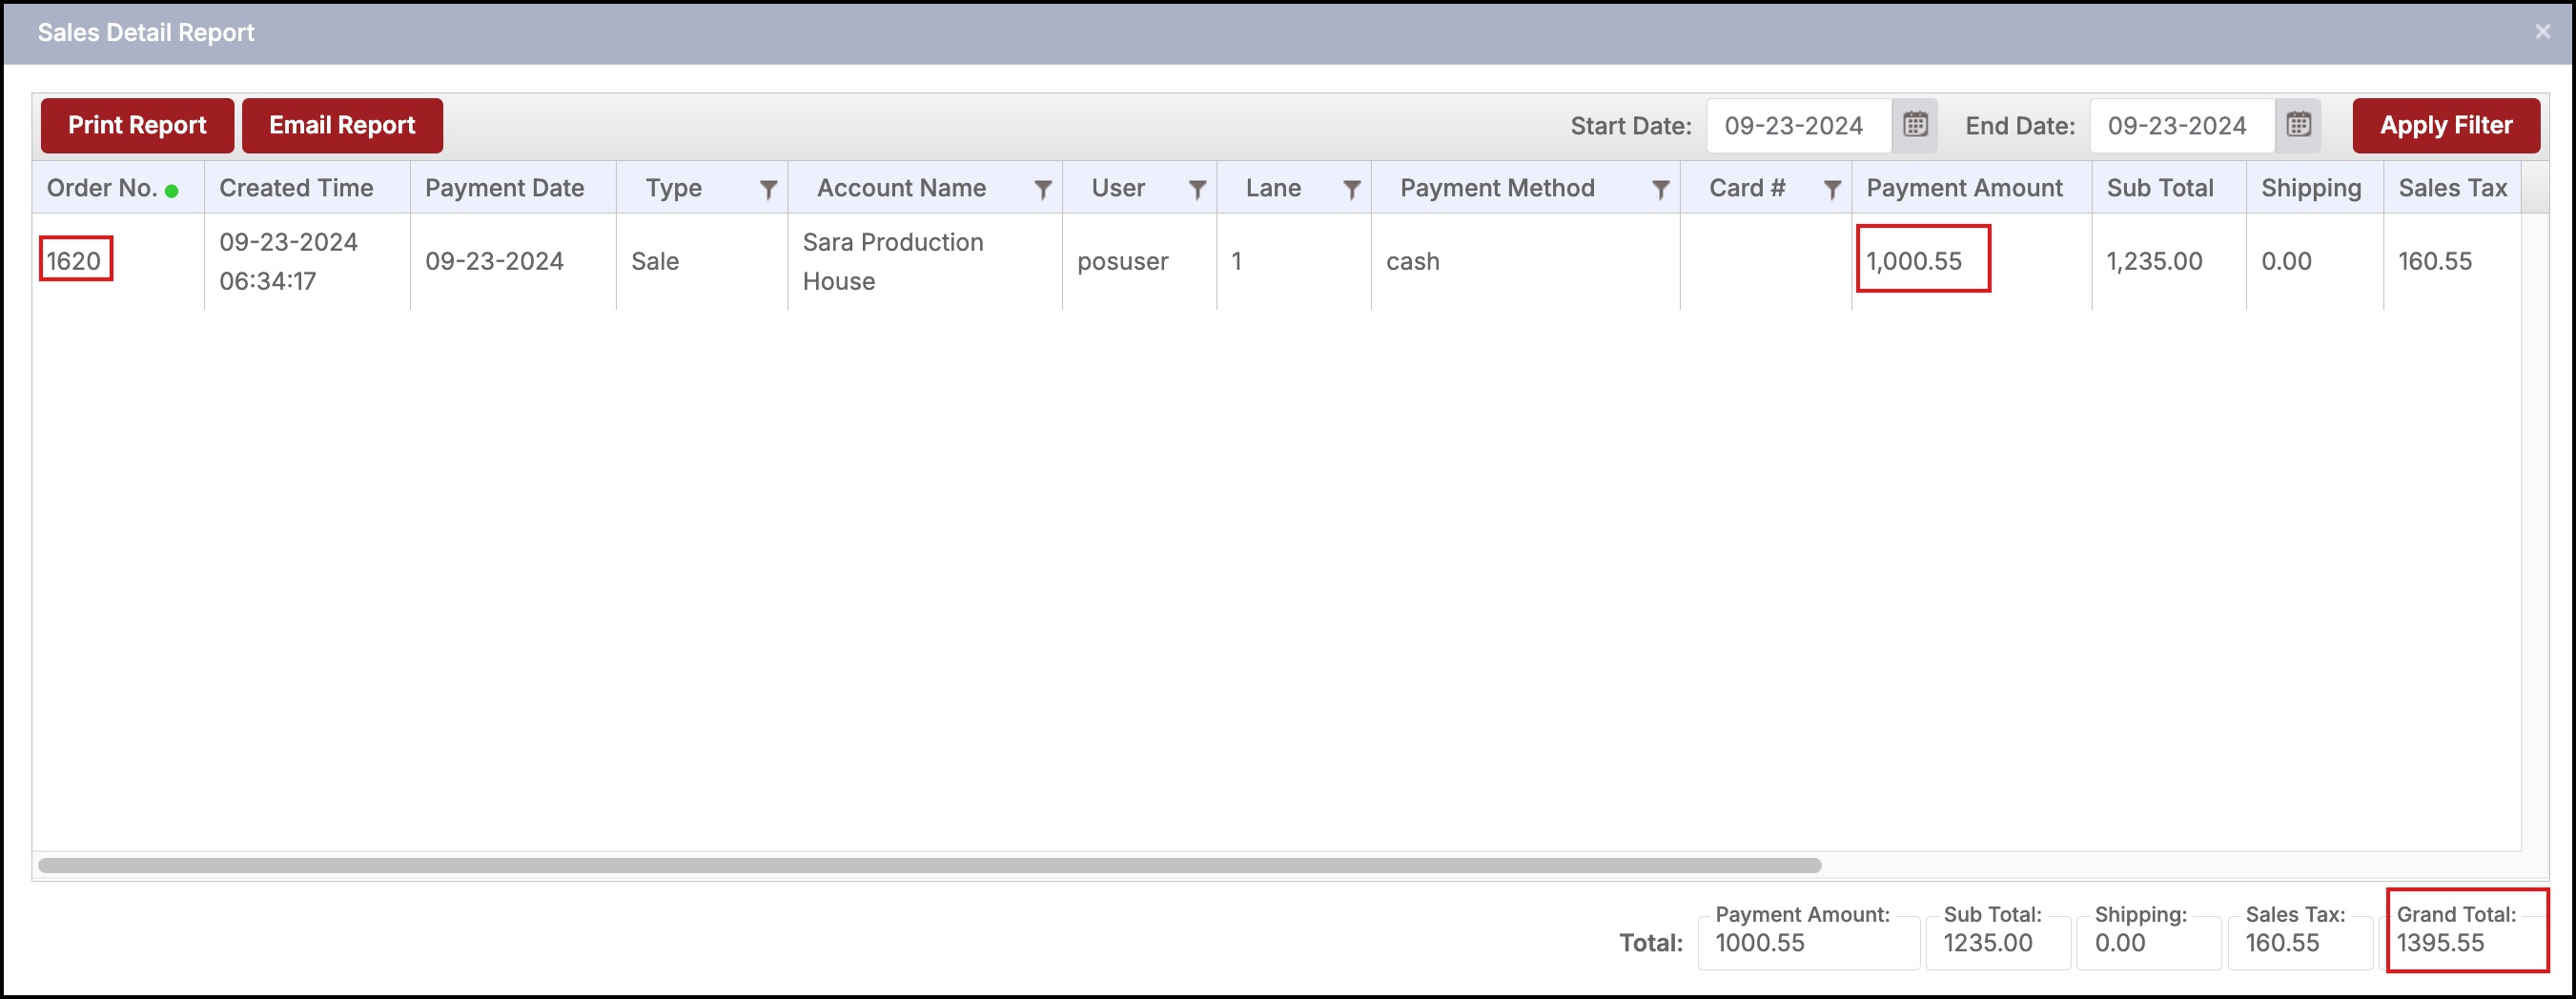
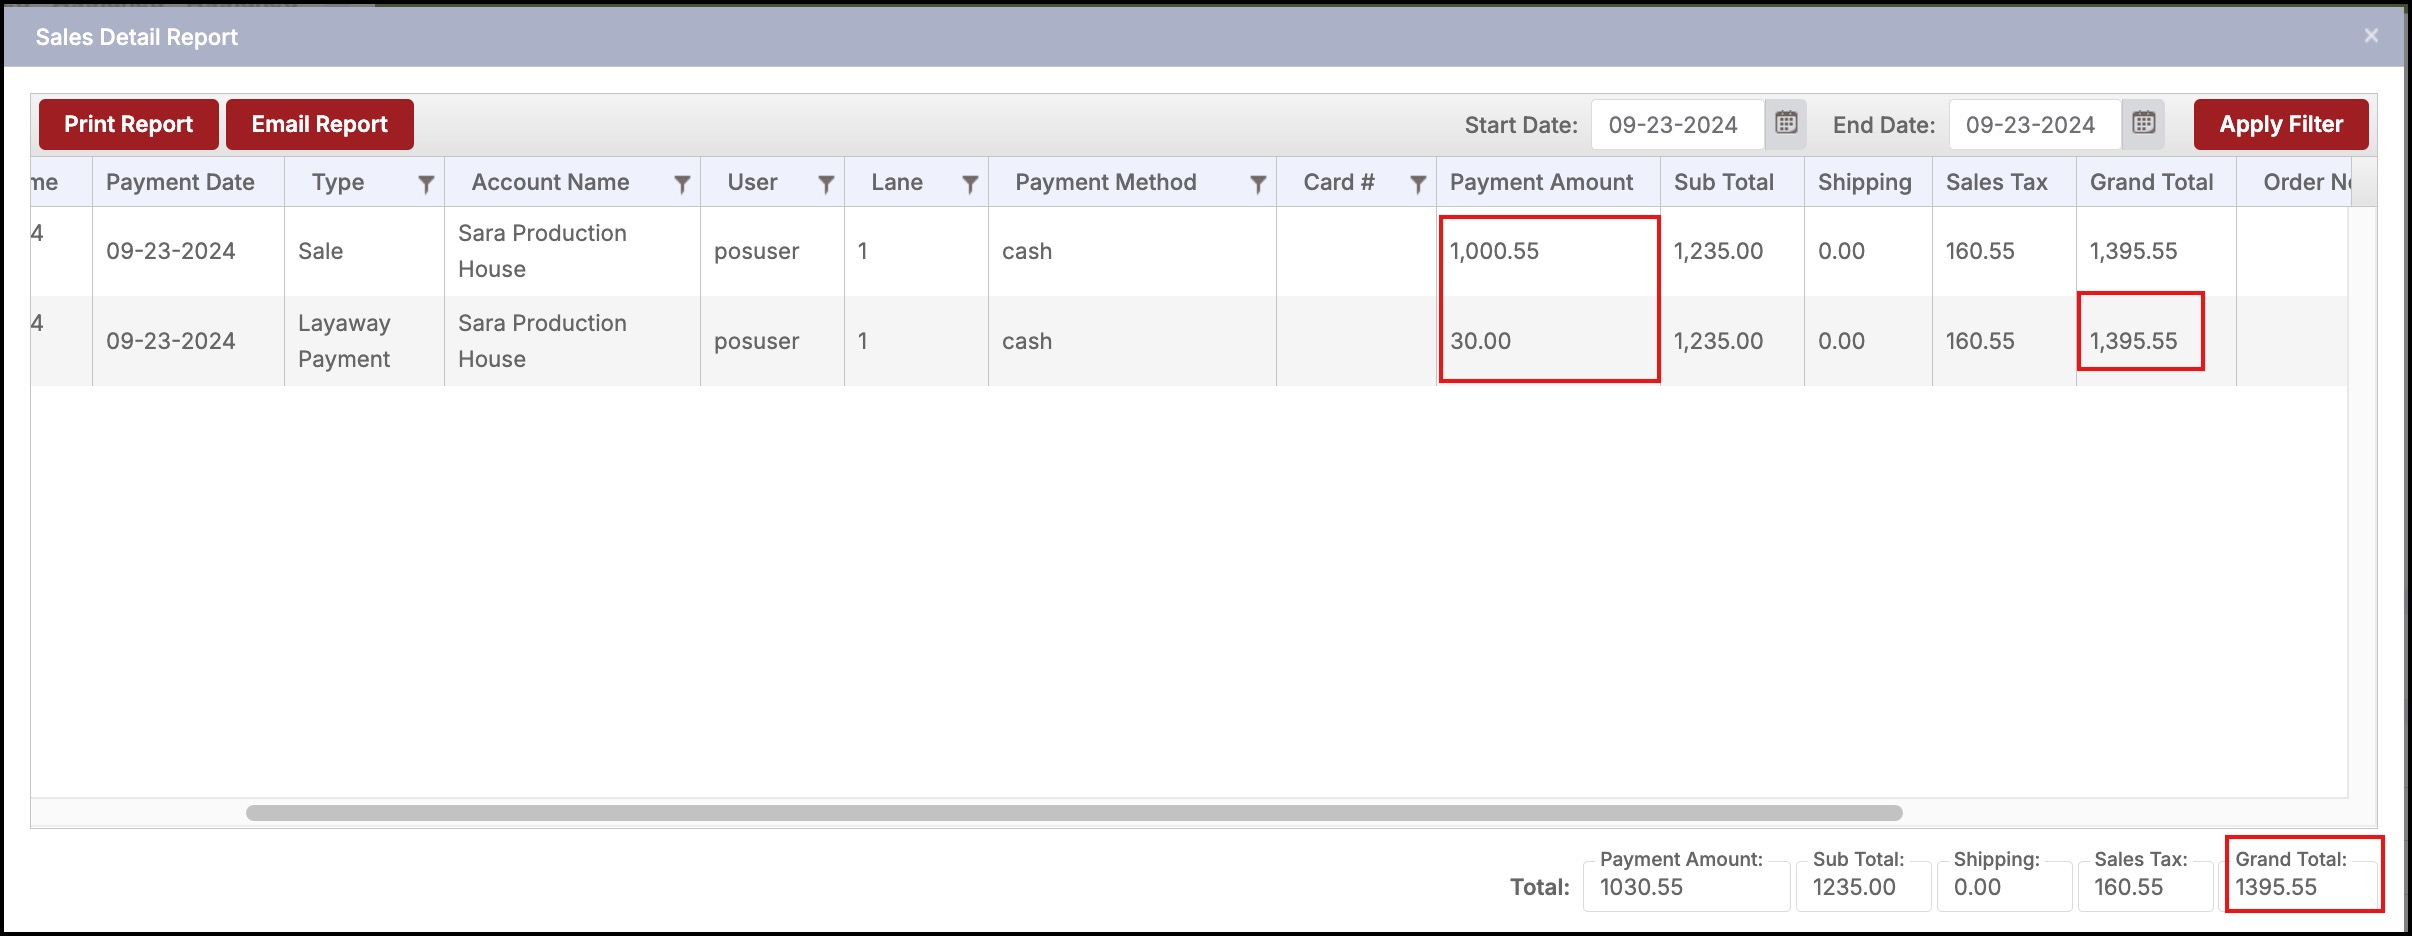
The Layaway will also be displayed in the Sales Detail Report.
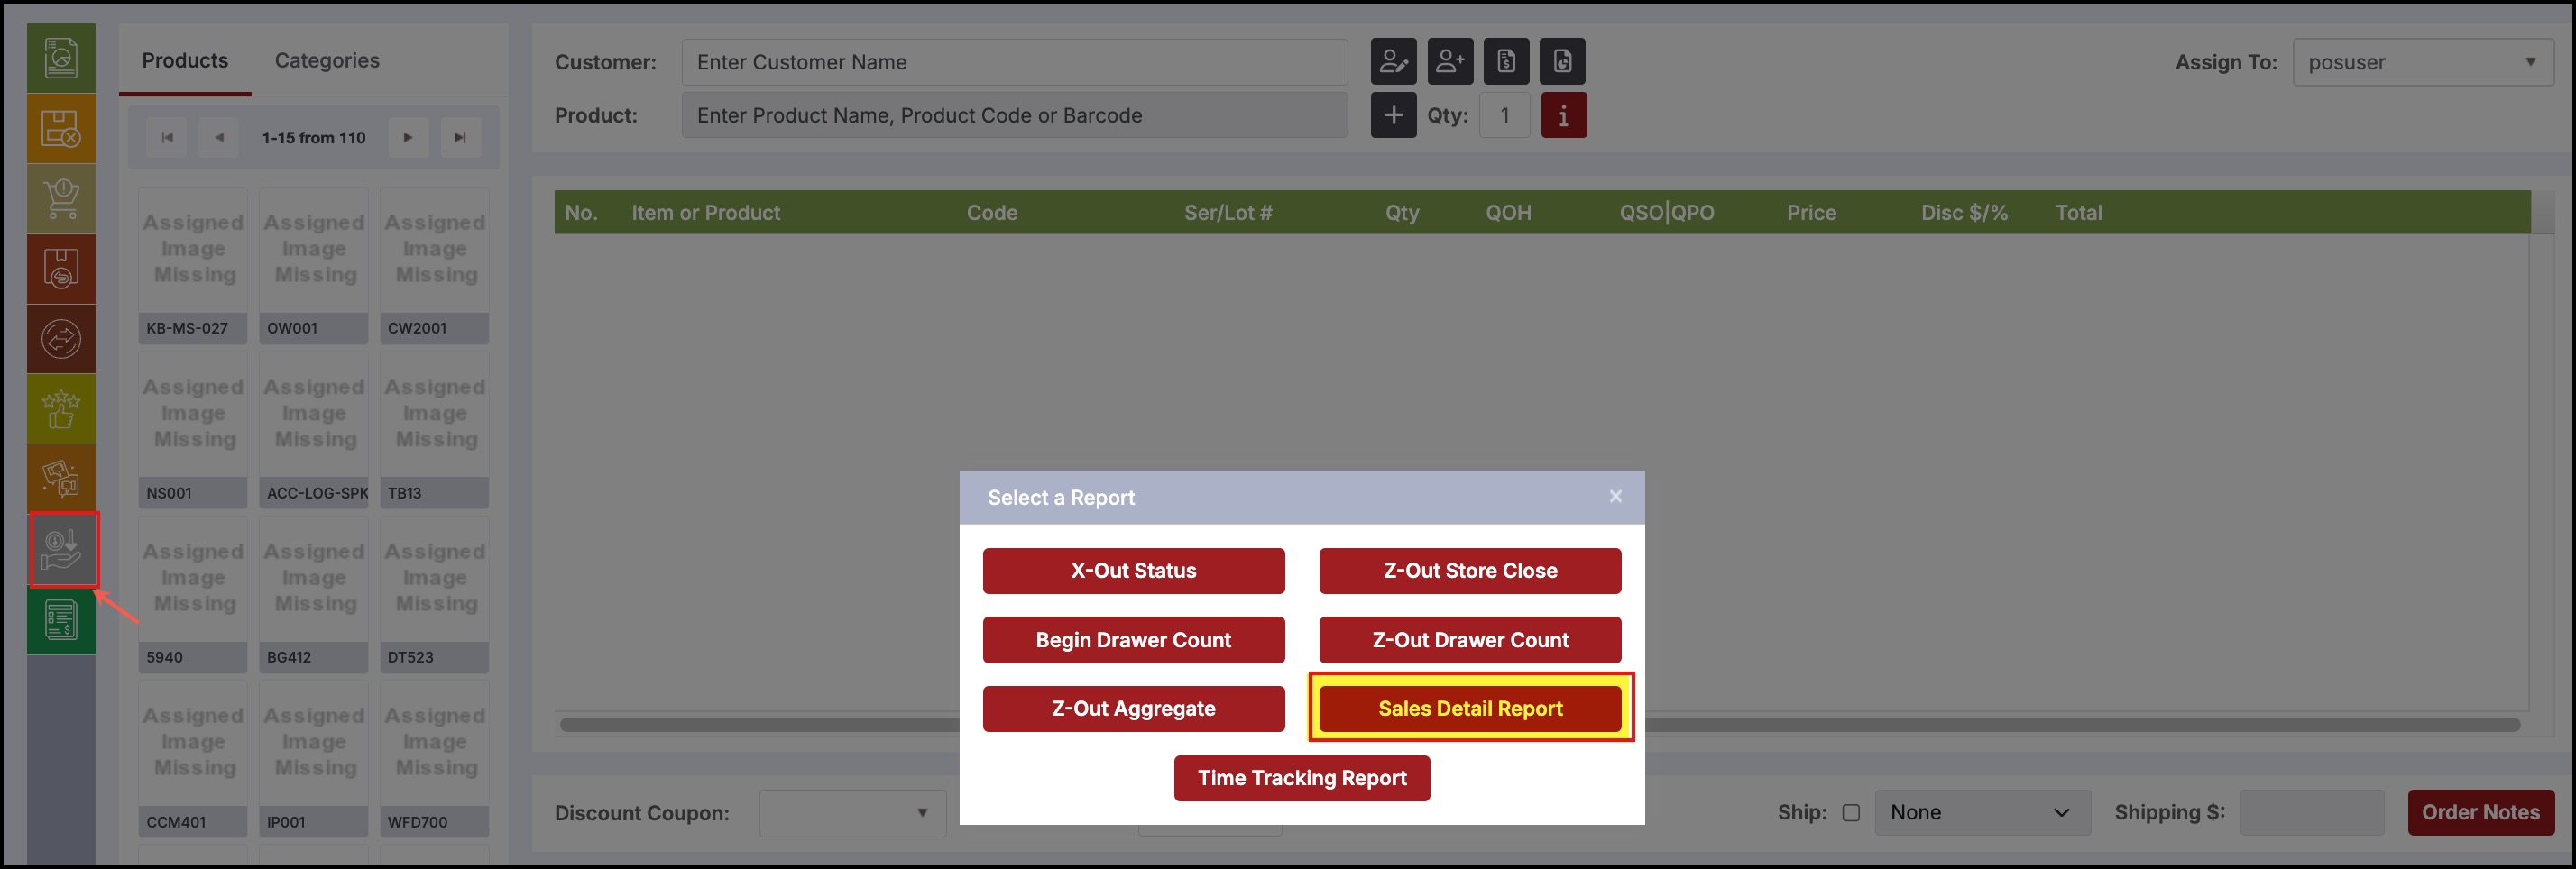
- The payment amount received and the grand total for the order will be displayed.
Layaway Sales Receipts
Sales Receipts for Layaway orders can be generated at the POS.
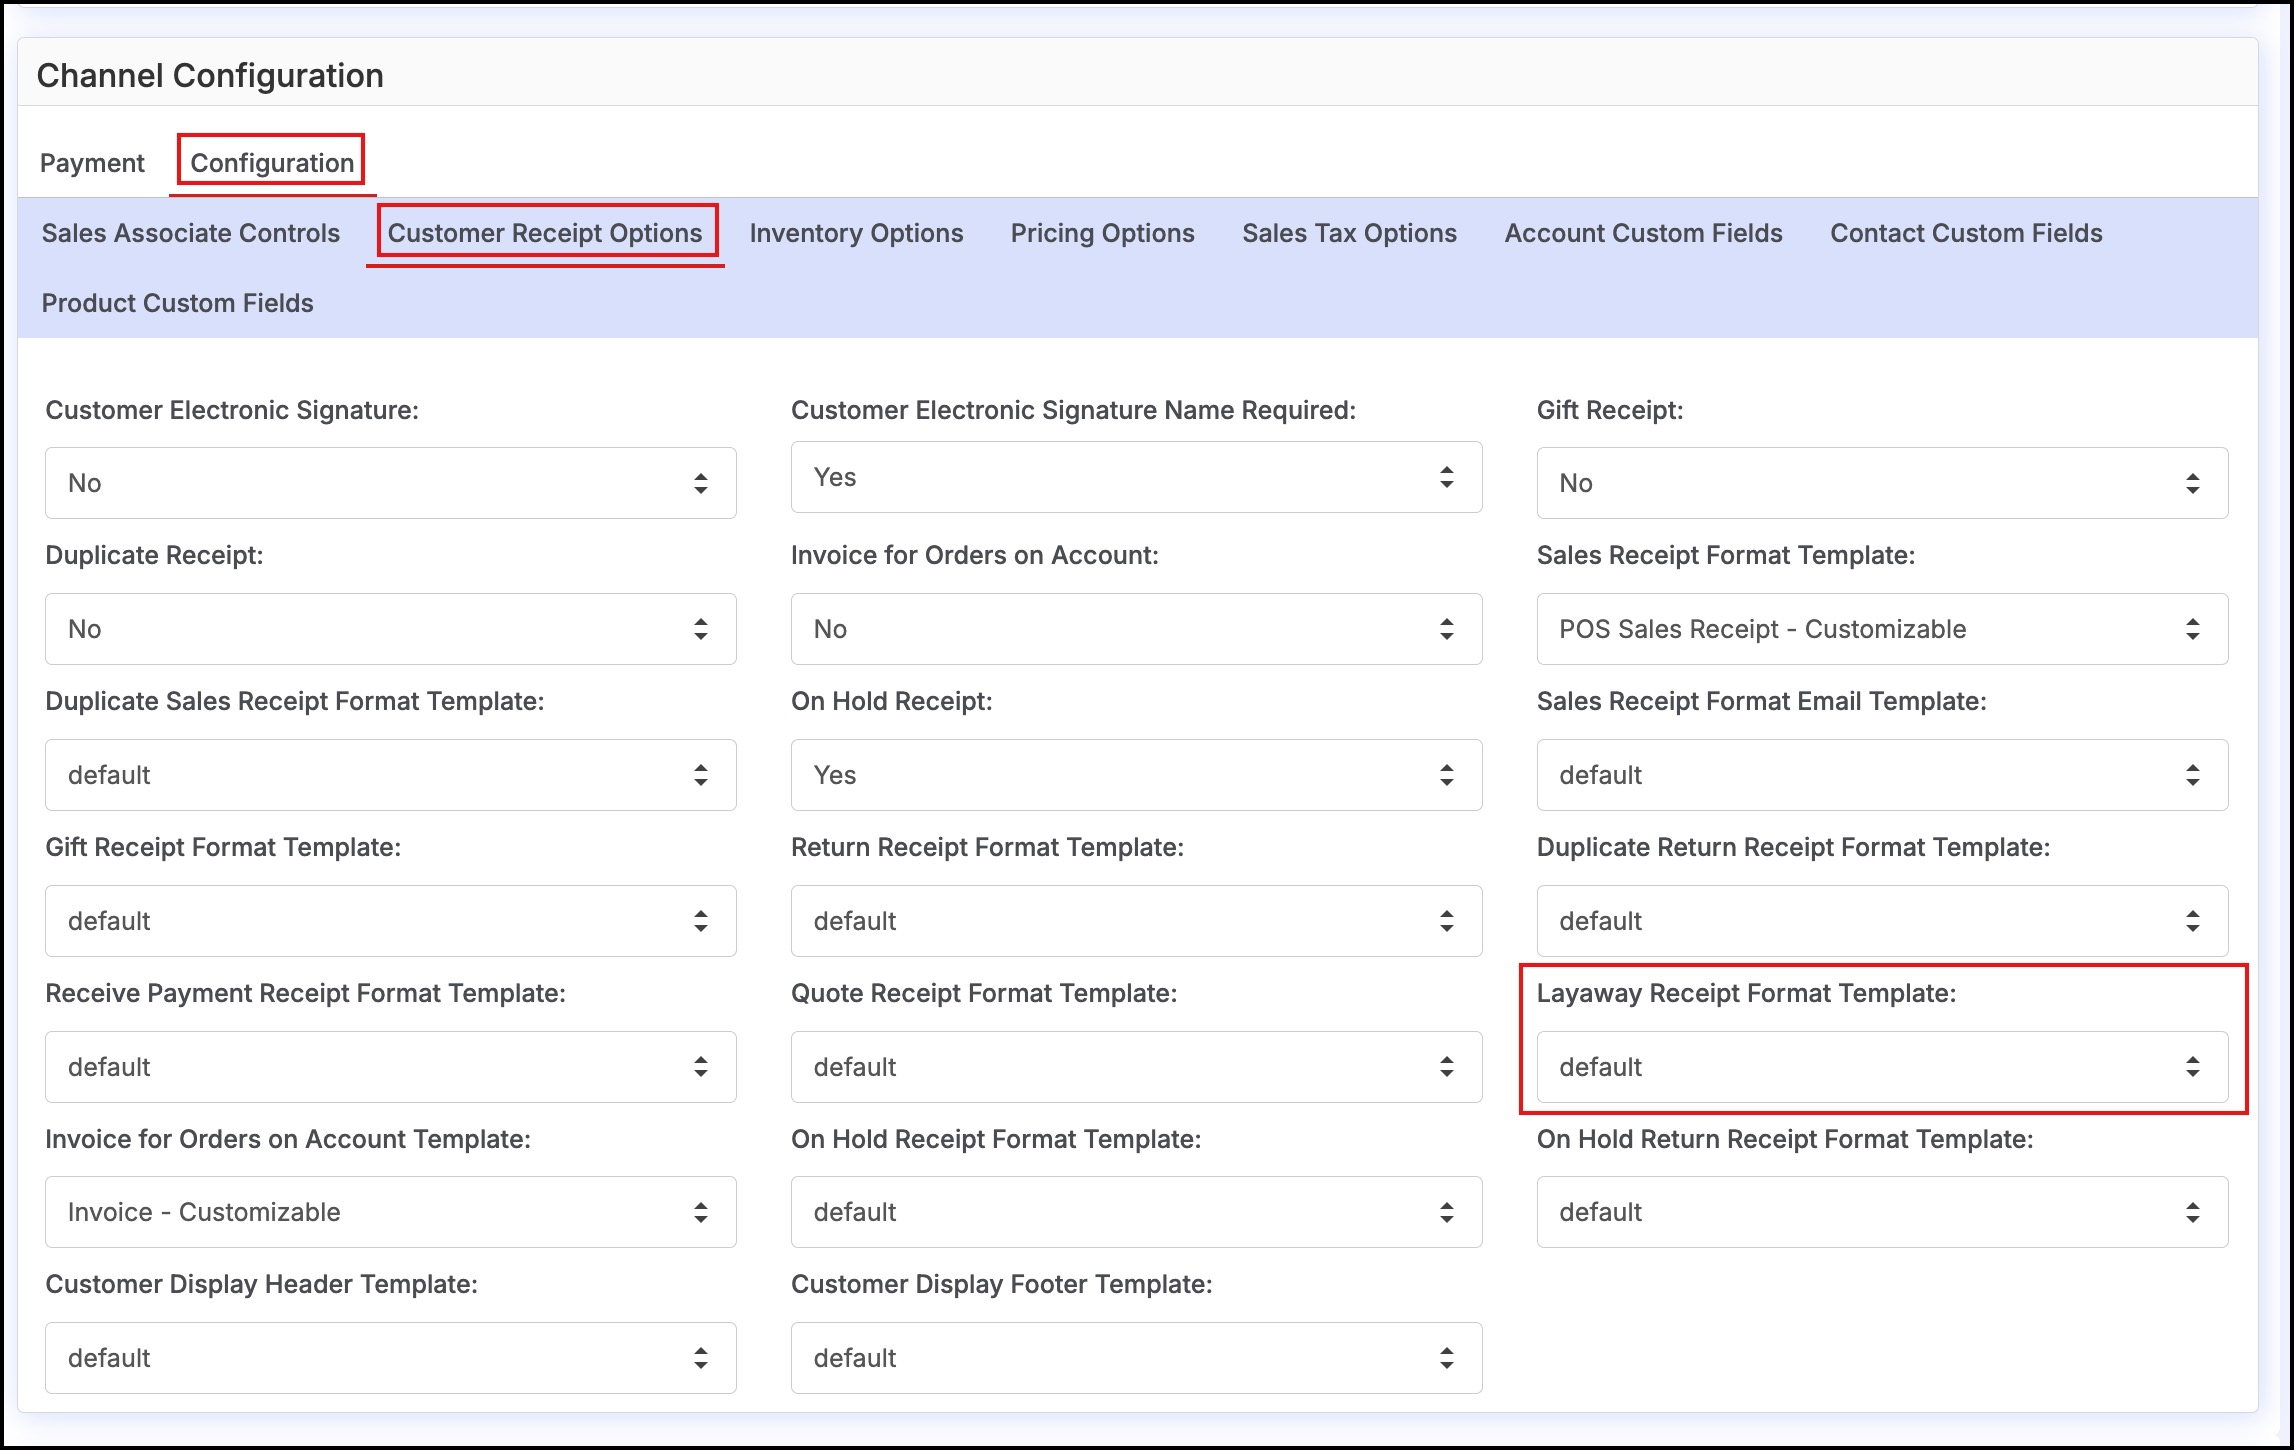
- The default template for the receipt can be changed to a customizable template (Enterprise and higher editions only). The customizable template can be found in Settings > Templates.
- To enable the new template, select the customizable receipt option from the drop-down list in the POS Channel configuration settings.
Updated over 1 year ago