Zapier Integration
Watch this video to learn about Zapier and Agiliron Integration or refer to the user guide below:
Zapier is a tool that helps you to connect two or more applications and automate repetitive tasks. An event that takes place in one app will automatically be captured by another.
To give an example, the new subscribers added to your Mailchimp will automatically be copied to Google sheets using Zapier, and that too without any coding.
Let's get started and understand how Zapier can be used for Agilirion
- First, you need to signup for Zapier.
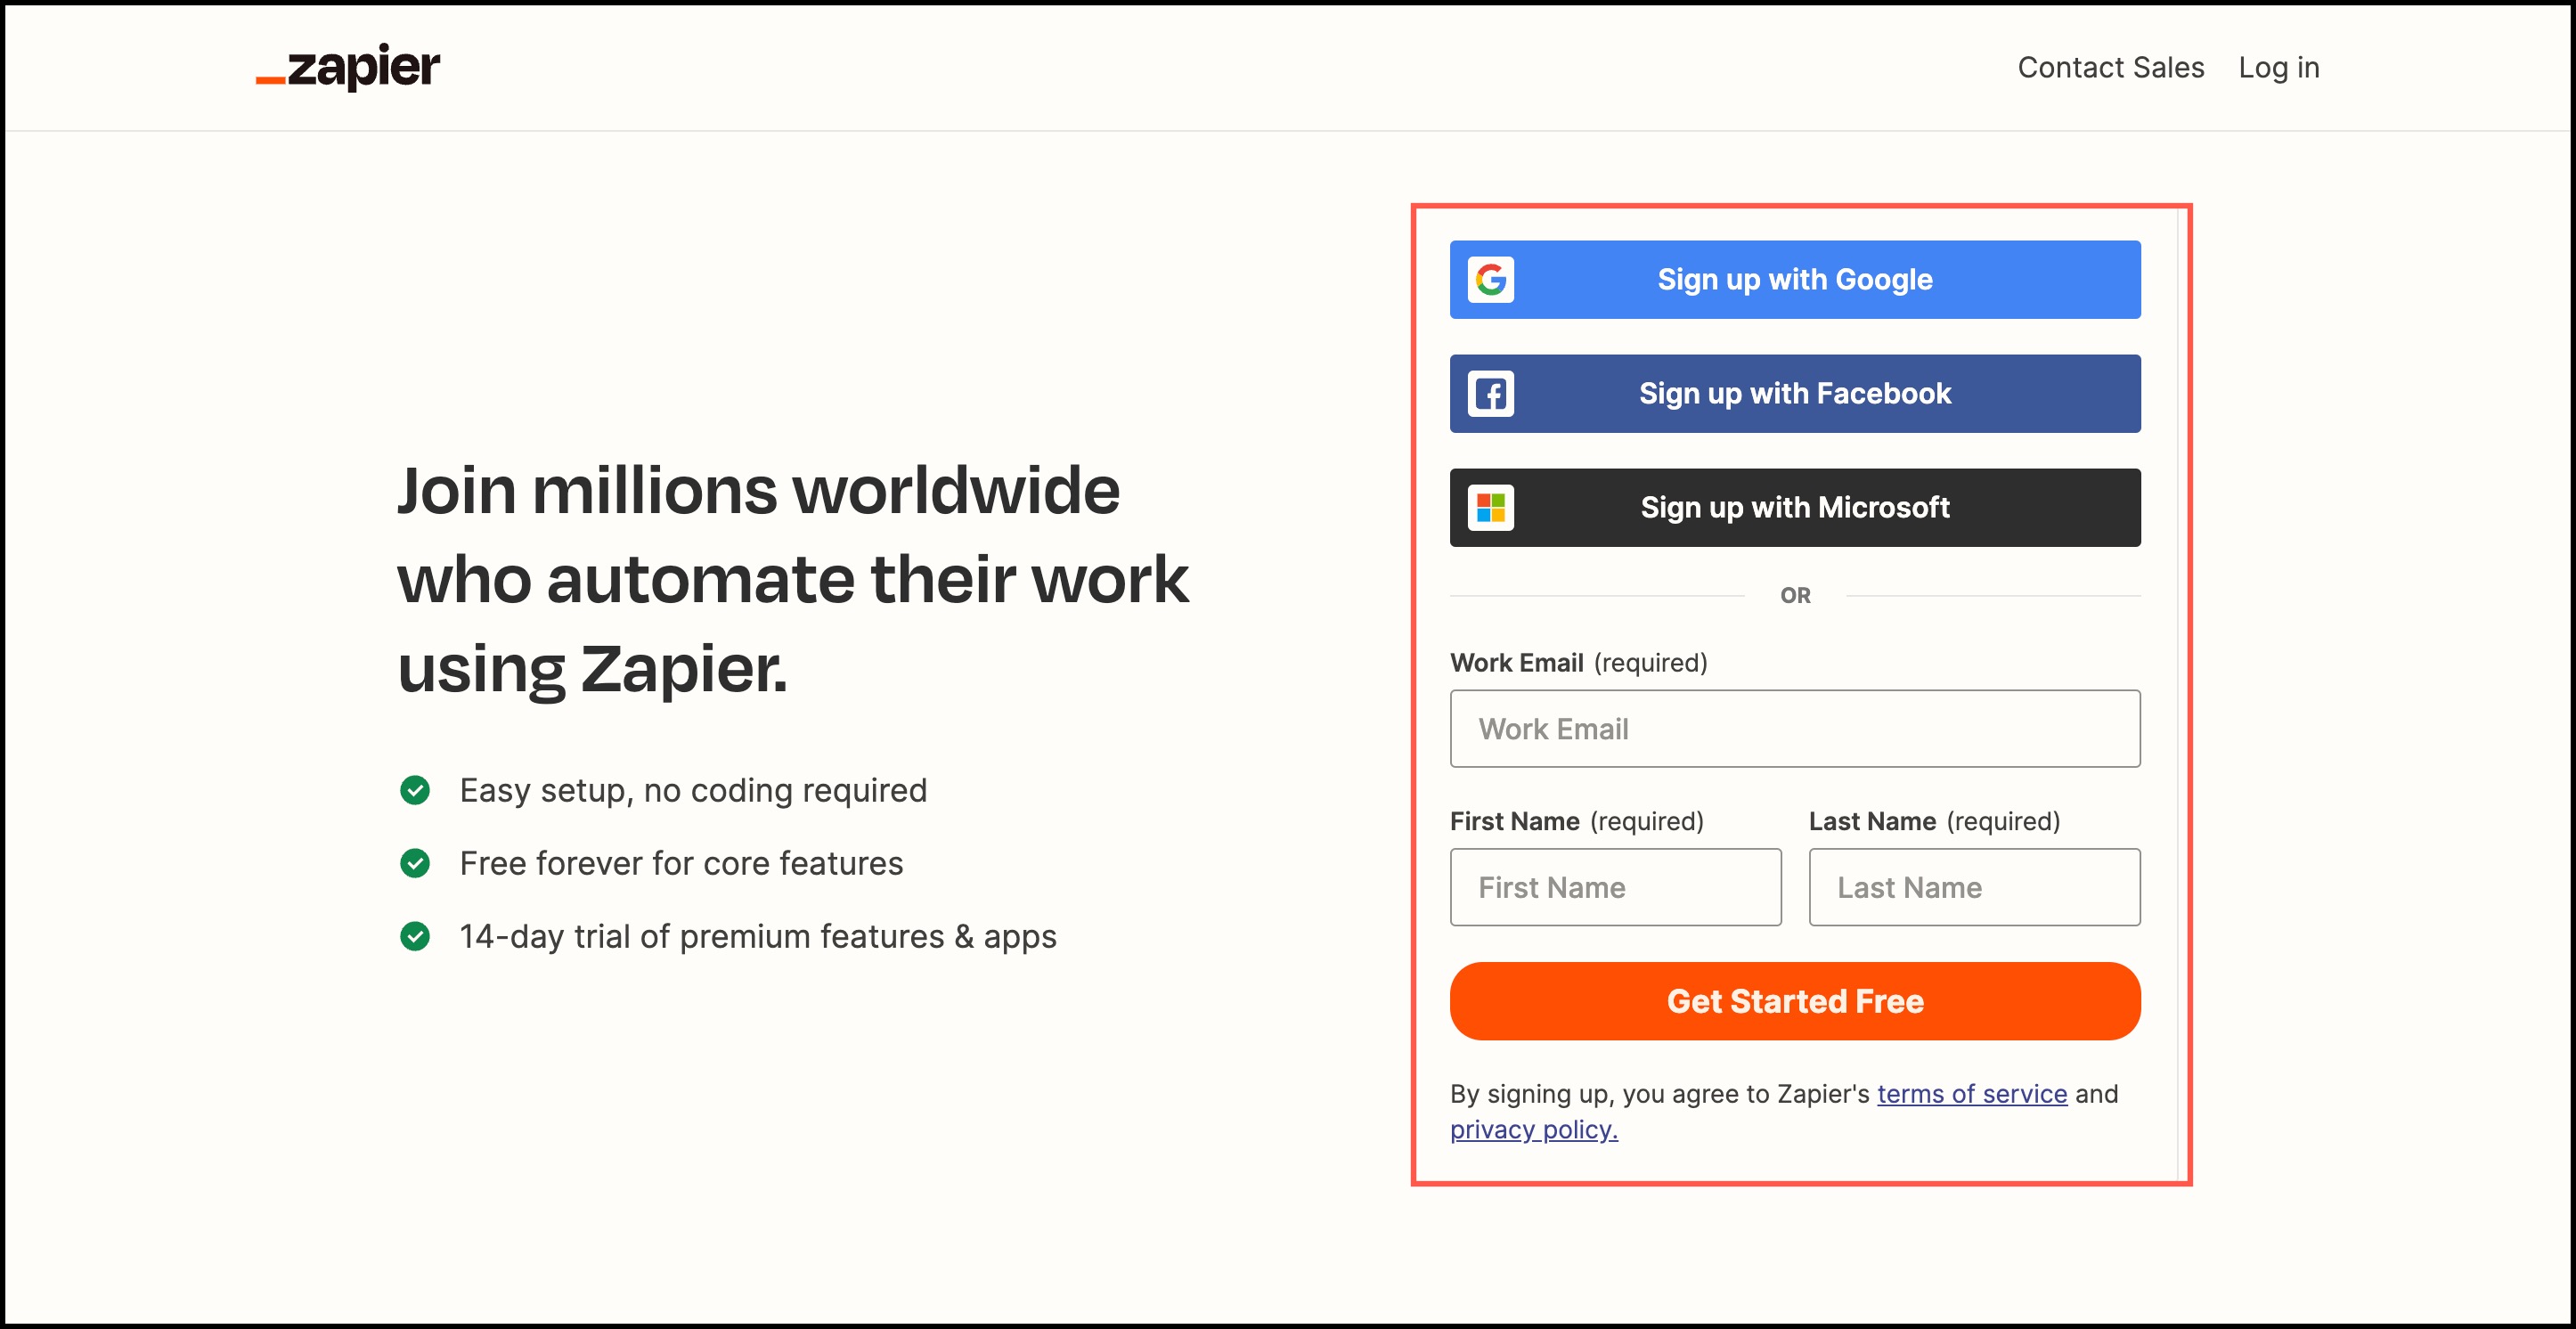
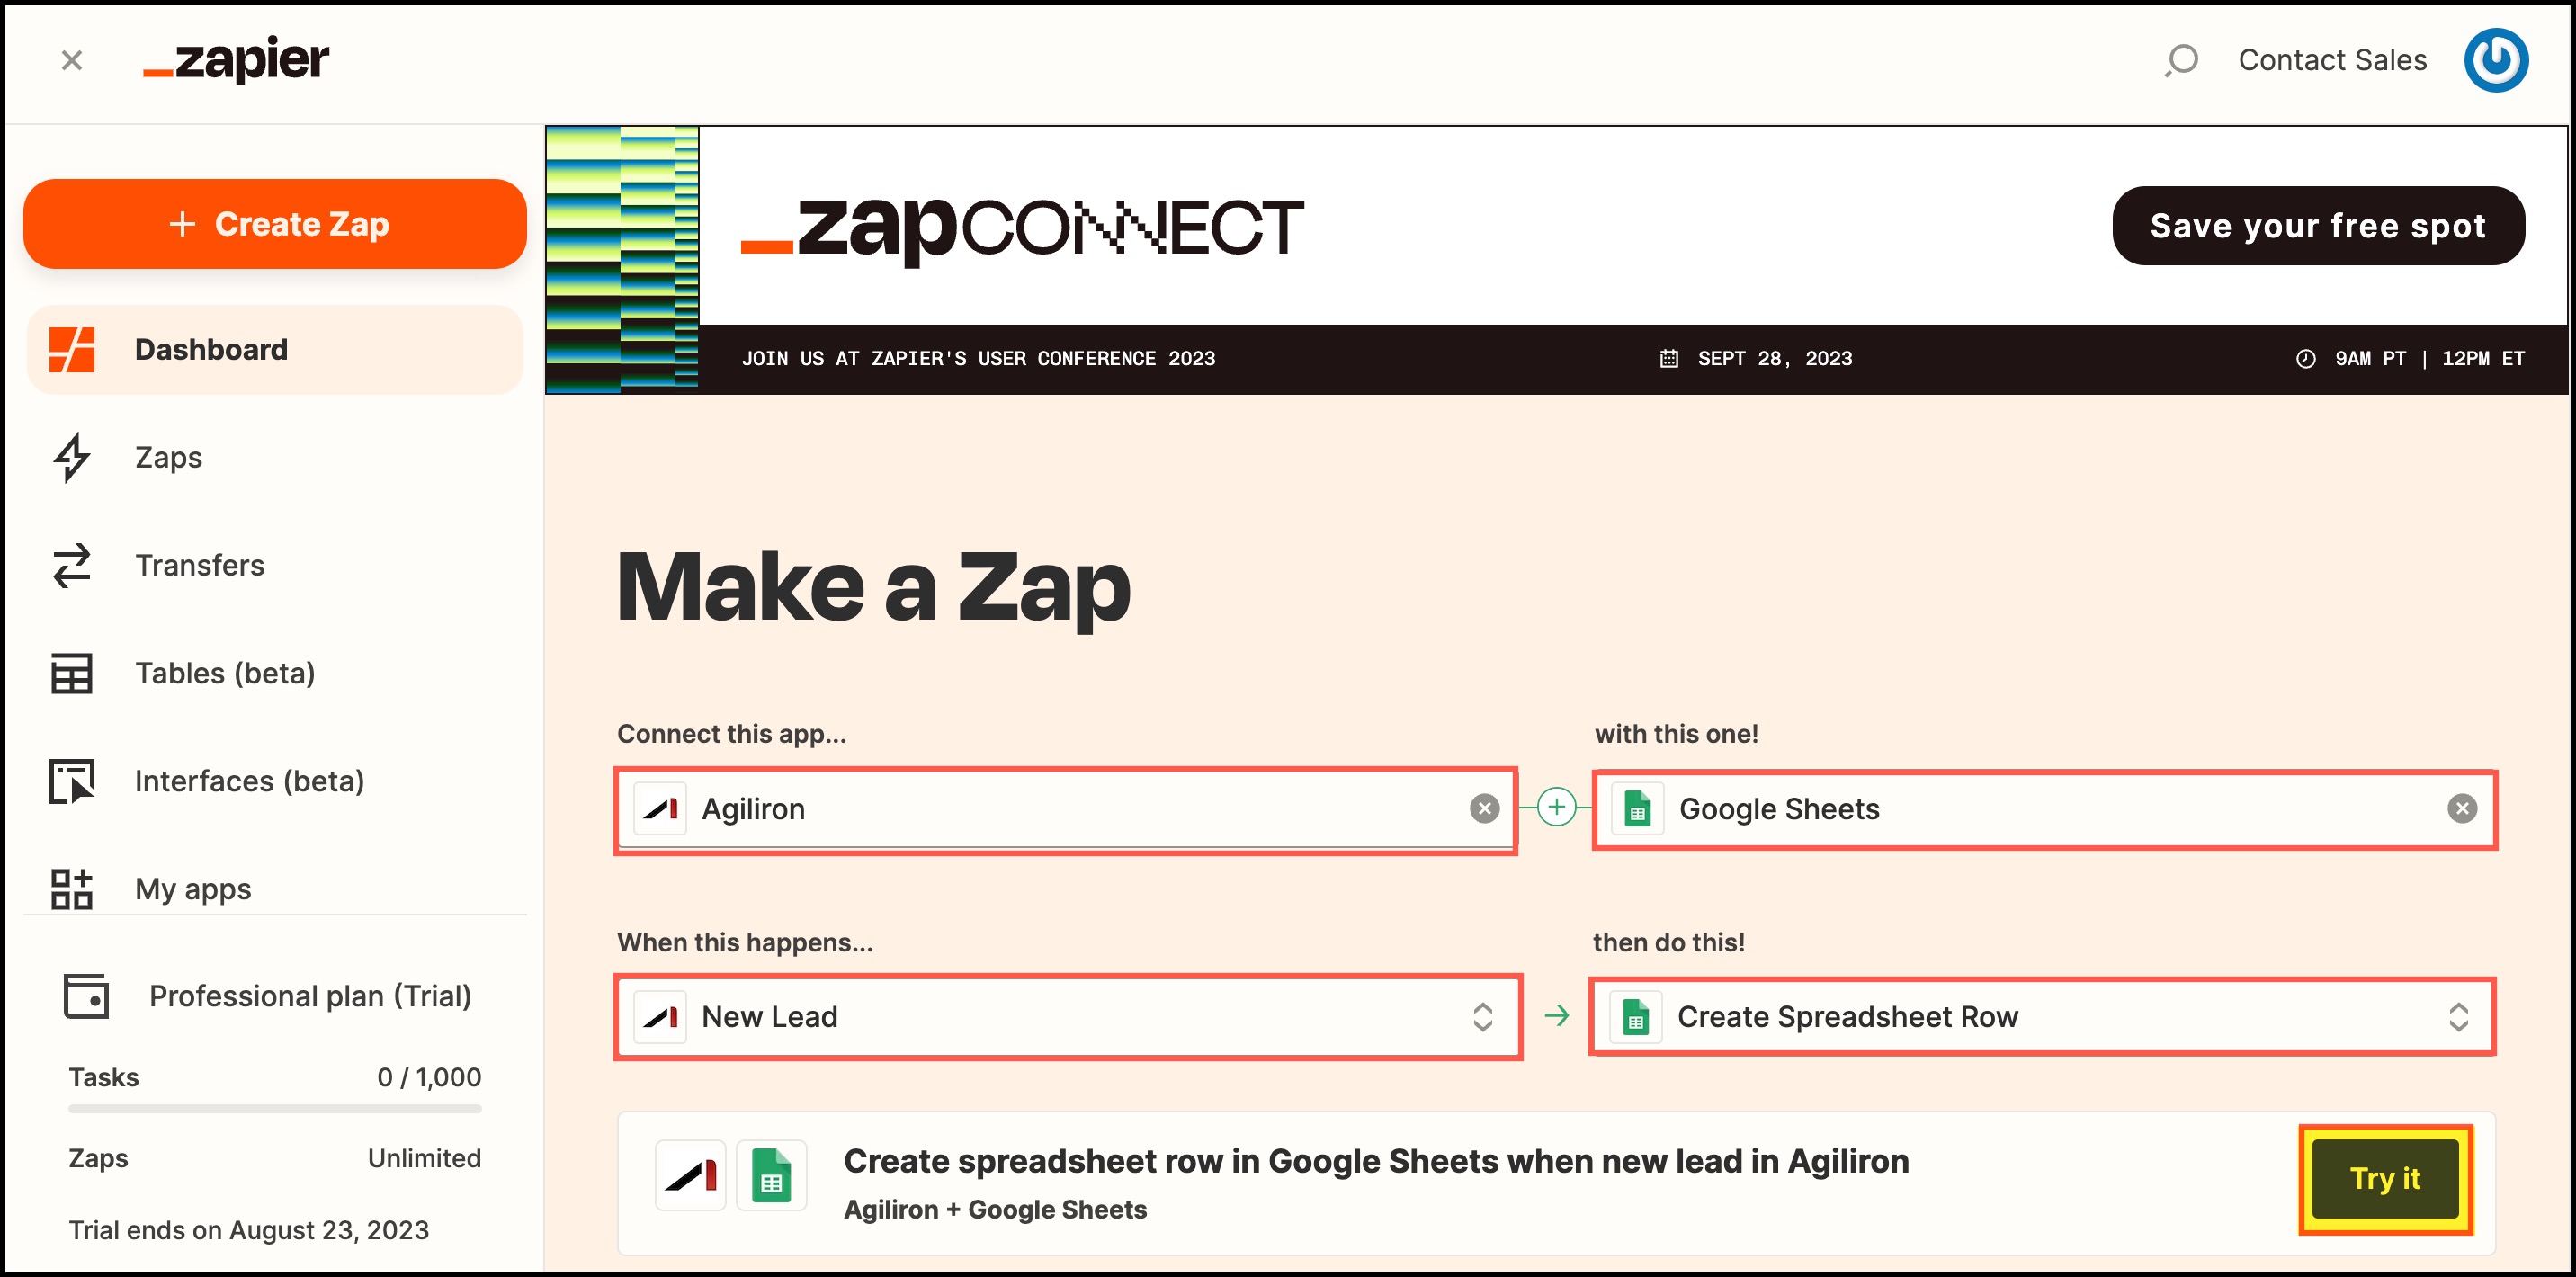
Once you signup, you'll land on the page displayed below. Here in the Dashboard, you need to connect Agiliron with the app or tool you want.
- In Connect this app - Type Agiliron.
- In with this one - Type the tool or app name.
- In When this happens - Select the trigger like for example new task, new contact, a new event, or a new lead.
- In then do this - Select the action like when a new lead is created then create a Spreadsheet Row.
- Click on Try it to proceed.
Next, you will be asked to connect to your Agiliron account.
- Click on Choose.
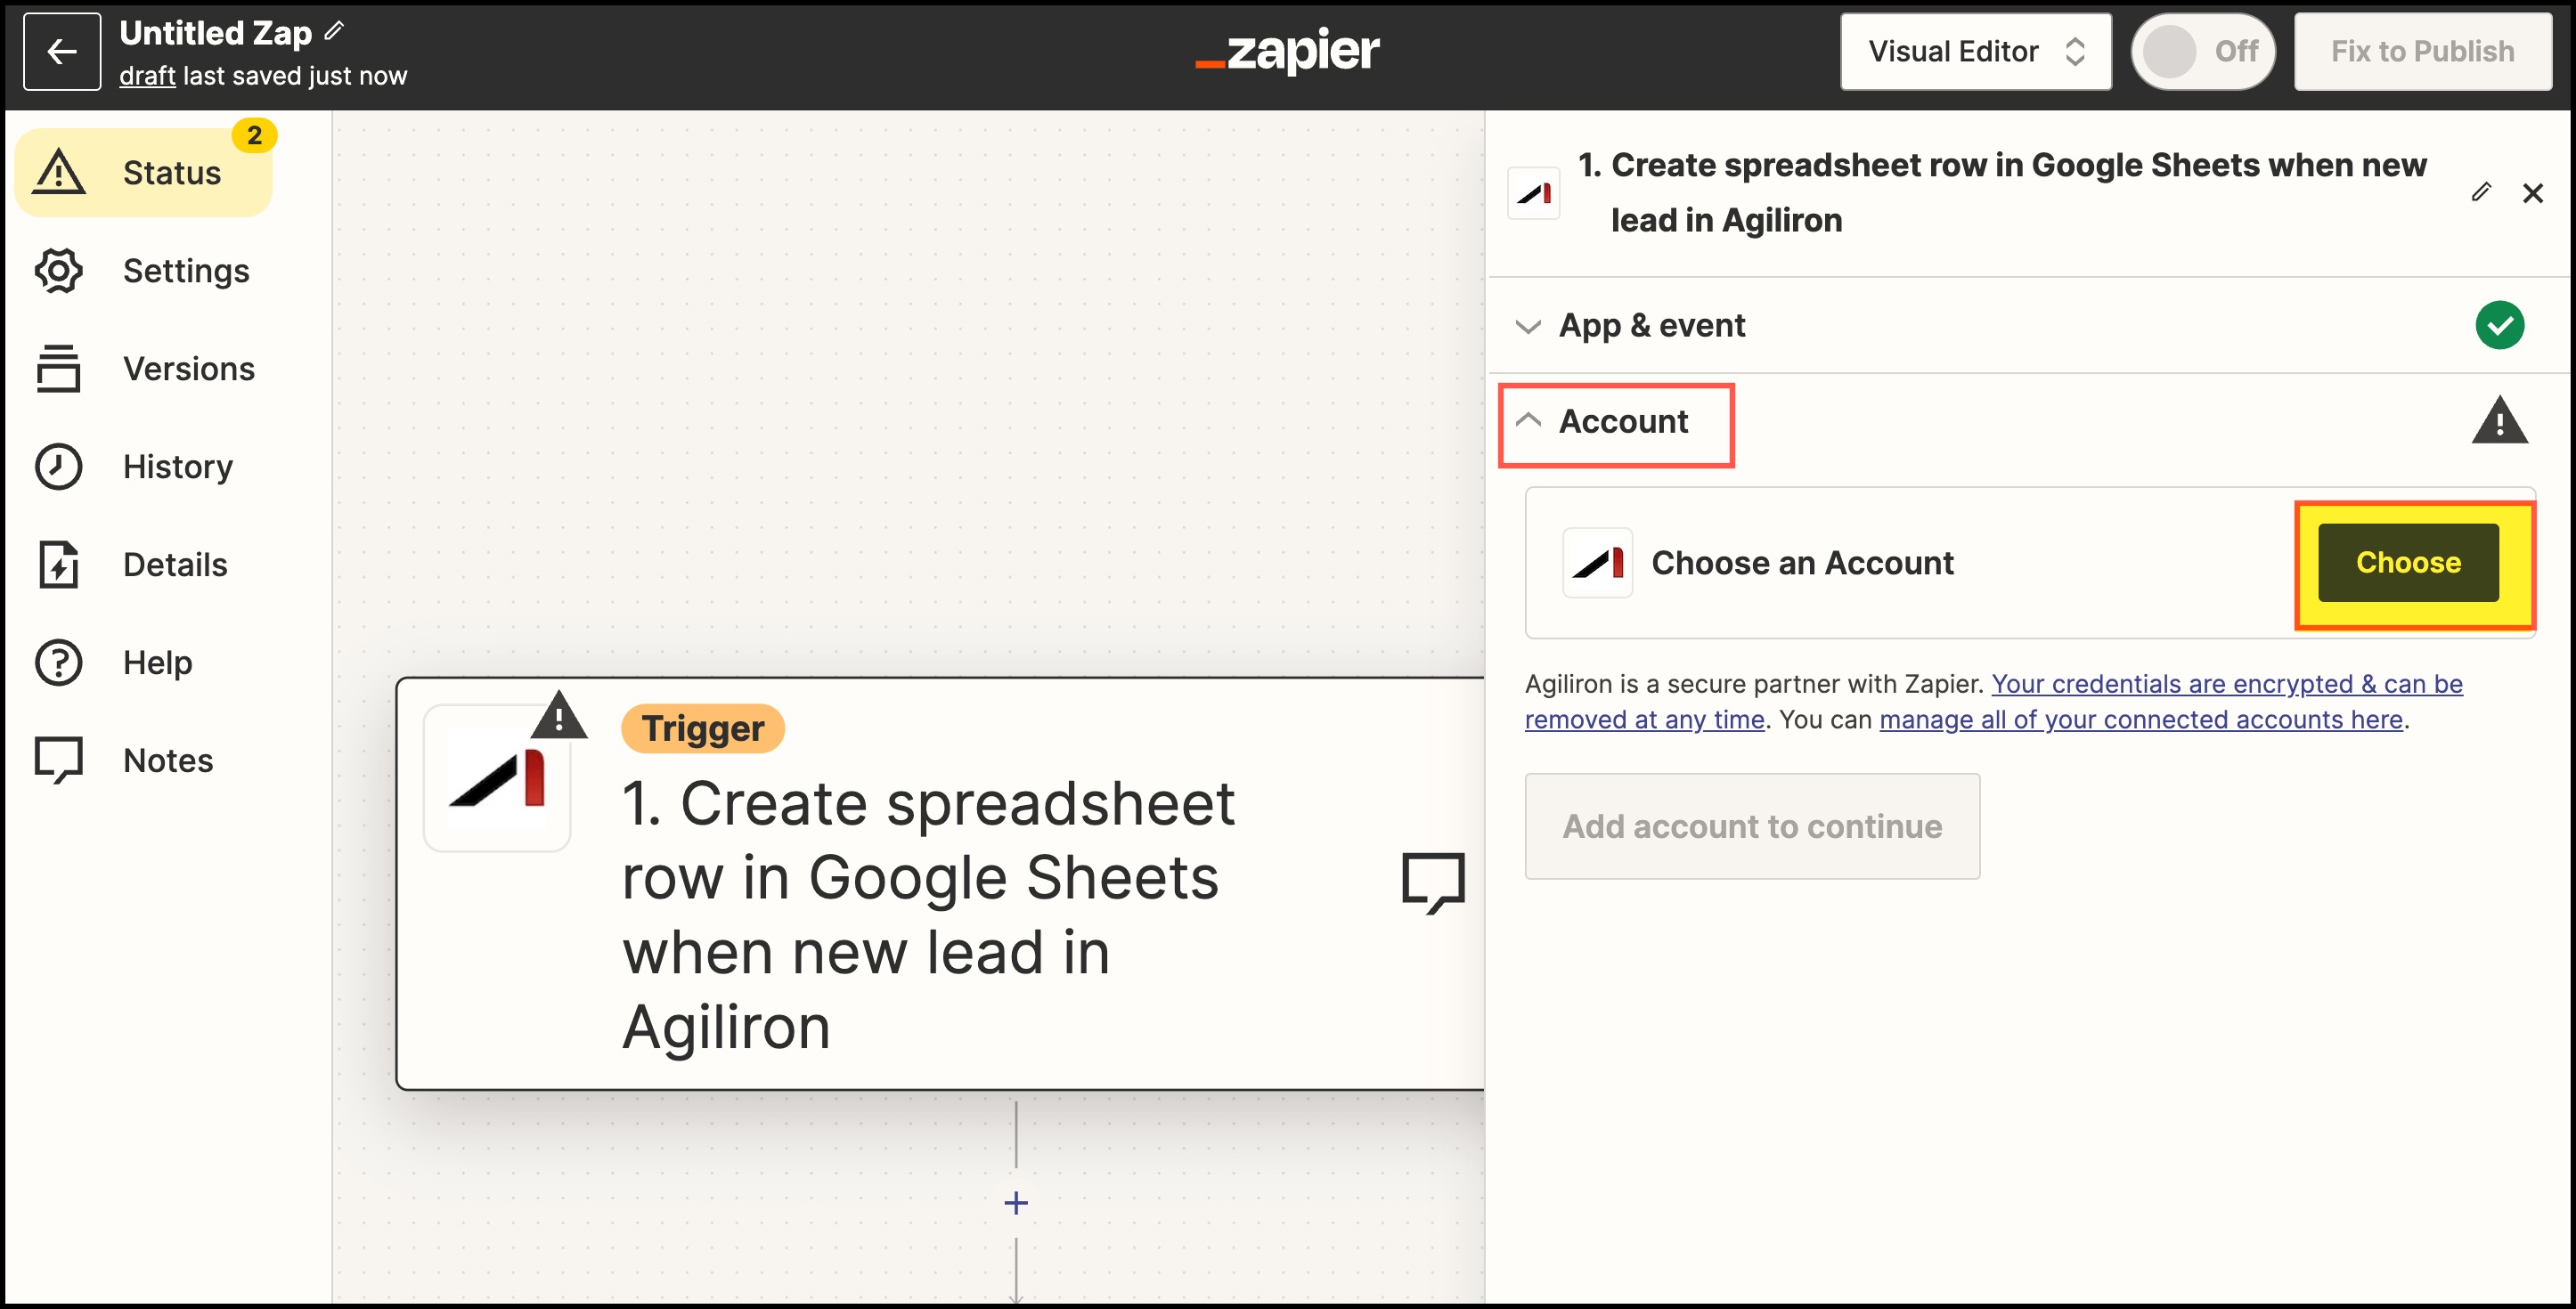
- A screen will appear where you need to enter your Agiliron's instance URL and fetch Security token from your instance's Settings ->Security Token.
- Click on Yes, continue to Agiliron.

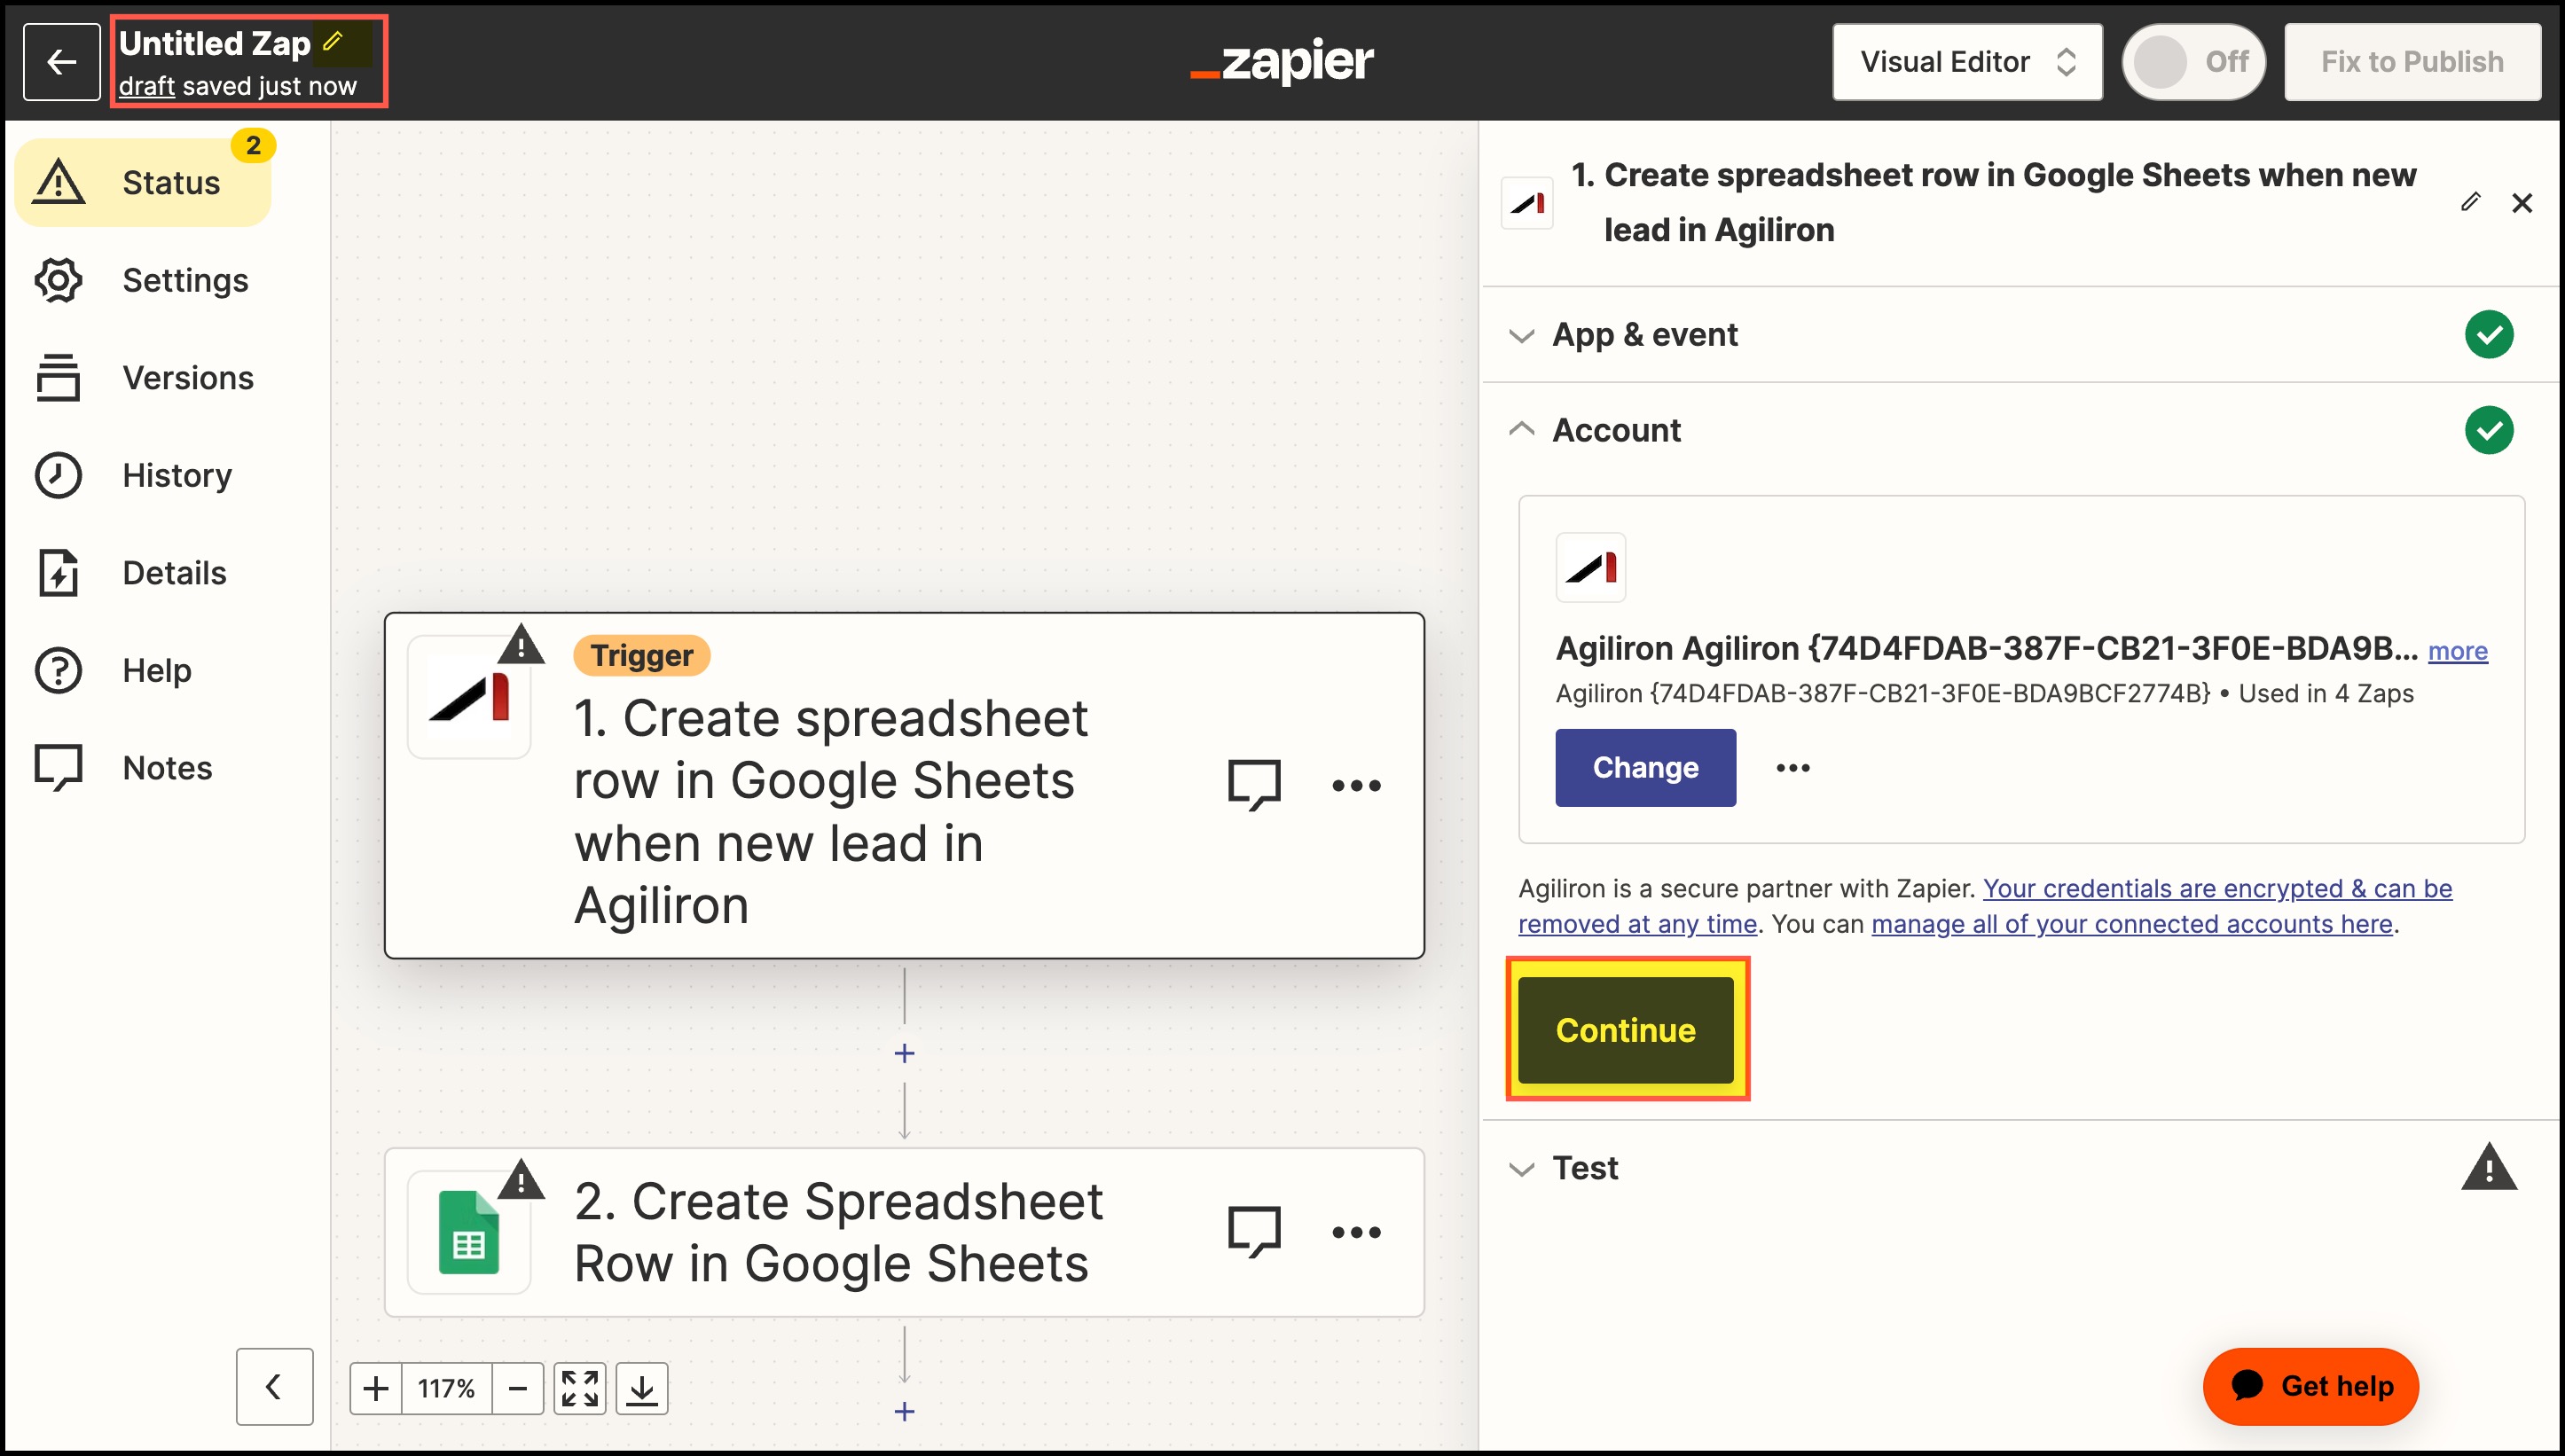
- Once you choose an account, click on Continue.
Note - At any step, you can give an appropriate title to your Zap.
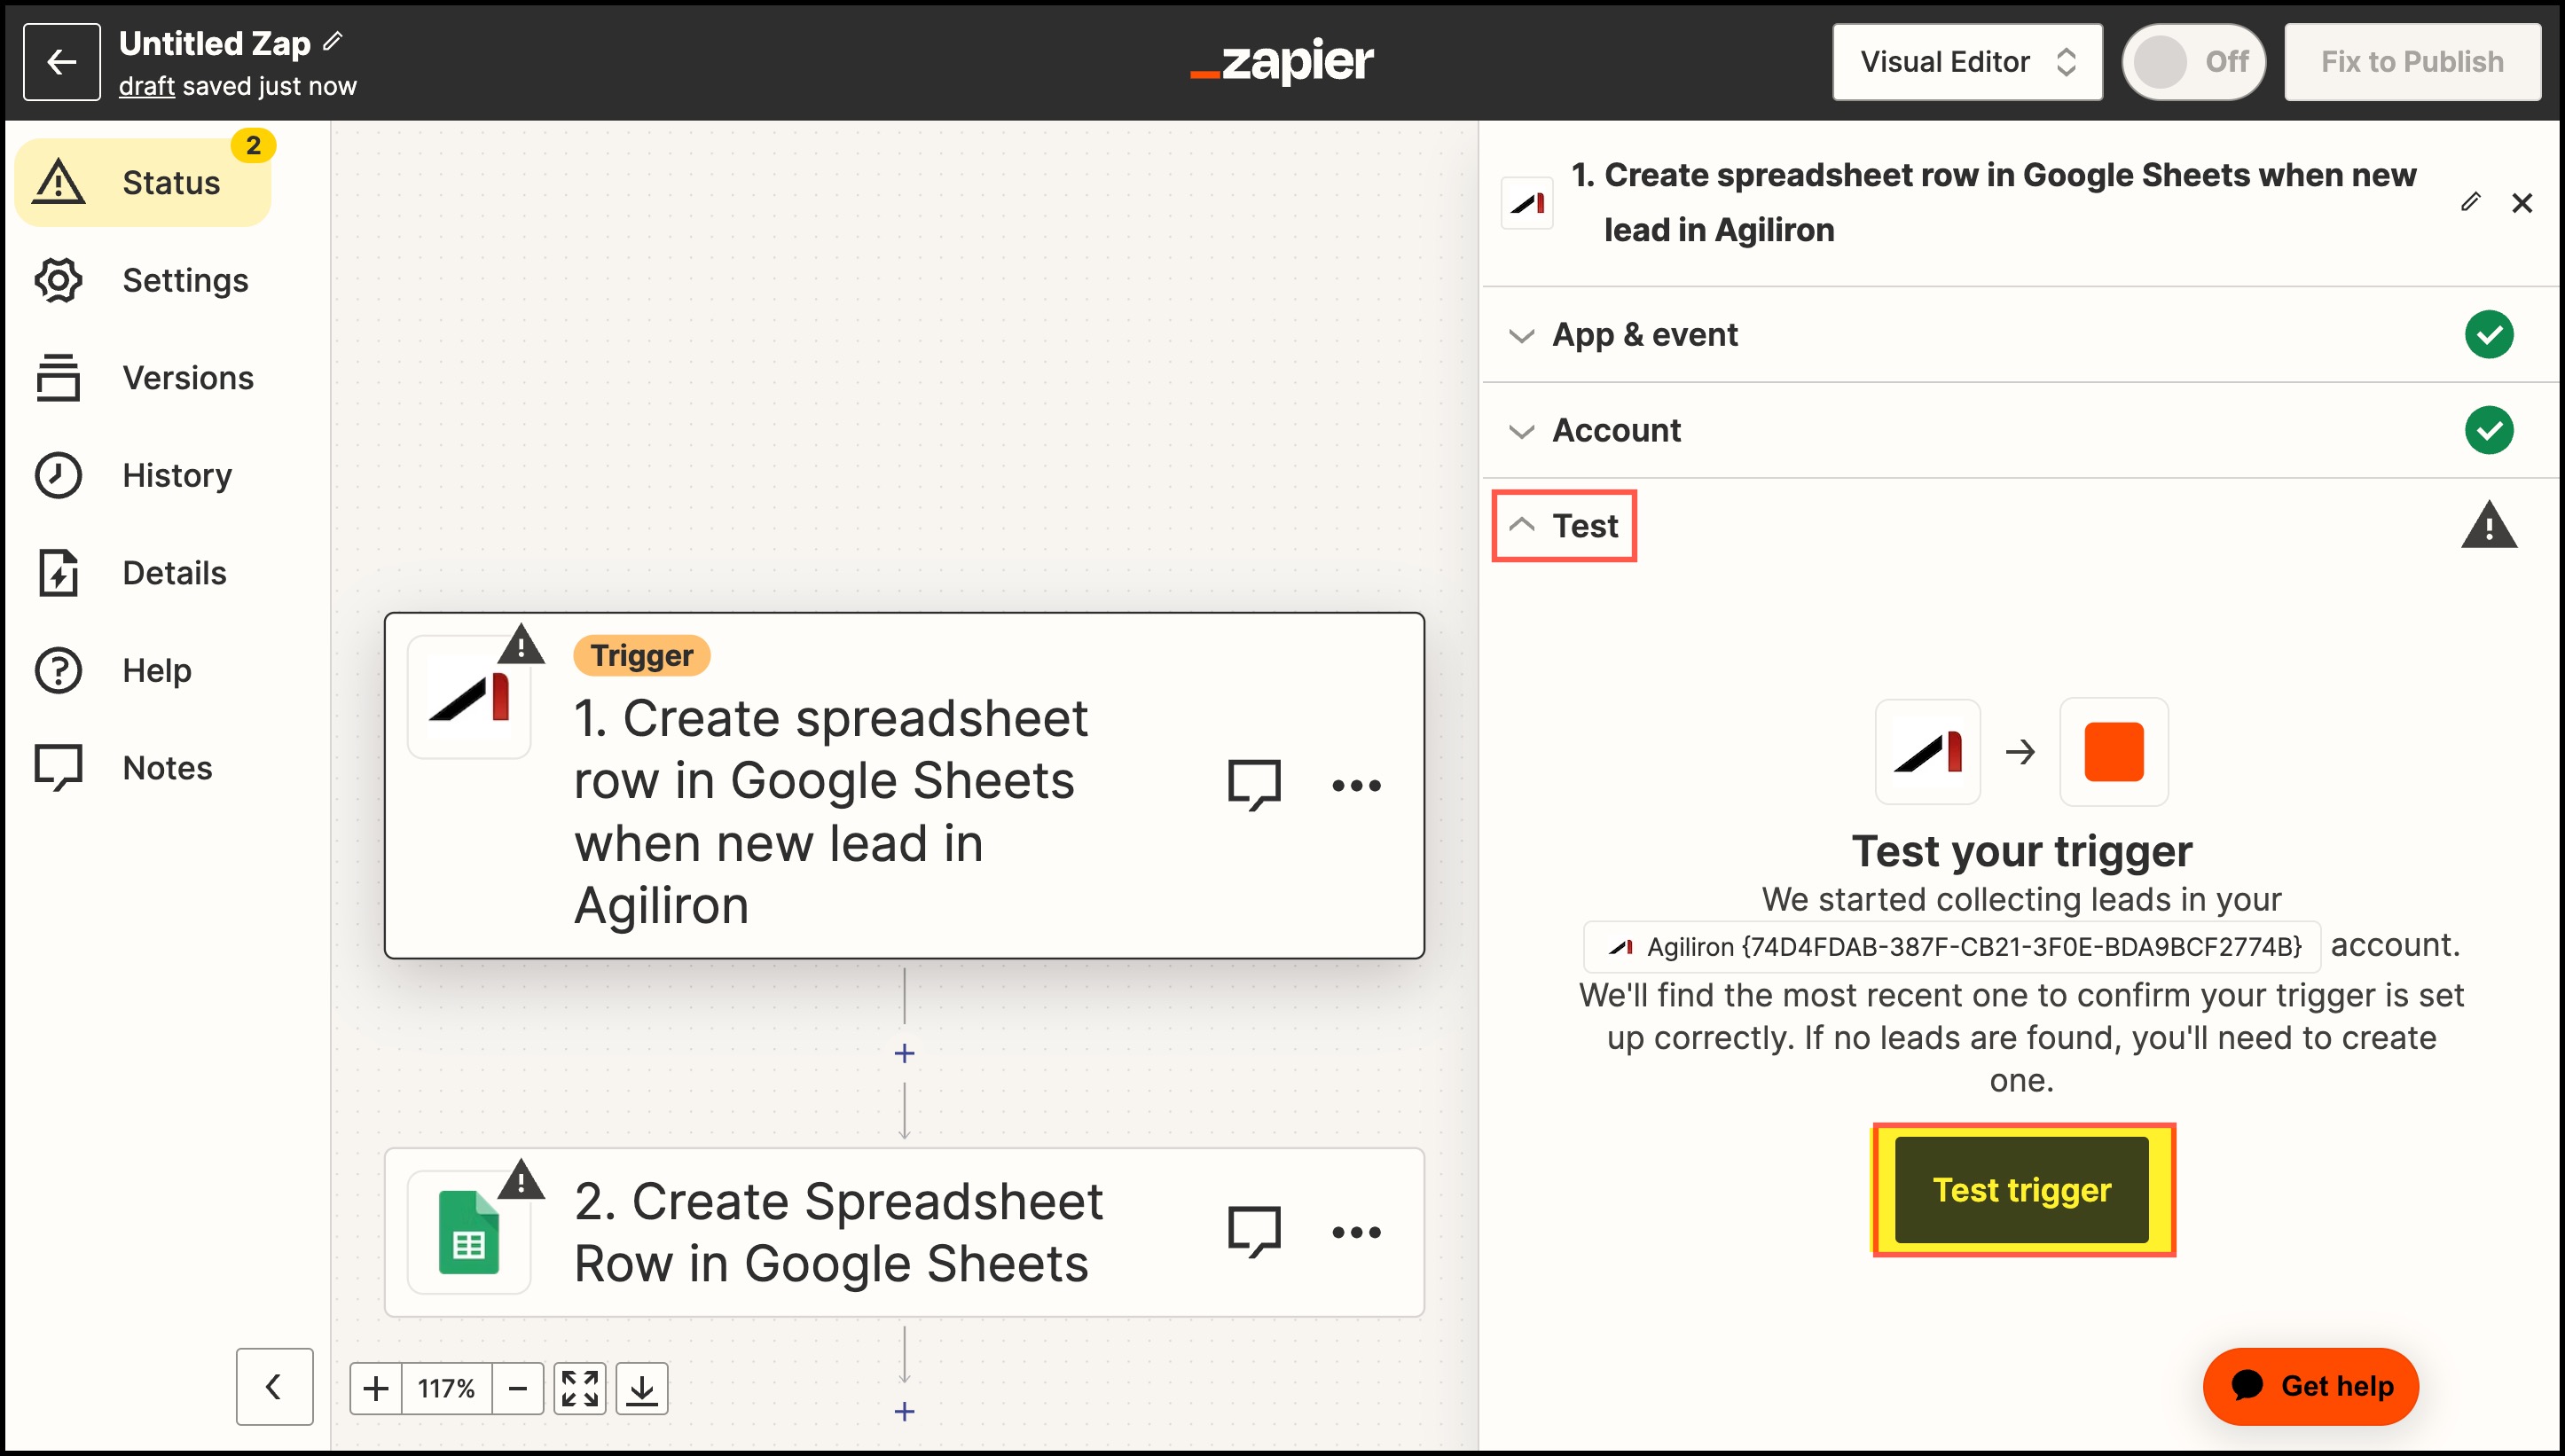
- In the next step, you can Test Trigger.
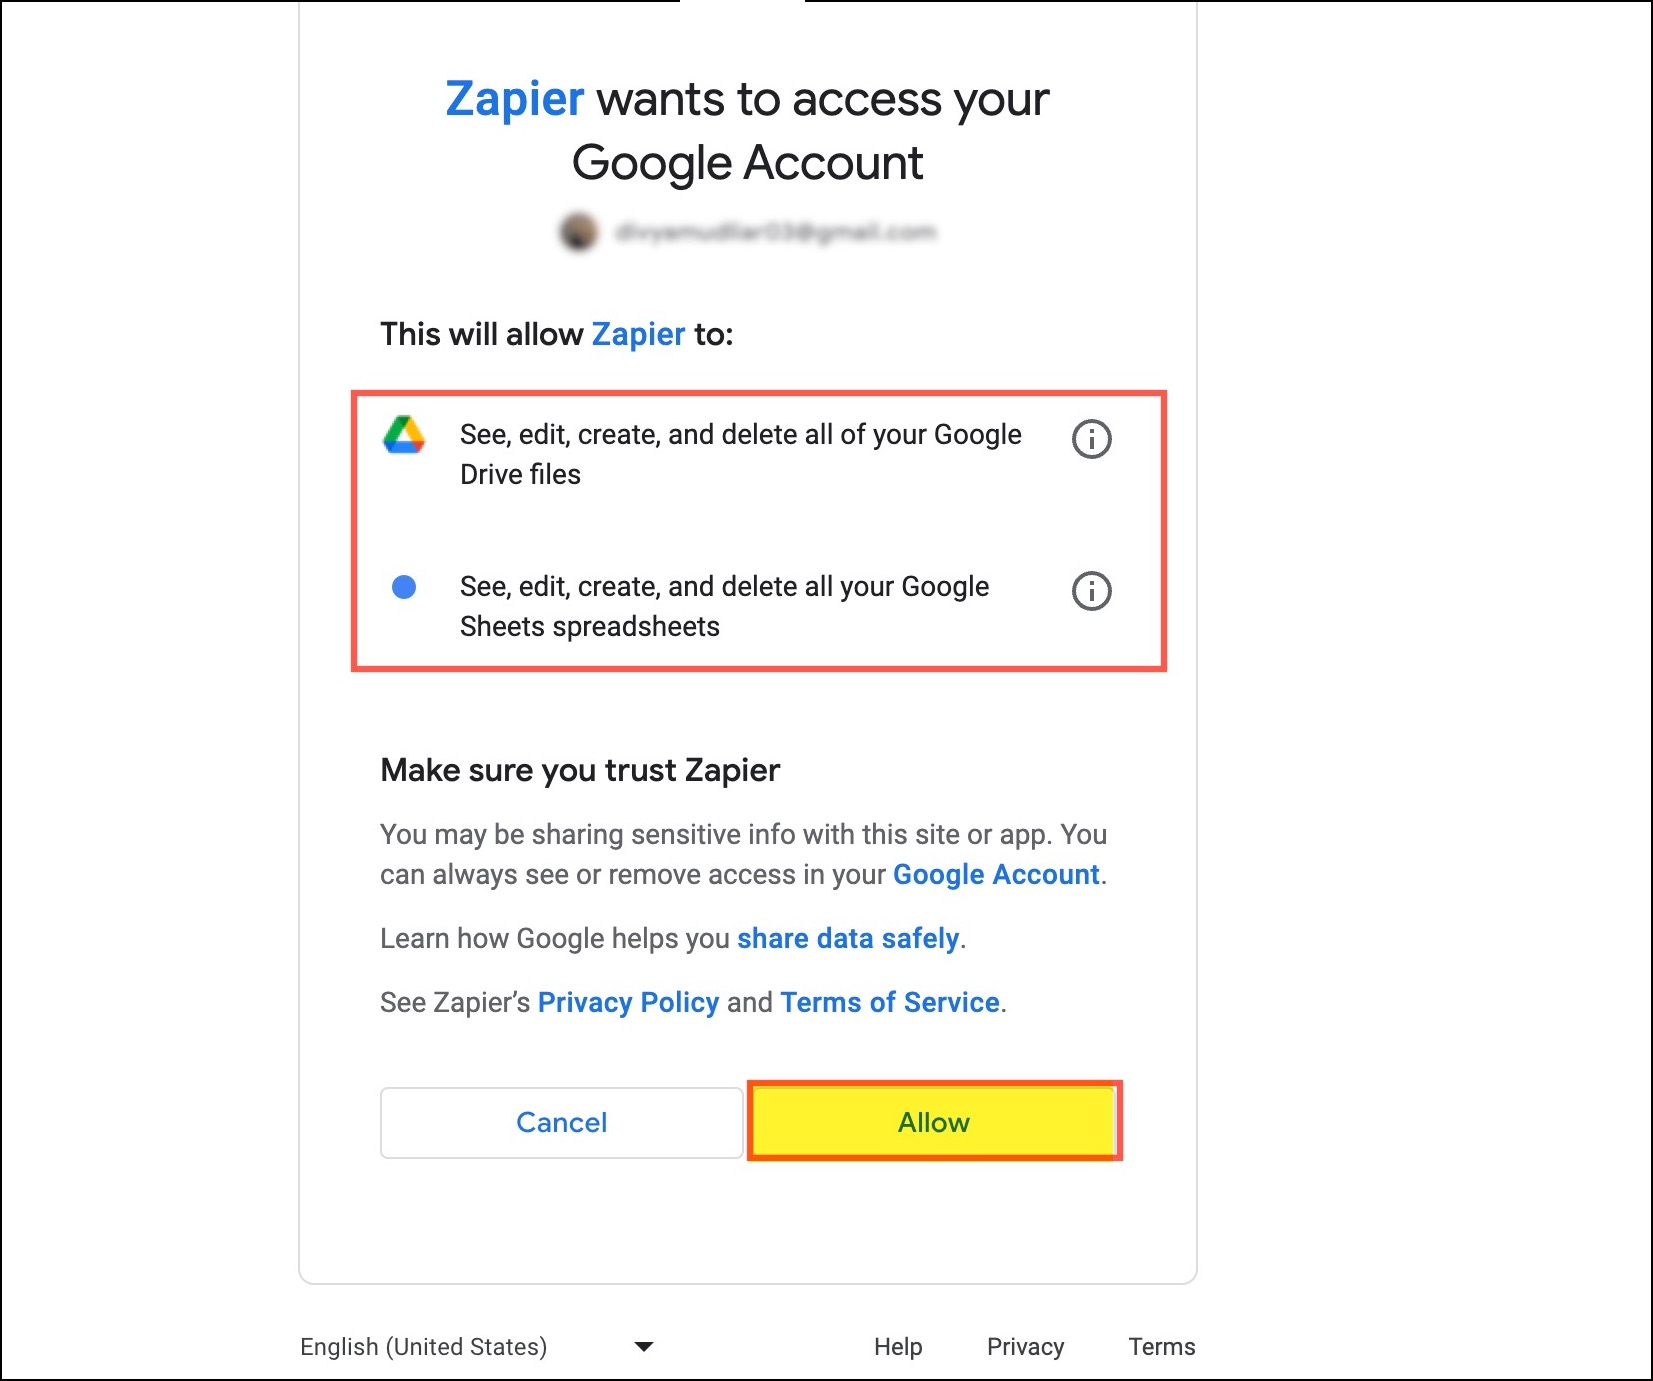
- Give access to the Google account to be connected by clicking on Allow.
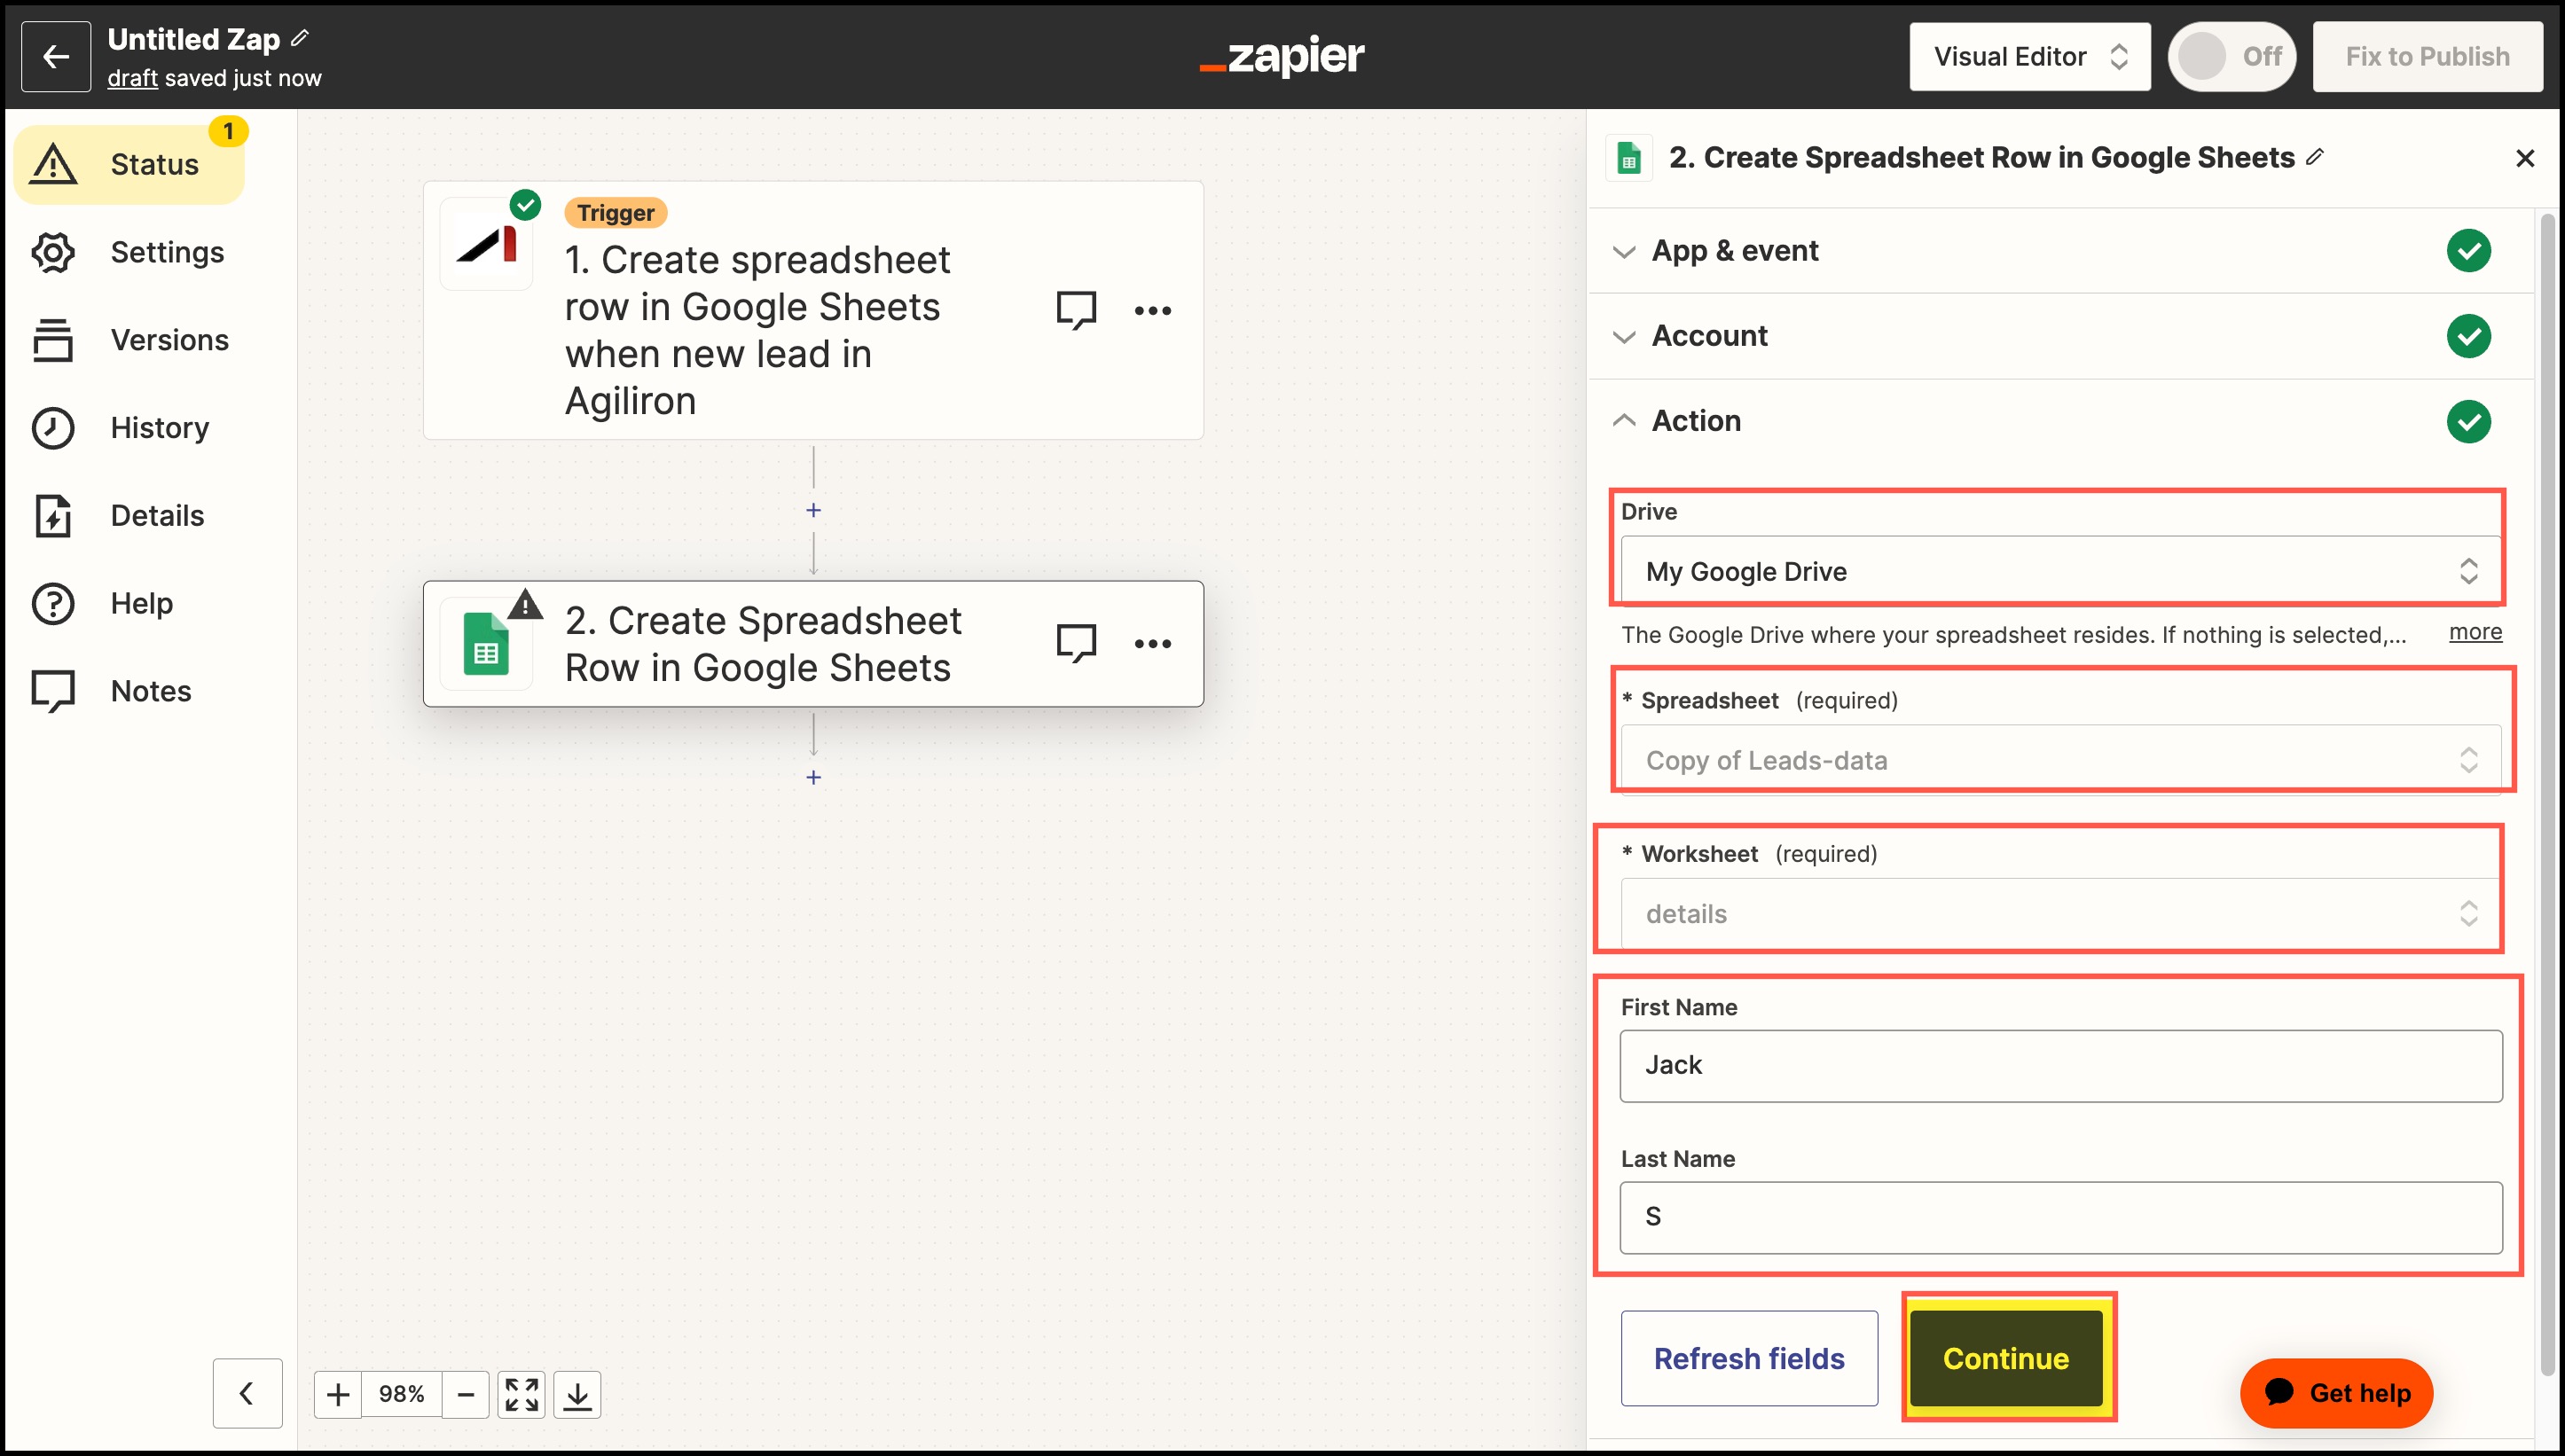
- Select Google Drive where the spreadsheet resides.
- A list of all Spreadsheets present in your drive will be displayed, choose the one you want.
- Select the Worksheet.
- Customize the zap by selecting the fields that you want to edit in the Google Sheets. Map fields from Agiliron into Google Sheets, and enter the values.
- Click on Continue.
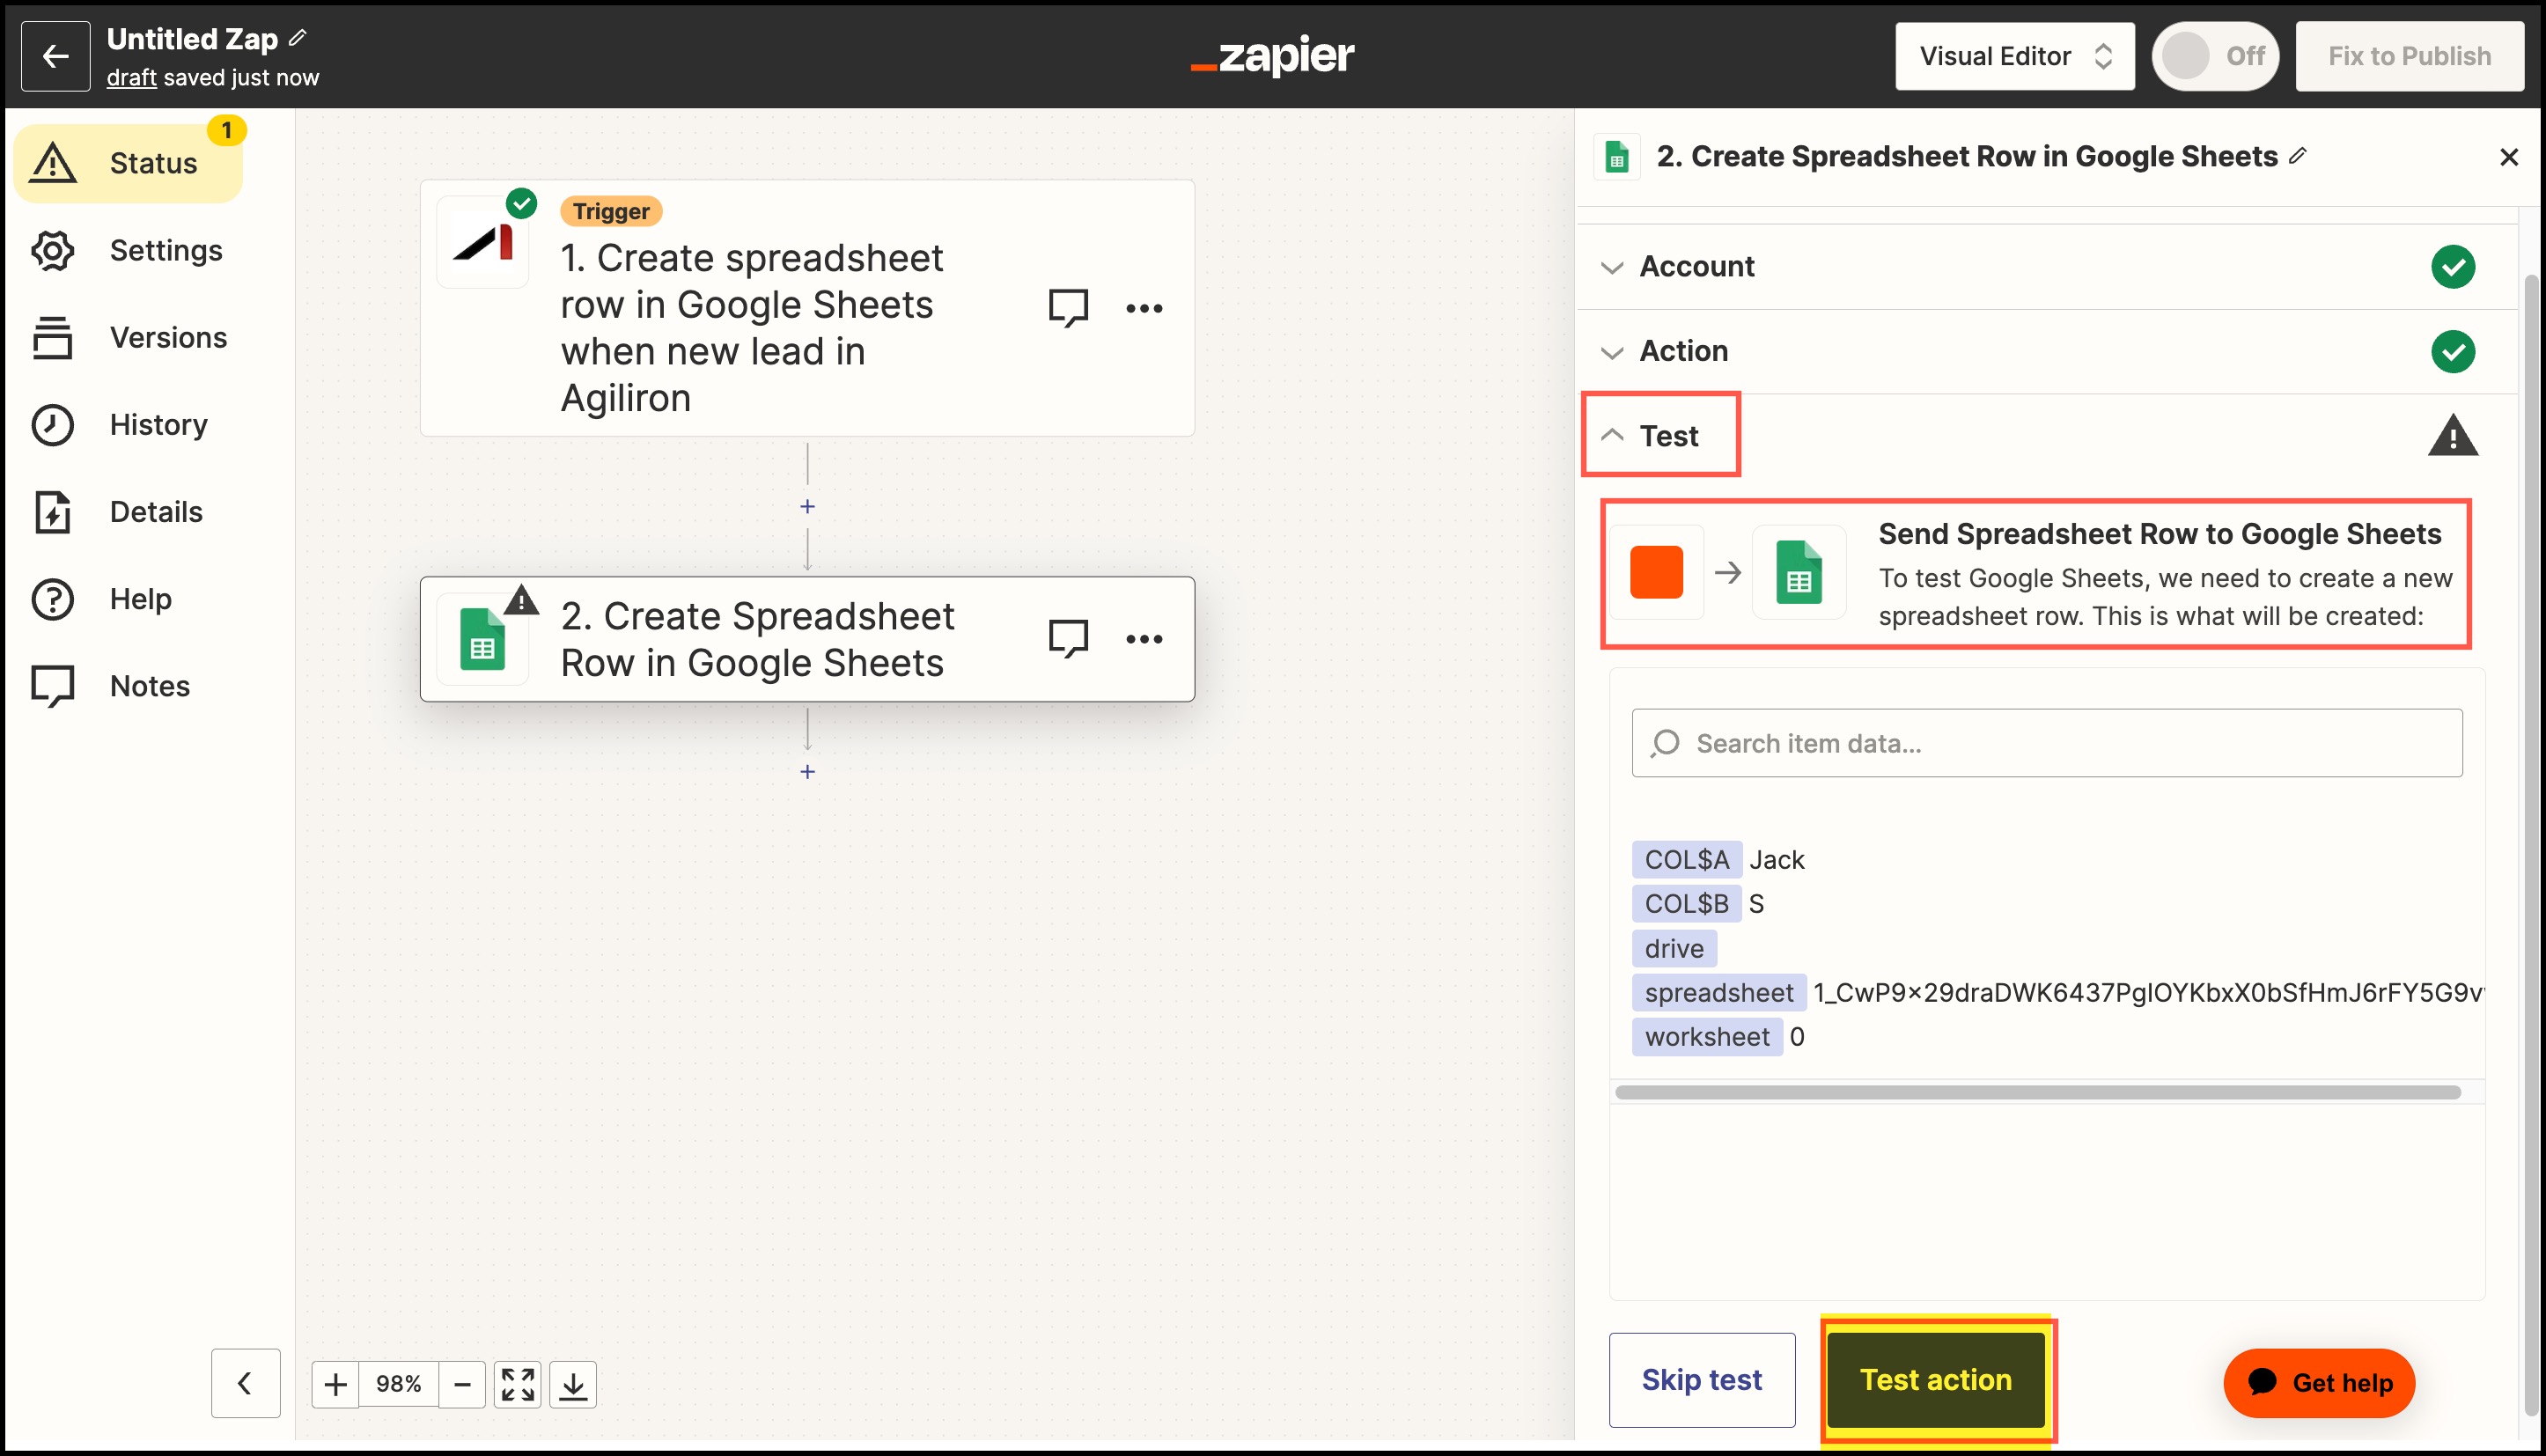
In the next step, you can test the Zap as Zapier will create an item in Google Sheets to verify everything works fine.
- Click on Test Action.
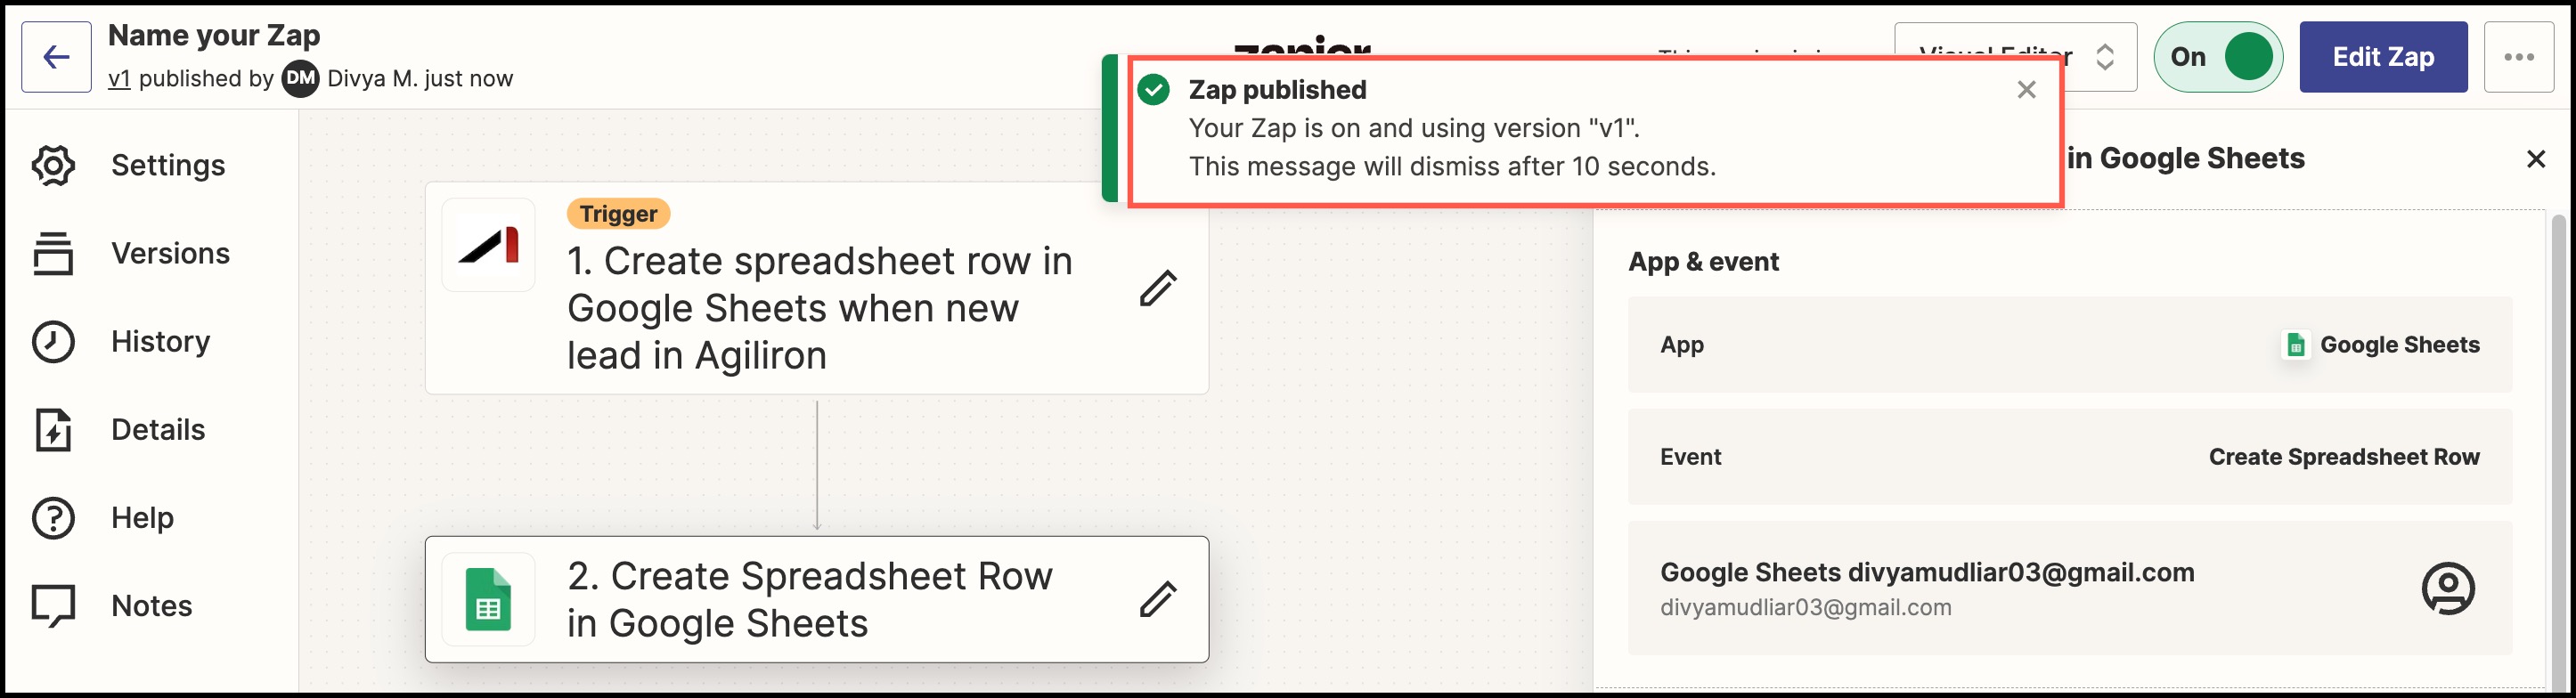
You will see a message that is highlighted below:
- Click on Publish.

The Zap is now on.
Check your Google Sheet account ->Spreadsheet. You will see the new data added in the last row.
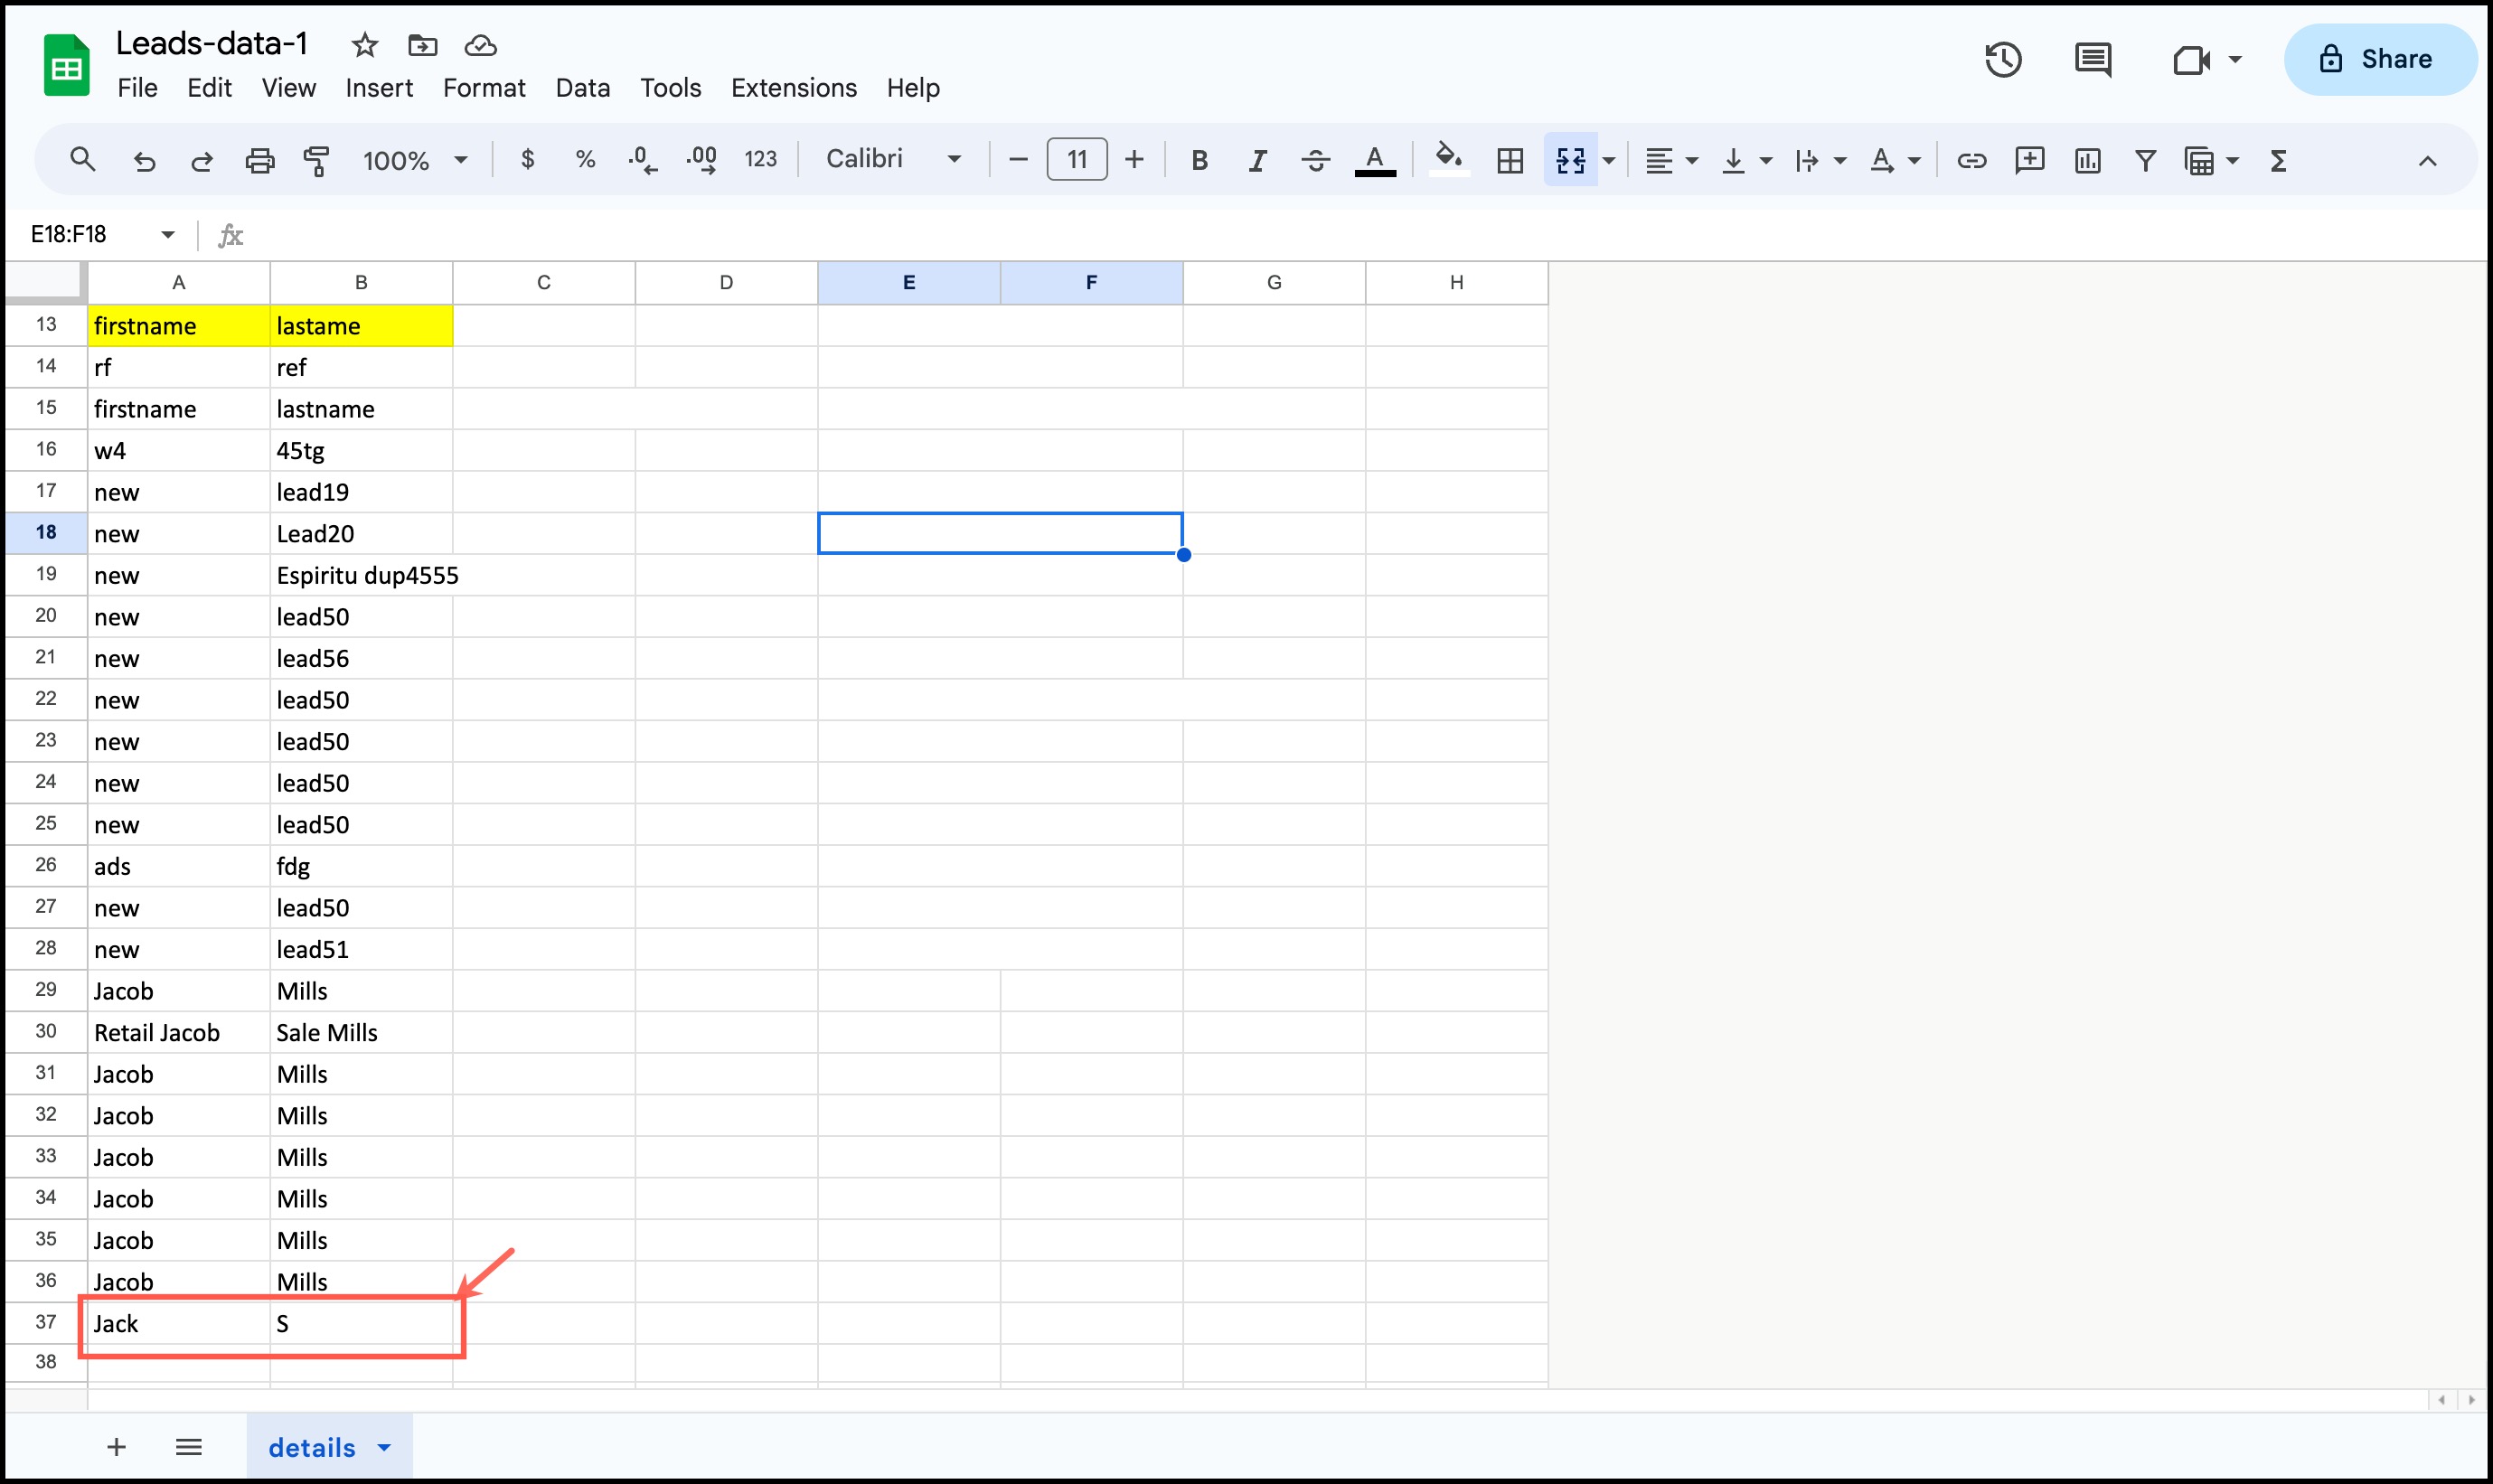
When the Zap is on, for each new lead created on the client's instance, a new row will be added automatically in the connected Google sheet.
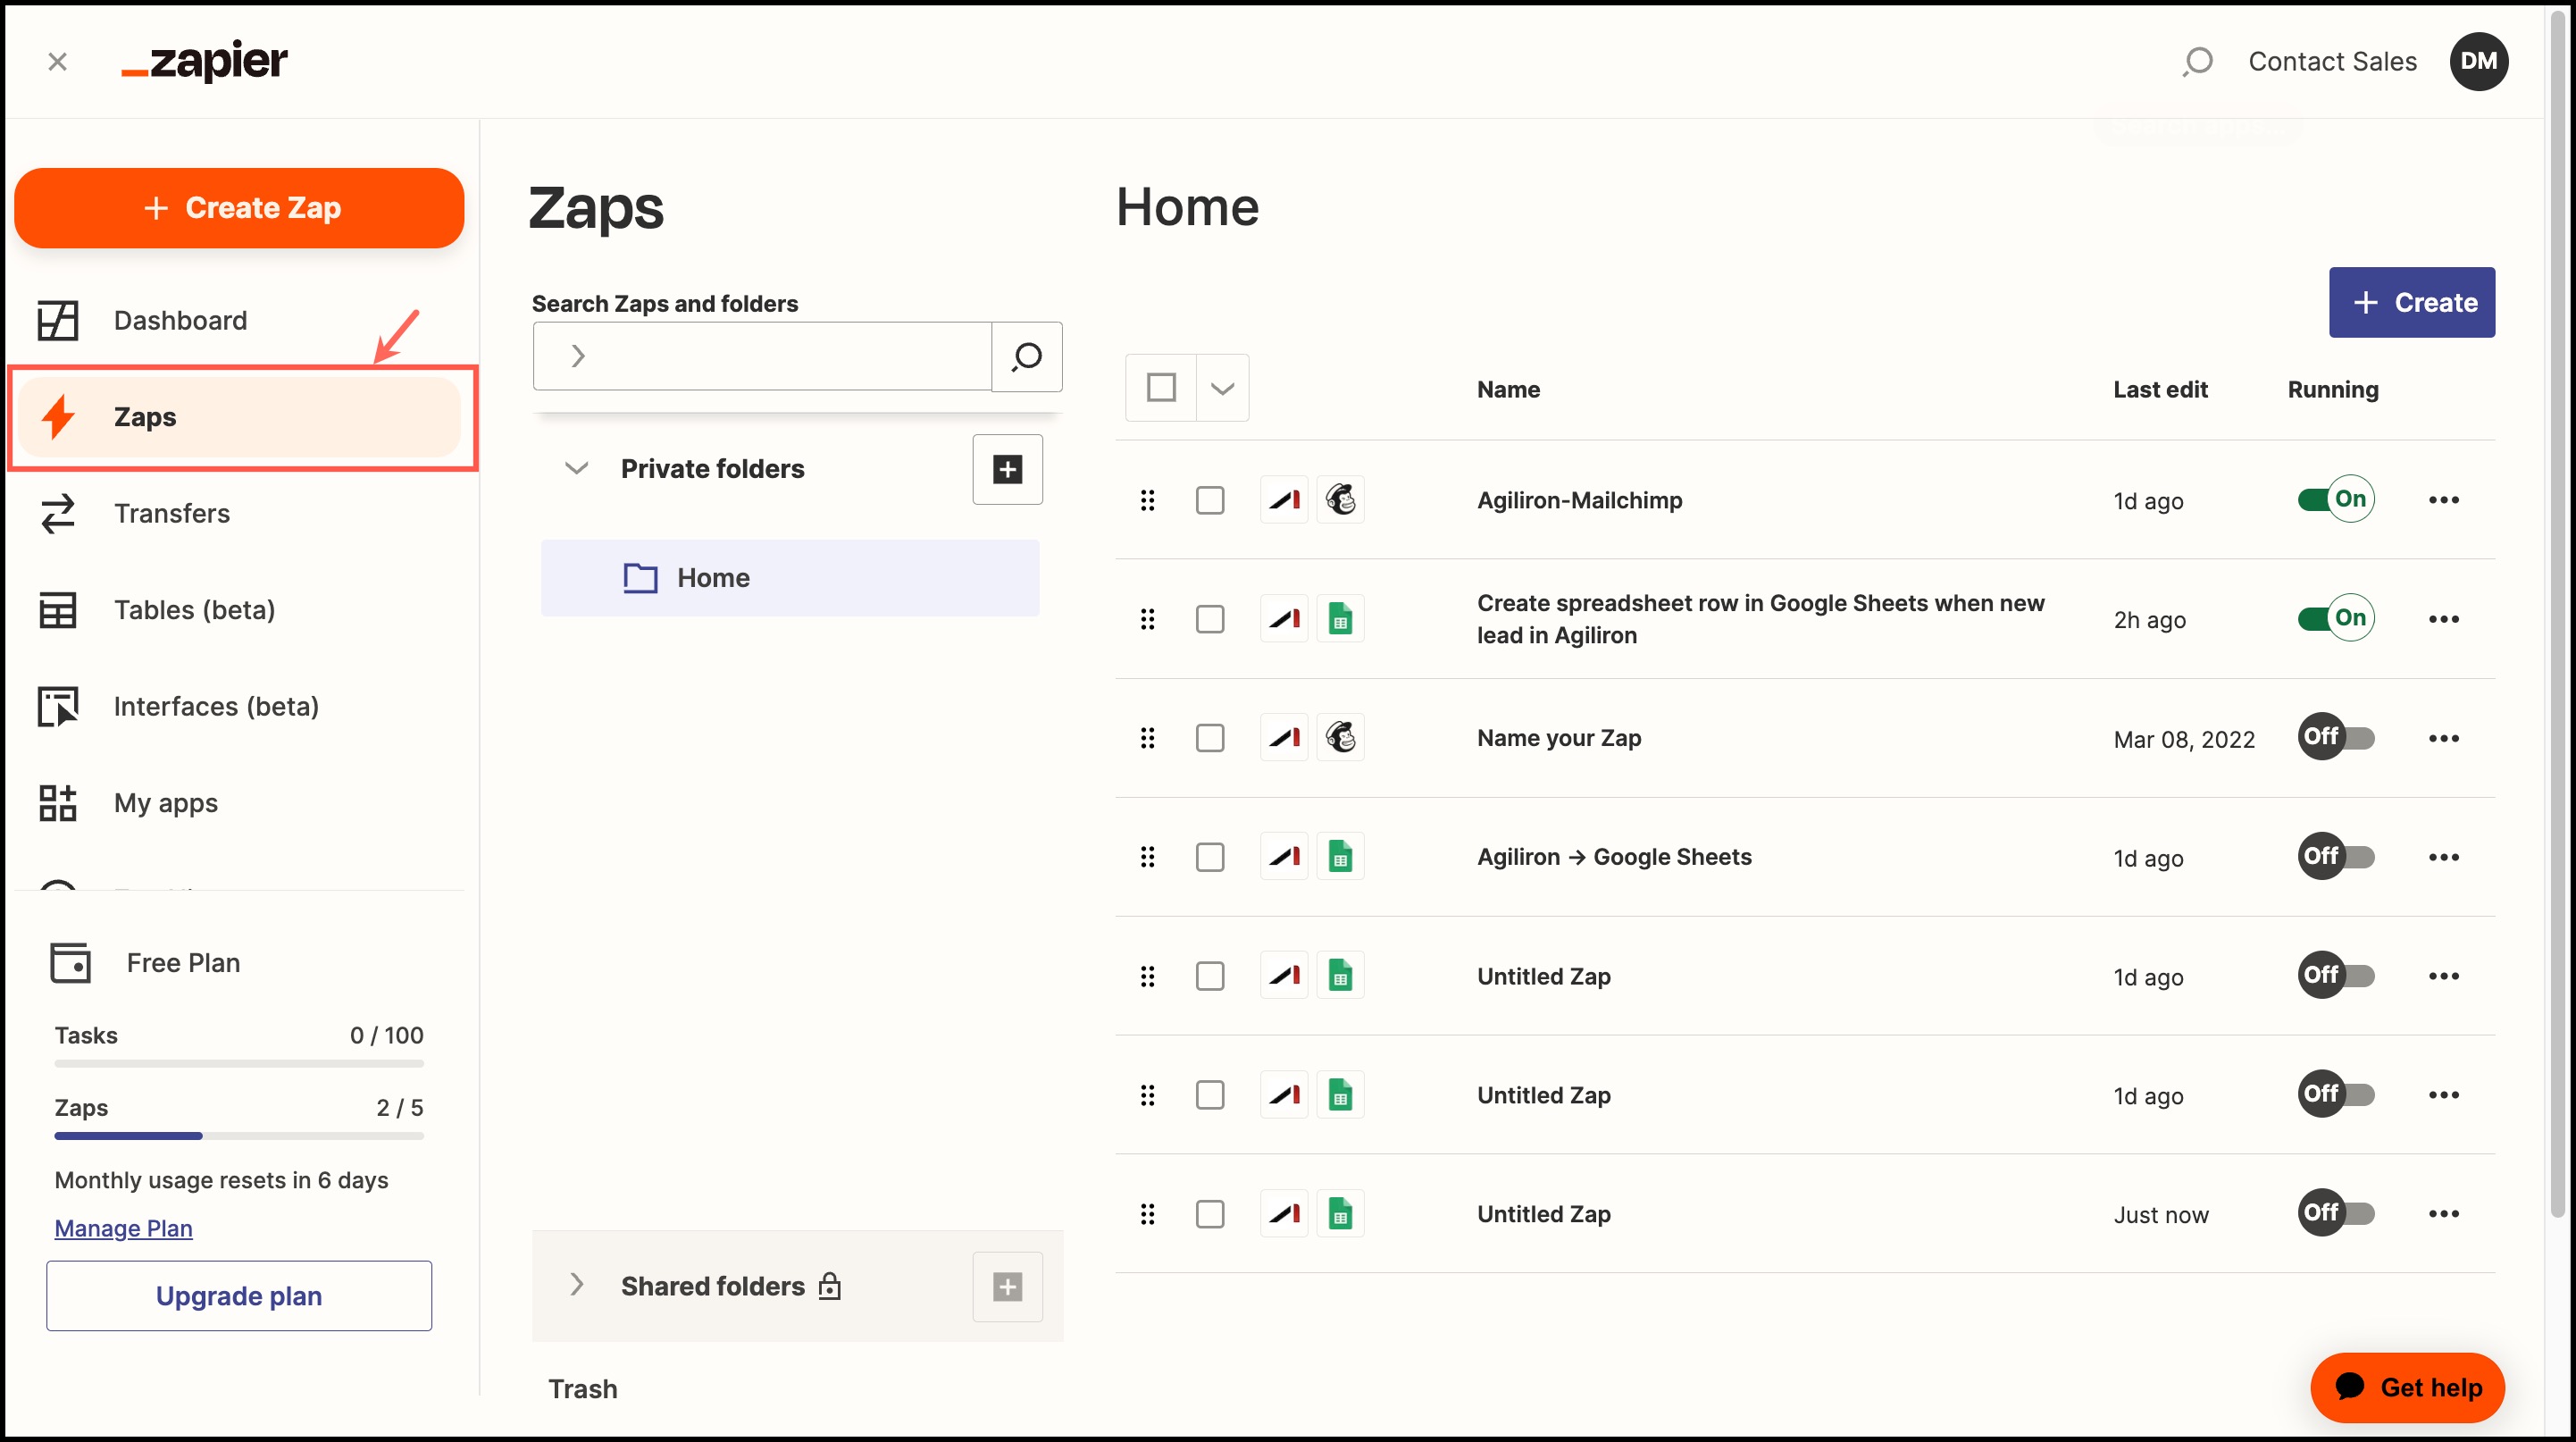
Note - Zap basically means connections. So whatever connections you build on Zapier will be visible under Zaps.
Access to Zapier within Agiliron BackOffice:
Zapier Integration is now also available on the left panel of Agiliron's back office.
Refer to the Customize Left-Panel Menu Tabs guide to know how to get Zapier Integration displayed on the left menu panel.
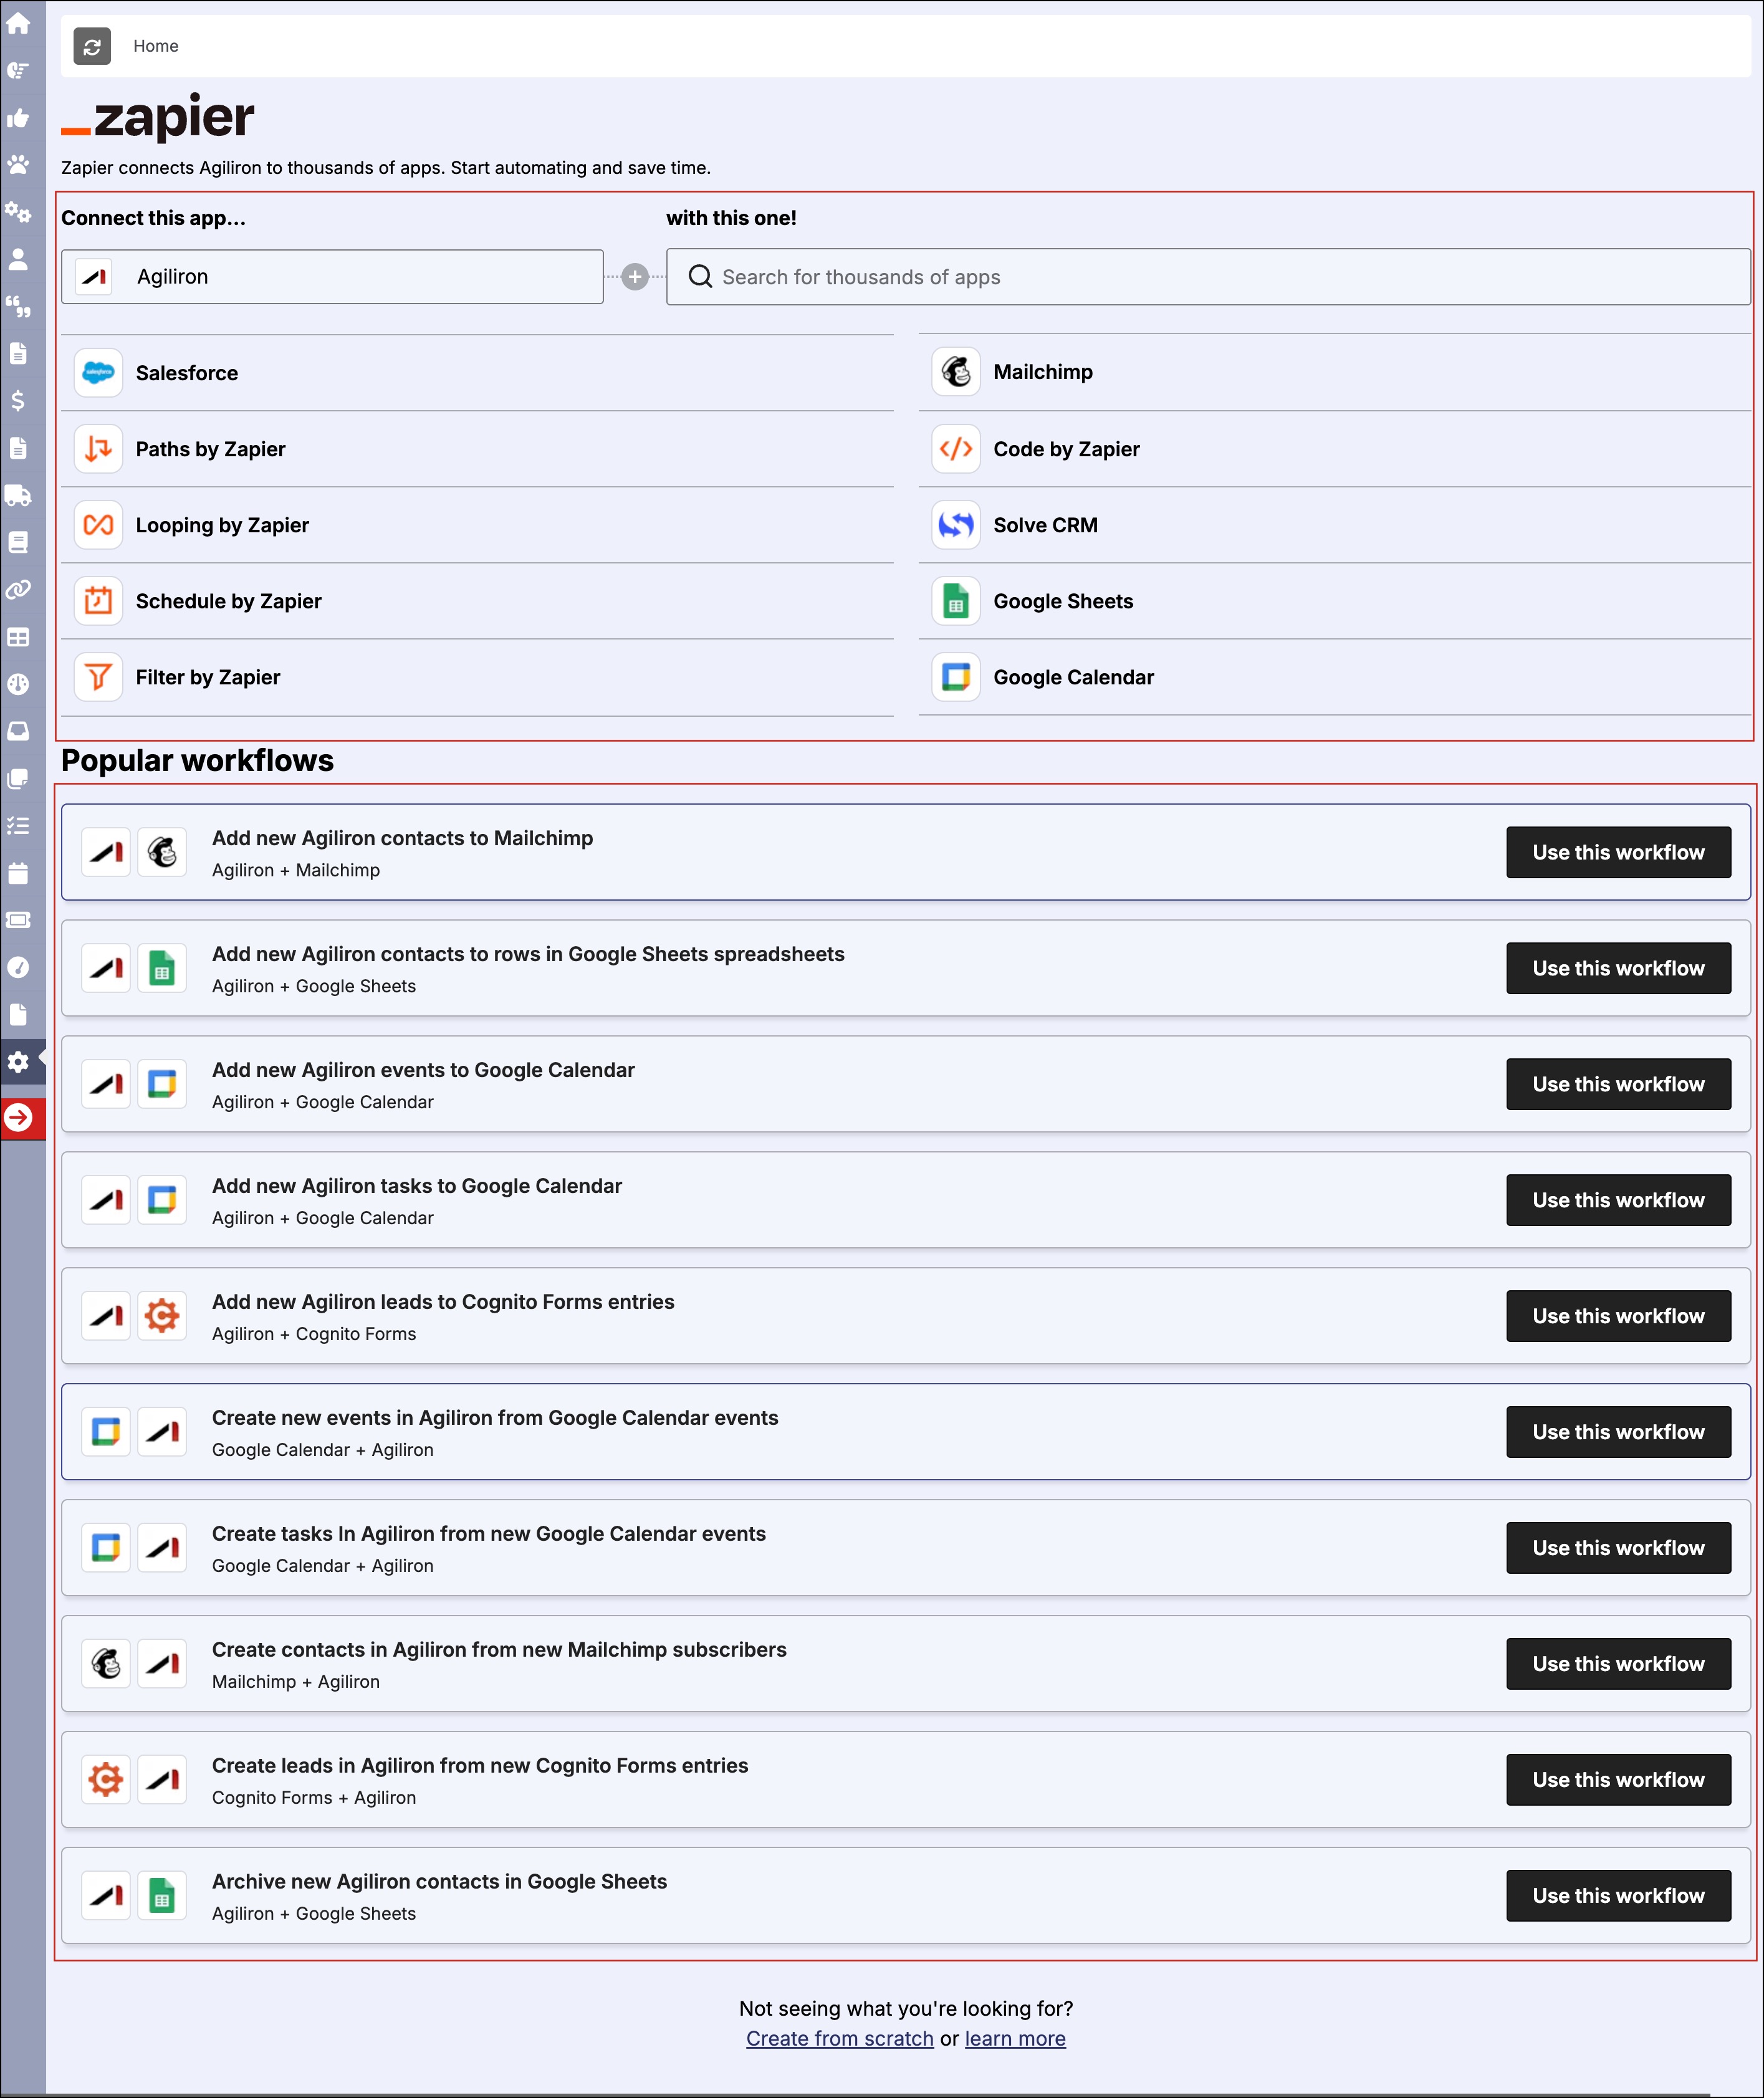
After following the process, you can see the Zapier Integration on the left-panel menu.
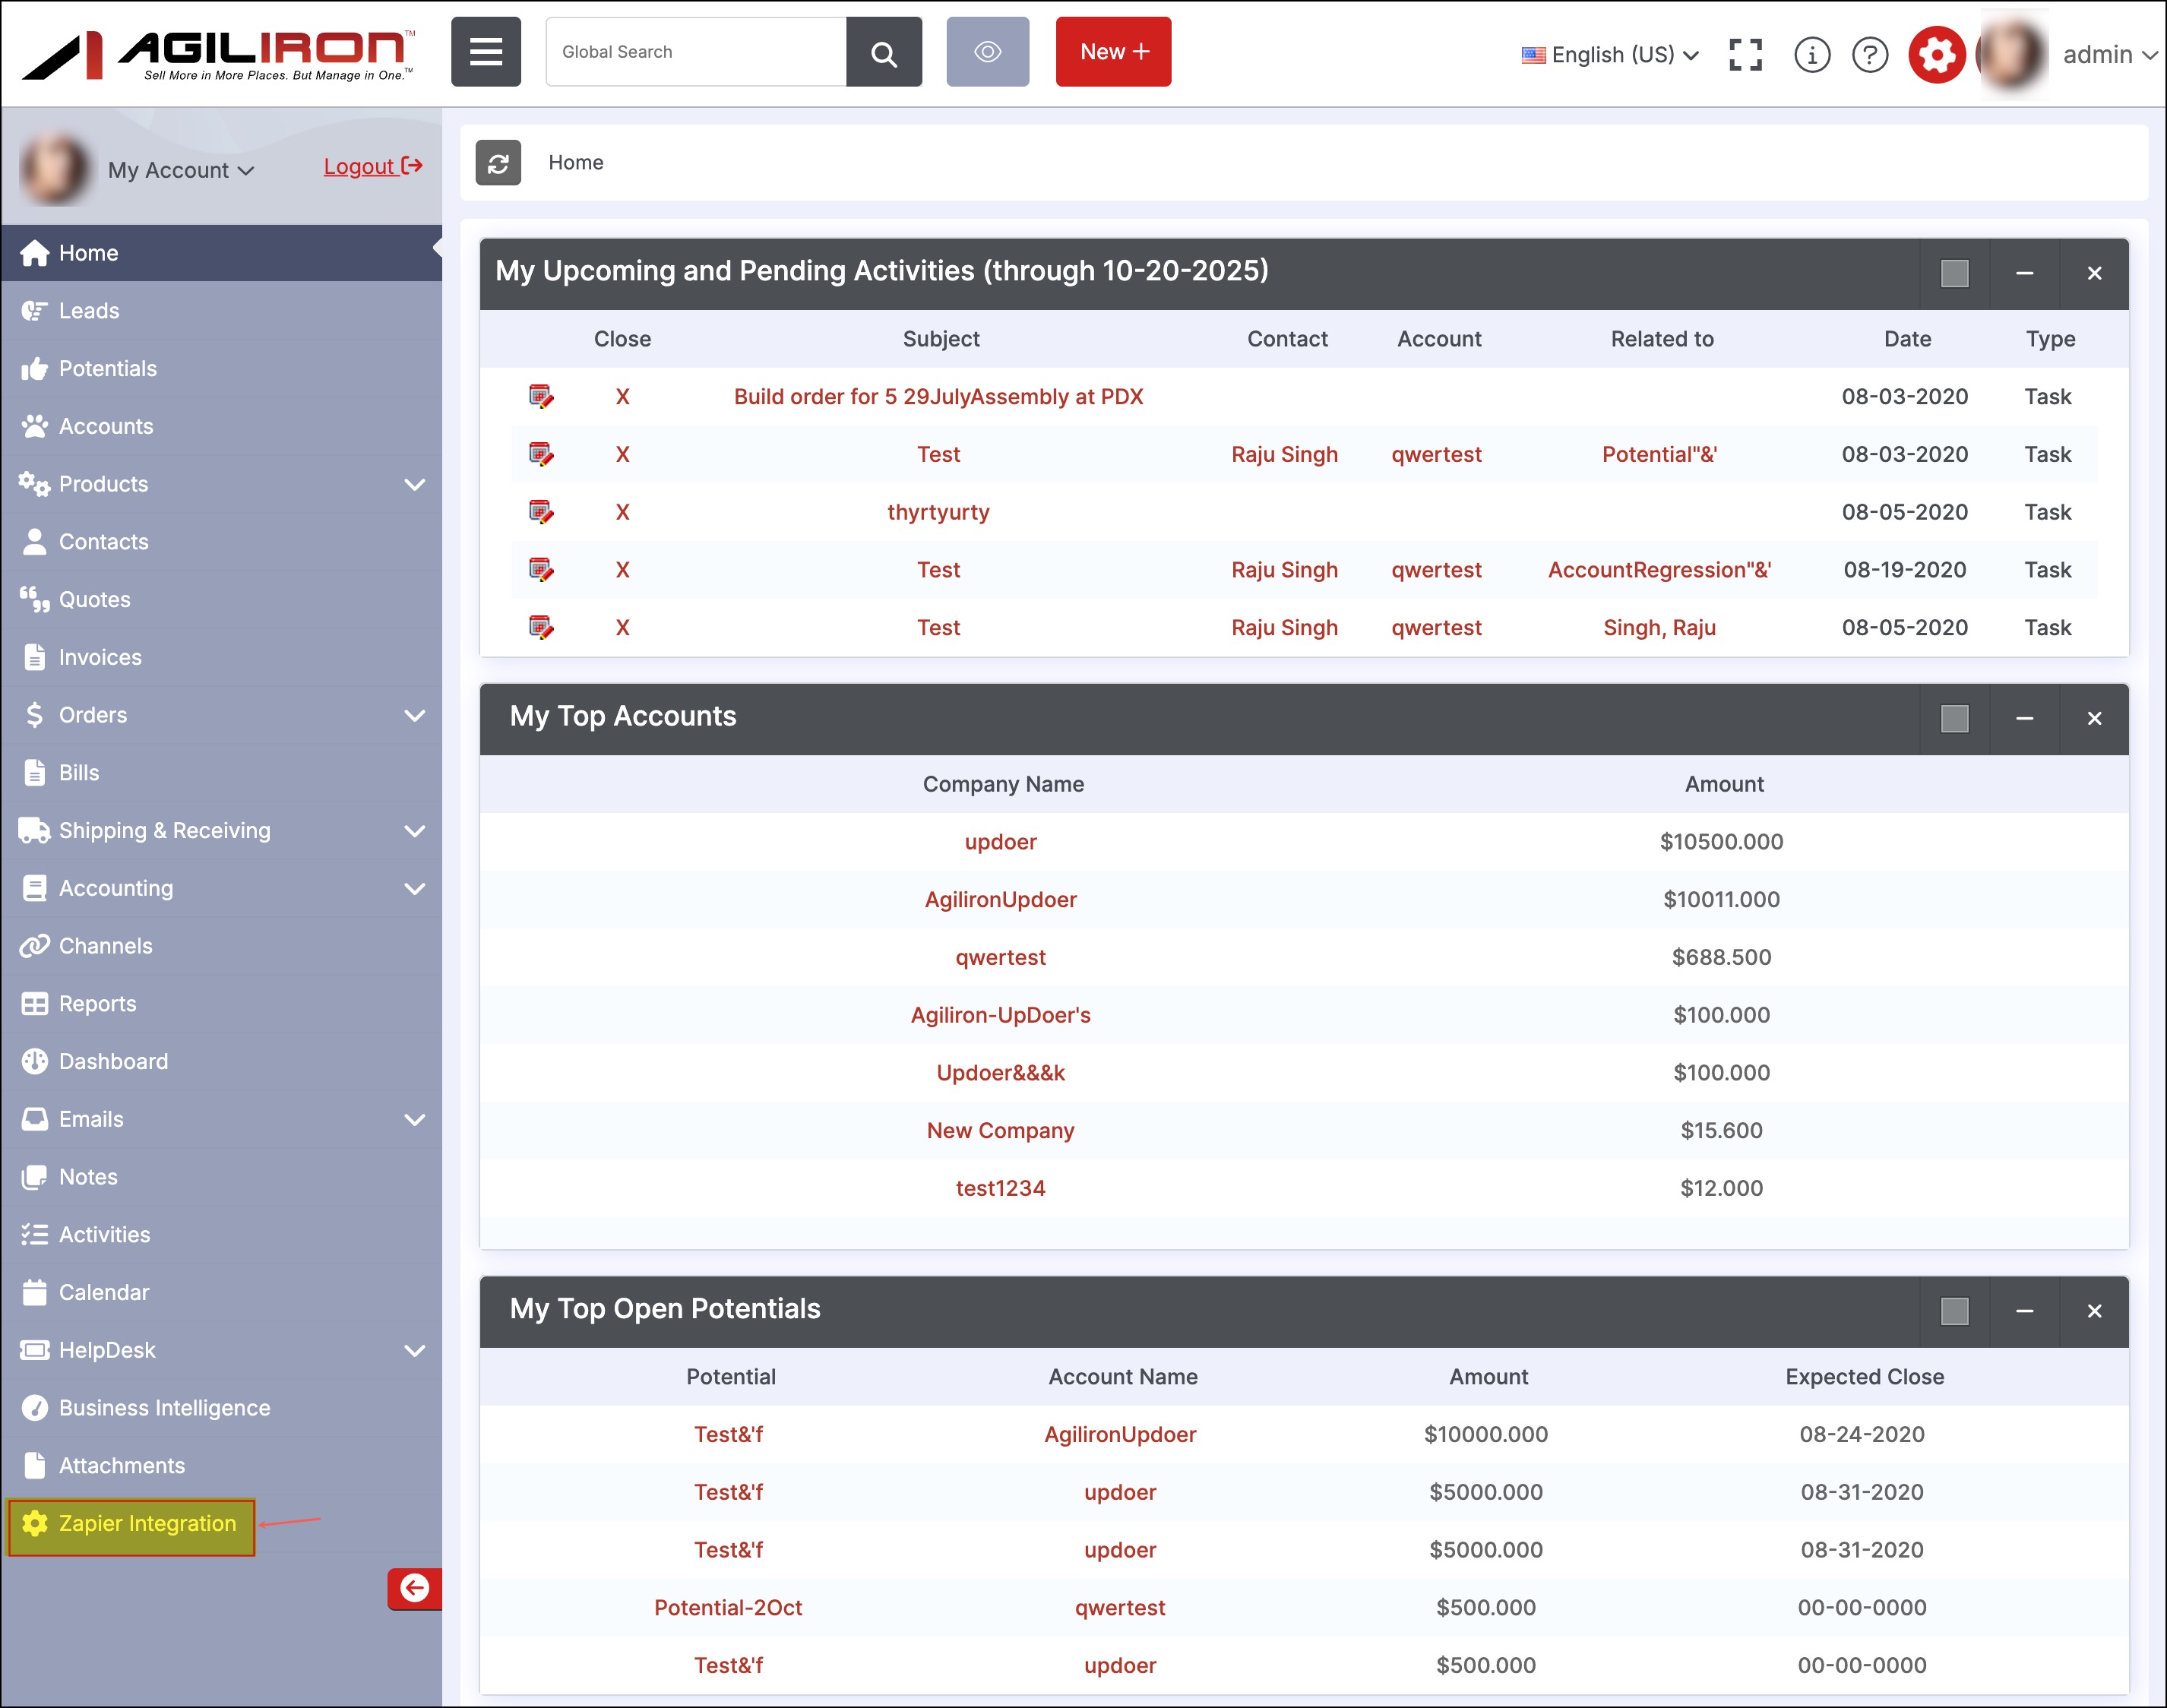
When you click on the Zapier Integration option, you will land on the page shown below.
You can connect Agiliron with any of the software options available or search for the required software/app.
There are also readymade workflows available that are popular with Agiliron users.
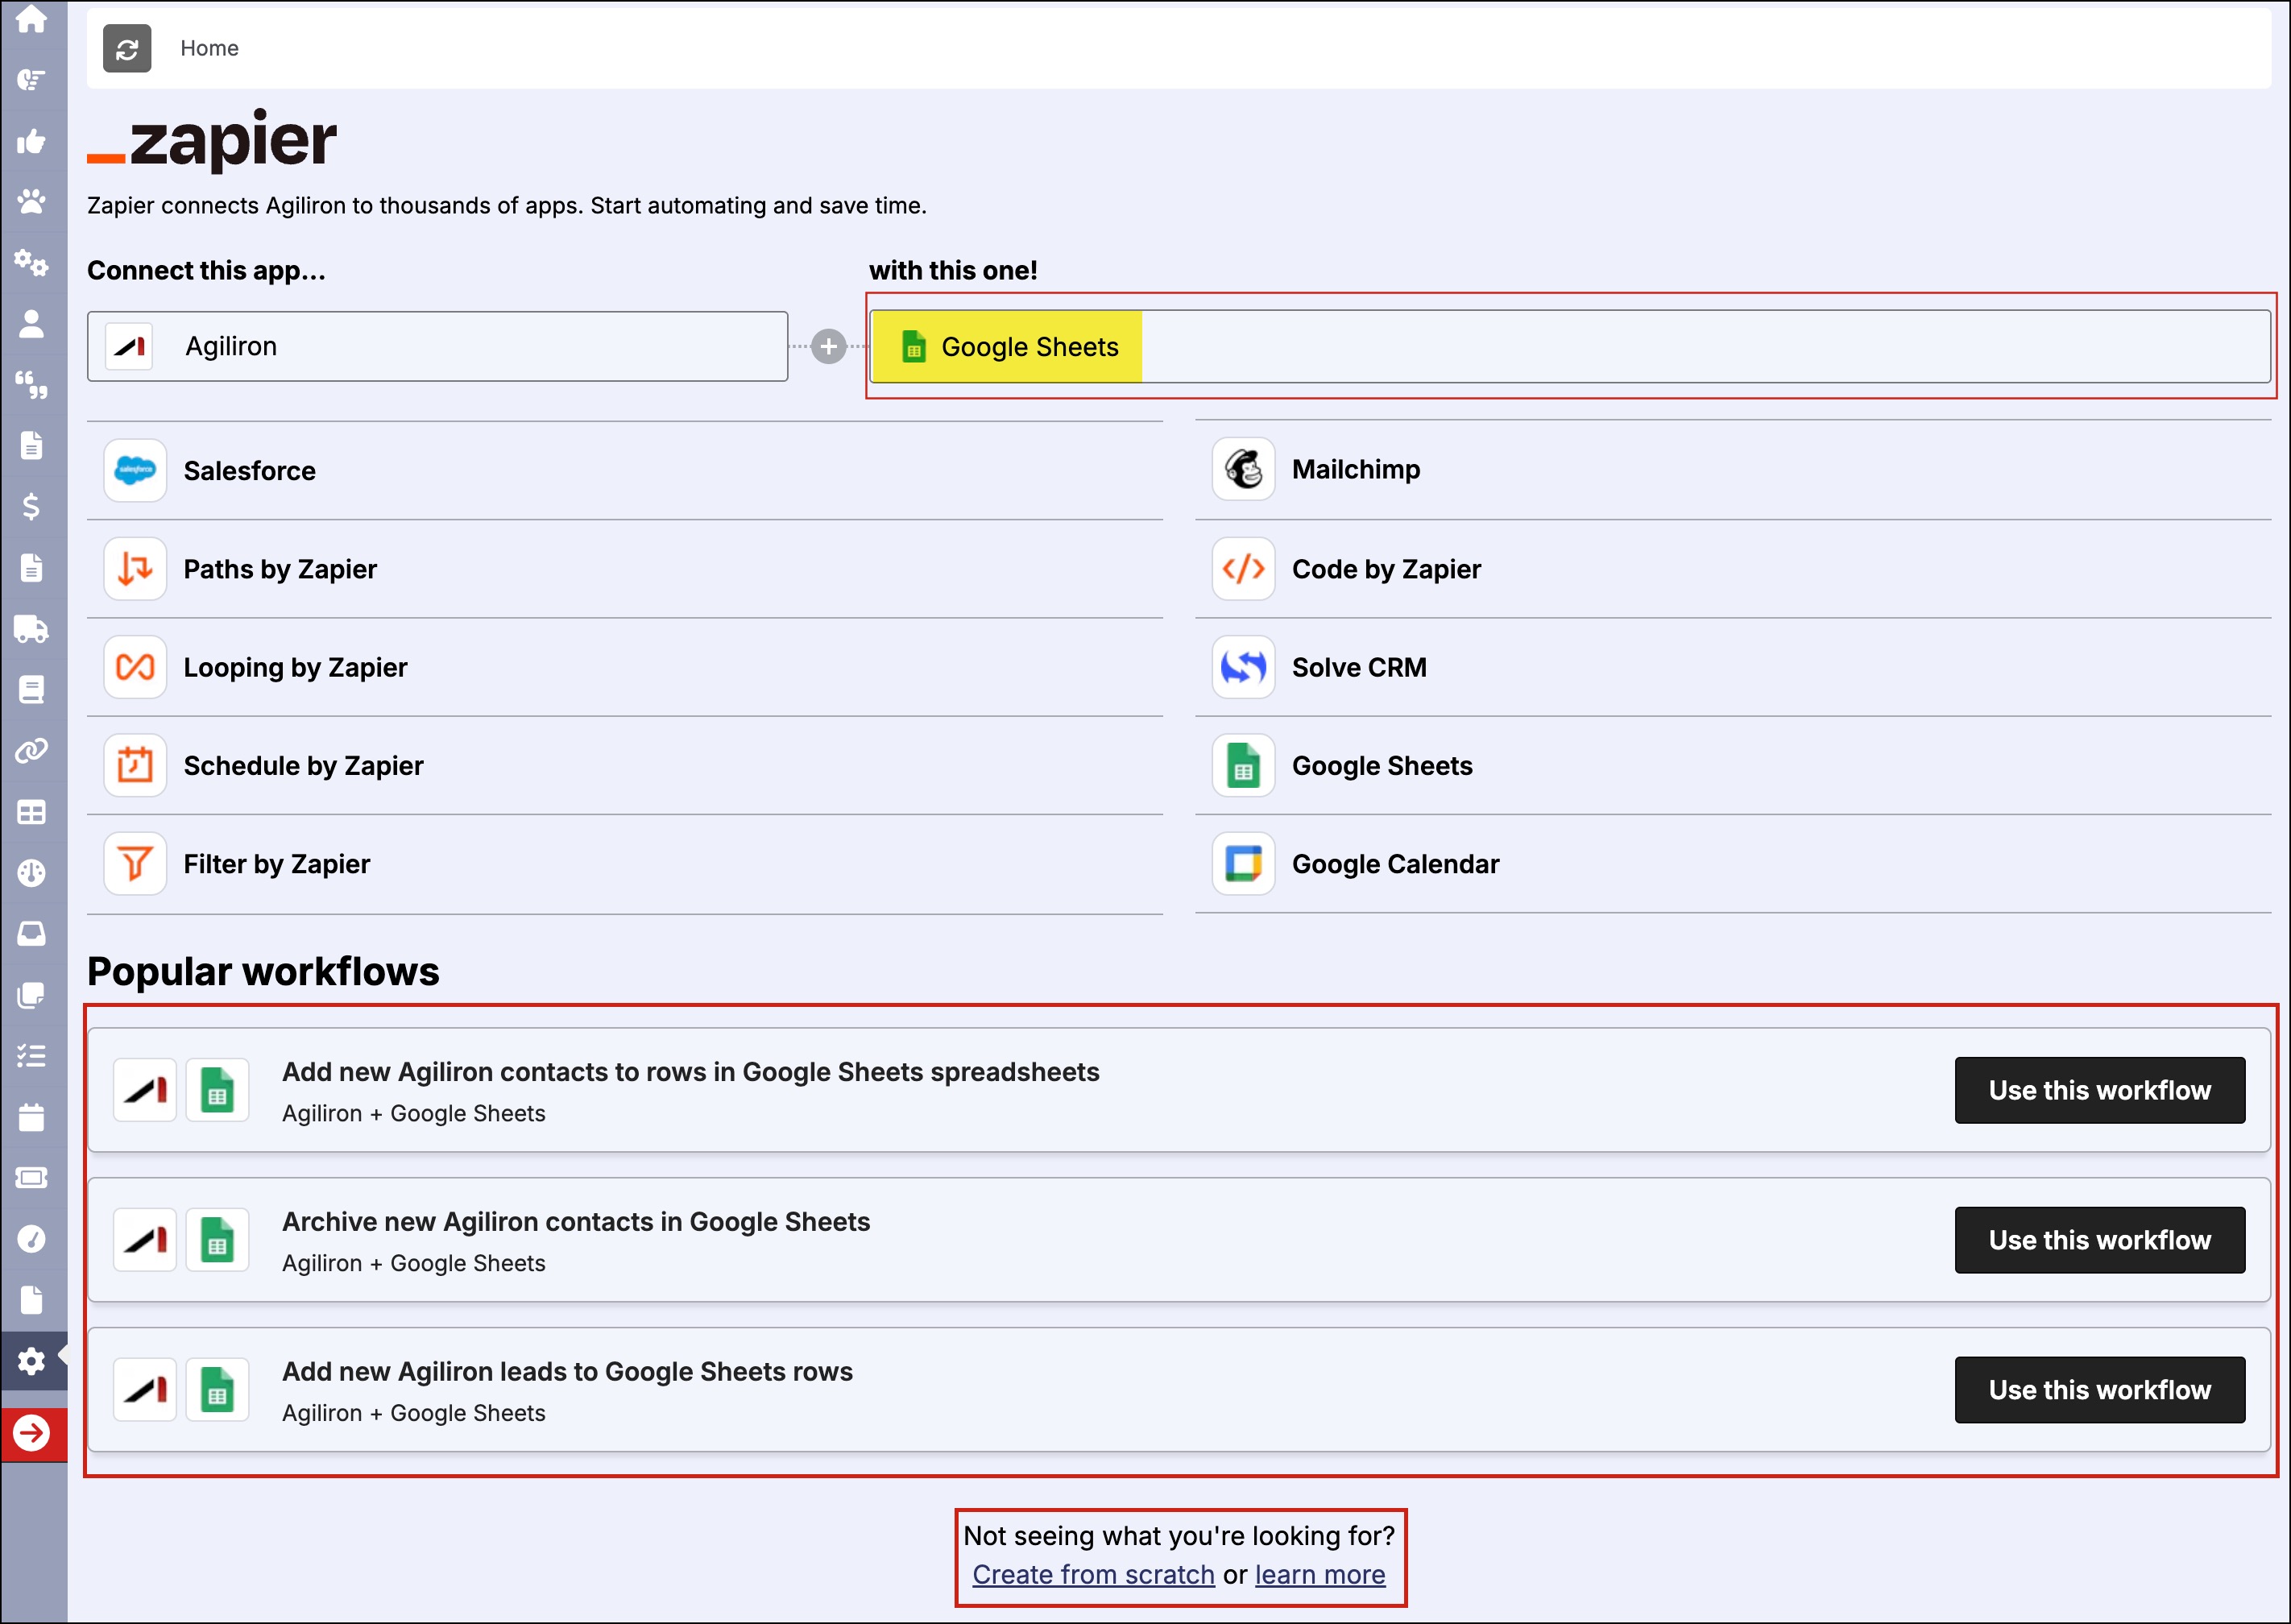
-
When you select from the shown software options, you can see the associated ready zaps/connections. Once you pick any of the Zap, the next process will be as mentioned above.
-
If you do not find what you're looking for, click on Create from Scratch. This will take you to the Zapier website.
Updated 9 months ago