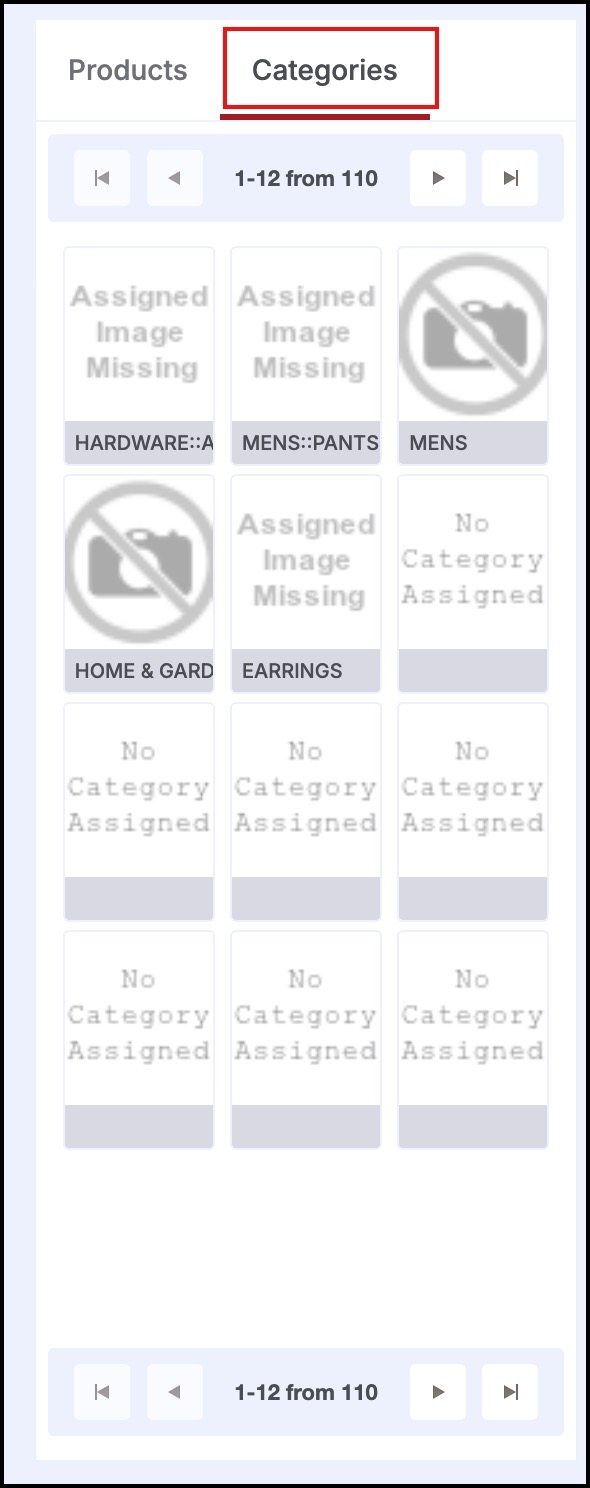
Category Tab
- From the Categories tab, click the Quick Access (QA) button for which you would like to assign a product.
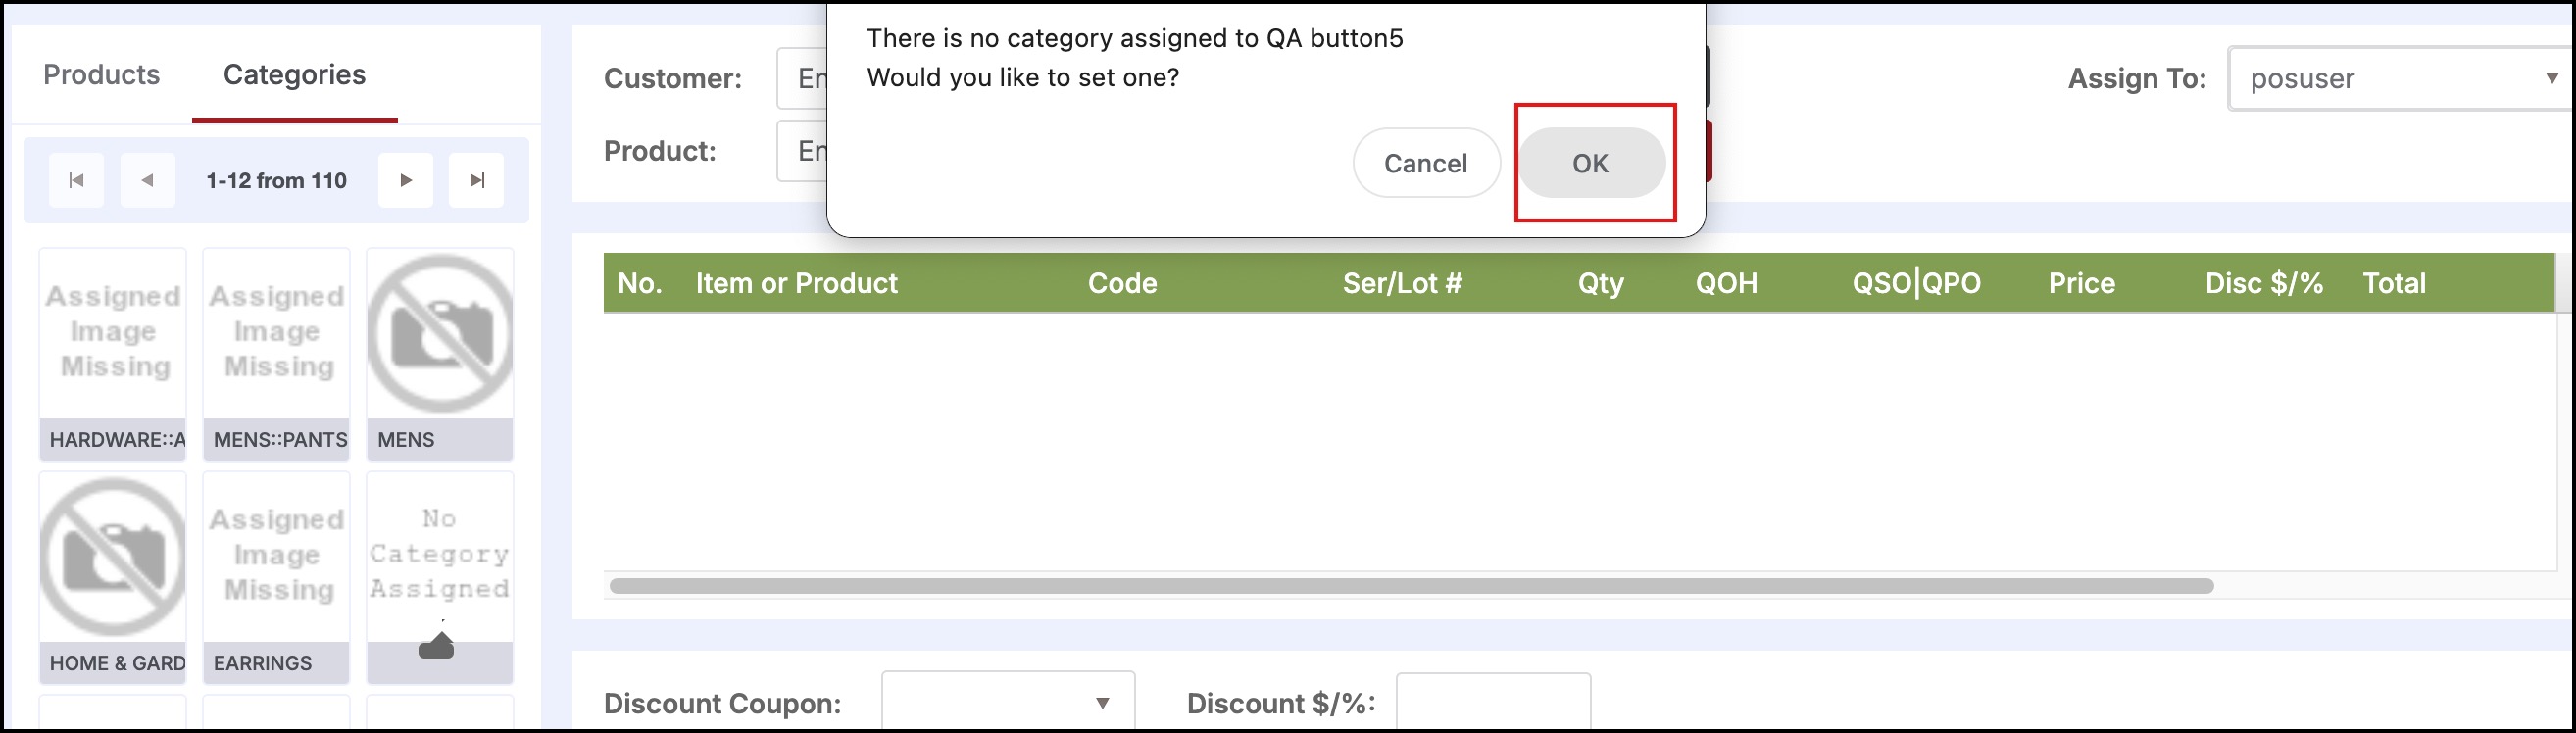
- The following popup window is displayed.
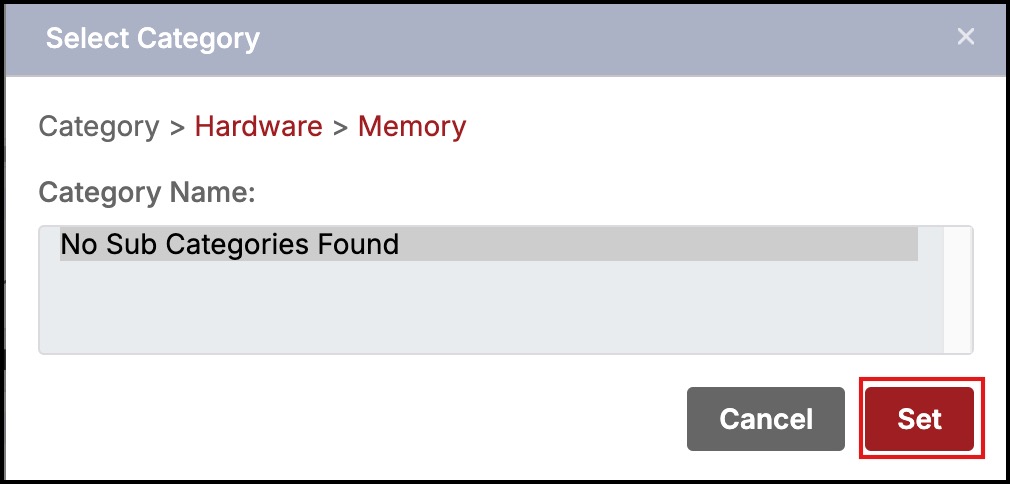
- The following window is displayed.
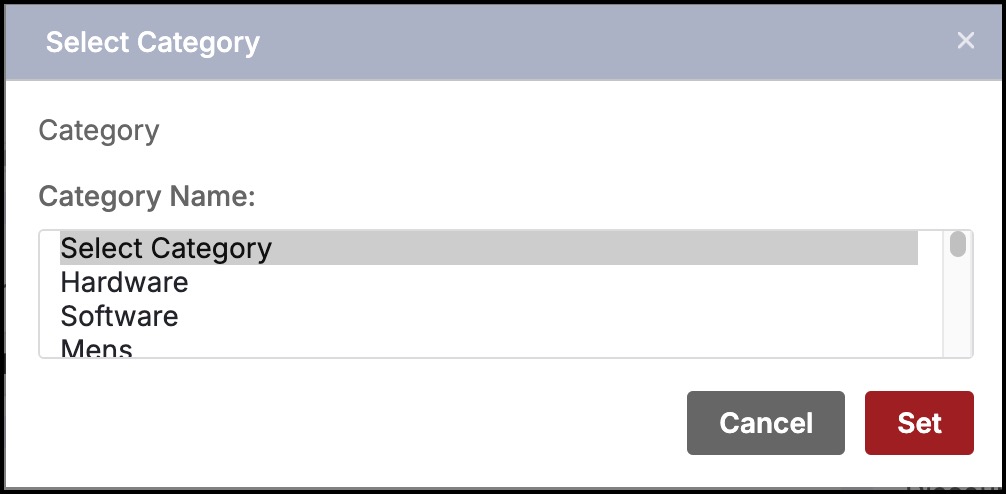
- Select the category name from the Category Name dropdown list. The following list is displayed.
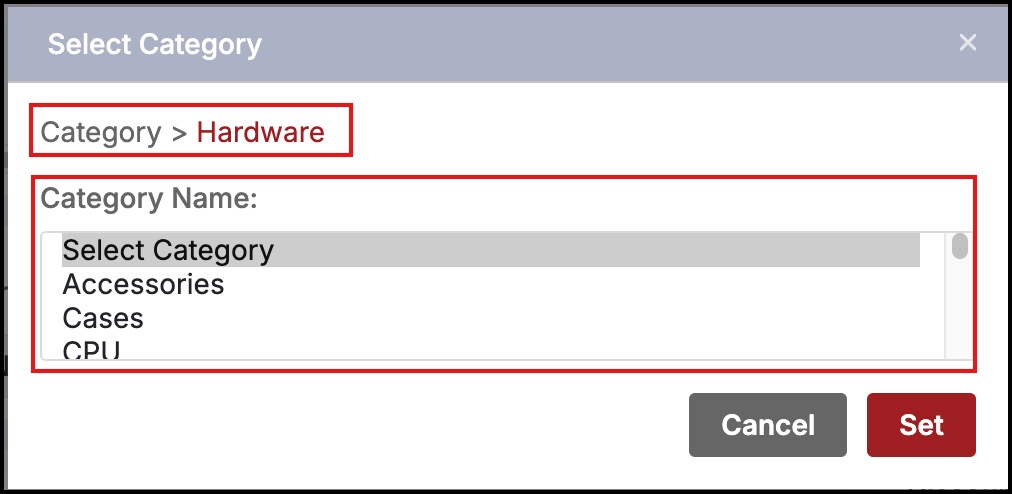
- Select the required category name from the Category Name dropdown list.
- Click Set. This assigns the product to the QA button.
Once a category has been assigned to a button, the button can then be selected to add the product to the purchase ticket.
- There are 110 buttons available to be assigned to various categories spread across the numbered tabs (1, 2, 3, 4, 5).
- The buttons can be reassigned to other categories by "Ctrl+Click" on the button followed by selecting a new category as described above.
- The button's assignment or association with a category can be deleted by "Shift+Click" on the button.
- These QA button settings are saved for the POS channel and will be available next time a sales associate logs in at that location.
- Note: QA settings require the browser to be closed for MS Internet Explorer to save the settings.
- As the user moves the mouse over the button, a popup will display the "Category Hierarchy" (e.g. "Hardware::Accessories::Hard Drives").
Updated over 1 year ago