Setting Up Classes
Sales orders from Agiliron can be tracked by Class in QuickBooks Desktop and Online.
- To enable class tracking in Agiliron, please contact [email protected].
Once class tracking is enabled in Agiliron, make sure it is also enabled in QuickBooks.
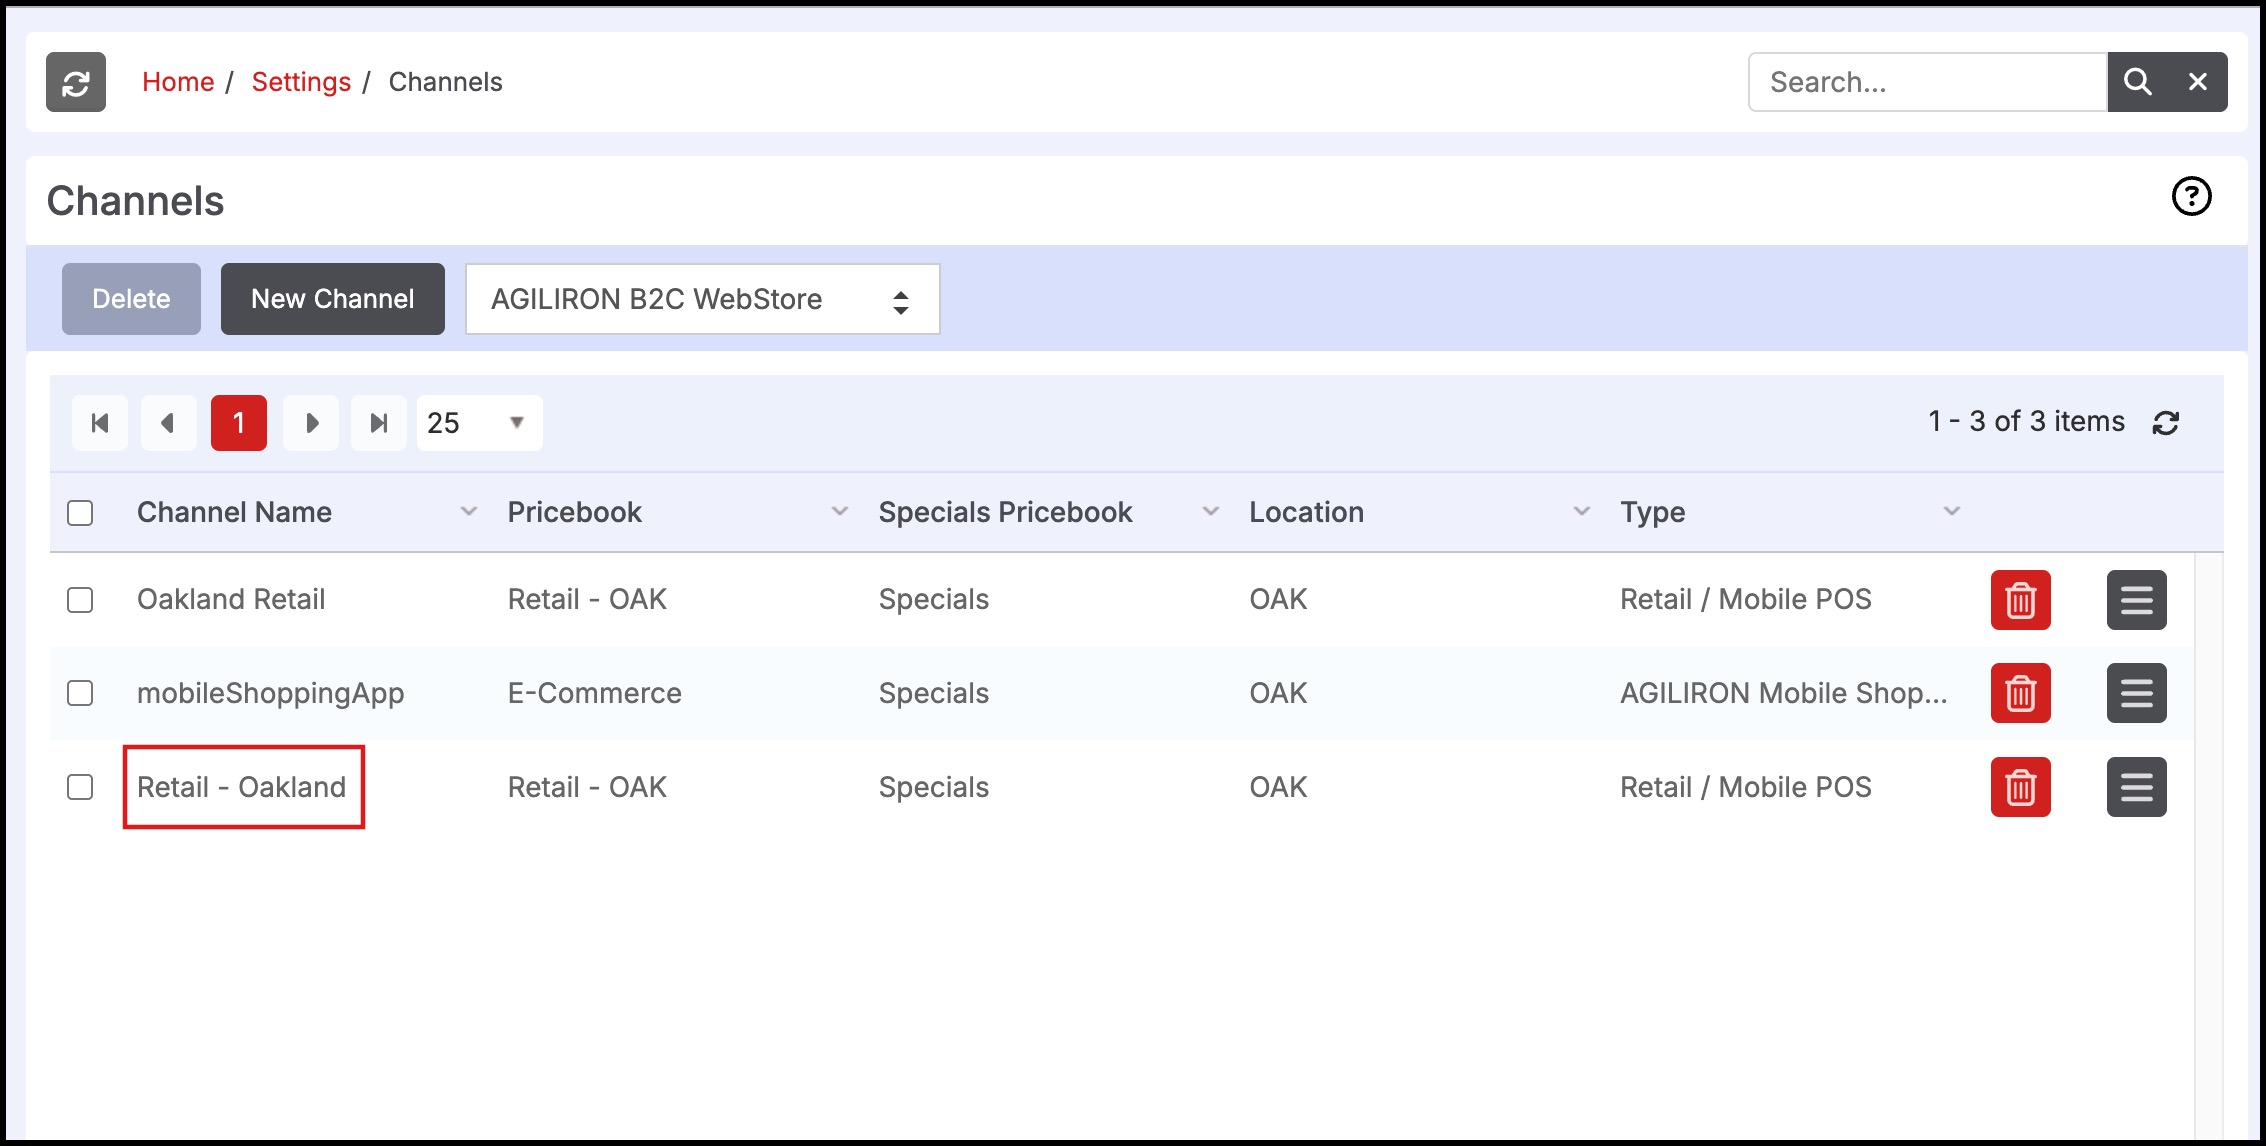
- Create the classes in QuickBooks, the class name must match the sales channel name that was created under Settings > Channels in Agiliron.
- QuickBooks Online Class name example below.
- Once the classes have been created in QuickBooks, perform a sync between Agiliron and QuickBooks to update the Agiliron database with the class information.
- If using QuickBooks Online, navigate to Settings > QuickBooks in Agiliron, click the Set Up tab, and click the "Sync from QuickBooks" button.
- If using QuickBooks Desktop, open the Agiliron Desktop Sync App and select the "Sync QuickBooks Lists to Agiliron" tab and click "Sync to Agiliron".
- Once this step is complete orders are ready to be synced to Agiliron.
- For QuickBooks Online:
- Sales Receipts/Invoices created should have the Class column reflect the Channel it came from when synced to QuickBooks.
- Credit Memo/Refund Receipts should have the Class column reflect the Channel it came from when synced to QuickBooks.
- This is applicable for Sales Returns created from previous Sales Orders in the system - the Channel information from the related Sales Orders is used.
- For QuickBooks Desktop:
- Sales Receipts/Invoices created should have the Class column reflect the Channel it came from when synced to QuickBooks.
- Credit Memo/Refund Receipts should have the Class column reflect the Channel it came from when synced to QuickBooks.
- This is applicable for Sales Returns created from previous Sales Orders in the system - the Channel information from the related Sales Orders is used.
- COGS/Inventory Asset Journal Entry should also have the Class displaying the Channel for that order when synced to QuickBooks.
Updated about 1 year ago