Sending Email to Customers
To send and use Email from the Agiliron system, activate the "Emails" tab using the capability as described in Customize Left-Panel Menu Tabs section.
You will then see the "Emails" tab as shown below.
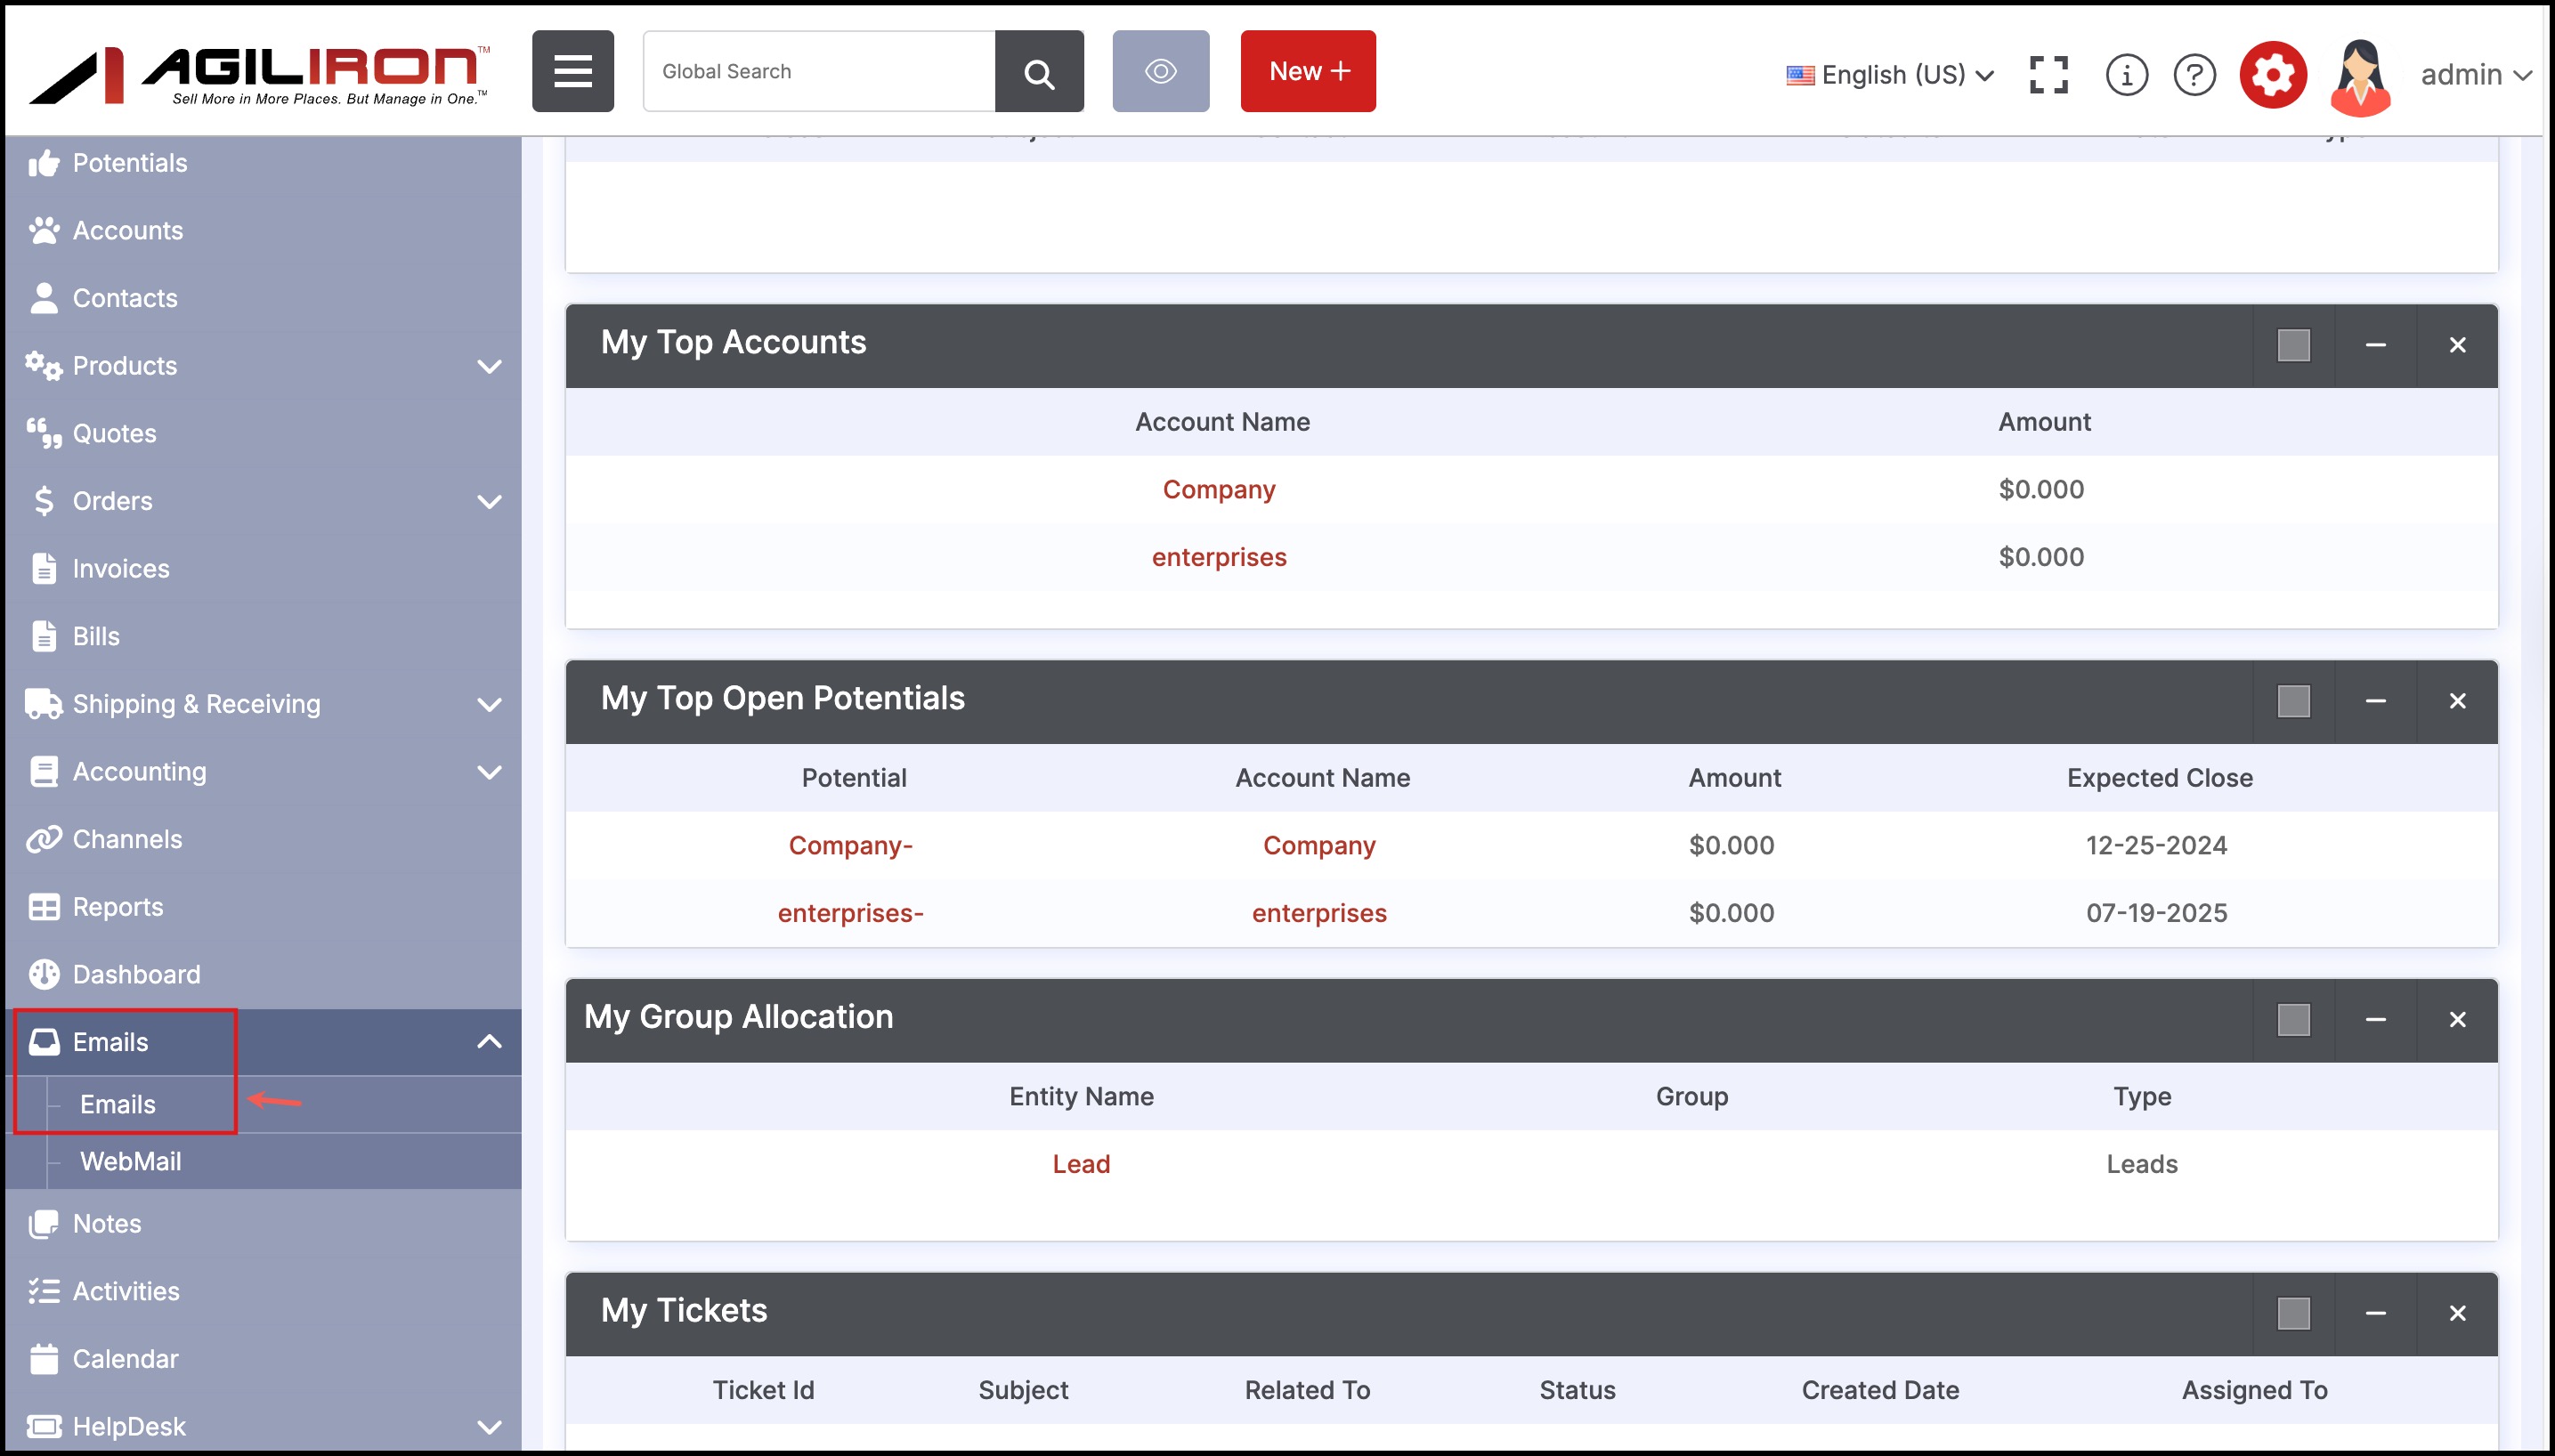
If you select the "Emails" tab, the screen shown below is presented to the user.
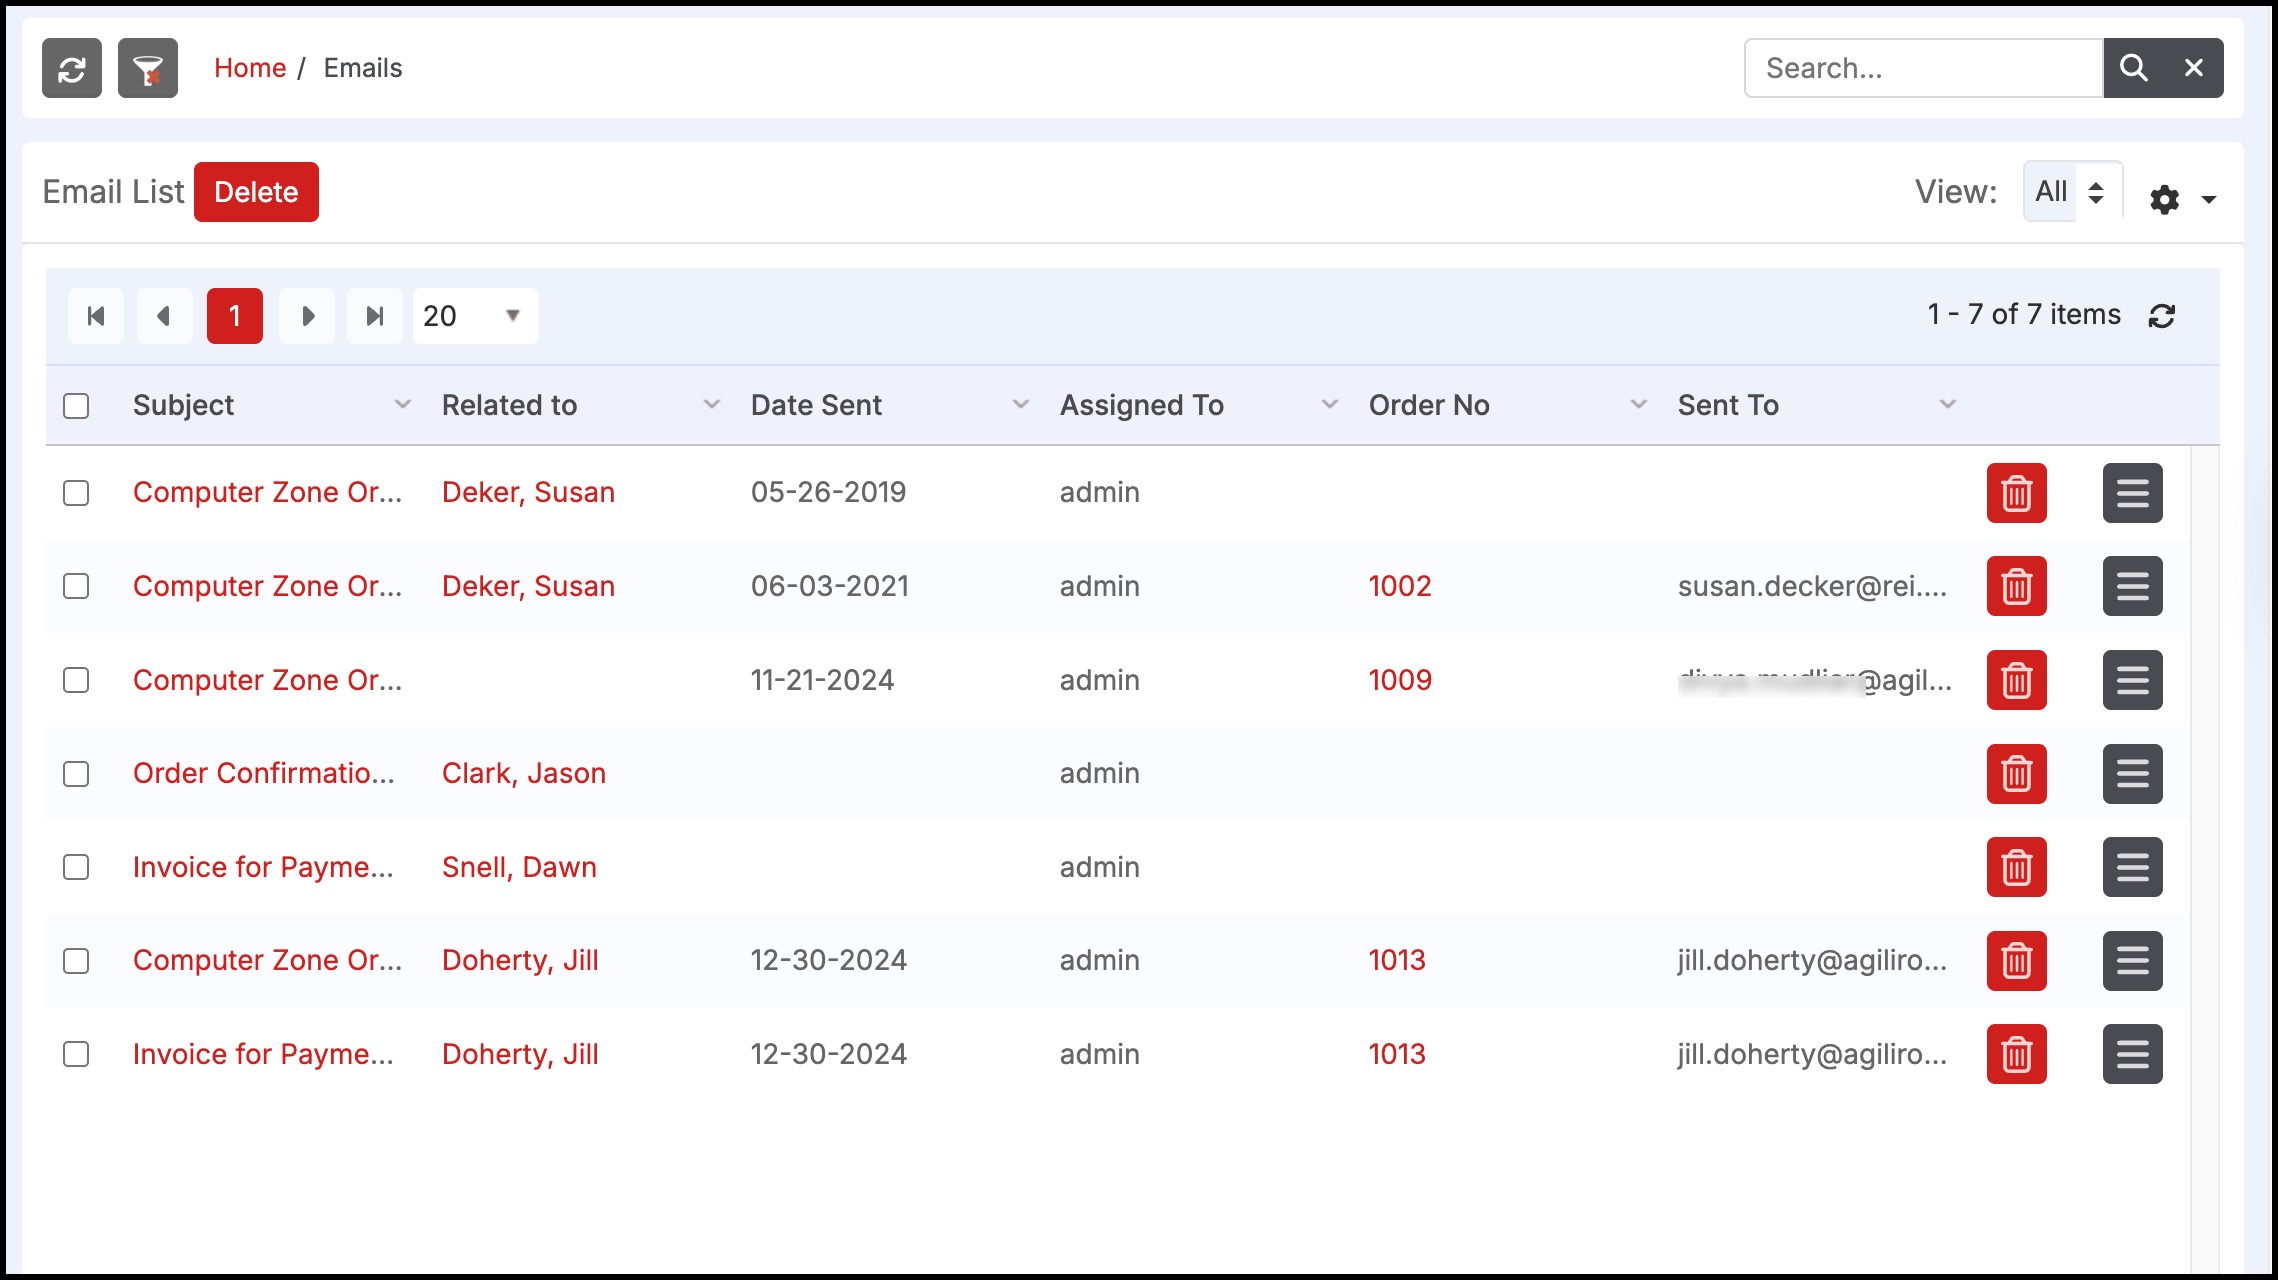
The "Emails" tab here shows the emails sent out from the system. To create a new email, select the "New Email" link.
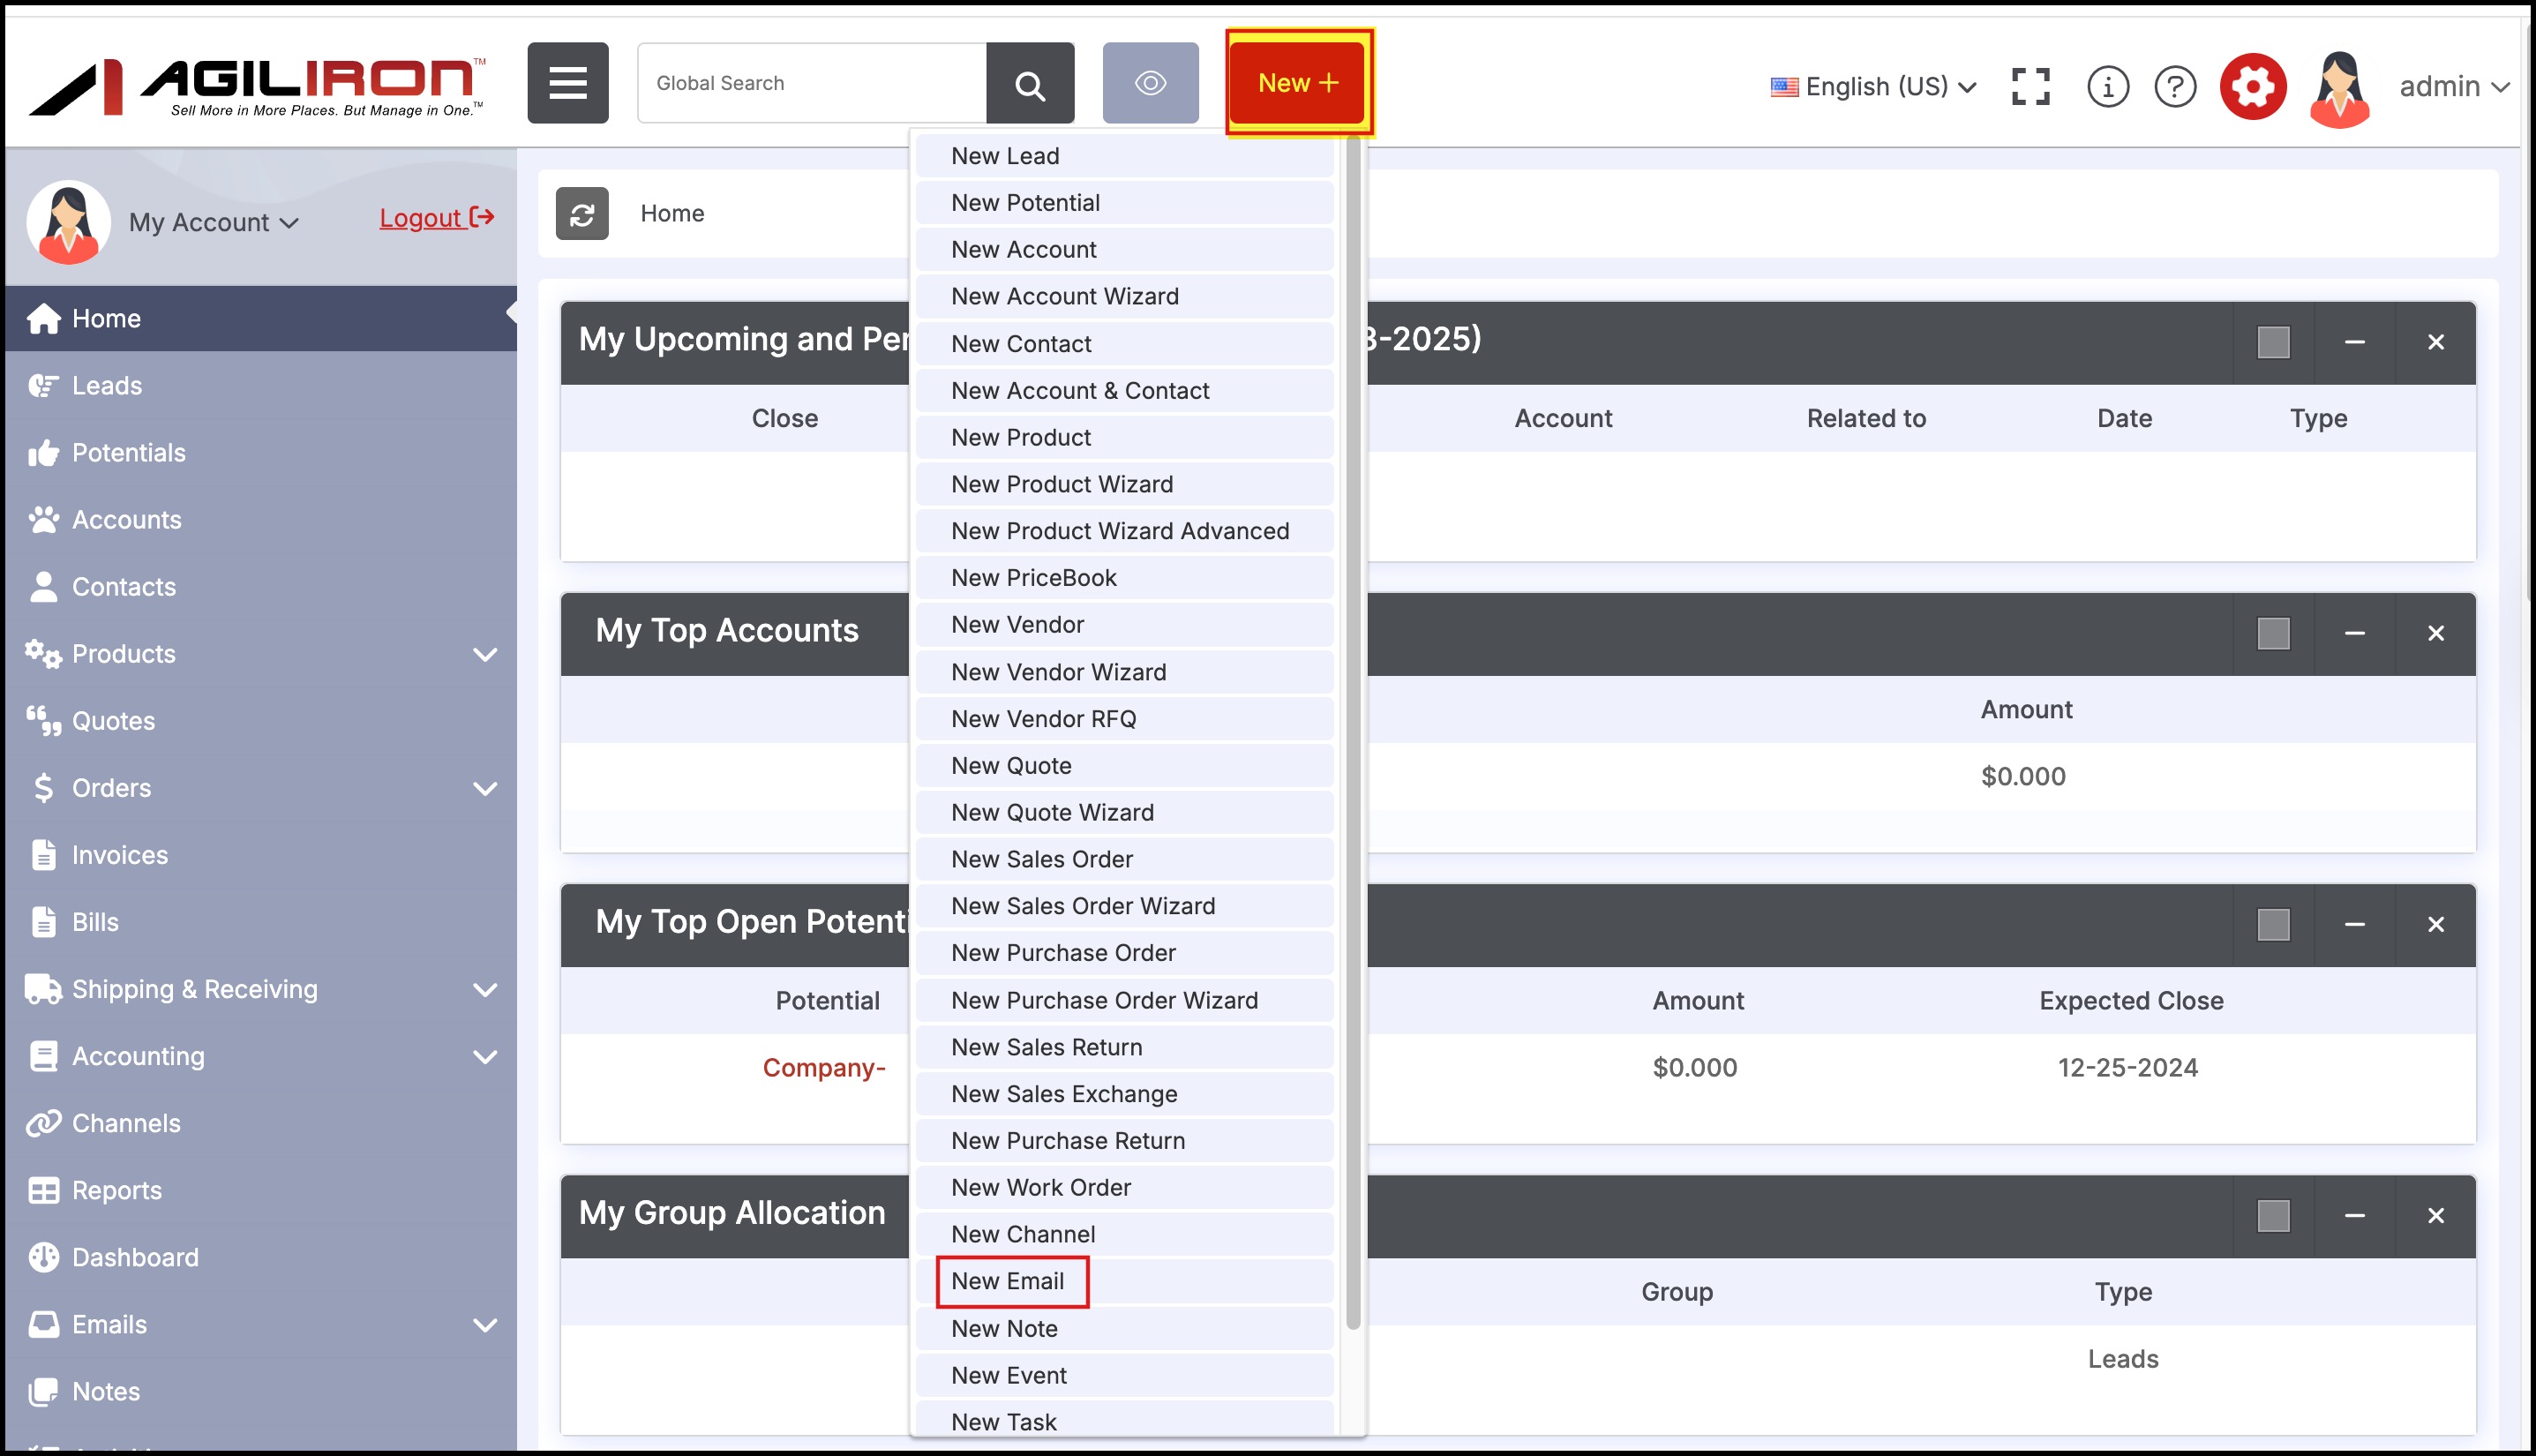
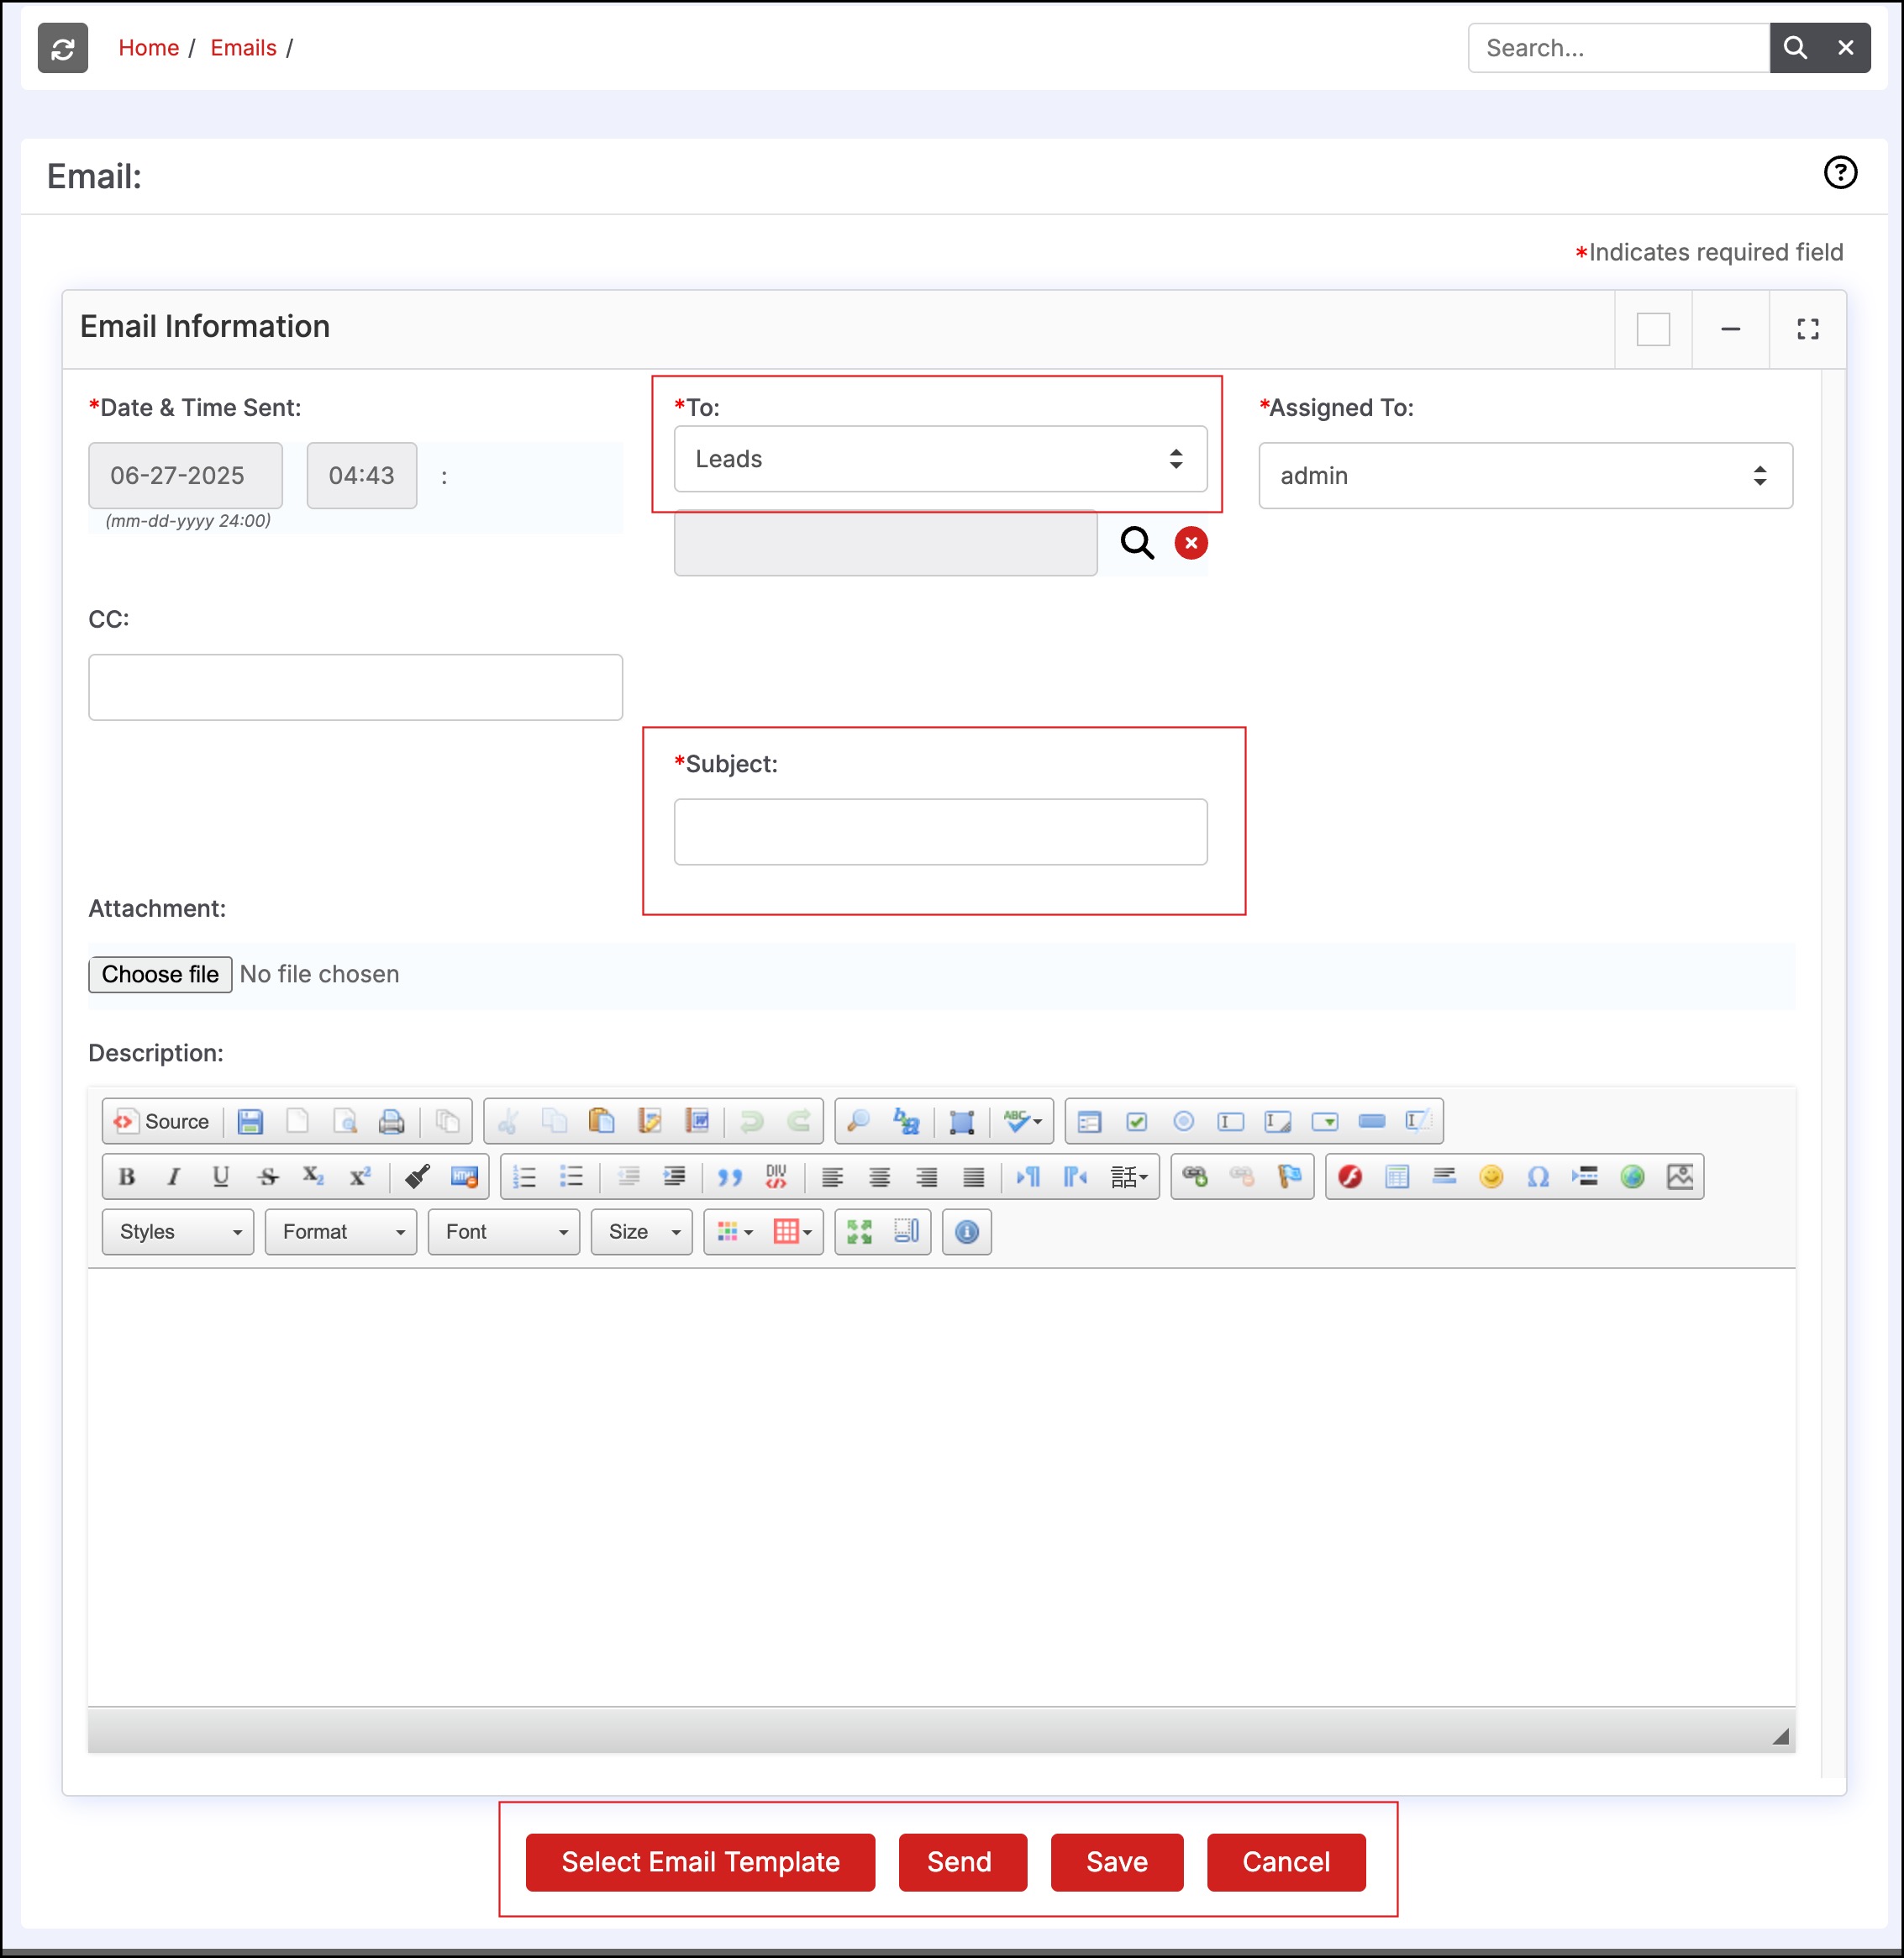
This brings up the form shown below to create the email.
- If sending this email to one customer, select the "Contact" or "Lead" from the drop-down menu on the right.
- Enter the "Subject" and "CC" recipients in the fields provided and add "Attachments" if needed.
- Enter the message in the editor; use the appropriate controls in the editor to format the message. If this is a standard message (e.g. Thank you for the order), try selecting one of the existing communication templates by clicking the "Select Email template" button.
- Click the "Save" or "Send" button to dispatch the email immediately or to save it for sending later.
Updated about 1 year ago