Adding a Customer
This option enables you to add new customers.
To add a New Customer
- Click on the "+" icon, adjacent to the Customer field.
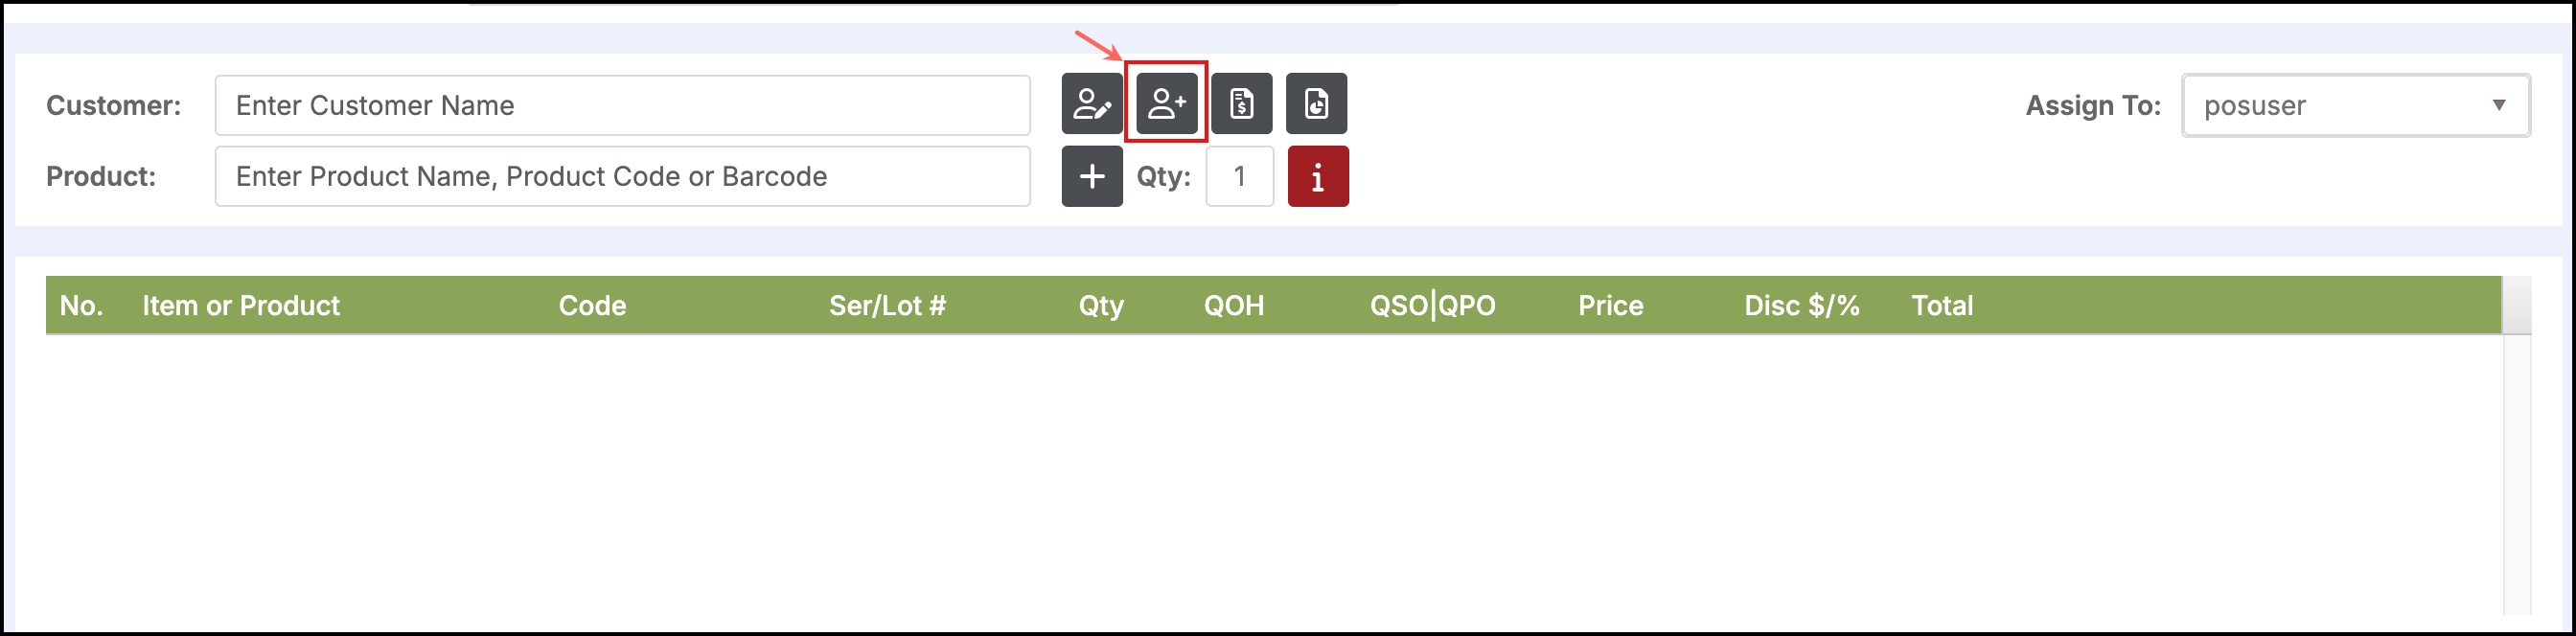
The following pop-up window is displayed.
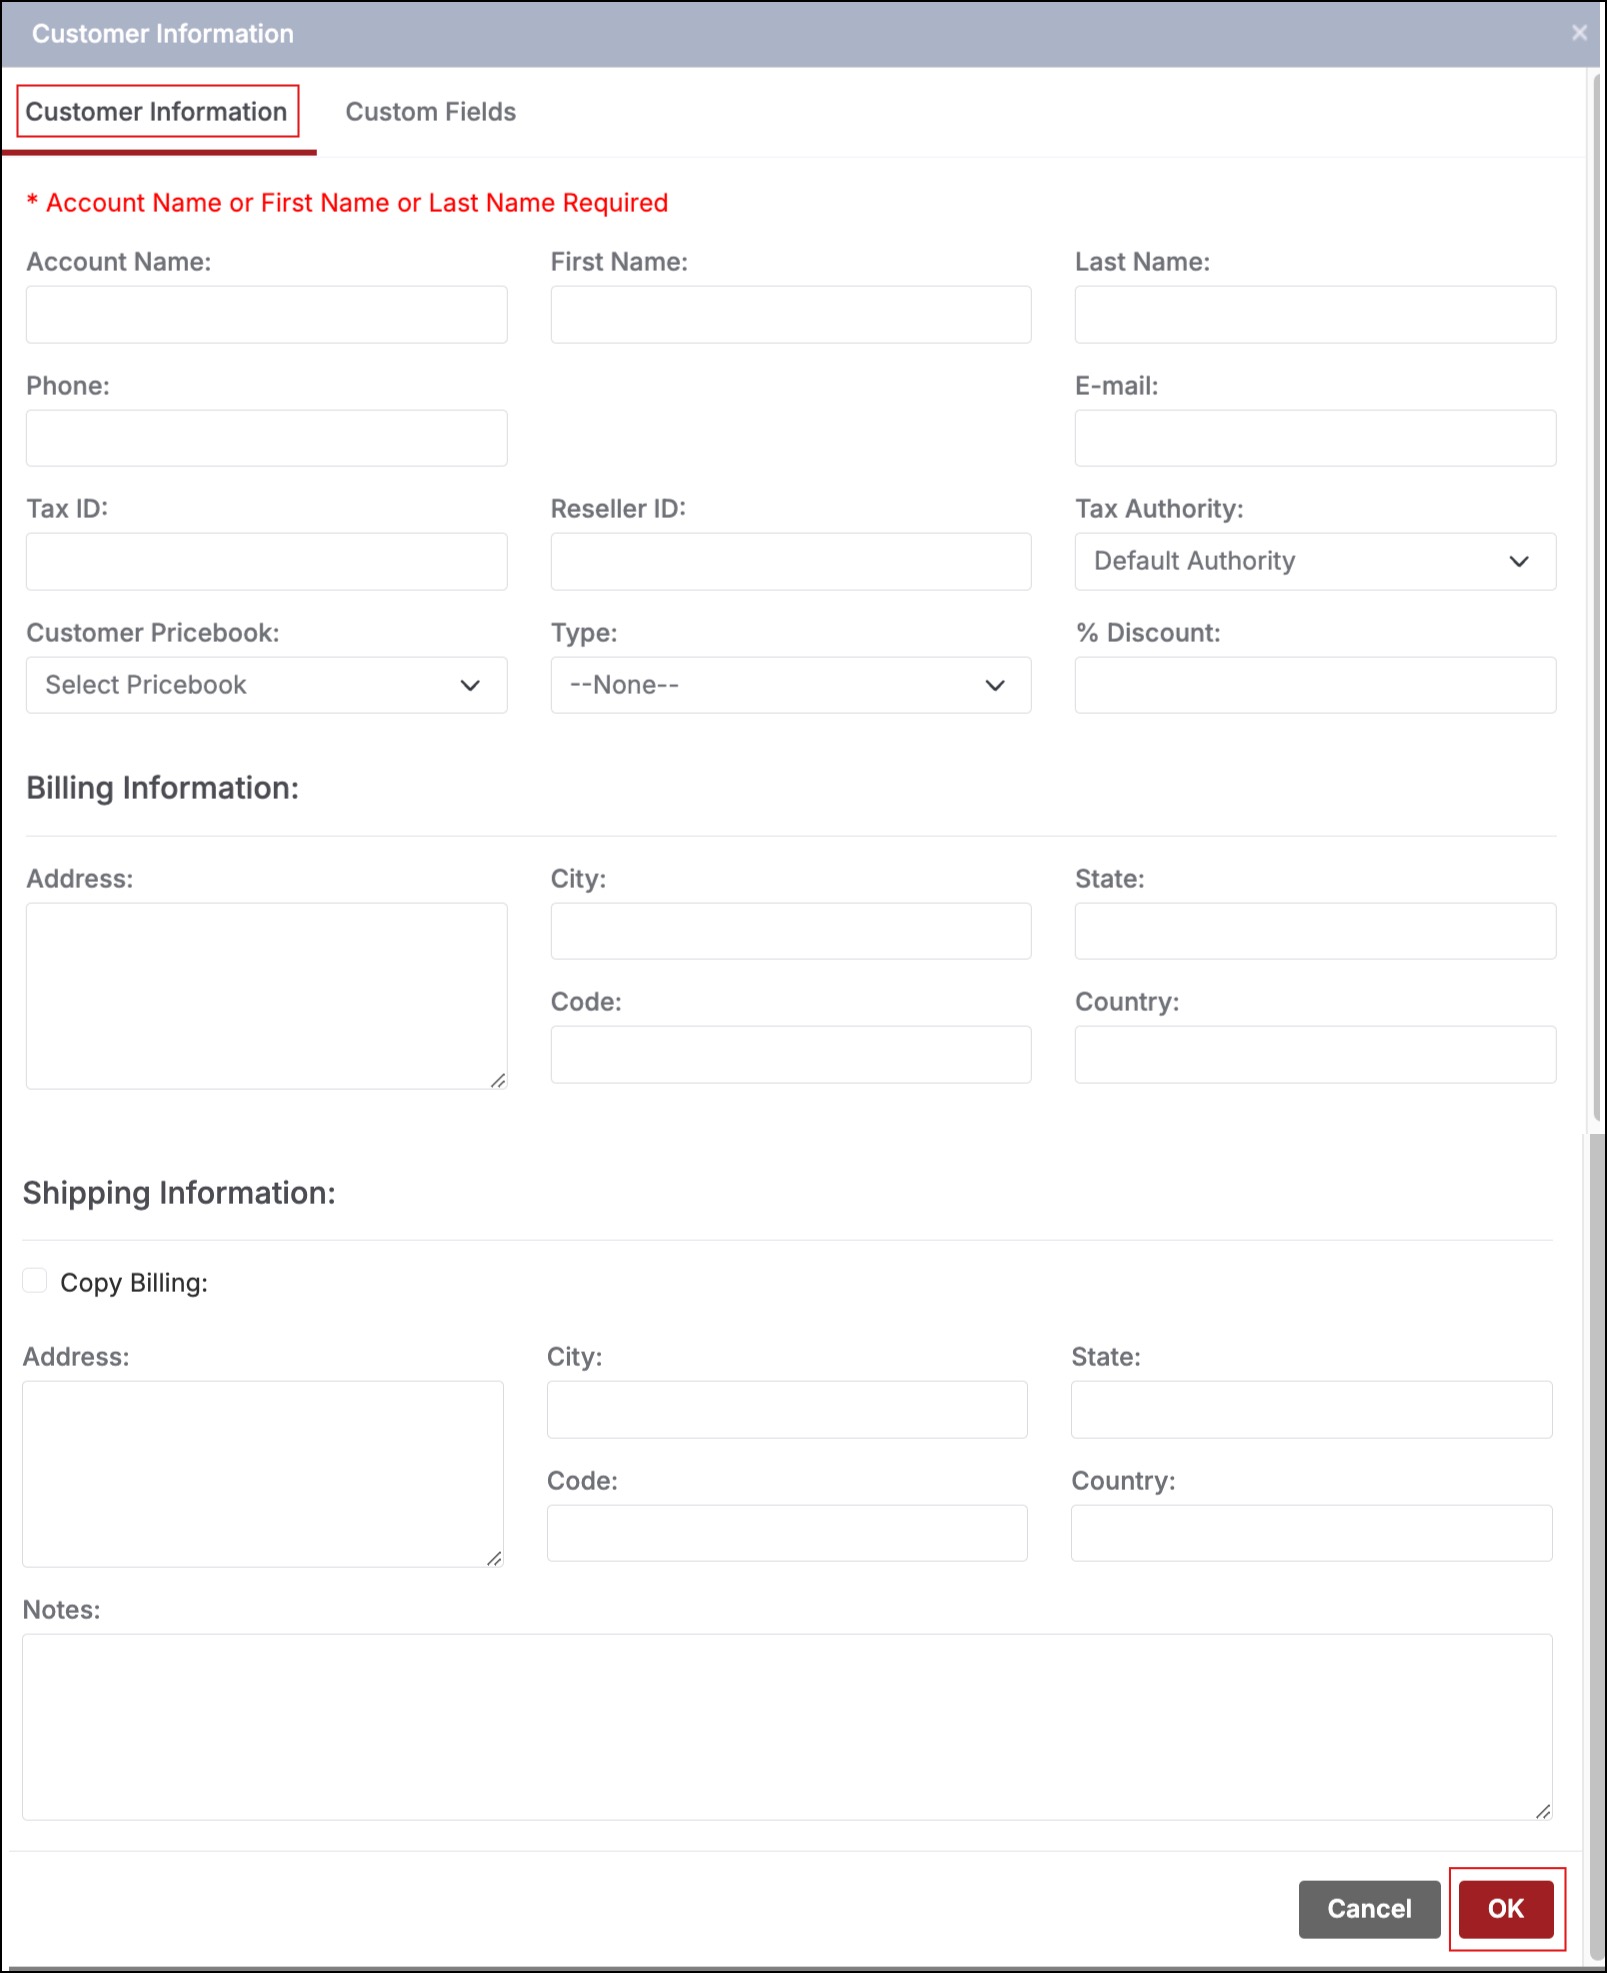
- (Optional) Enter the name of the account in the Account Name field.
- Enter the first name of the customer in the First Name field.
- Enter the last name of the customer in the Last Name field.
- (Optional) Enter the contact number of the customer in the Phone field.
- (Optional) Enter the email address of the customer in the E-mail field.
- (Optional) Select the required tax authority from the Tax Authority dropdown list.
- (Optional) Select the default PriceBook from the Customer PriceBook dropdown list.
- (Optional) Select the customer type from the Type dropdown list.
- The picklists are maintained under Settings > Picklist Settings > Edit Account PickList.This is controls the selections in the POS Type list.
- When a customer is added from the POS and a Type is selected, a contact is also created. To set the type for the contacts picklist to be consistent with the accounts, navigate to Settings > Picklist Settings > Edit Contact PickList and add selections there as well.
- More information about editing picklists can be found here.
- (Optional) Enter a customer discount that will be applied to all customer transactions.
Billing Information
- (Optional)Enter the billing address of the customer in the Address field.
- (Optional)Enter the city in the City field.
- (Optional)Enter the state in the State field.
- (Optional)Enter the zip code in the Code field.
- (Optional)Enter the country in the Country field.
Shipping Information
Note:If the billing and the shipping address are the same, select Copy Billing checkbox.
- (Optional)Enter the shipping address of the customer in the Address field.
- (Optional)Enter the city in the City field.
- (Optional)Enter the state in the State field.
- (Optional)Enter the zip code in the Code field.
- (Optional)Enter the country in the Country field.
Click OK to create the customer.
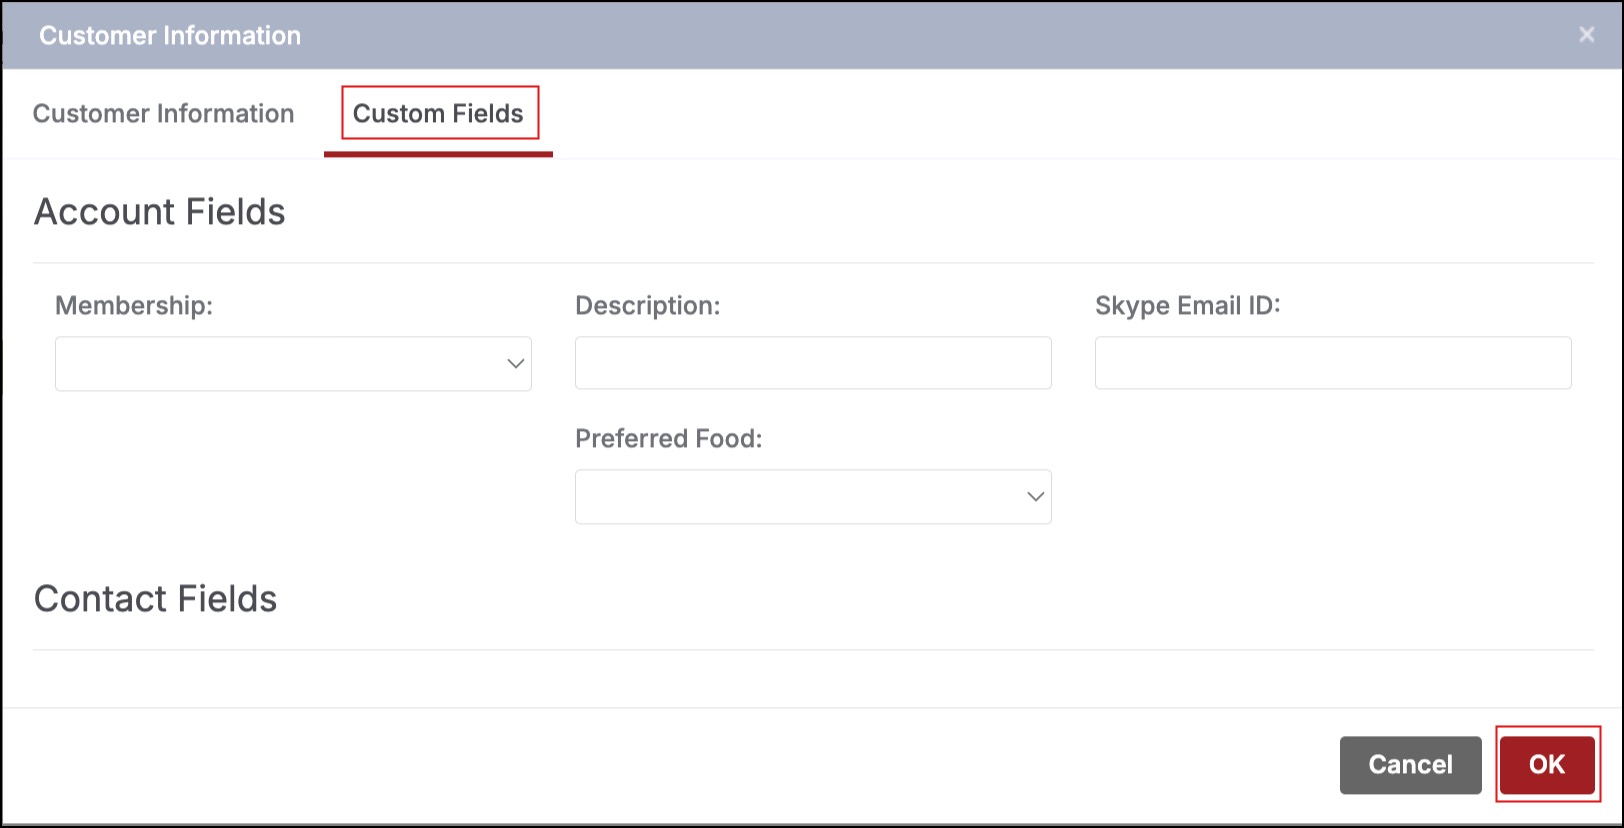
You can also enter custom fields information, if necessary.
You can also select an existing customer by typing in the name in the Customer text field - the system will auto-complete as you begin typing and provide a drop-down list from which to select.