Creating Custom Reports
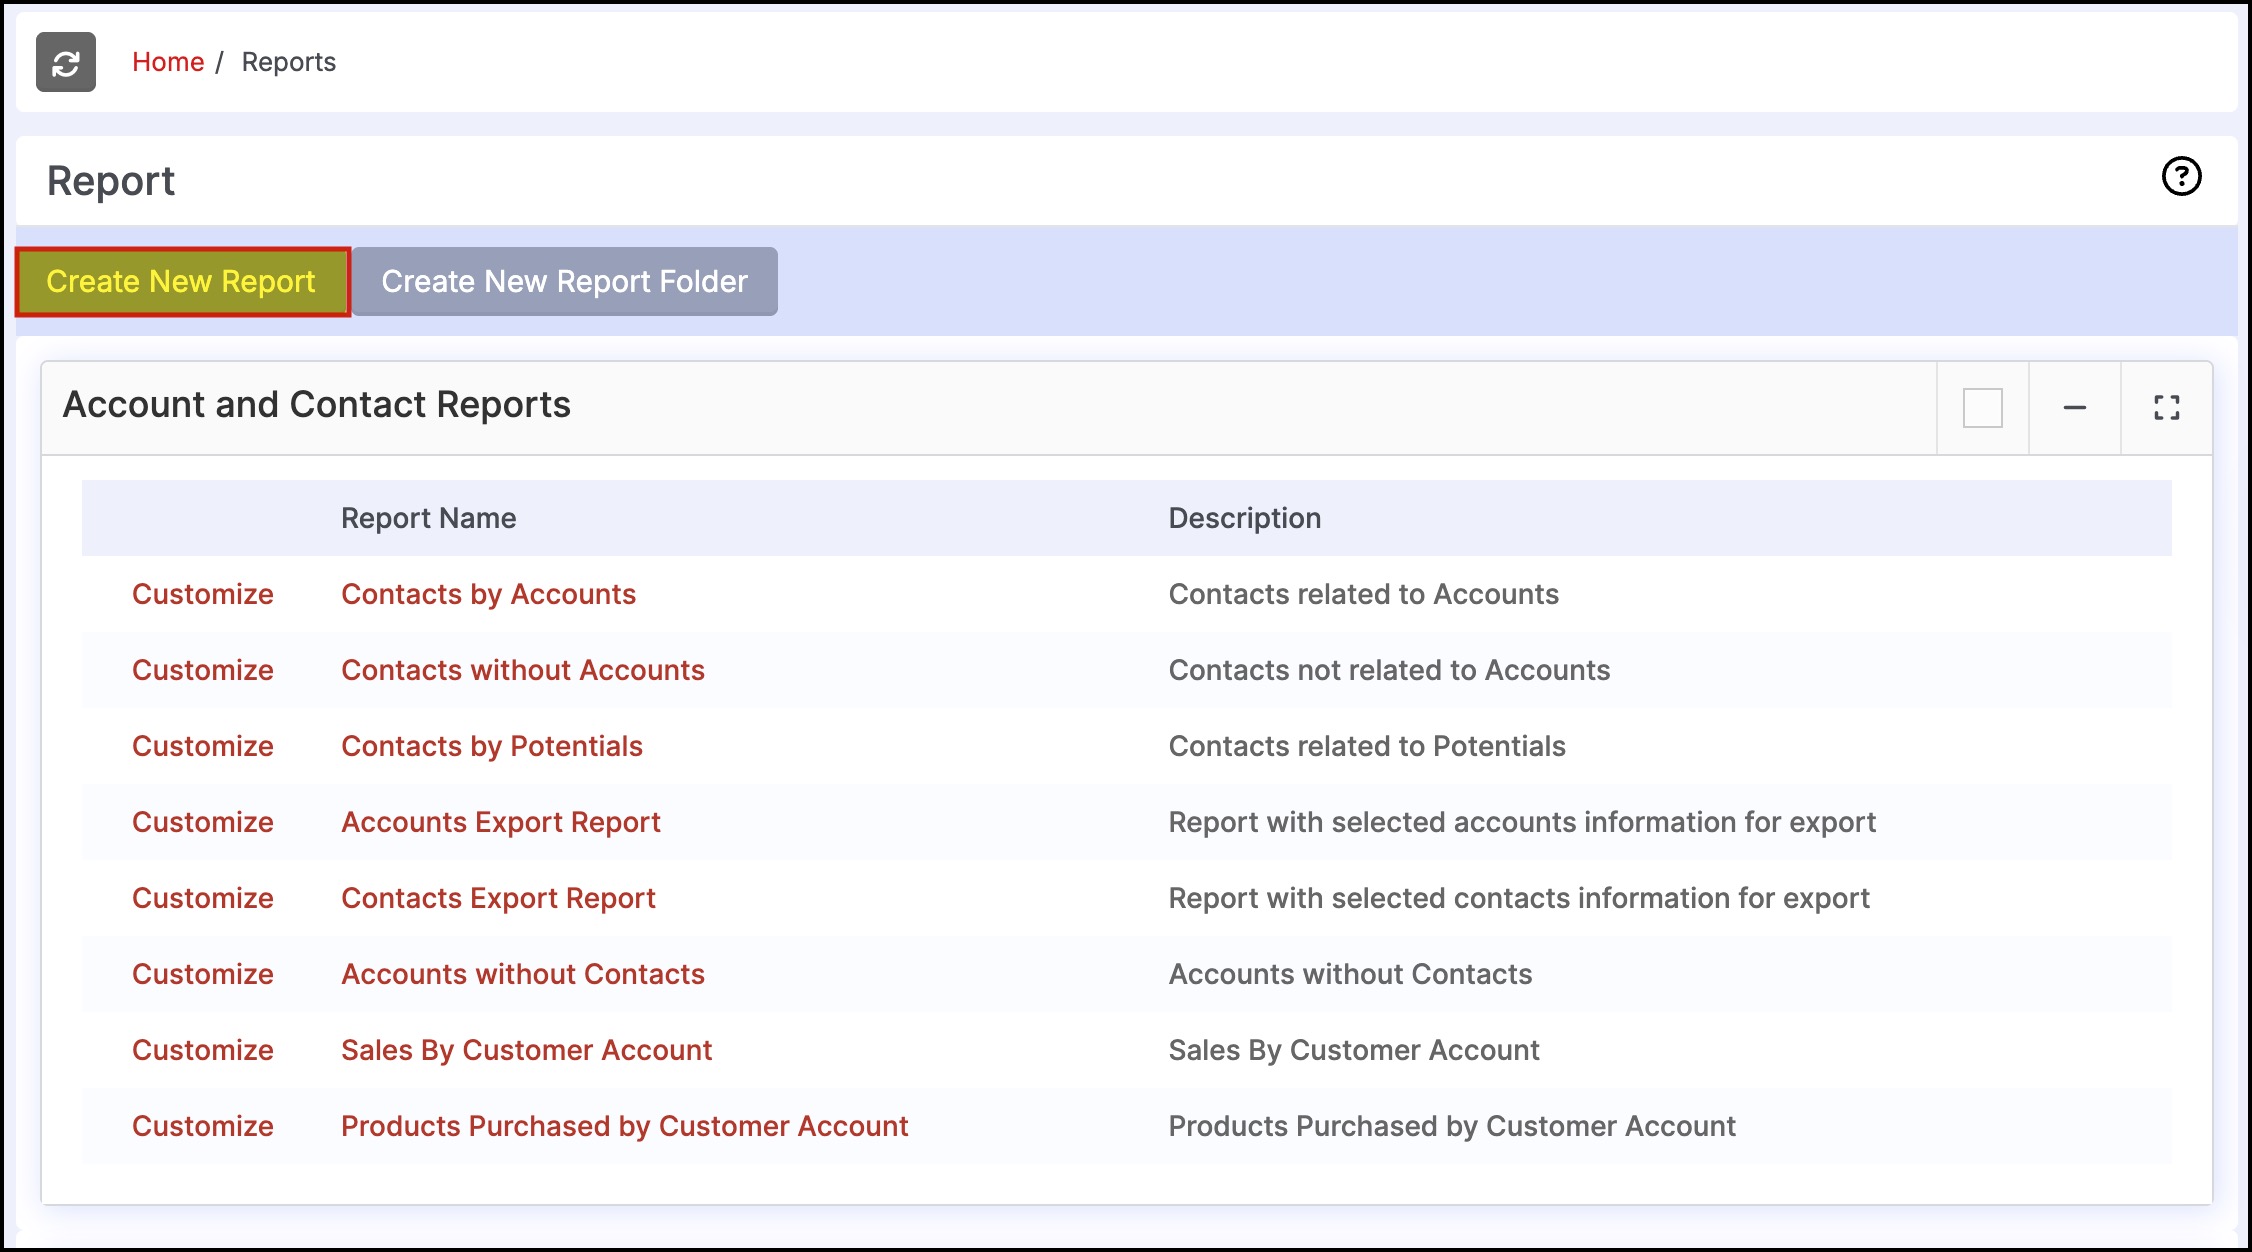
- Go to the "Reports" tab.
- Click on "New Report" button.
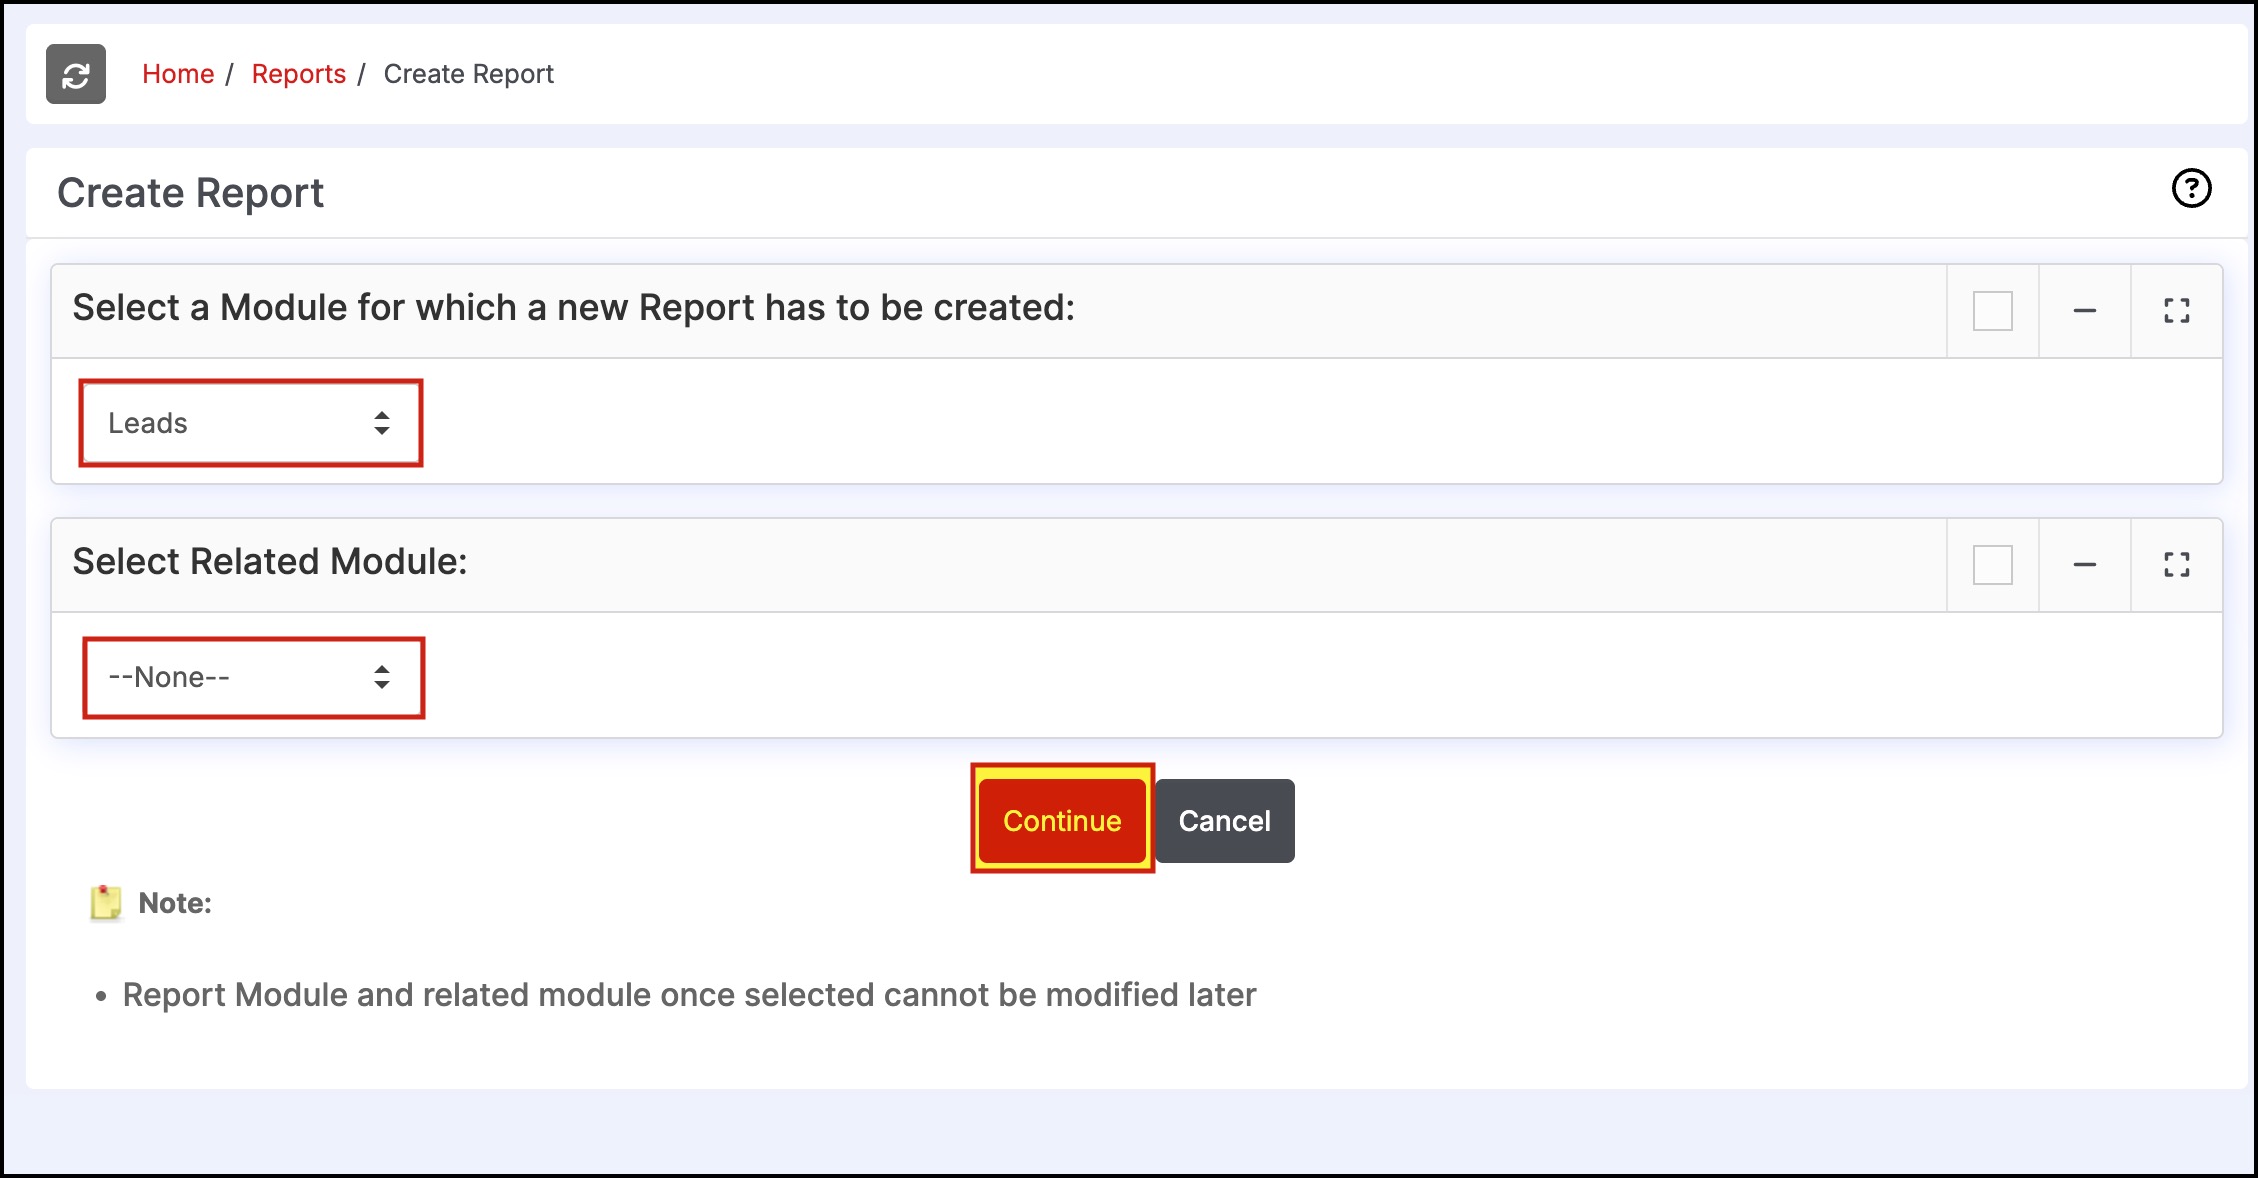
- The window that comes up offers the following options to construct reports.
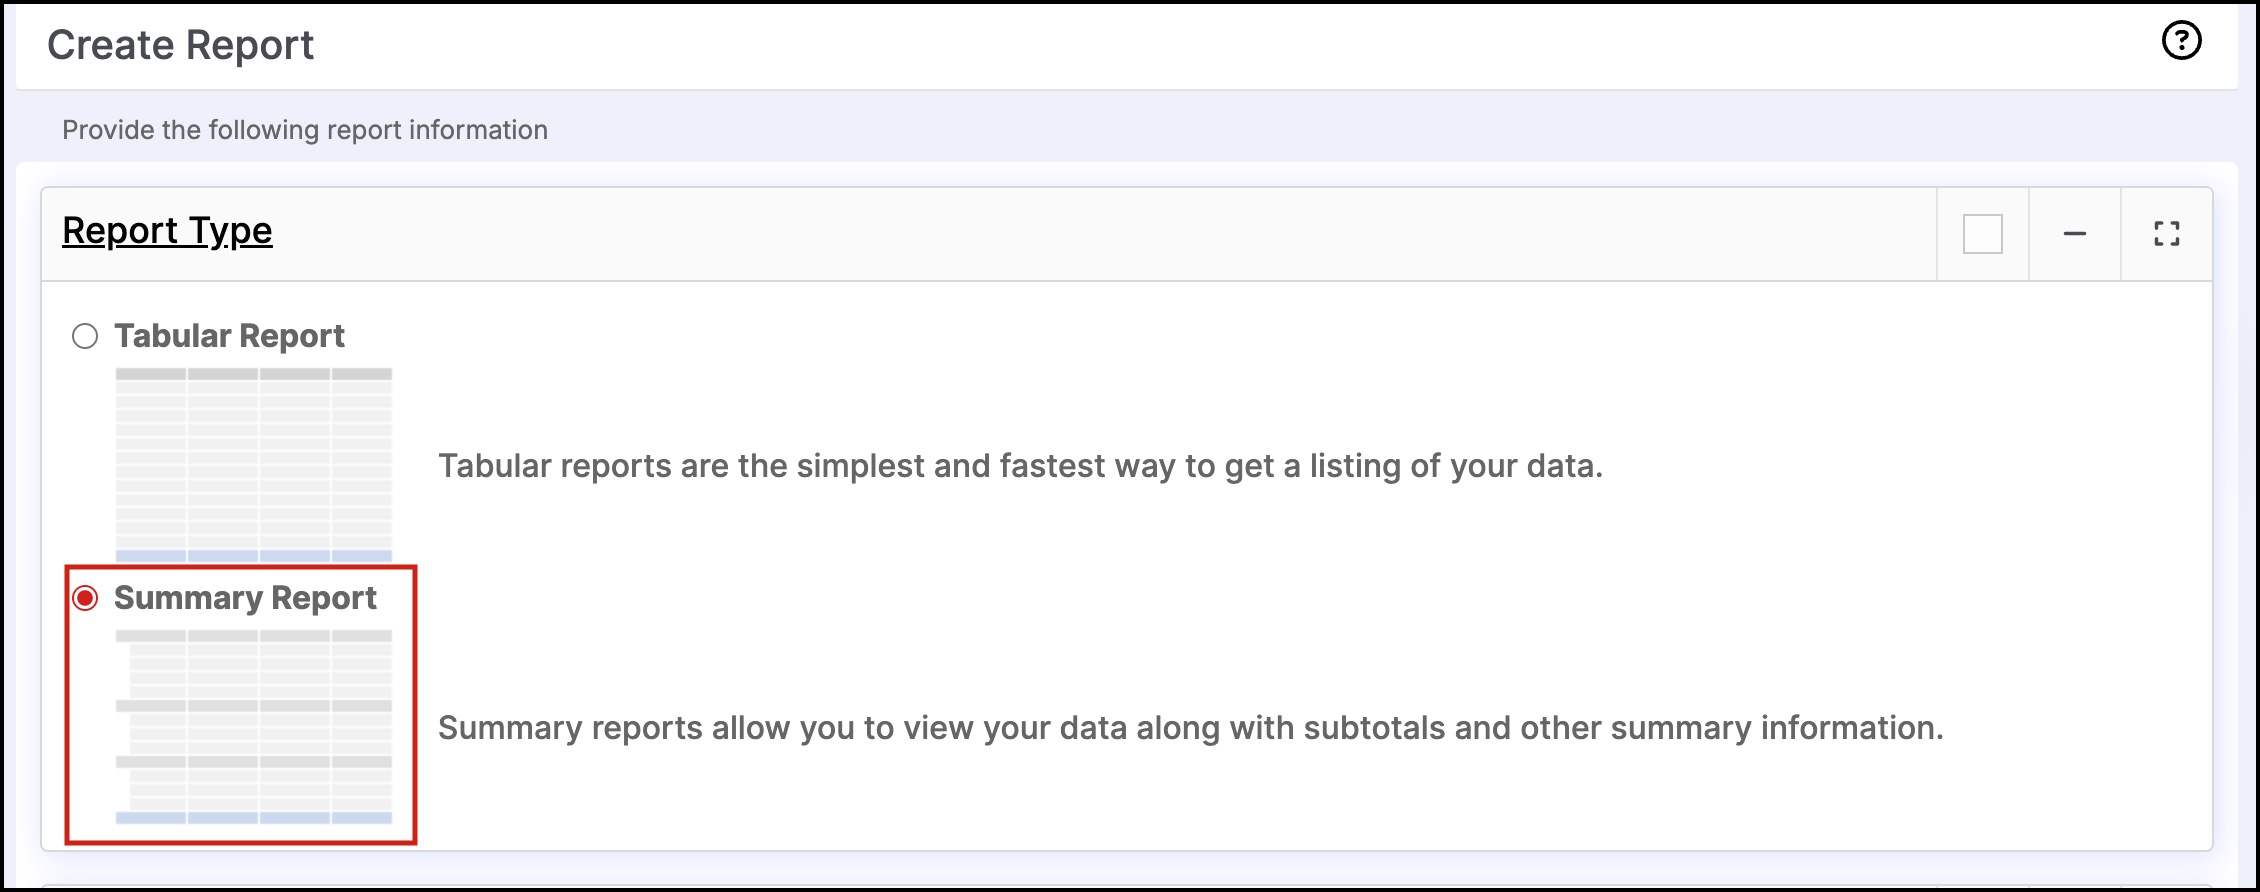
- Type of Report - There are two types of reports that can be constructed.
- Tabular Reports - the simplest and fastest way to get a tabular listing of your data with the chosen columns.
- Summary Reports - allow you to view your data along with subtotals and other summary information.
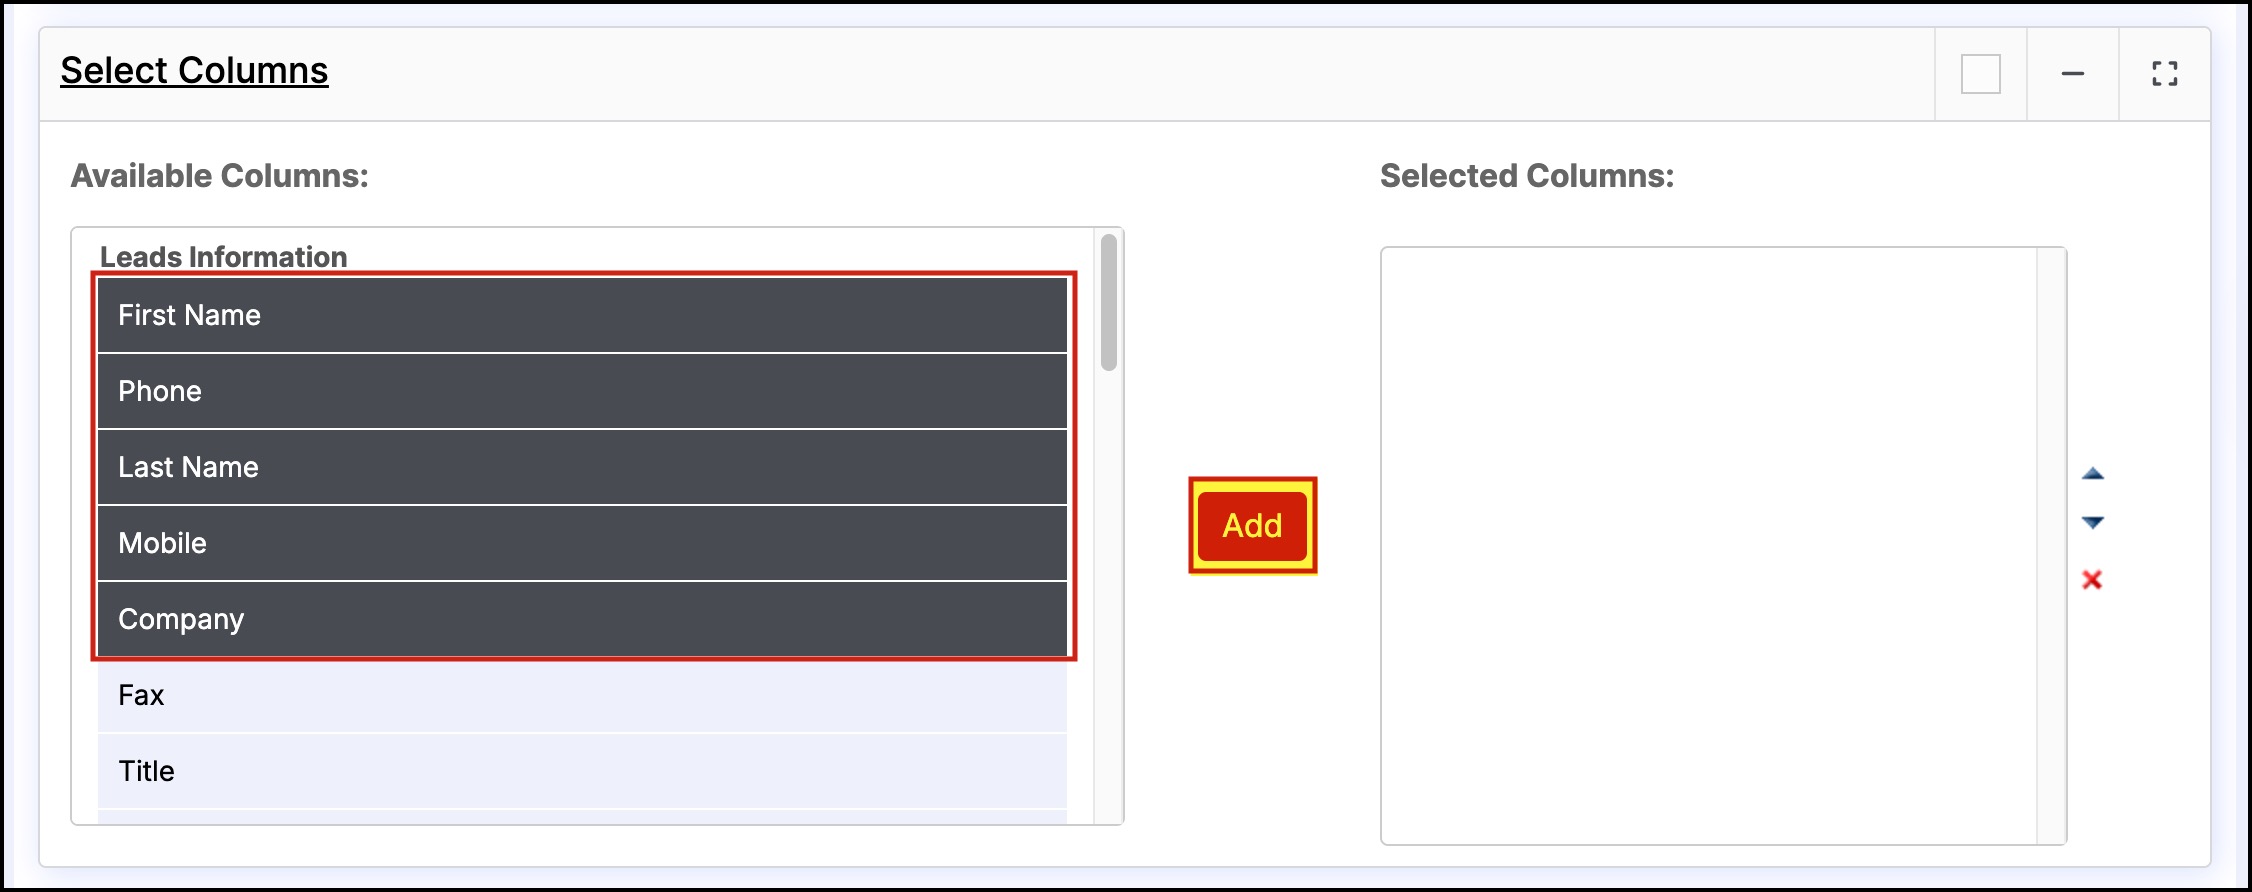
- Select the columns: You will see a list of data tapes available for this report. You may add what you need to the selected columns.
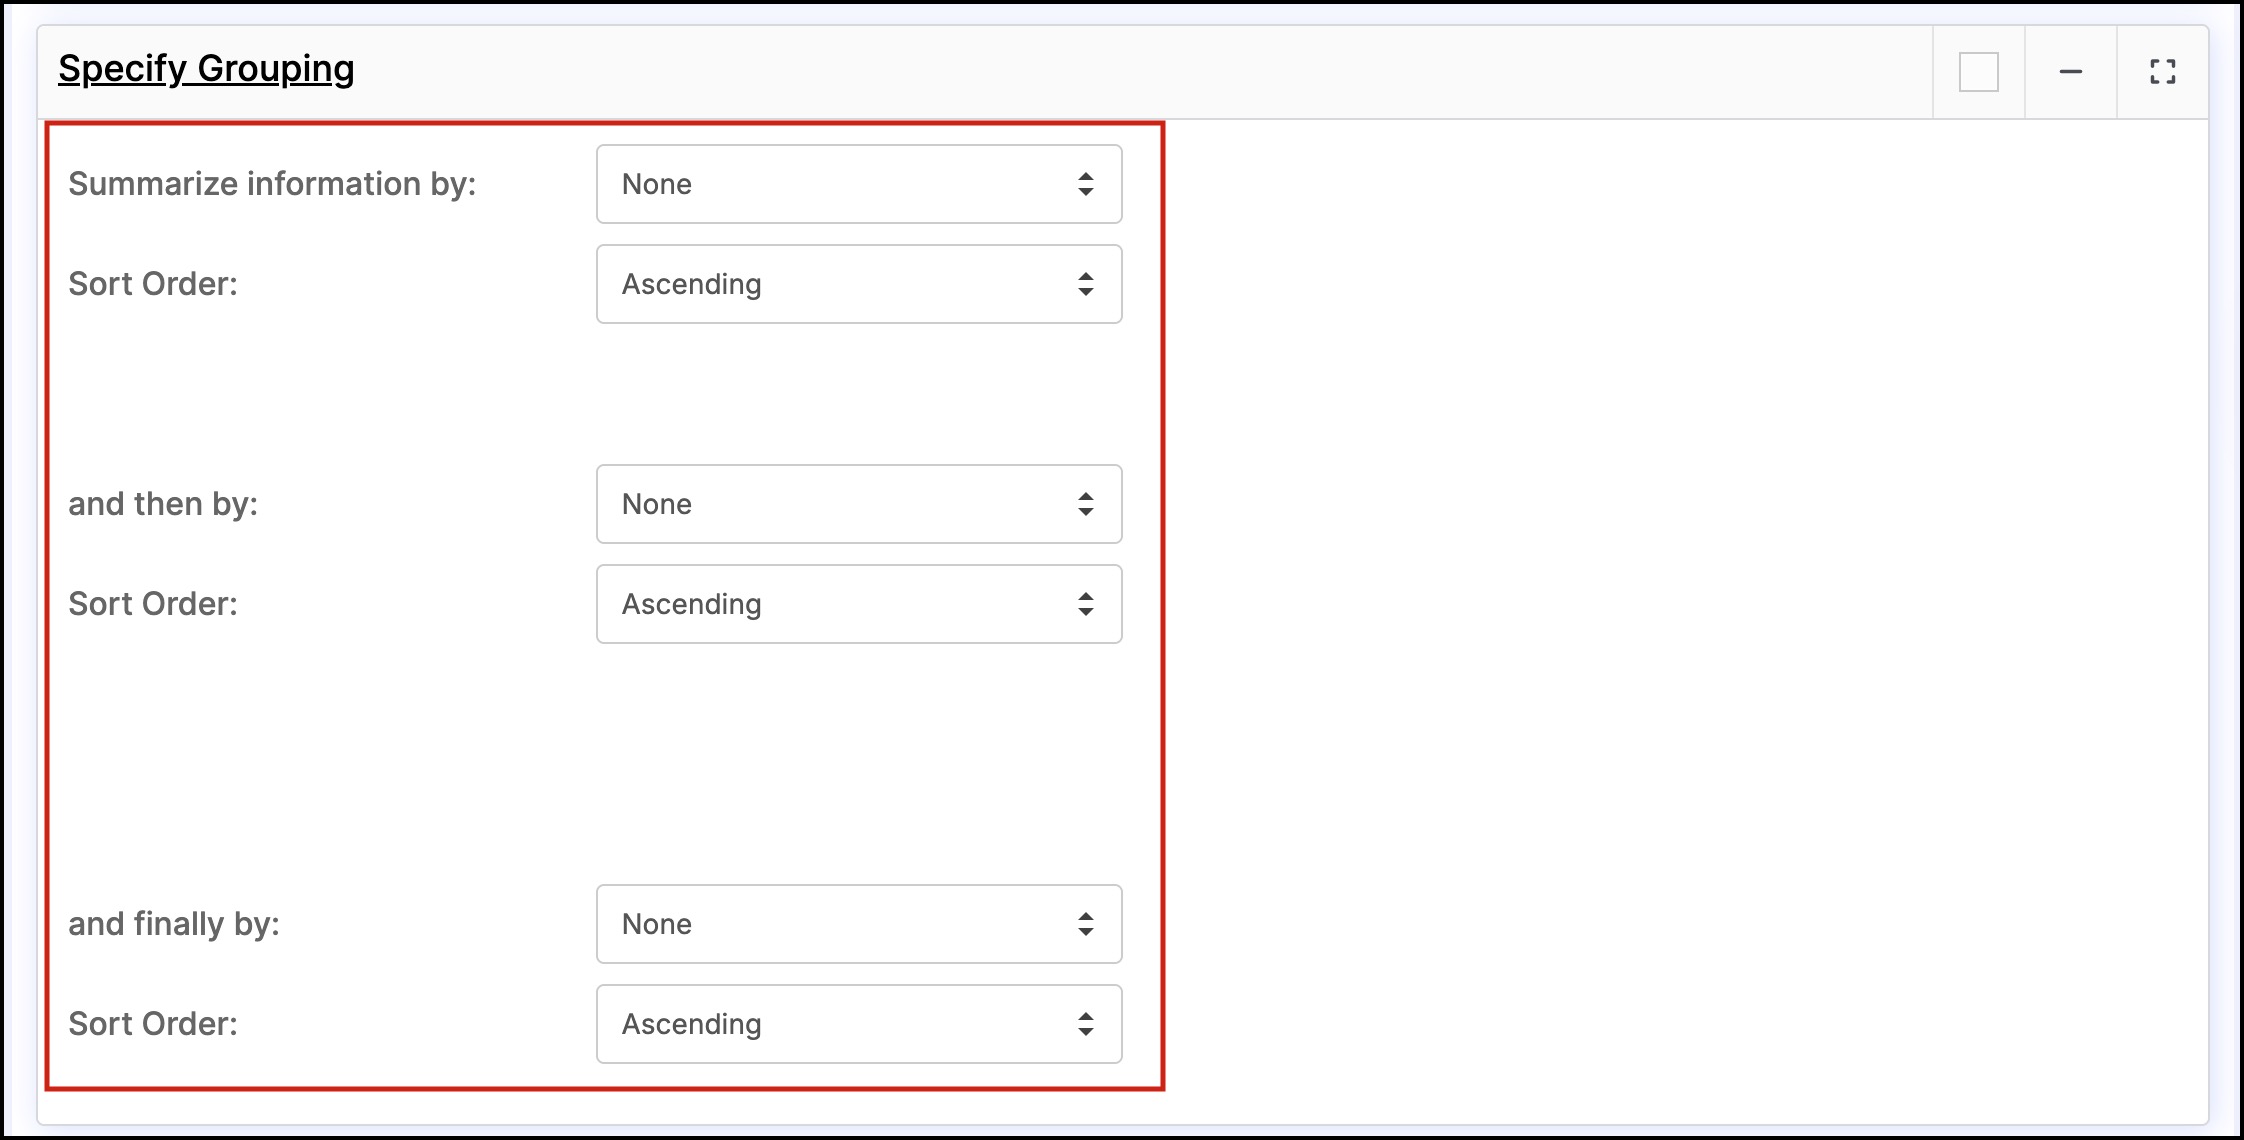
- Specify grouping (only for summary reports): Select the data within a columns you would like to group. Based on the report content you will be offered different choices.
- Choose columns to total: Depending on your report you may select the columns that can be used for summarizing.
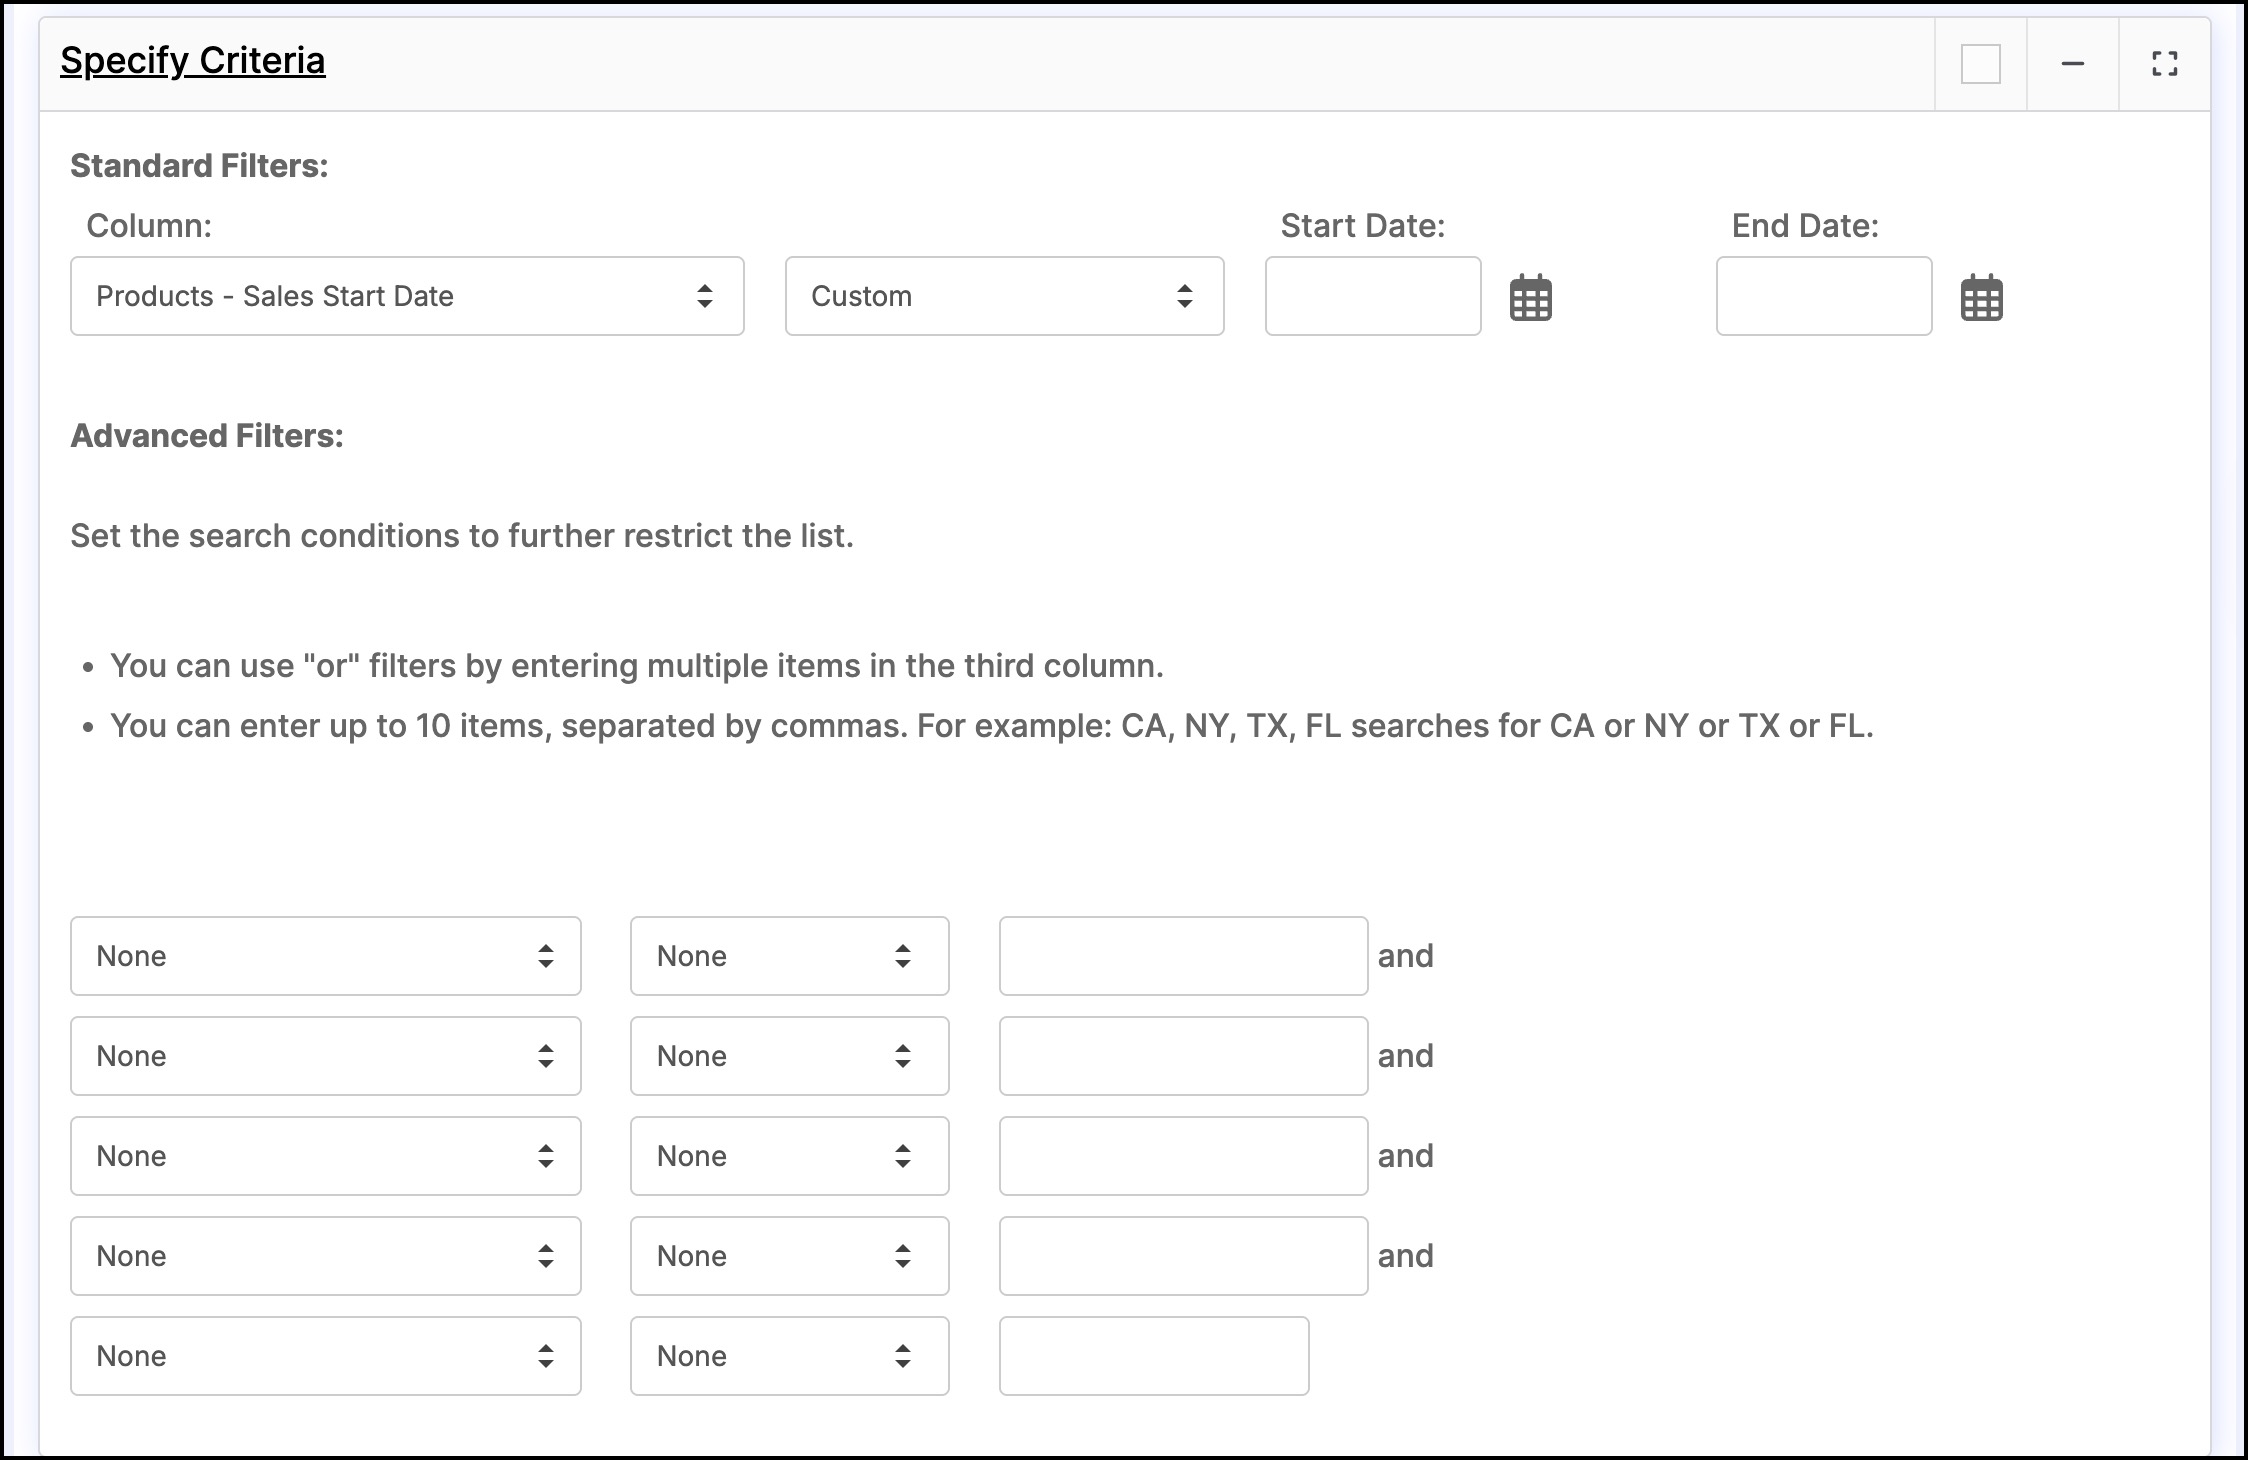
- Specify Criteria: As know from custom listing for the list view of Contacts, Accounts, activities etc. you may set your own criteria for selecting data stored in the CRM. For this the CRM offers you filter functions - You may use logical AND or OR operations to decide what data will be in your report.
- If your report design is complete, click on "Save and Run" button to save your settings and to start the report generator. Once the report is generated (if the data is large - thousands of rows, it can take a few minutes) you can.
- "Customize" it further with the options discussed above.
- Export the report as a CSV file.
- Export the report as PDF file.
- At this point, you can select the Folder to hold the report and give it a Name as well.


Updated 5 months ago
