Adding Products - Matrix Items
Even Matrix items can be added in the Warehouse app.
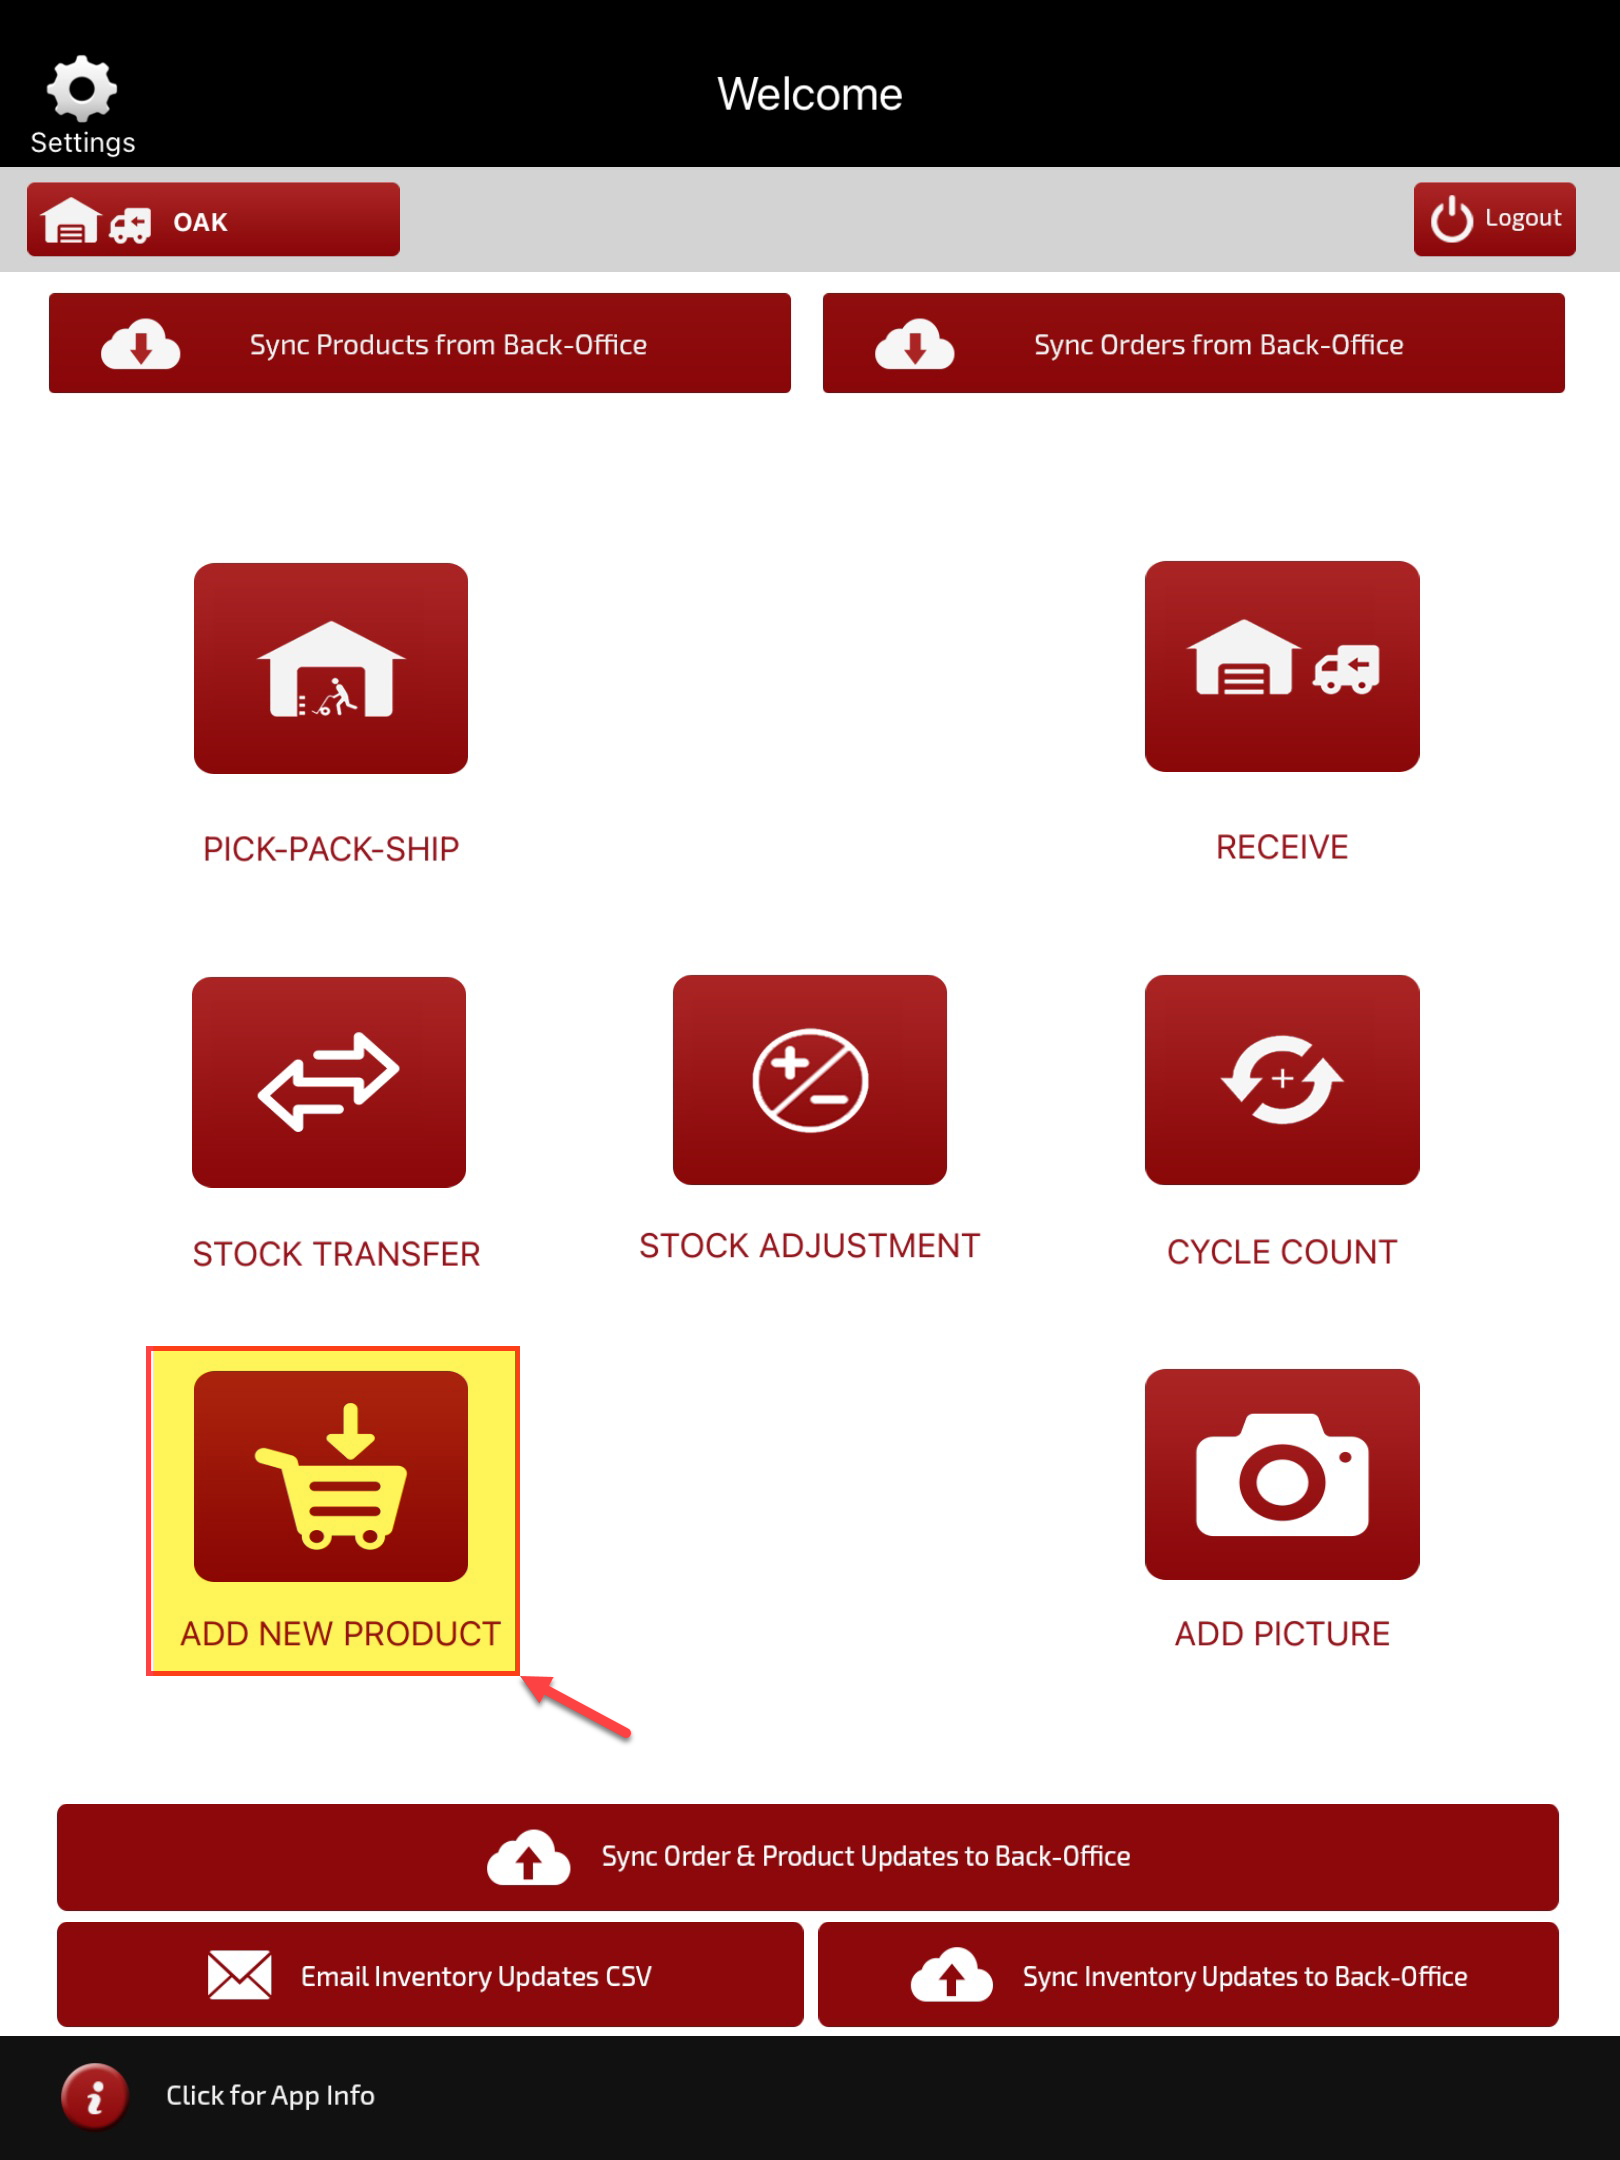
- On the home screen in the app, select the Add New Product.

-
In the first step, Product Definition, when you enter matrix product details and select Matrix Item in Product Type, you can see additional steps added.
-
Proceed by clicking on Next.
- Now, enter the necessary details in Additional Info and click on Next.
- In Step 3, select the matrix parameters related to the product. You can select multiple parameters. Once done, click on Next.
- Next in Step 4, enter the SKU codes (mandatory) and barcodes (optional), related to each matrix item.
- Click on Next.
- In Pricing Info, click on the Price button against each matrix item and enter the prices in Pricebooks that you want.
- Click on Next.
- Next, in Purchasing Info, you need to enter vendor information.
- Select at least one preferred vendor by tapping the preferred button next to a vendor. Multiple vendors can be added to a product, but only one can be selected as preferred.
- Click Next to continue.
- In Inventory information, by tapping on the inventory button, next to each matrix item, you can enter the quantity, unit cost, and bin location of each item in respective stock locations.
- Click Next to continue.
- Last, you need to click on the Finish button to complete the process.
- Once the product has been created you will be returned to the home screen, click the Sync Order & Product Updates to Back-Office to update the back office with the new product. Then, select Sync Products From Back-Office. The new product will now be available in the app.
Updated about 1 year ago
