Product Wizard - Bin Location Selector
In the Product Wizard -> Inventory Information step, a new Bin Selector button has been added. This button will allow the customers to put the products to the bin location/locations they want. Multiple bin locations can be entered.
Let's walkthrough the process:
Just like you create a new product
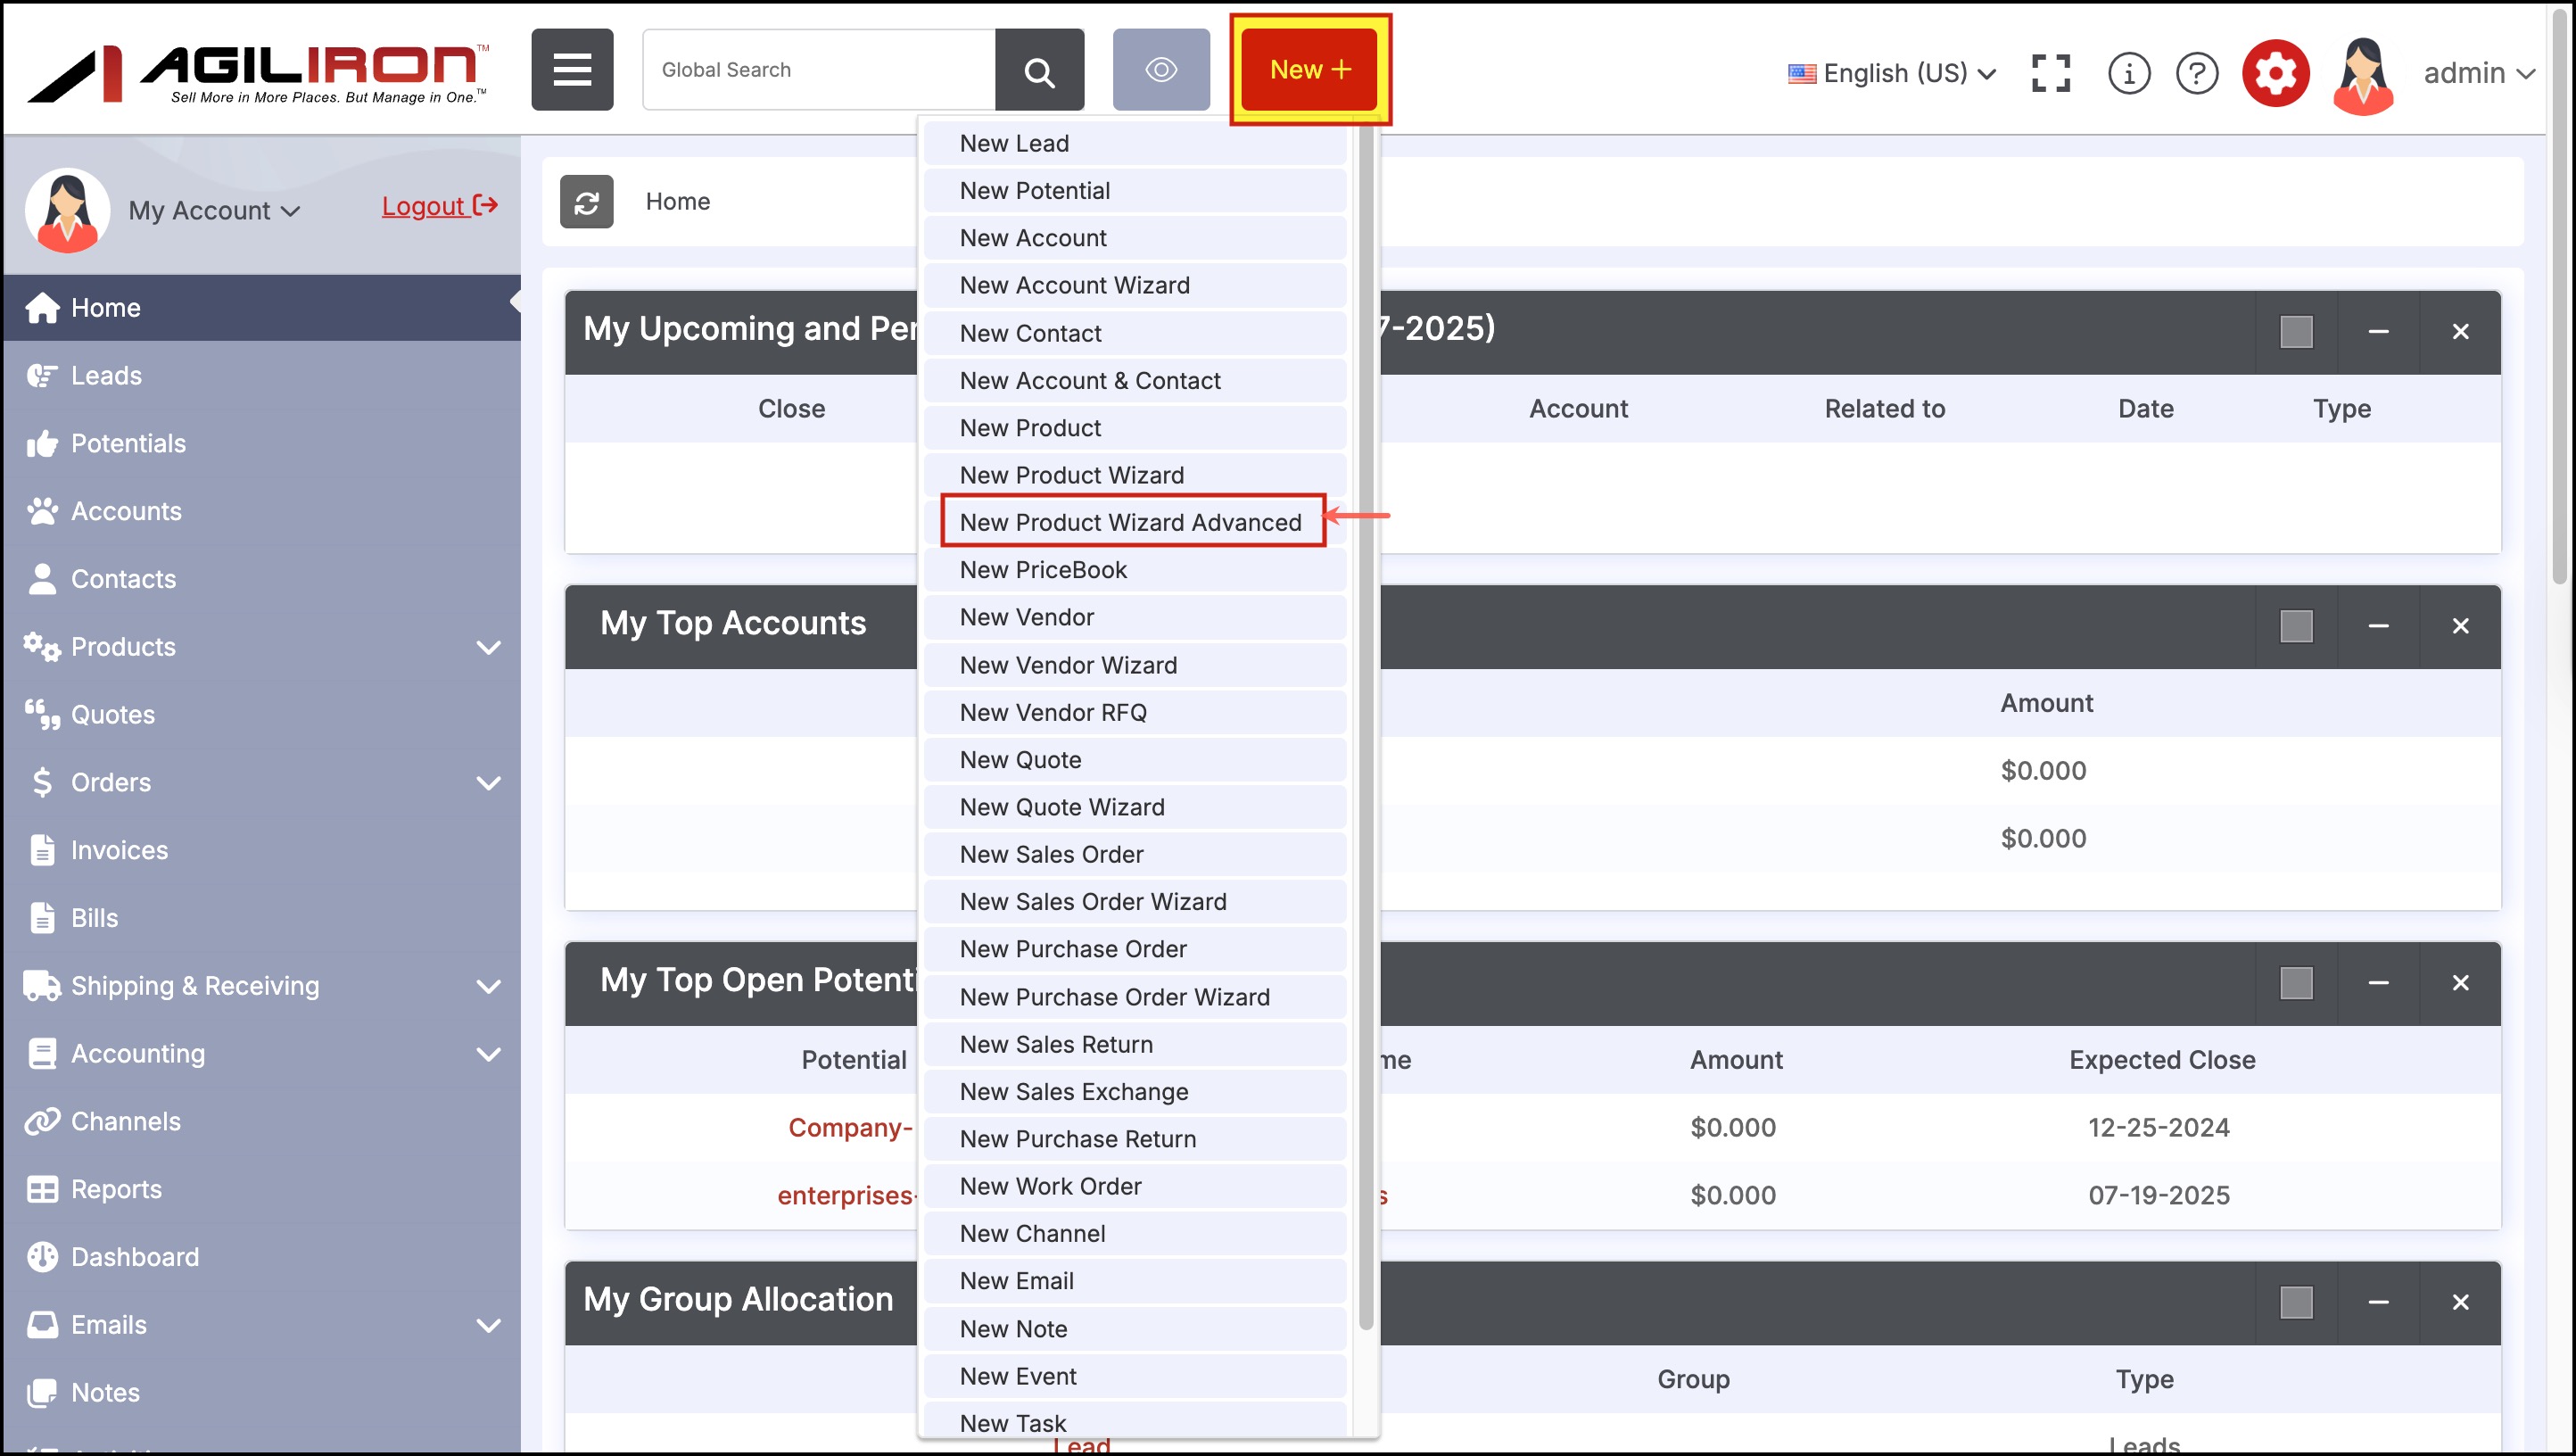
- Go to the New dropdown list and click on the New Product Wizard Advanced
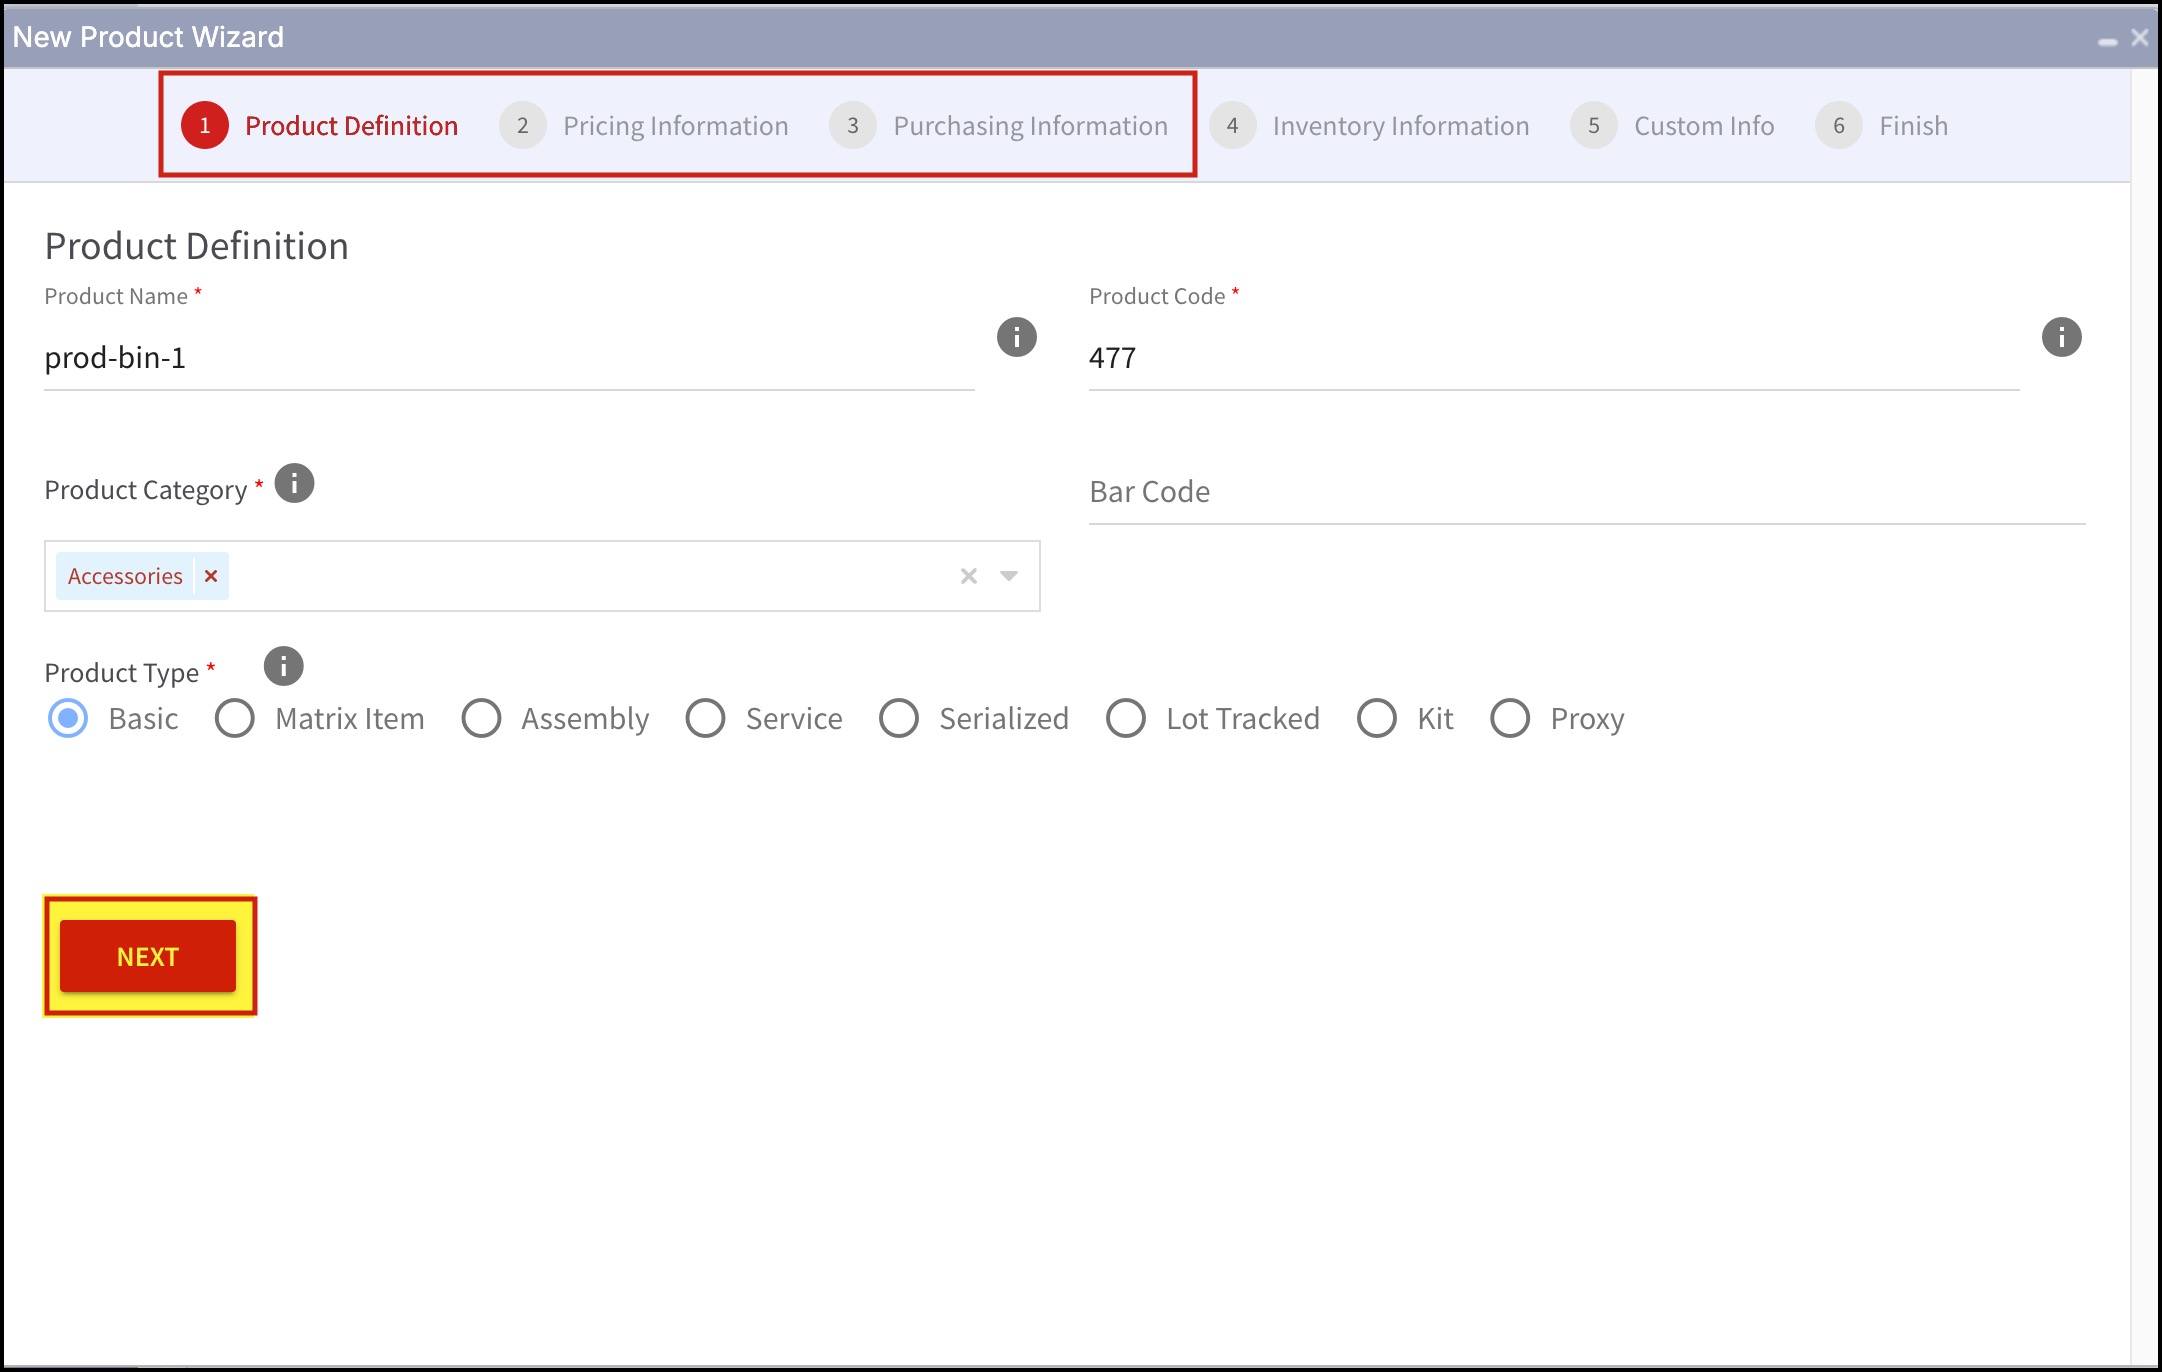
- Follow the step-by-step process of creating a new product (till inventory information)
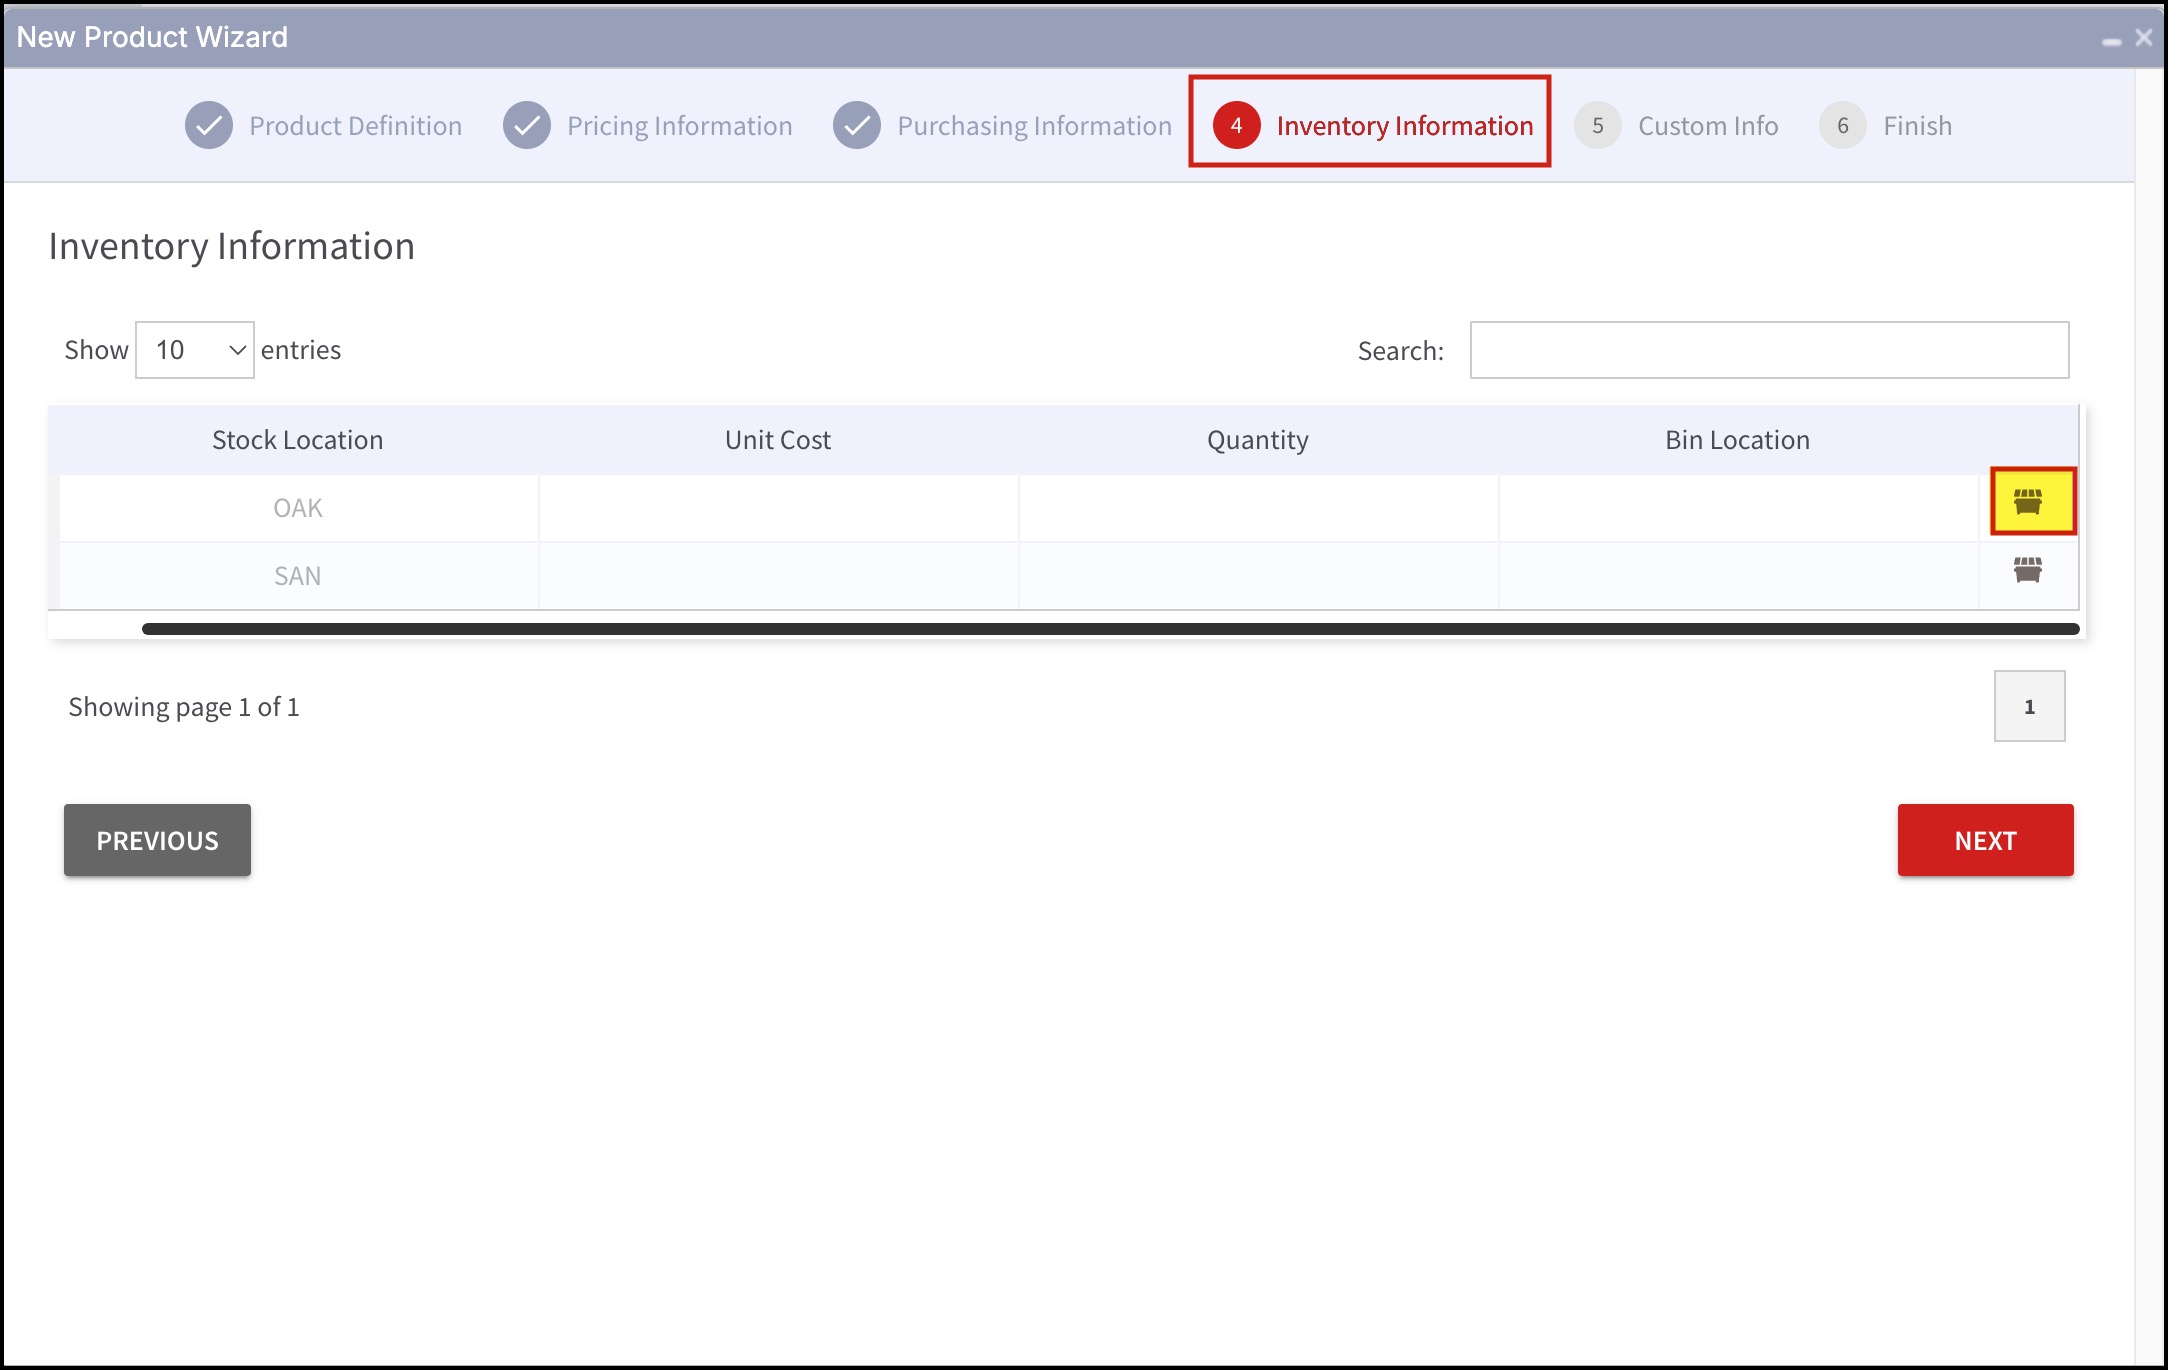
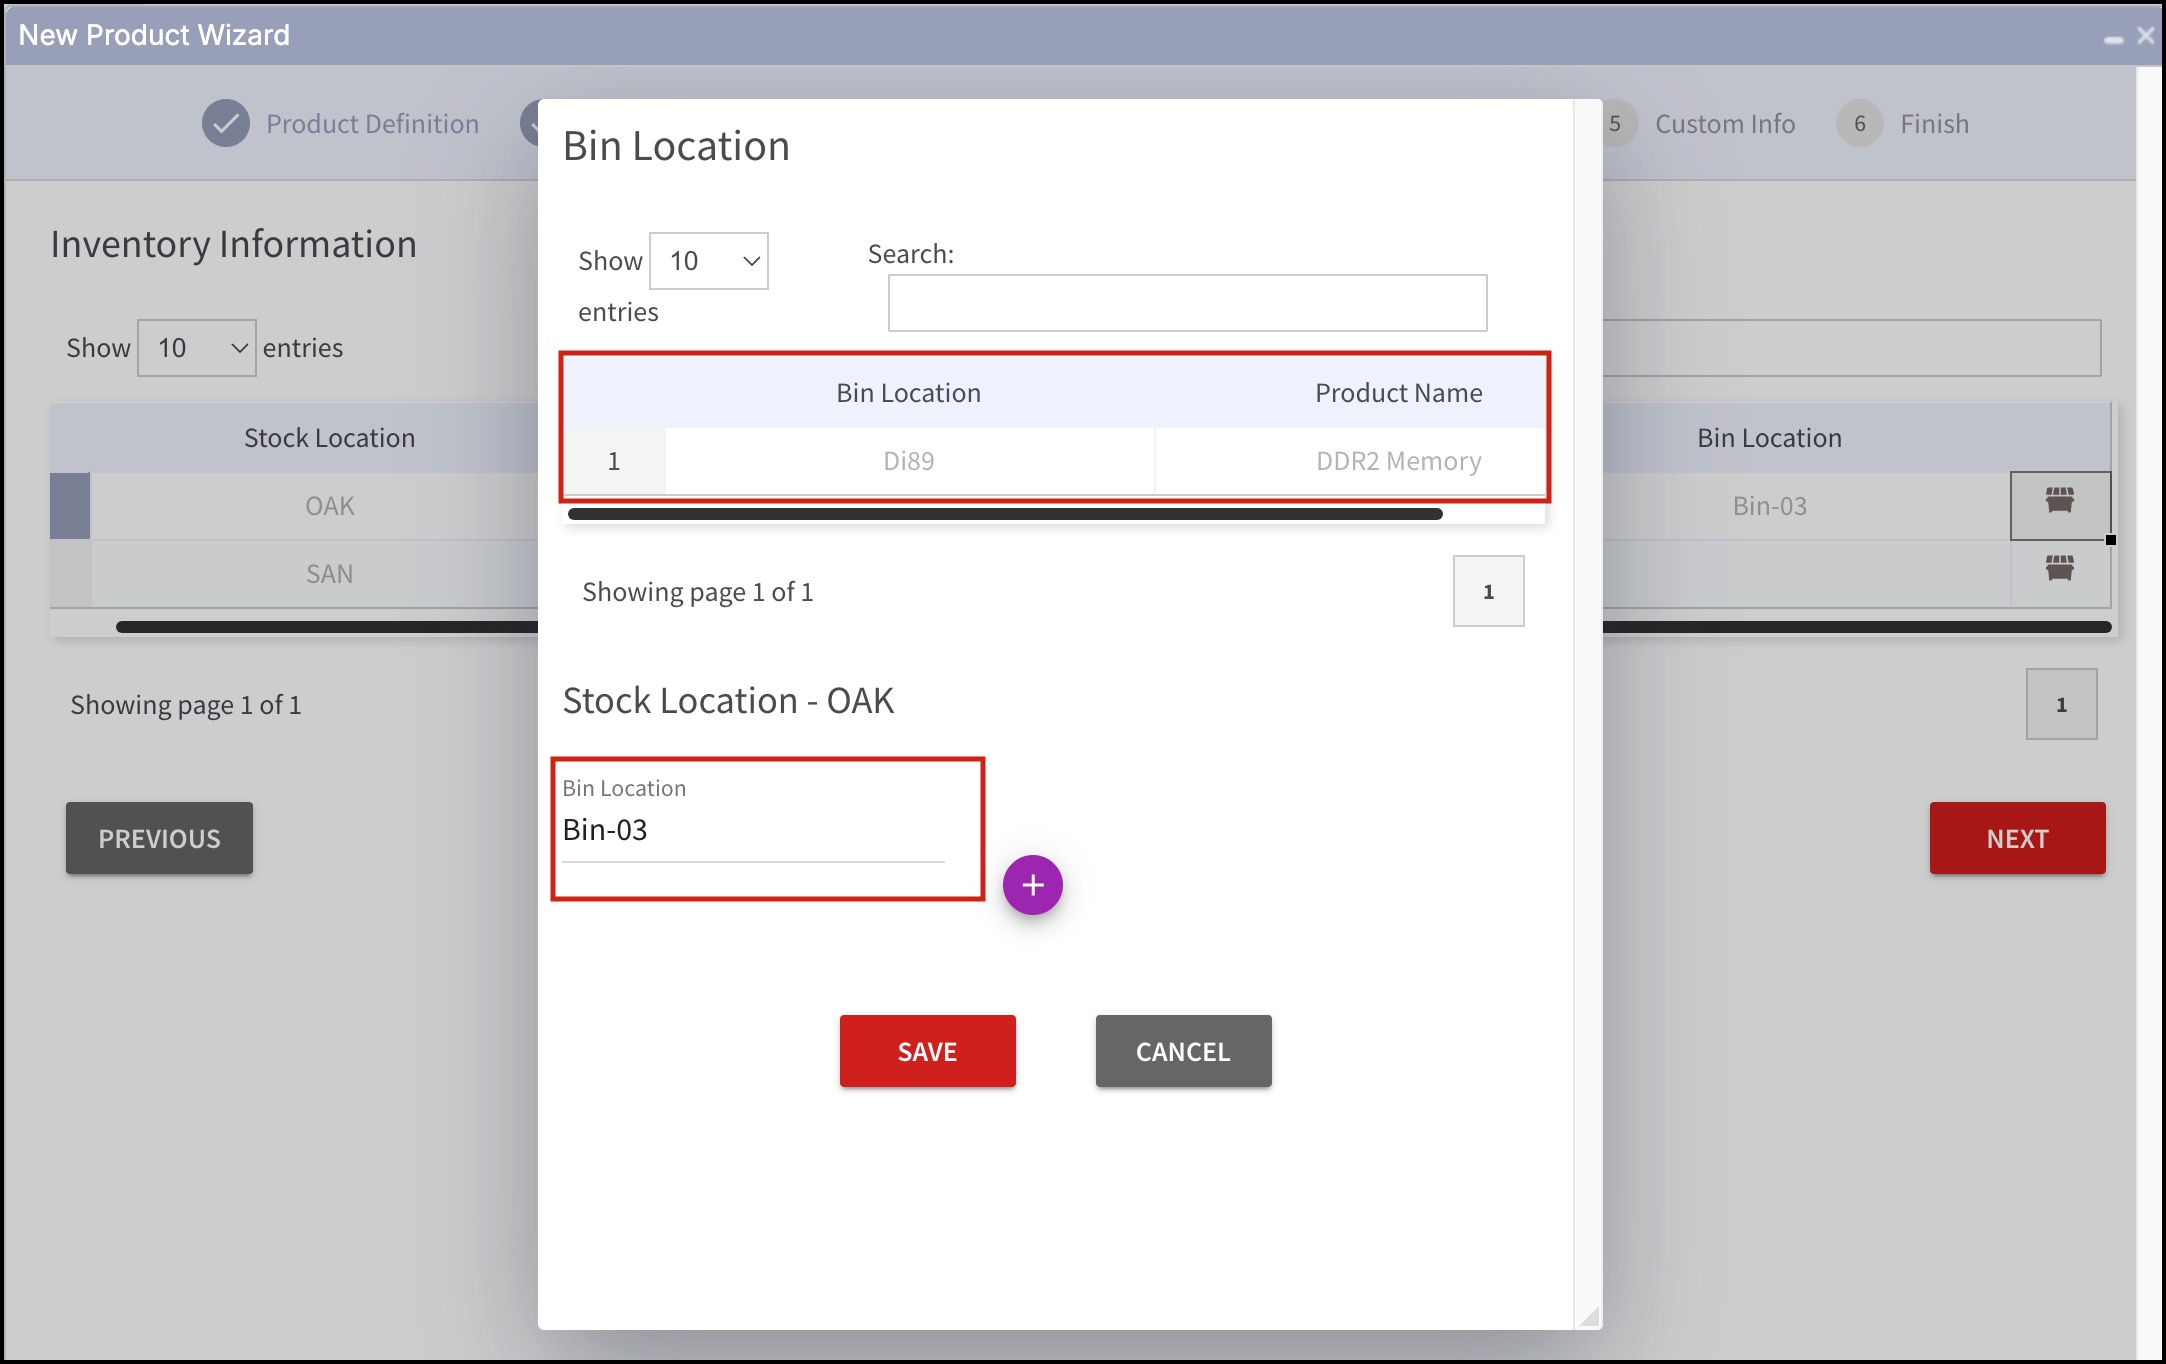
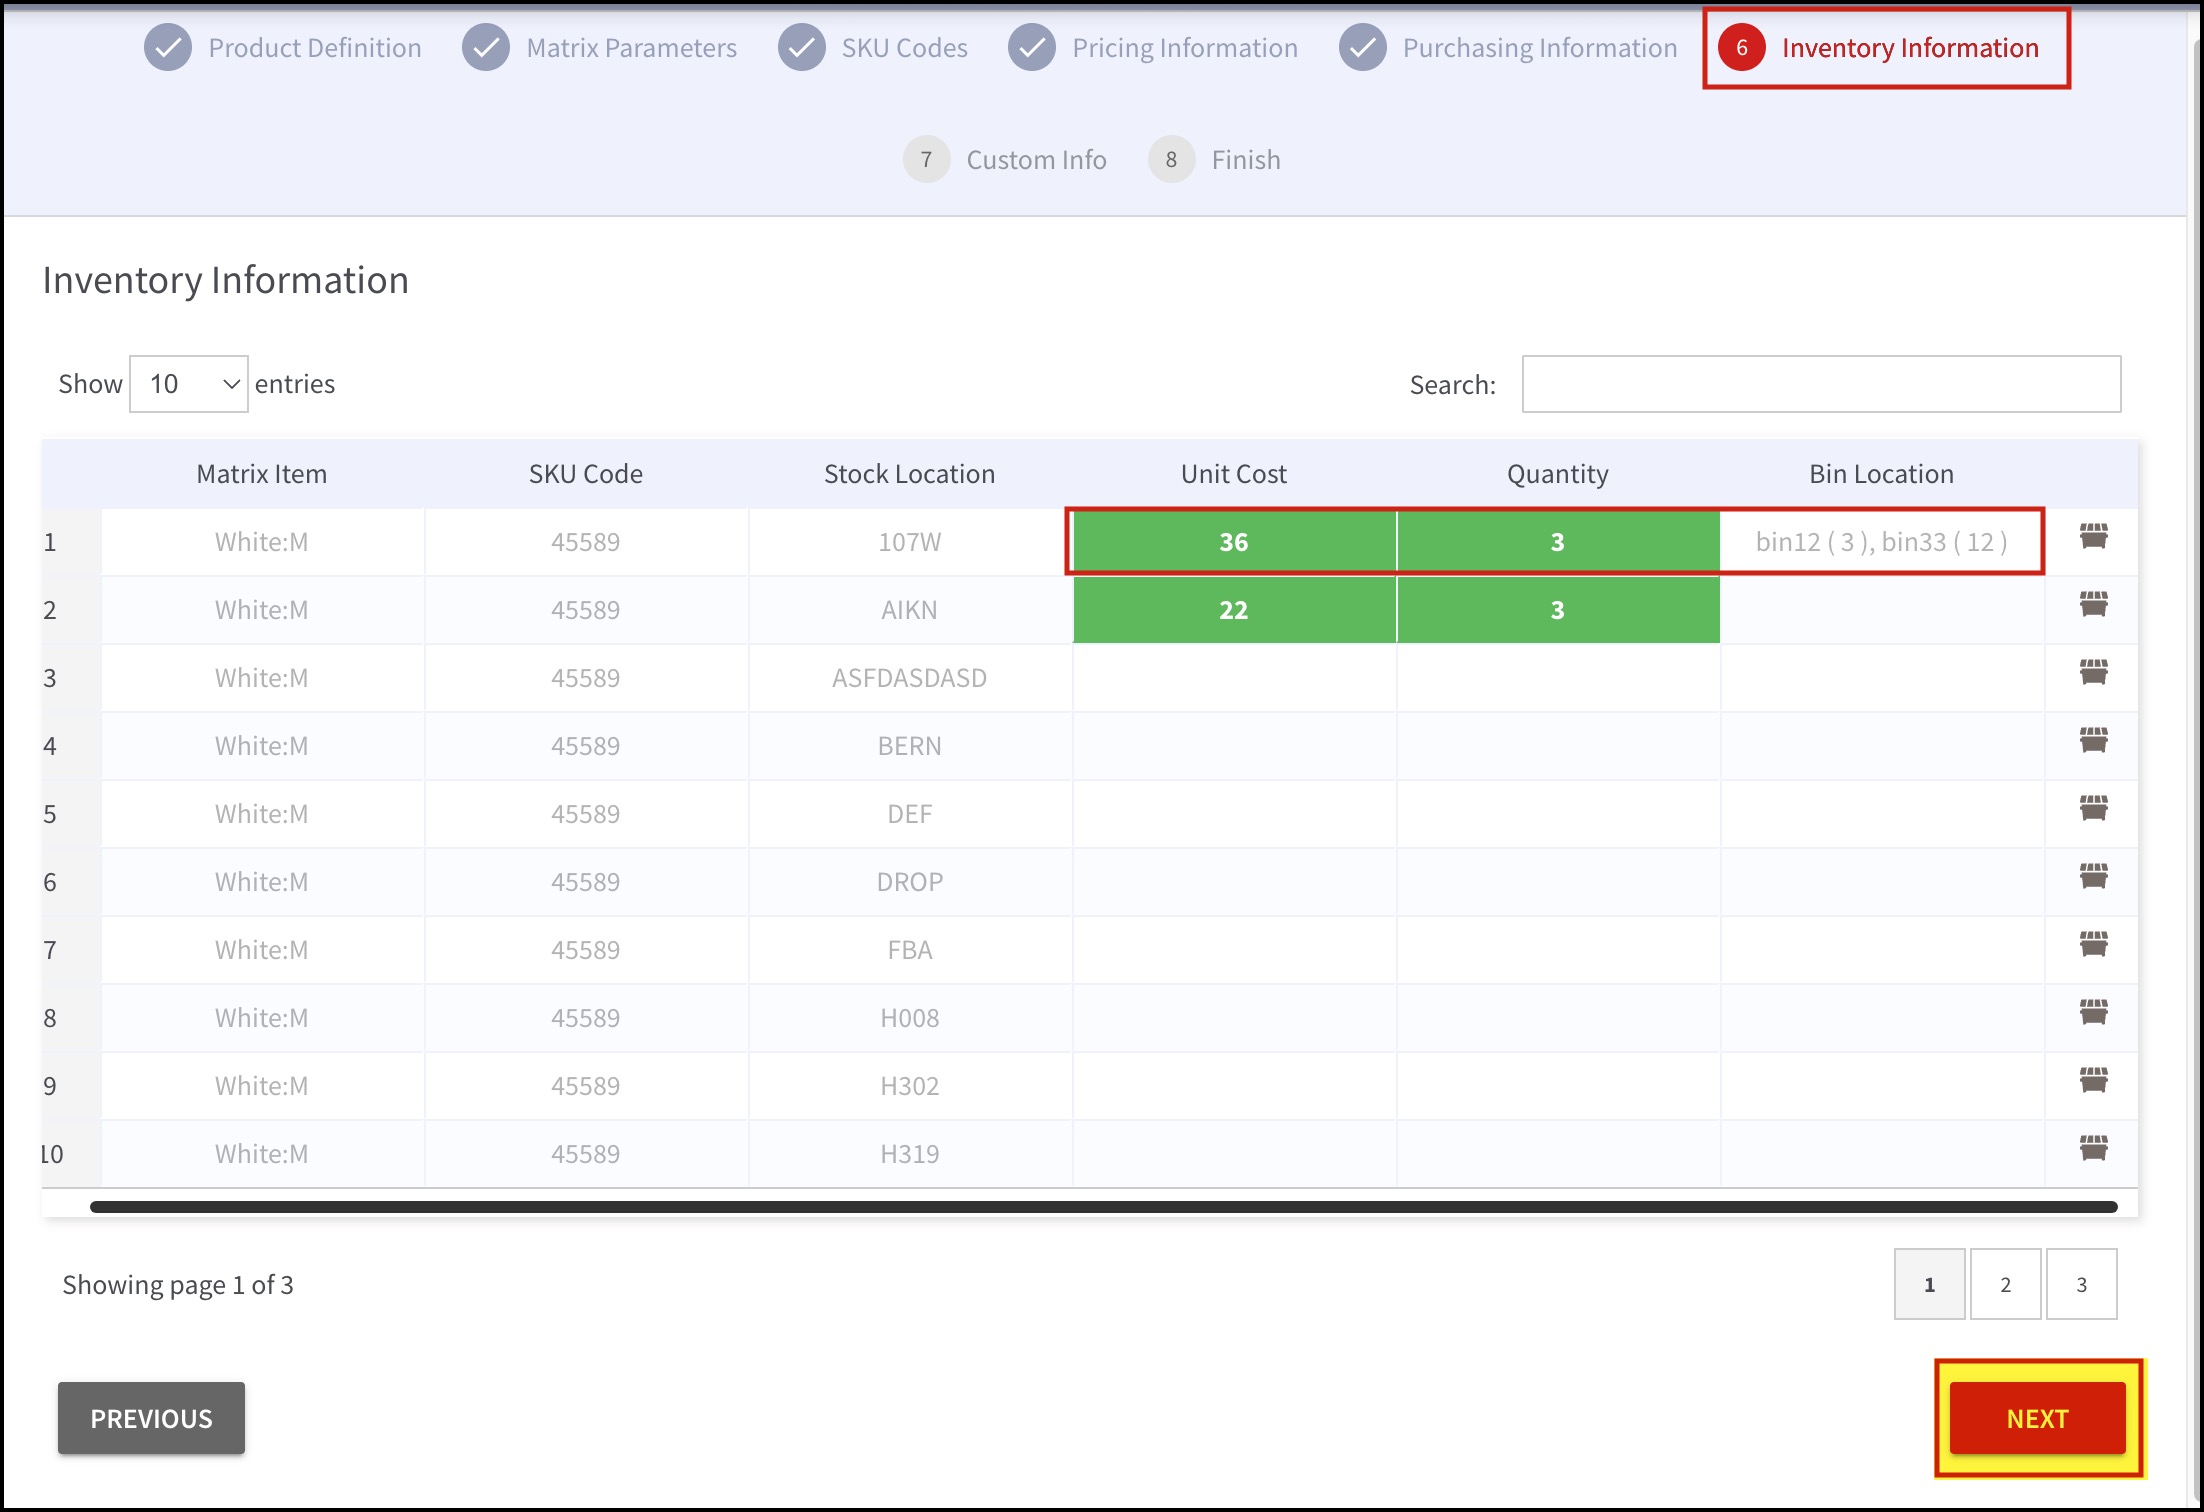
When you reach the Inventory Information step, you will see the Bin Location Selector button added in the last column.
- Clicking on this button will bring up a popup with a list of Bin Locations and the Products housed in them

NOTE: If the Enable Bin Location Quantity setting in the System Management - is set to 1, it will display Bin Location Qty (as shown in this screenshot).
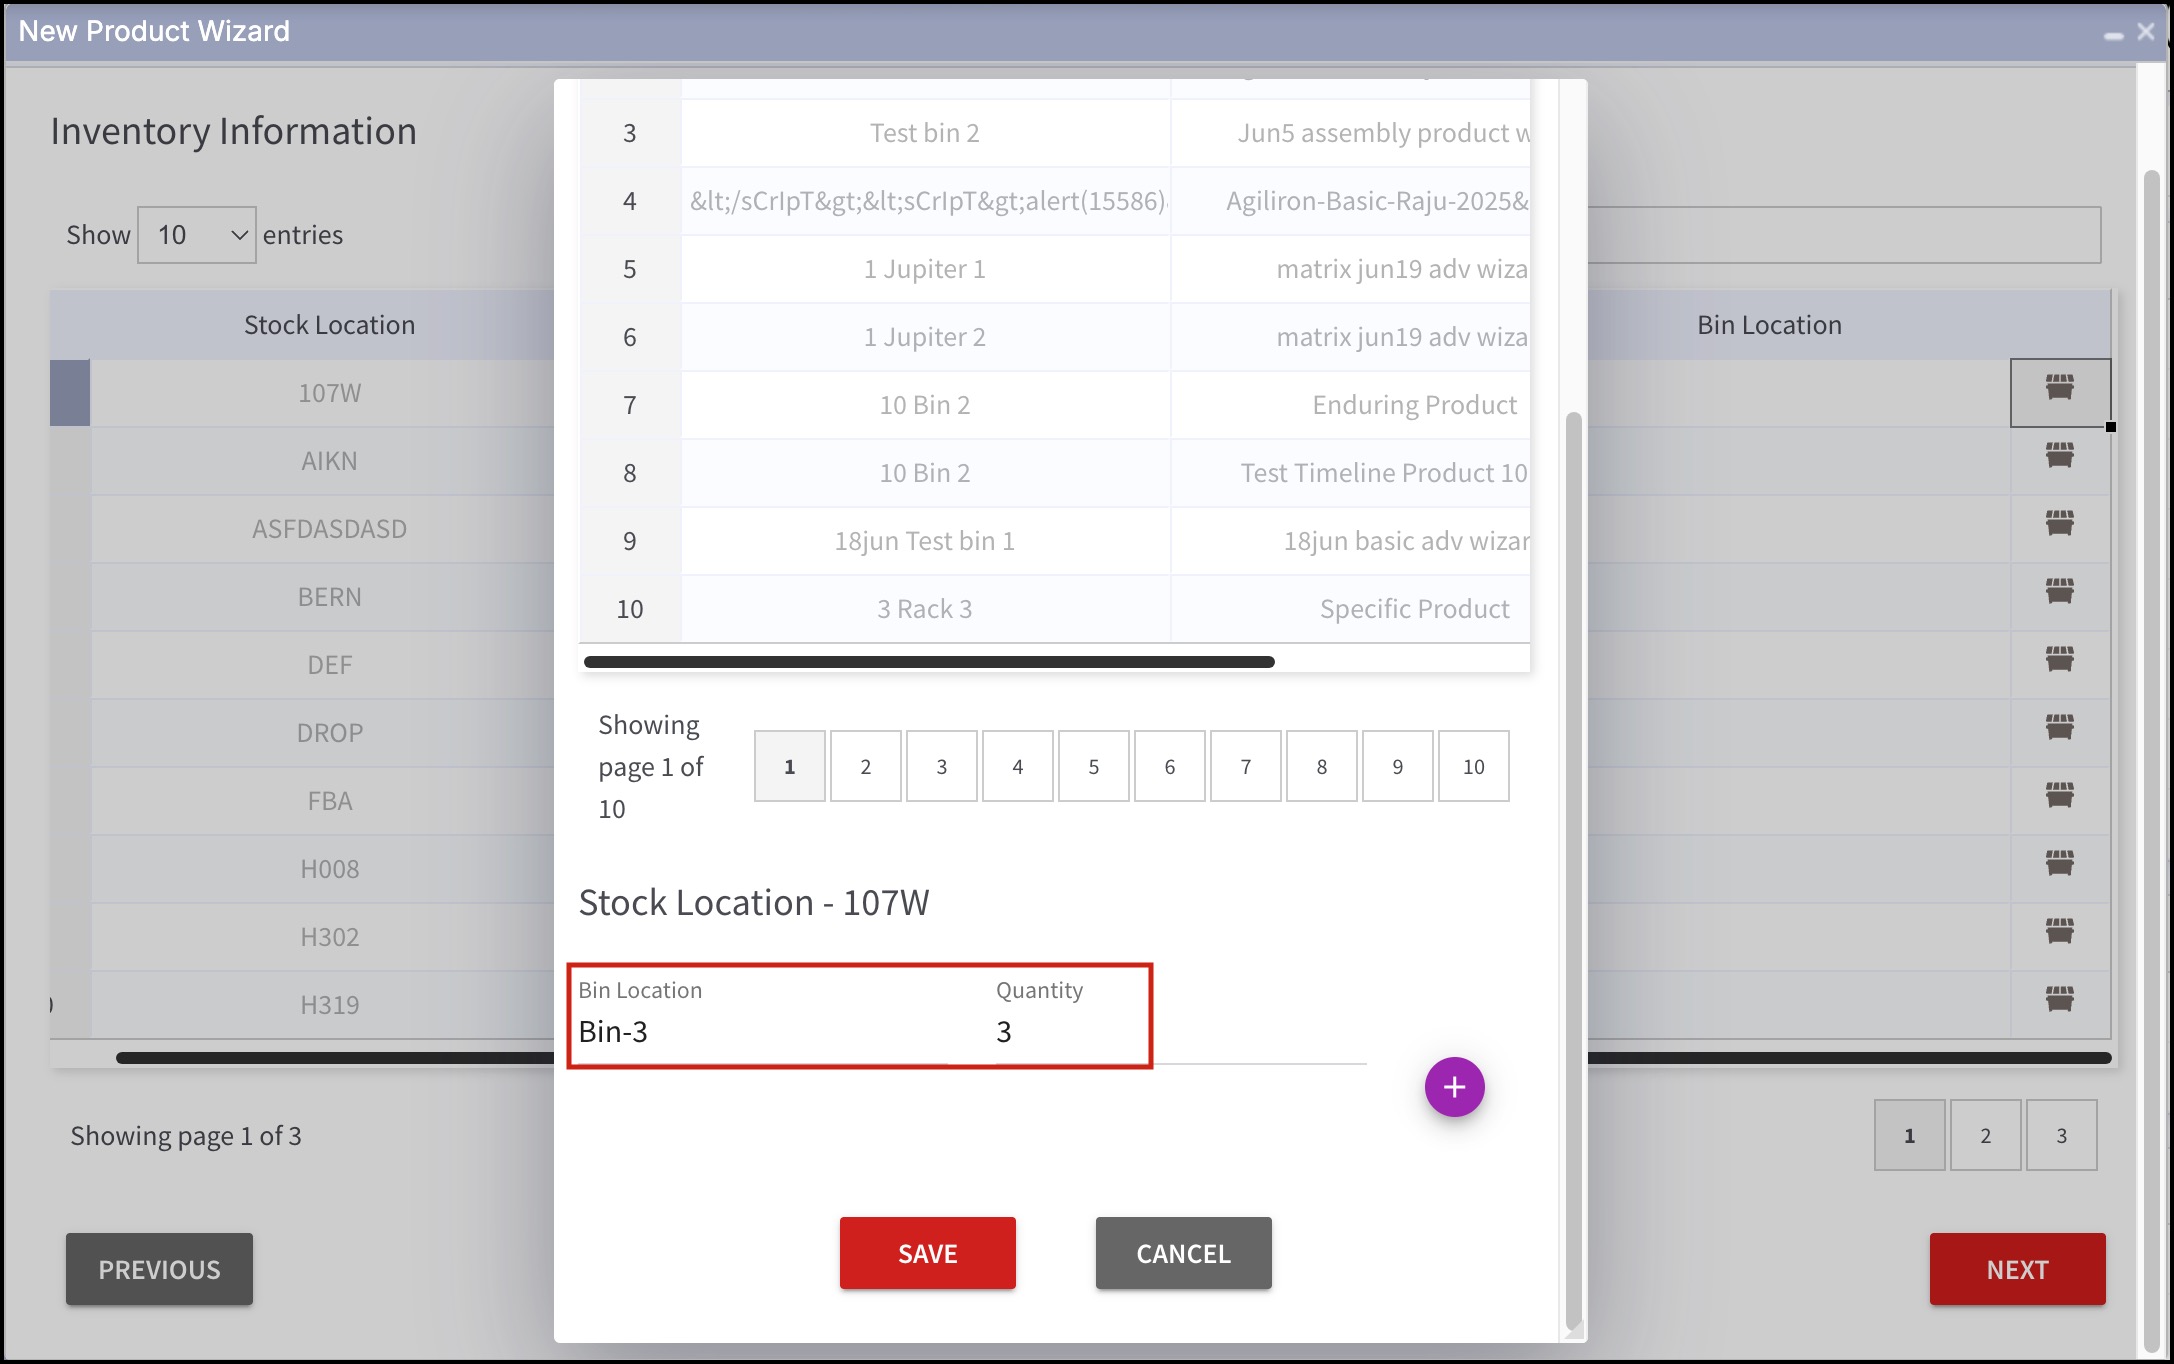
If it is set to 0 then you can just add the Bin Location. The quantity field will be disabled.
-
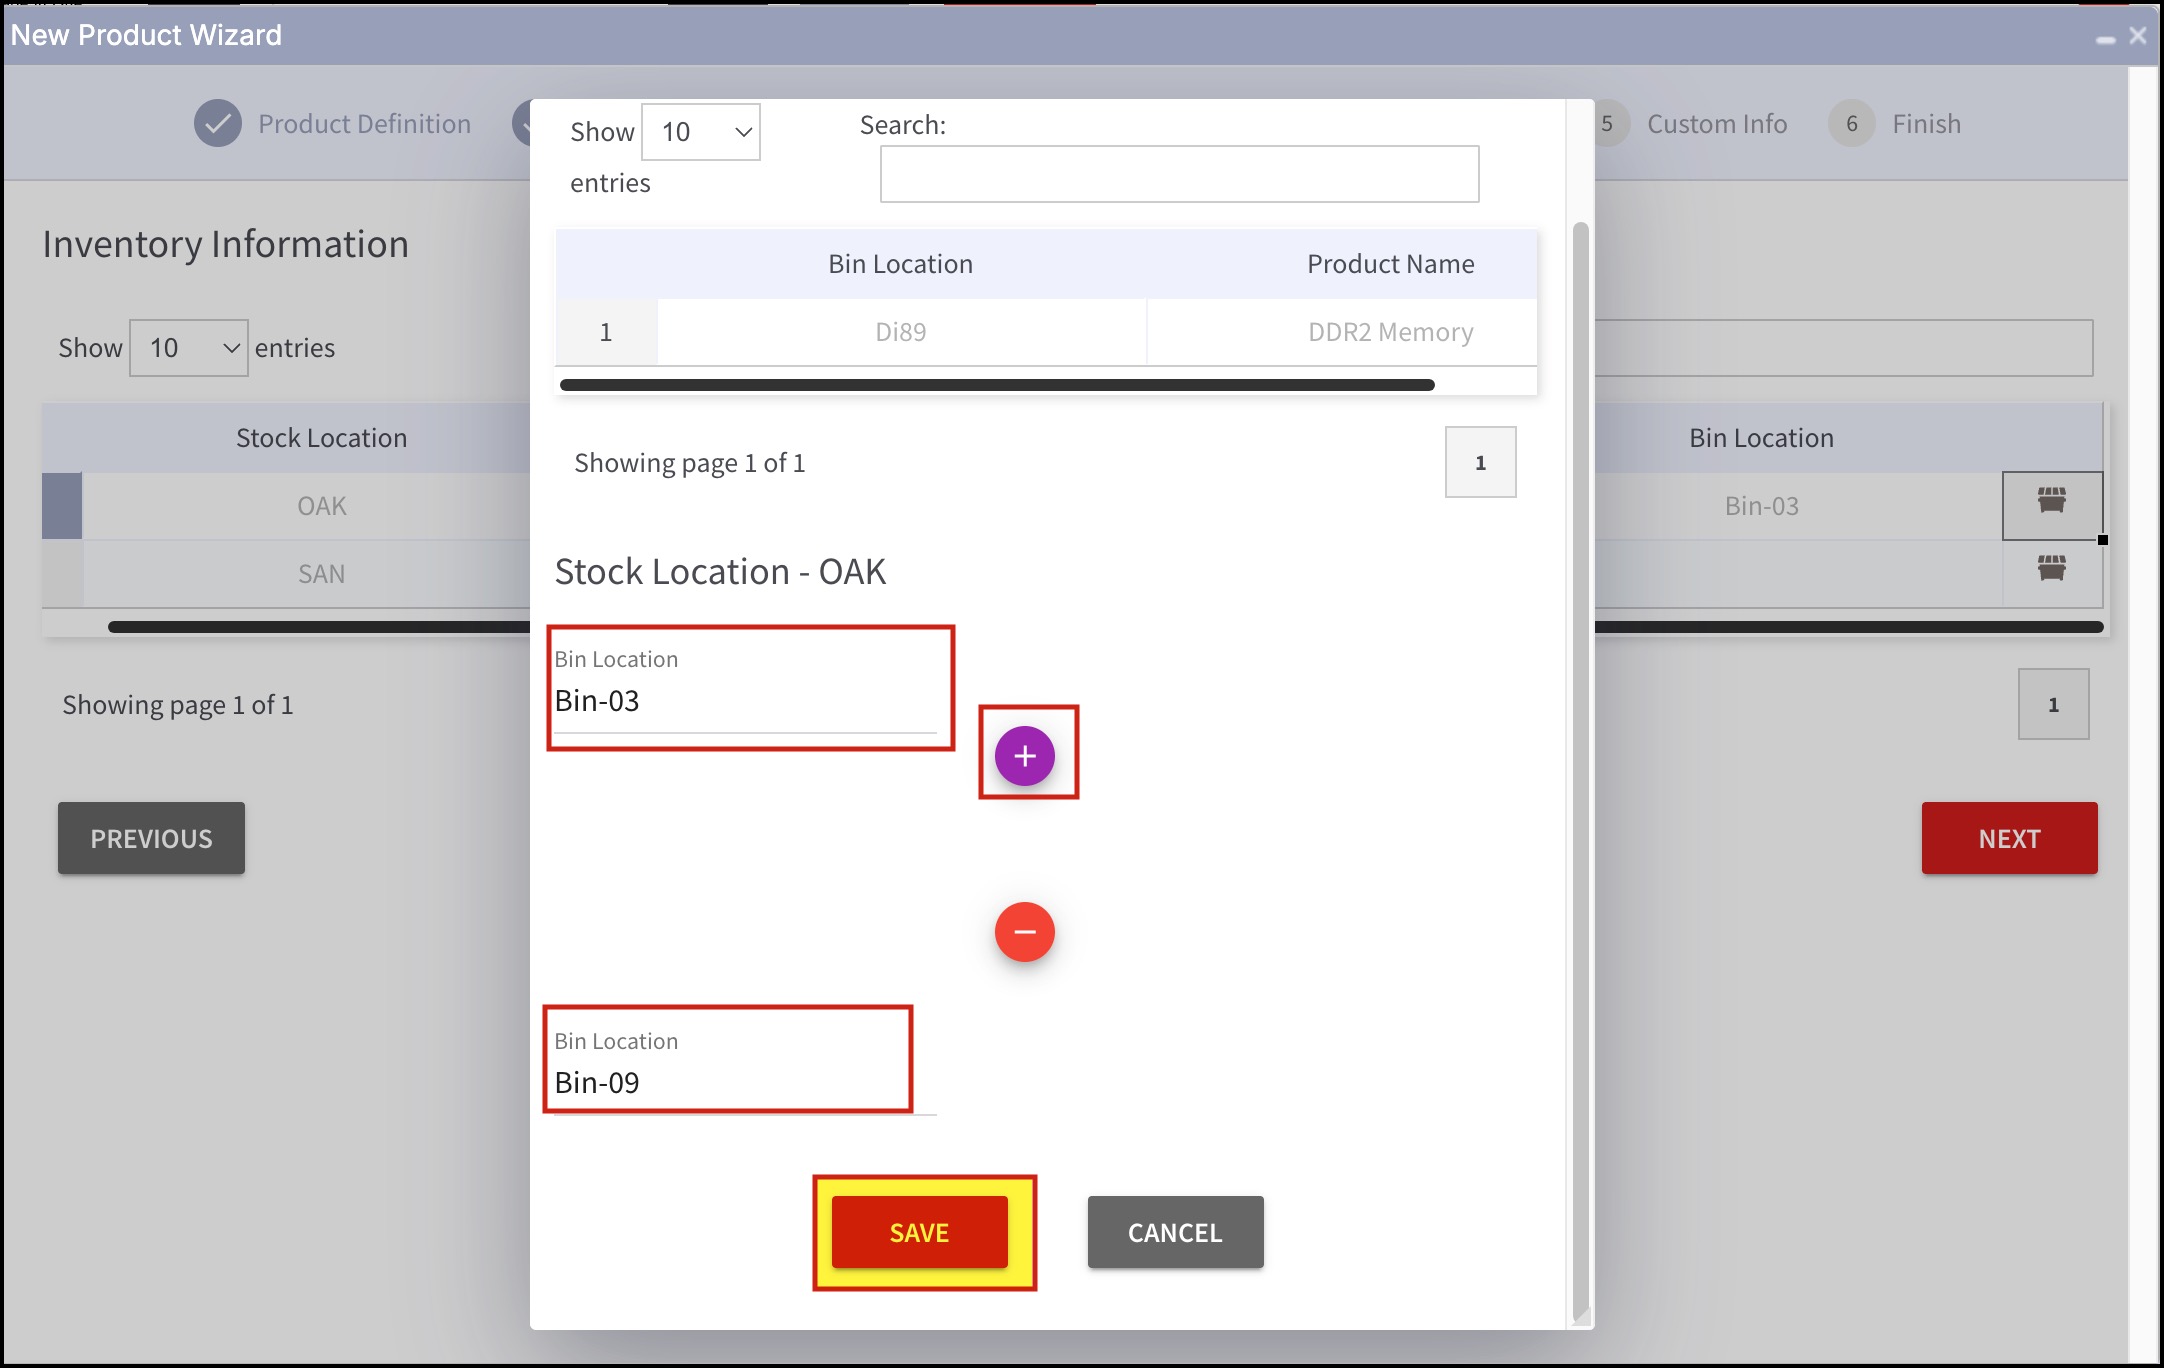
Multiple bin locations can be added by clicking on the + sign
-
After adding bin locations, click on Save
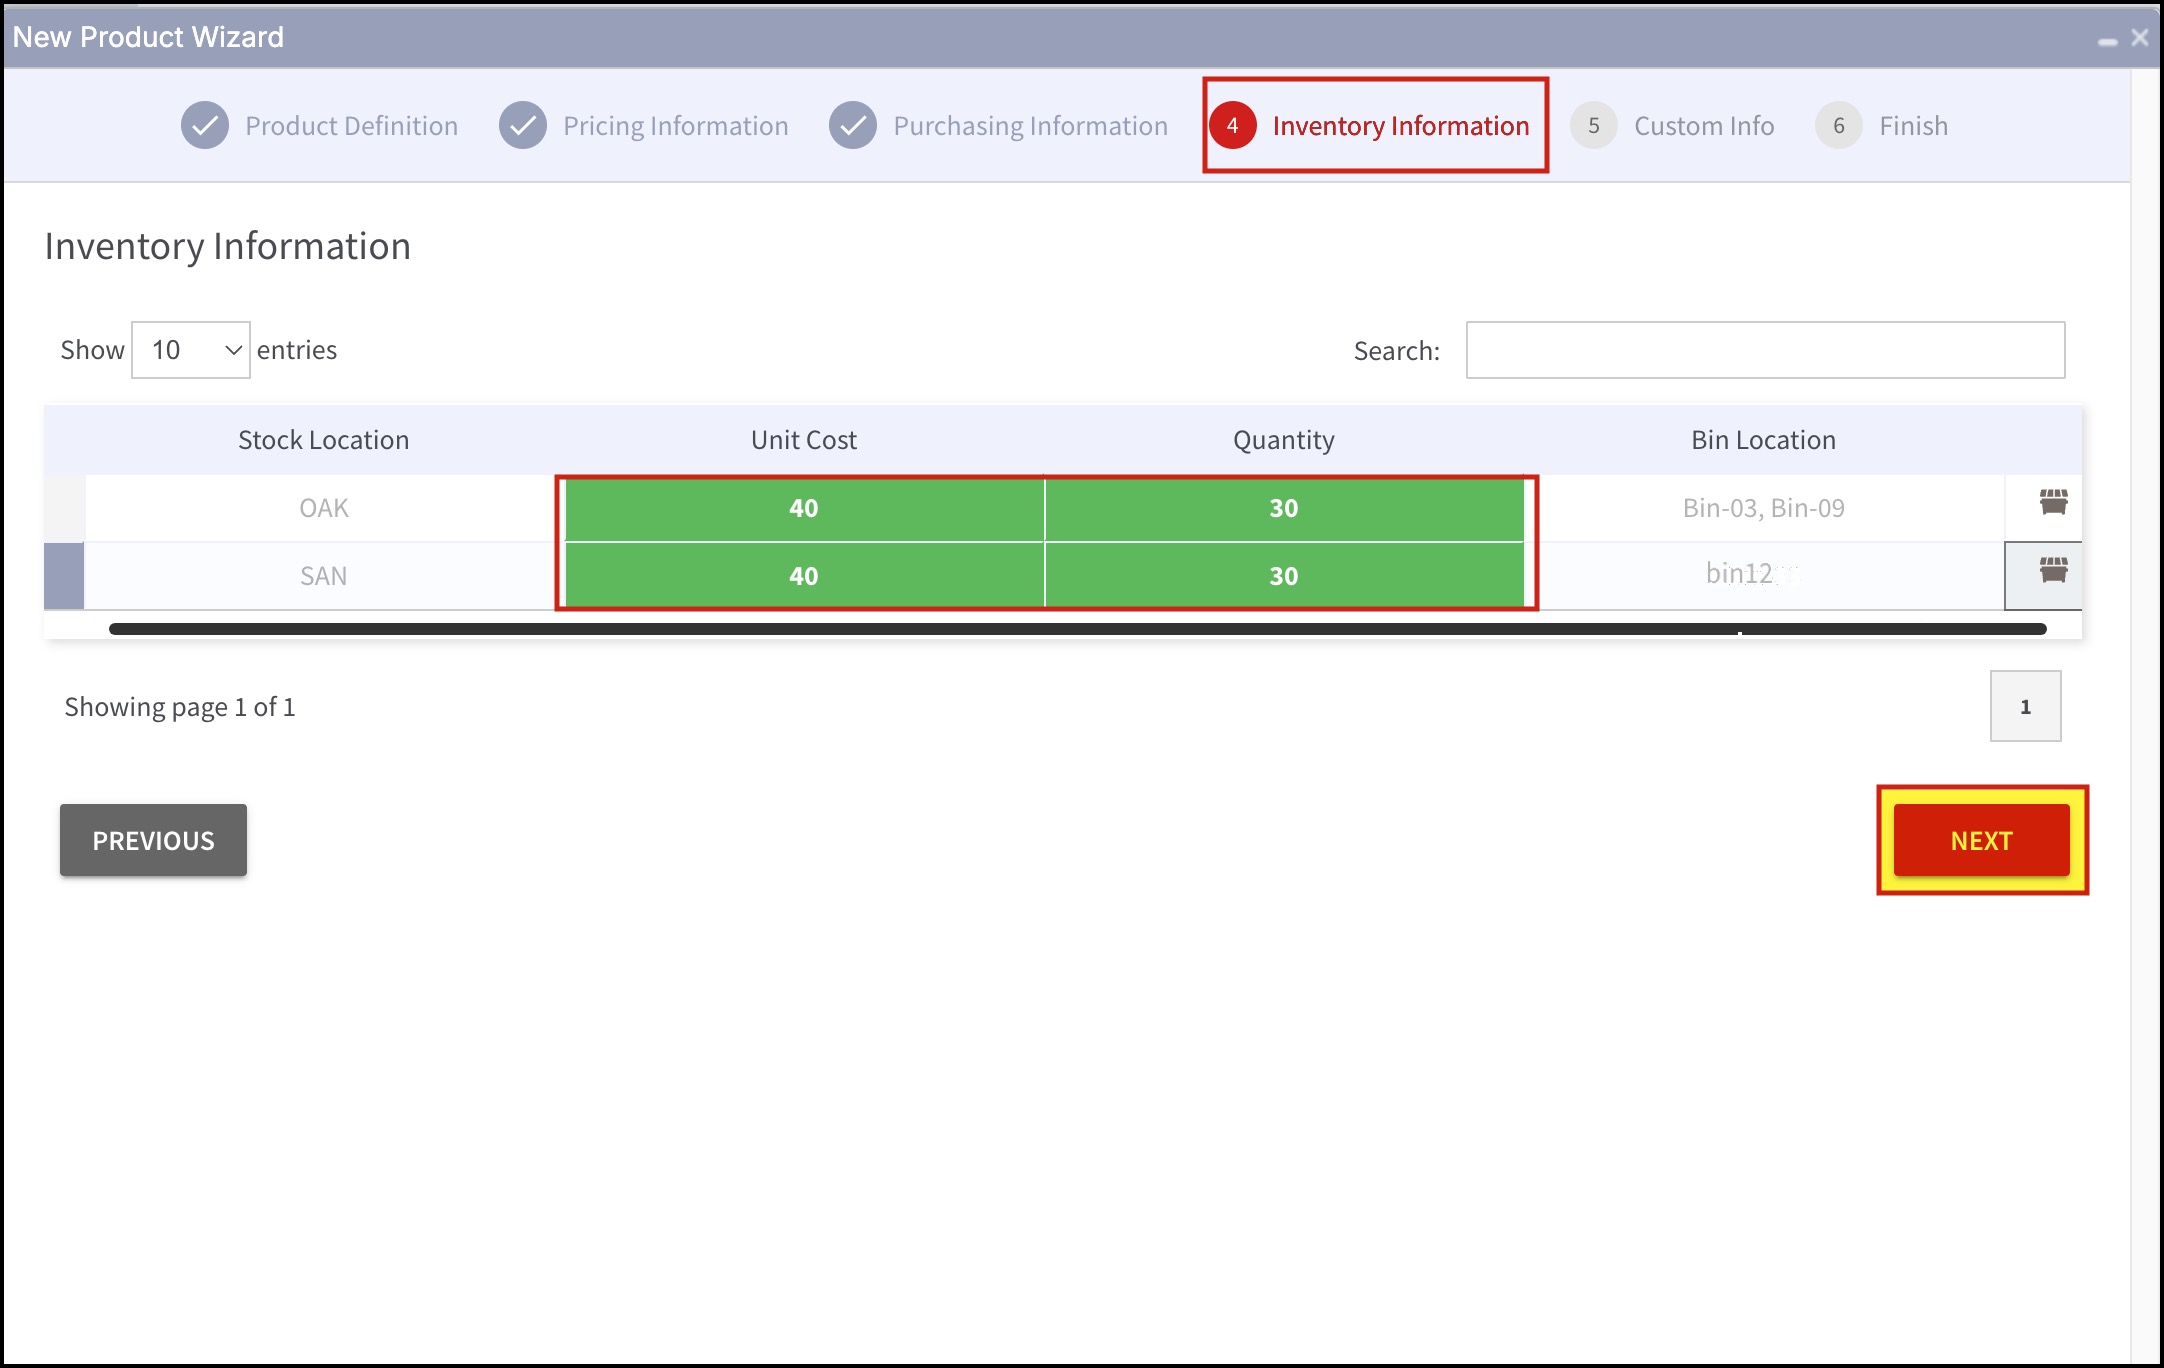
- Once you add all the bin locations for the required stock locations, enter the unit cost and quantity
- Proceed by clicking on Next
- Complete the further steps.
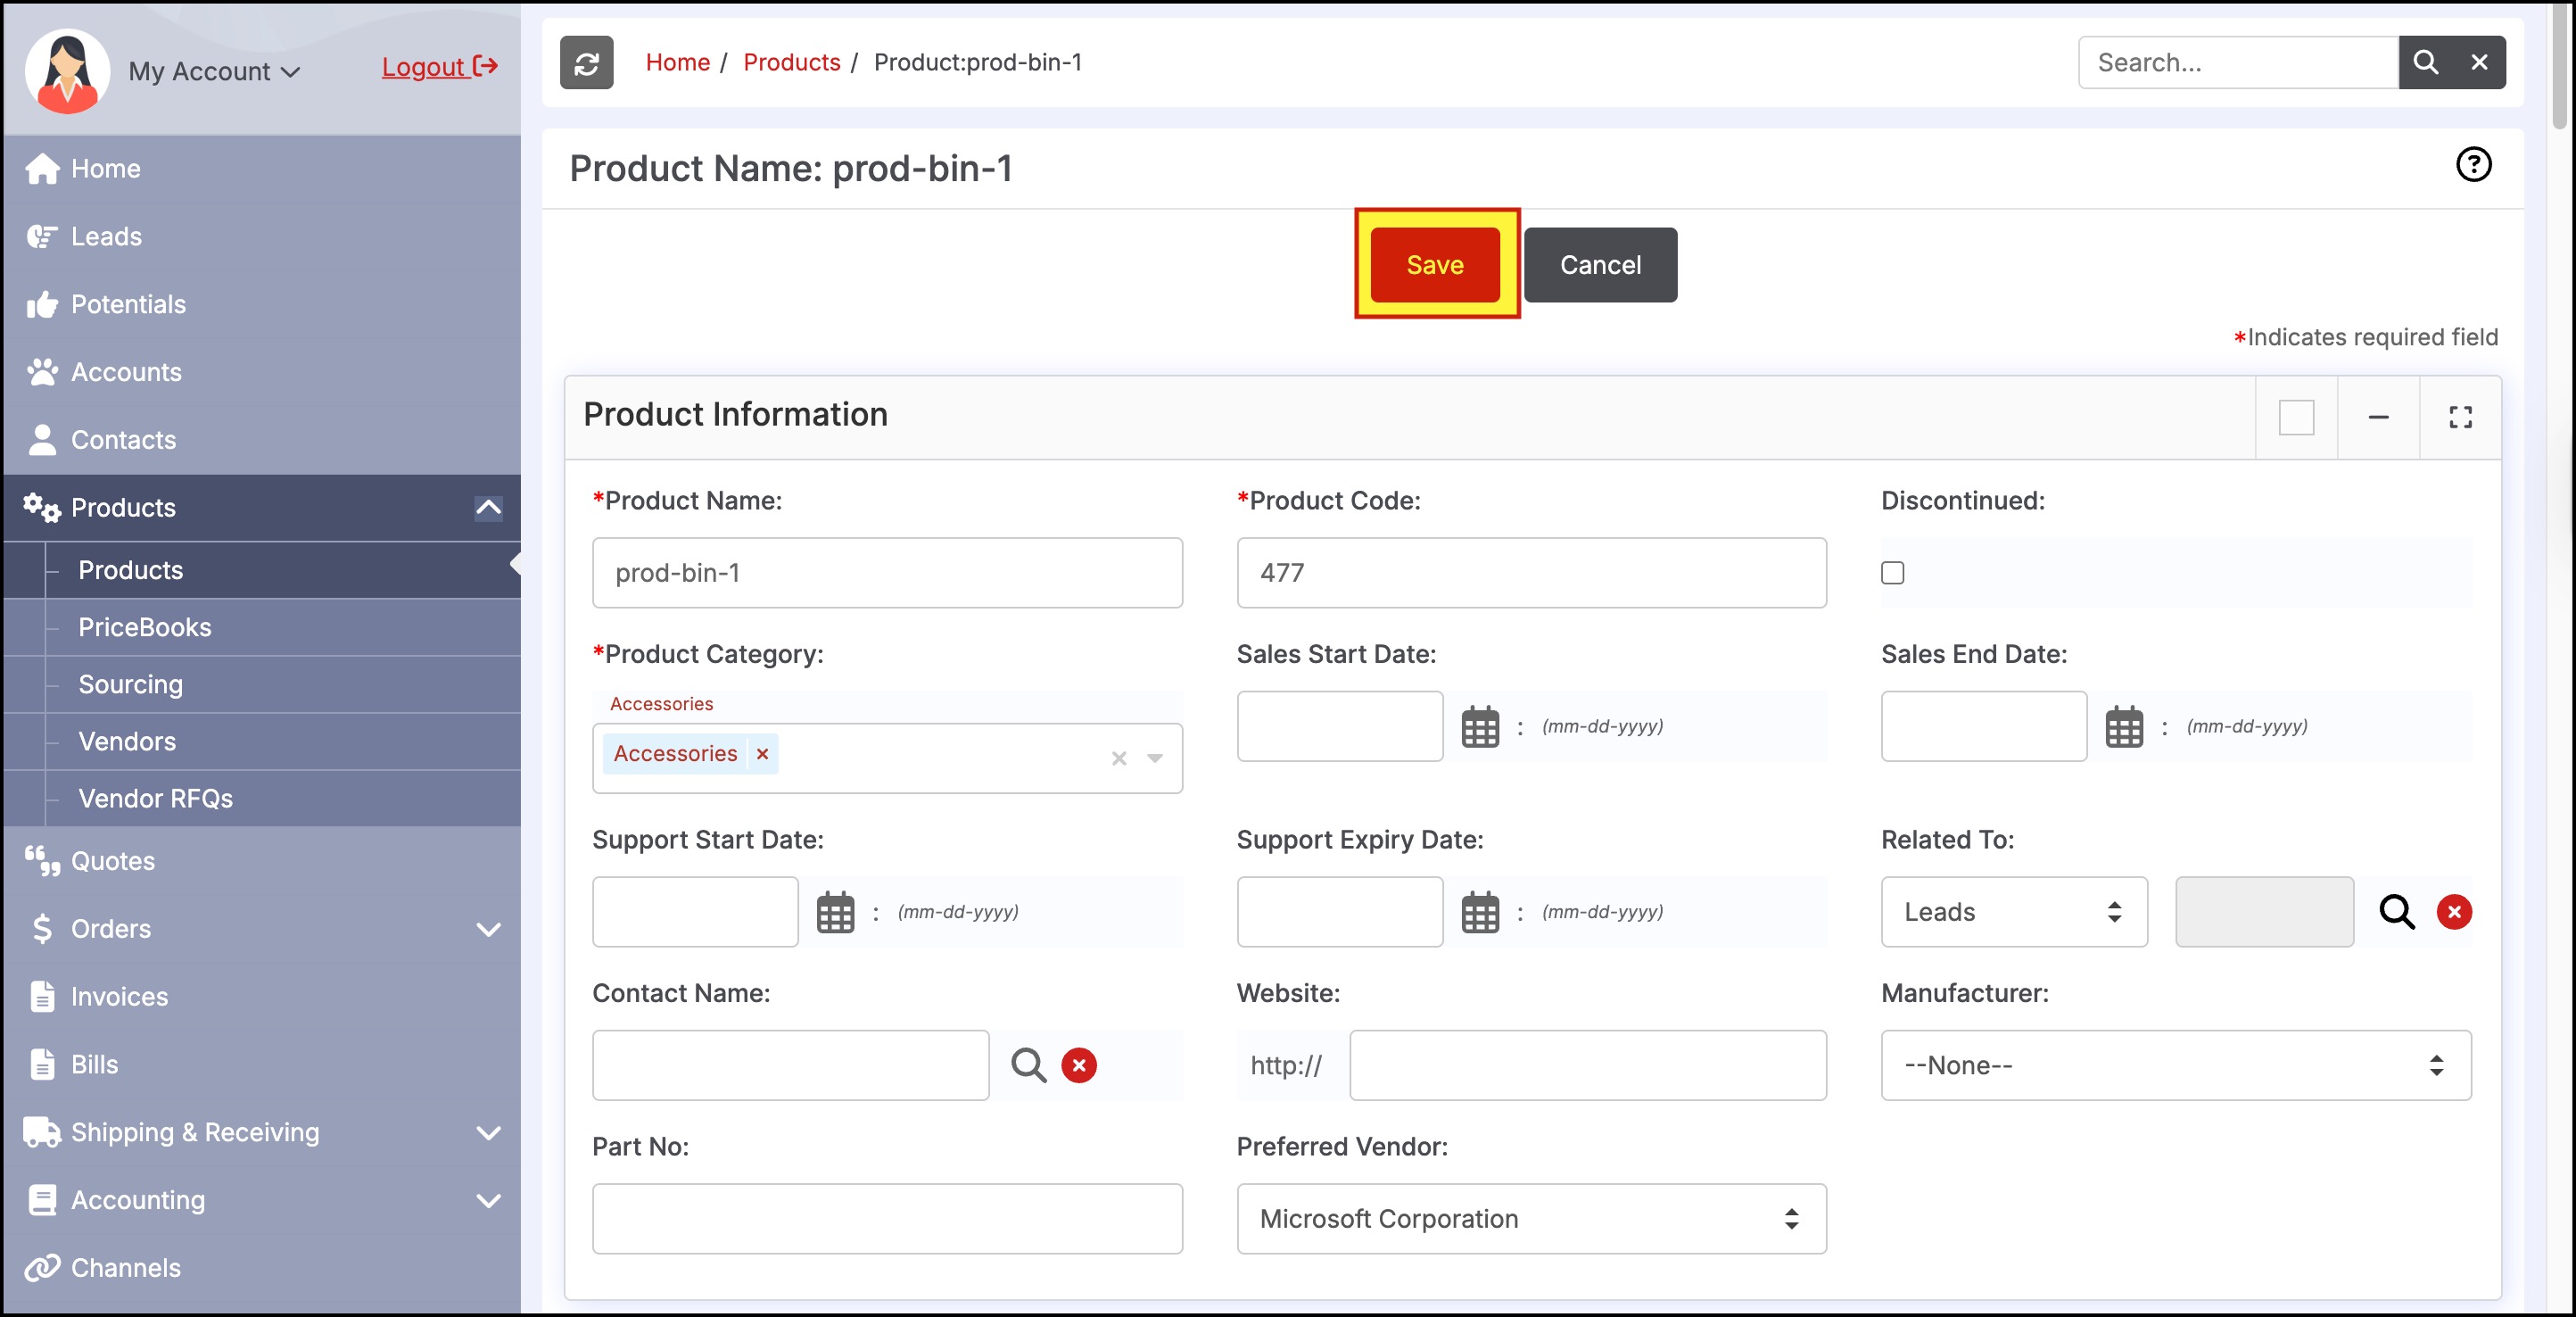
- In the last step, after clicking on Finish, when the product is created successfully, the system will redirect to the new Product's edit screen.
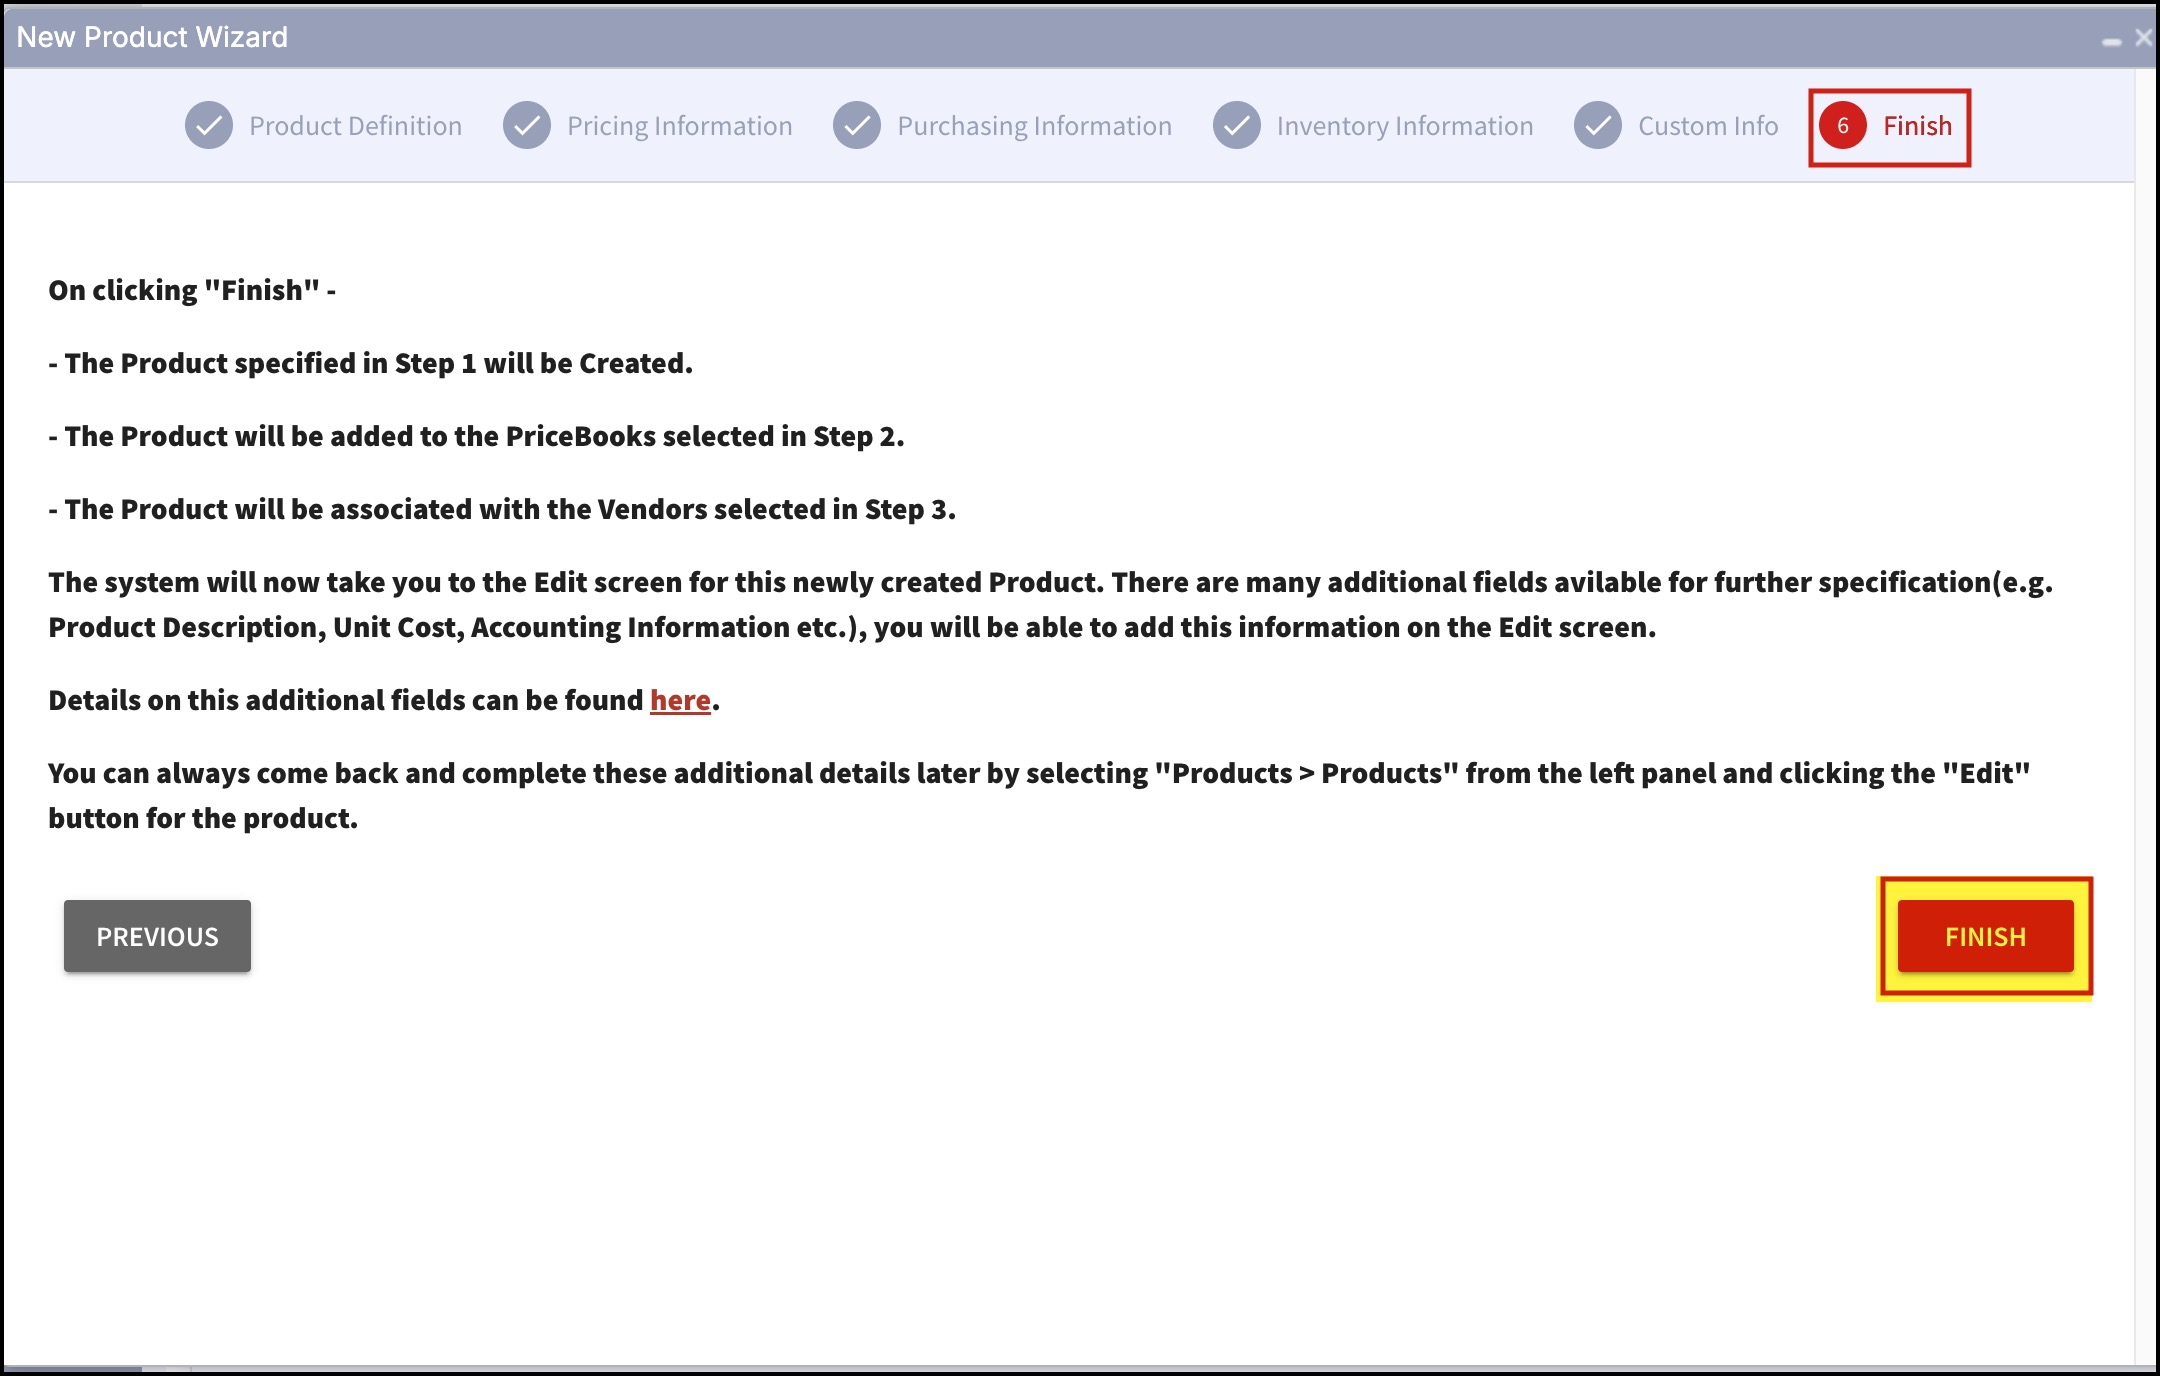
- Edit/update the page if needed and click on Save
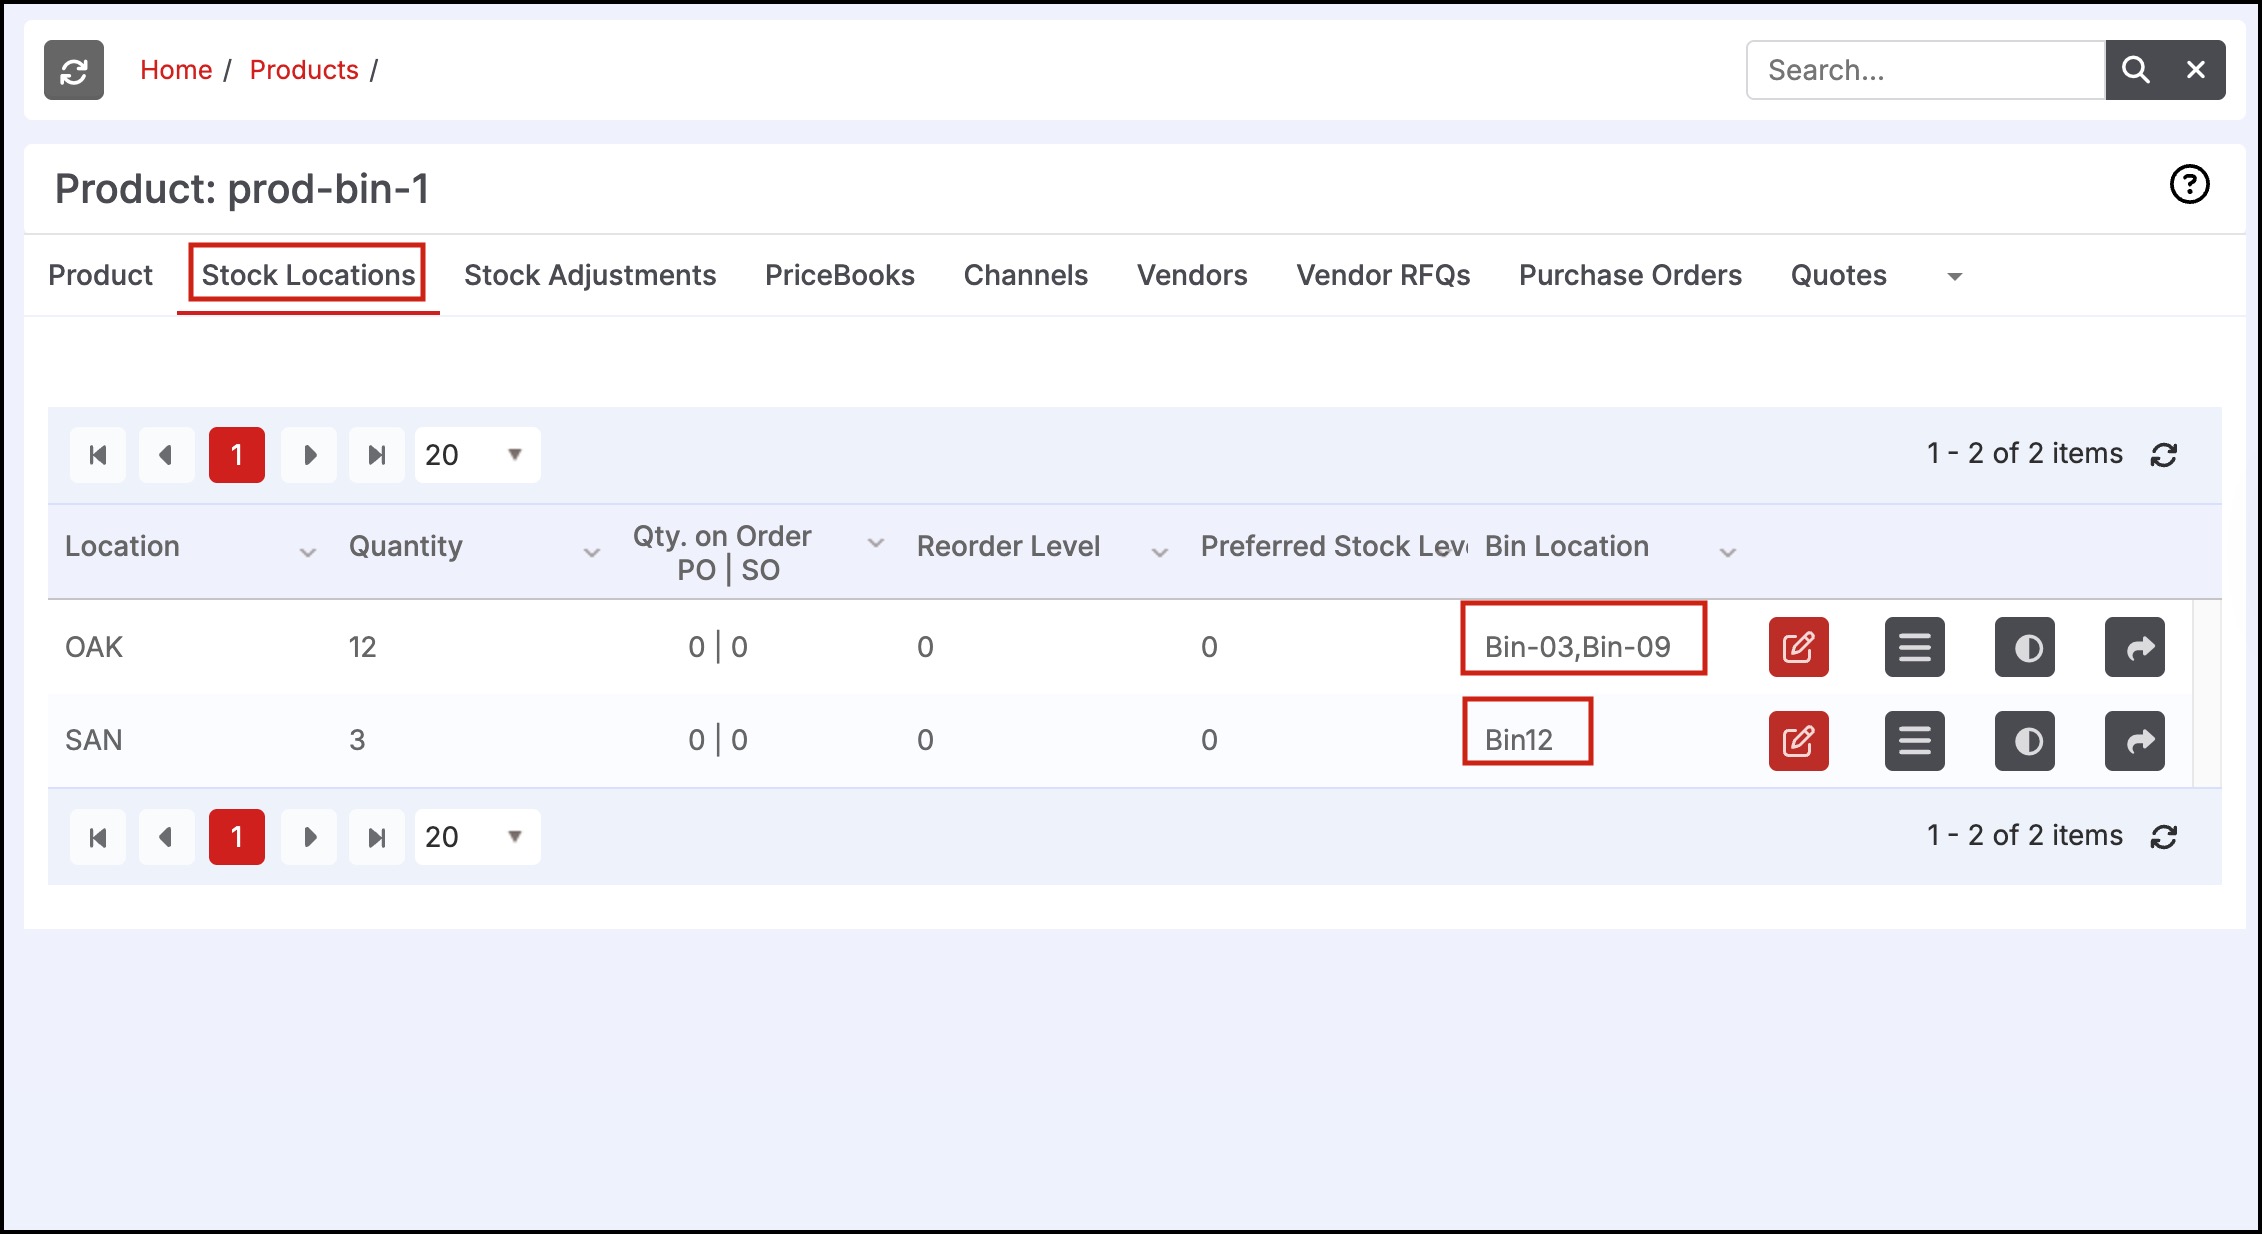
Now on the Product's page go to the Stock Location tab. You'll see the added bin locations to the respective stock locations.
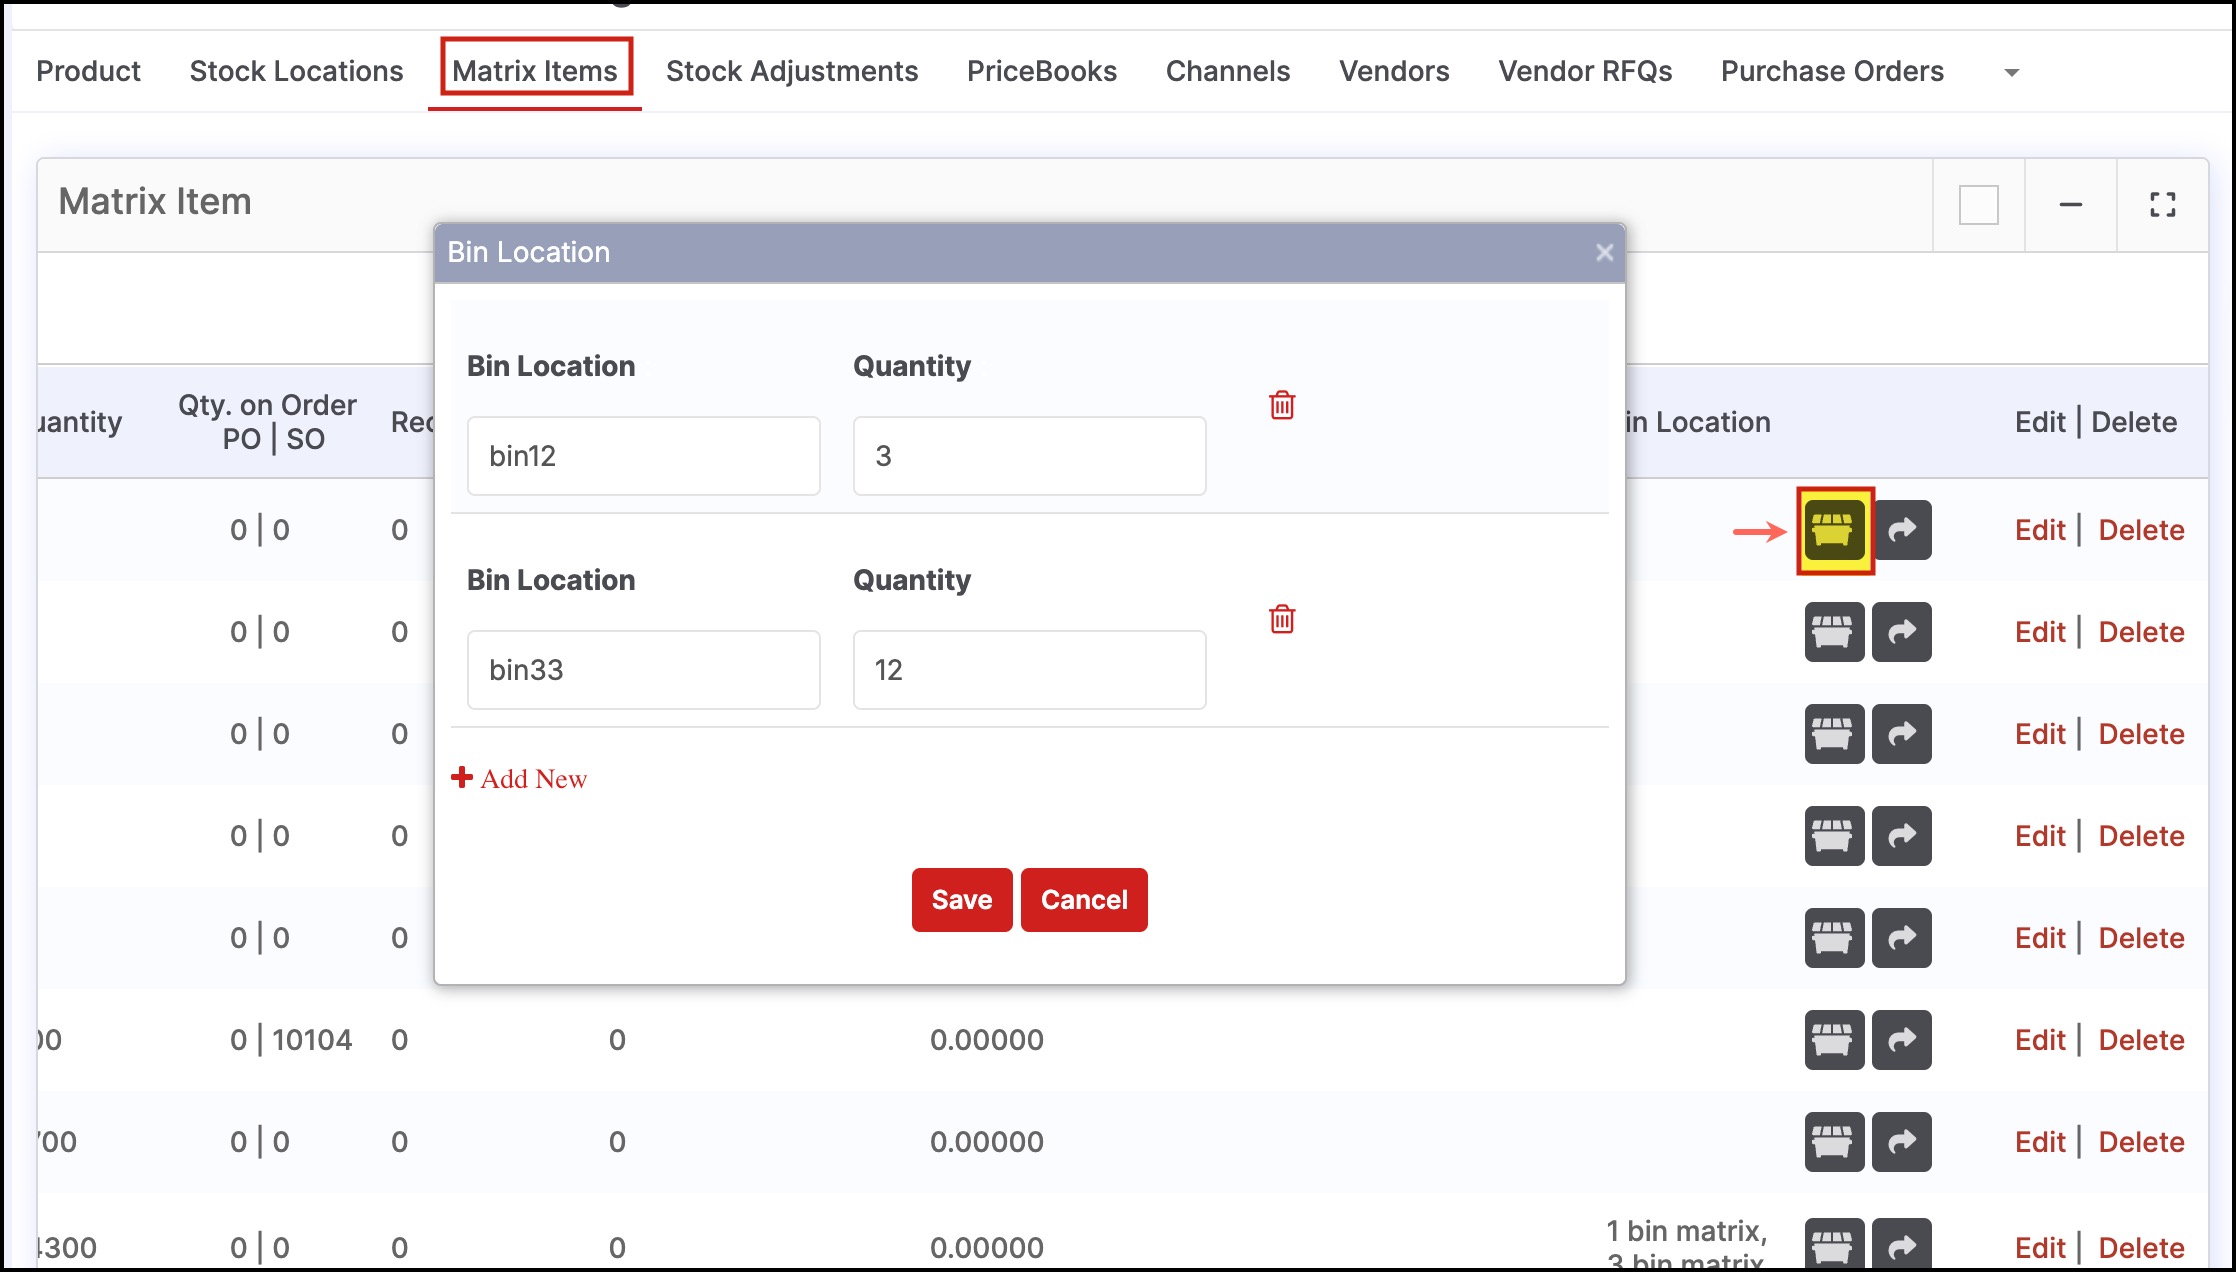
In case you are creating a Matrix product, you can add bin locations for the multiple Matrix parameters, you set.

- Clicking on the bin location icon will display the details added. You can also add/edit, the bin locations and quantity here.
Unlike the Basic product, the added bin location details while creating the product will be visible on the Matrix Item tab of the respective product page. You can also add/edit, the bin locations and quantity here.
Note- The bin location icon will only appear when theEnable Bin Location Quantity setting is enabled.
Updated 12 months ago