New Purchase Order Wizard
No more clunky PO processes. Our ''New Purchase Order Wizard'' helps Agiliron users to create professional purchase orders with great clarity.
Follow the process shown below:
- To create a new purchase order, on the menu bar, click on New.
- Select 'New Purchase Order Wizard' from the drop-down list.

- This will open up the New Purchase Order Wizard window. The Purchase Order Information will appear first.
- Enter all the relevant information.
Remember all the fields marked with ***** are mandatory.
- In the Subject field, enter a name that rightly describes the purchase order or makes more sense to the business. It could be a company name, customer name, product name, or description.
- In the Vendor field, select the name of the vendor (drop-down list) from whom you'll be purchasing the products.
- The list of the Vendor Contact will be filtered as per the selected vendor.
- The Deliver to field is automatically filled when the vendor is selected and if the information has already been set up. You can change if needed.
- After the necessary fields are filled, click on Next.

- Next comes the Address Information.
- For Bill to, type to search and select the choice from the filtered drop-down list.
- Deliver to is related to the stock location. As you have selected the vendor already, this field gets auto-filled. However, you change as per your requirement.
- The other fields related to billing and shipping automatically get filled on the basis of the vendor name. You can edit these details.
- If both the billing and shipping addresses are the same, conveniently copy the information entered on one side to another by just clicking one button.
- Use ''>'' button to copy the "Billing Address" to the "Shipping Address"
- Use ''<'' button to copy the "Shipping Address" to the "Billing Address"
- Once all the necessary fields are filled, click on Next.

- Then comes the Product Details. In this step, first add the product information by clicking on the + sign, present at the end of the table/spreadsheet.

- Add Product to Purchase Order pop-up window will appear.

There are 2 ways for adding products:
Way 1 - For adding product one at a time
- Type to search the product/products. As soon as you begin typing in the text field, a drop-down list of products related to what you type will be displayed. Select a product from the drop-down list.
- Once the product is added, most of the fields automatically get filled, based on the product name. Make sure to enter Quantity of product that needs to be added to the purchase order as it is mandatory.
- Vendor Price (the price for the selected product from the Vendor Price Book) and Discount (discount set for the particular product) are automatically filled, if already the details are set up. These fields can be edited as per requirement.
- Unit Cost is picked and displayed from the "Unit Cost" field in the Product definition.
- The Line Item Total gets automatically calculated.
- If any necessary information needs to be included for the product, enter it in the Notes text field.
- Click on Add button, once done. The product will be added to the spreadsheet.

You can add more products by clicking on the + sign and repeating the above steps.
Way 2 - To add products in bulk
The other way to add products is by clicking on the 'magnifying glass' icon that appears in the Add Product to Purchase Order window.

- In Search Products, either search for a particular product by typing the name in the Search field or select multiple products at a time by just entering the required quantity for each. Product cannot be added without entering the required quantity.
- You can also enter the discount for each product selected as per your needs.
- Click on the Add Product button.

You can delete ("- "icon) or edit ("pen" icon) the added products to the purchase order.

If you try to add duplicate products (the one that is already added to the PO) an error will occur when you click on Next.
If you still wish to add duplicate products, write a Note in the Notes text field and then update.
You can even directly write Notes for the already added product in the Product Details spreadsheet and then add its duplicate.

Let's proceed with other information:
- If needed, enter discount for each product added to this PO, or enter an order discount that will be applied to the entire Purchase Order or apply both discounts.
- Sub total is the total amount displayed after discounts.
- Enter shipping cost applied if any.
- Sales tax rate will be automatically calculated. You can override.
- The grand total will be auto-calculated including the shipping and taxes. It is the final Purchase Order total.
- Click on Next.

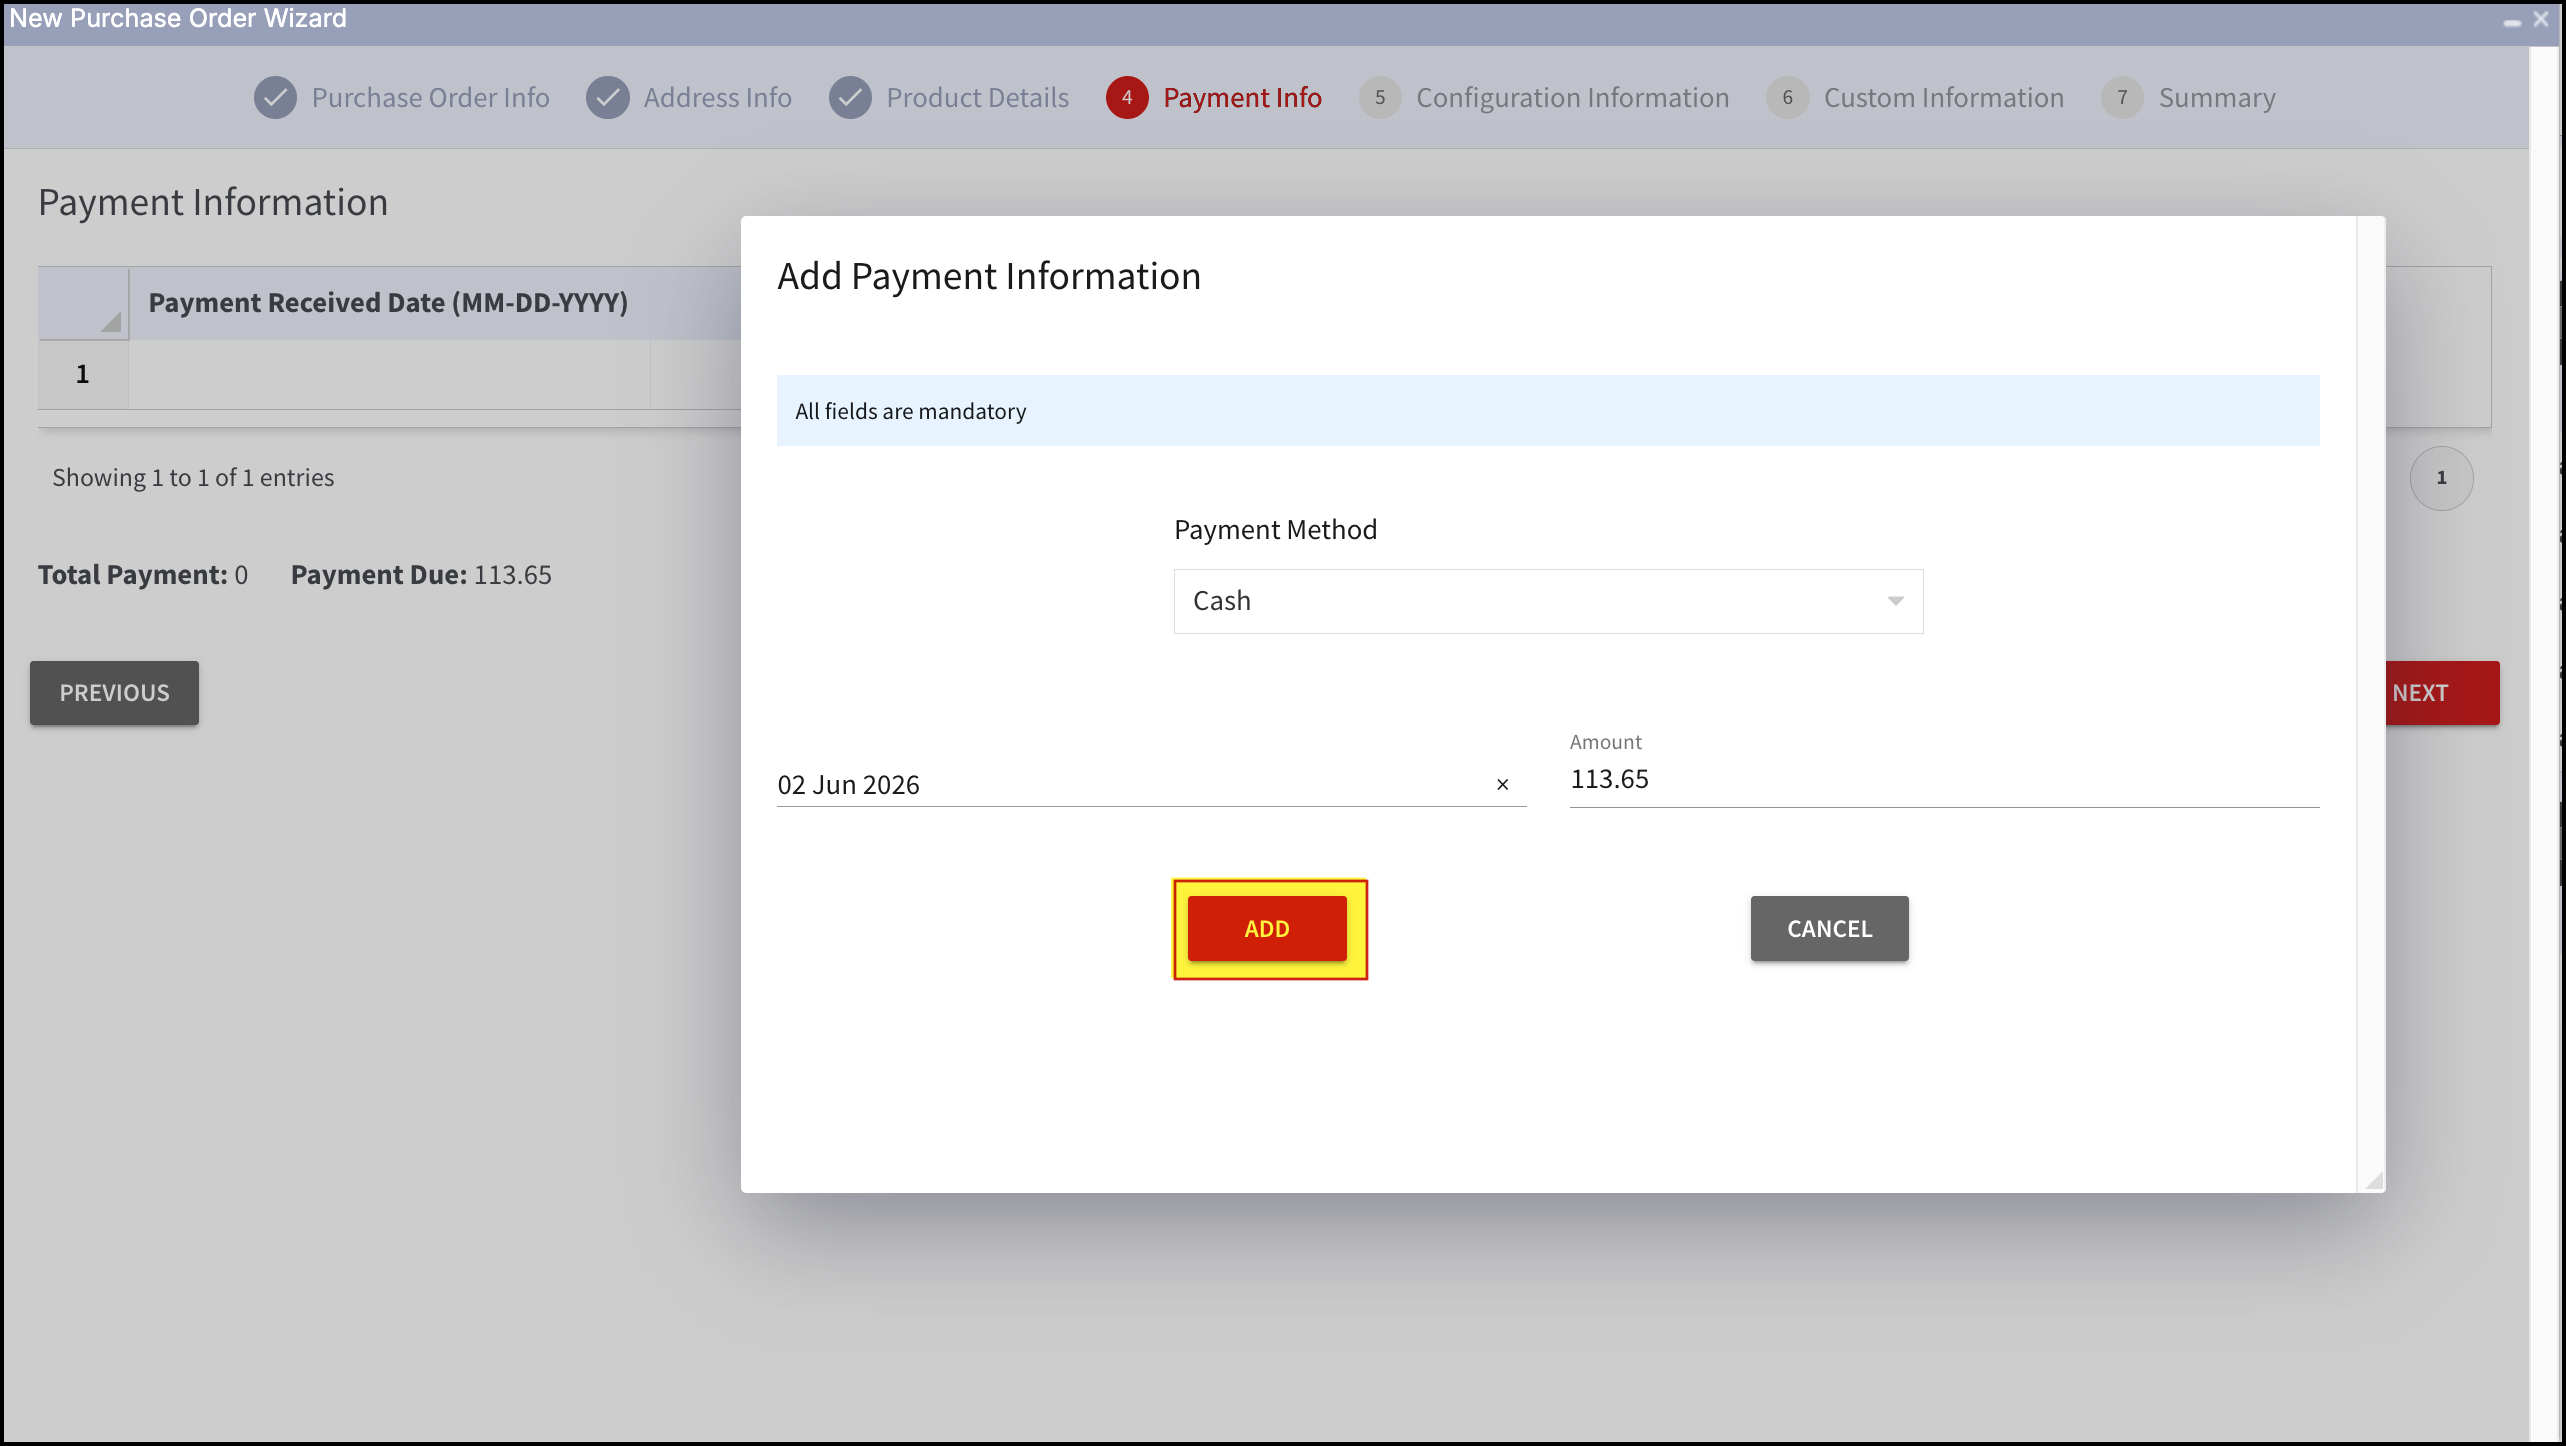
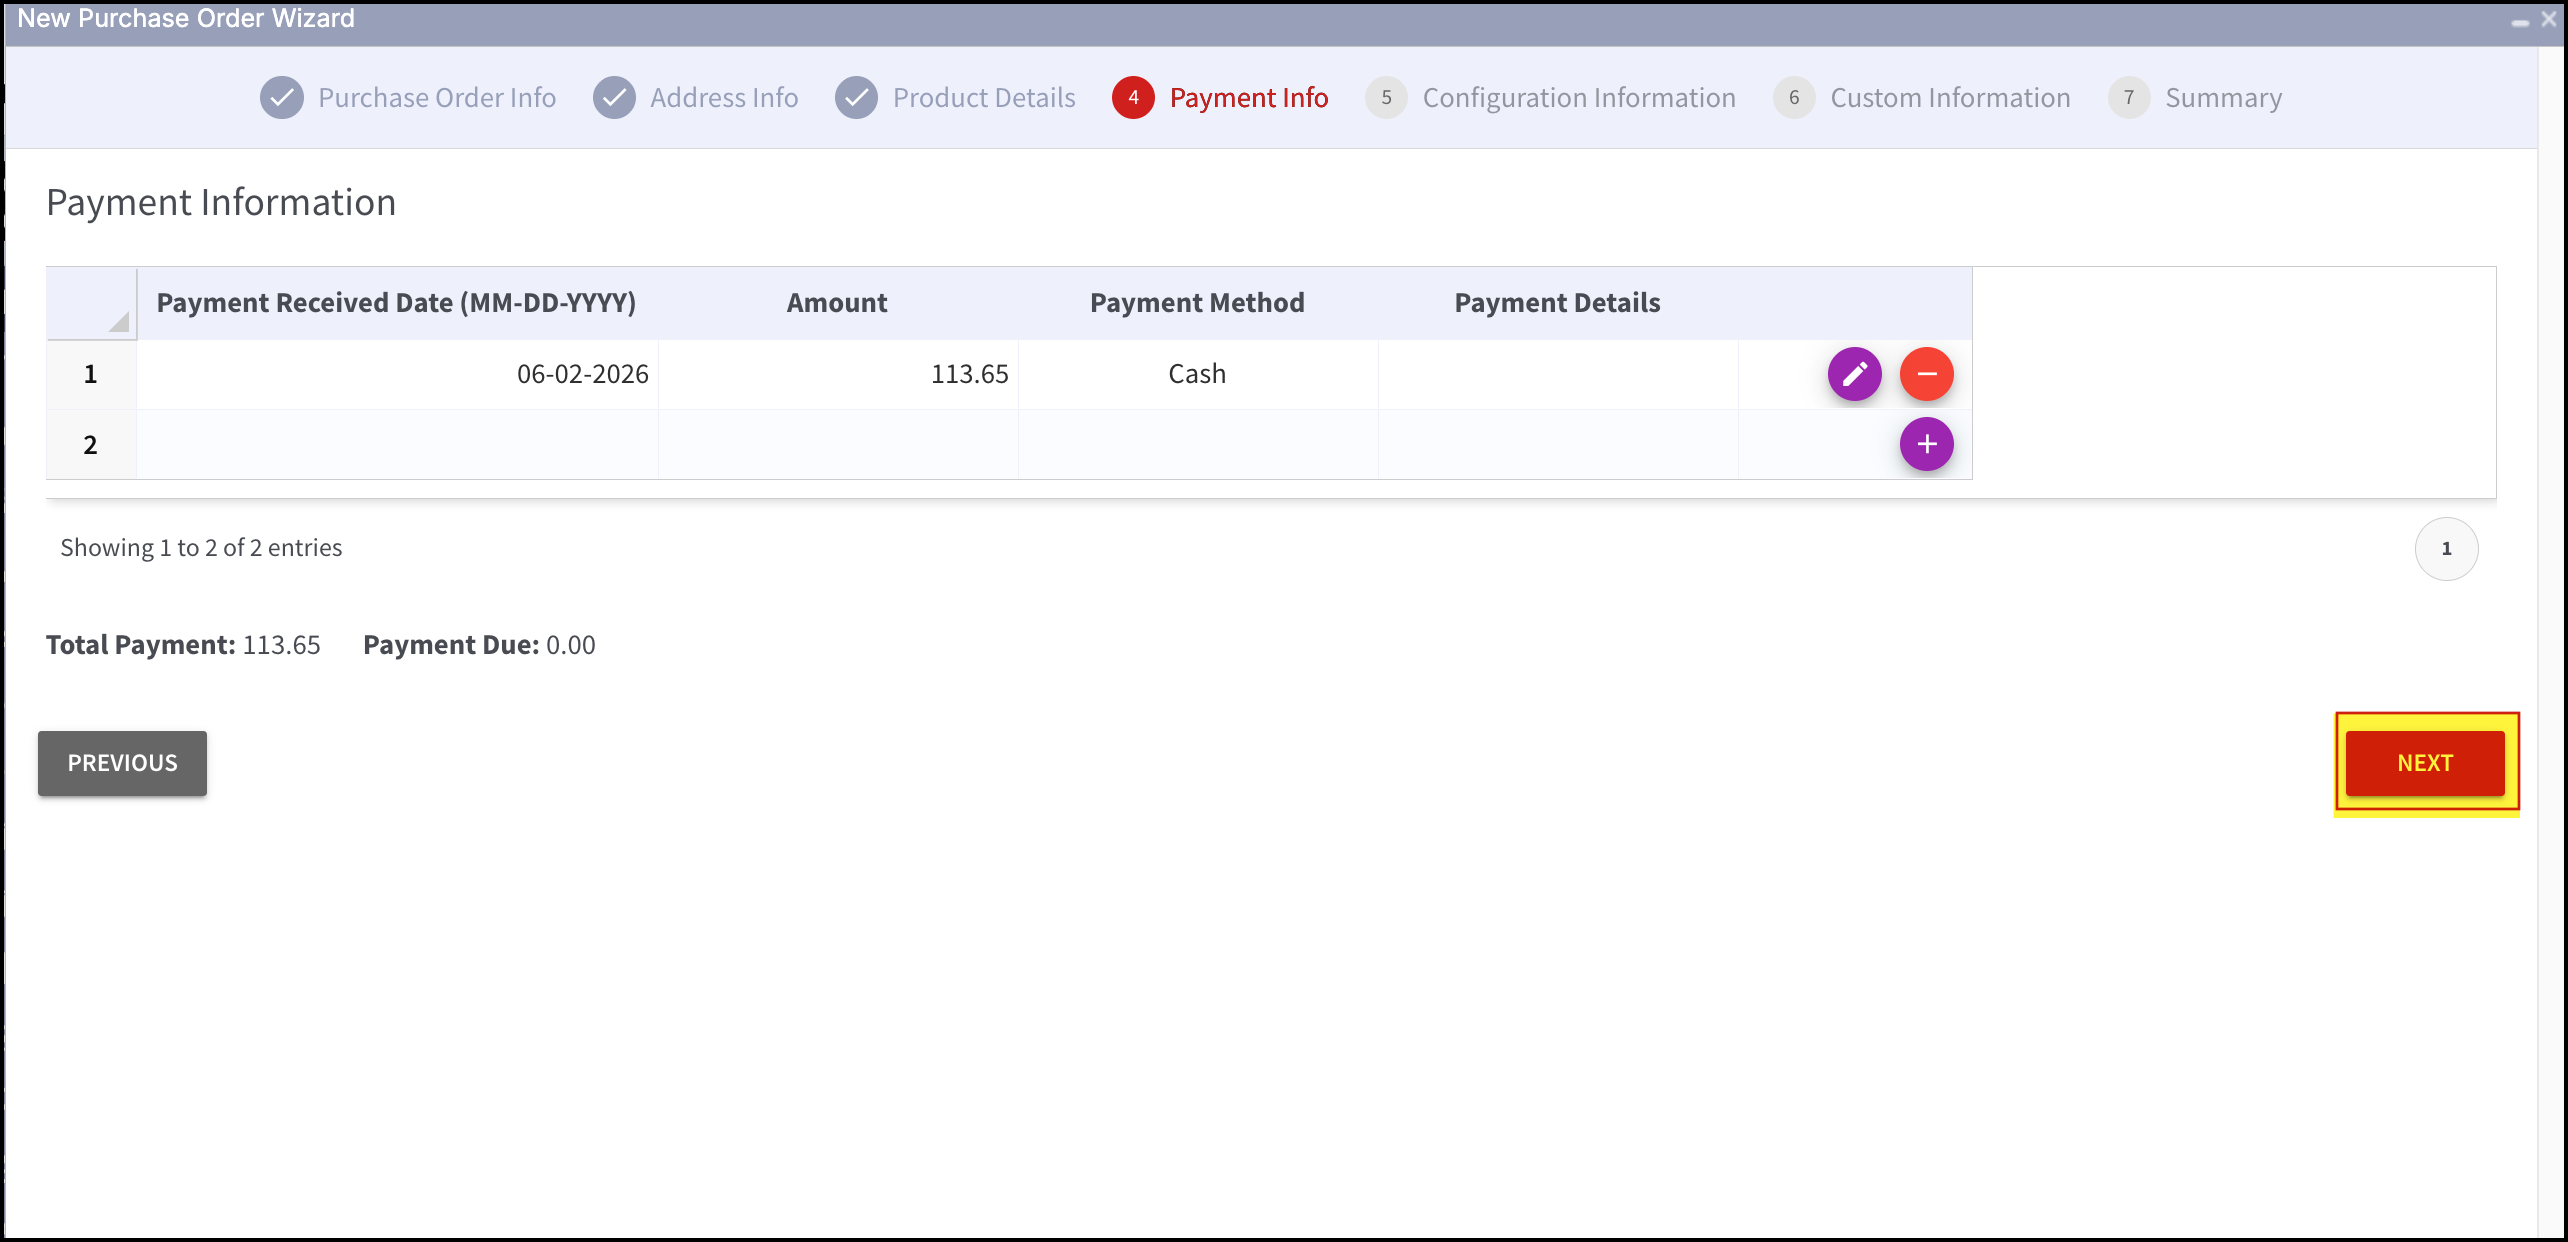
- Next comes the Payment Information.
- You can select multiple payment methods for the purchase order and fill in relevant information that will be shown up, associated with each payment method.
- Once done, click on Next.
However, payment information entry is optional as the fields here are just for informational purpose. You can proceed even without adding any information.
Add payment method

Enter payment details

- Next comes Configuration Information.
- If the business has any requisition number, enter it in the Requisition No field.
- In the Due date field, a calendar will open. Select a due date for the purchase order.
- Vendor Phone field will get automatically filled if the information was set up for the selected Vendor or else enter the number if required.
- Vendor Fax field will get automatically filled if the information was set up for the selected Vendor or else enter the number if required.
- When the Vendor is selected, fields like Carrier, Shipping Method, Default Currency, Exchange Rate, Assigned To, Terms & Conditions, Description are automatically filled if a default has been set up for selected vendor. However, you can edit those fields.
- Choose a preferable purchase order status from the Status drop-down list.
- After all the required information is filled in, click on Next.

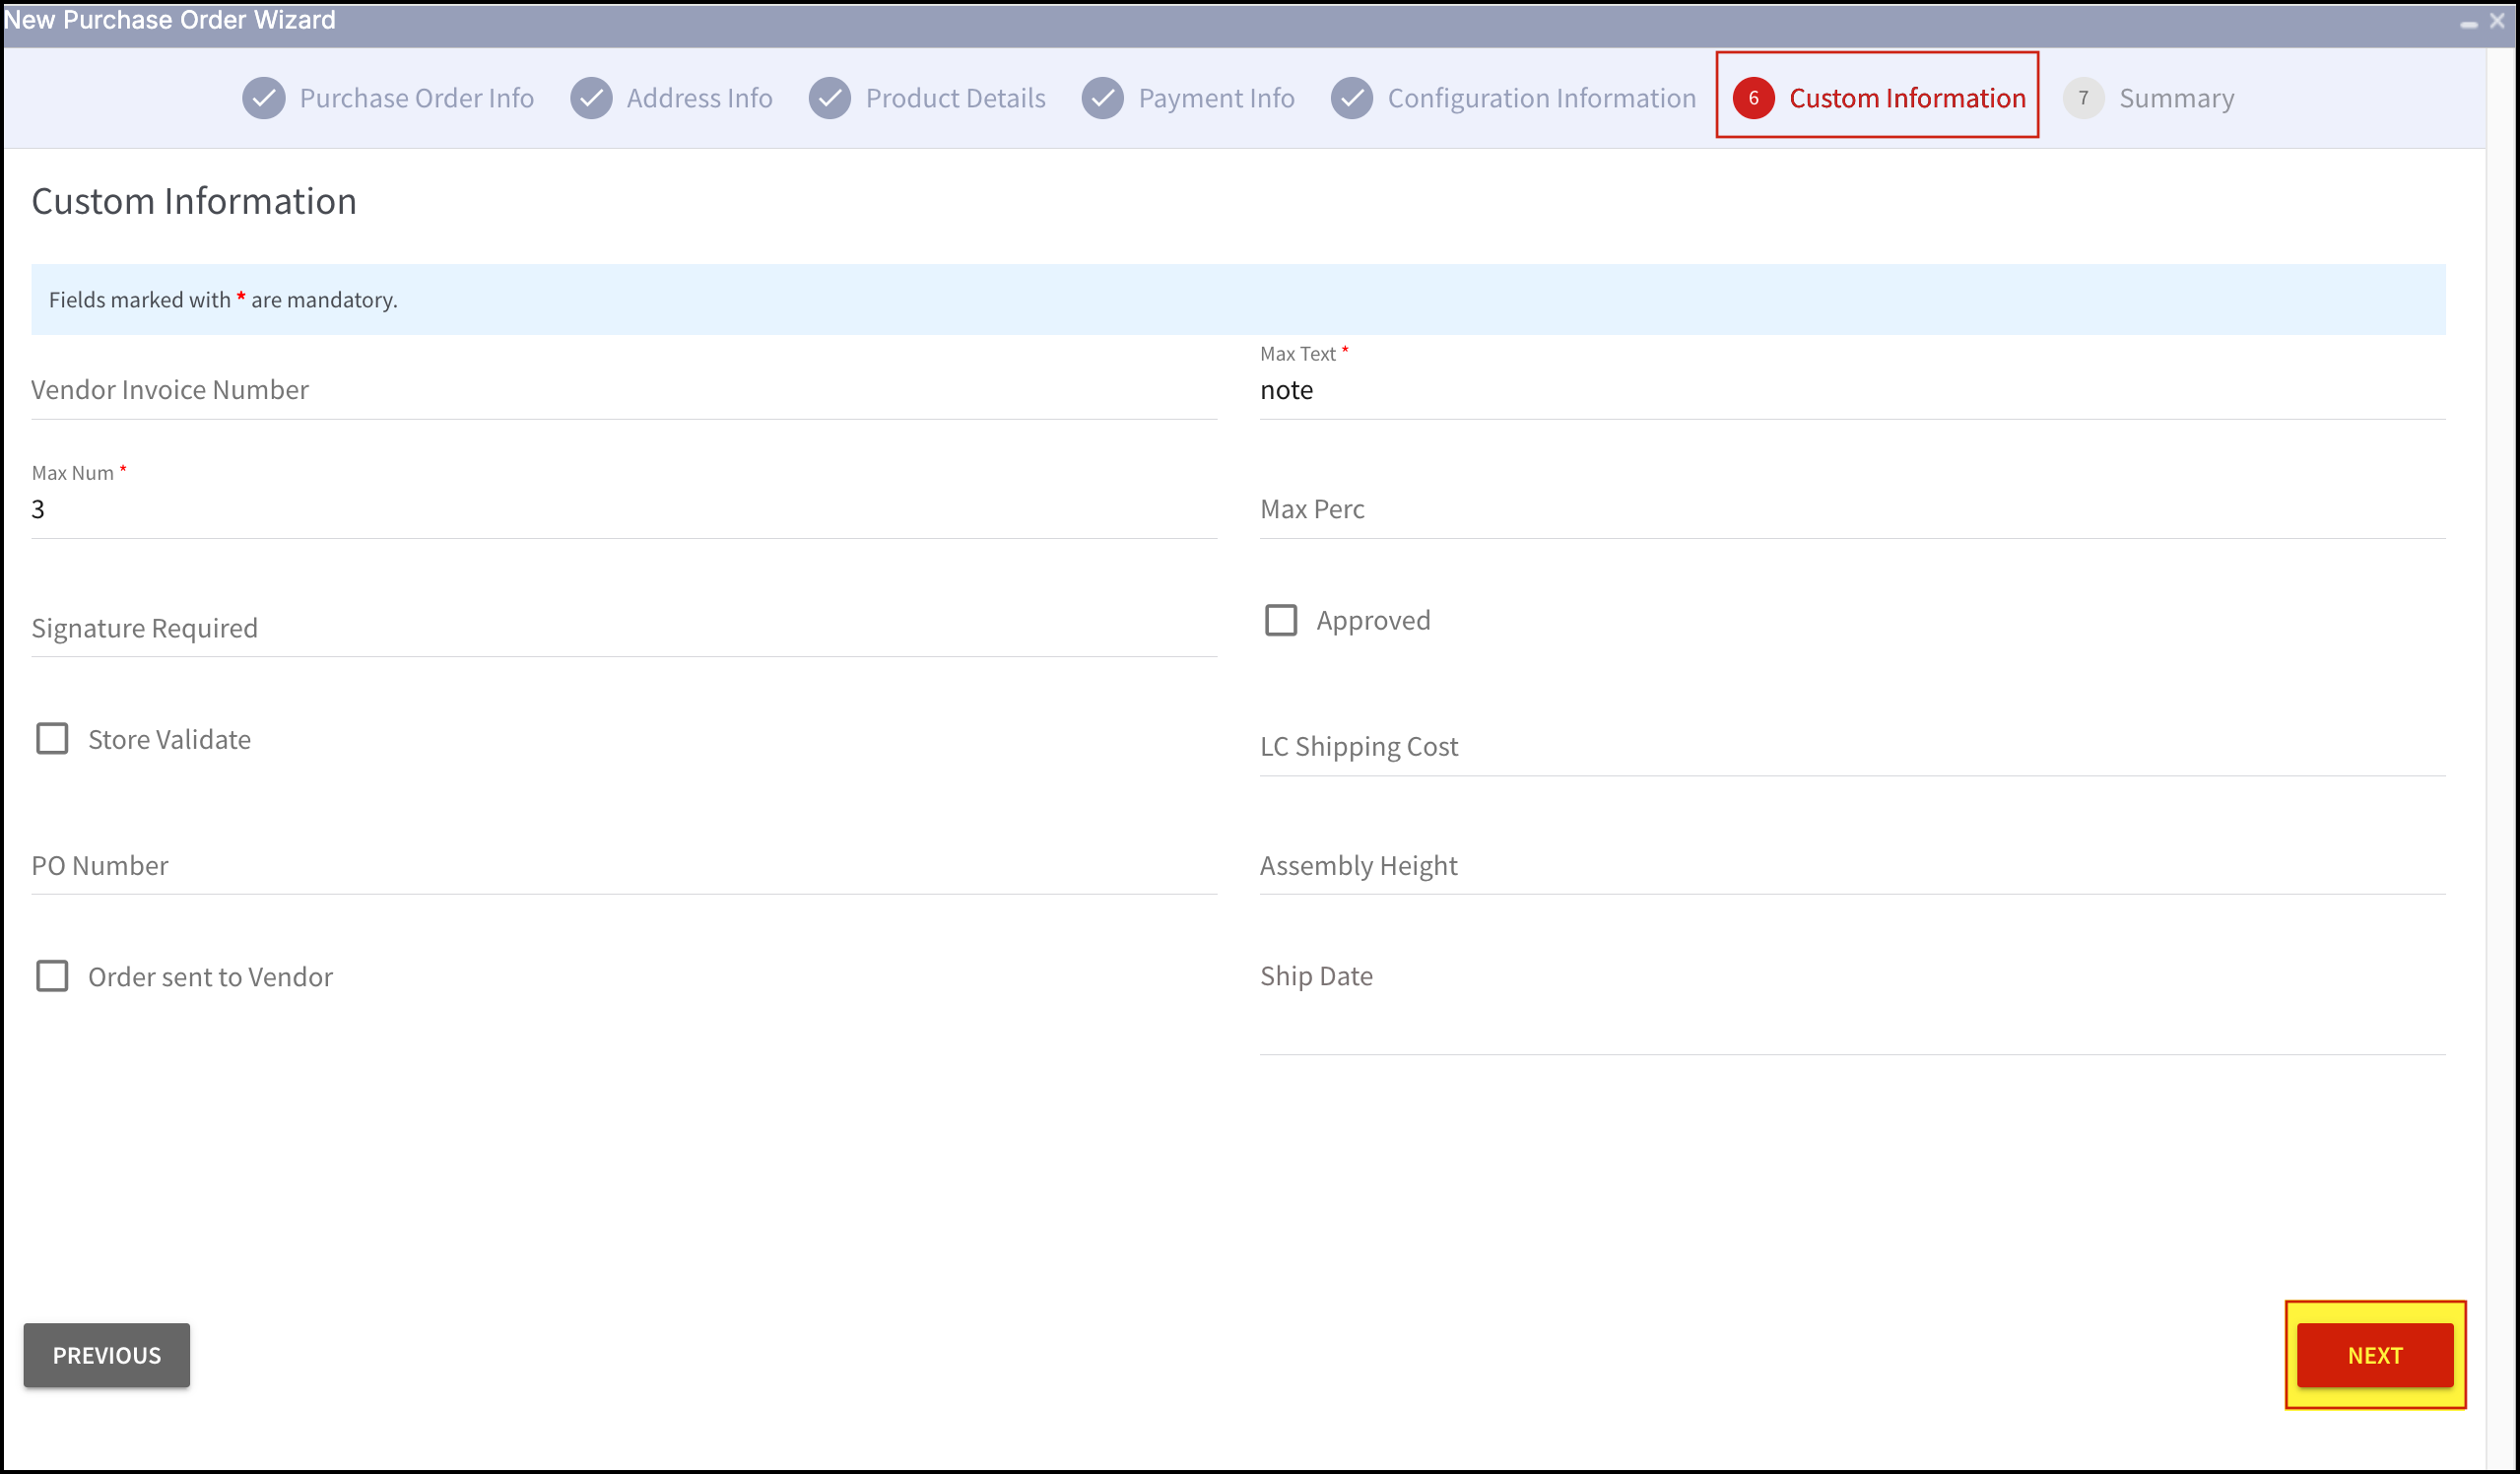
- Enter Custom Information if any and click on Next.
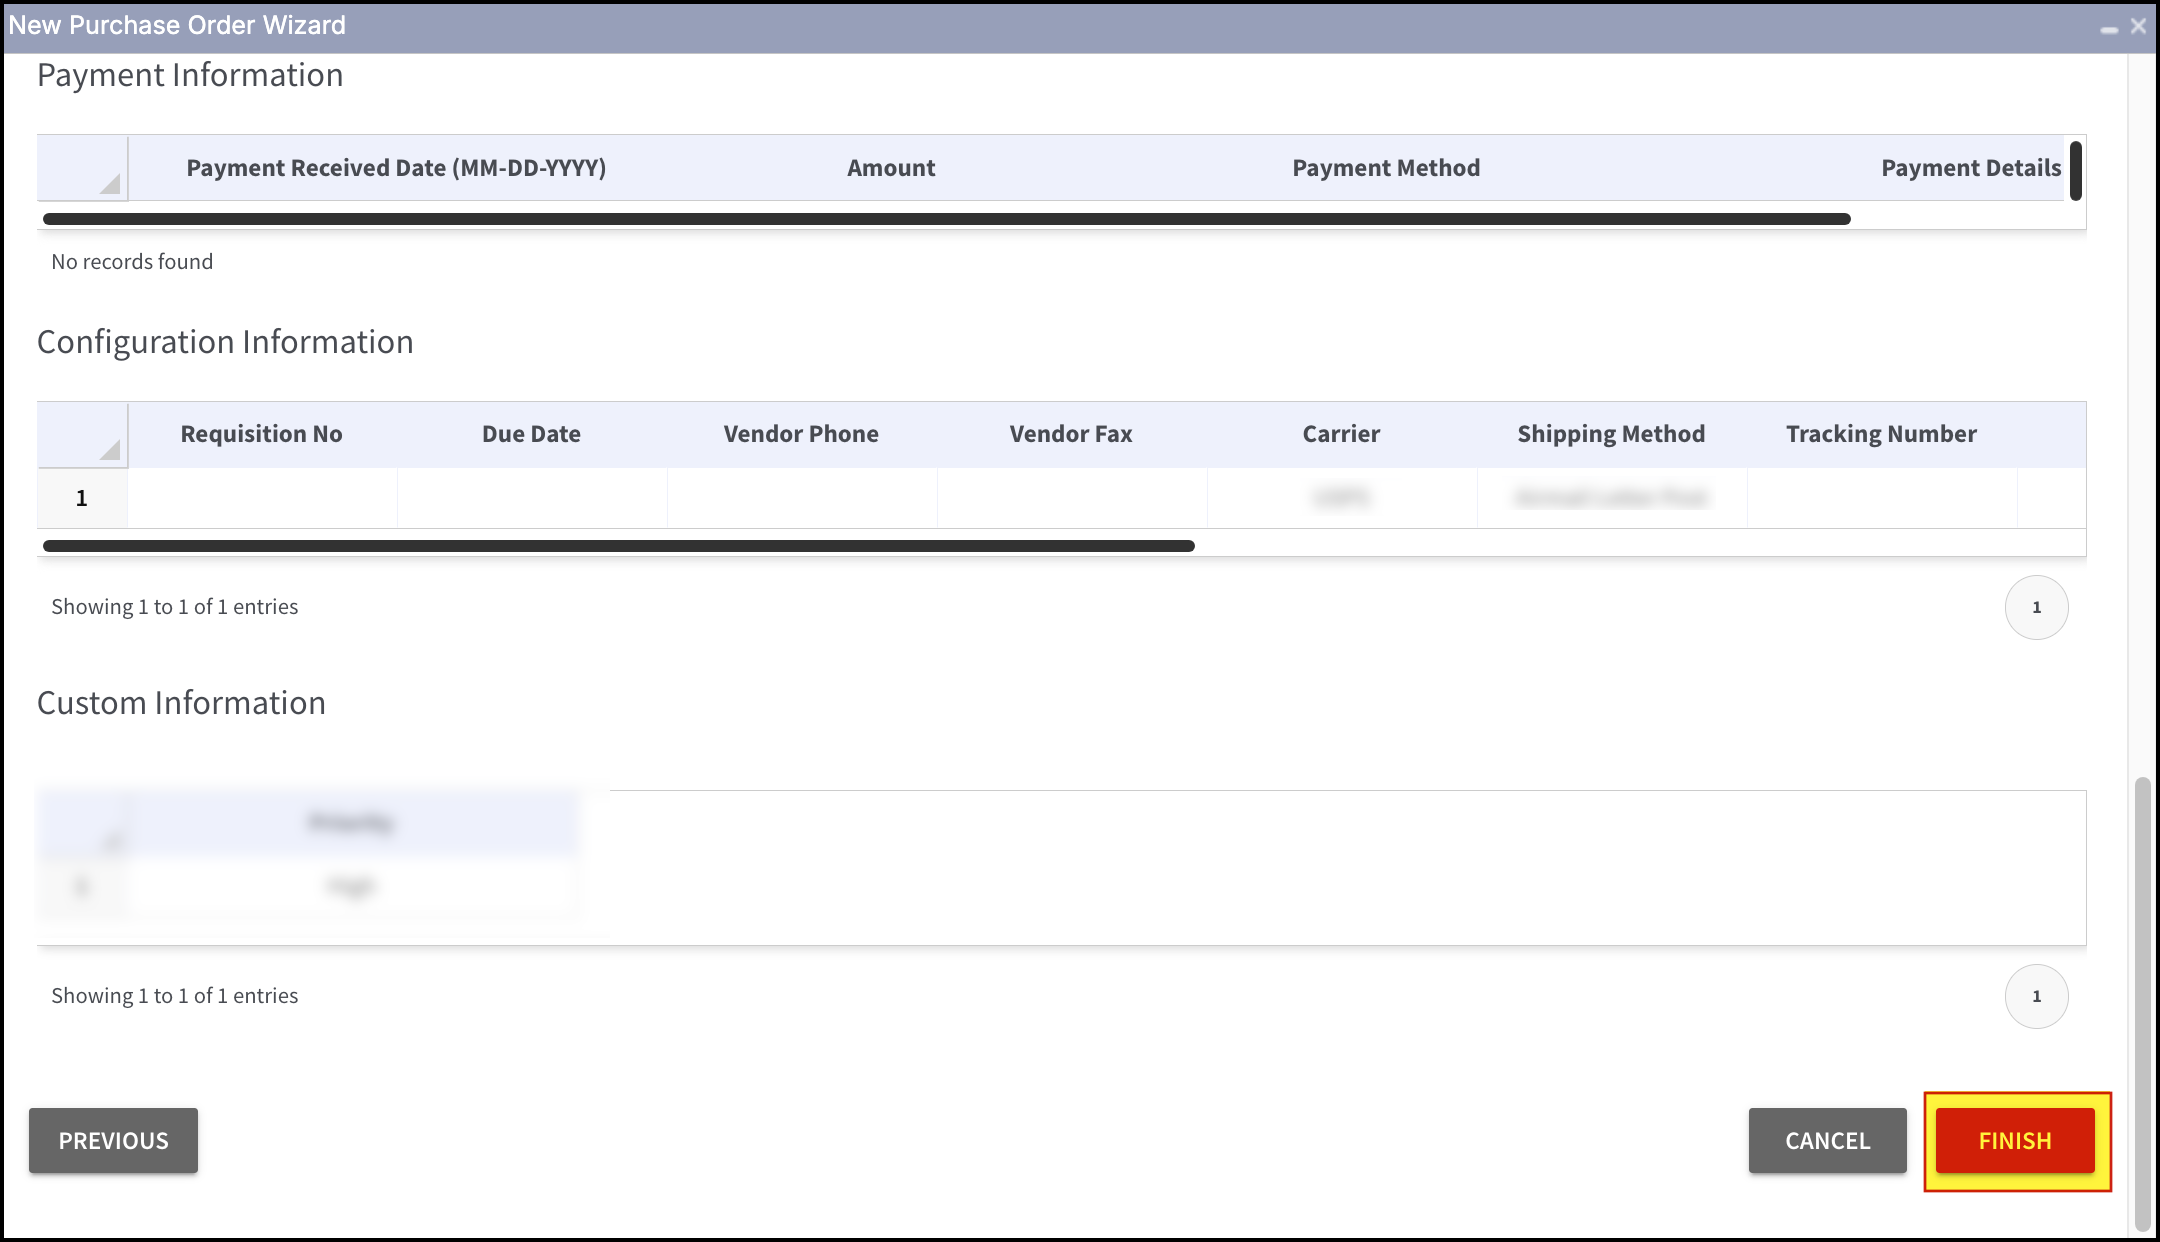
- And, finally, comes the Summary where you can see all the information entered in the previous steps/windows in an outlined manner.
- Review once and click on Finish.

- When you click on Finish, a success message will display, and instantly the Purchase Order edit window will open where you can make any additional changes required and click on Save.

You can see the new purchase order created in the Purchase Order List.

Updated about 1 month ago