Adding a New B2C WebStore
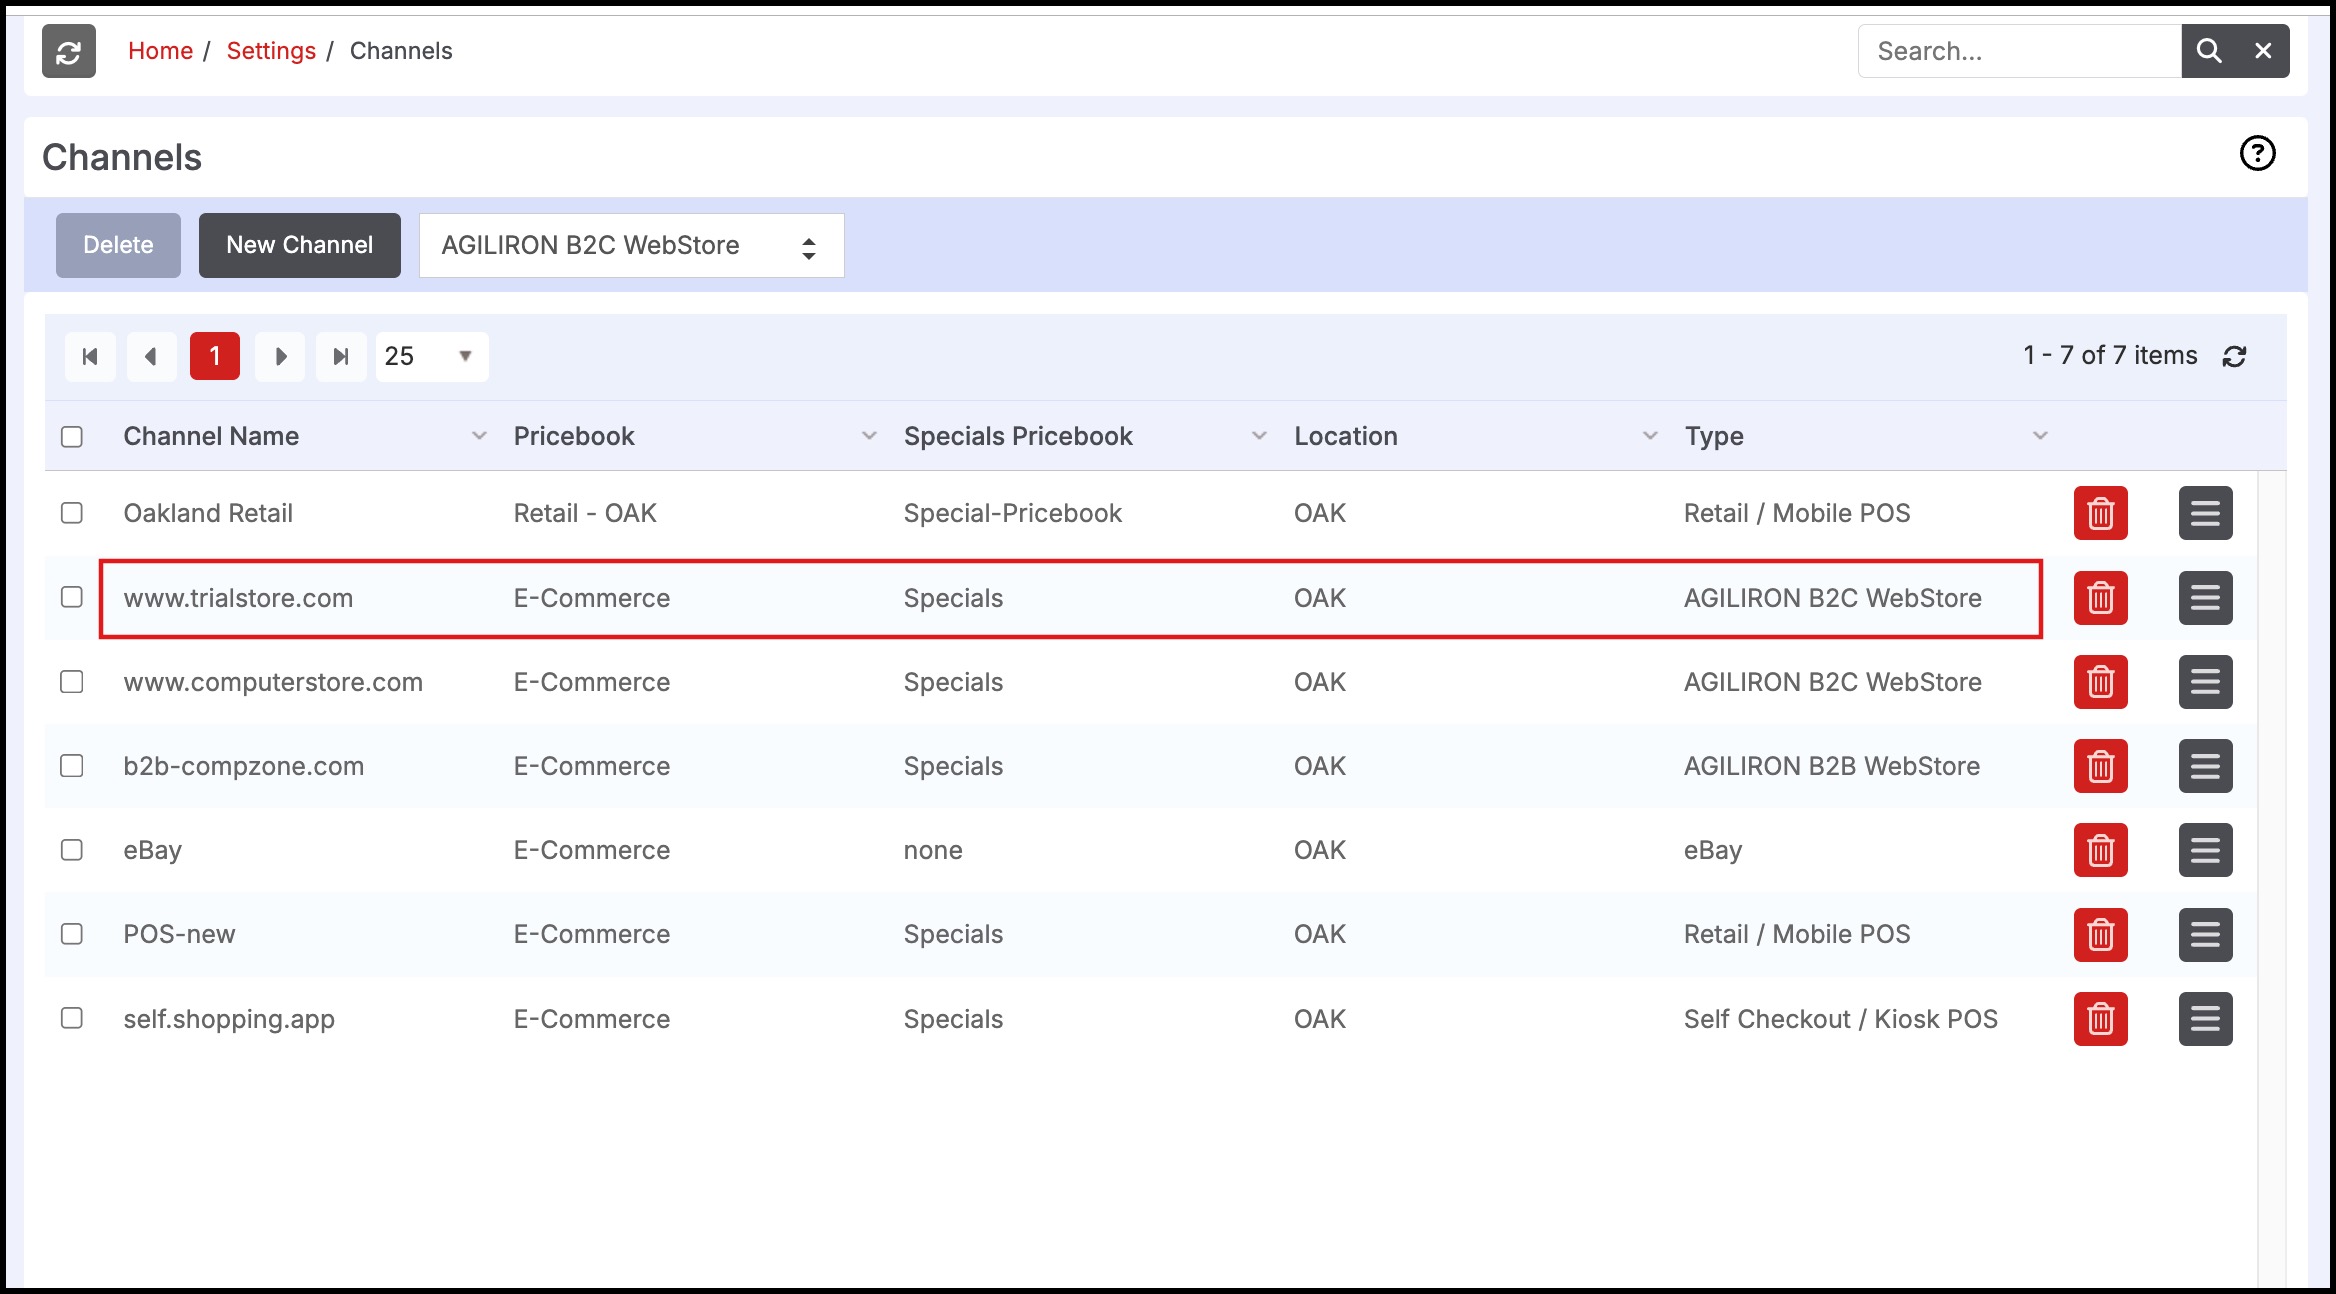
To add a new B2C WebStore as a sales channel, select "Settings > Channels".
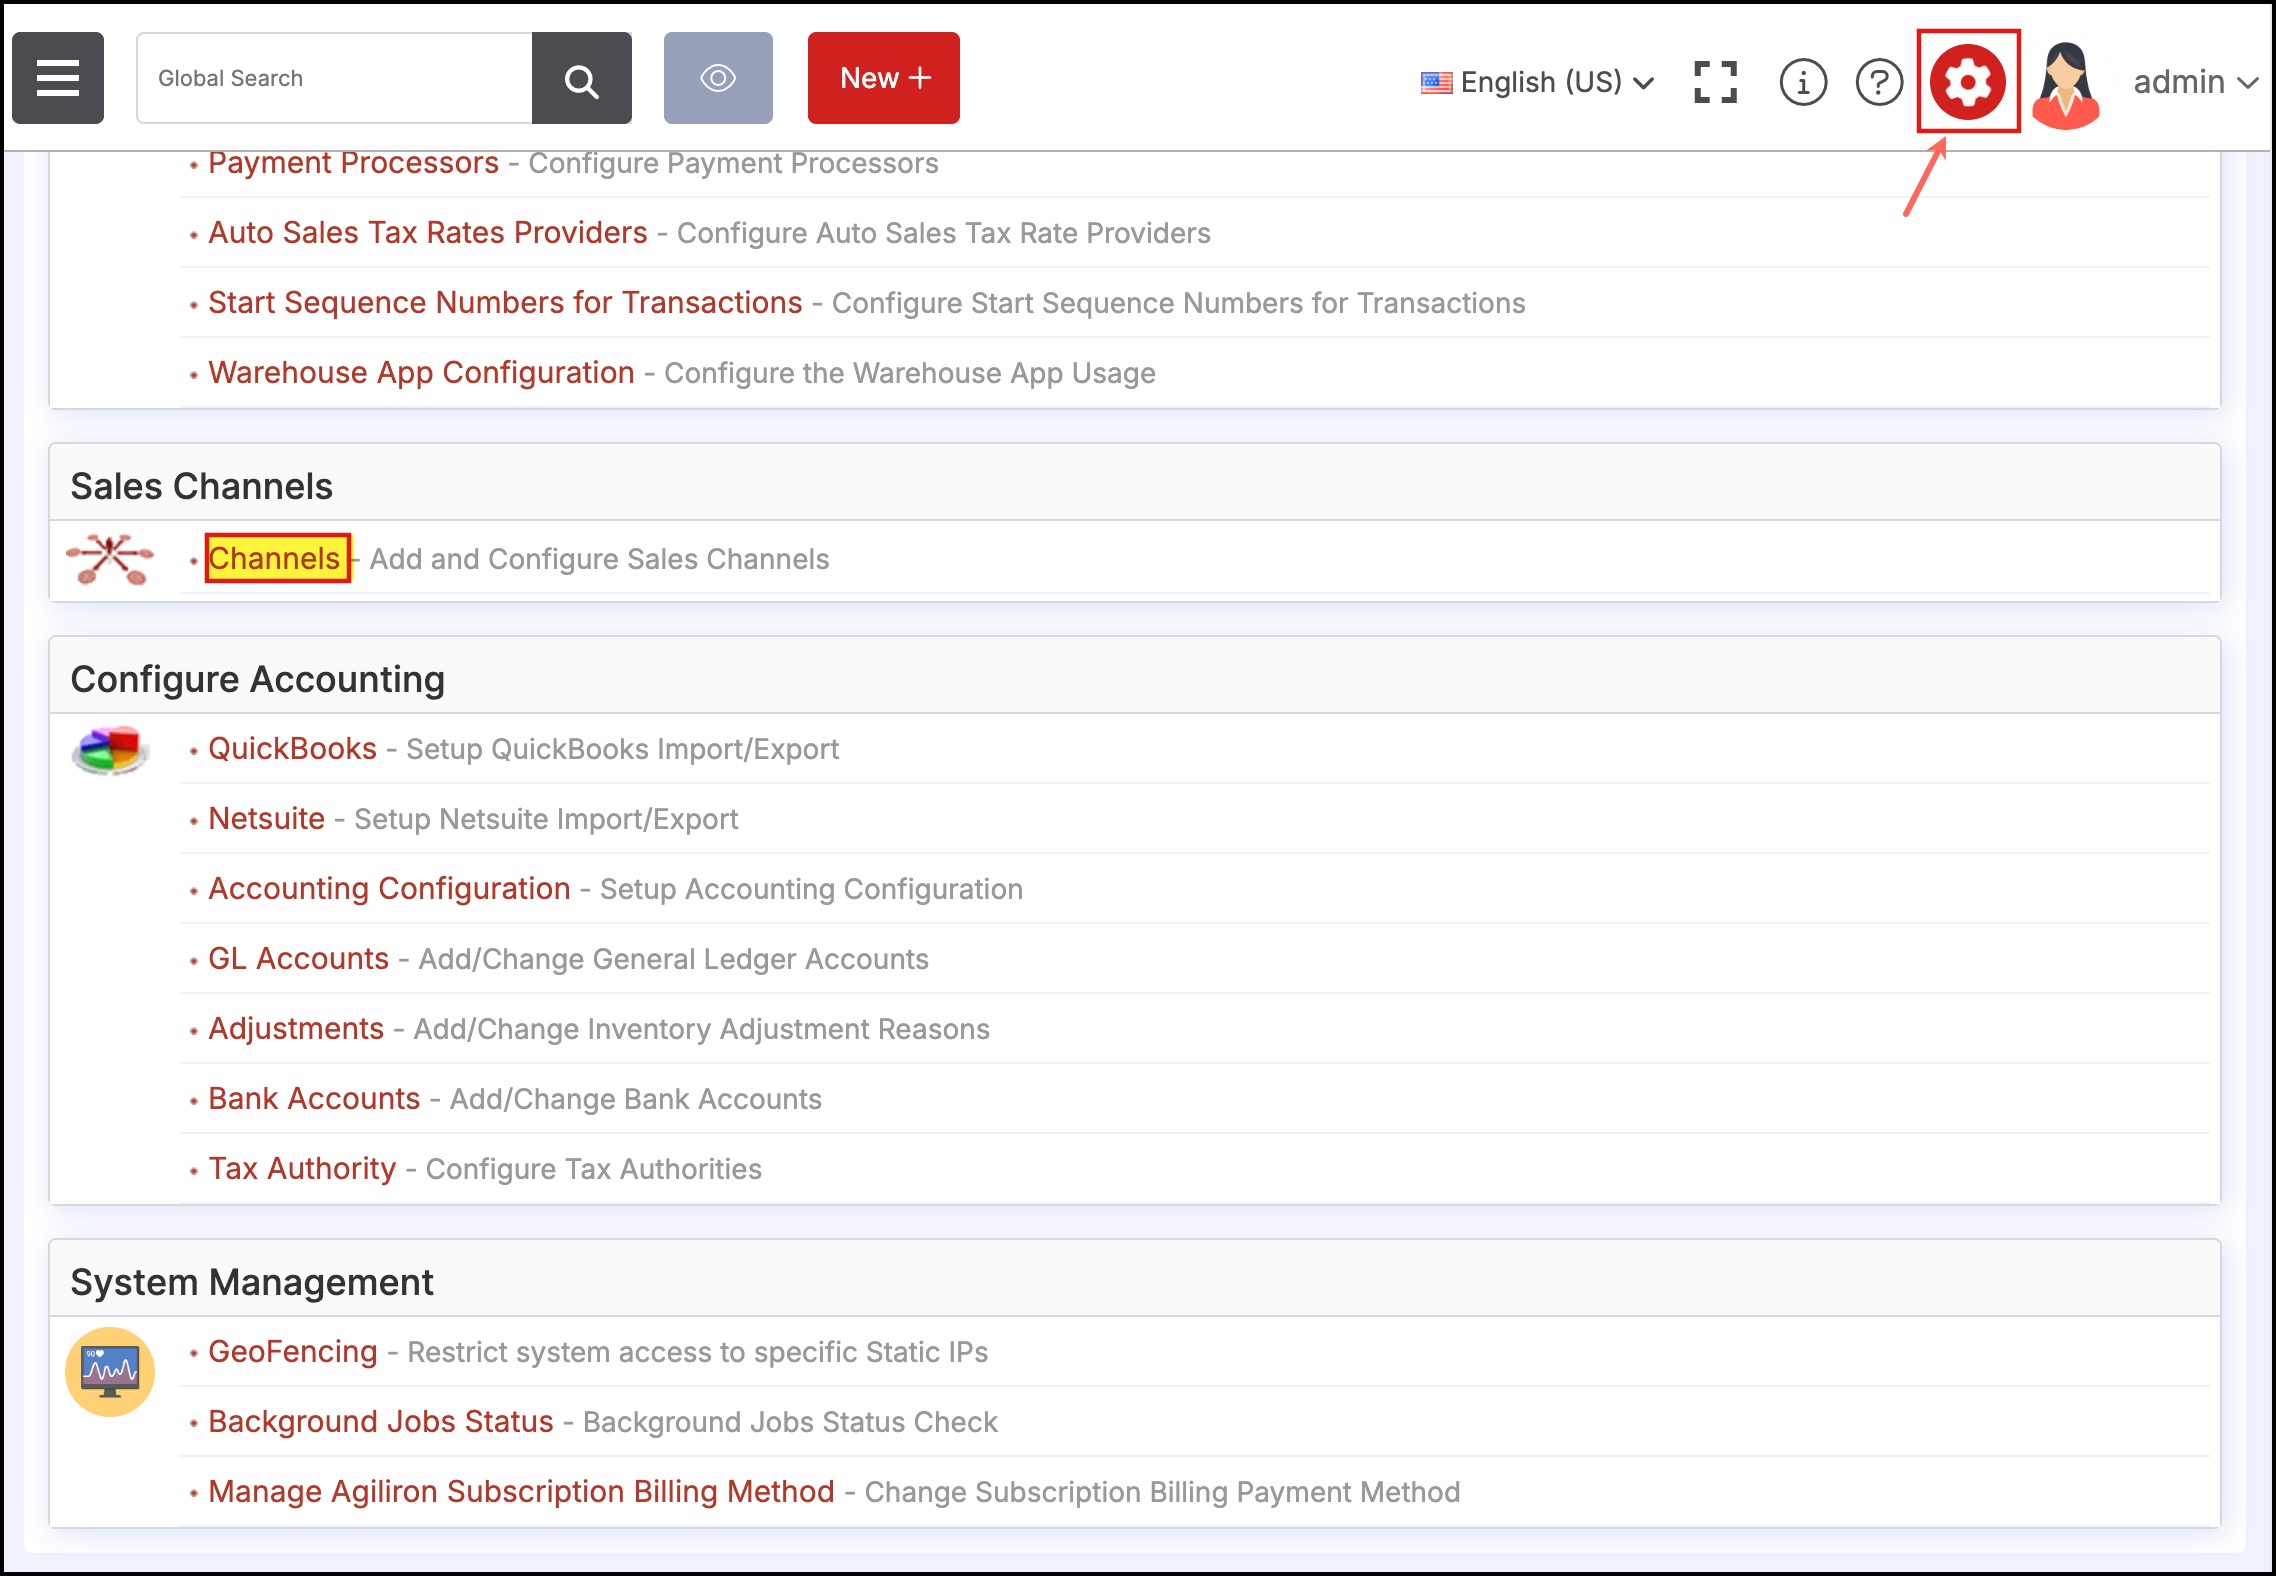
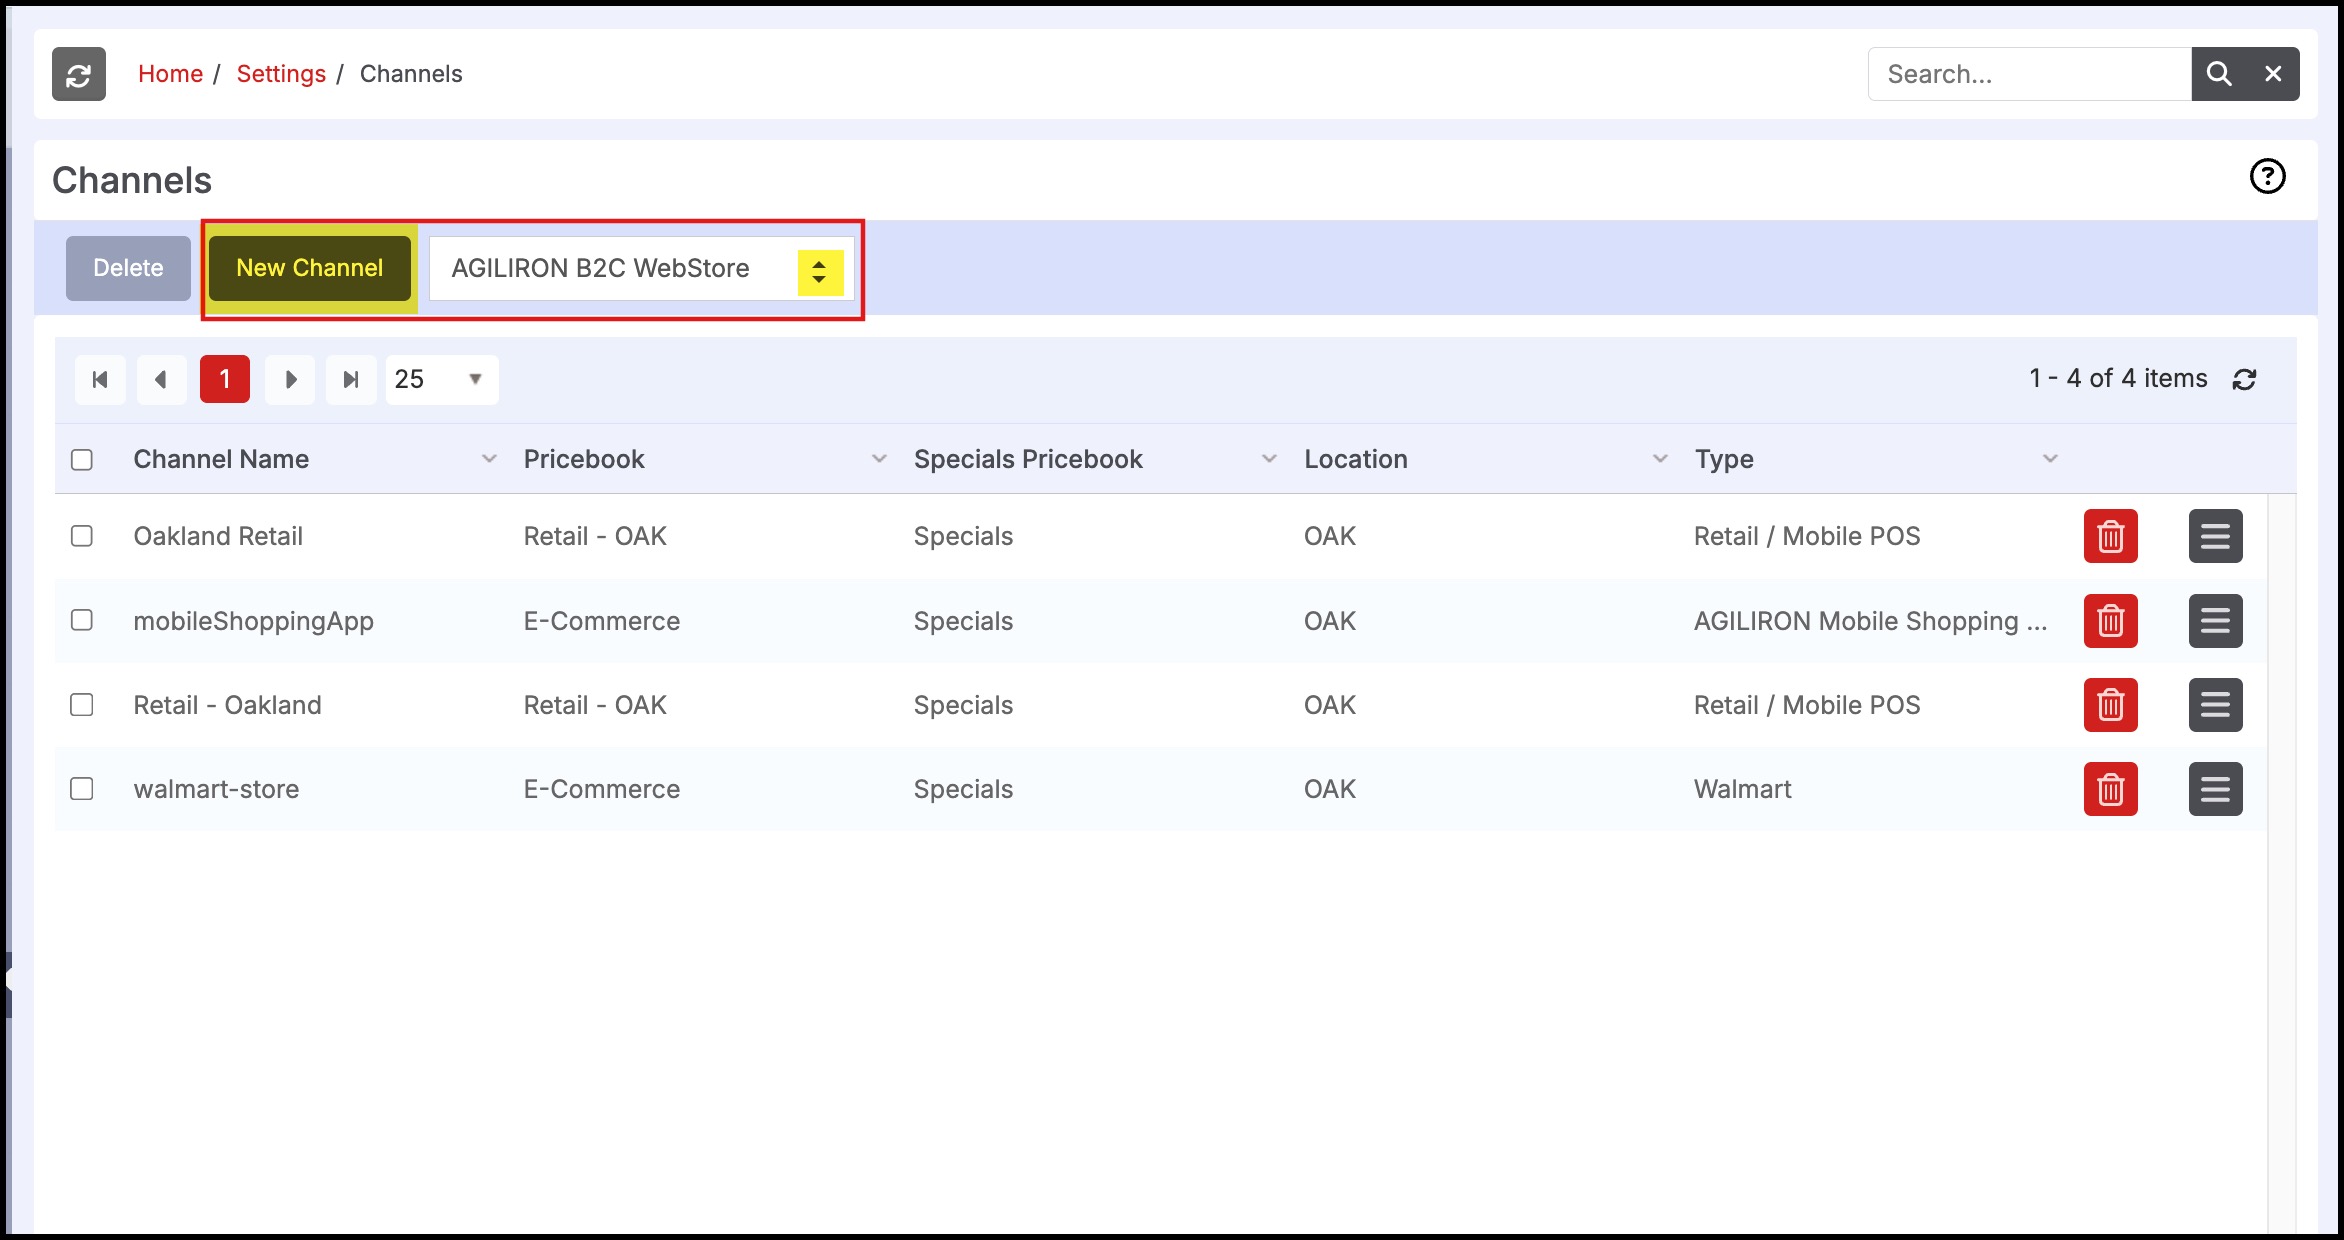
This will bring up the screen shown below.
- Select the "AGILIRON B2C WebStore" channel from the drop-down menu and click "New Channel".
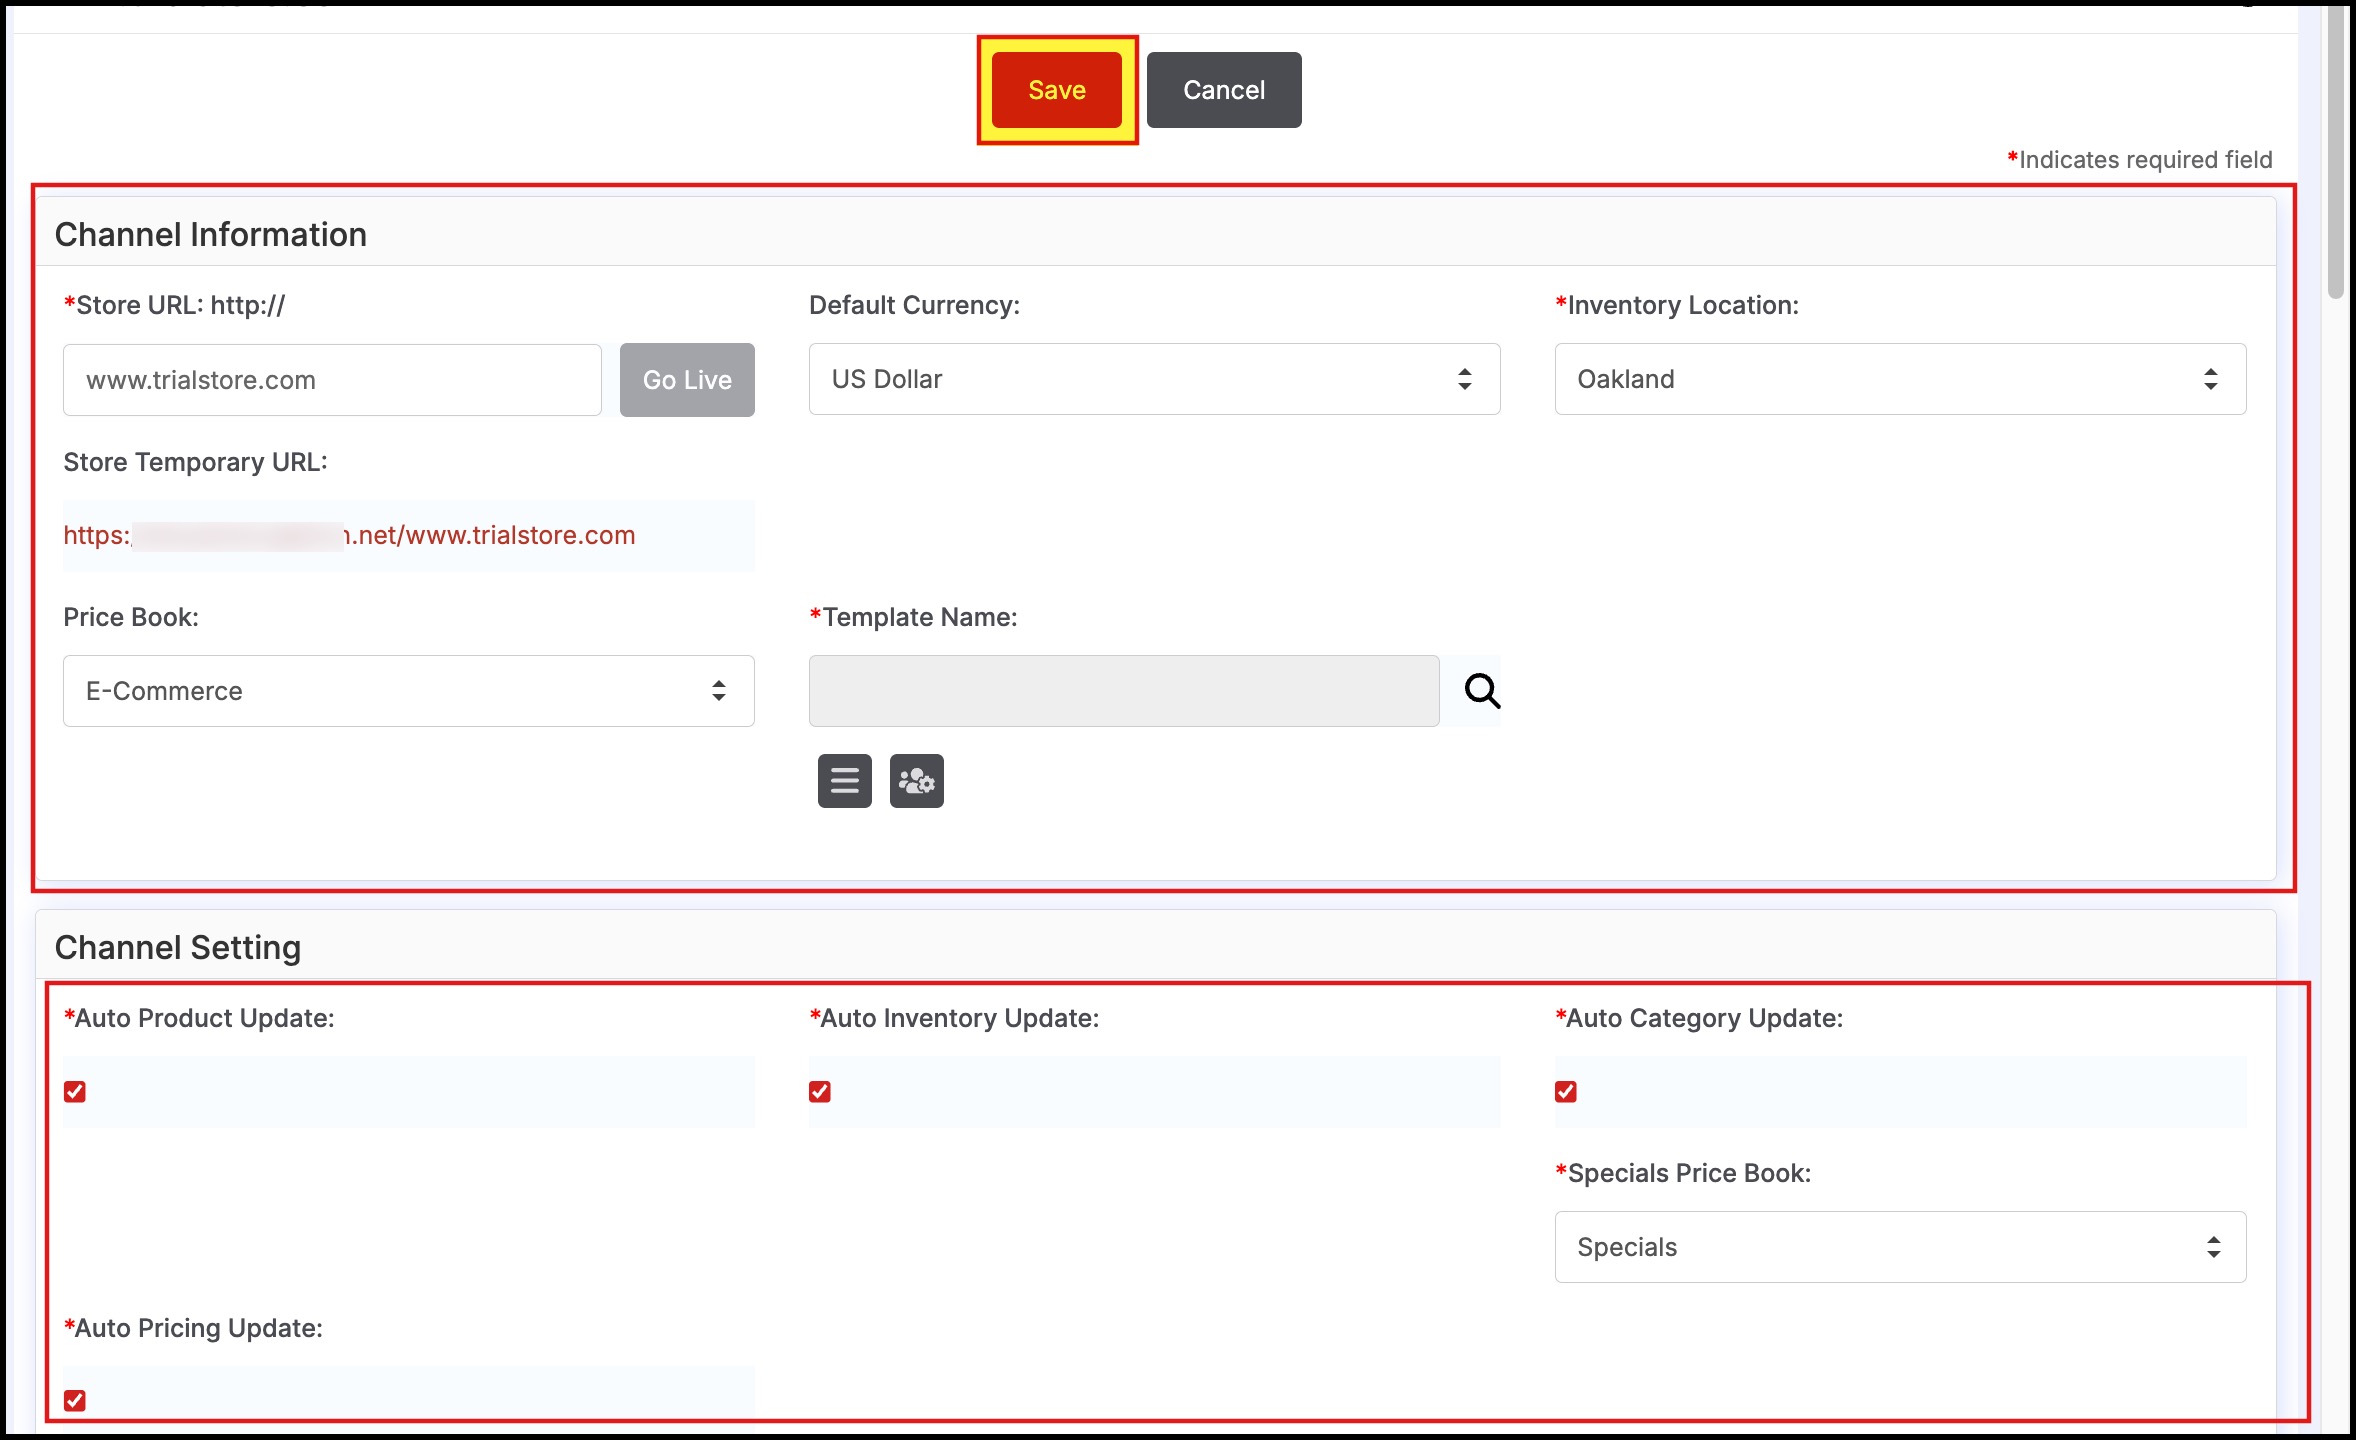
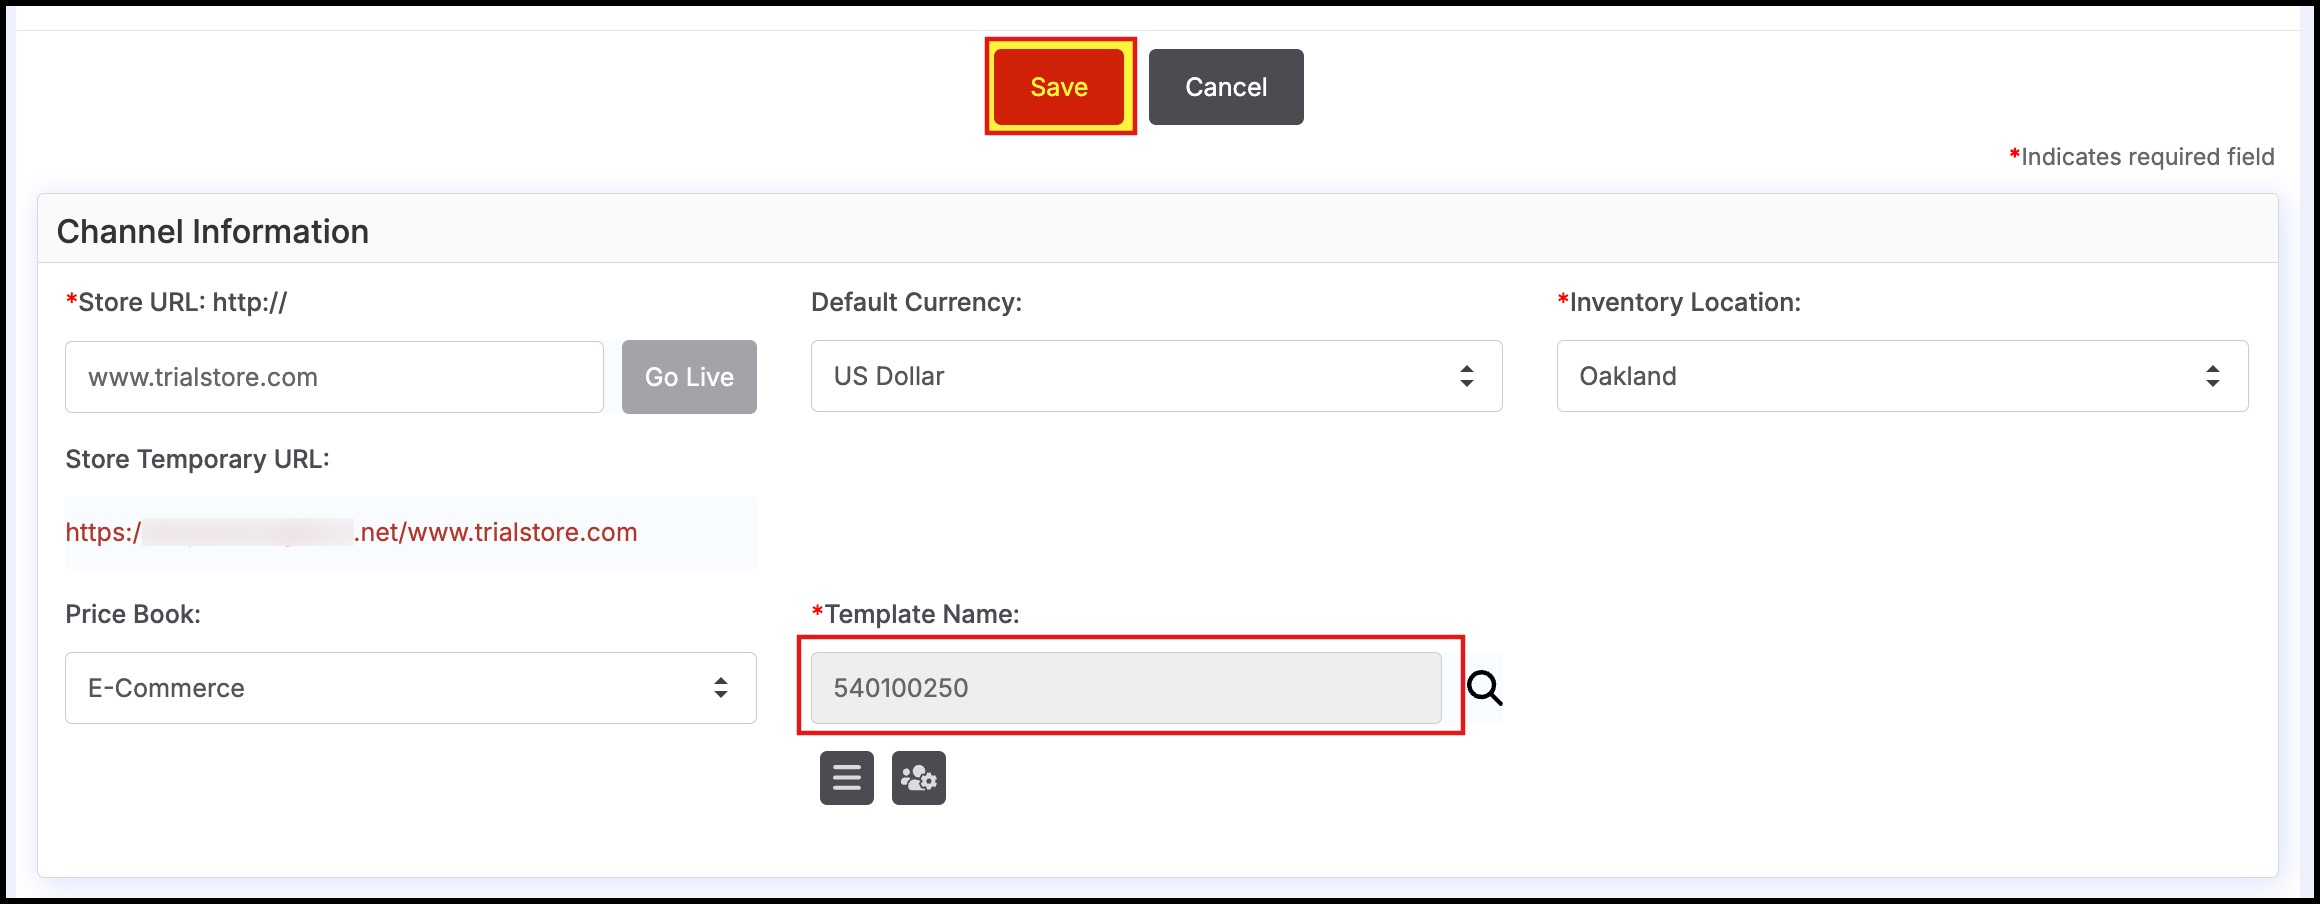
Fill in the fields as shown below
- Store URL - Enter the URL for the B2B WebStore (the store web address), this should be the URL that you own for your business, customers will use this link for shopping online with the business. See this link for more information on this topic.
- This information will also be used to identify this channel in Agiliron.
- Store Temporary URL - This field is auto-populated when you enter the store URL, it is used for internal testing purposes during the webstore design/editing process. No editing is needed for this field.
- Default Currency - Select the default currency that will be enabled on the webstore (Enterprise+ customers only).
- Inventory Location - Select from the drop-down menu based on the stock locations defined under "Settings > Company Information".
- When orders from the webstore arrive in the back office and are shipped, inventory will be deducted from the stock location set here.
- PriceBook - Select from the drop-down menu the PriceBook to use for pricing product sales at this WebStore; defined PriceBooks are found under the "Products > Price Books" tab.
- Products shown on the web store will contain pricing from the PriceBook that is selected here.
- Template Name - Select a design template by clicking on the search icon right of the field. See Selecting a Webstore Template at the bottom of the page for more information about theme selection.
- The templates here begin with number 5 (example - template 547100220) all are editable using the Web Template Editor.
- Auto Product Update - Selecting this will automatically propagate any product changes made in Agiliron to the WebStore.
- If this is not selected, the user will need to manually push the changes to the WebStore. (Seethis link for more information).
- Auto Inventory Update - Selecting this will automatically propagate any product inventory changes made in Agiliron (Add/Delete/Change/Transfer) to the WebStore.
- If this is not selected, the inventory will be updated when the product is manually pushed to the WebStore. (Seethis link for more information).
- Auto Category Update - Selecting this will automatically propagate any product category changes in Agiliron to the WebStore.
- If this is not selected, the changes will be updated when any product is manually pushed to the WebStore. (Seethis link for more information).
- Specials PriceBook - Select from the drop-down menu the PriceBook to use for pricing products on sale; defined PriceBooks are found under the "Products > PriceBooks" tab.
- Starting Order Number - The starting order number for customer orders in this channel.
- Auto Pricing Update - Selecting this will automatically propagate any pricing changes in Agiliron to the WebStore for any products that have been previously pushed to the WebStore.
- If this is not selected, the changes will be updated when any product is manually pushed to the WebStore next. (Seethis link for more information).
After completing the fields, click the "Save" button to add this sales channel.
Selecting a Webstore Template
- You can browse the various web design templates using the search icon.
All themes are responsive, meaning they will work on mobile devices.
- The templates here begin with number 5, all are editable using the Web Template Editor.
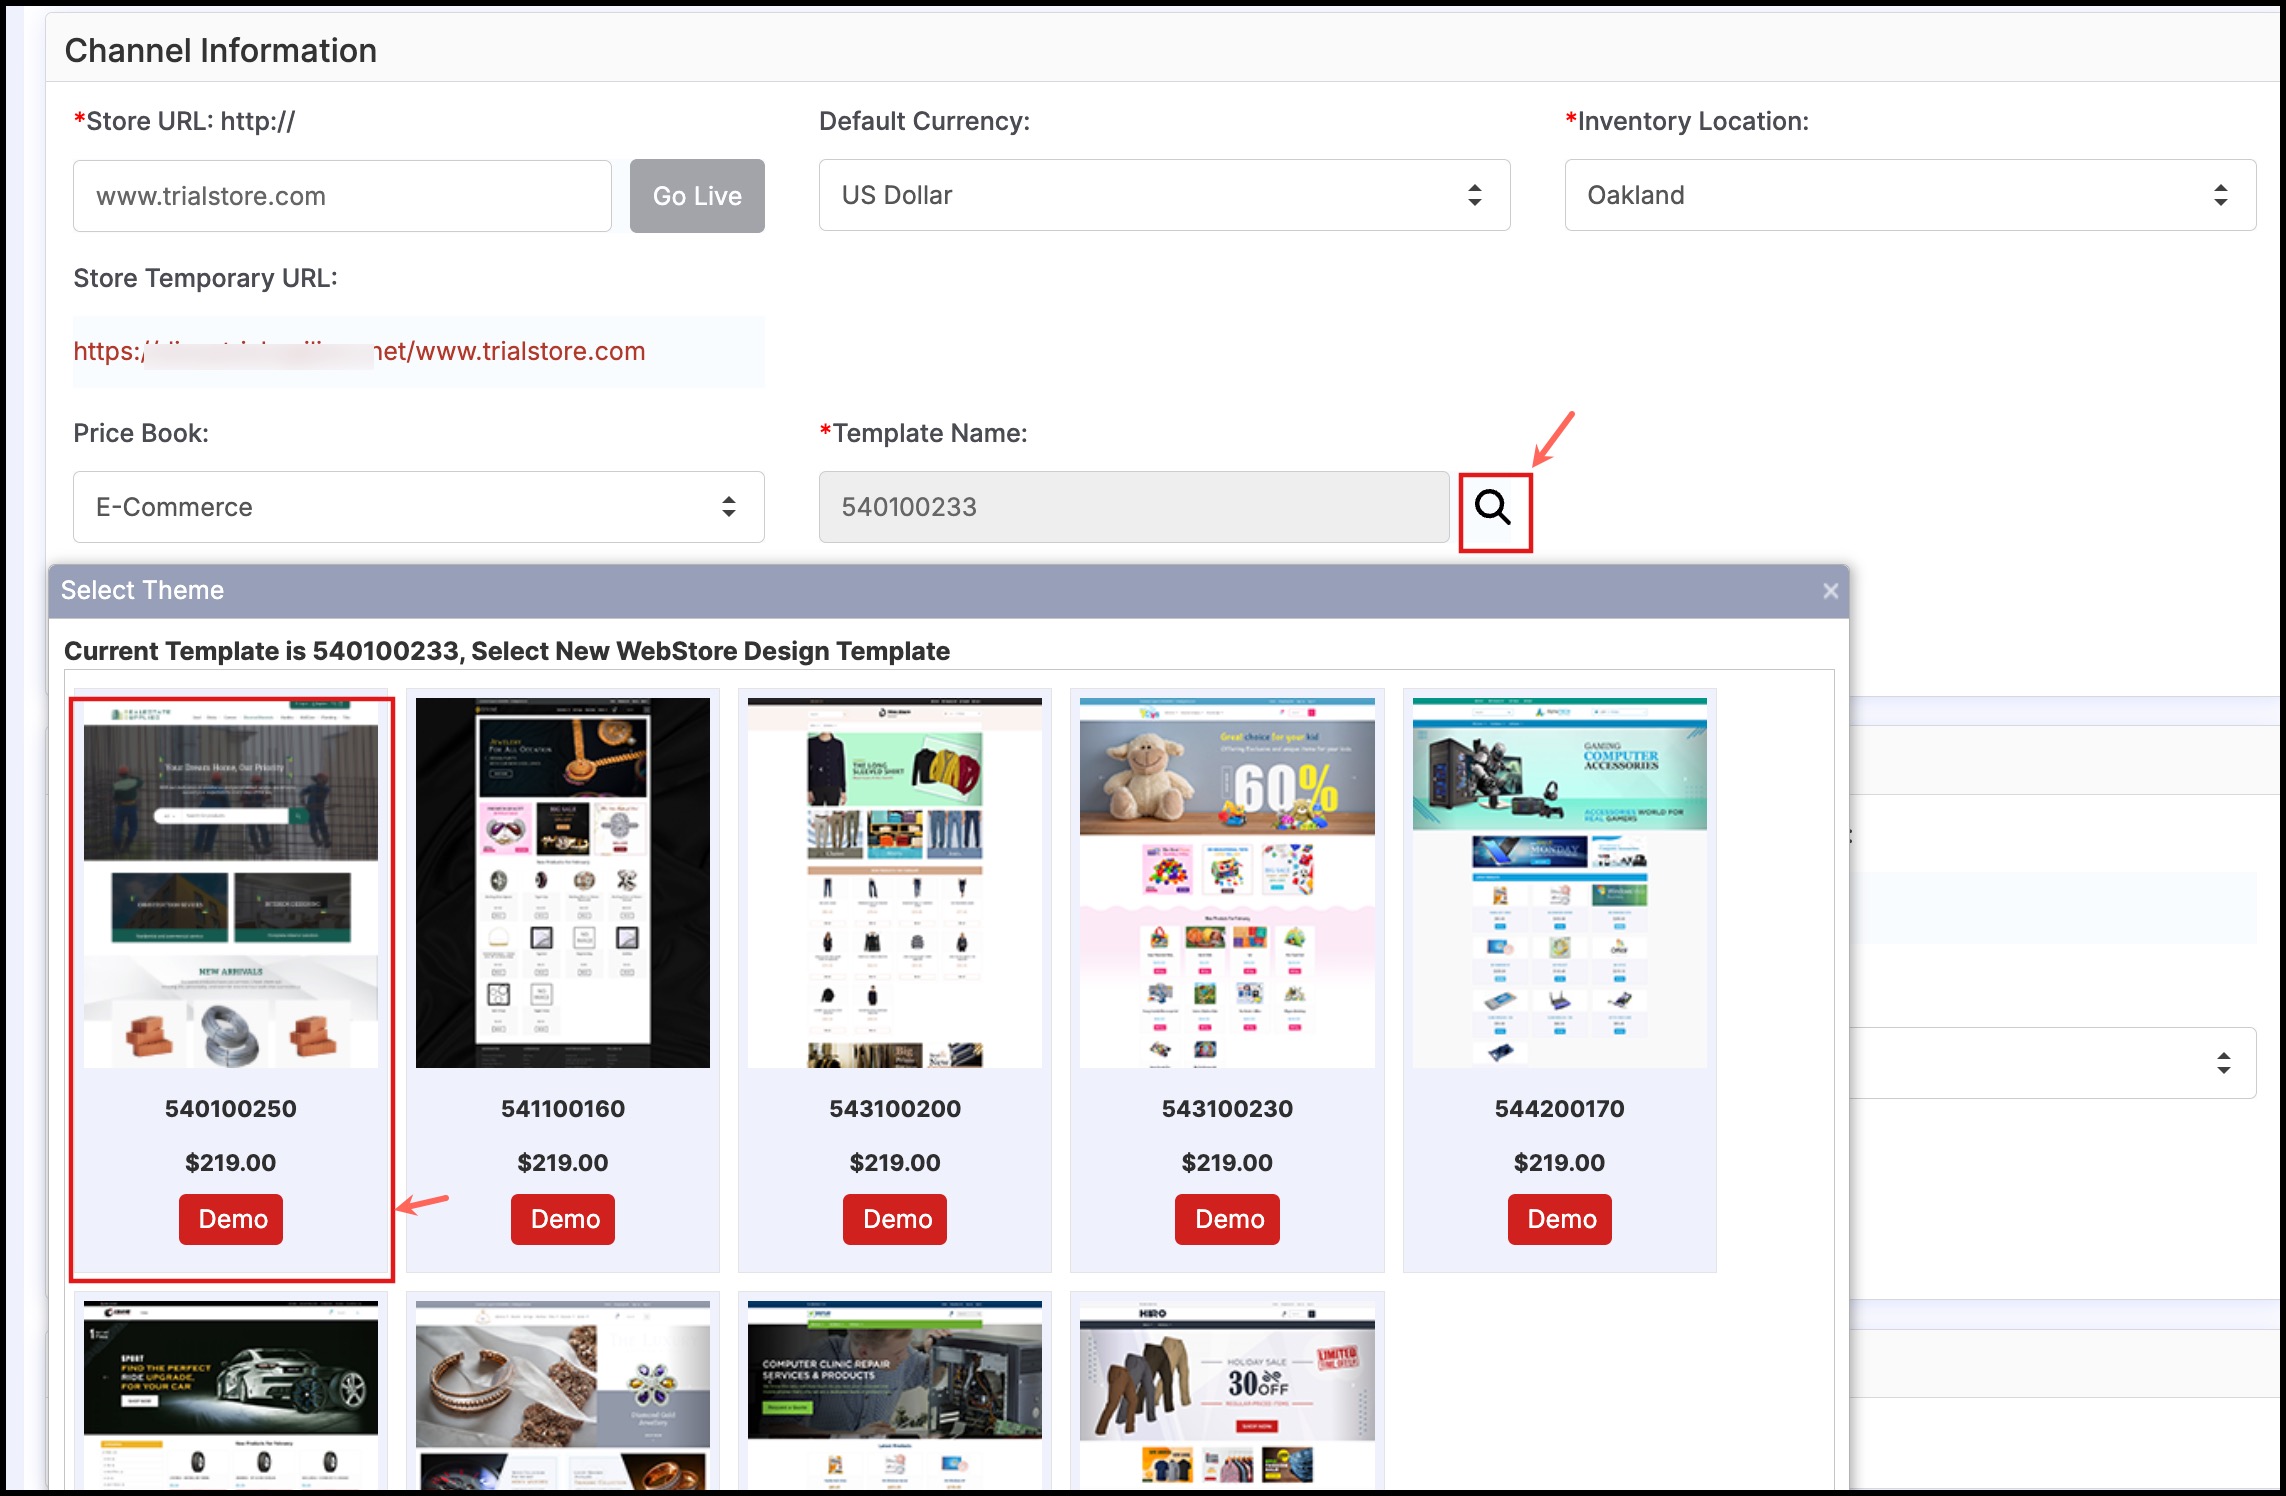
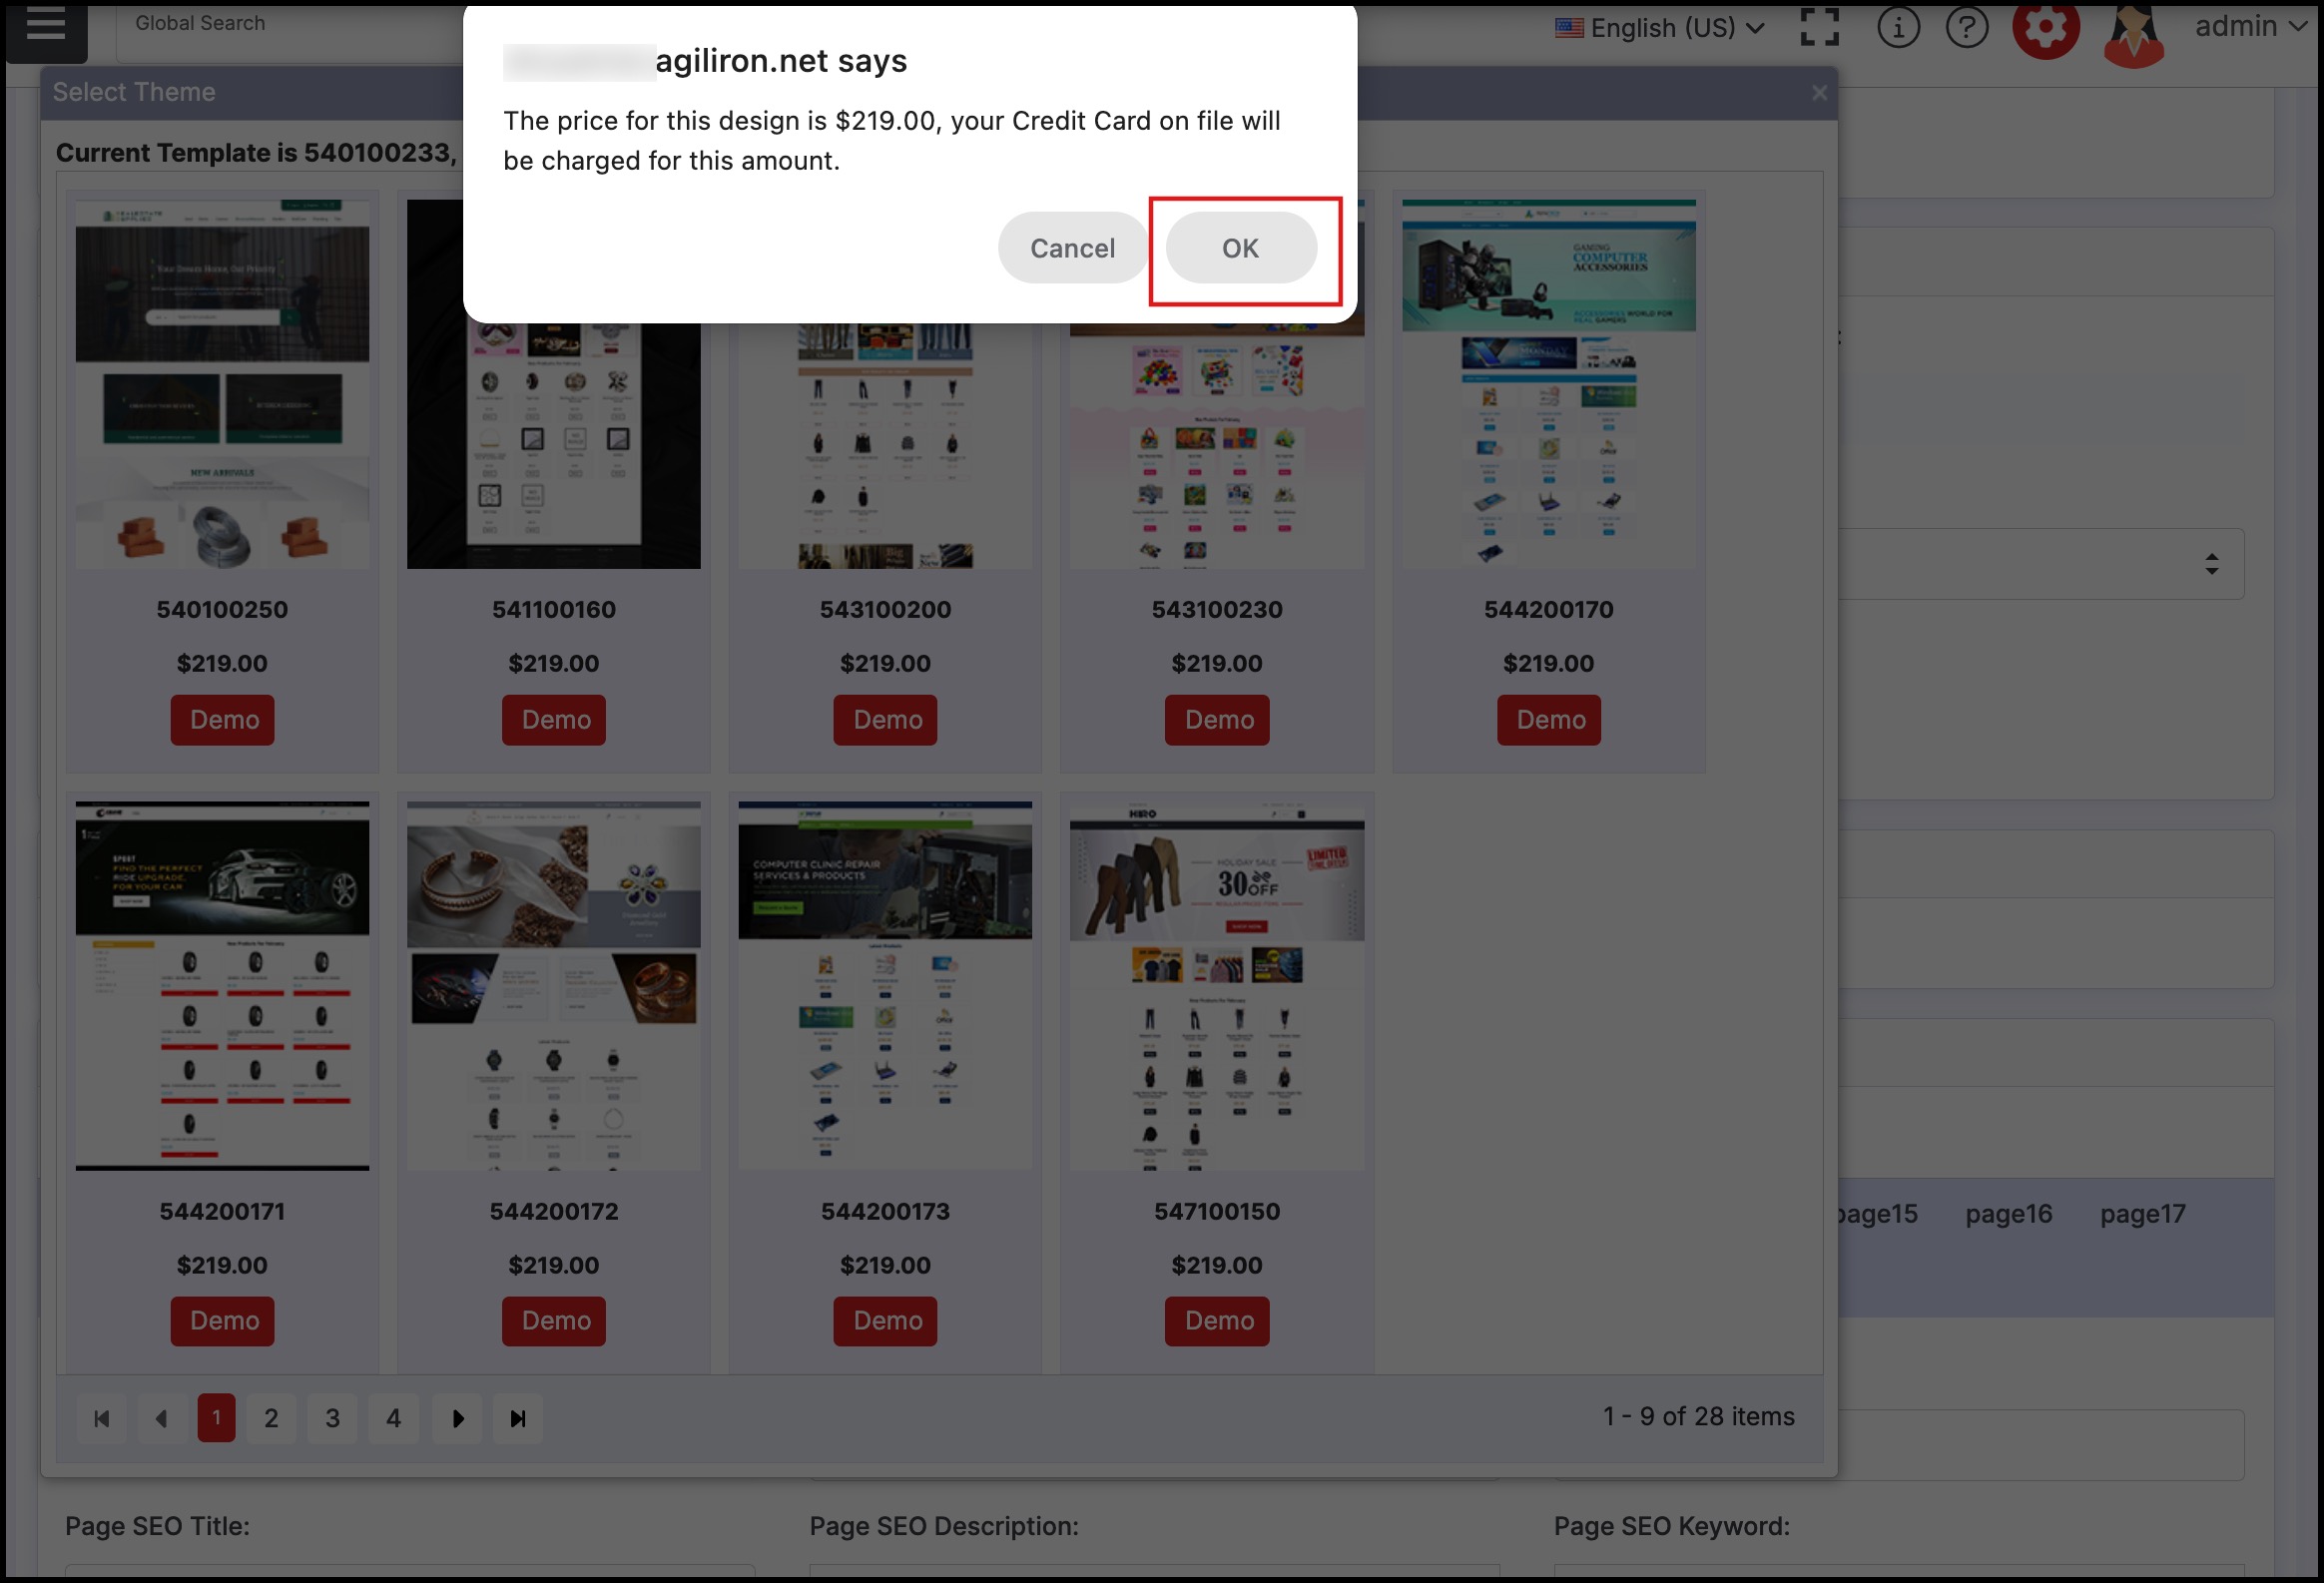
Once a theme is selected, a pop-up will appear indicating the price for the design.
Click "OK" to authorize the purchase (the credit card on file with your Agiliron account will be charged for this transaction).
Click "Save" to update.
Once the setup is complete, the webstore will appear in the list under Settings > Channels.
Updated 8 months ago