Receiving
Any purchase order created in the system that has not been received is automatically posted to the "Receiving" module.
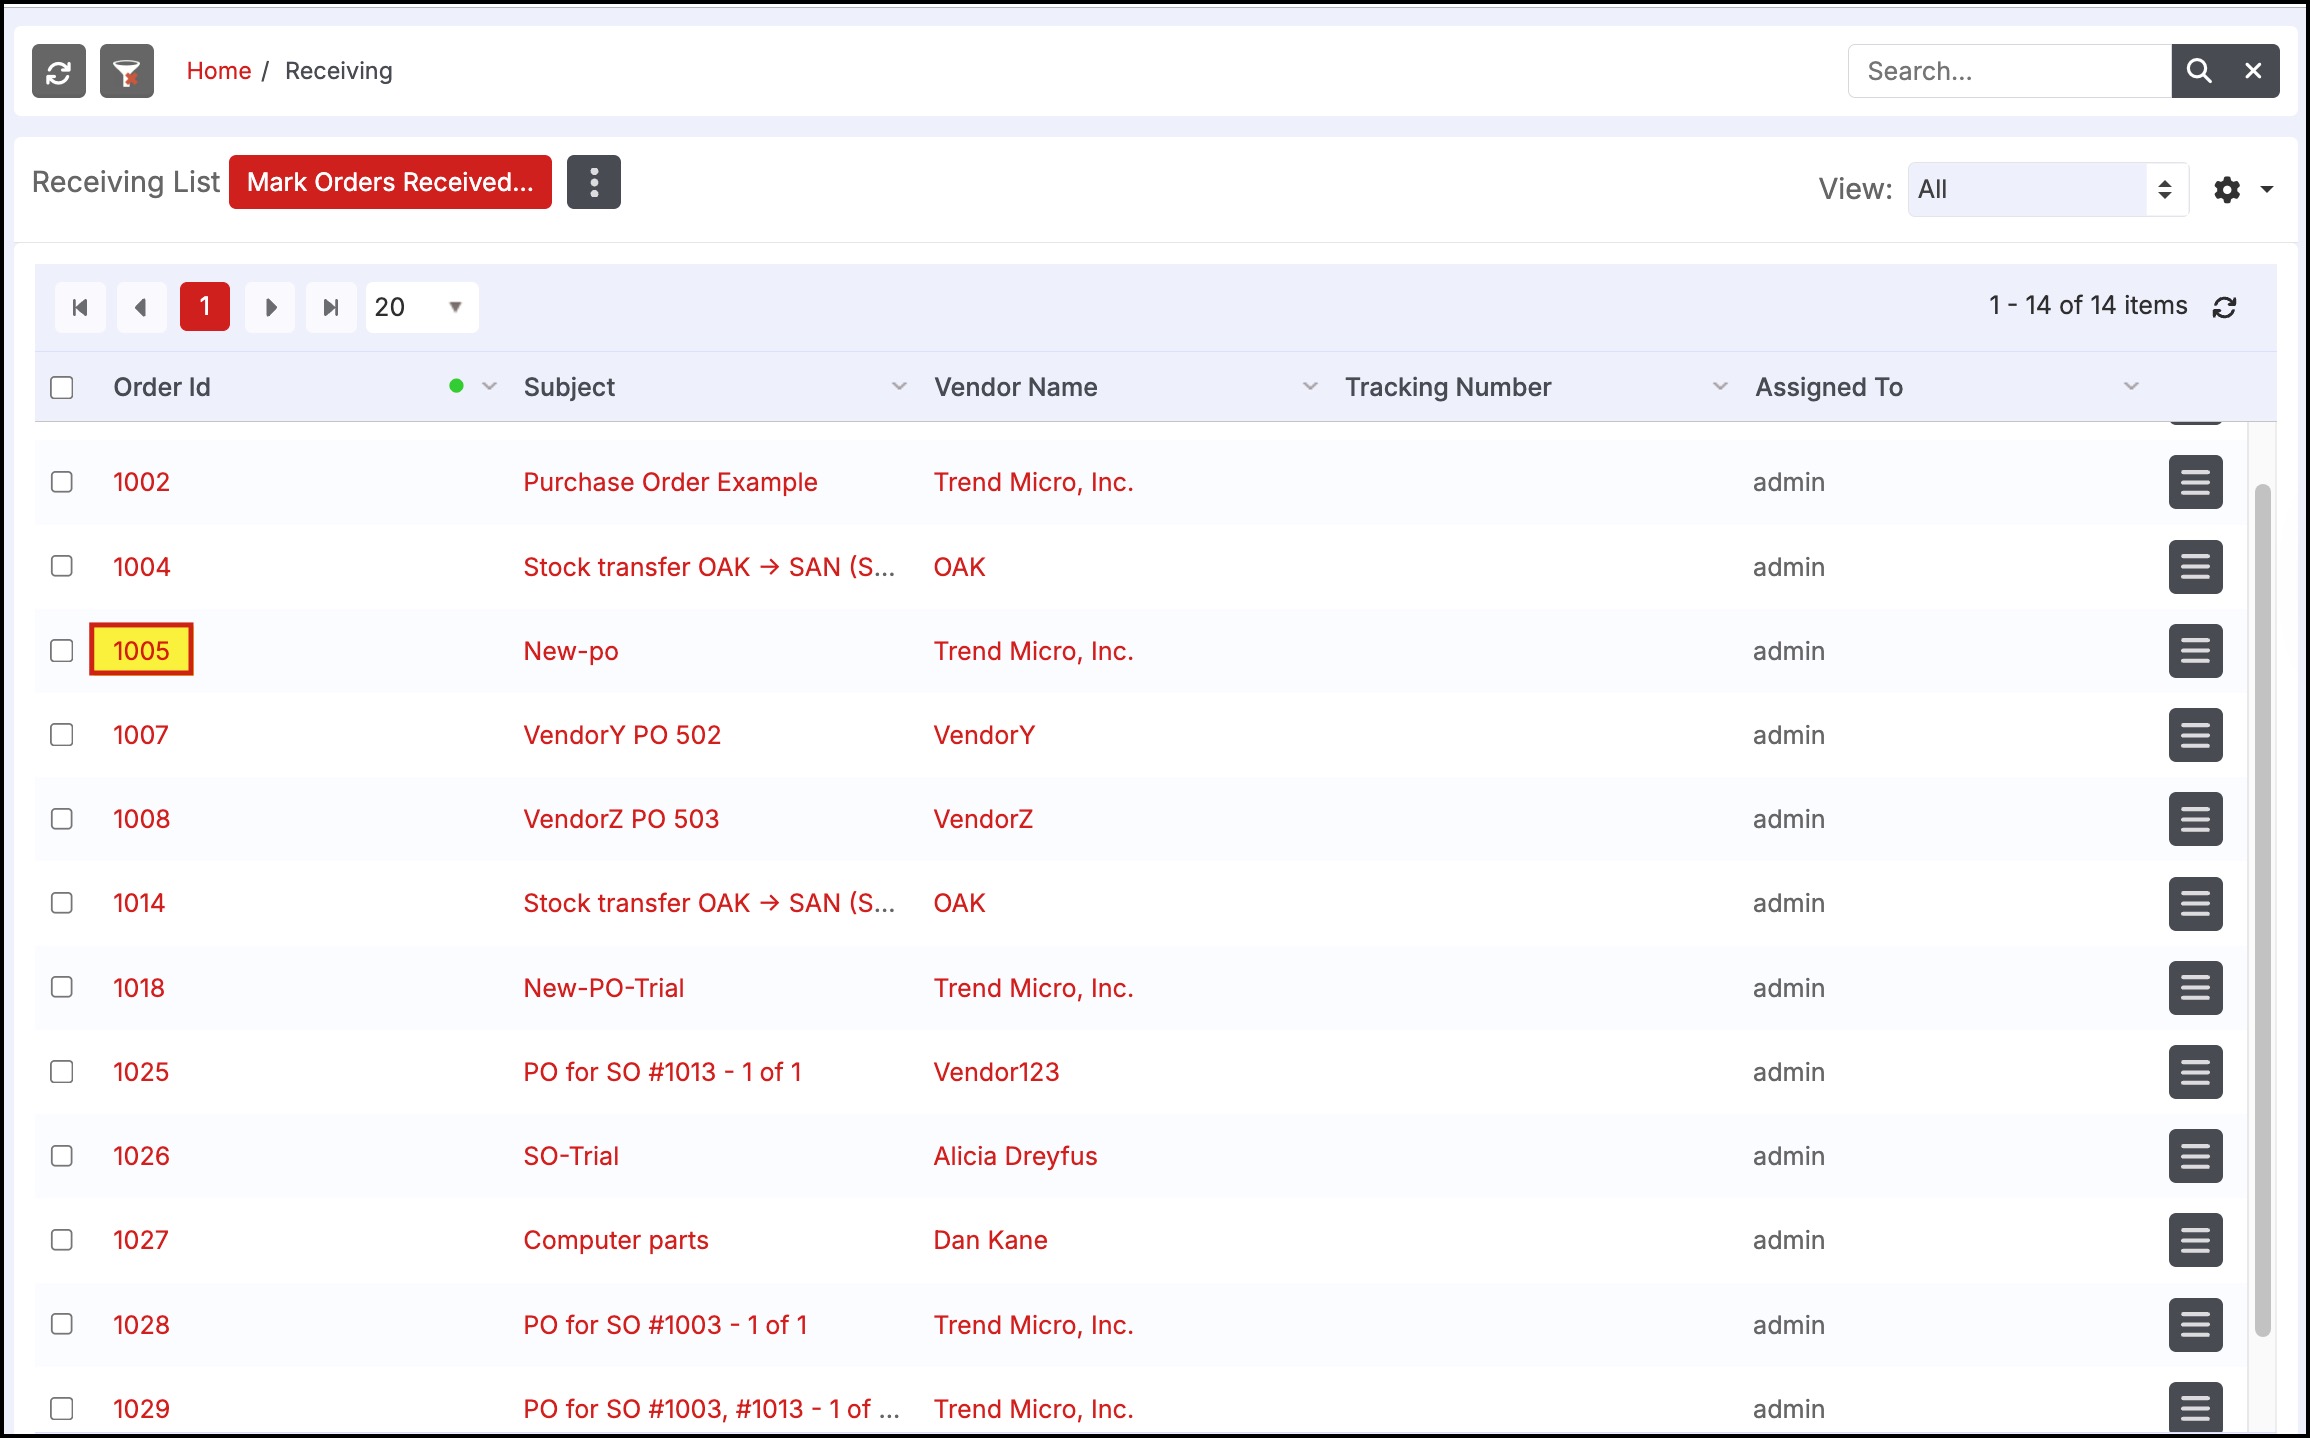
Select "Shipping & Receiving > Receiving" from the left menu panel to view PO's that have not been received.
To receive the purchase order in full, select the checkbox next to the order.
- Select the "Mark Orders Received" button to receive the entire order.
- All quantities on the purchase order are added into stock and the order status is automatically updated to "Received".
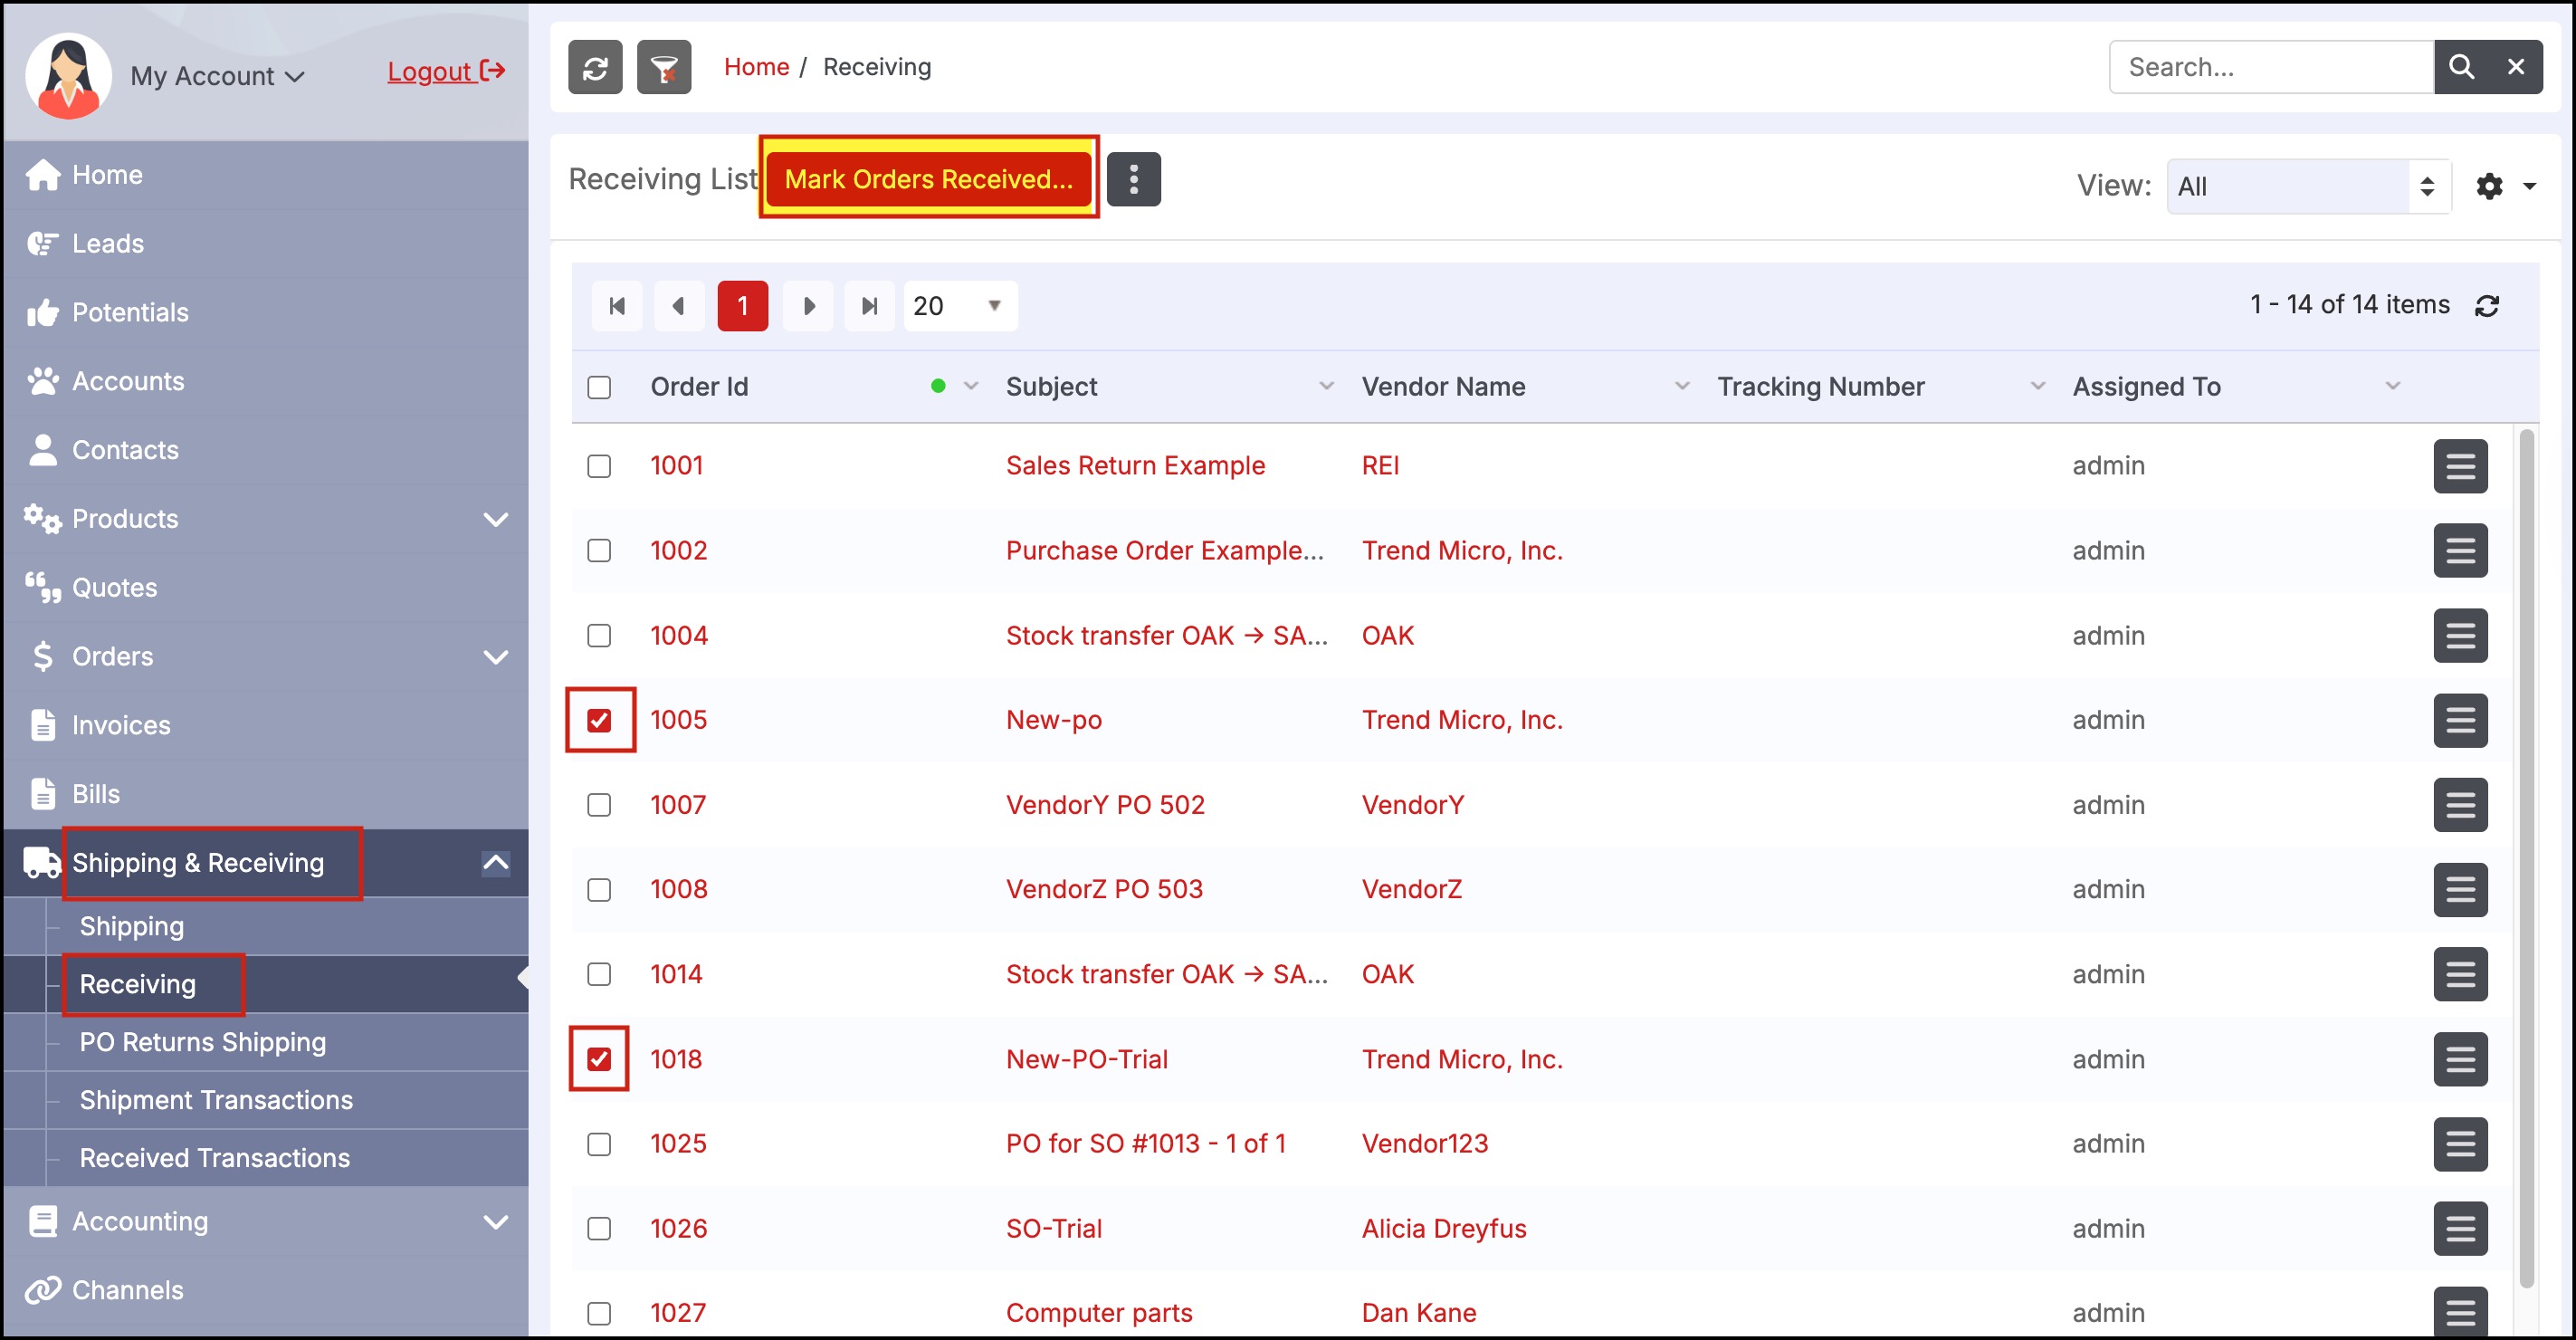
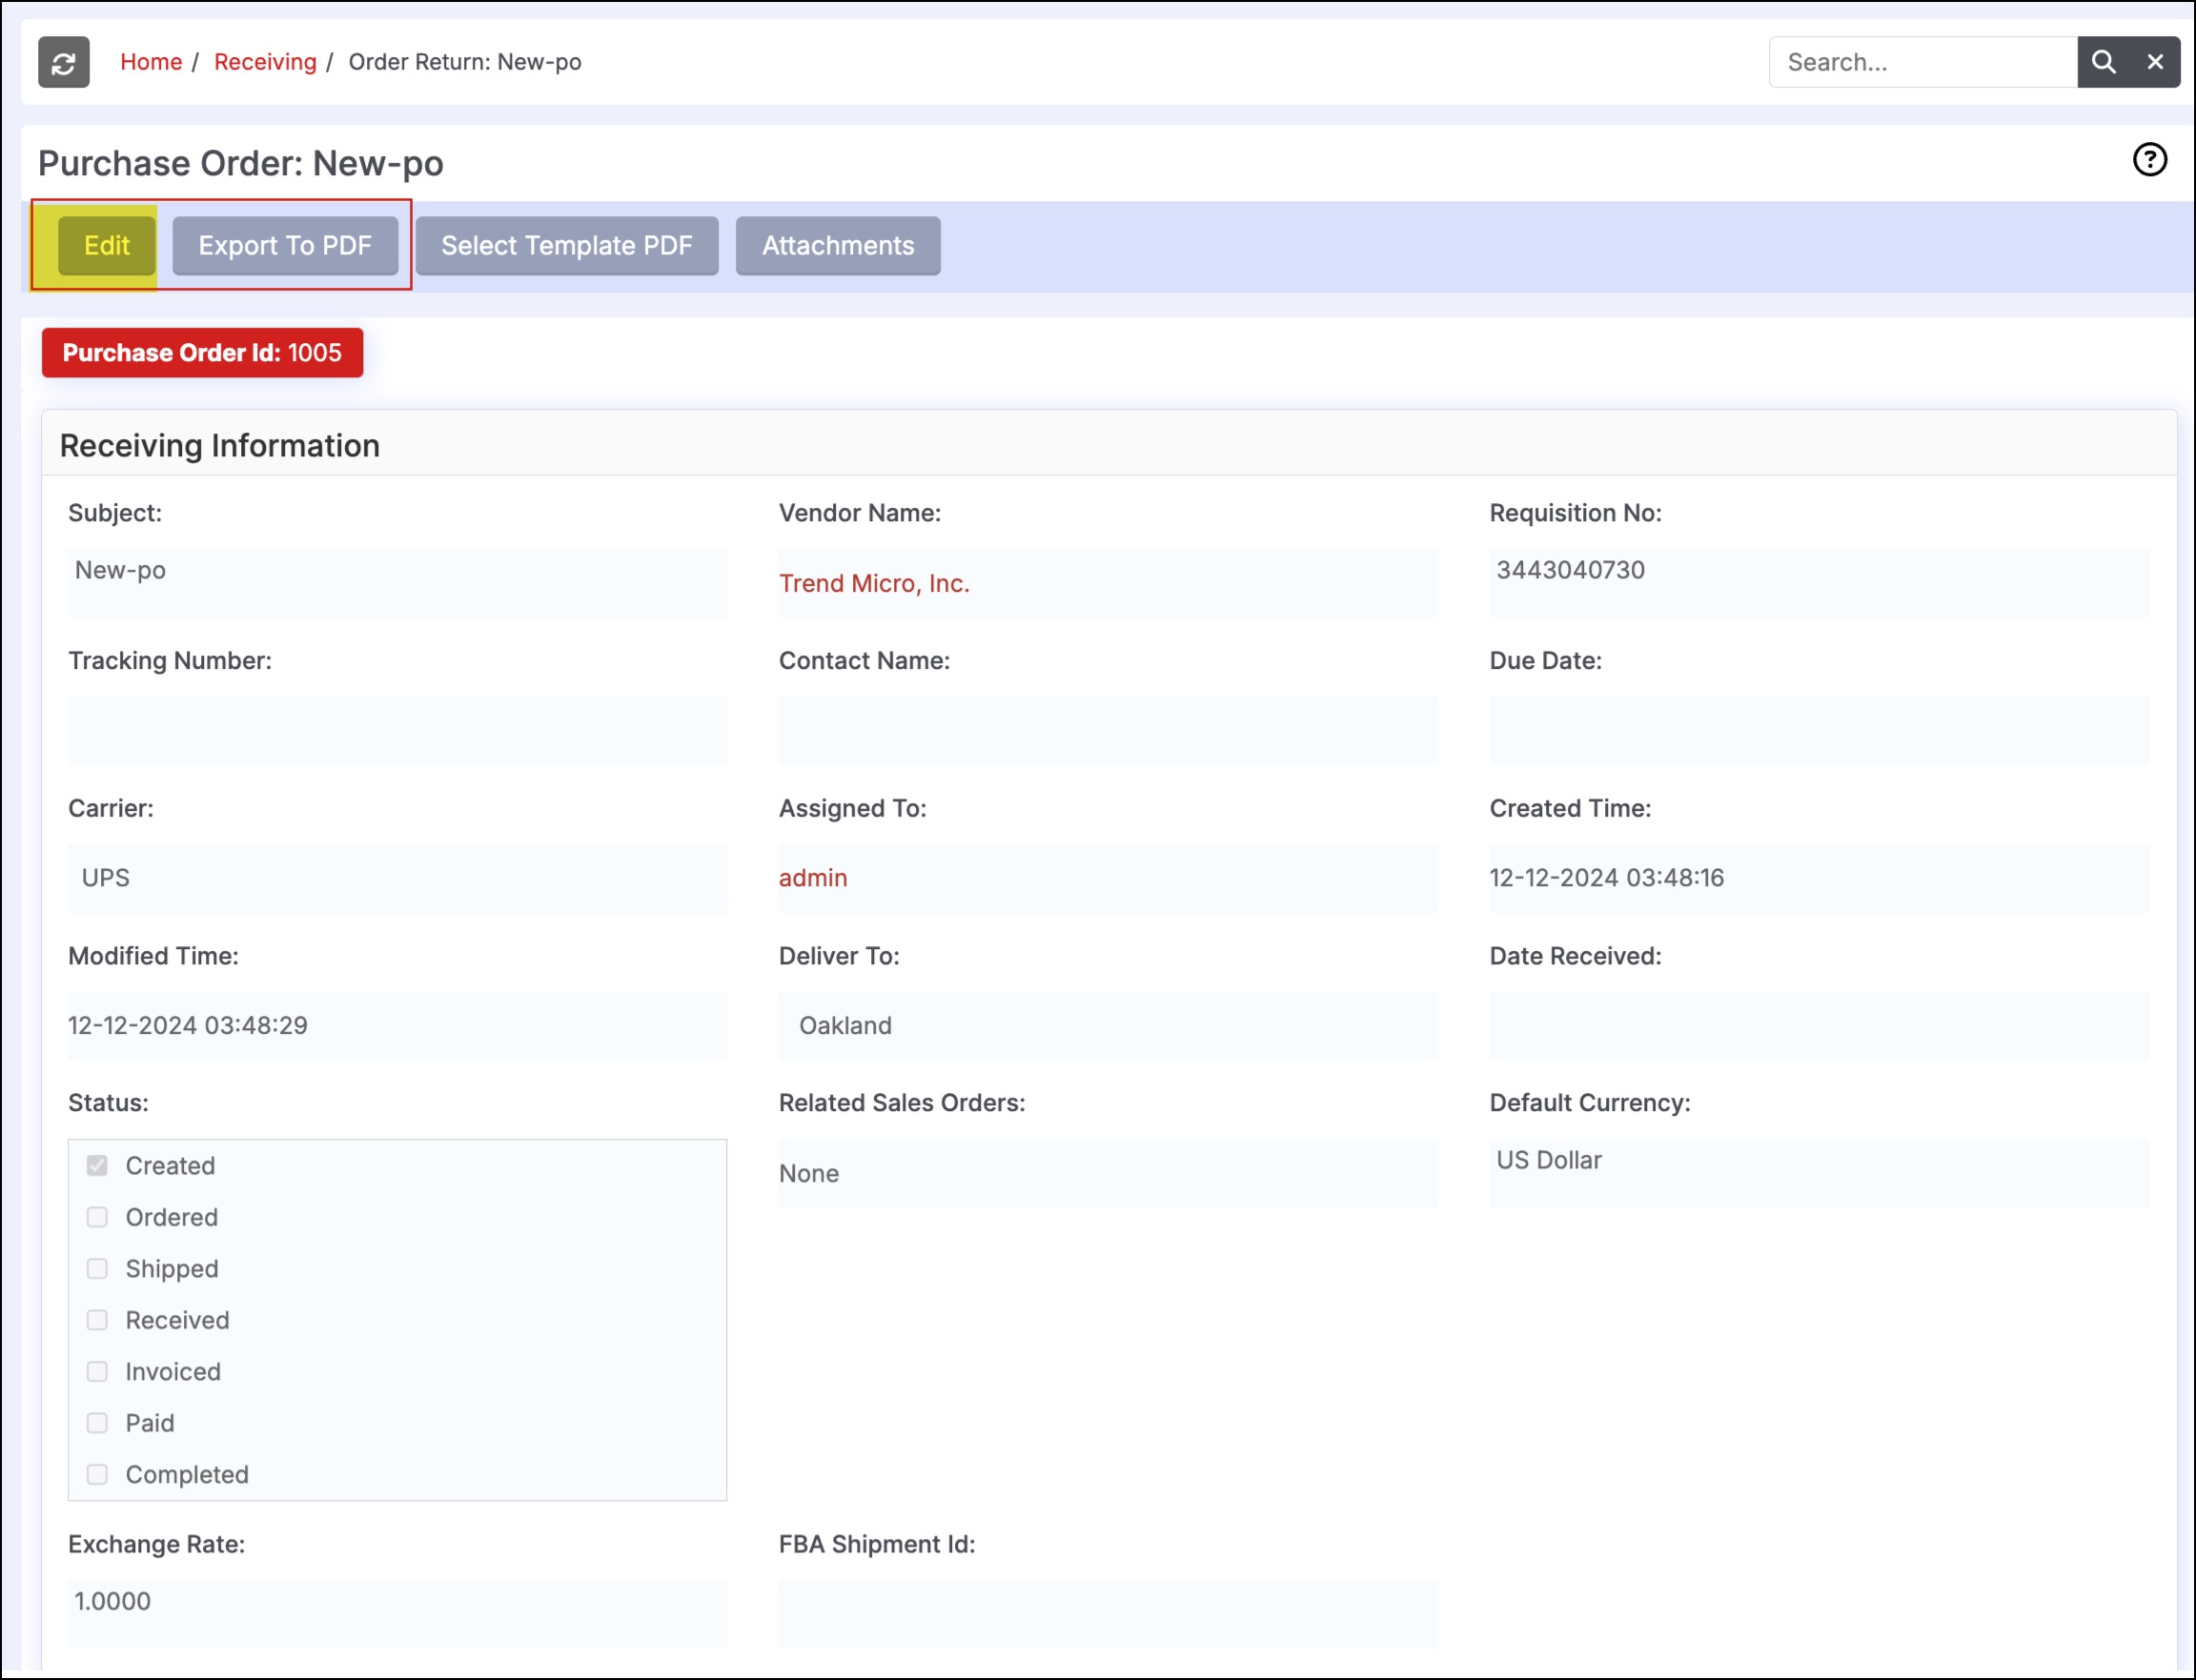
To review the order details before receiving the entire PO, click the link in the "Order Id" column for the appropriate order number.
-
The PO details appear as shown below.
-
Clicking the "Edit" button.
-
Clicking the "Export to PDF" button will print a Receiving Slip of the order.
-
If Amazon FBA is enabled (Enterprise editions and higher only) the "FBA Ship Labels PDF" button will be available for selection. Clicking this button allows the printing of labels for inbound shipments.
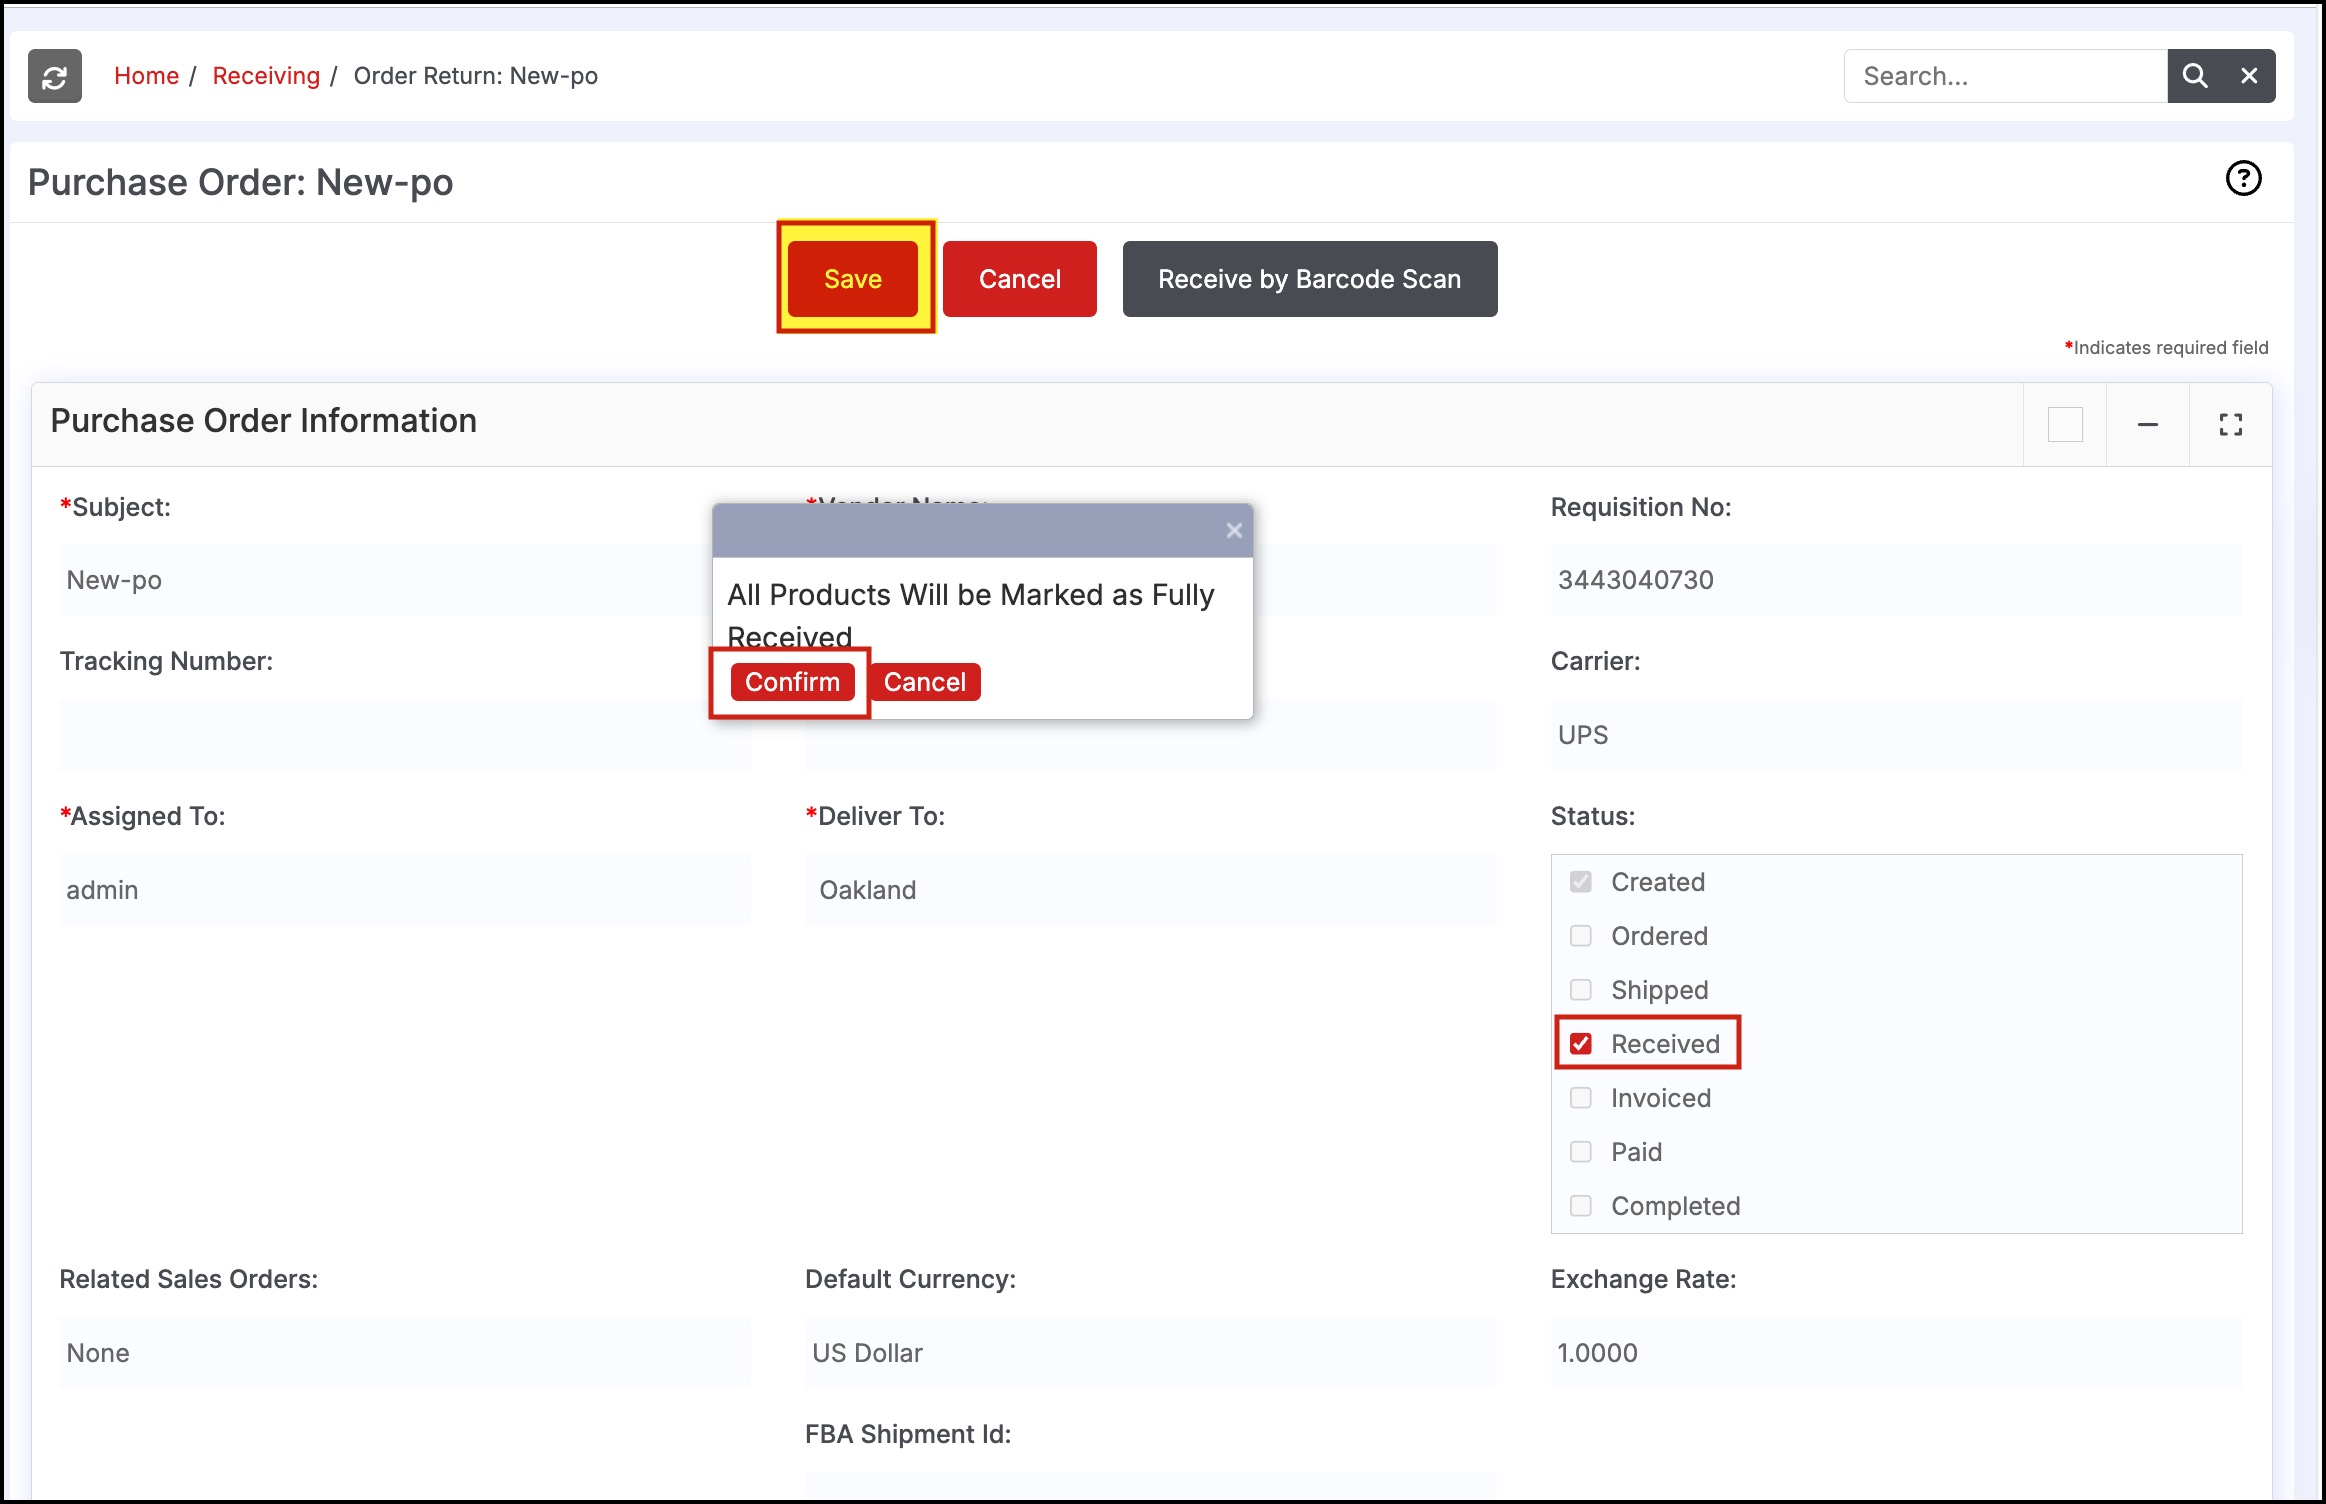
After clicking on Edit, this screen will open the order and allow for receiving the PO manually.
- Enter the quantity received for each line on the order. You can see the total adds up accordingly.
- Click the "Received" box under "Status" (assuming the entire order is being received). Note: To receive a partial order, please see this module for more information.
- Click "Save" to finish.
-
You can also receive by scanning the product barcode. At the top, you can see a Receive by Barcode Scan button, click on it. Instantly a text field appears. Scan the barcodes into that text field.
-
The quantity received in the respective line item in the PO gets updated.

If the product being received is a Serialized Product, then the serial number of the product can also be entered in this form during the Receiving process as shown below.
- Click the checkbox next to "Received" in the Status box.
- Click "Save" to finish and receive the order.

The same method from above applies for Lot Tracked products.
- Select the magnifying glass next to the Lot No field.

- The following pop-up box will appear.
- Enter the following:
- Lot No
- Lot Quantity
- Expiration Date
- To add an additional lot number, click the "Add Lot" button.
- When all lot quantities have been added, click the "Save" button.

- Click the checkbox next to "Received" in the Status box.
- Click "Save" to finish and receive the order.

Updated 11 months ago