Stock Transfer Workflow
Stock Transfer, with this feature, you can transfer particular items/products from your current location to any other location.
- Login to the Warehouse management app account.
- Right on top, you can see your current location.
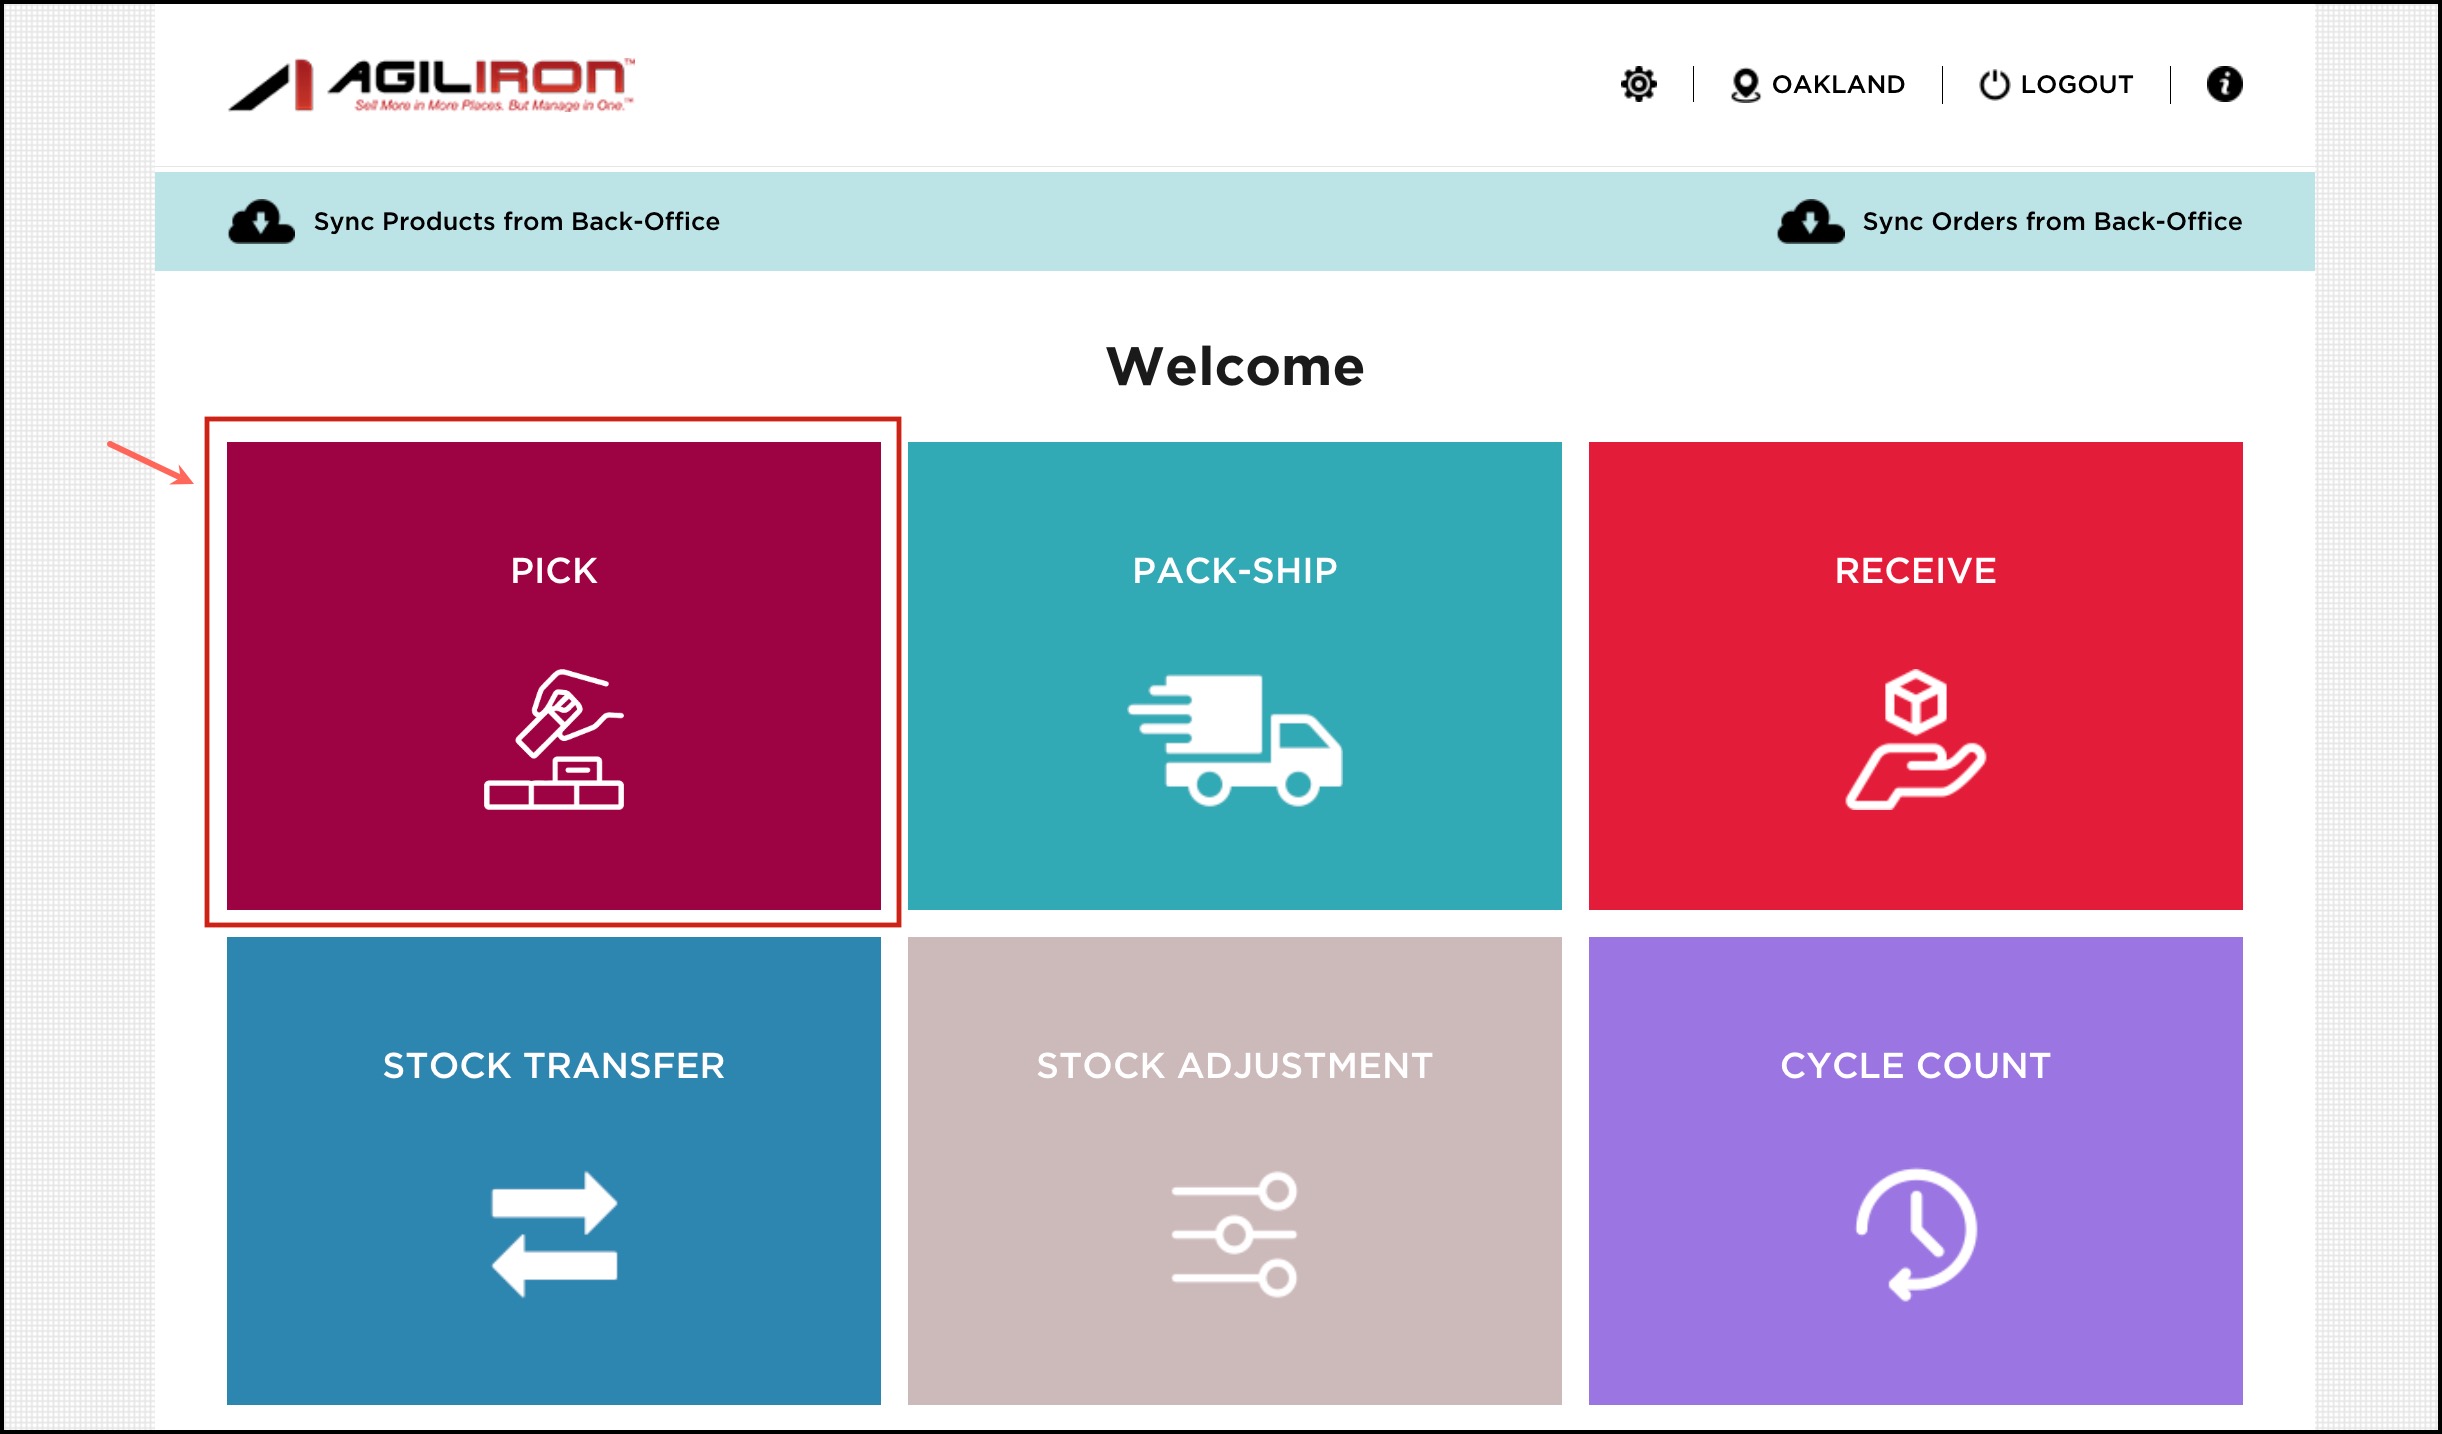
- Click on Stock Transfer on the home page.
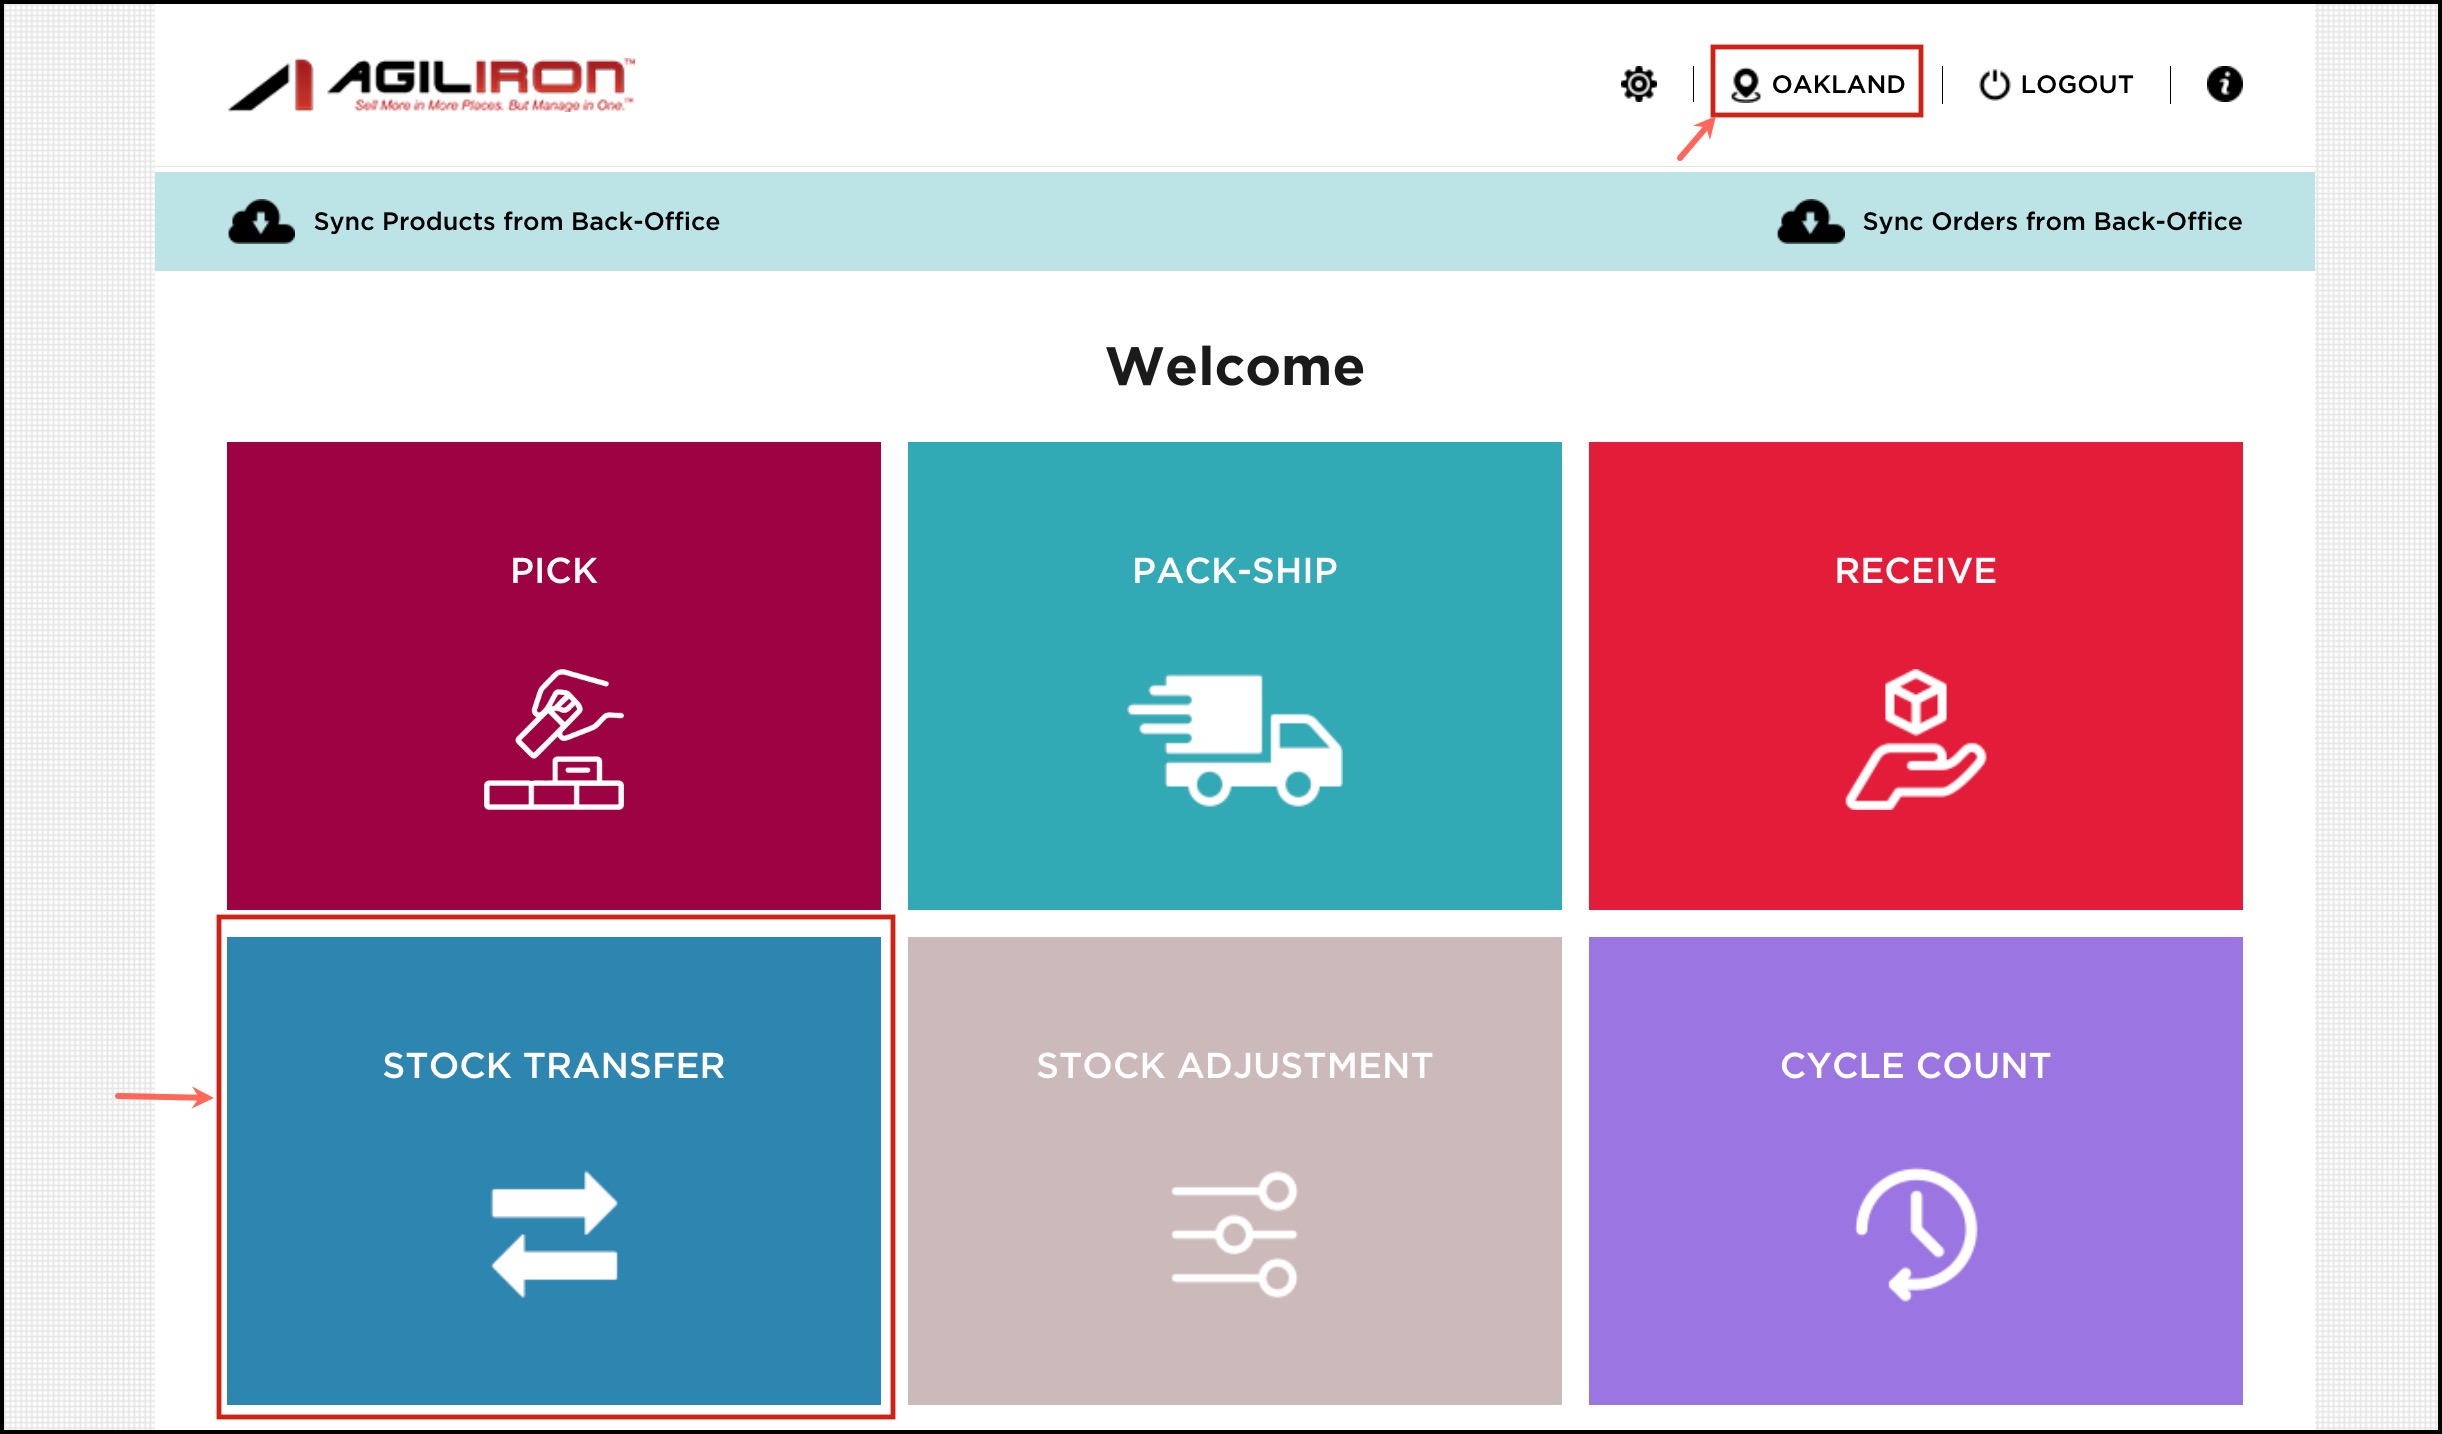
- Once the Stock Transfer feature gets opened, you can see Transfer to.
- When you click on the Select drop-down sign, you can see the list of locations. Select the location where you want to transfer the products.
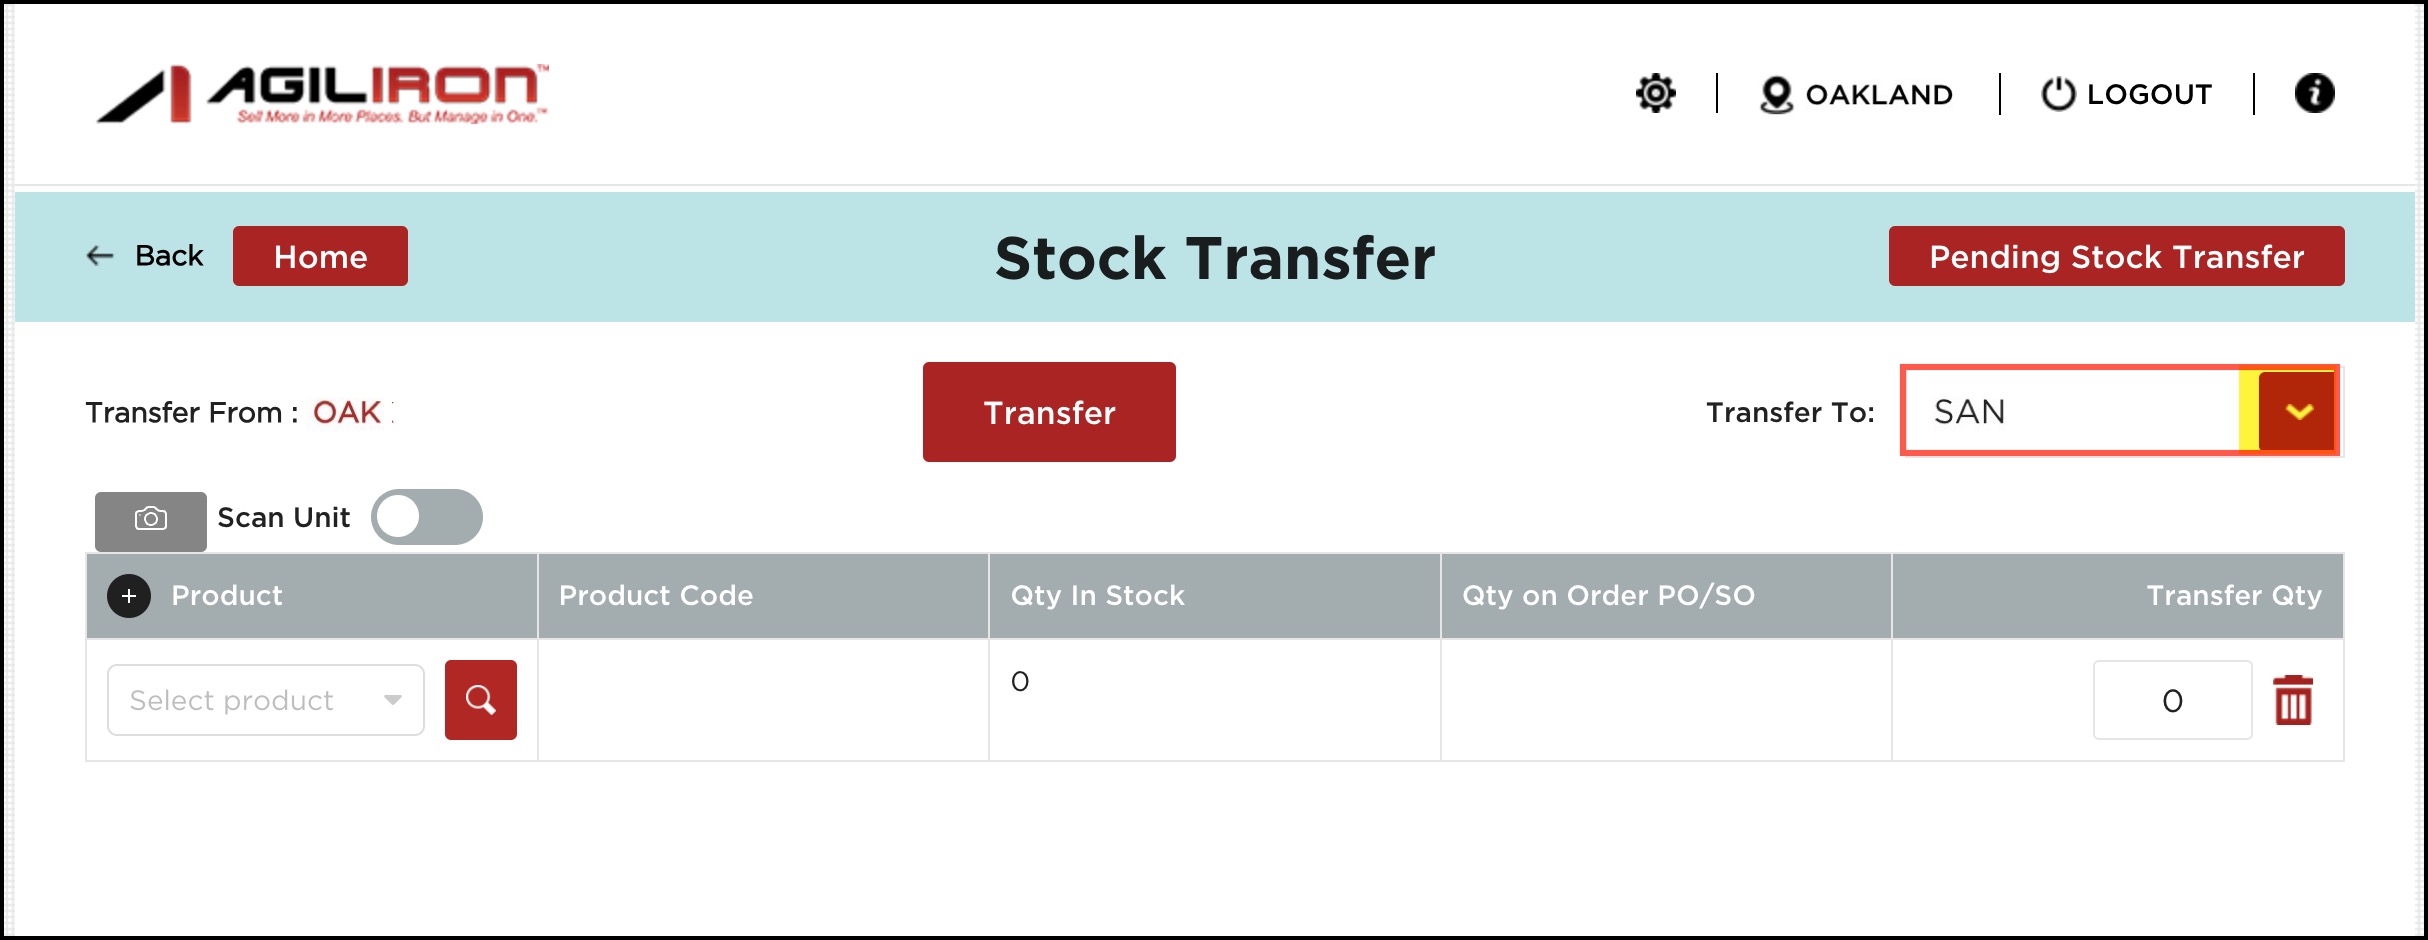
- Now add the products which you want to transfer.
To add products:
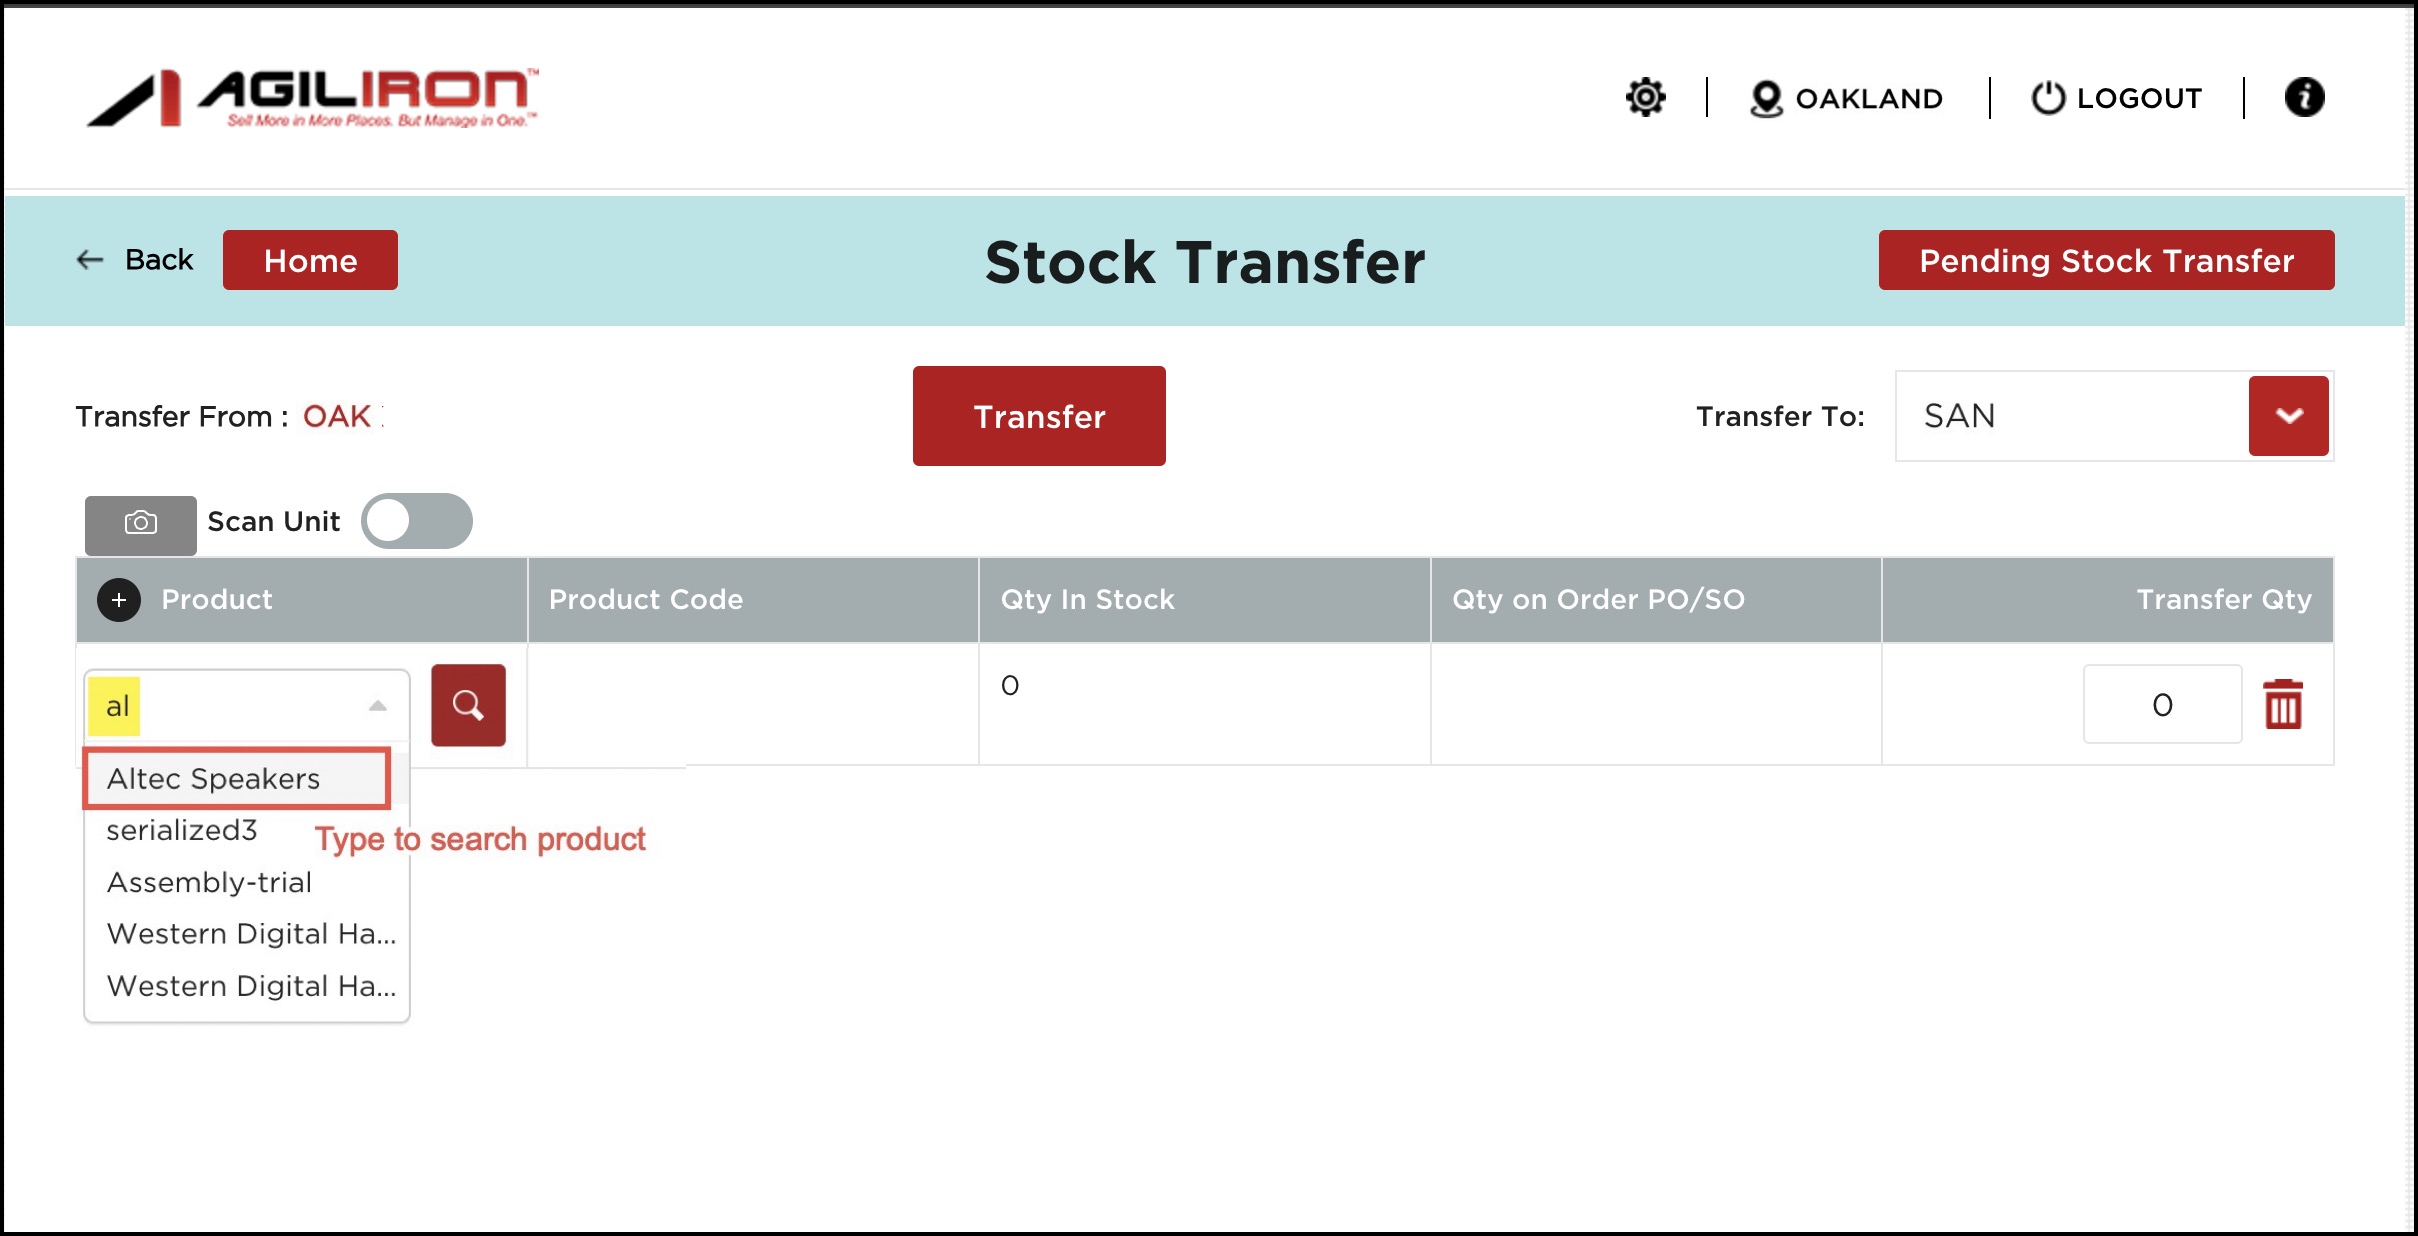
- Enter the product name.
or
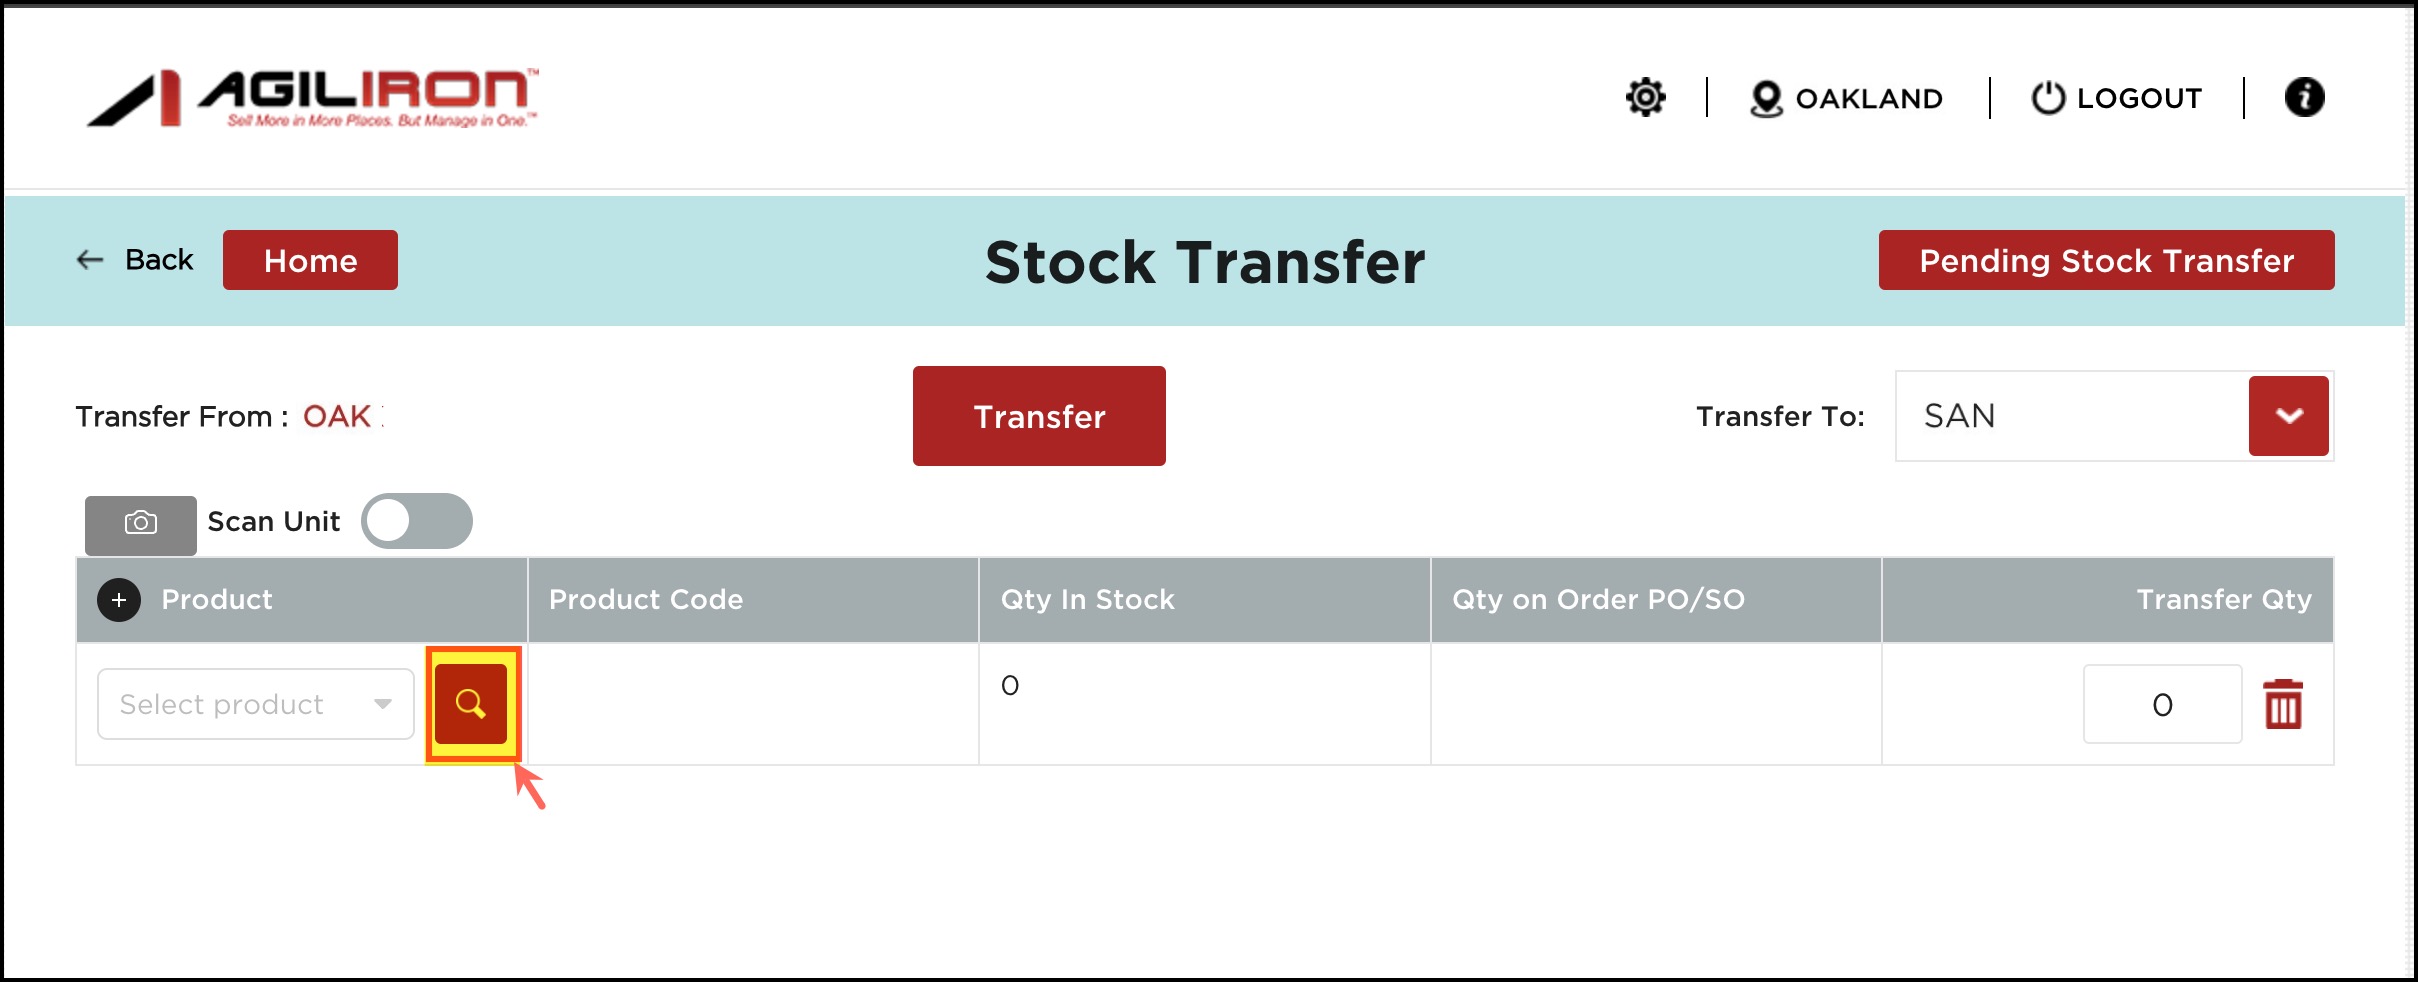
- Click on the magnifying glass icon and select products one by one.
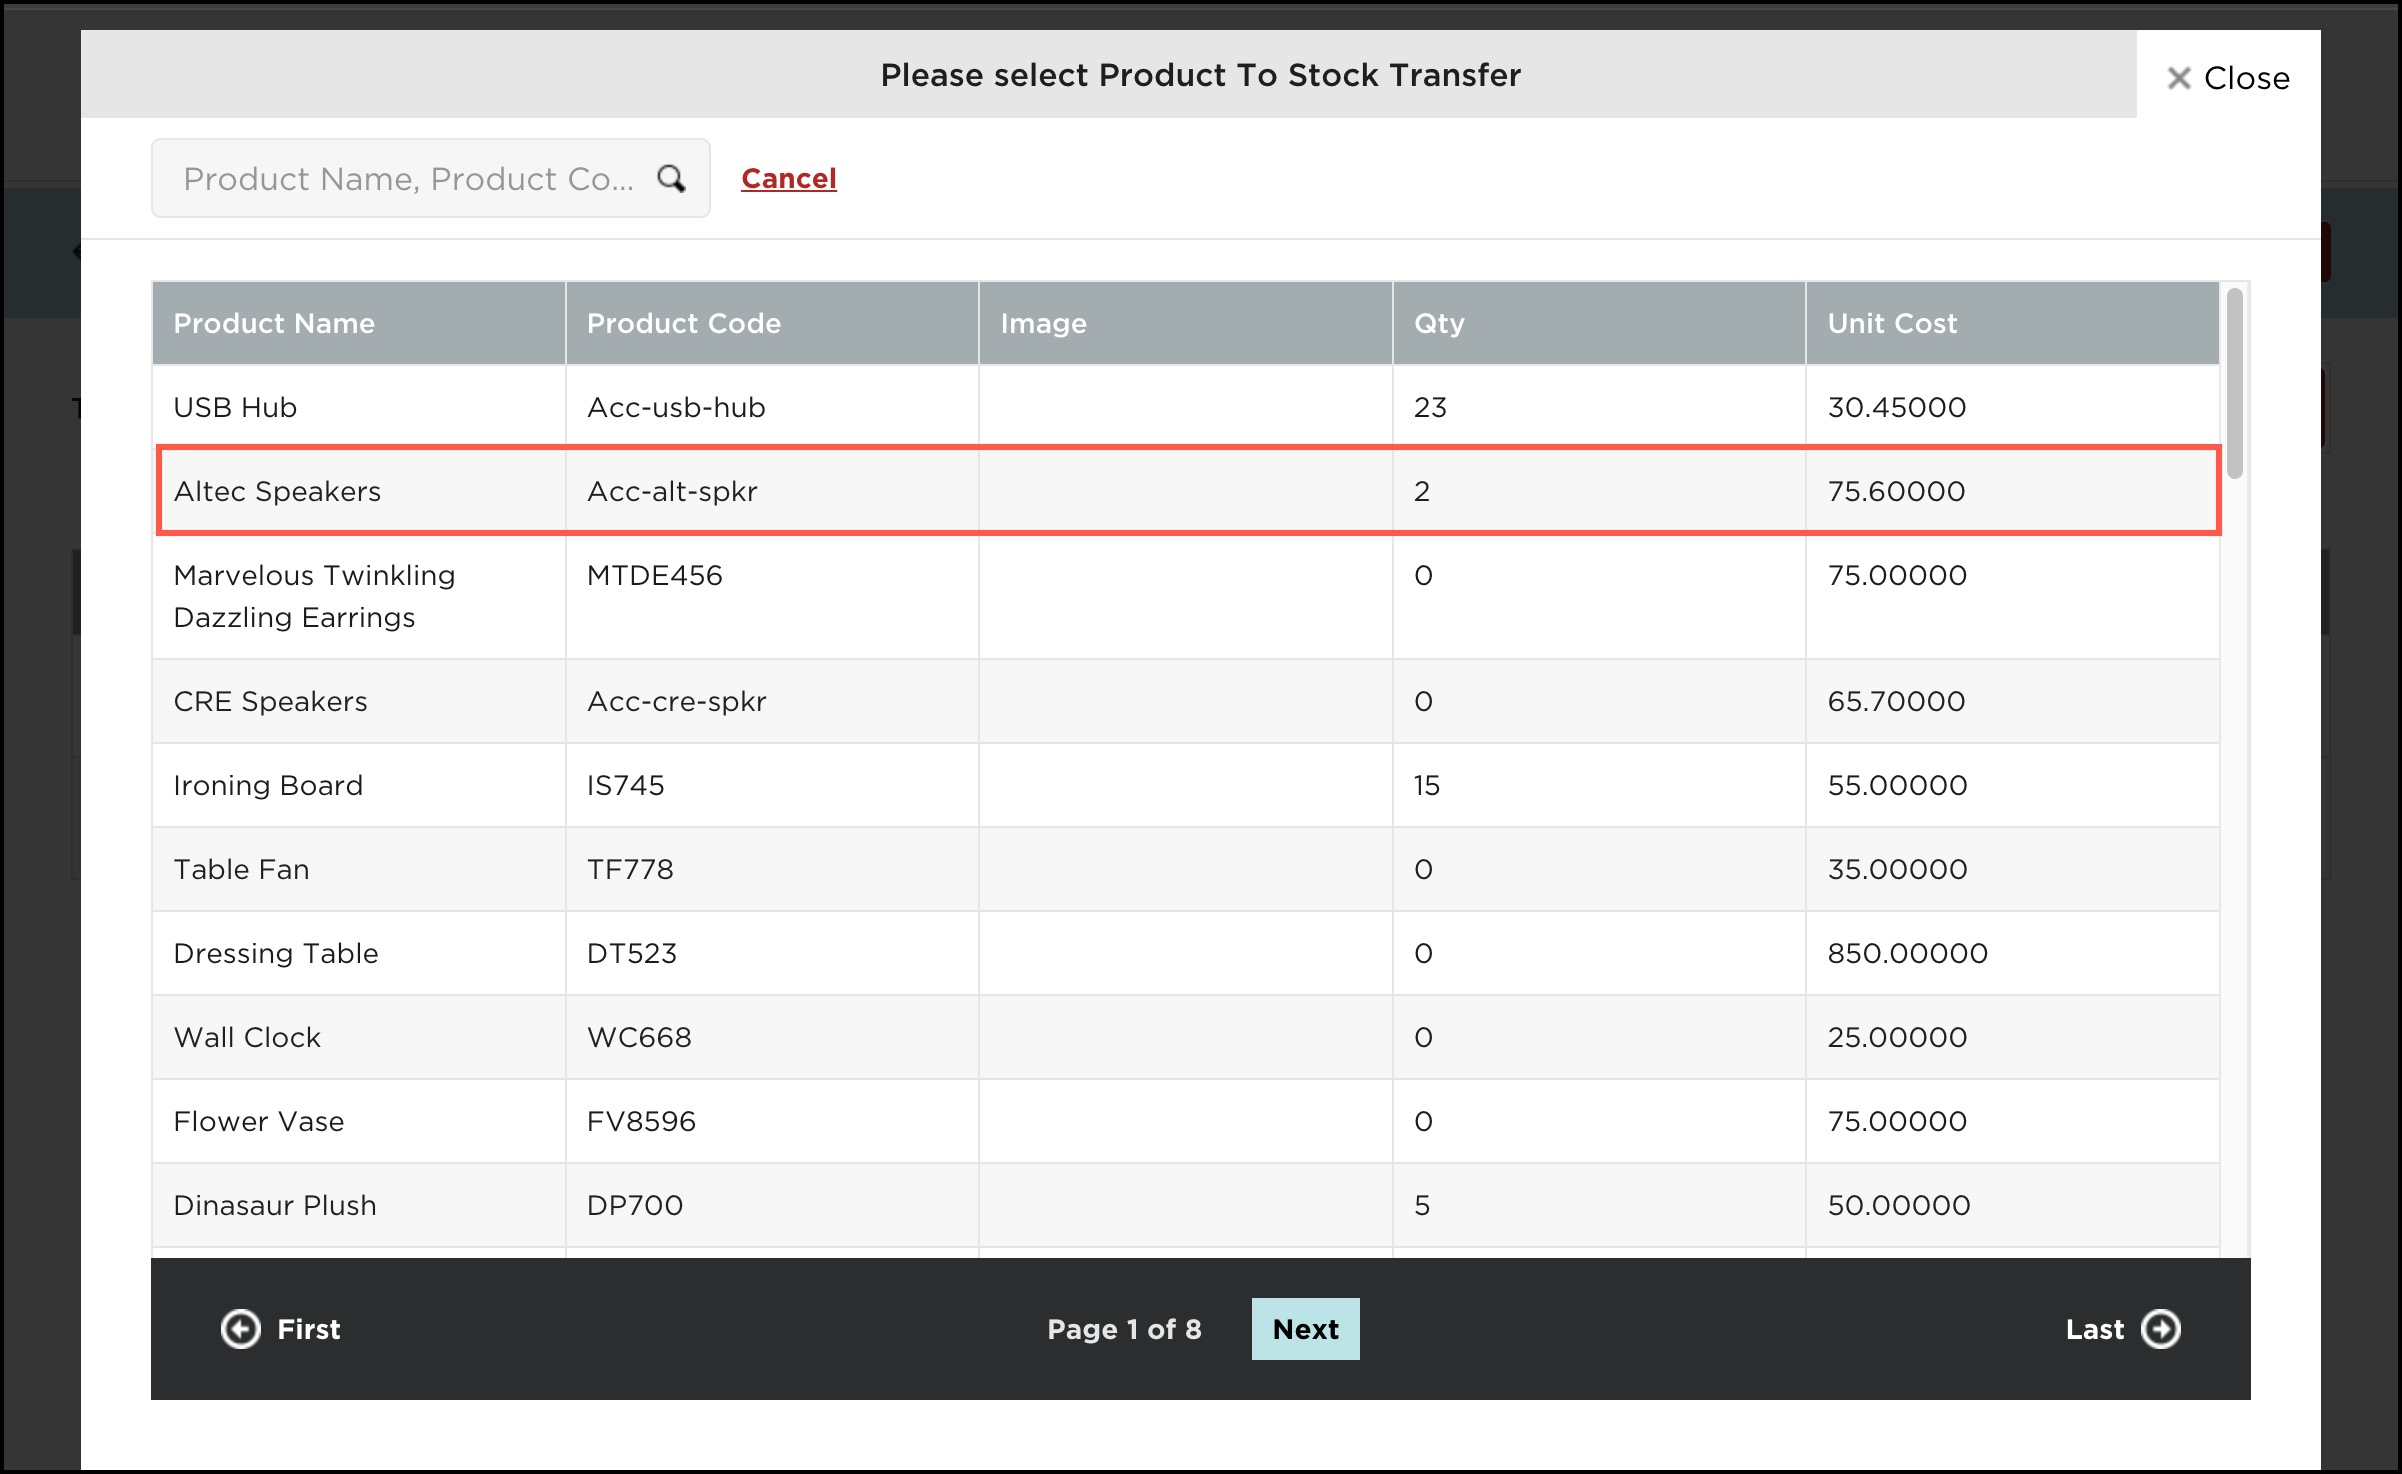
or
- Enable the Scan Units. Enter the Barcode or click on the camera icon and scan the barcodes of the products that you want to transfer.
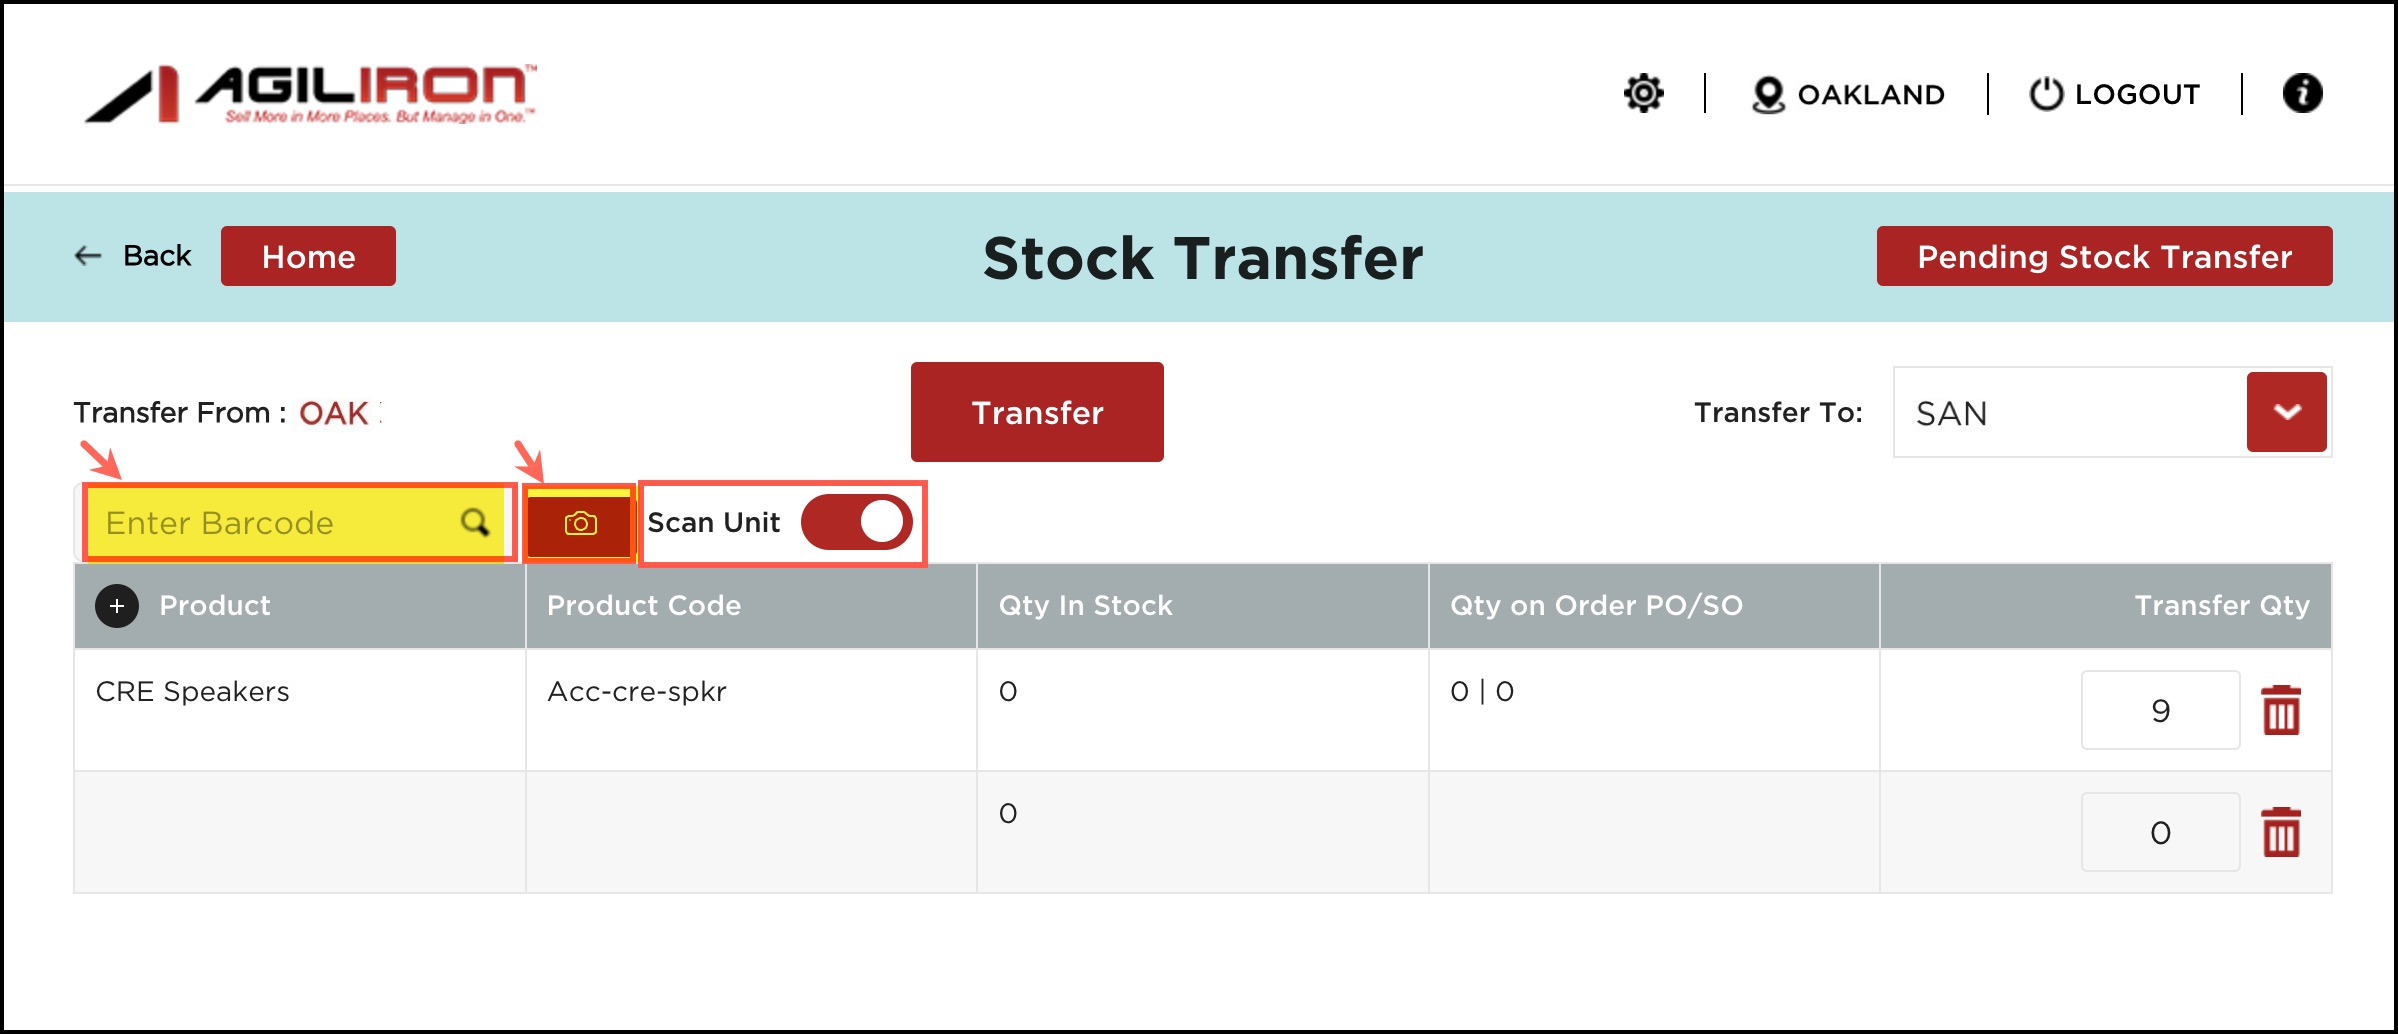
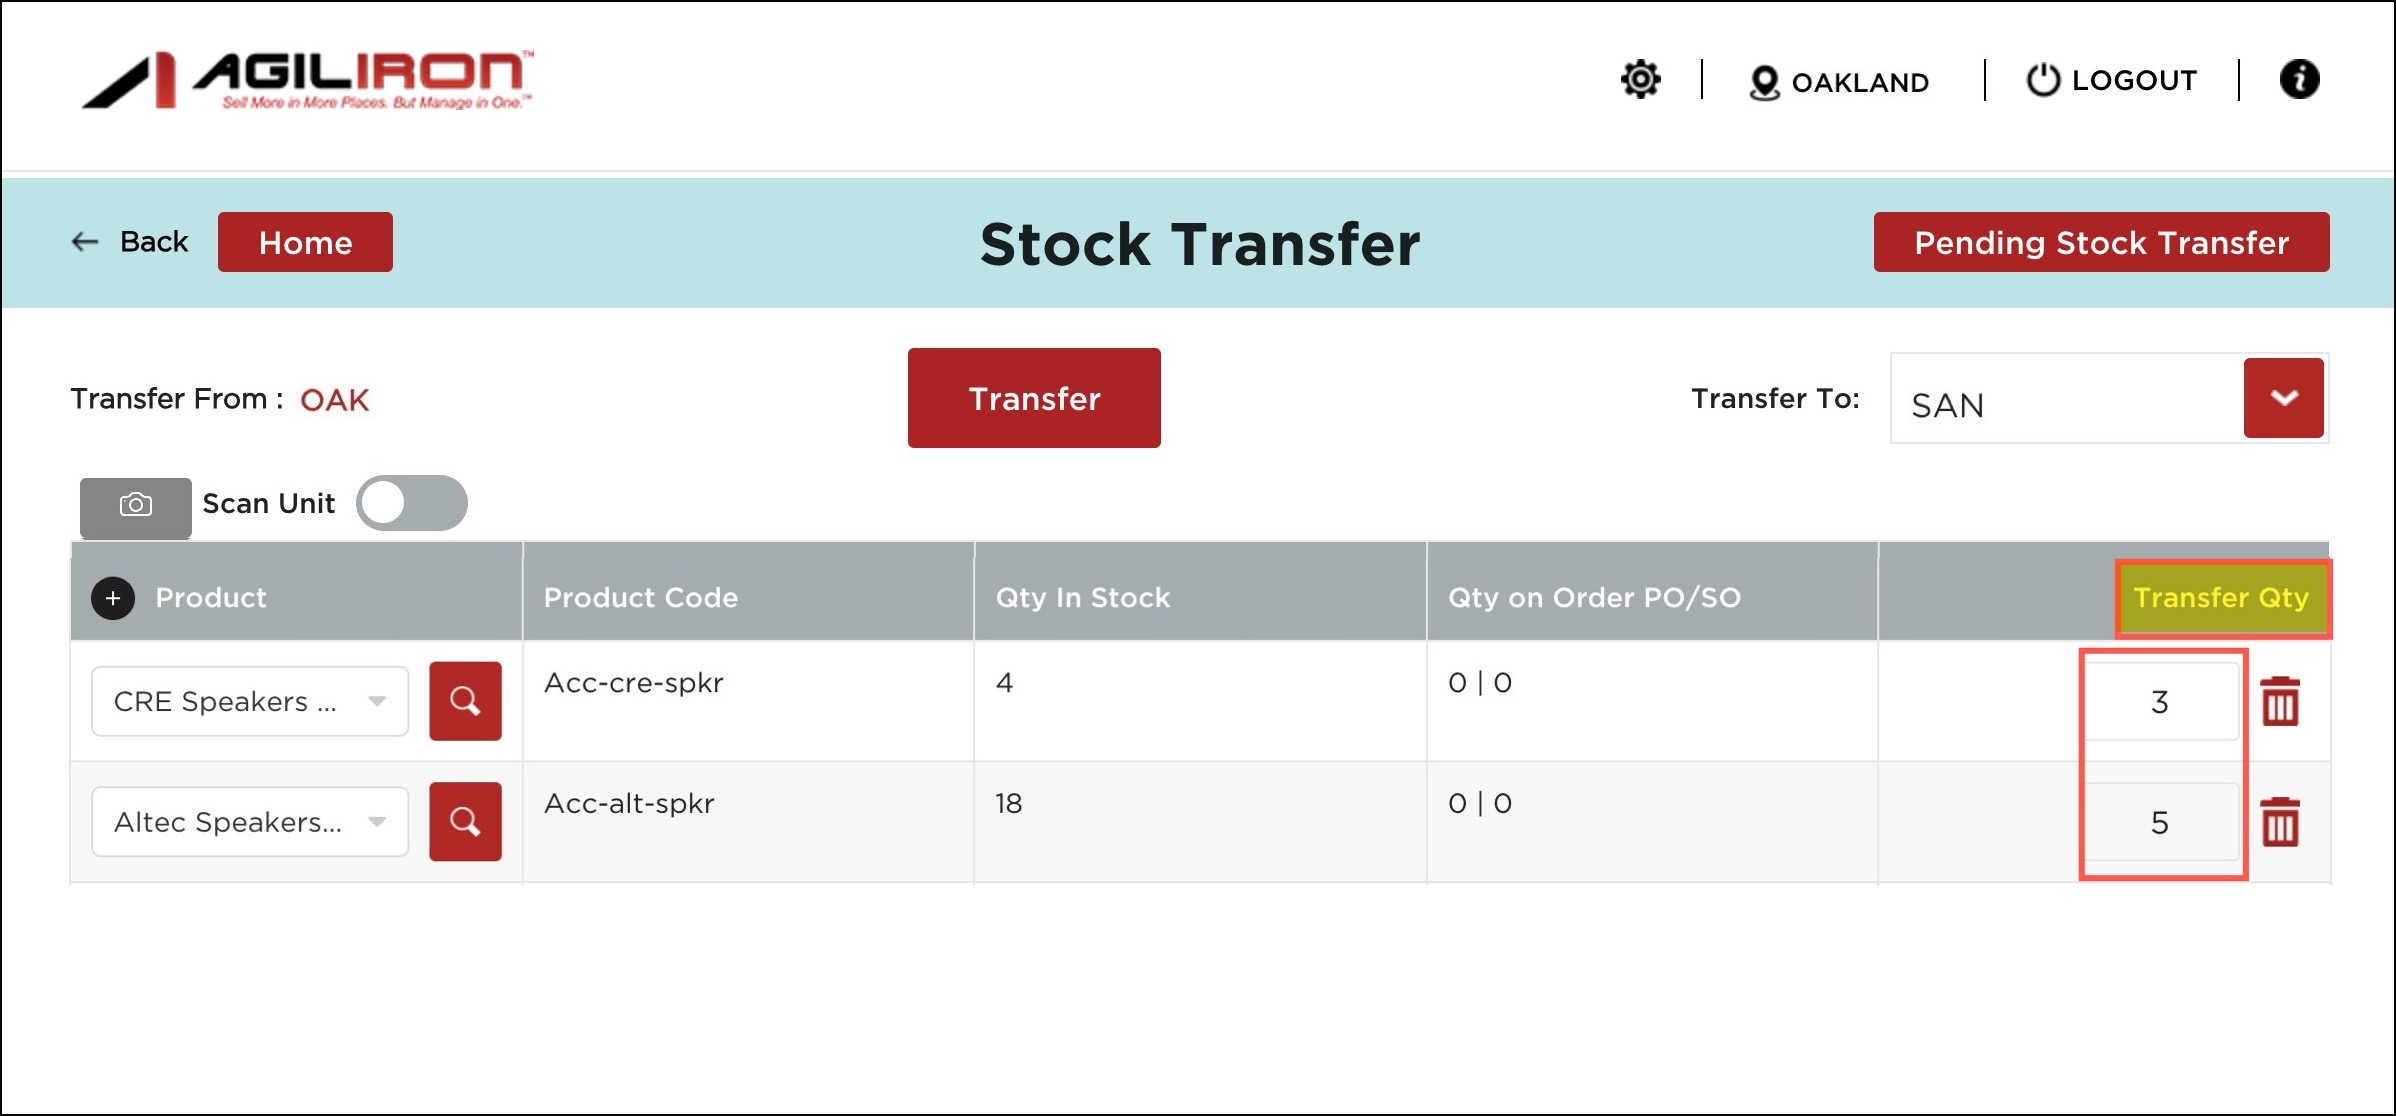
- While selecting the products, enter the Transfer Qty for each product.
Matrix Product
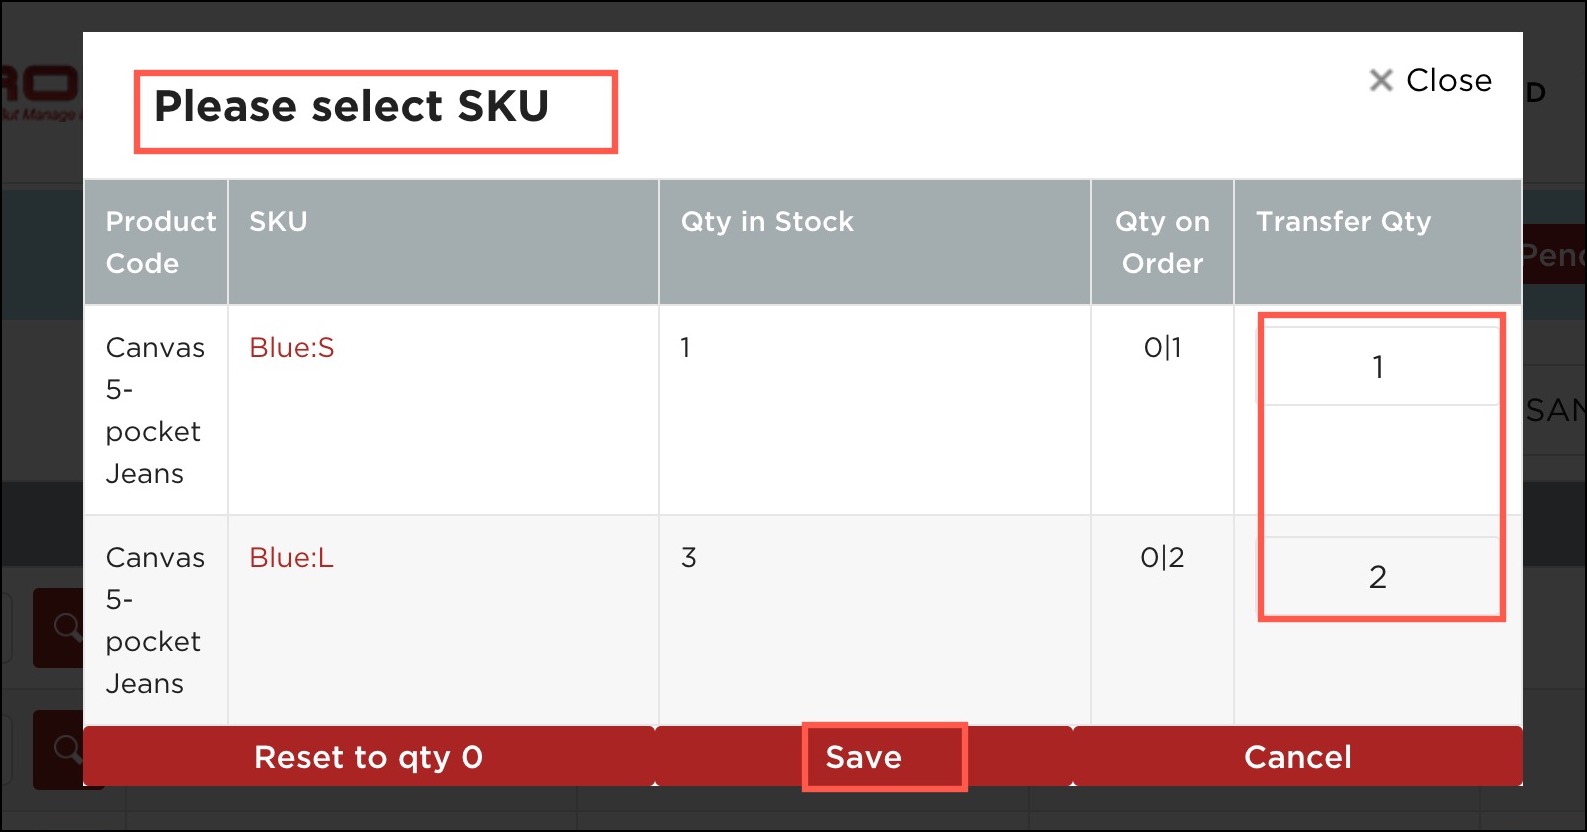
- In case of Matrix Product, you can see an additional Select SKU button under the Transfer Qty column, click on it.
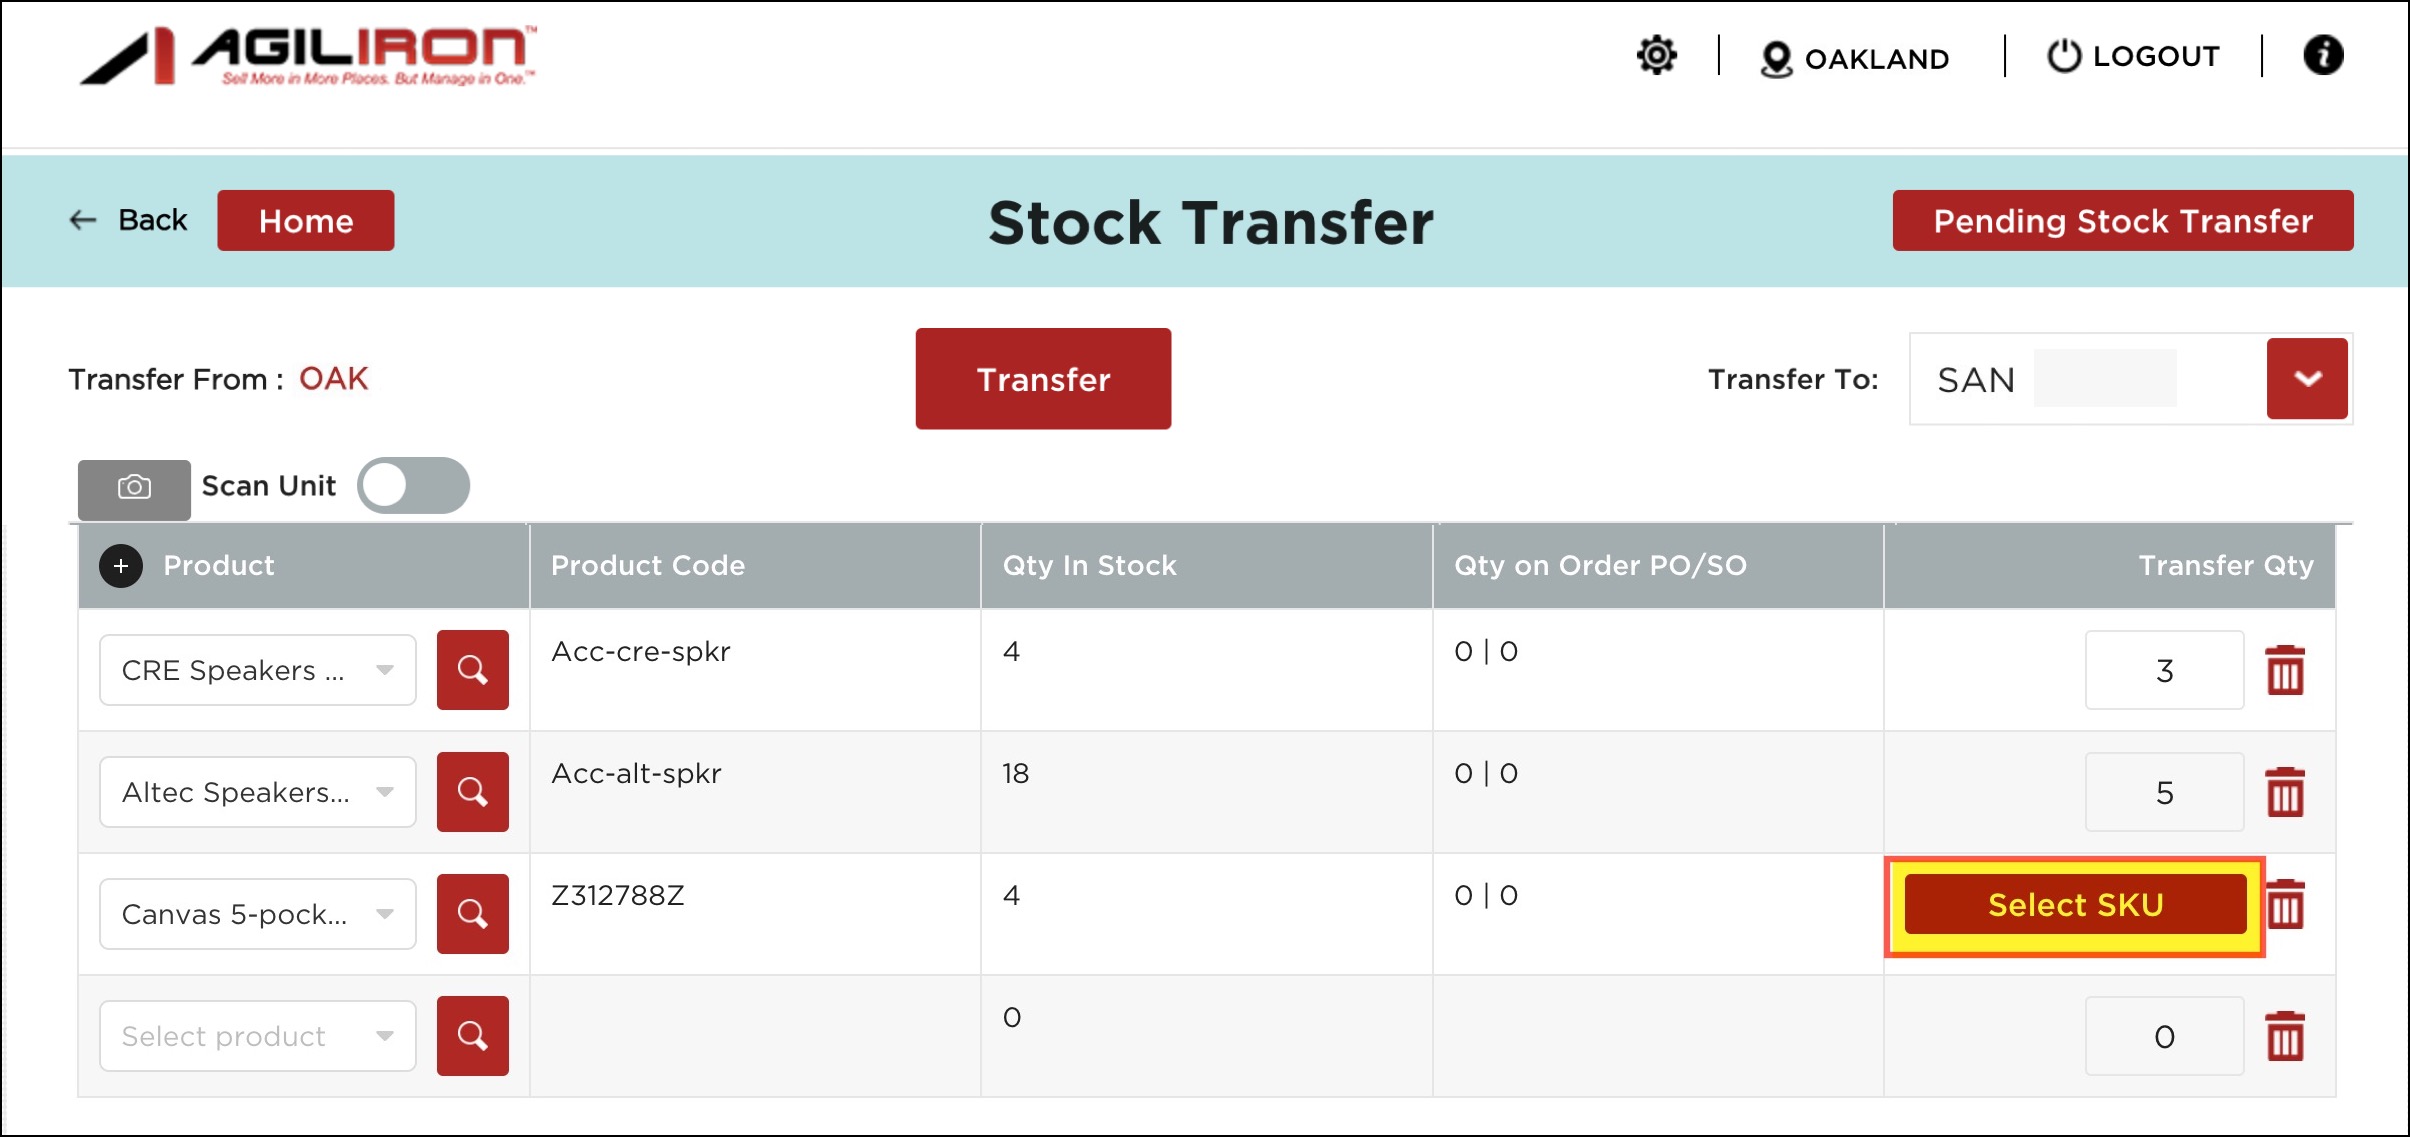
- Enter the Transfer Qty beside the Sku you want.
- Click on Save.
Kit Products
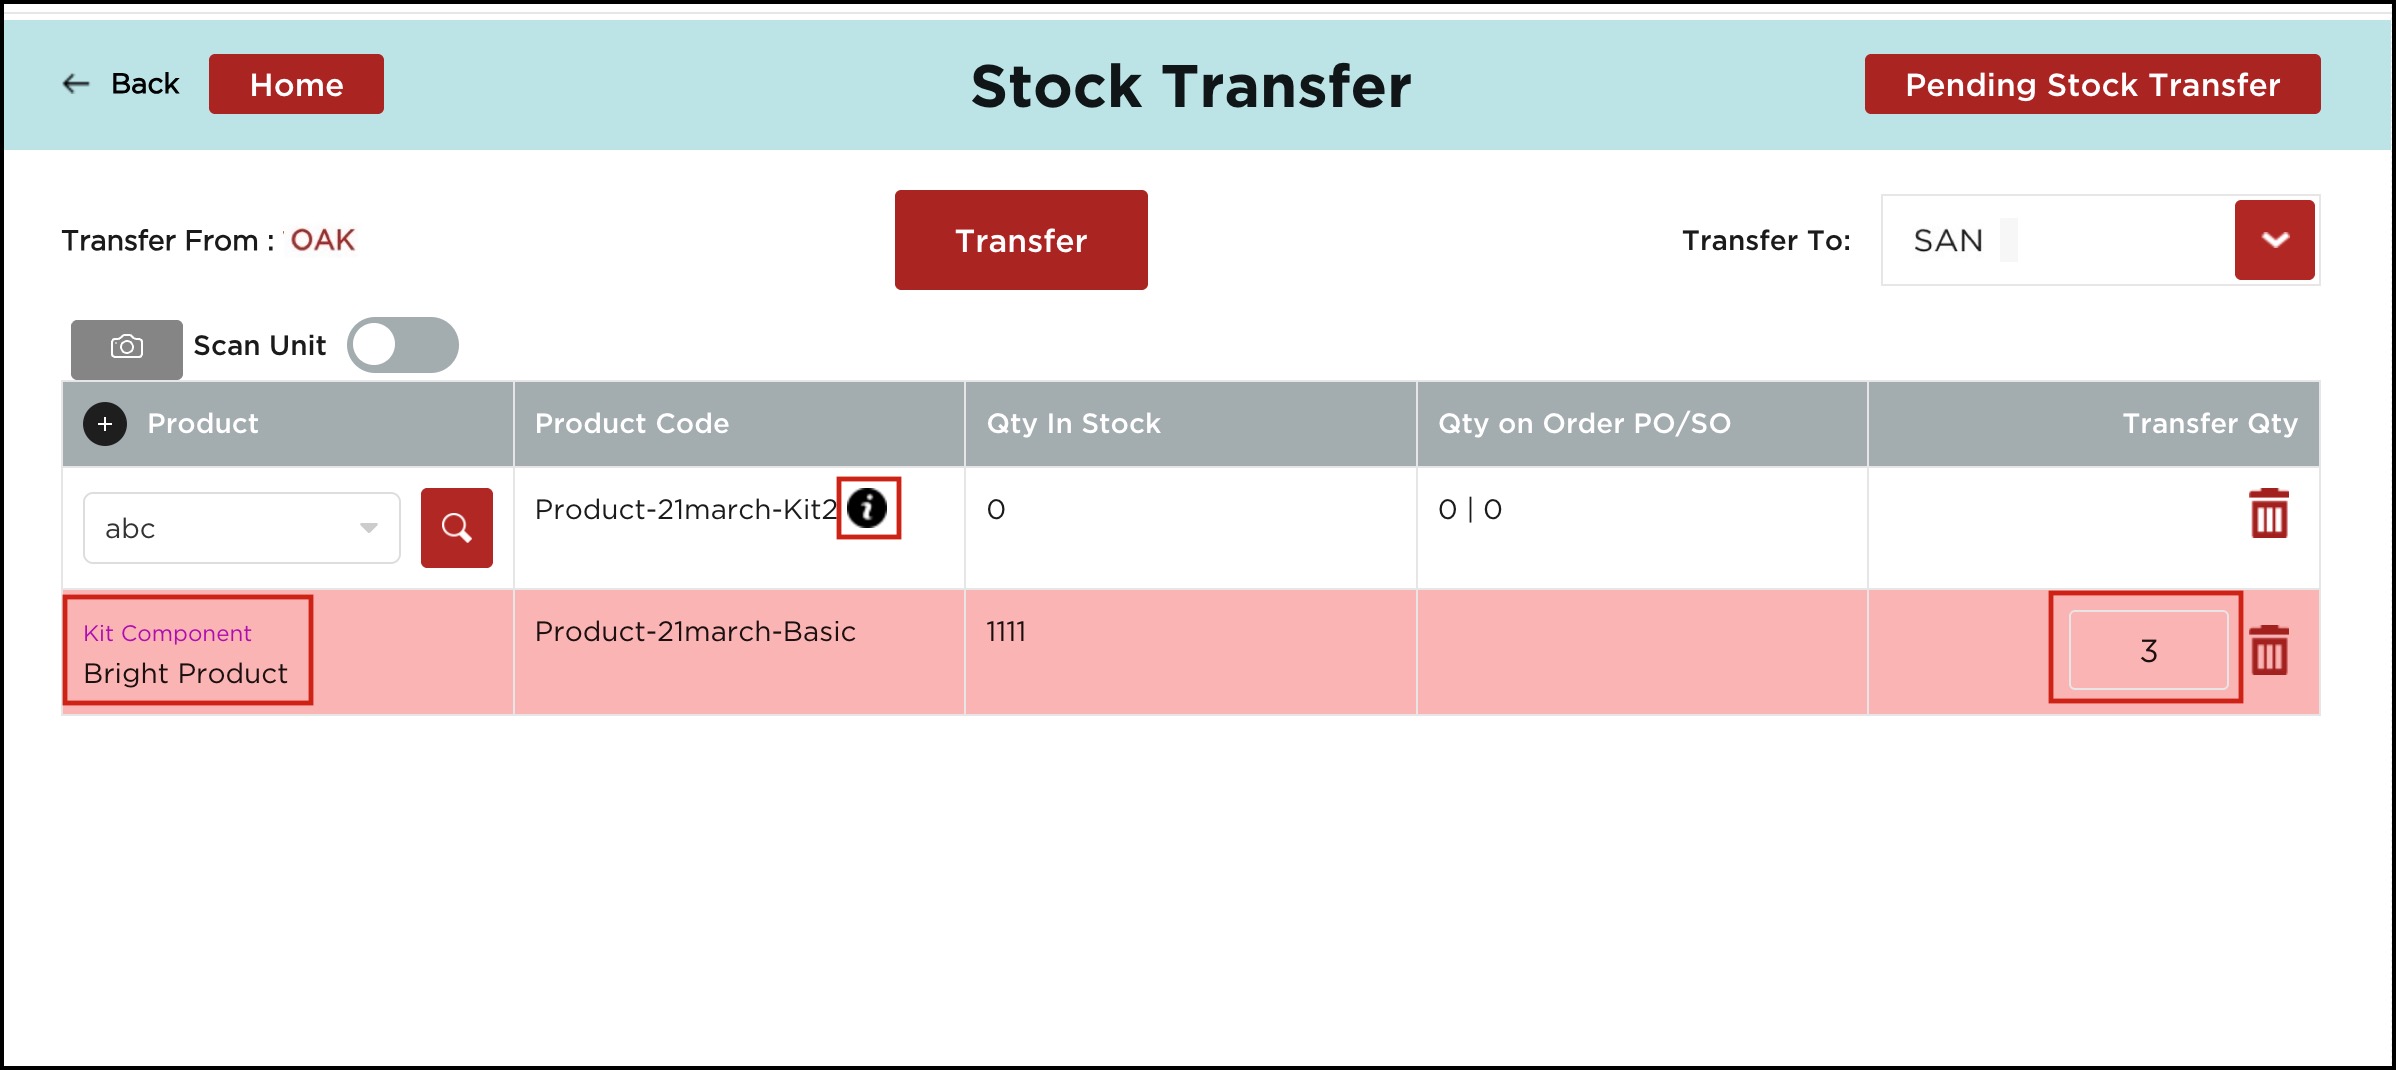
- For a Kit Product, an additional row is displayed, allowing you to enter the transfer quantity for the corresponding kit component.
- Also, next to the Product Code you will see an Info icon, clicking on it will display the Kit Component Details.

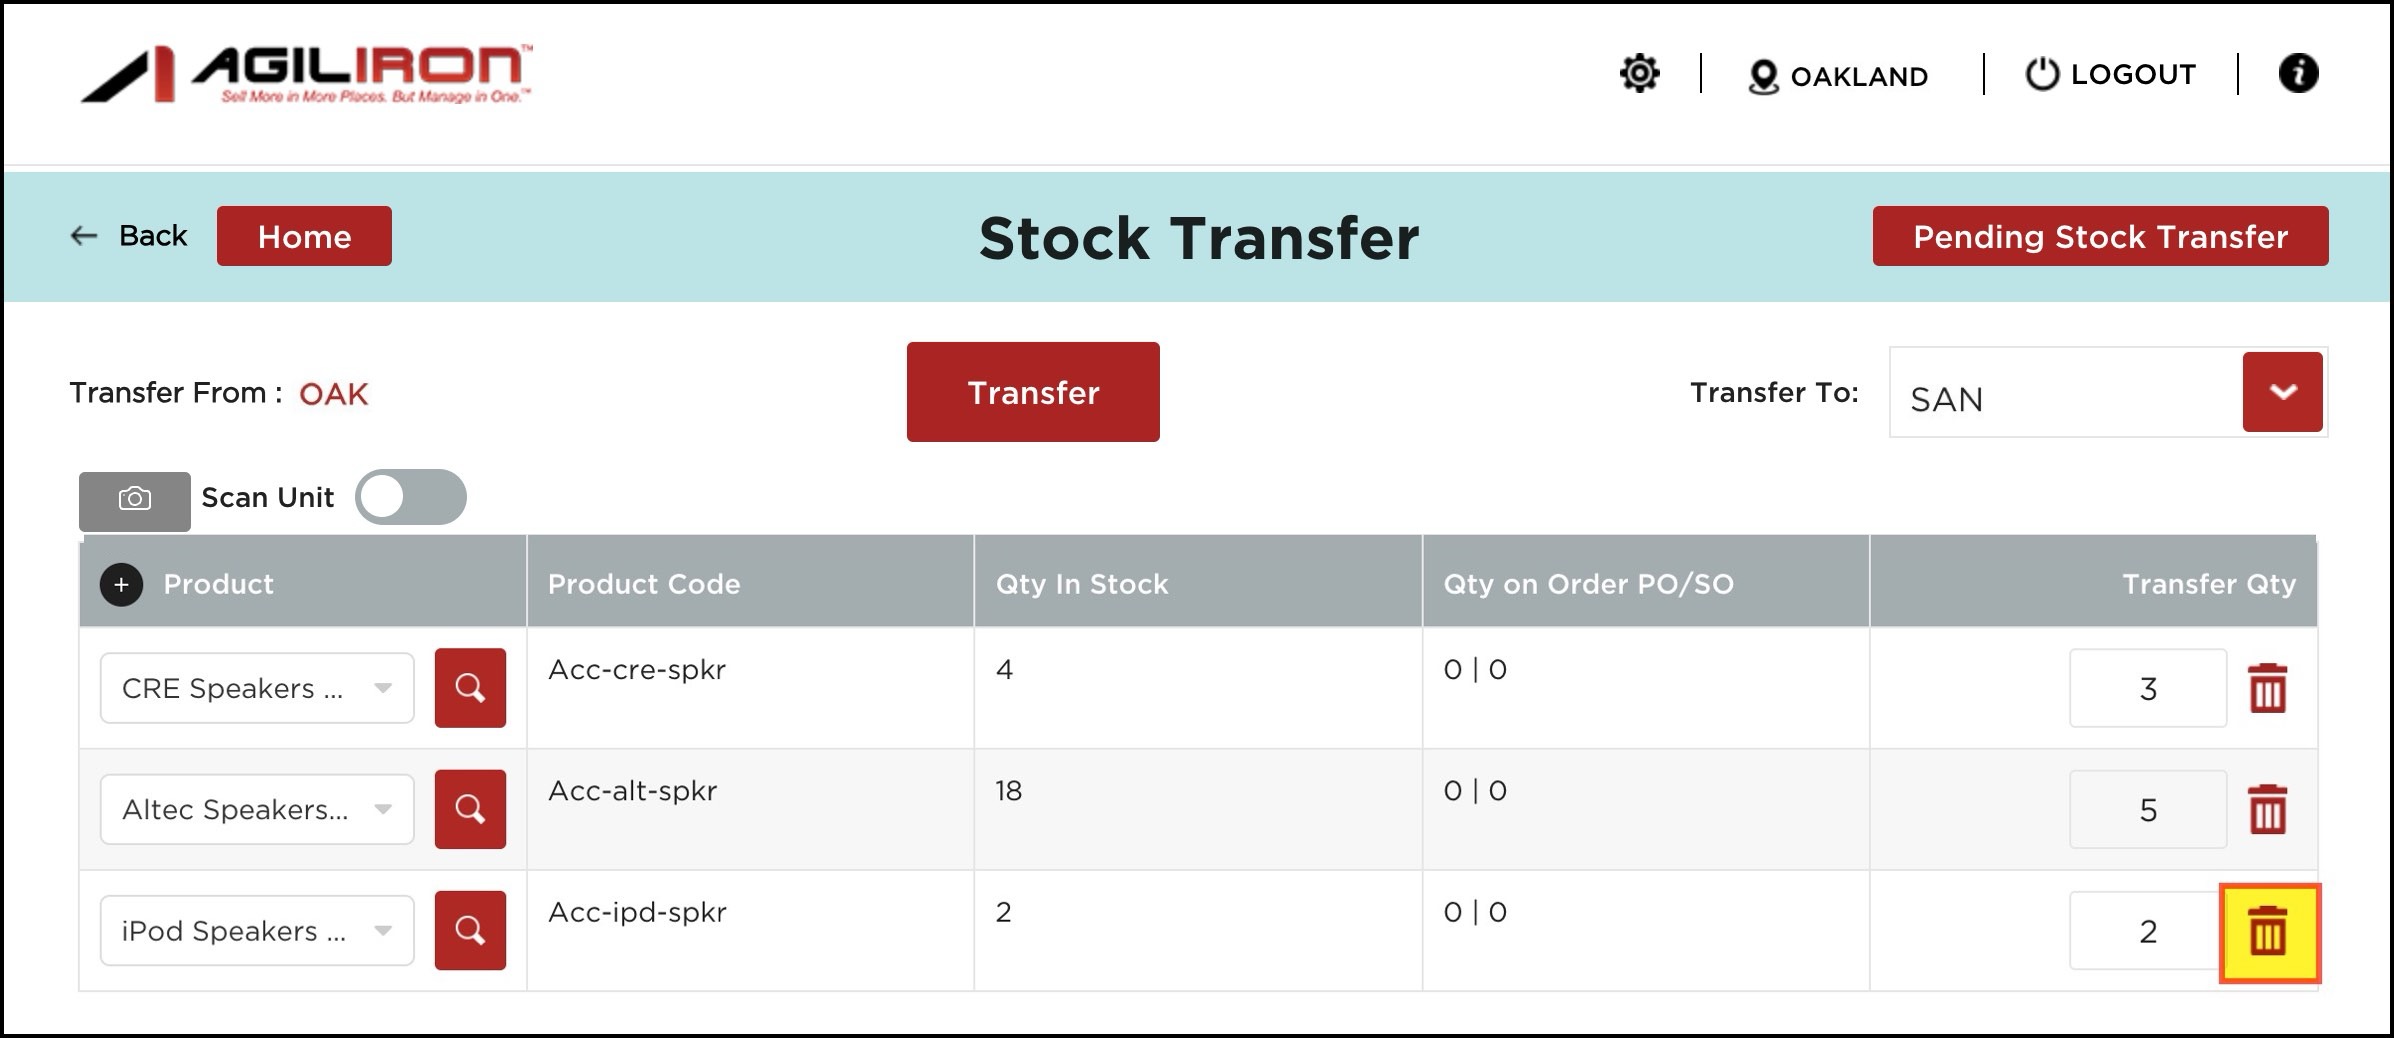
- If you want to remove any added products, simply click the Delete icon.
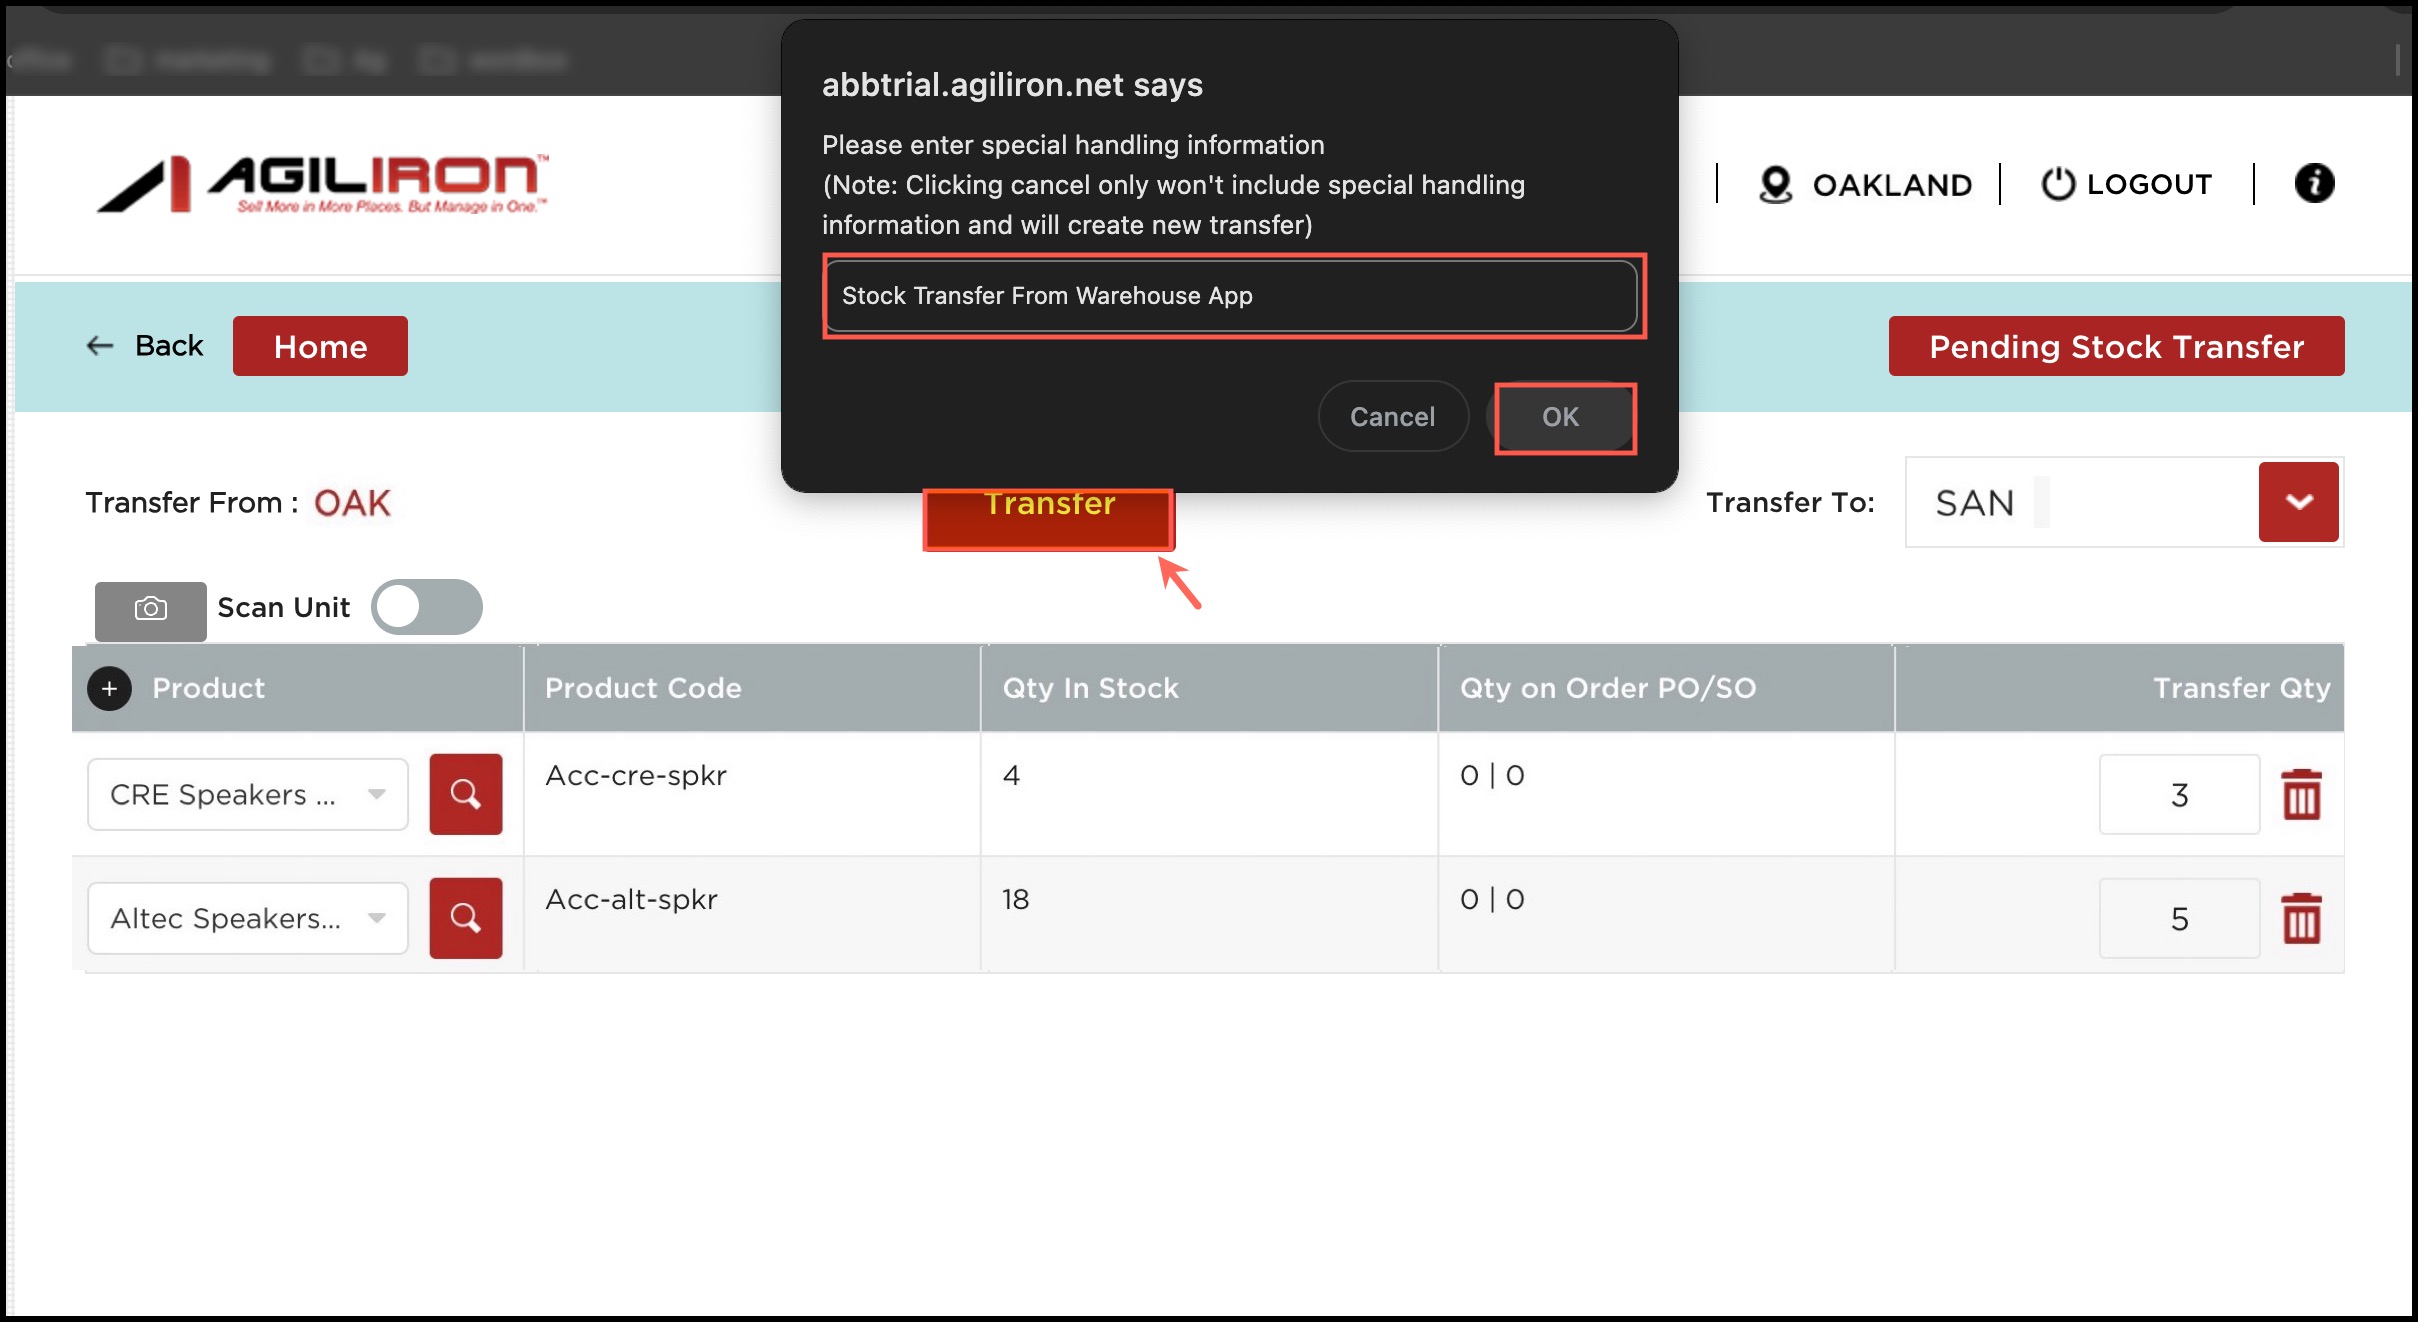
- After adding the products, click the Transfer button to complete the process. You'll see a message as shown below to enter Special Handling Information, (if any). You can click on Cancel if you do not want to add any Special Handling Information.

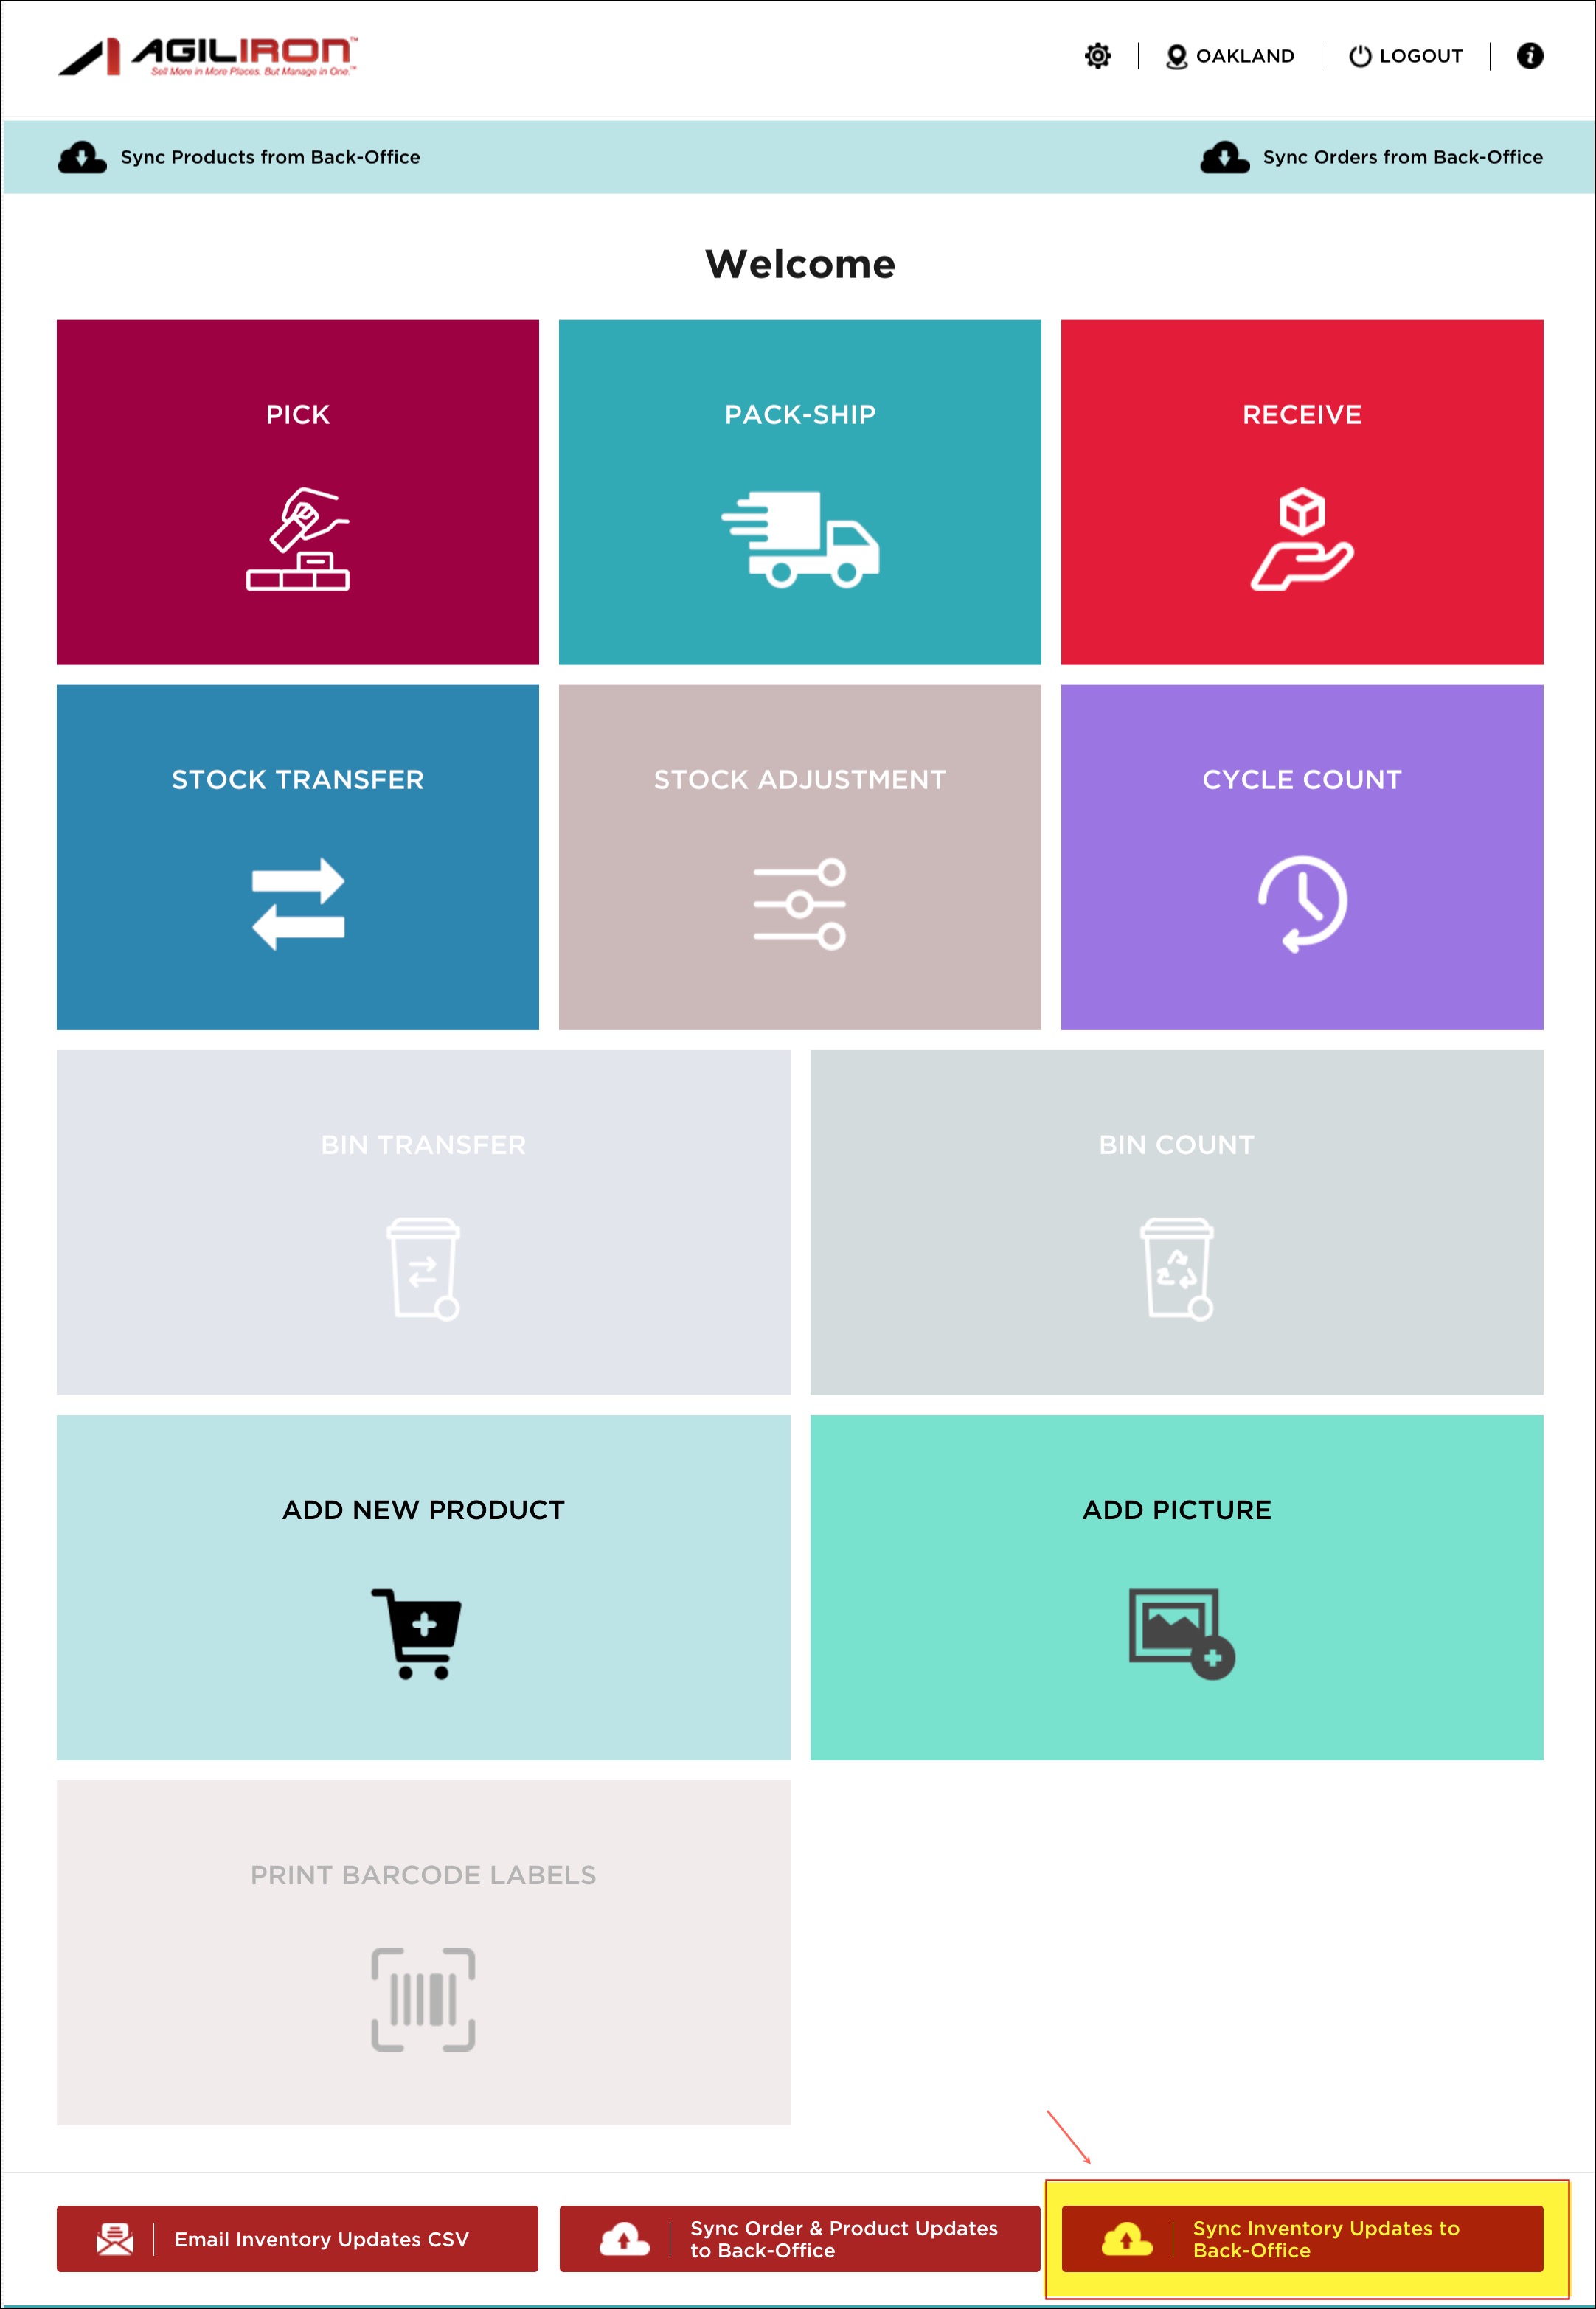
- Lastly, you need to click on the Sync Inventory Updates to Back-Office button on the home page, so that whatever updates you've made get reflected in the back office.
You'll see such message (as shown below) when the Stock Transfer Order is created successfully.

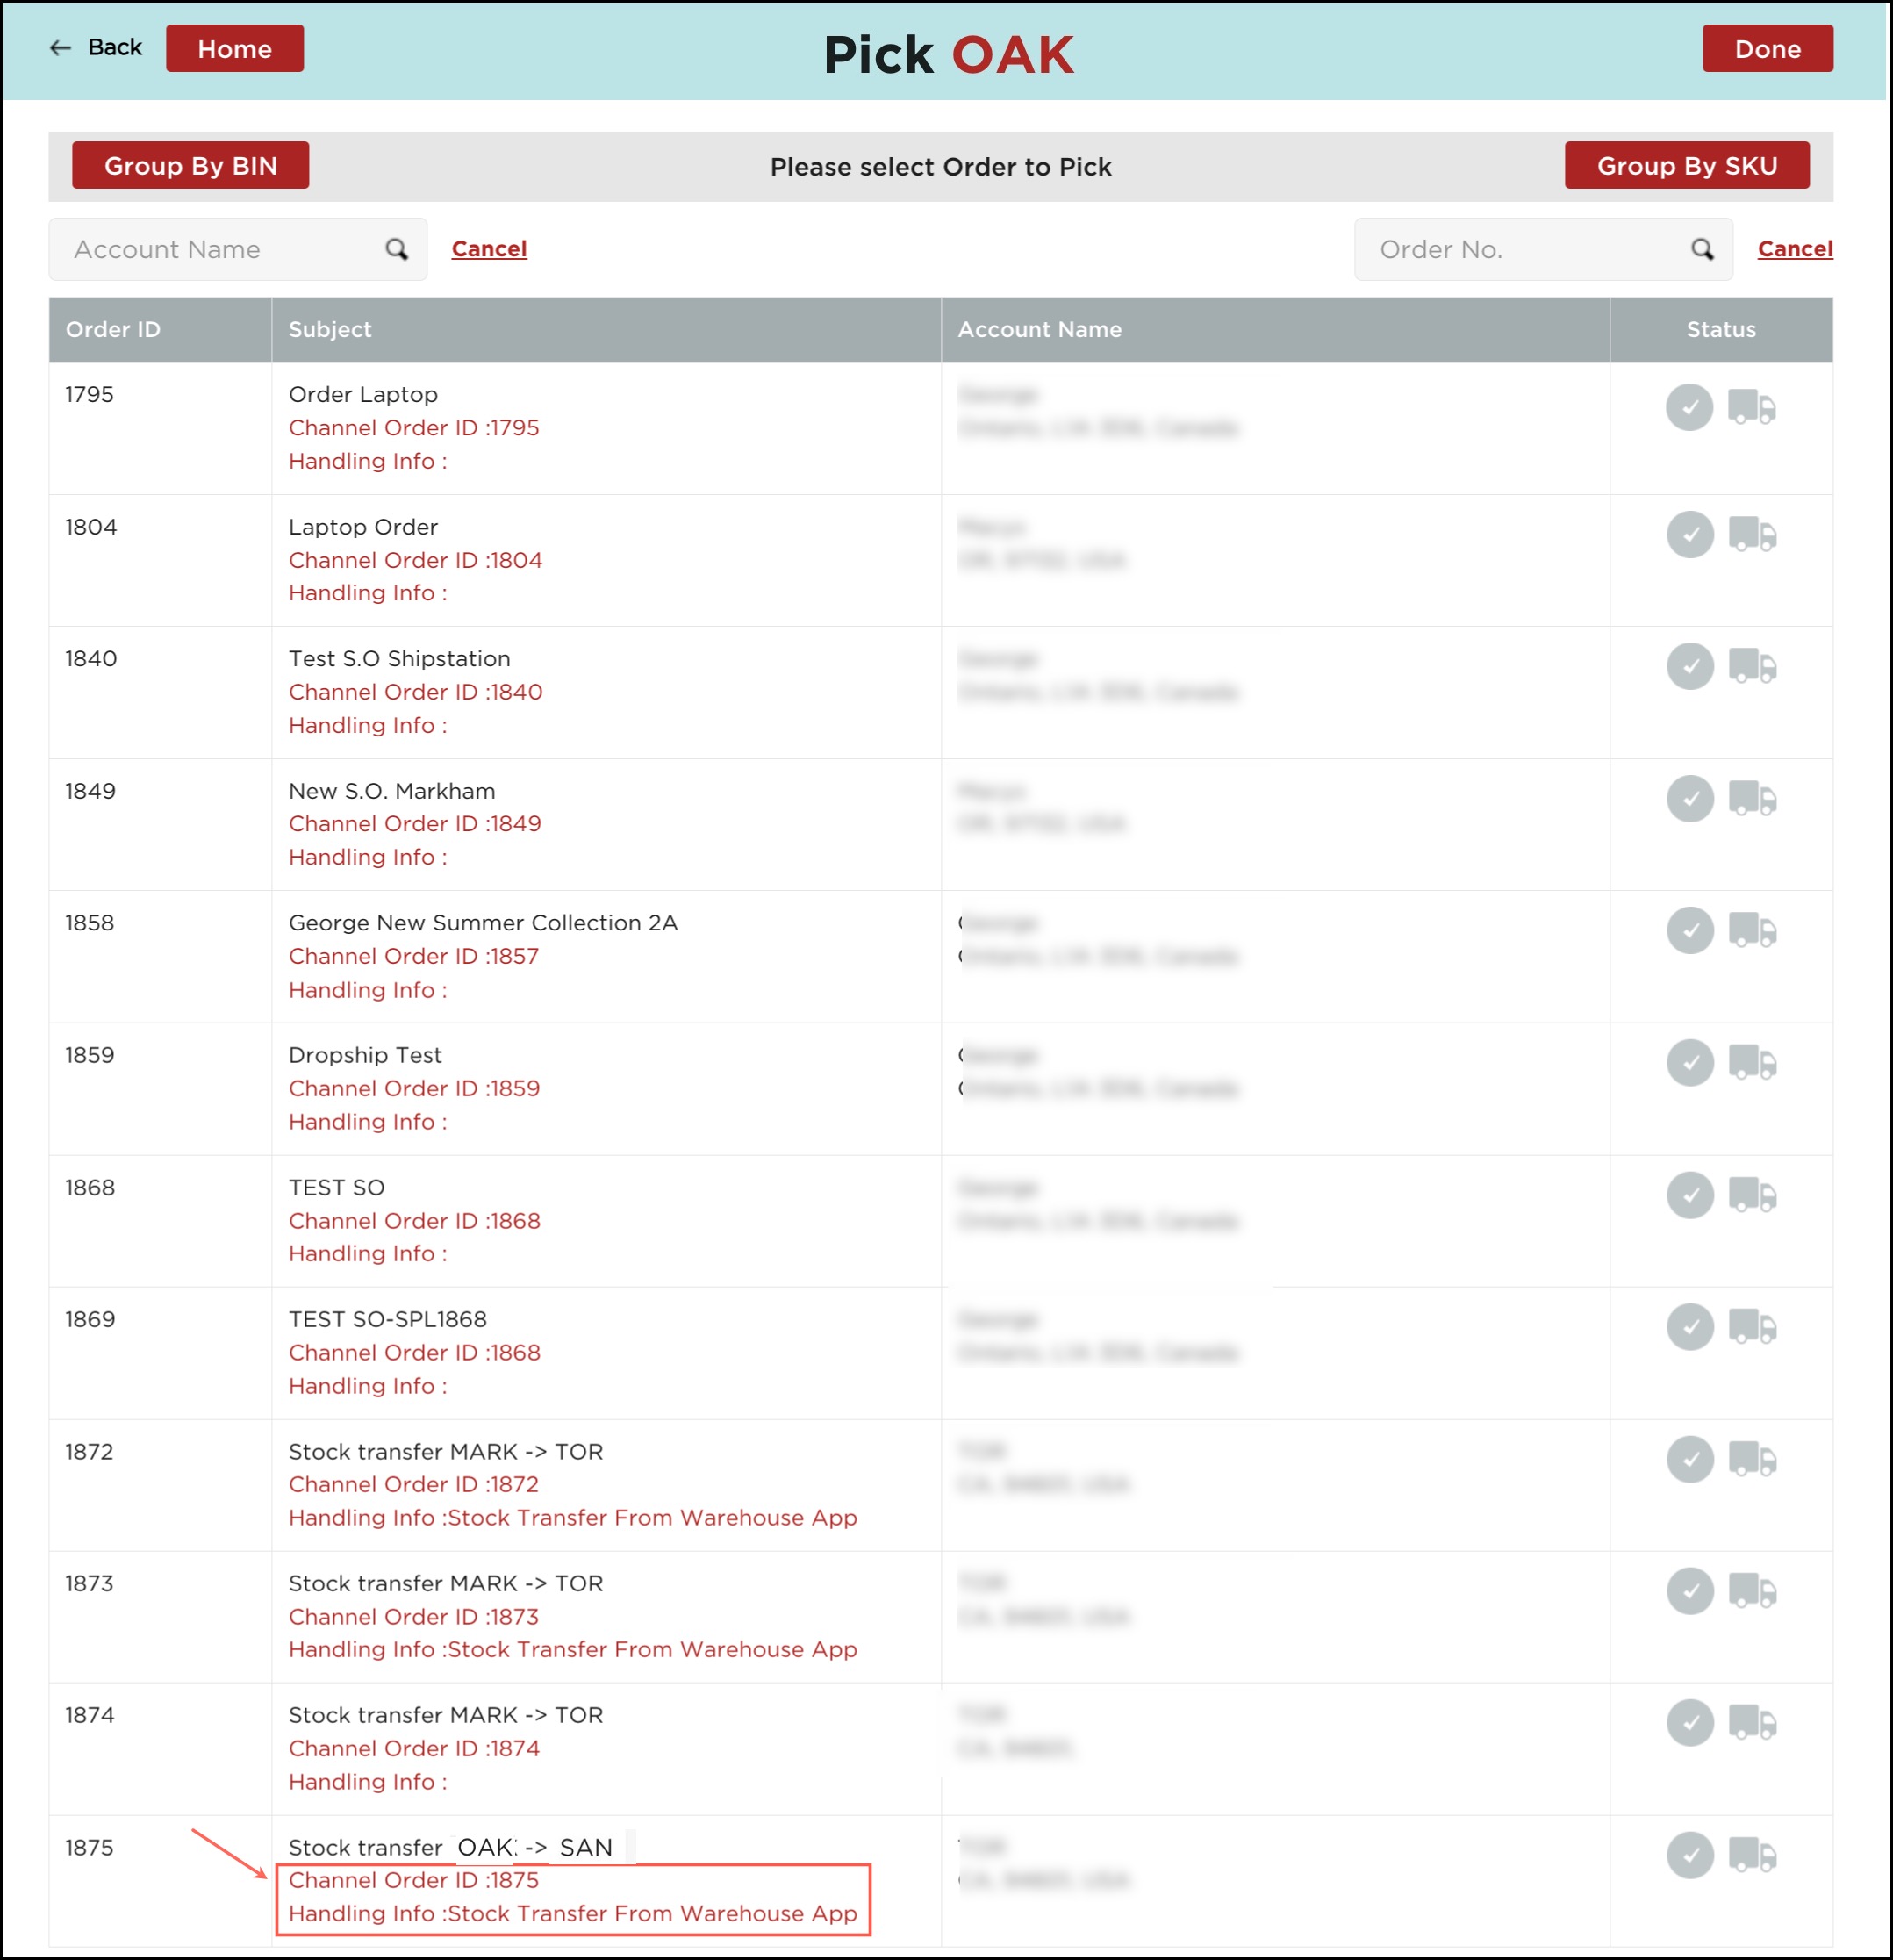
- Once you sync back the products and orders from the back office and go to the Pick workflow, you'll see the Stock Transfer entry added, along with the Special Handling Info (if added).
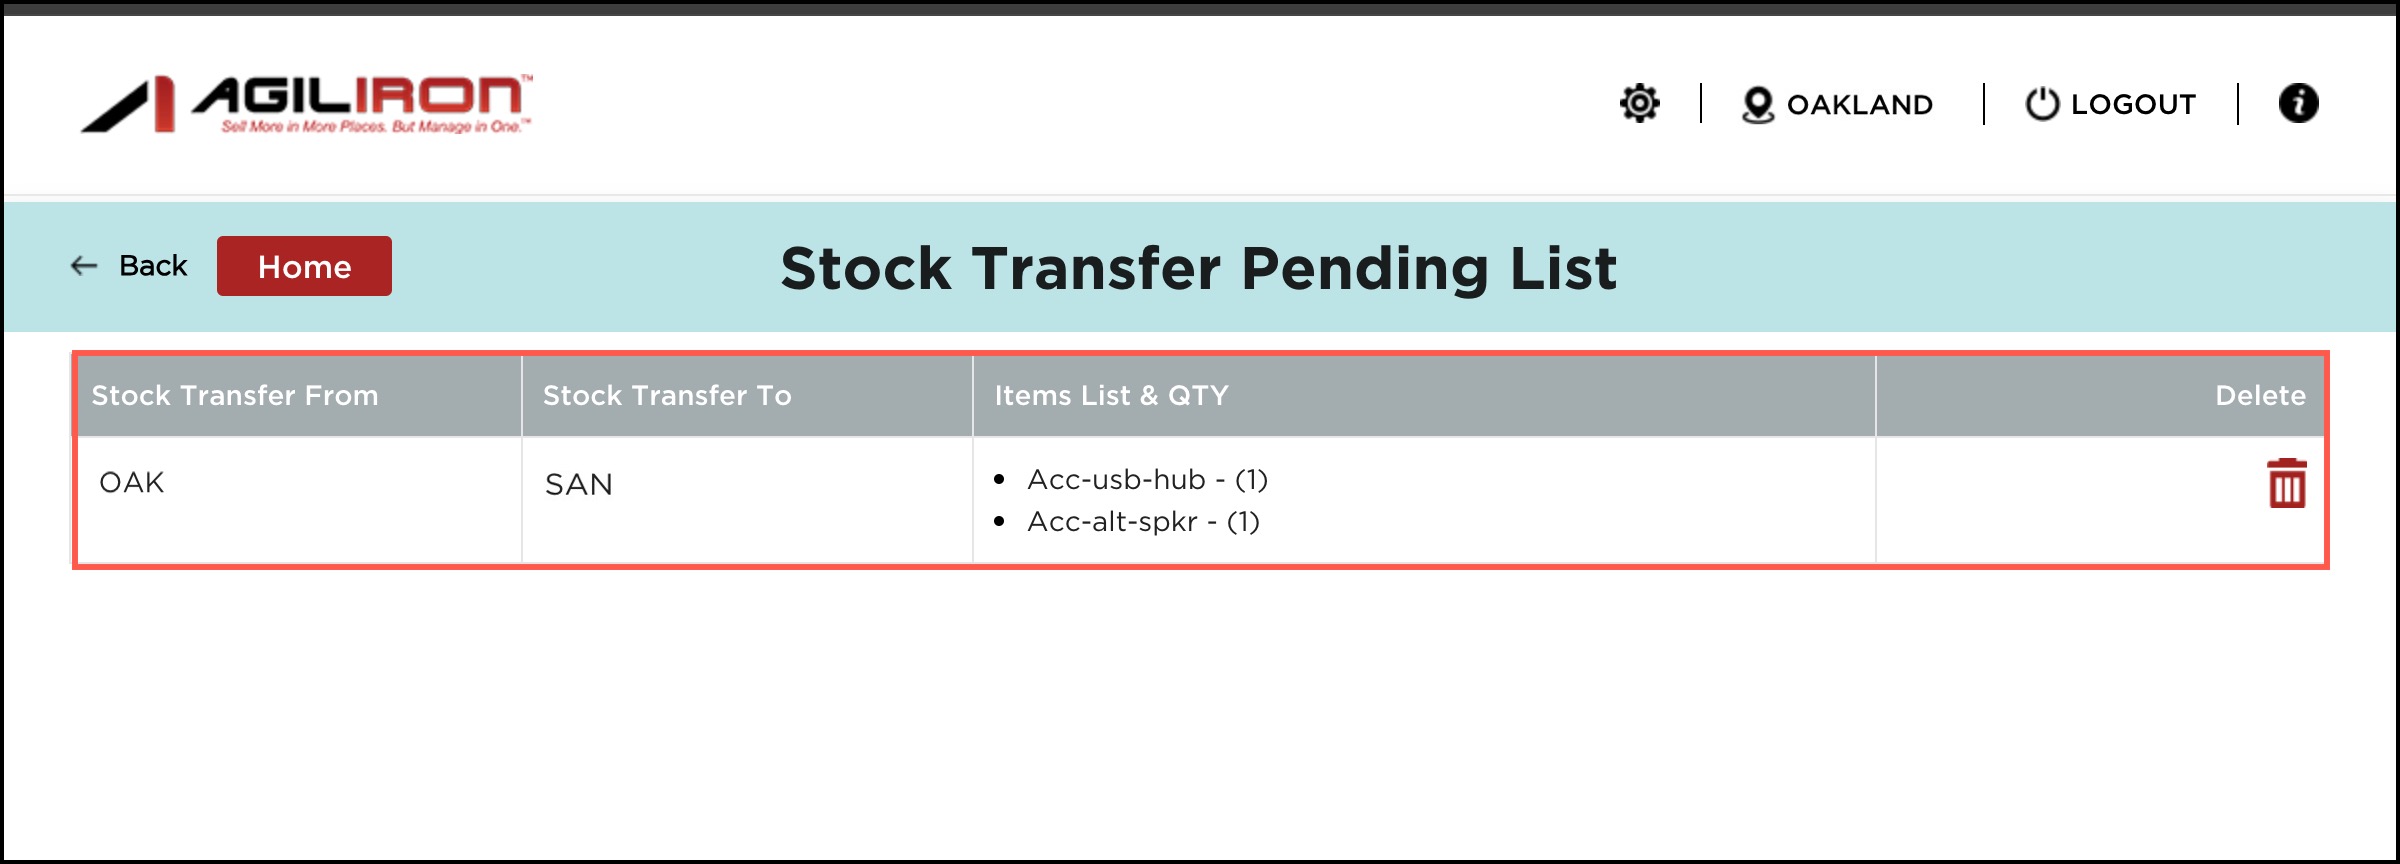
Note - The stock transfers not synced to the back office can be seen when you click the Pending Stock Transfer button.
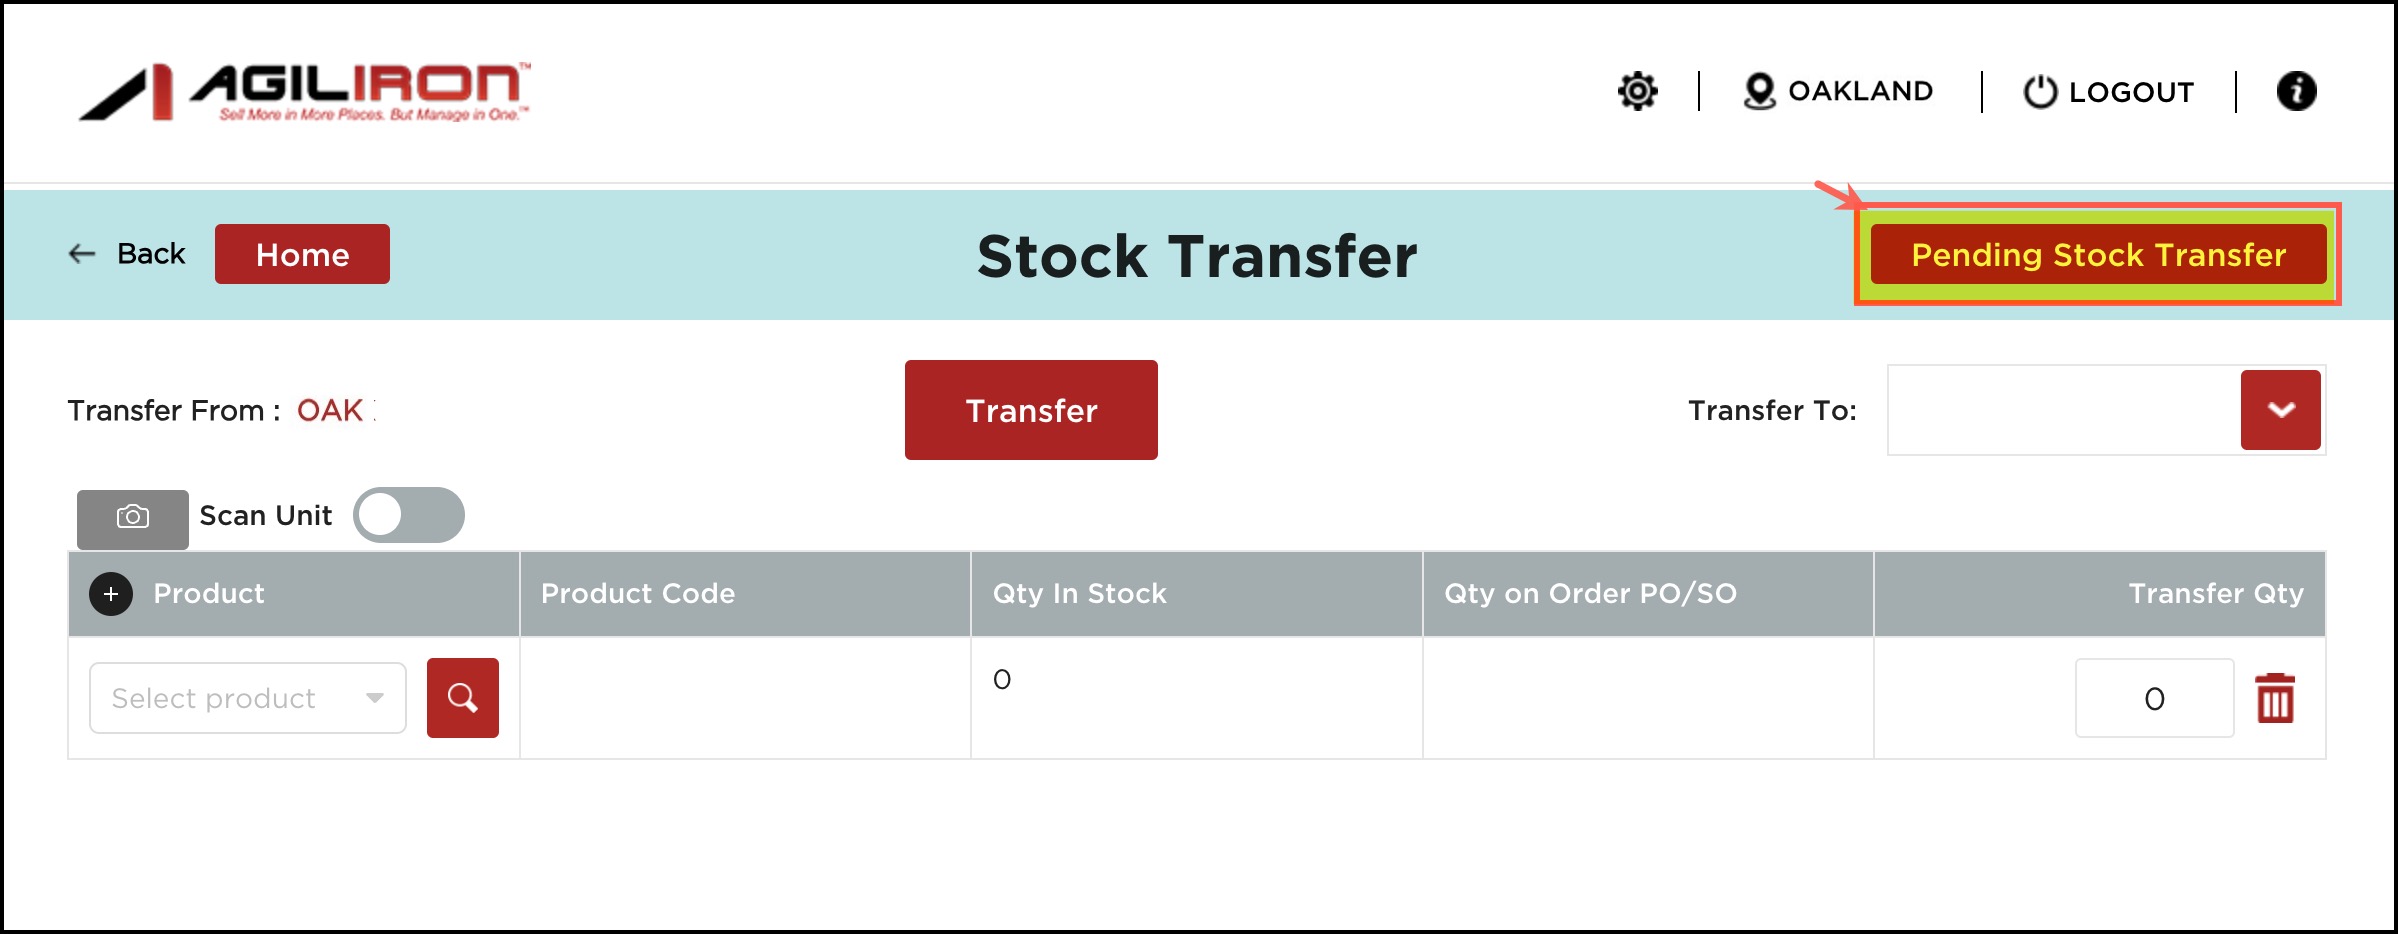
Only when the stock transfer is synced or the pending list is deleted, you'll be able to perform the next Stock Transfer.
Updated 2 months ago
