Editing the Channel and Completing Channel Setup
To edit the Order Desk channel and complete the channel setup:
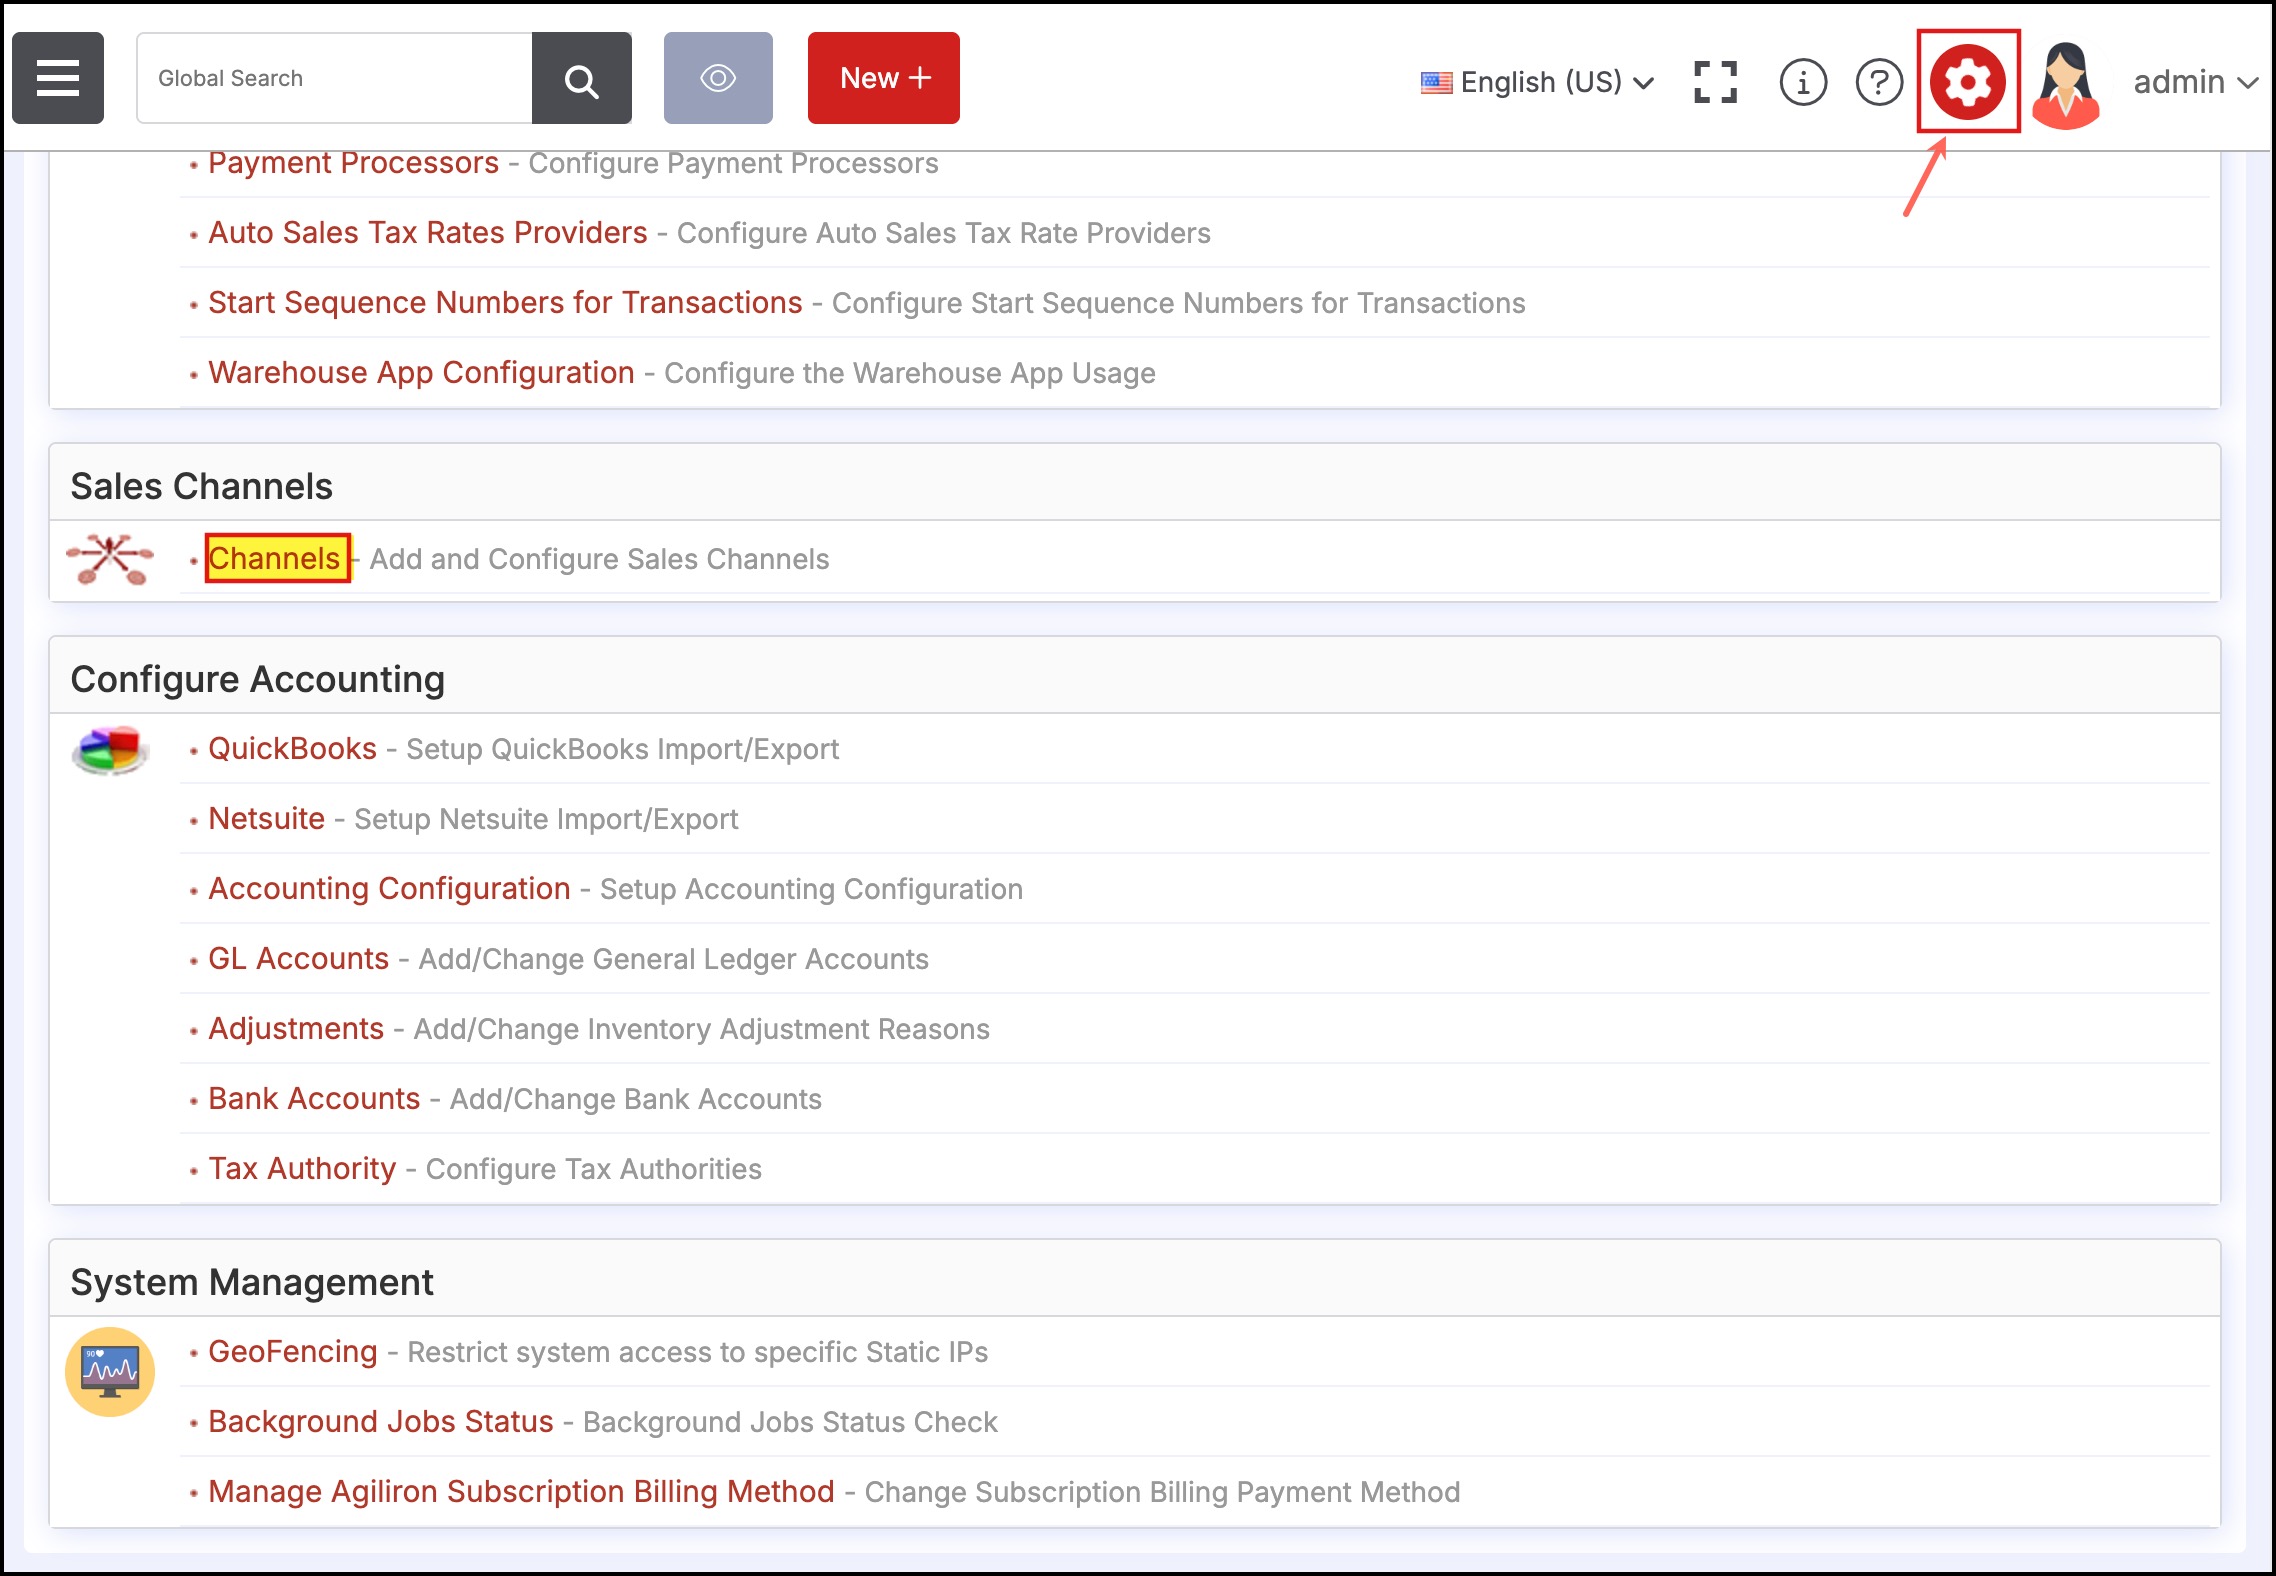
- Go to Settings -> Channels.
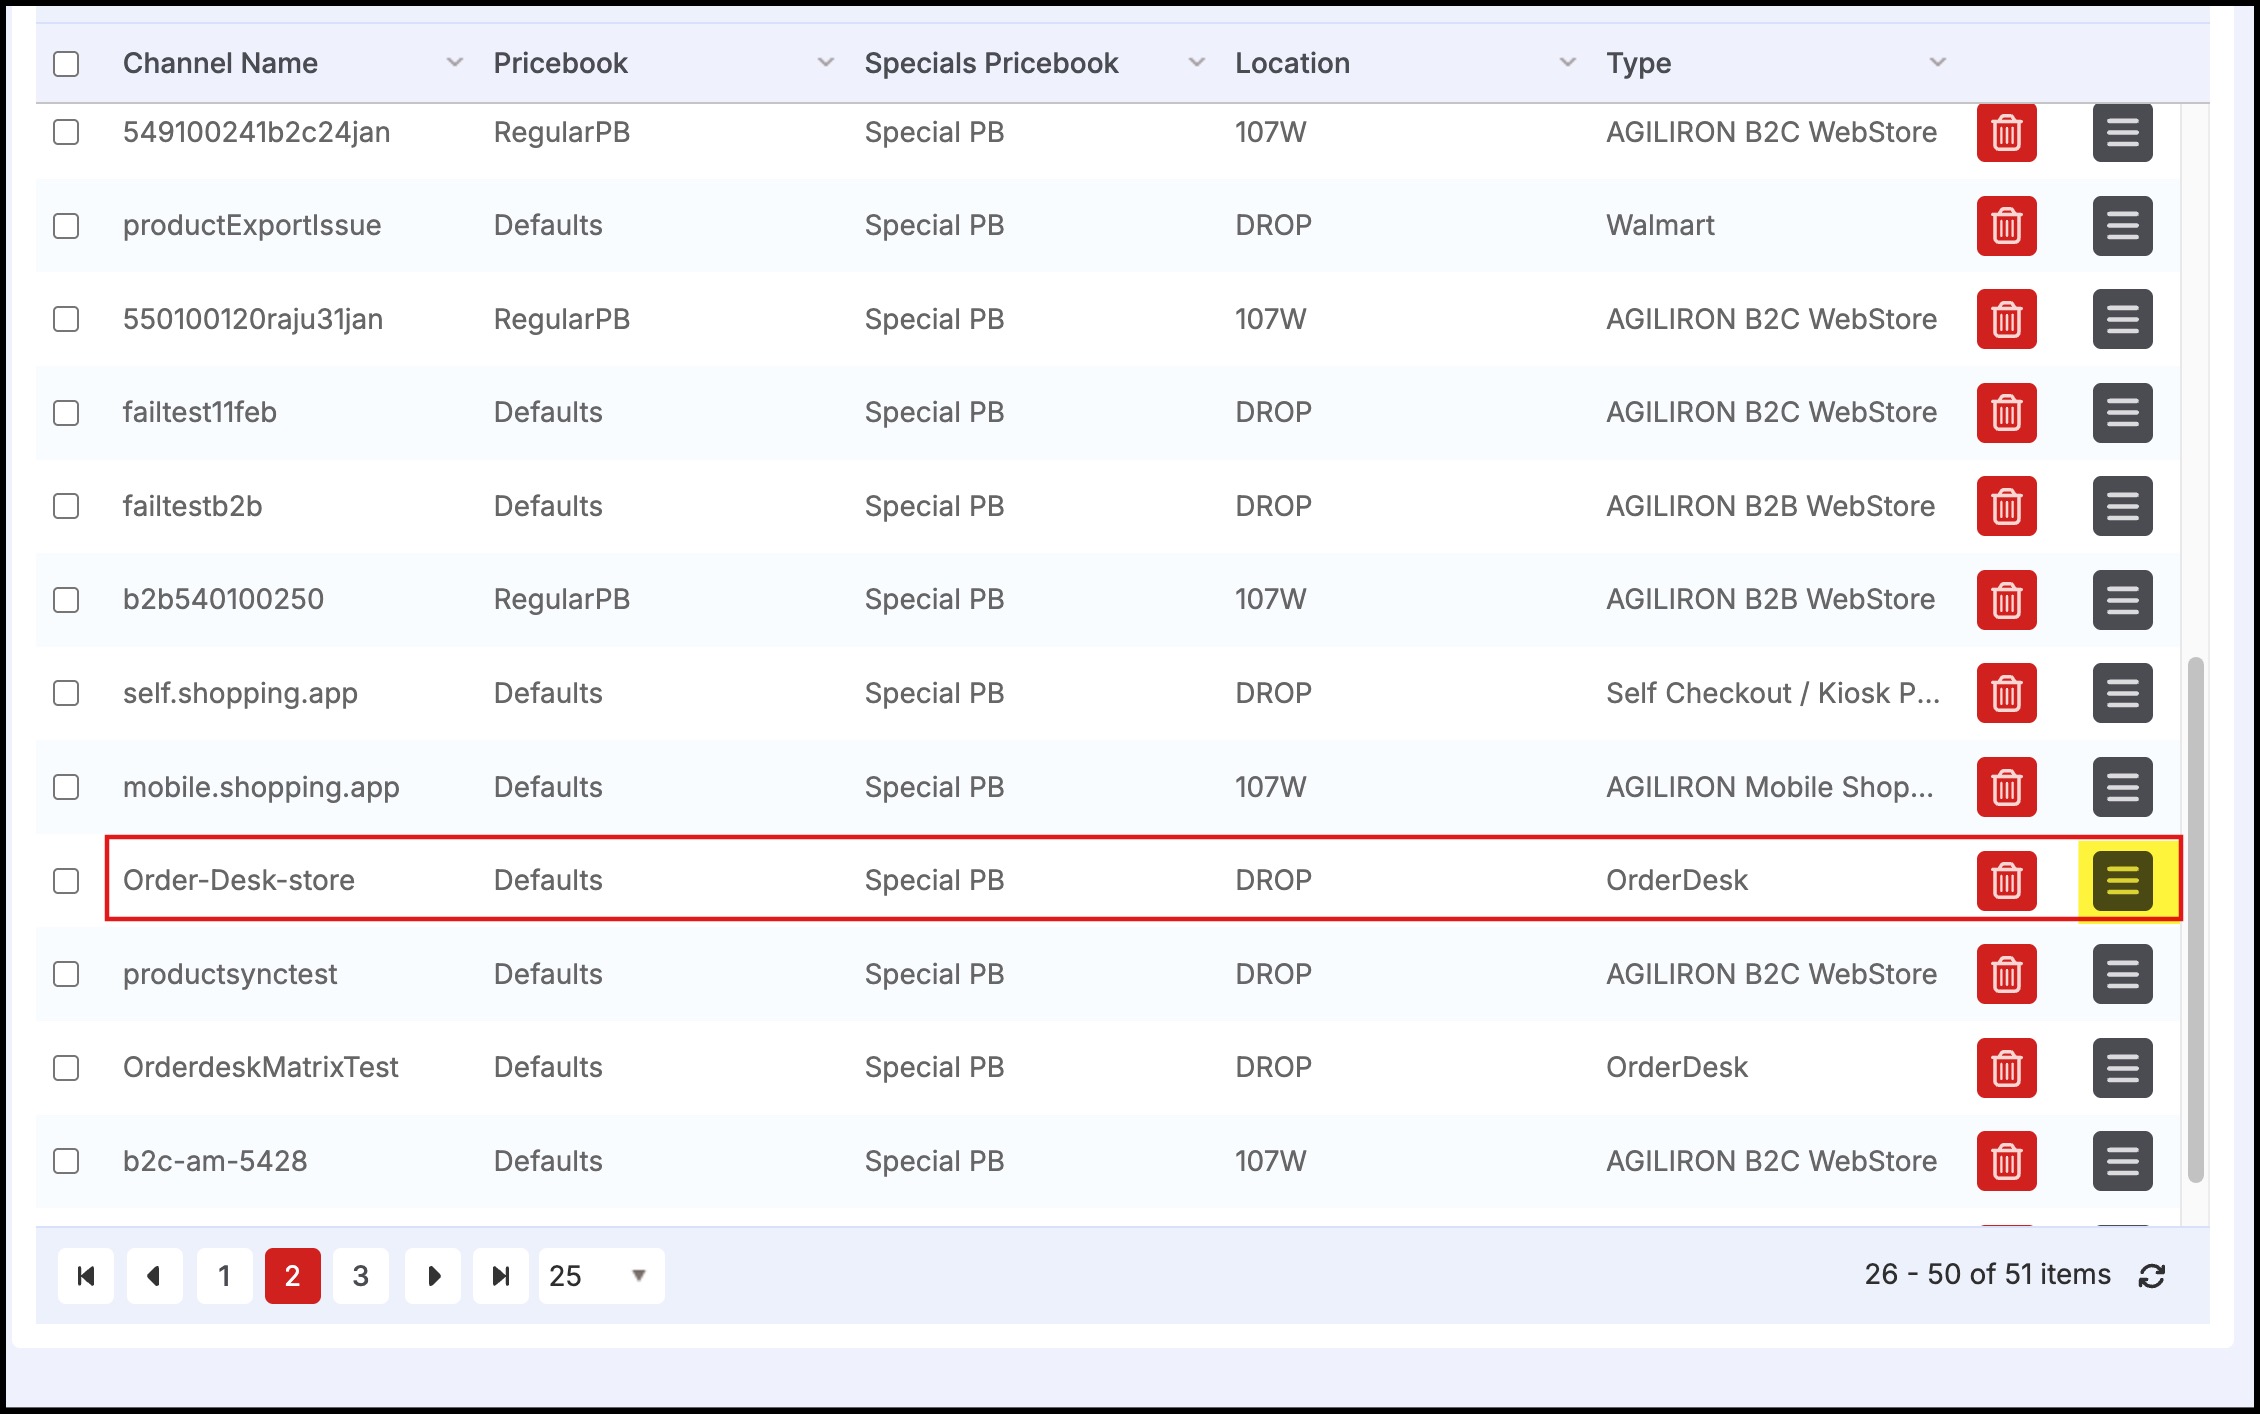
- Click on the Edit icon for the Order Desk that you created.
To let Agiliron sync orders from Order Desk, the following setup needs to be done. This way Agiliron can automatically sync your newly created/updated orders on the store.
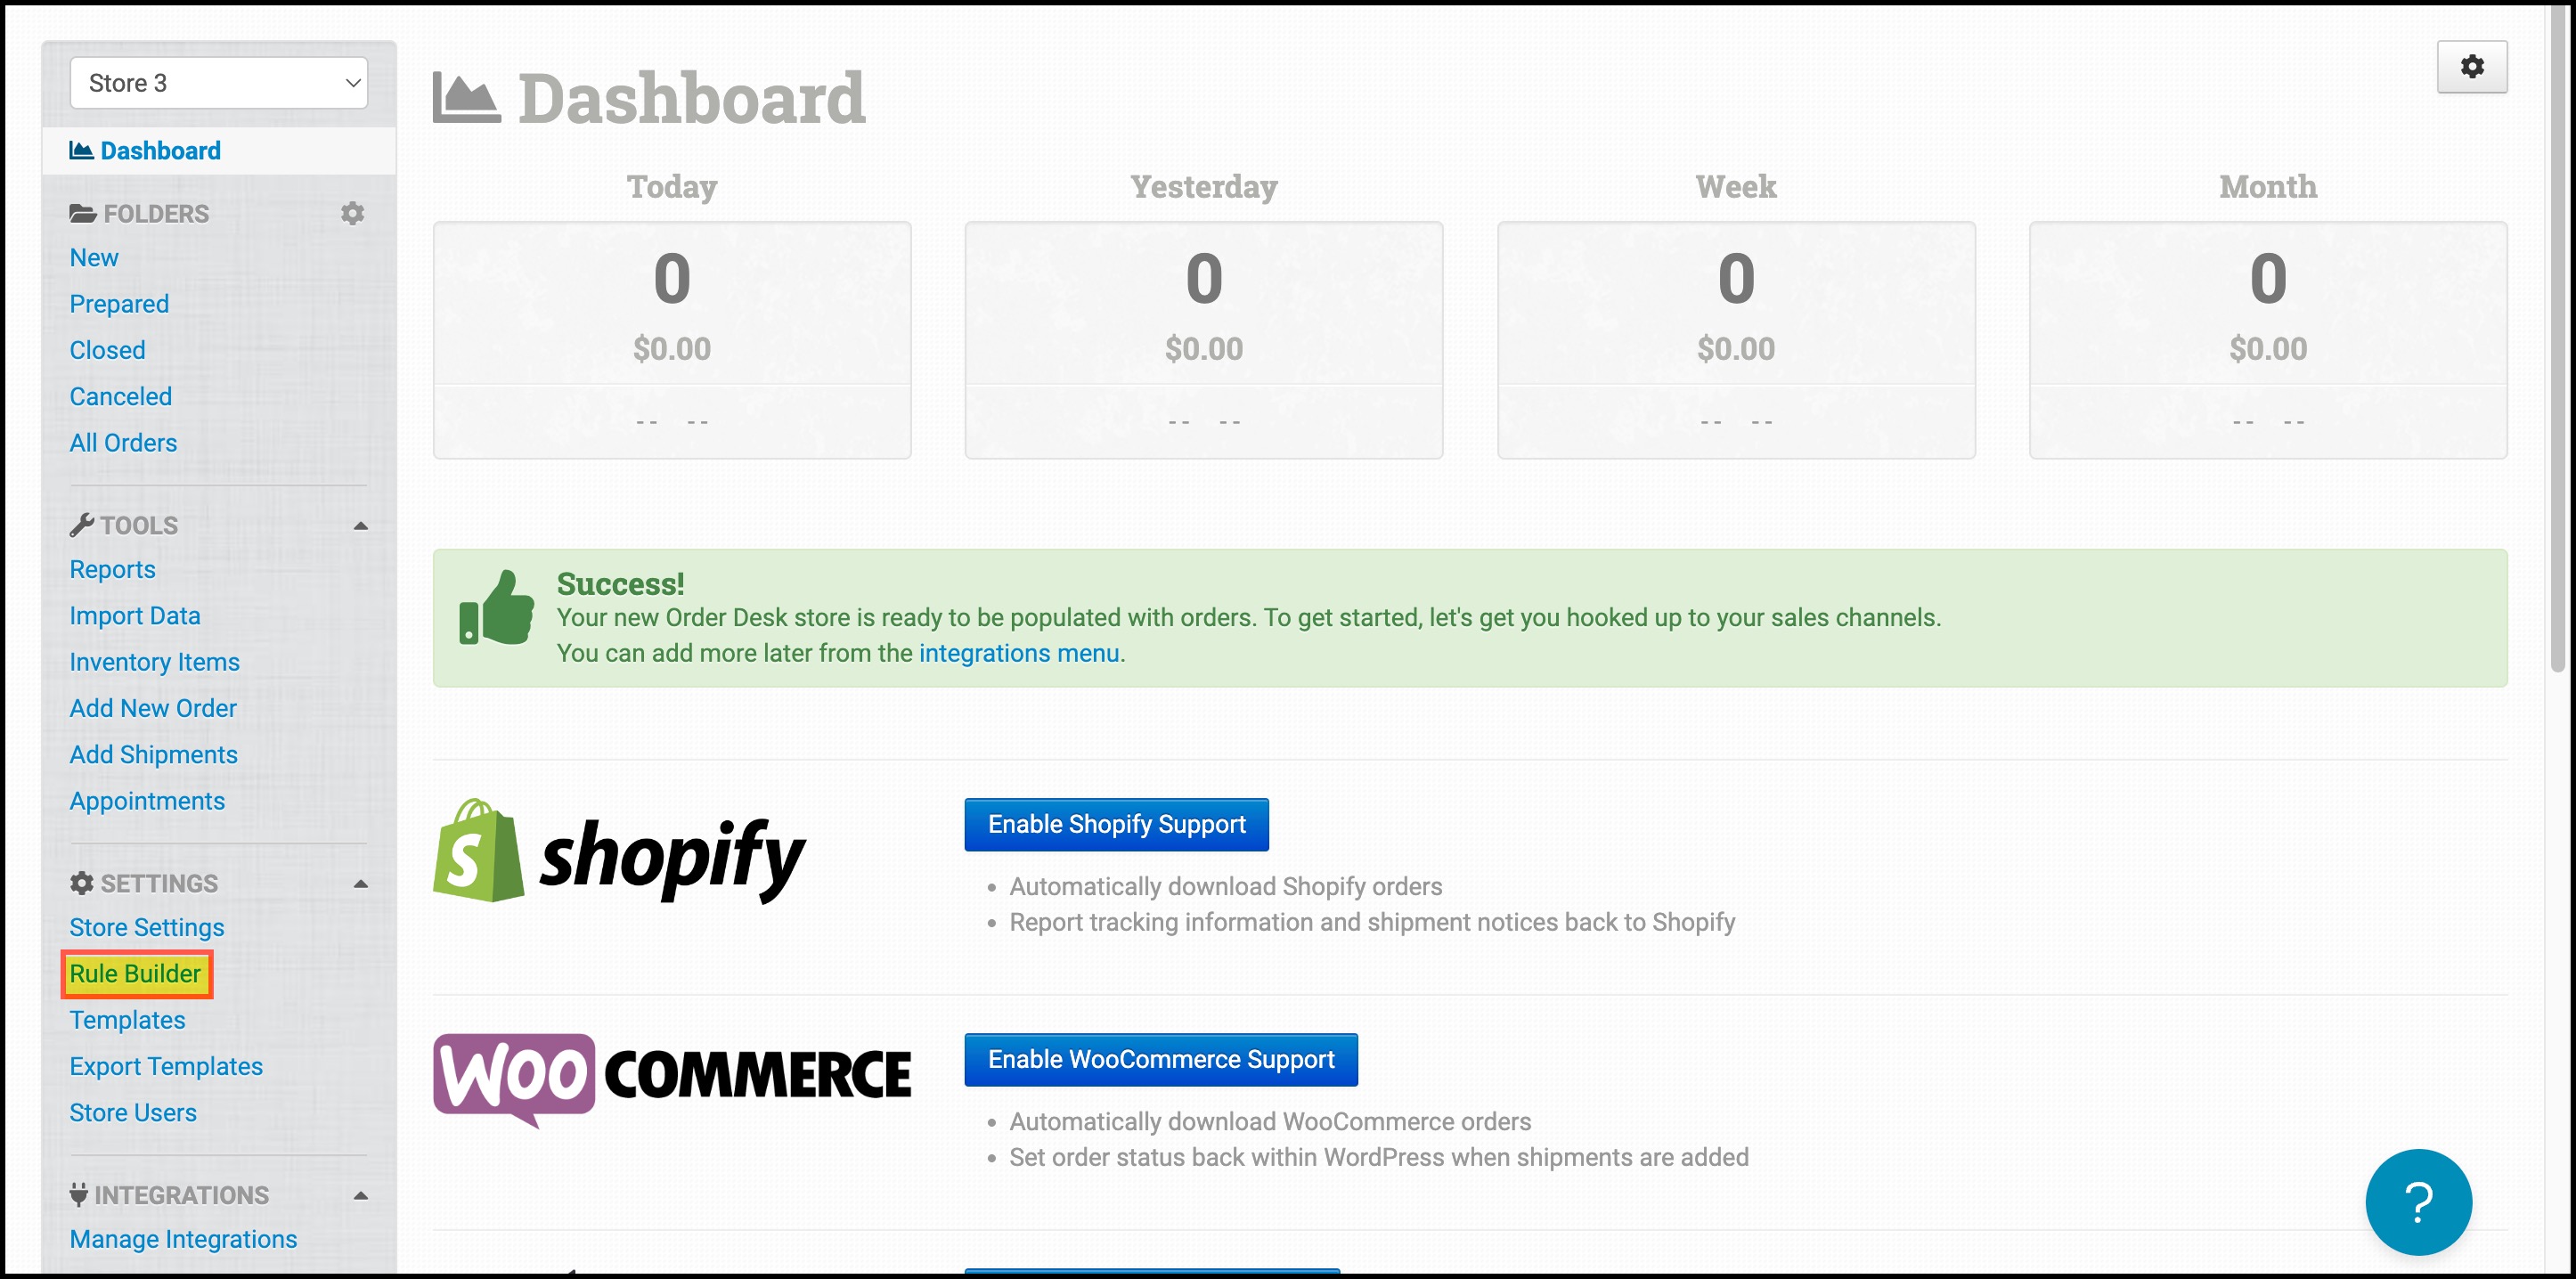
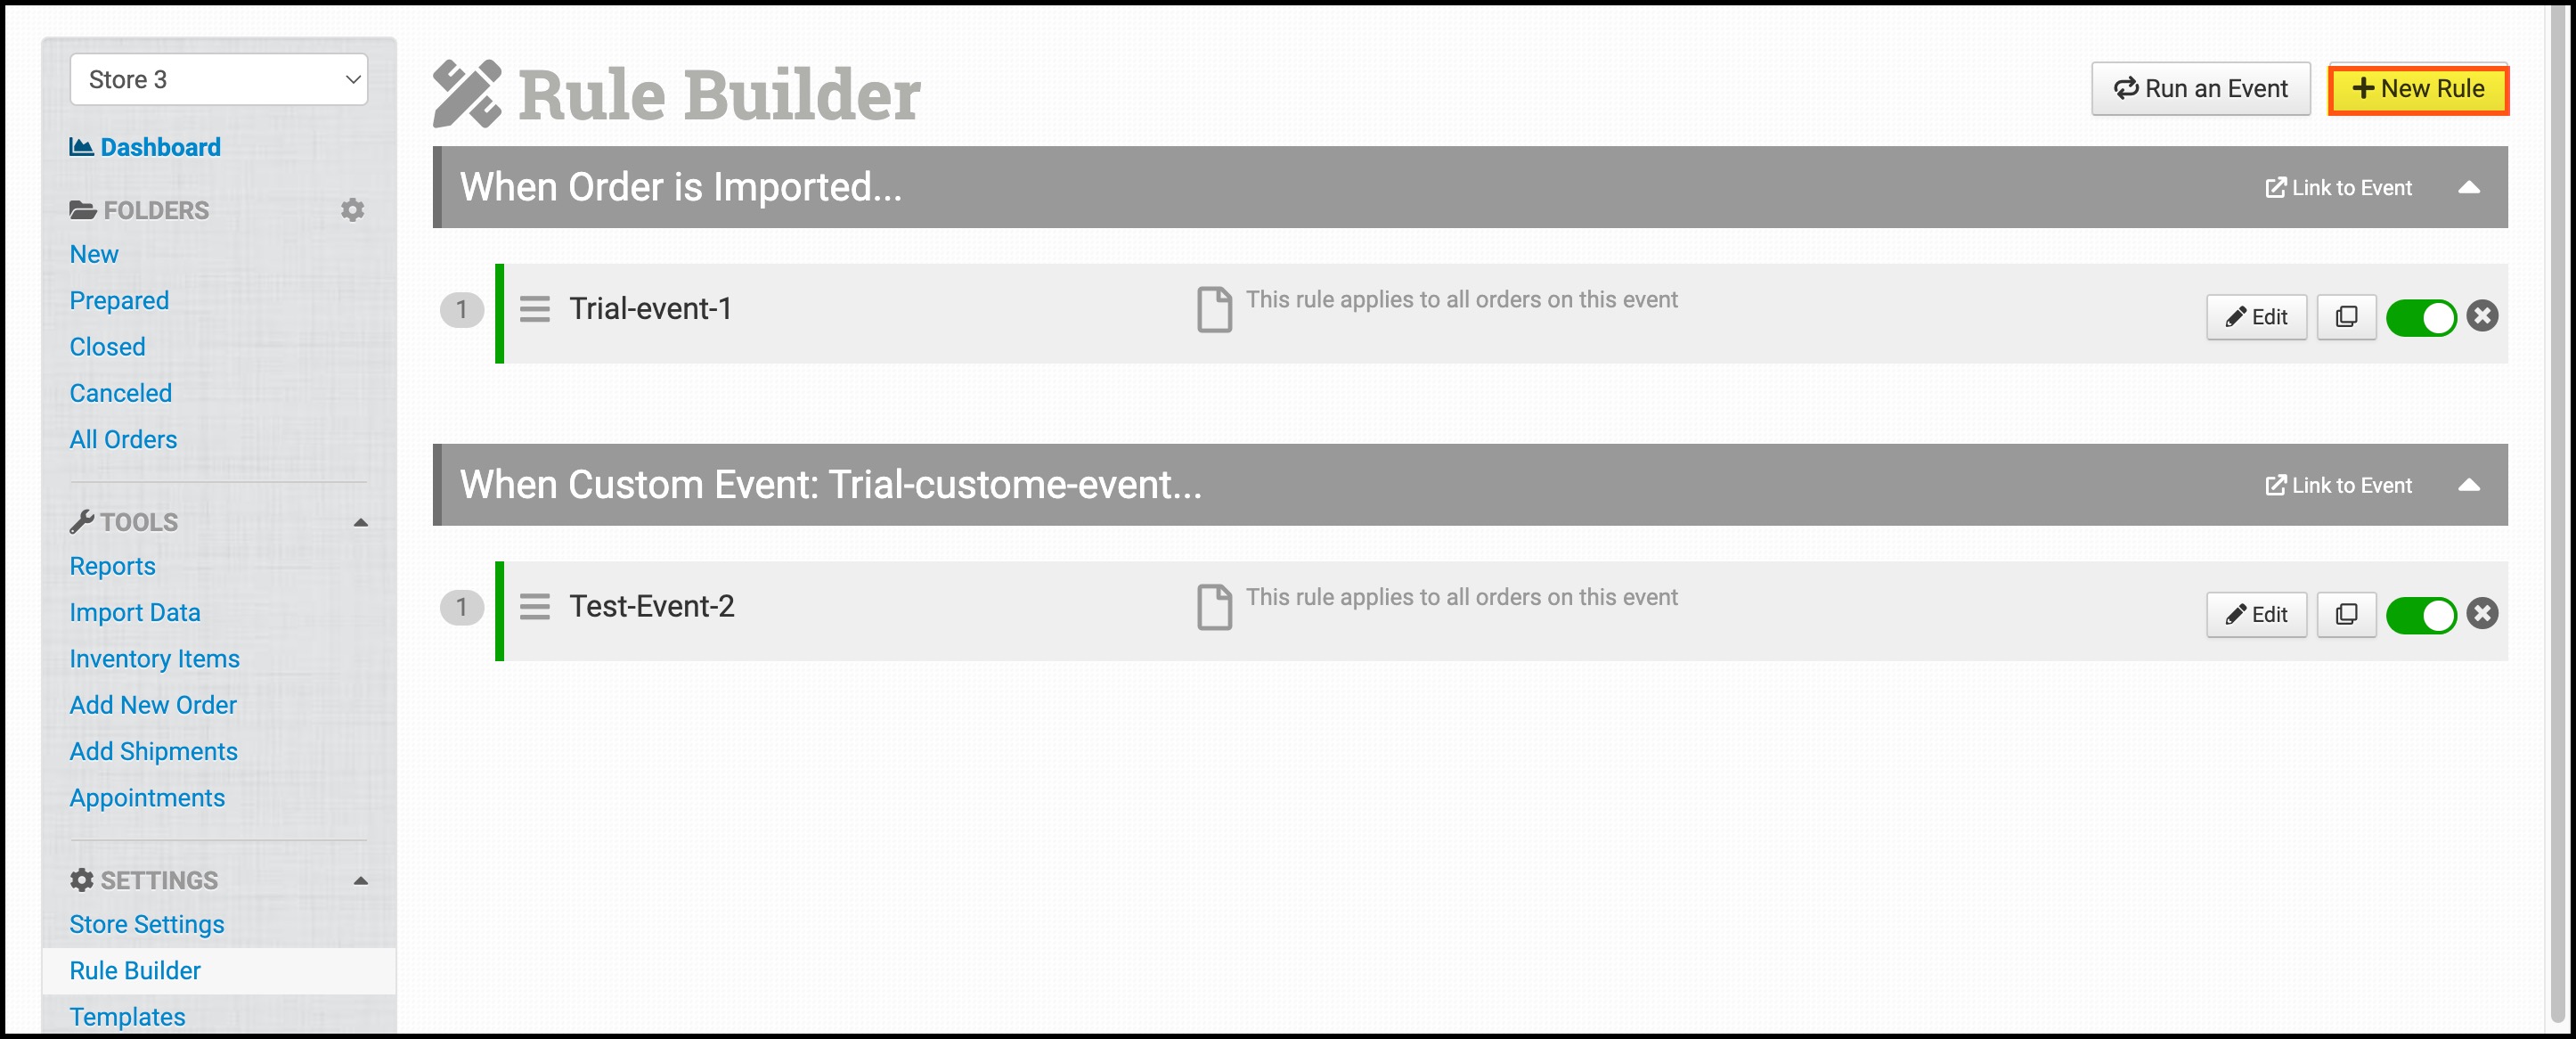
- On your Order Desk store, go to Dashboard -> left menu -> click on the Rule Builder option under Settings.
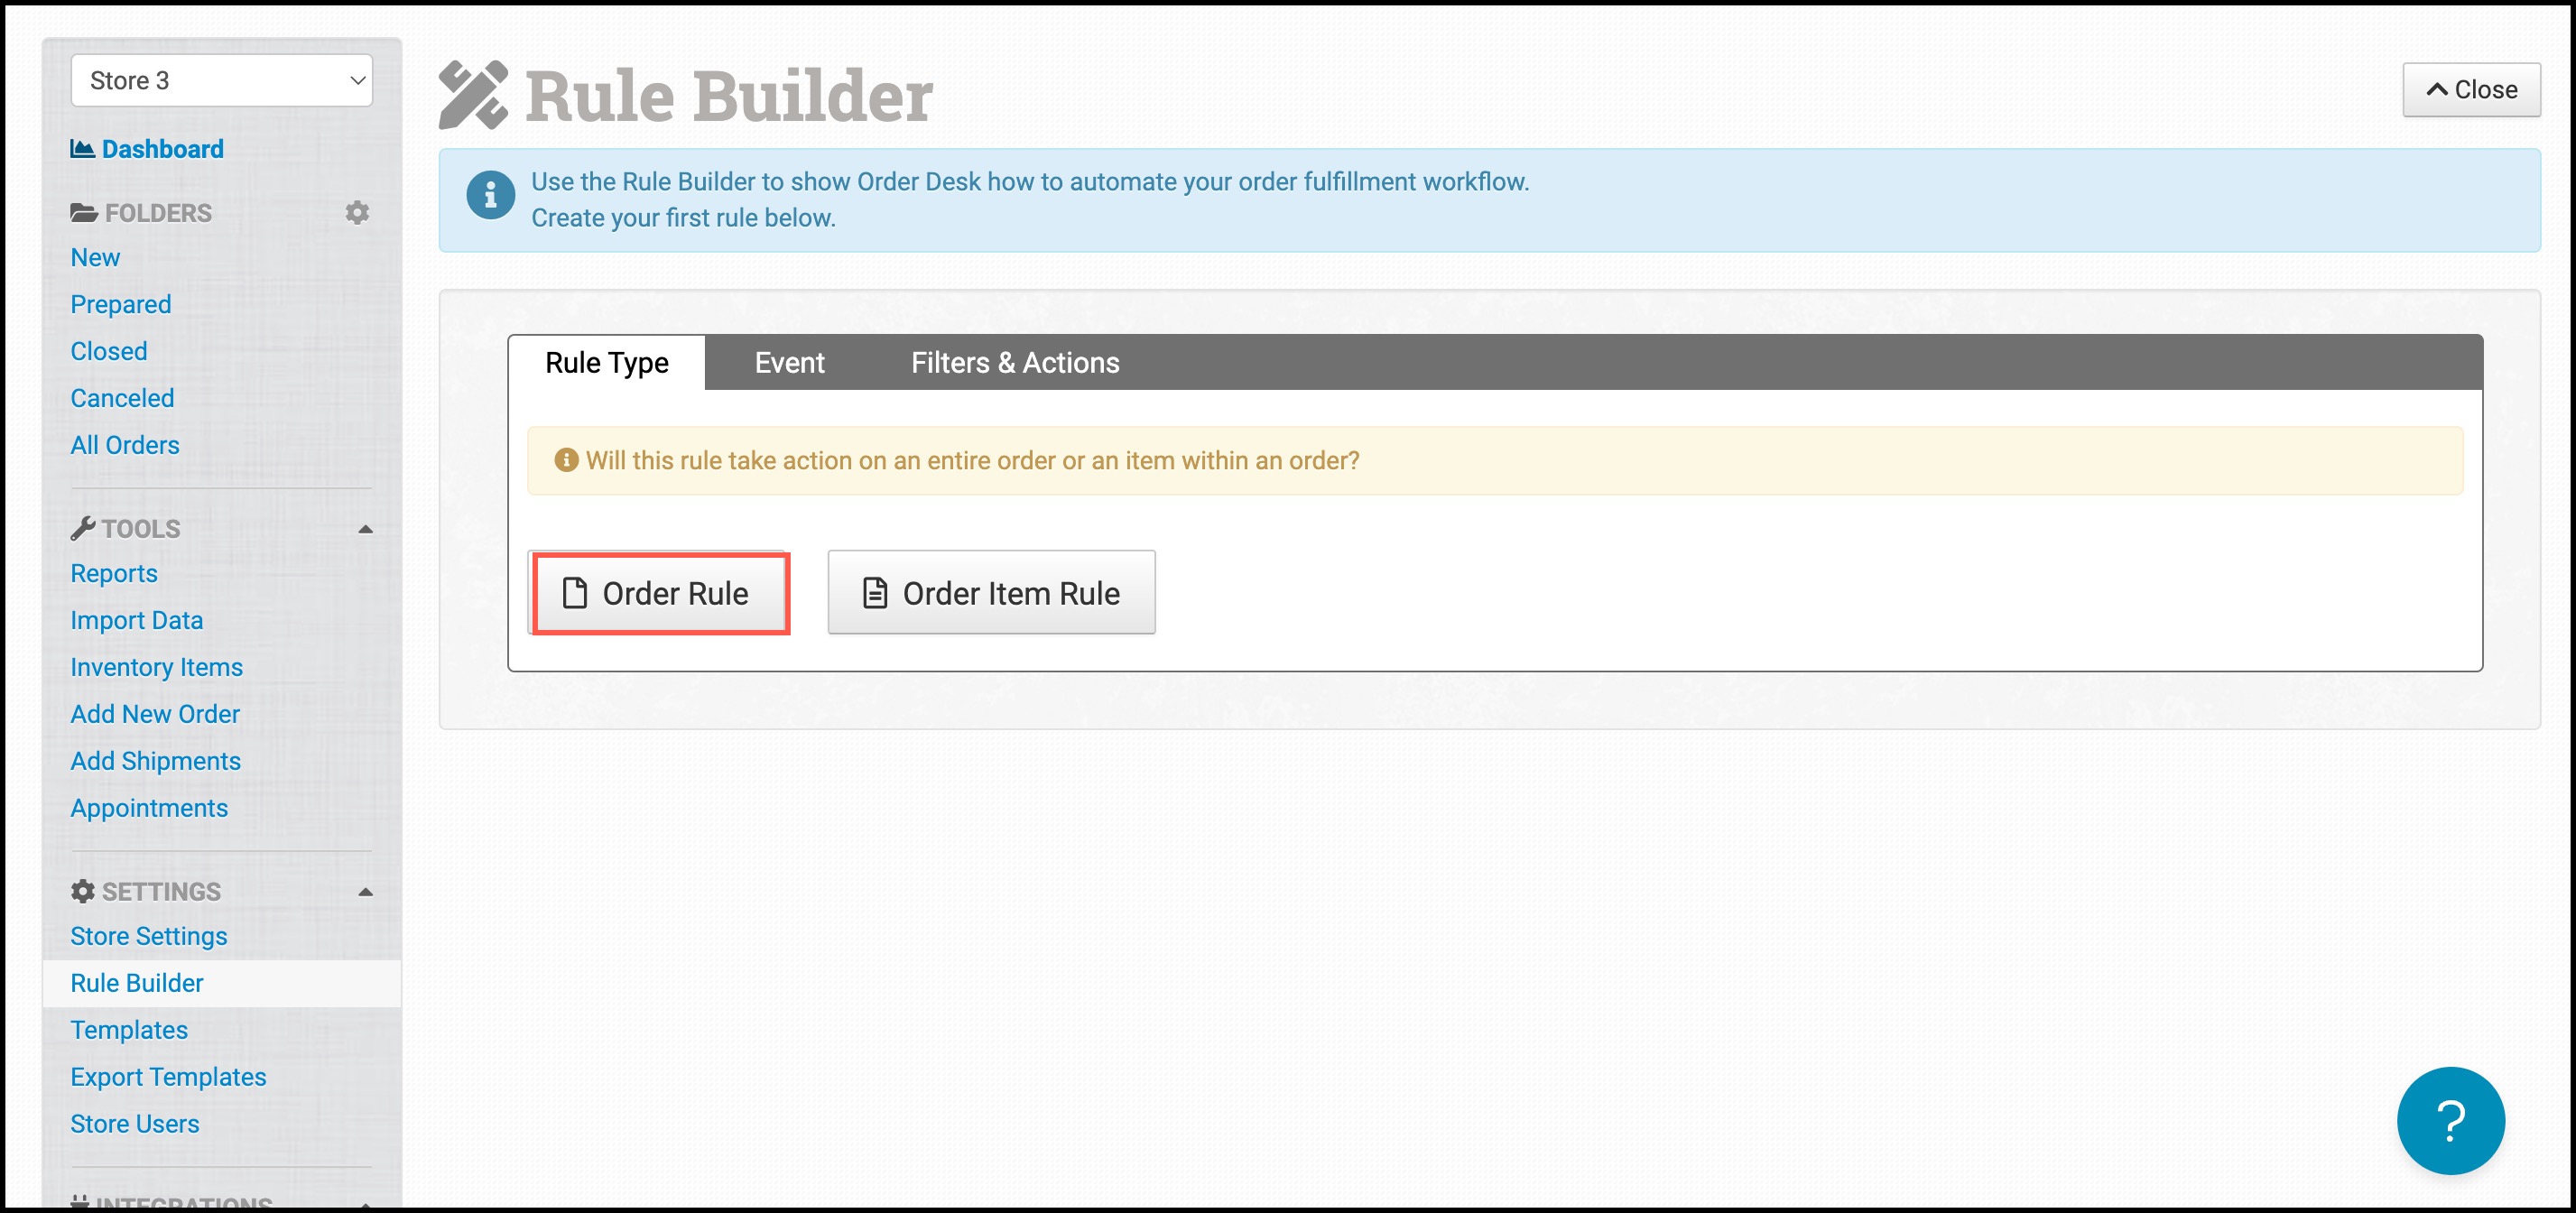
- Click on the Order Rule button present on the upper right corner.
- From the Event tab, Select " Order is Imported " from the drop-down list. This will create events, that will trigger a sync to Agiliron.
Note: If you only create an event for ‘Order Import’, and if an order is updated on the store, the updated order will still be synced to Agiliron, but only after an order is imported into the store. So any event triggered will sync everything to Agiliron. This way you can decide, which events can lead to a sync call to Agiliron.
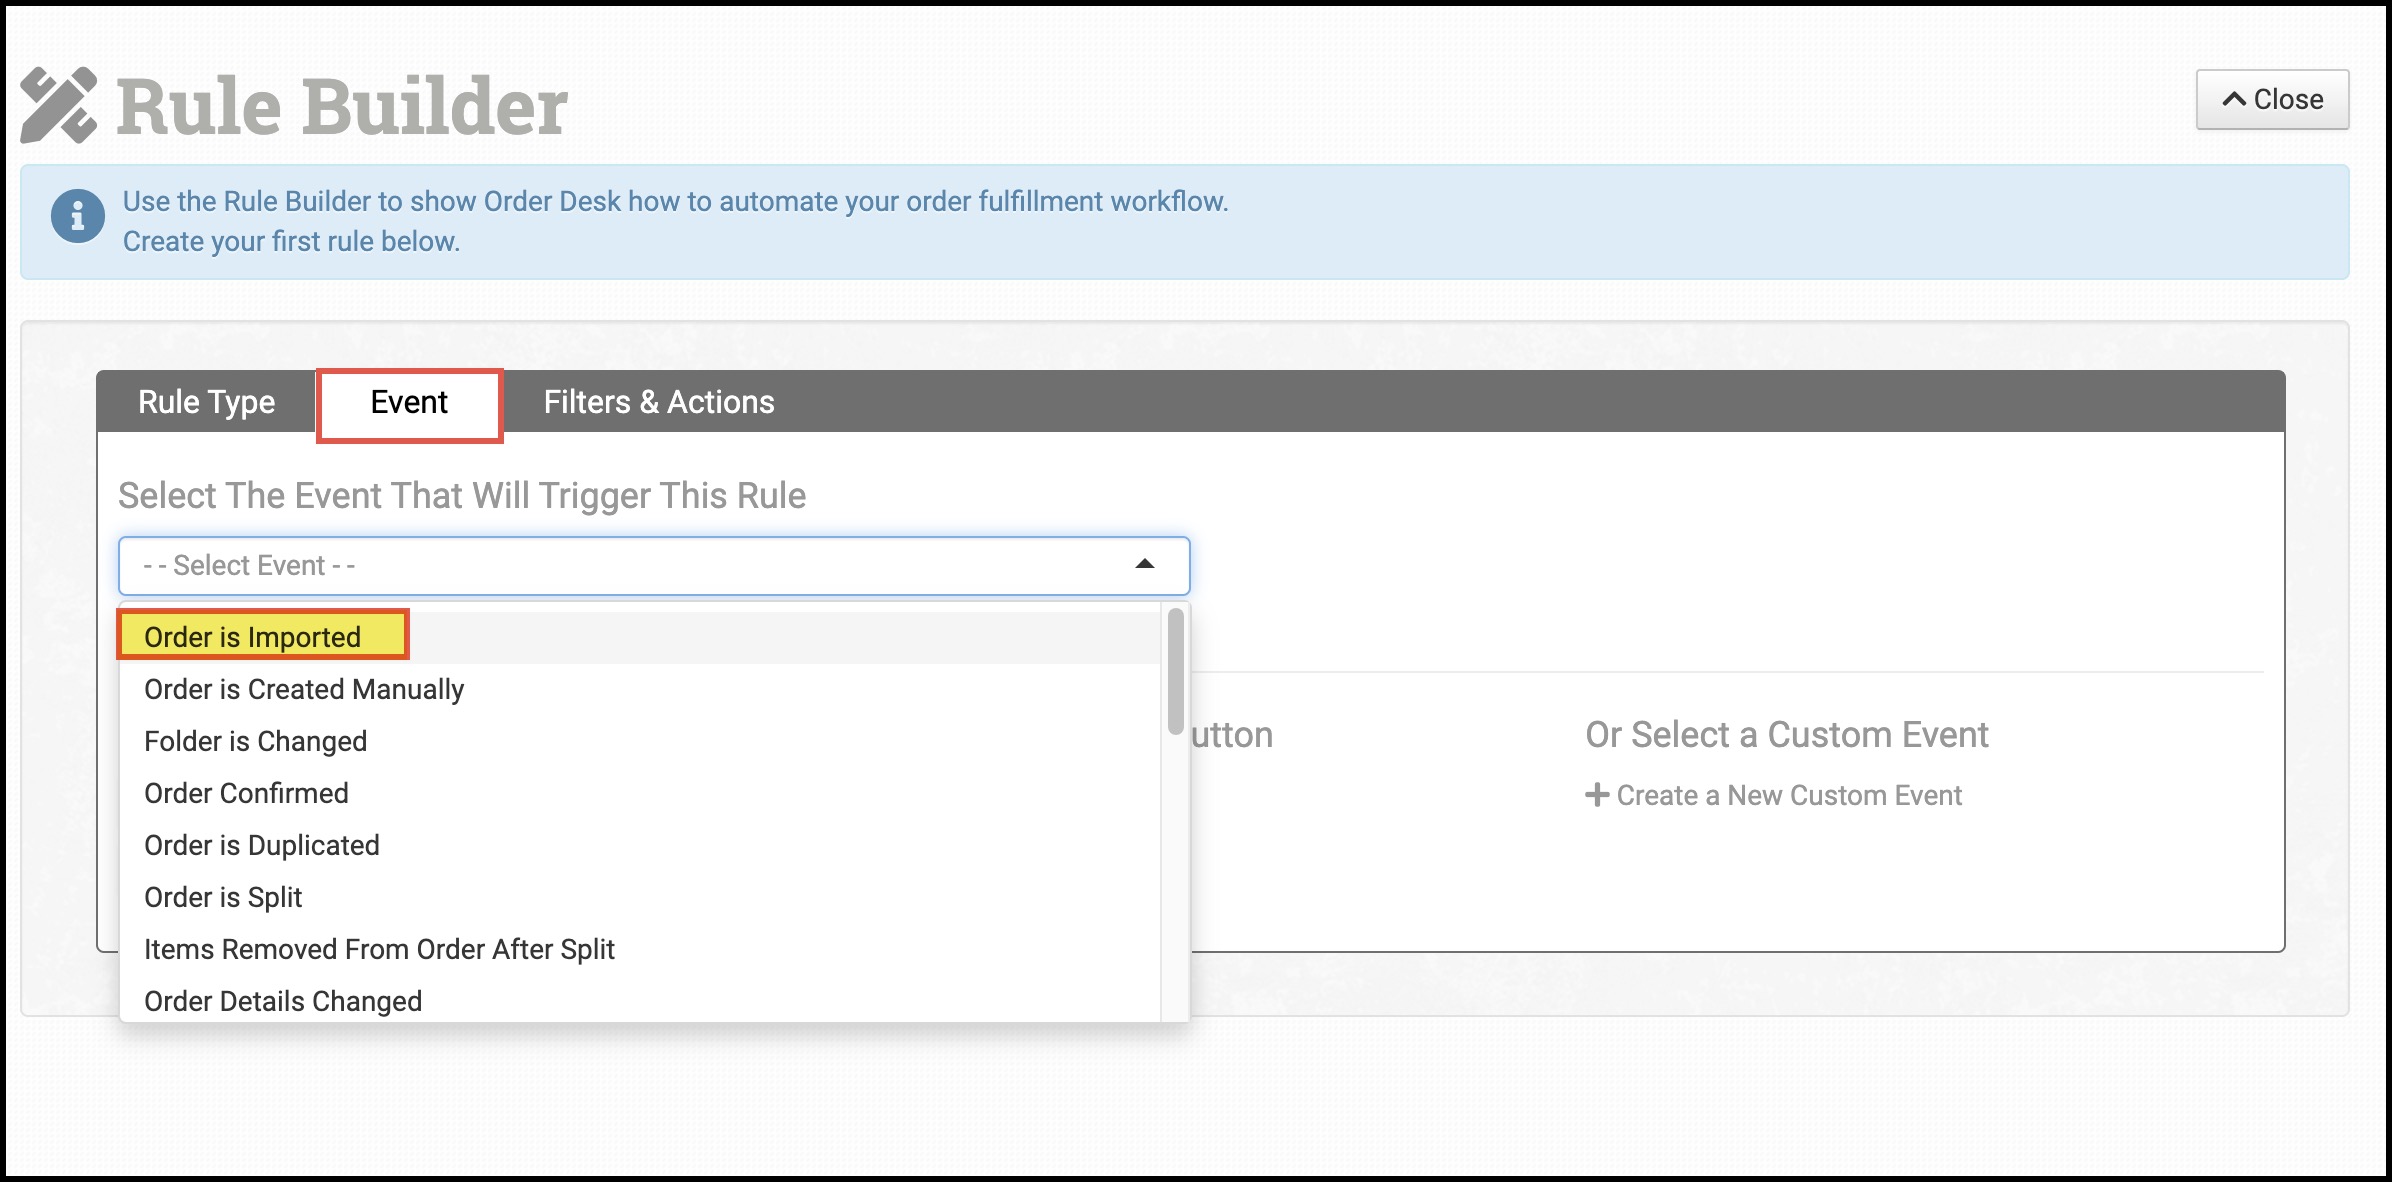
- You can also create a custom event as per your requirements by clicking on Create a New Custom Event.
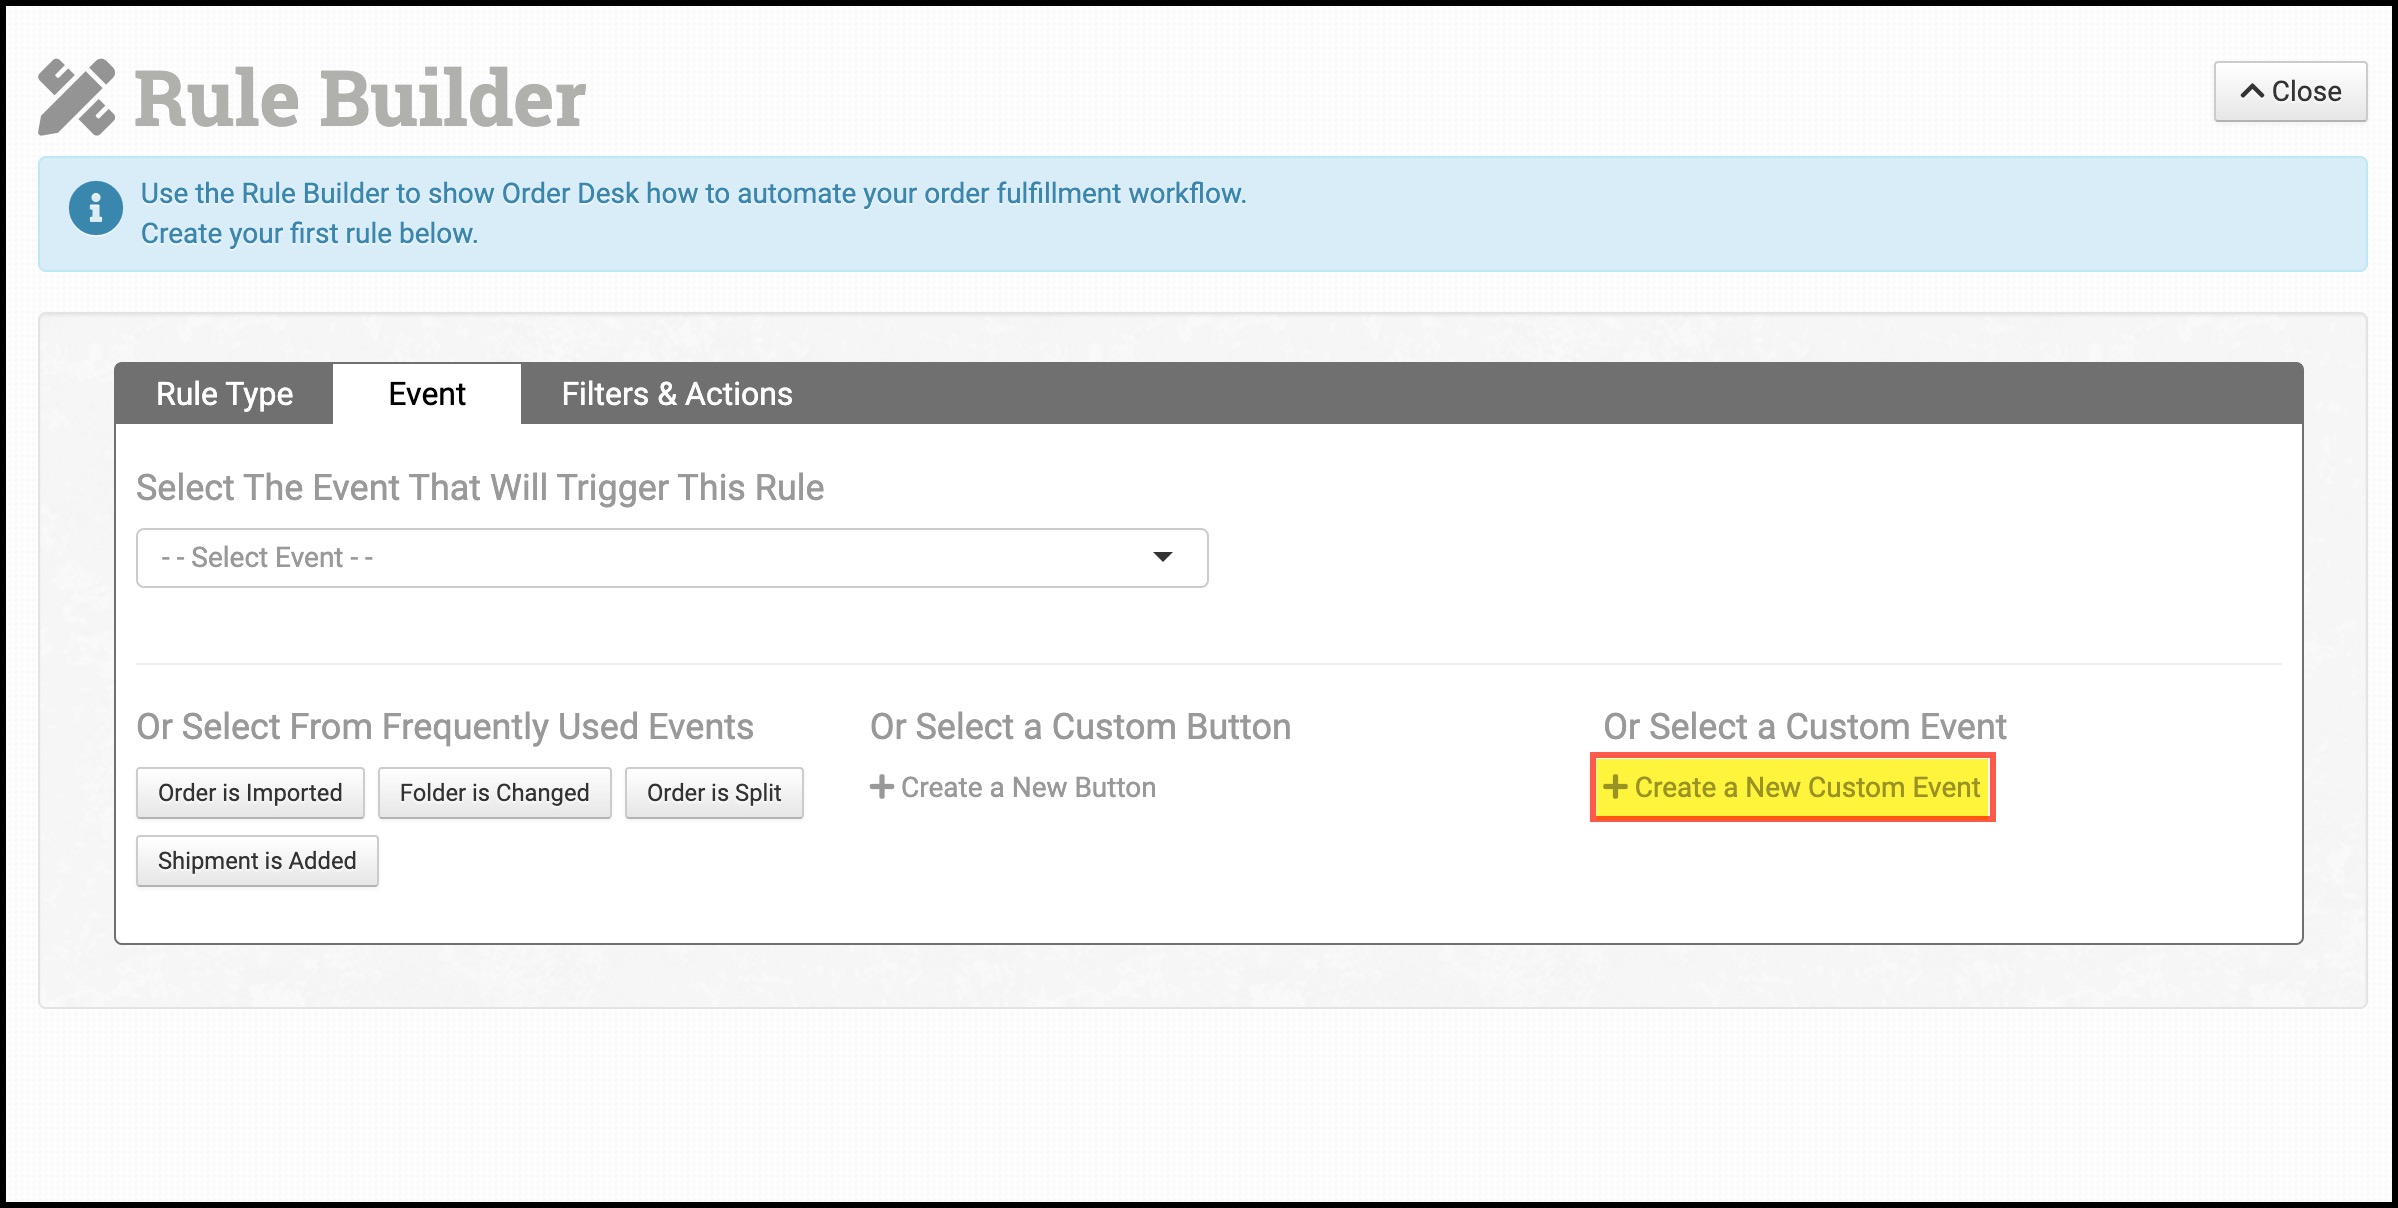
You can sync newly created orders/updated orders every few minutes. You can name the event like "Sync All Orders To Agiliron".
You can set up a target folder. Whenever the folder is updated, the sync event will be triggered.
The first sync event will be triggered once some order in a folder is updated/created.
The next event will be fired whenever the folder is updated, or after 60 minutes (or whatever time you set up).
Just like the above-mentioned option, Custom Event will also sync all order creations/updates to Agiliron, independent of their folder.
- Click on Create Custom Event.
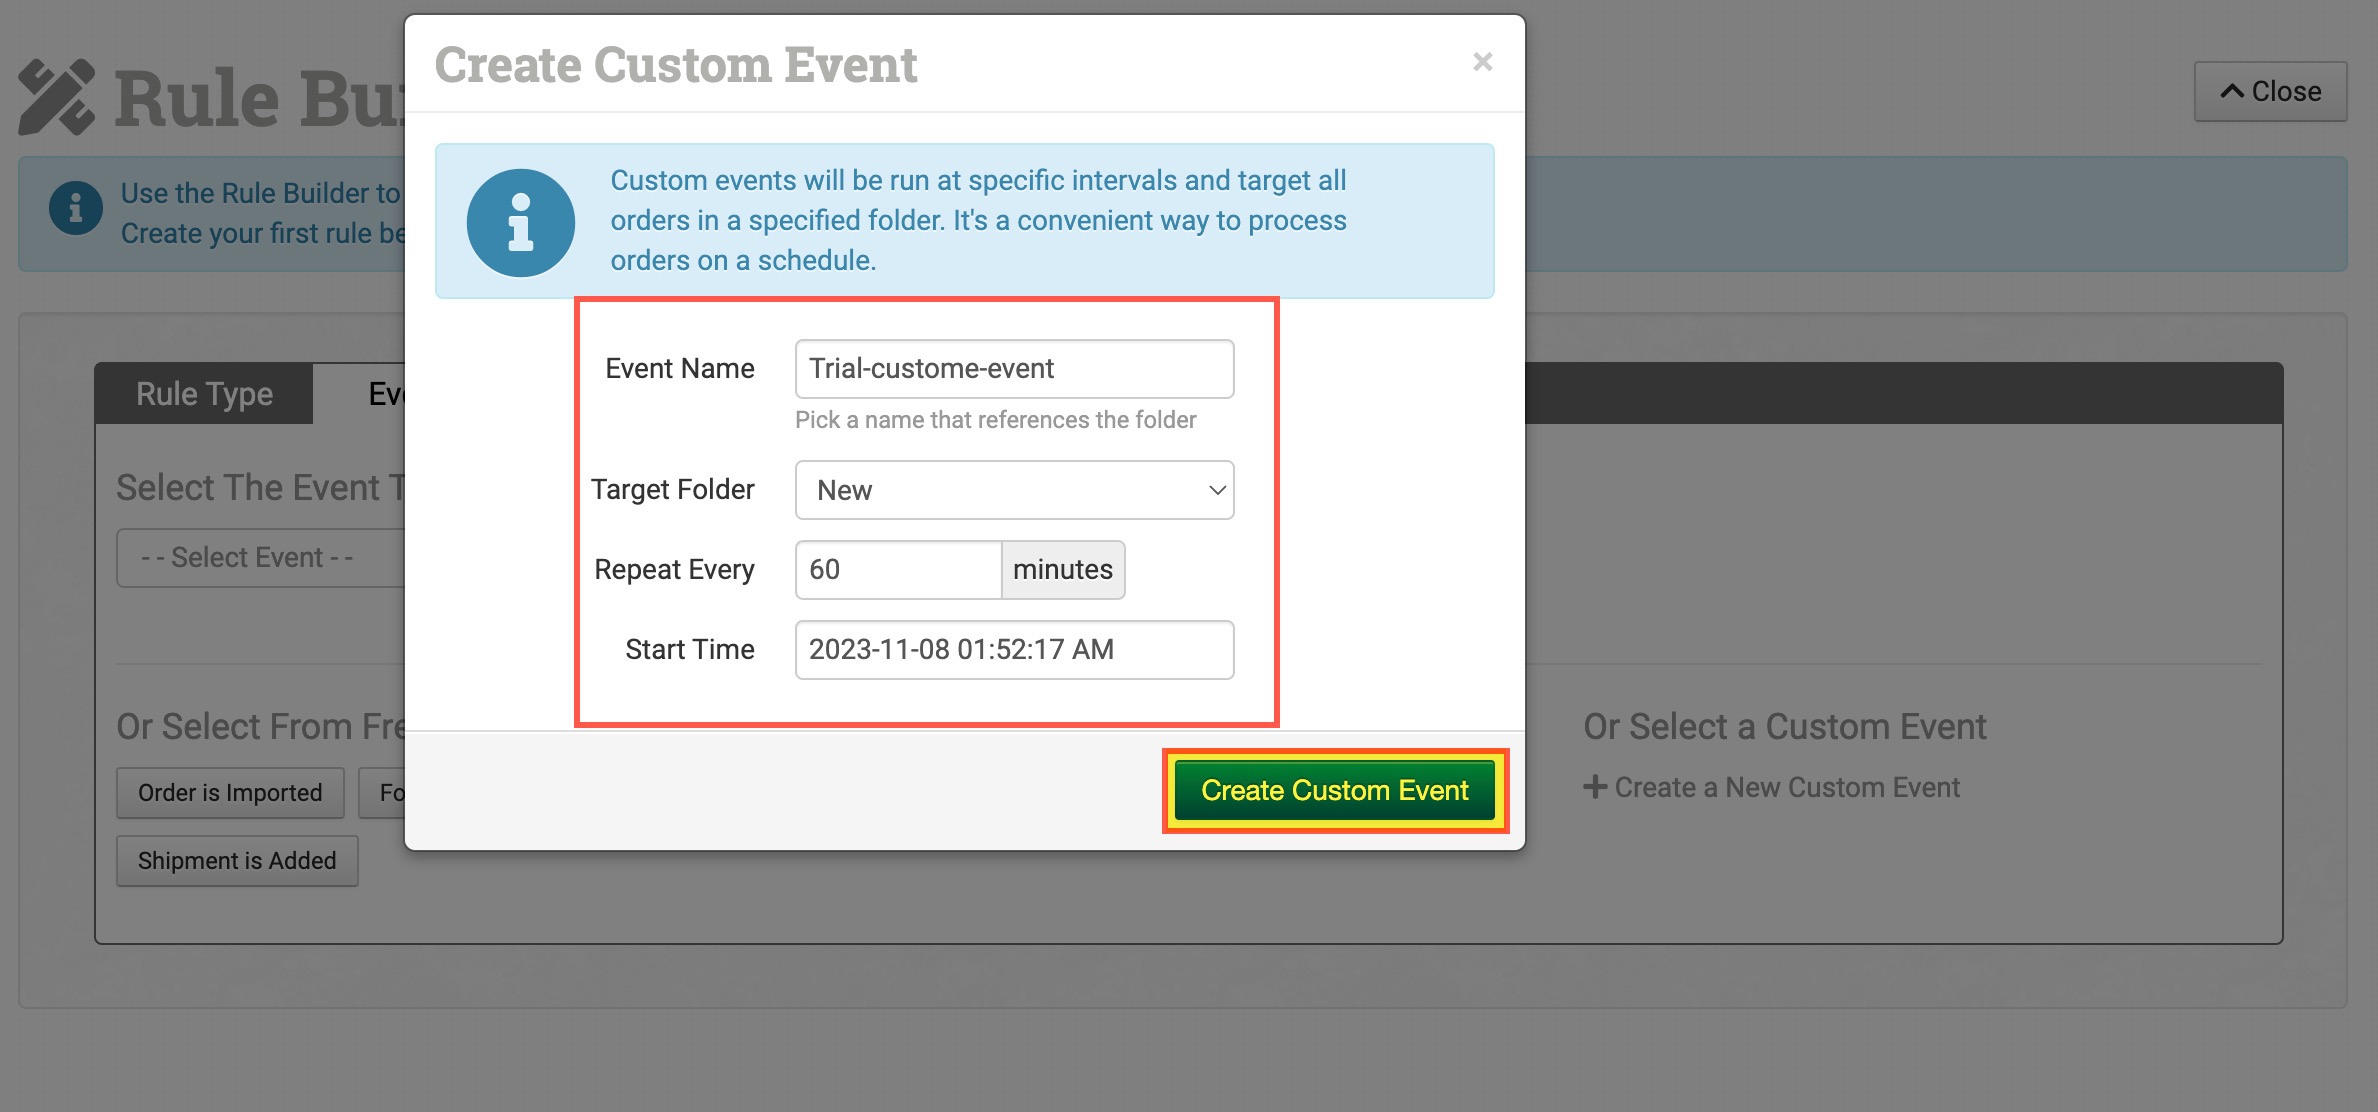
If you select Create Custom Event option, your newly created event will be visible under Or Select a Custom Event.
- Click on your relevant event
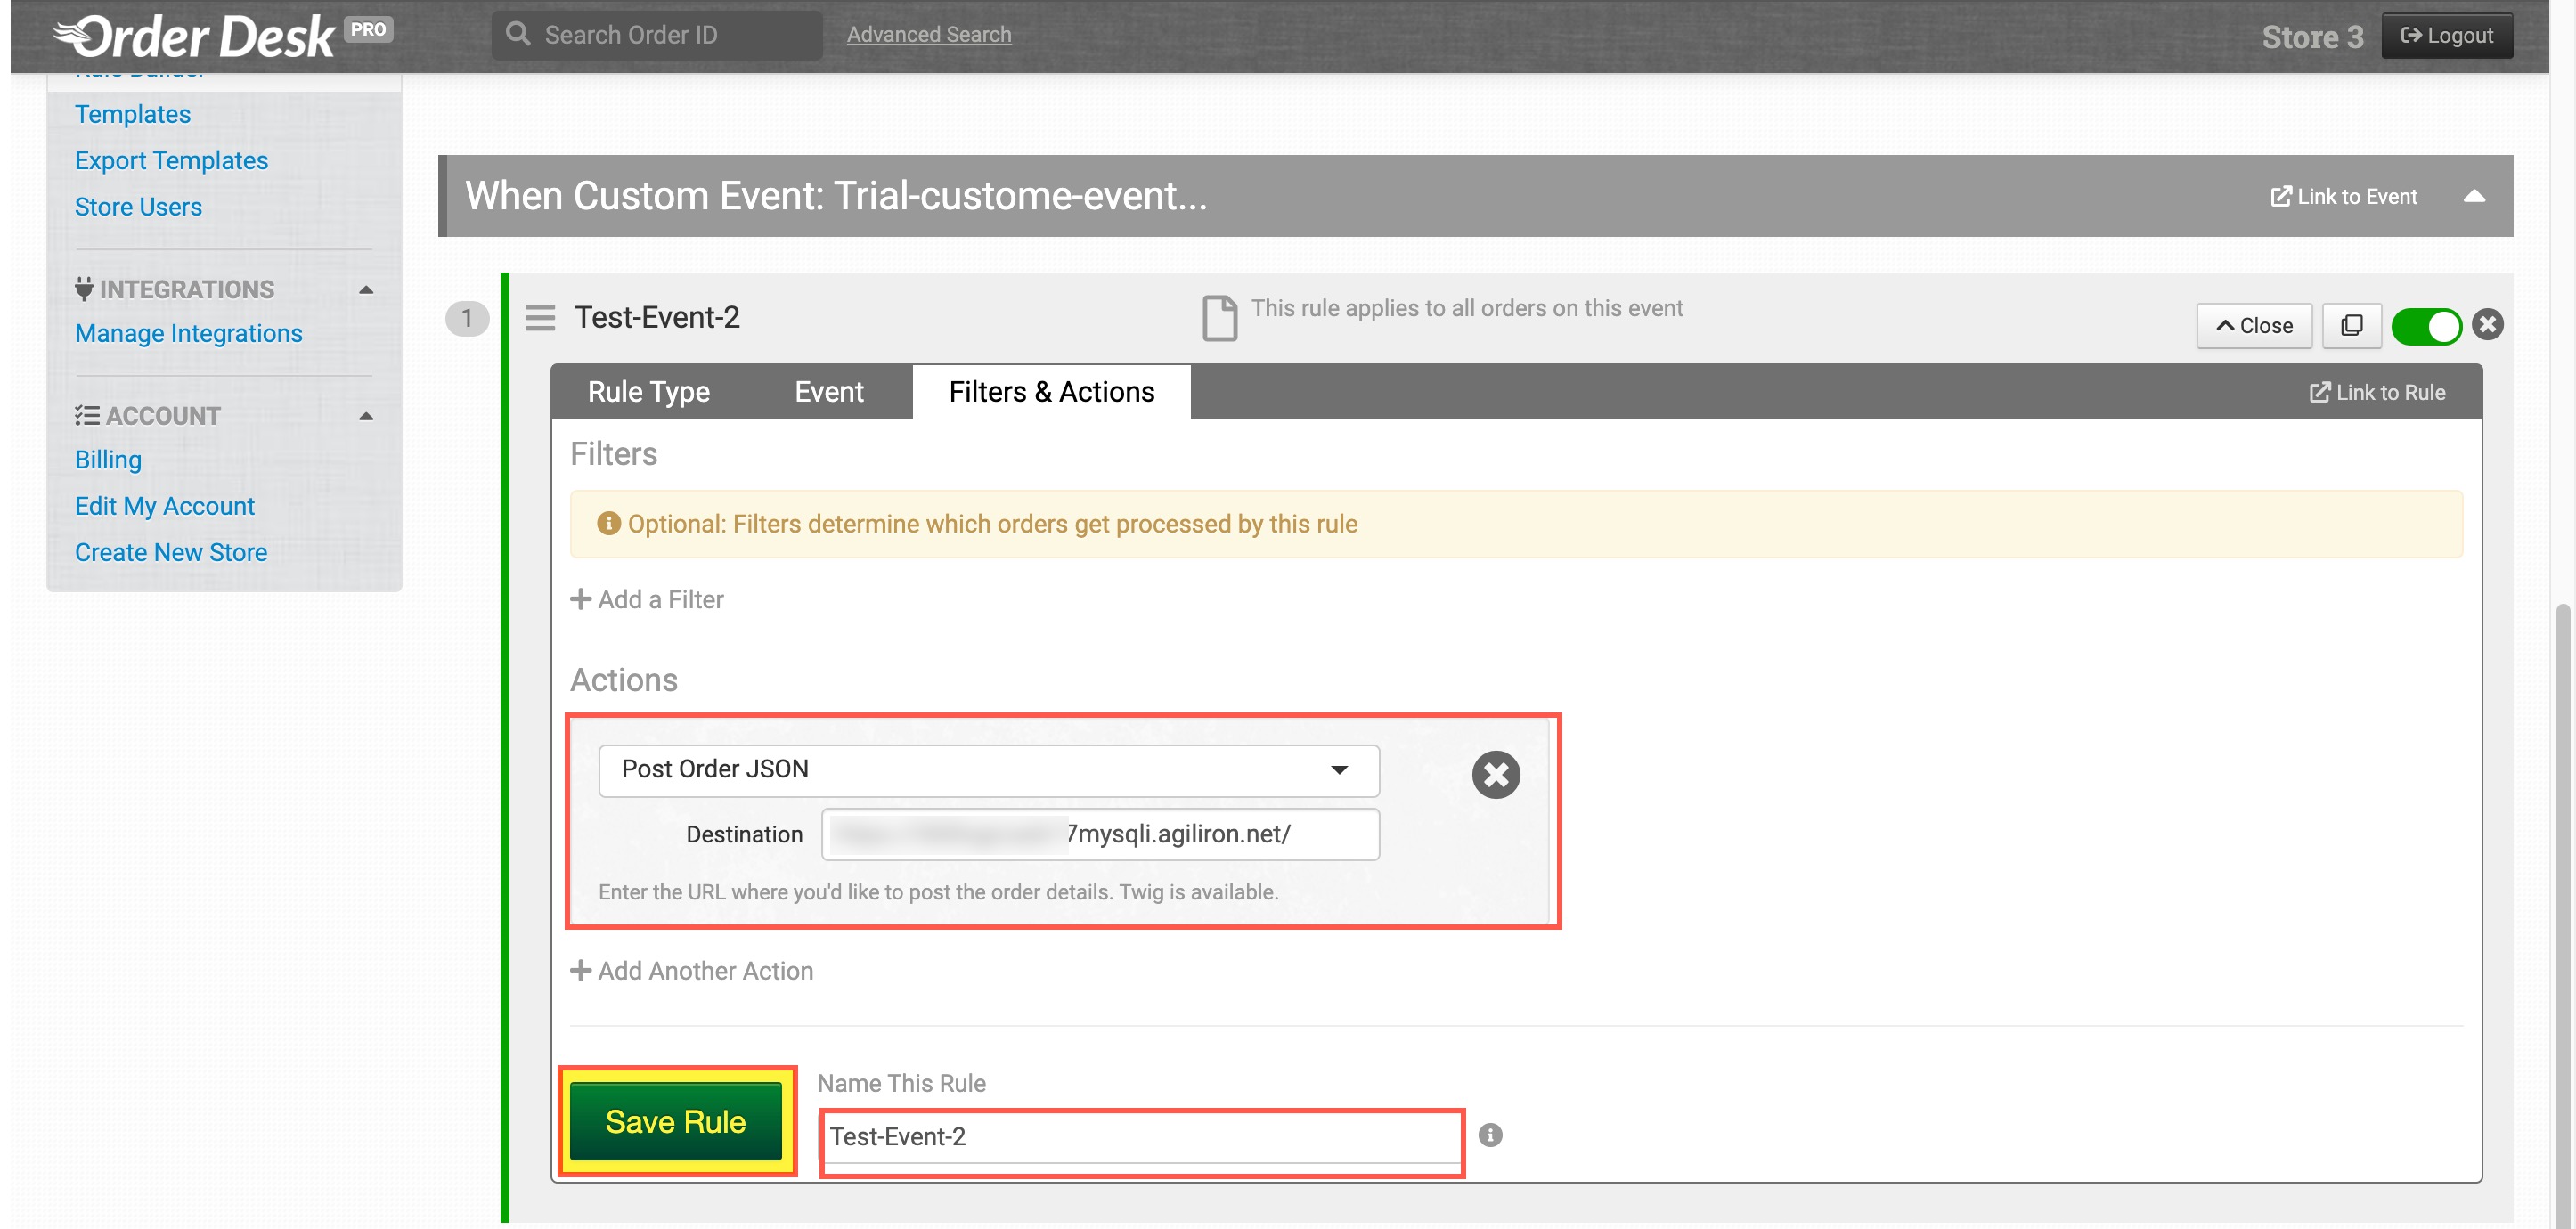
A new menu, Filters & Actions will appear now.
- Under this tab, from the Actions dropdown, select Post Order JSON.
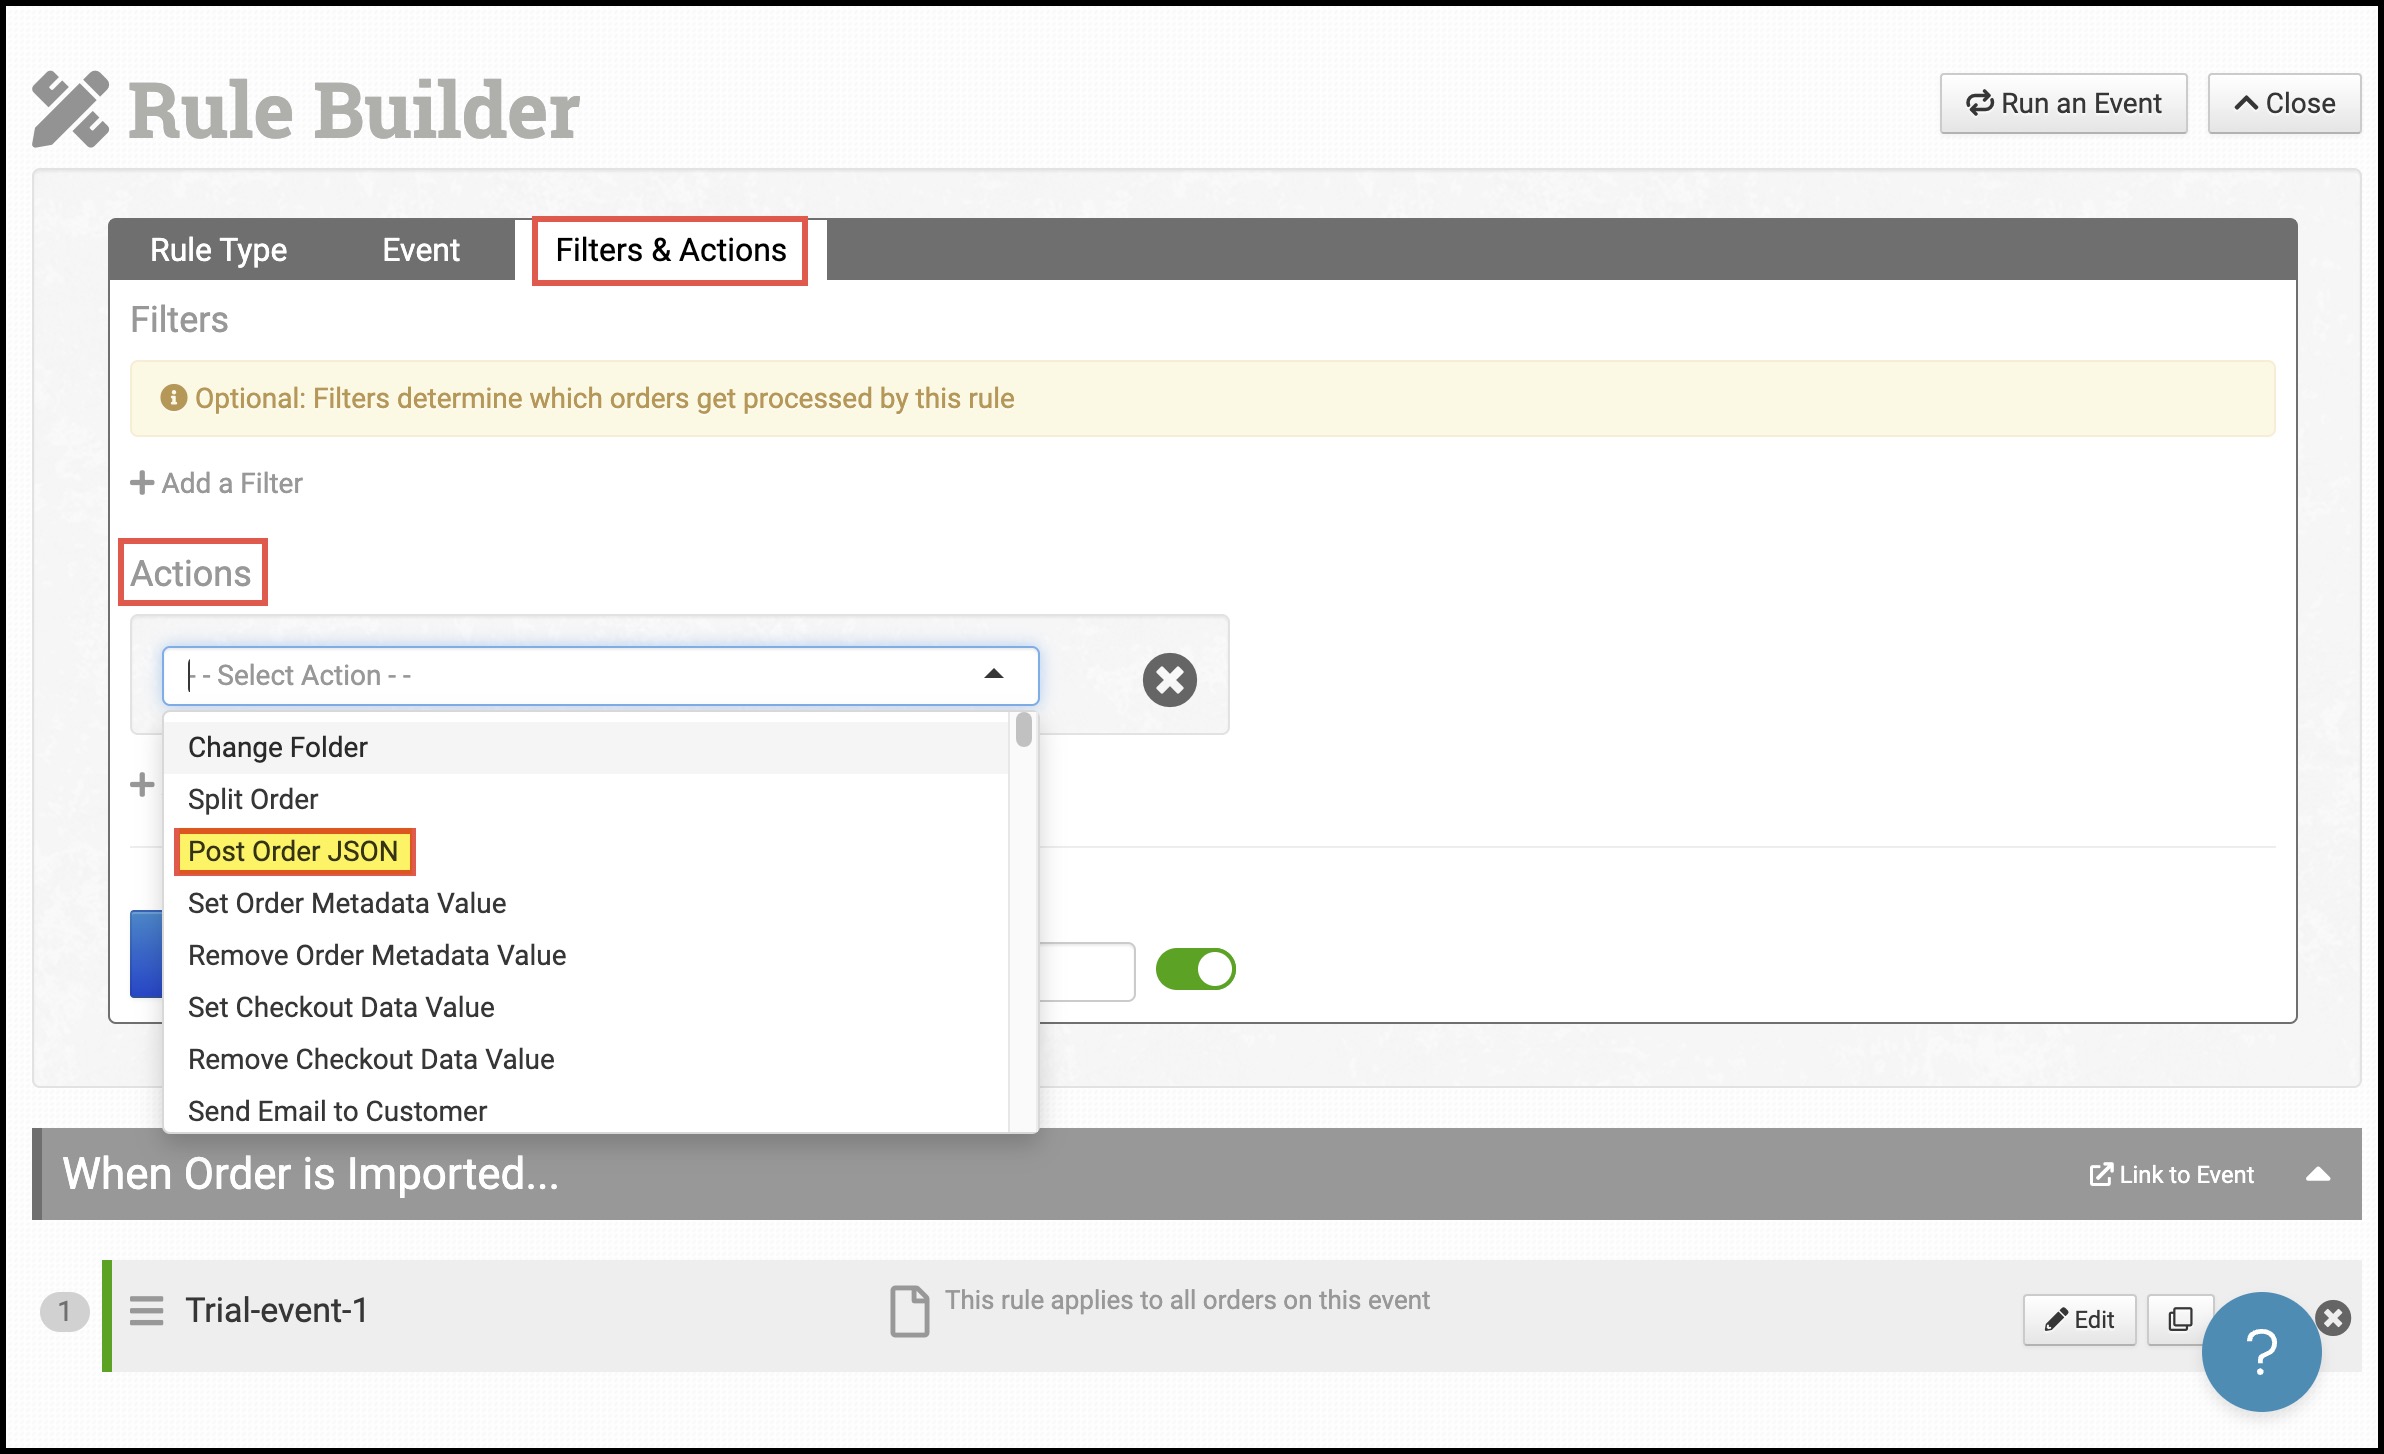
- Now go to the Channel Edit page in Agiliron, copy the Store Transaction URL.
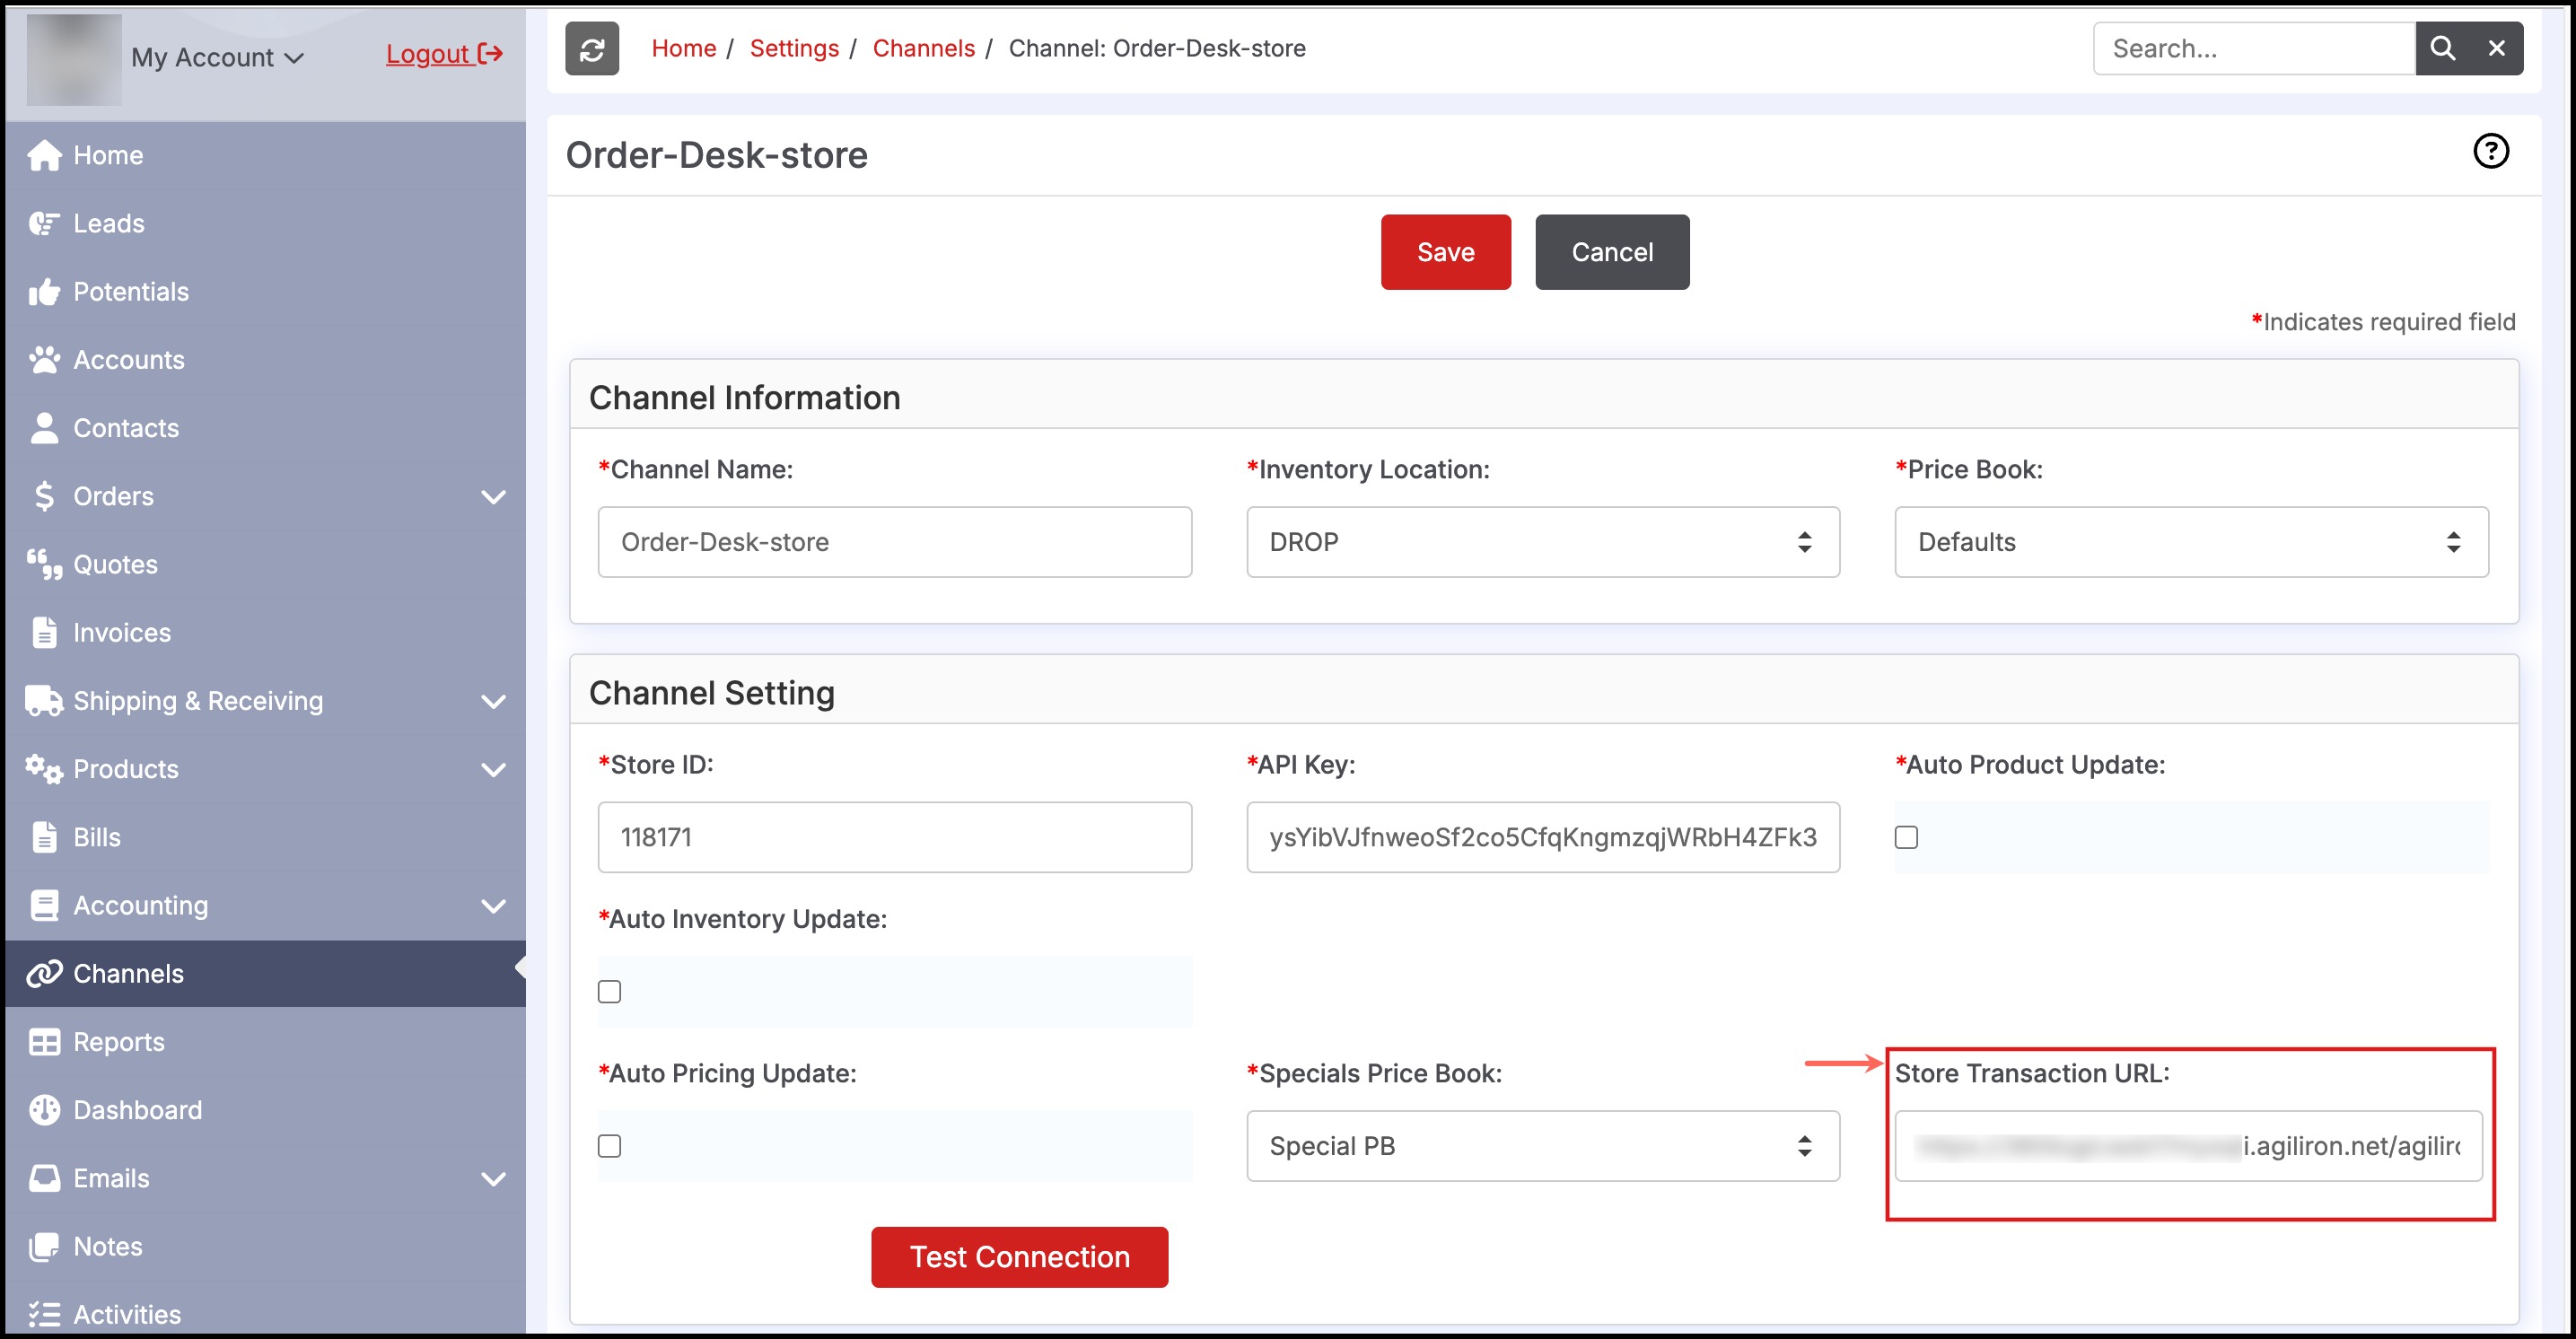
- Paste the URL to Destination column (in Order Desk).
- Name the Rule.
- Click on Save Rule.
The Order Sync To Agiliron should now be setup. You can test this by manually creating an Order.
To create a new rule again, you need to click on the New Rule button.
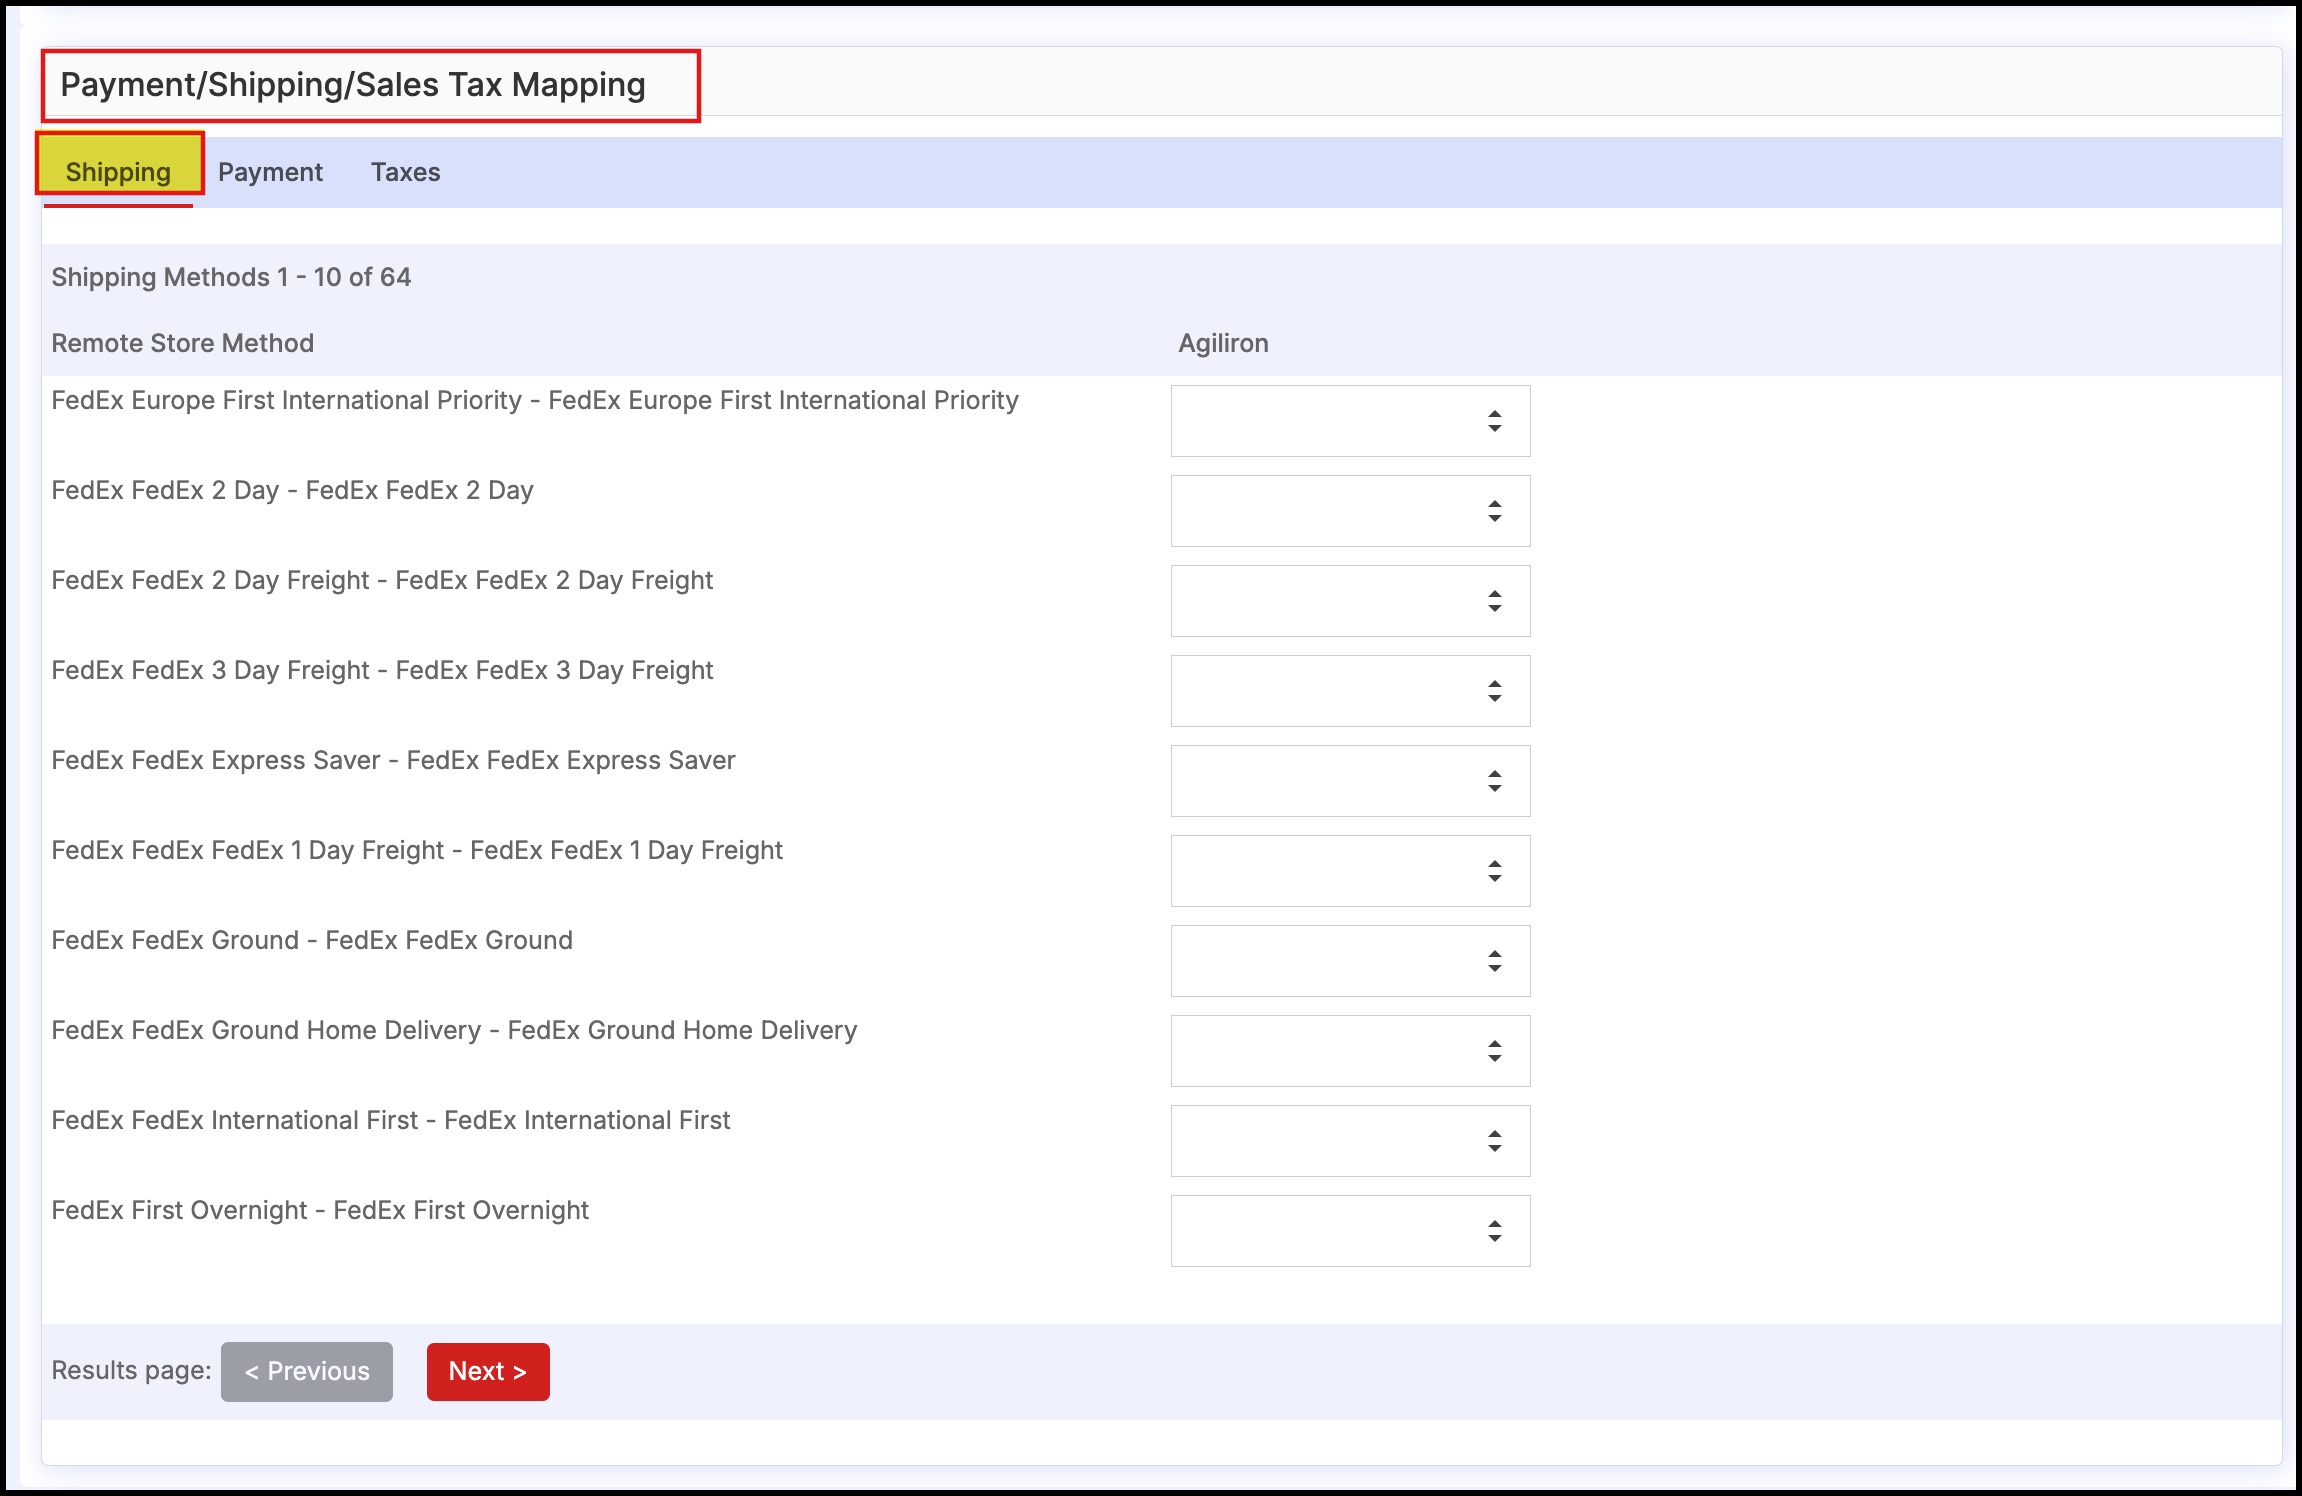
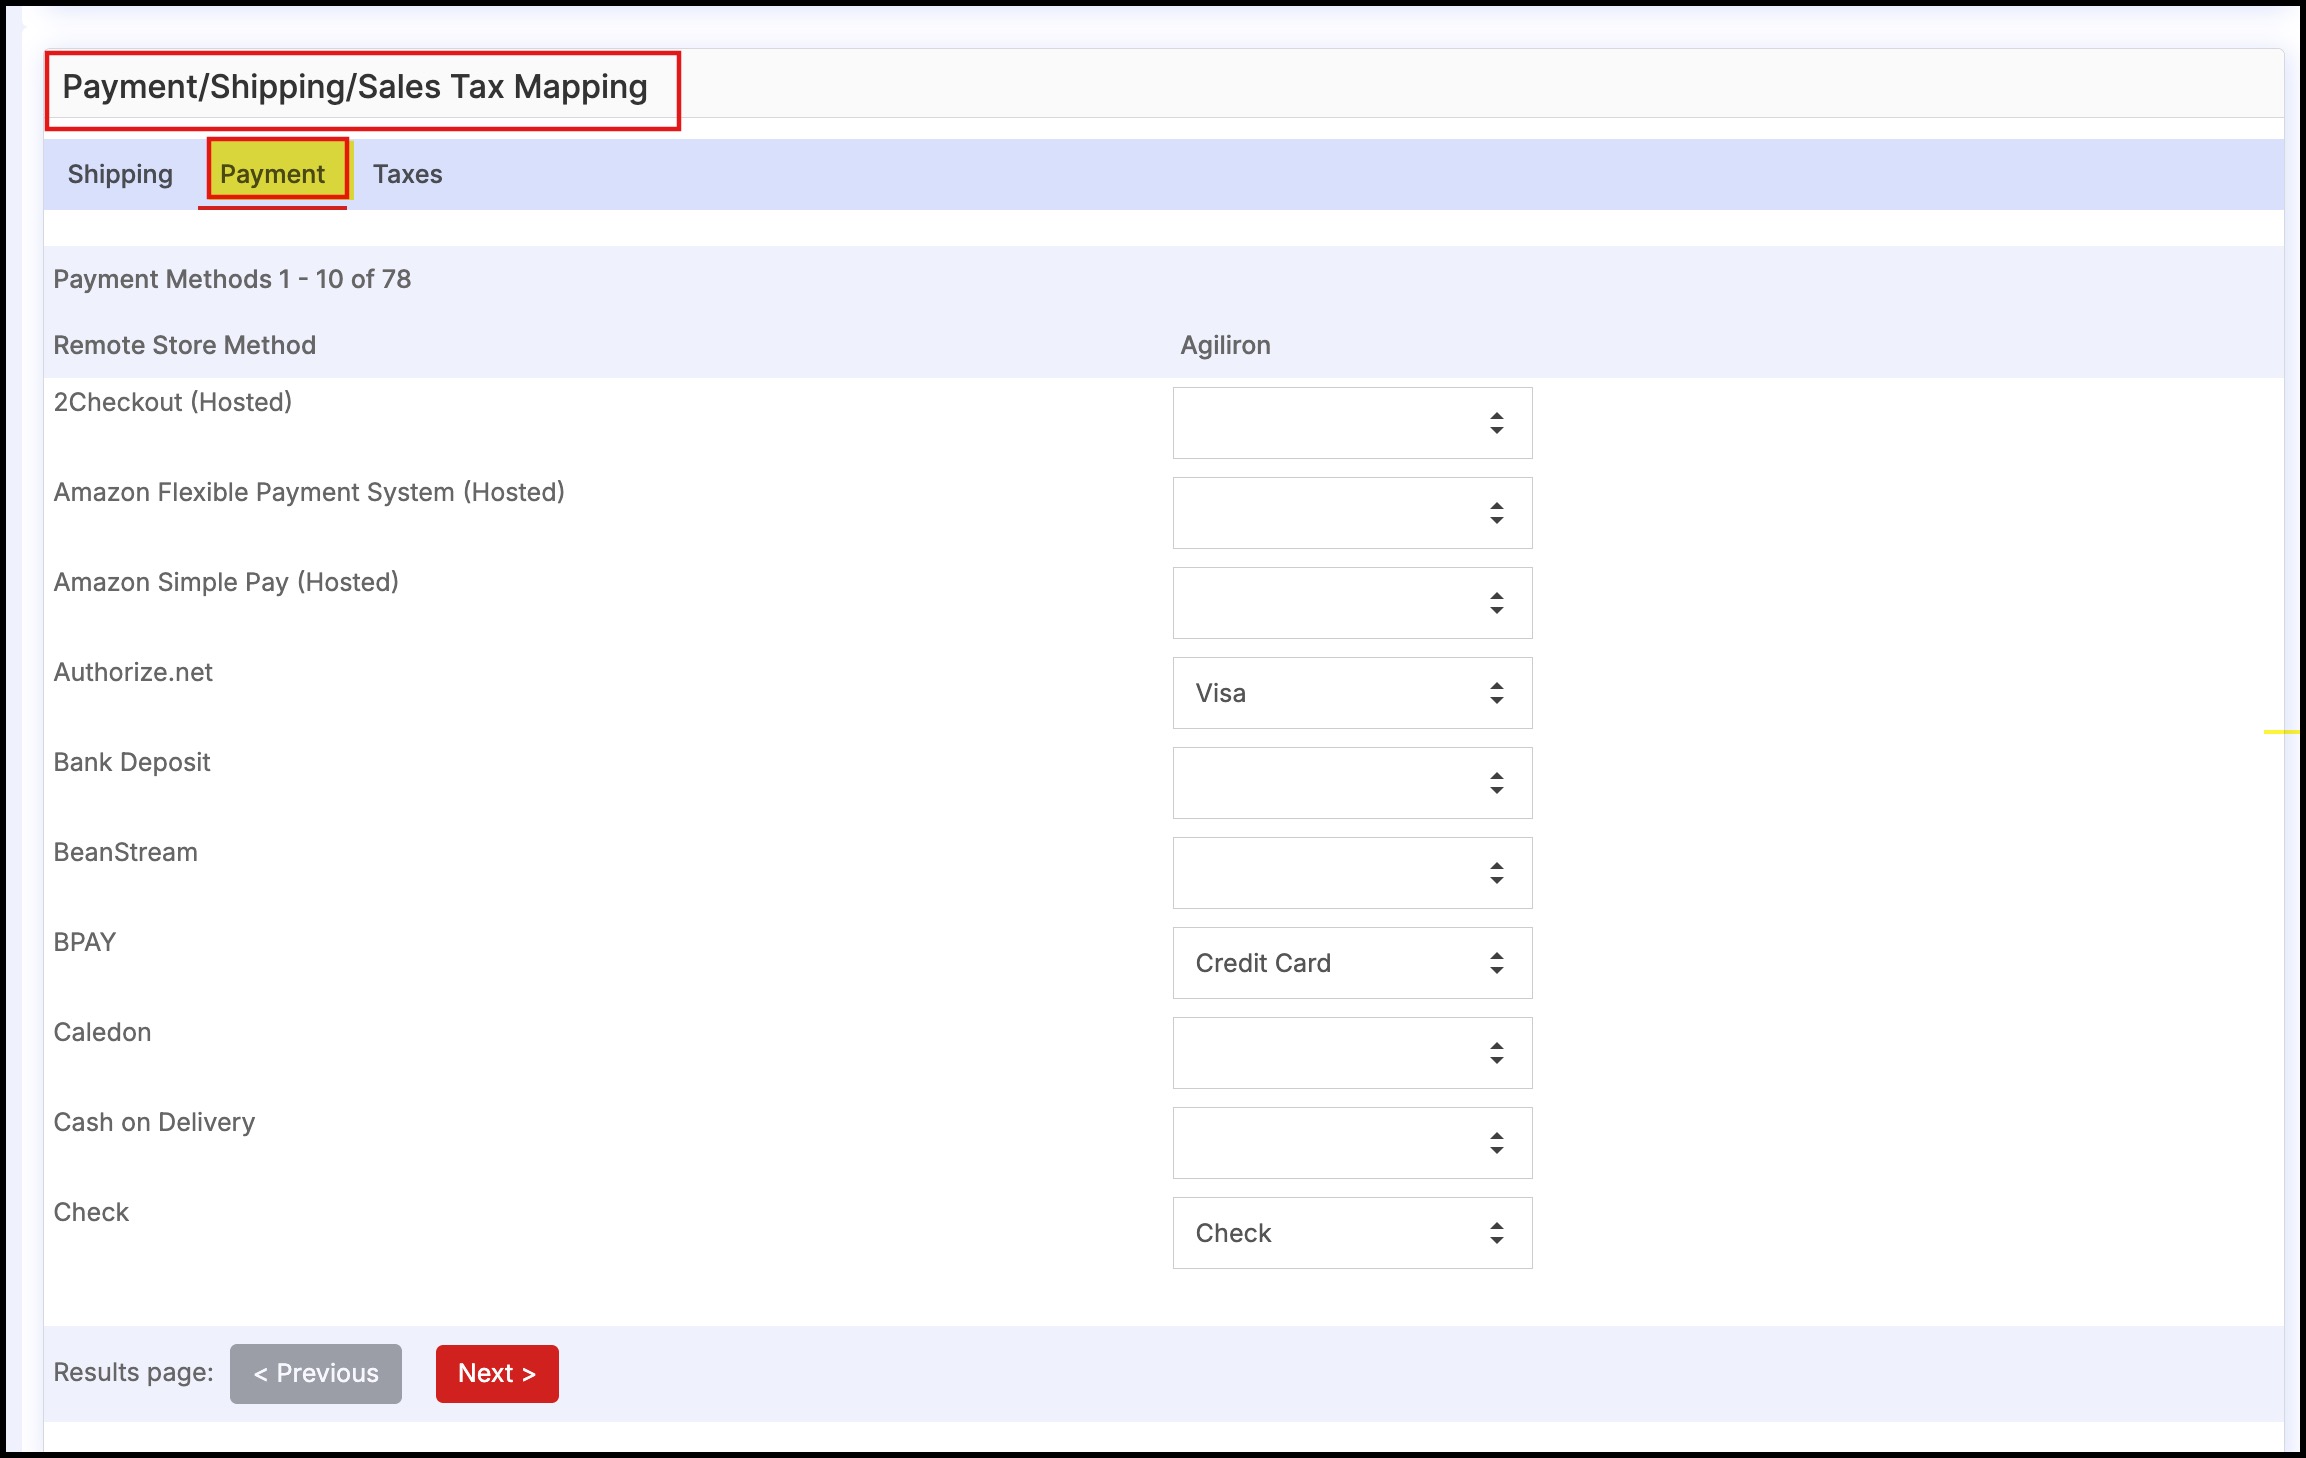
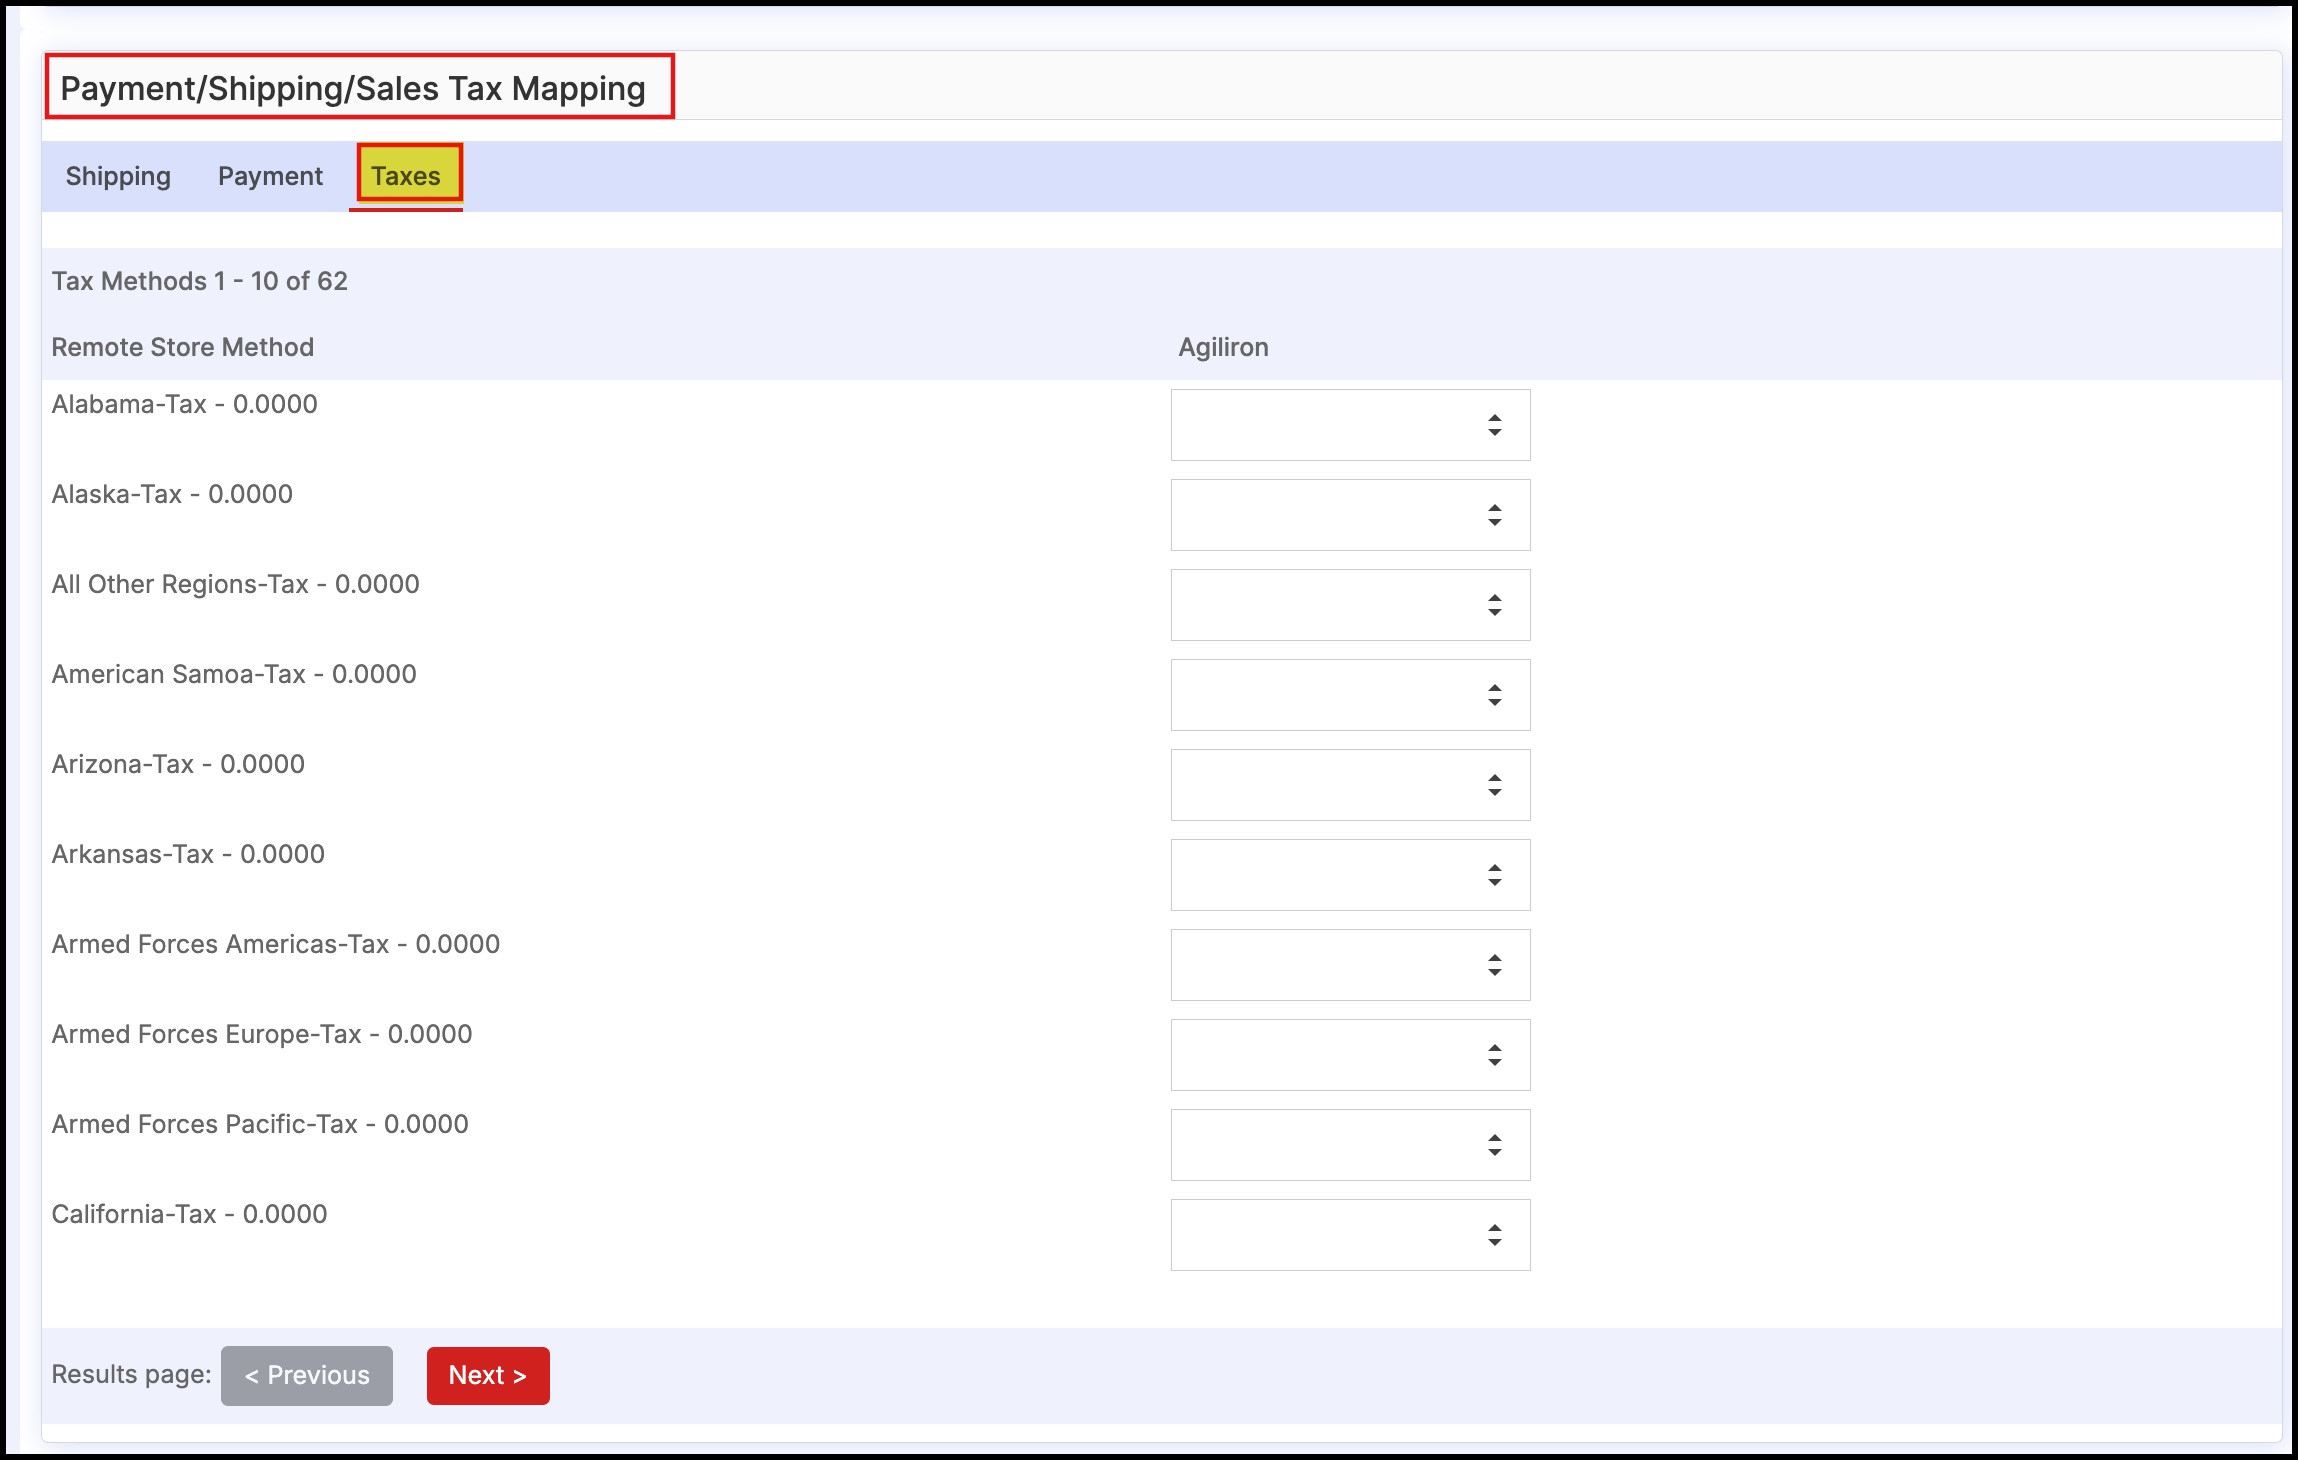
- In Agiliron - On the store details page, scroll down to Store Setup and map your Shipping, Payments, and Taxes options.
- Once the channel setup is completed, click on Save.

Updated about 1 year ago