Stock Transfer
Agiliron has come up with an additional feature - Stock Transfer. With this feature, you can transfer particular items/products from your current location to any other location.
- Login to Warehouse management app account.
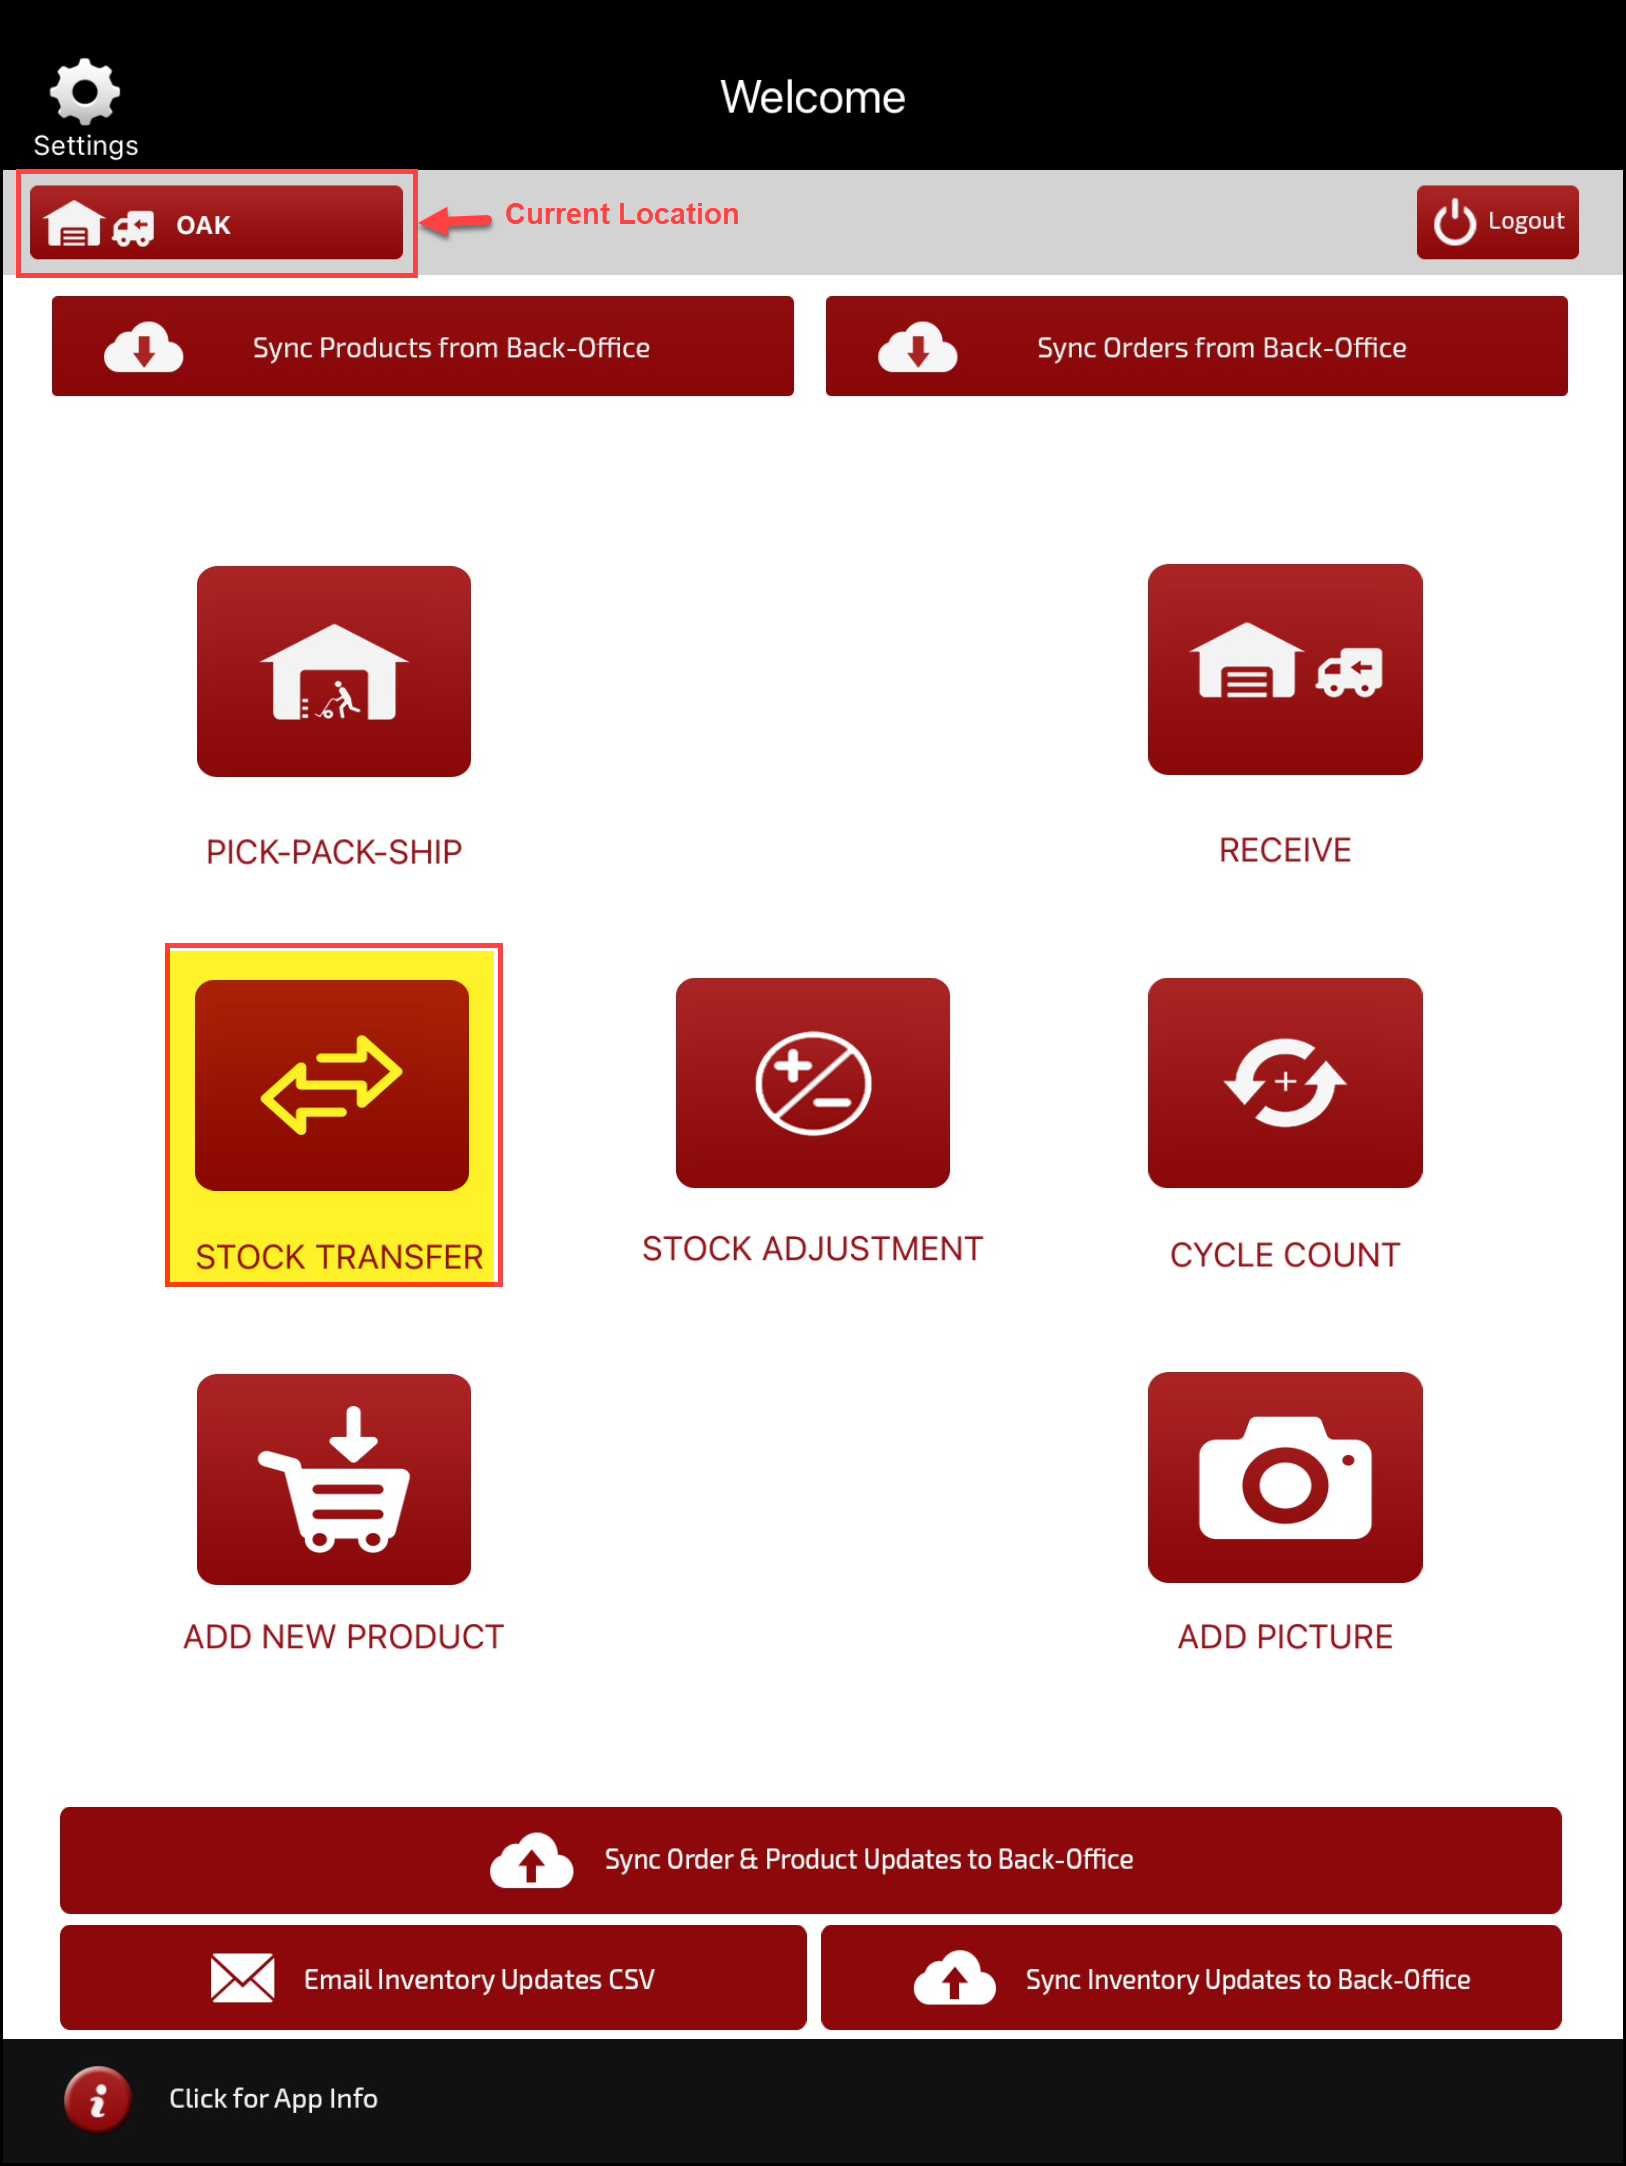
- On the top left corner, you can see your current location.
- Click on Stock Transfer on the home page.

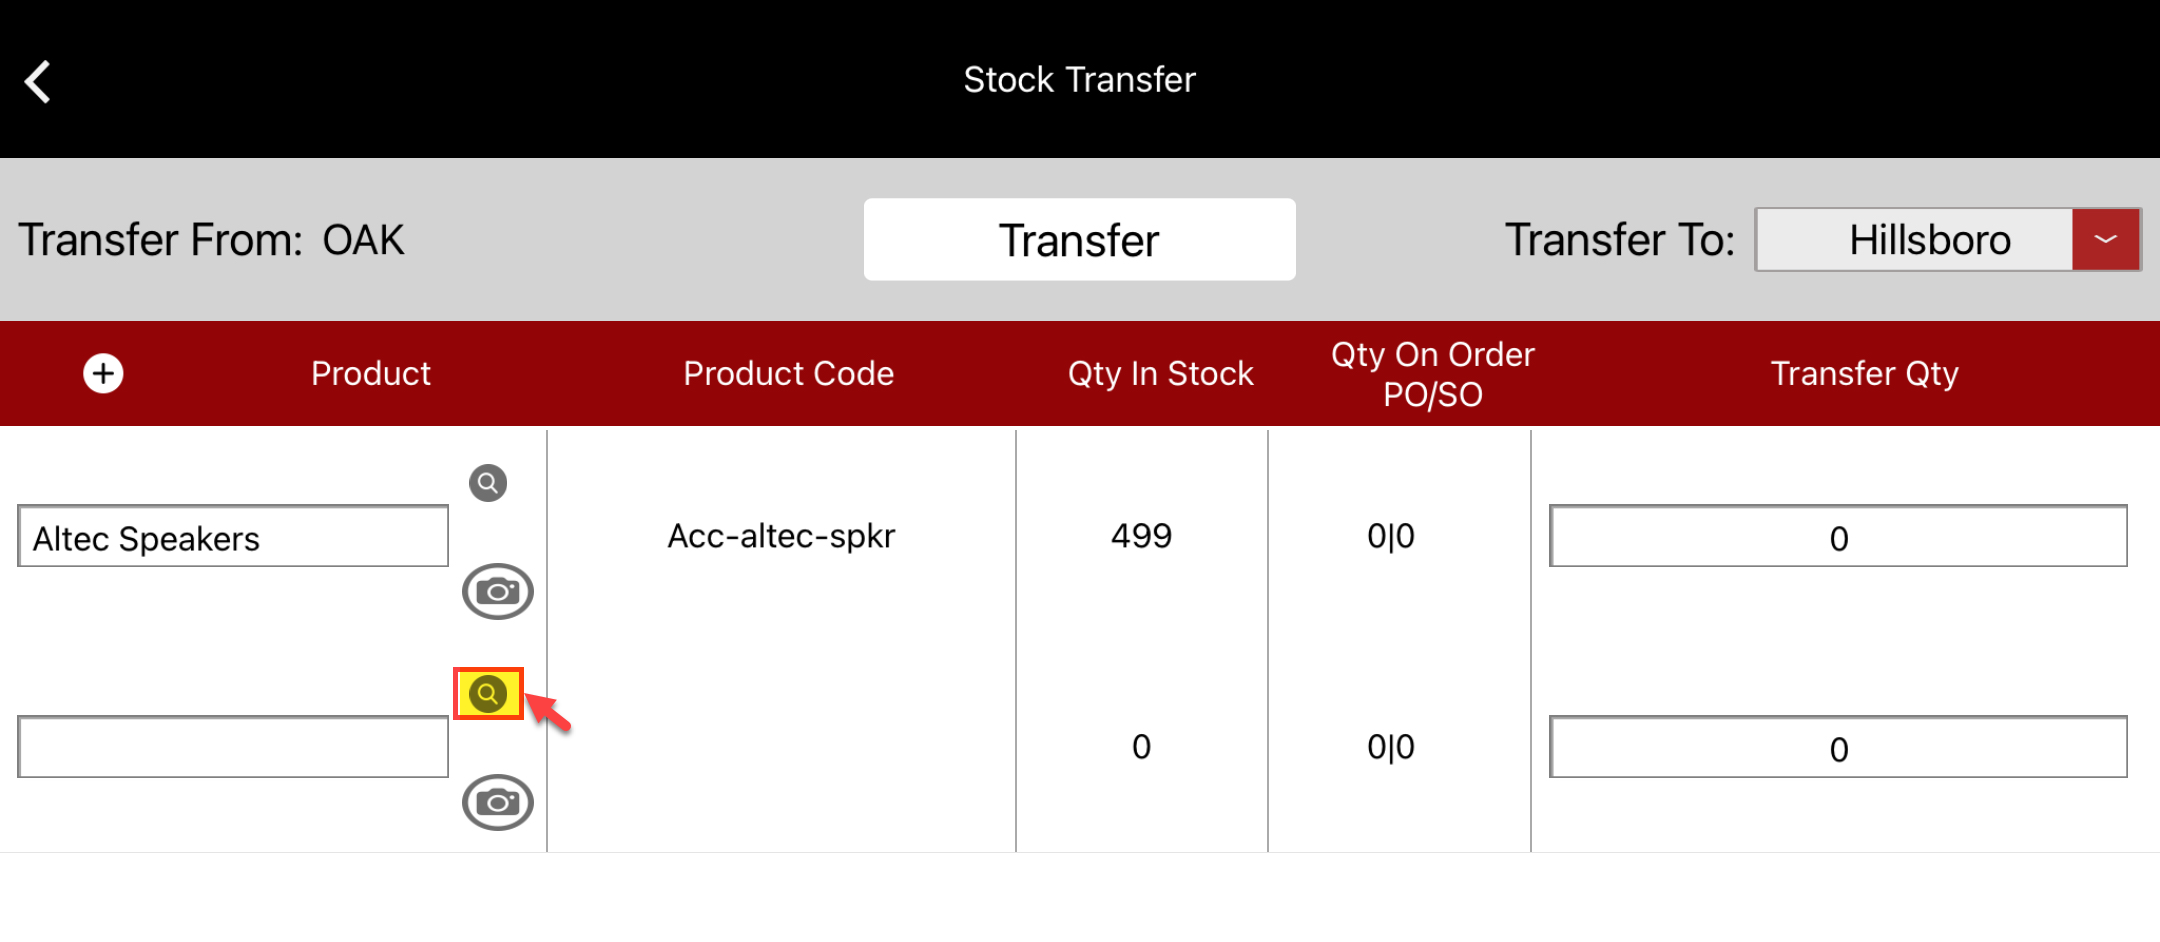
- Once the Stock Transfer feature gets opened, you can see Transfer to.
- When you click on the Select drop-down sign, you can see the list of locations. Select the location where you want to transfer the products.
- Now add the products which you want to transfer.
There are 3 ways to add products:
- Enter the product name.
or
- Click on the magnifying glass icon and select products one by one.

or
- Click on the camera icon and scan the barcodes of the products which you want to transfer.
- While selecting the products also enter the Transfer Qty for each respective product.
- In case of Matrix Product, you can see an additional Select SKU button under Transfer Qty column, click on it.
- Enter the Transfer Qty besides the Sku you want.
- Click on Save.
- If you want to delete any of the added product, simply slide left across the product row. You'll see a Delete option. Slide completely left, the particular product will get deleted.
- After the products are added, click on the Transfer button to complete the process. You'll see a message as shown below:
- Lastly, you need to click on the Sync Inventory Updates to Back-Office button present on the home page, so that whatever updates you've made get reflected in the back office.

Updated about 1 year ago
