Add a CNAME Record
- Log in to your GoDaddy Account (www.godaddy.com) where your domain is registered.
- After logging in, click the Menu icon and select Domains from the list.
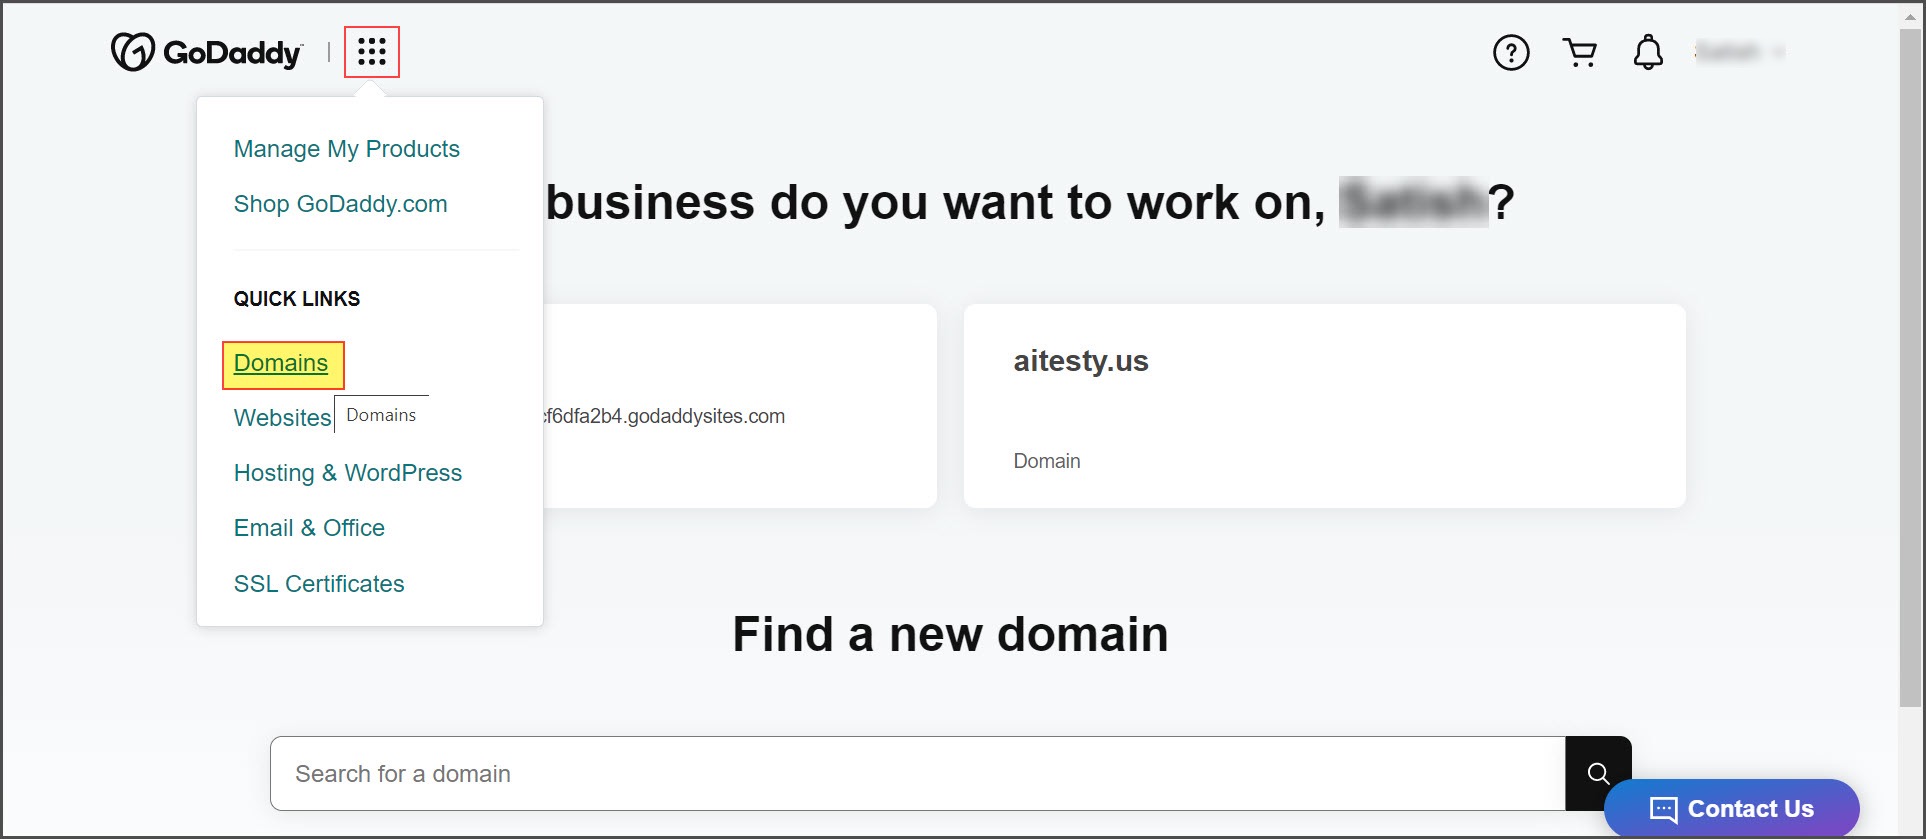
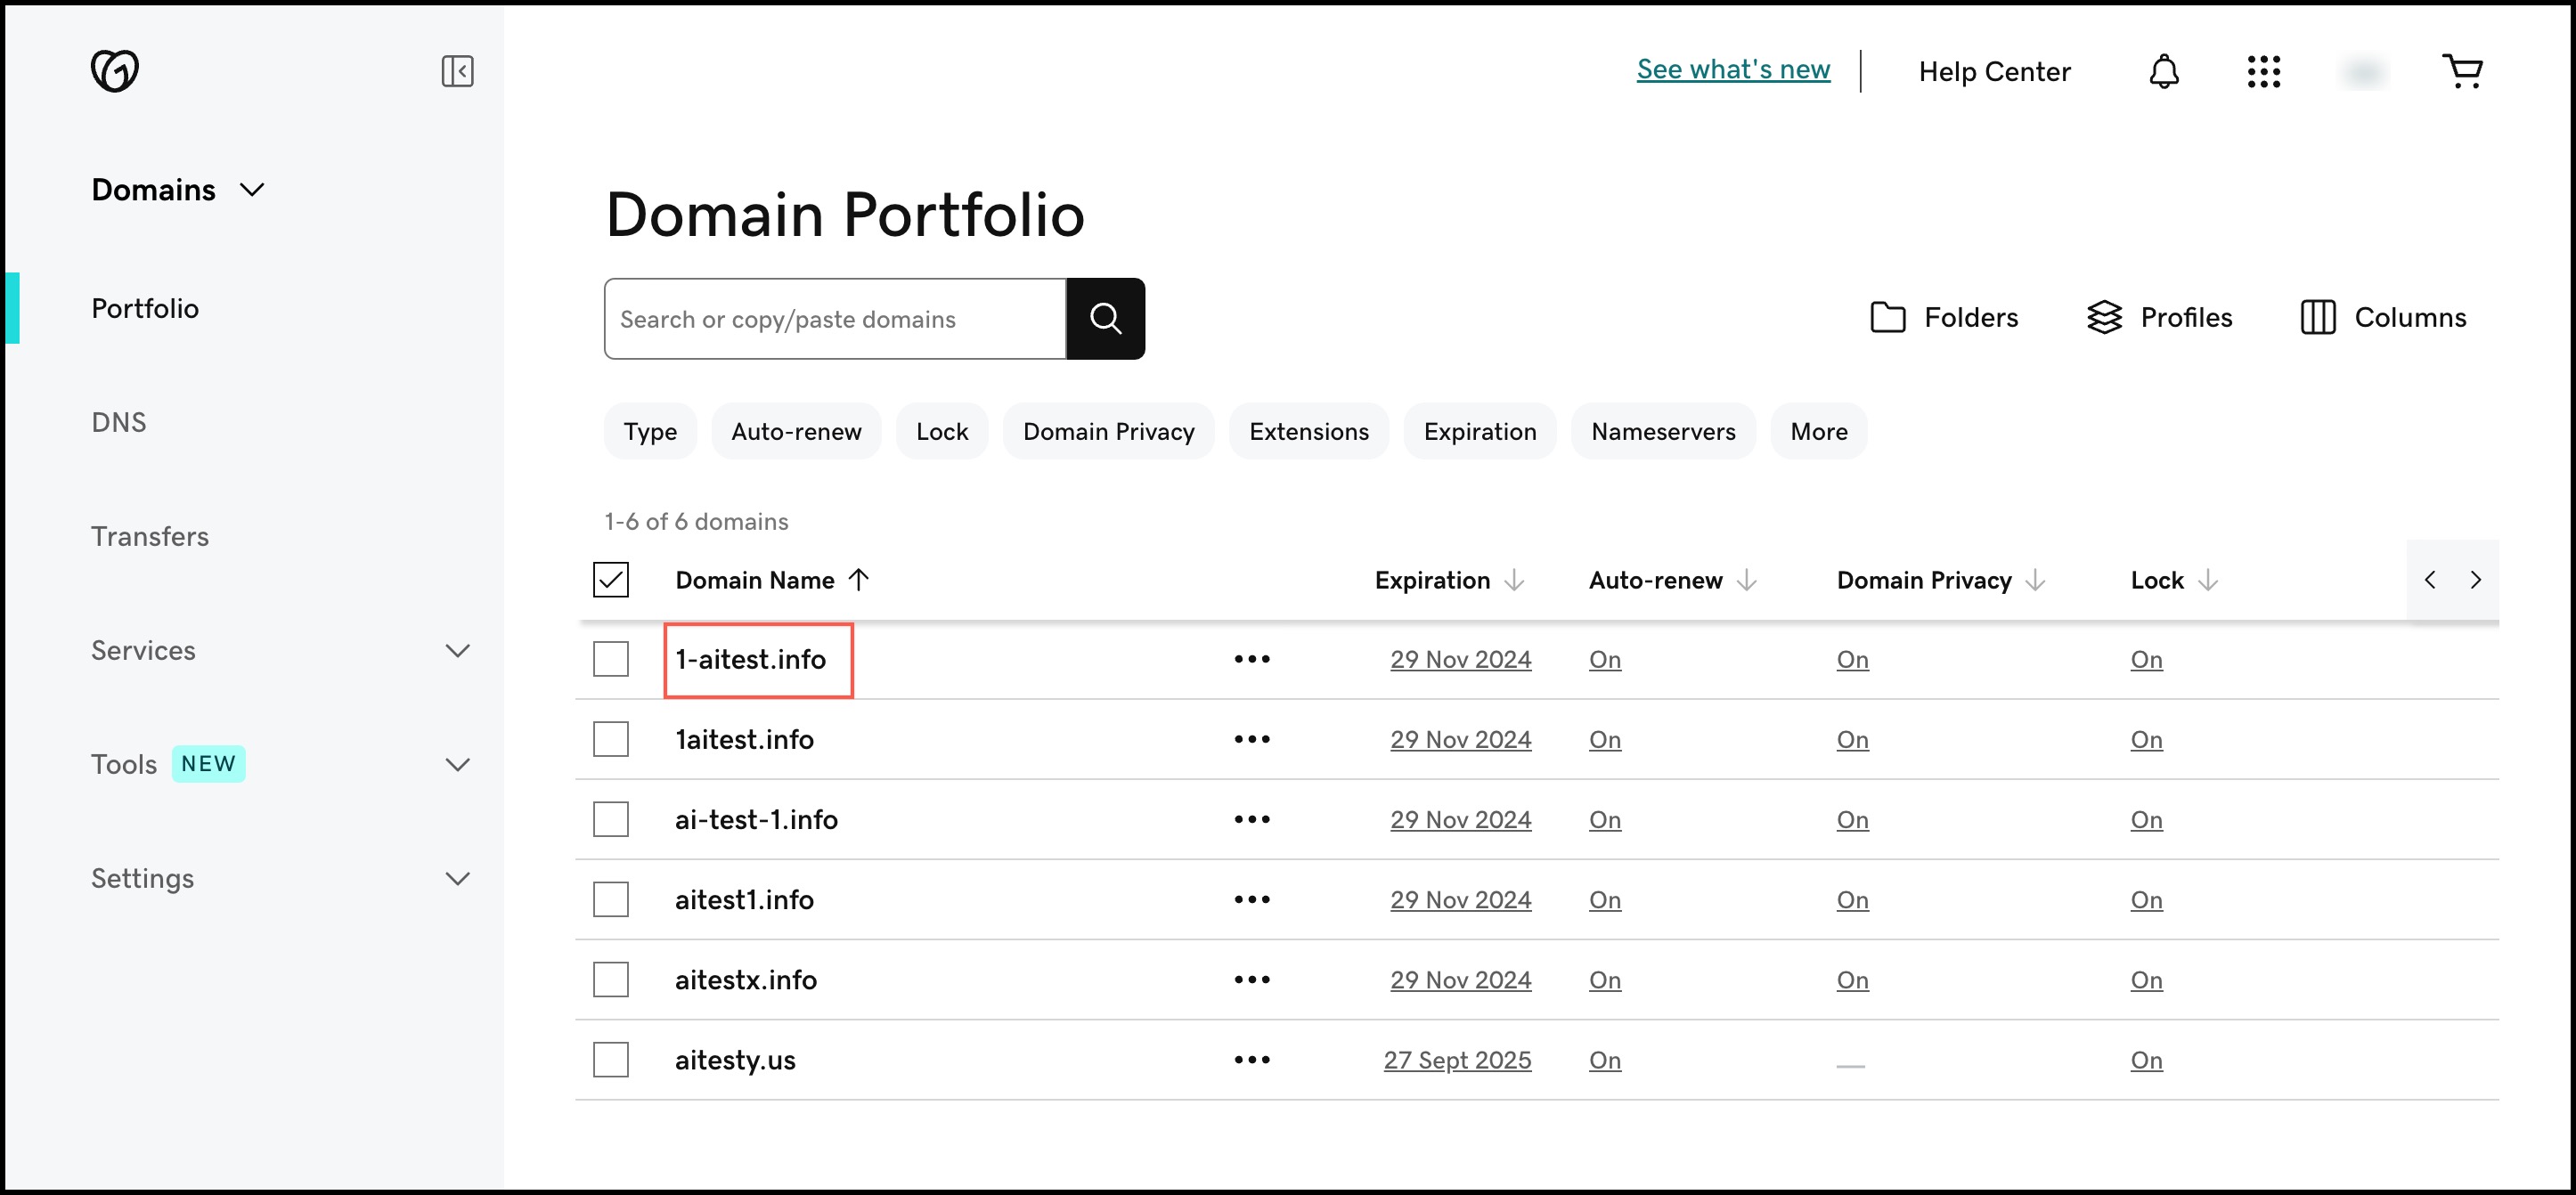
- Domain Portfolio will open, the registered domain should be here.
- Click on the "Domain" that you want.
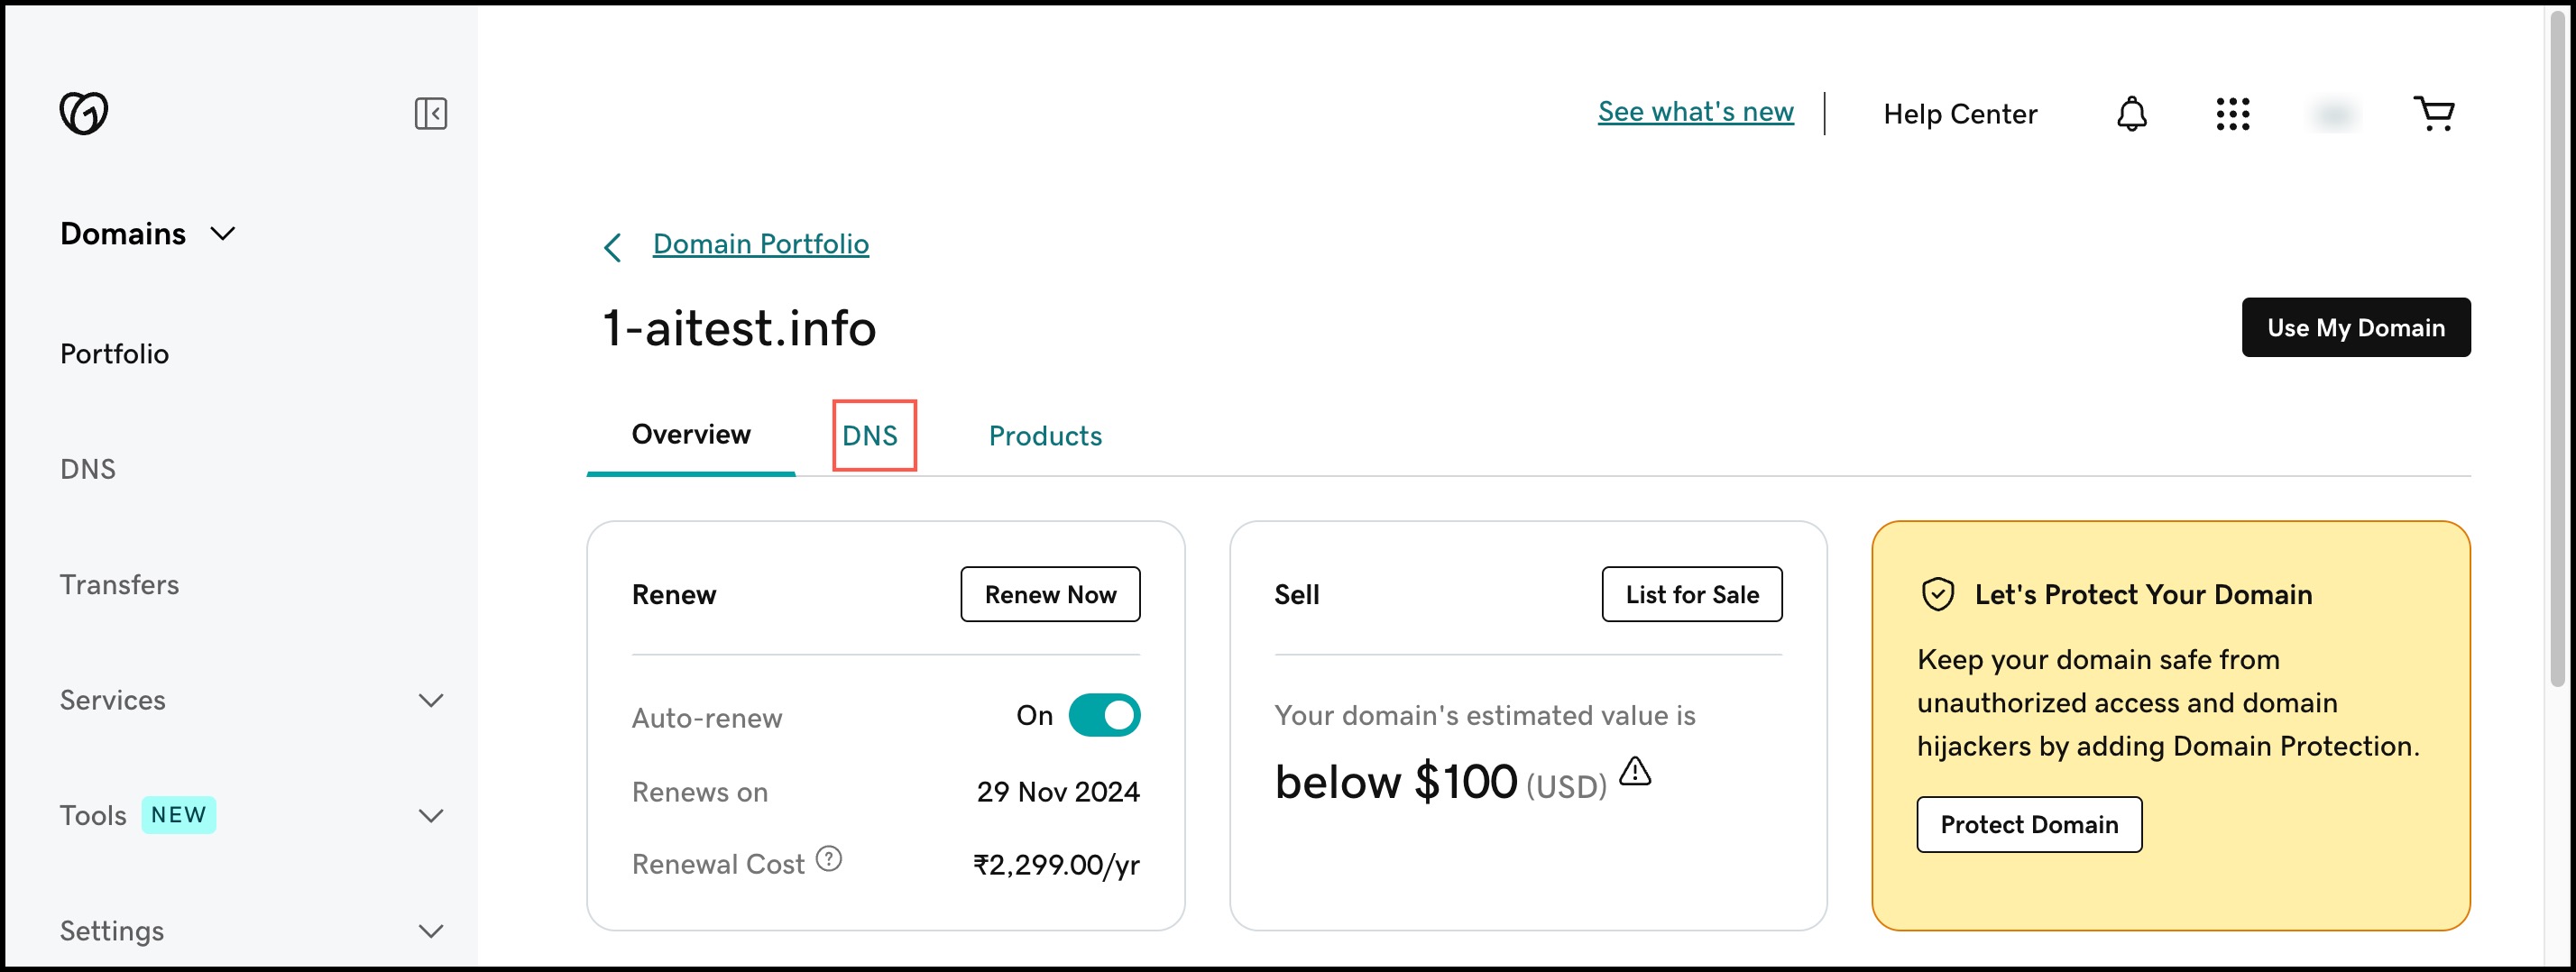
- The following screen is presented. Here you need to switch to the "DNS" tab as shown below.
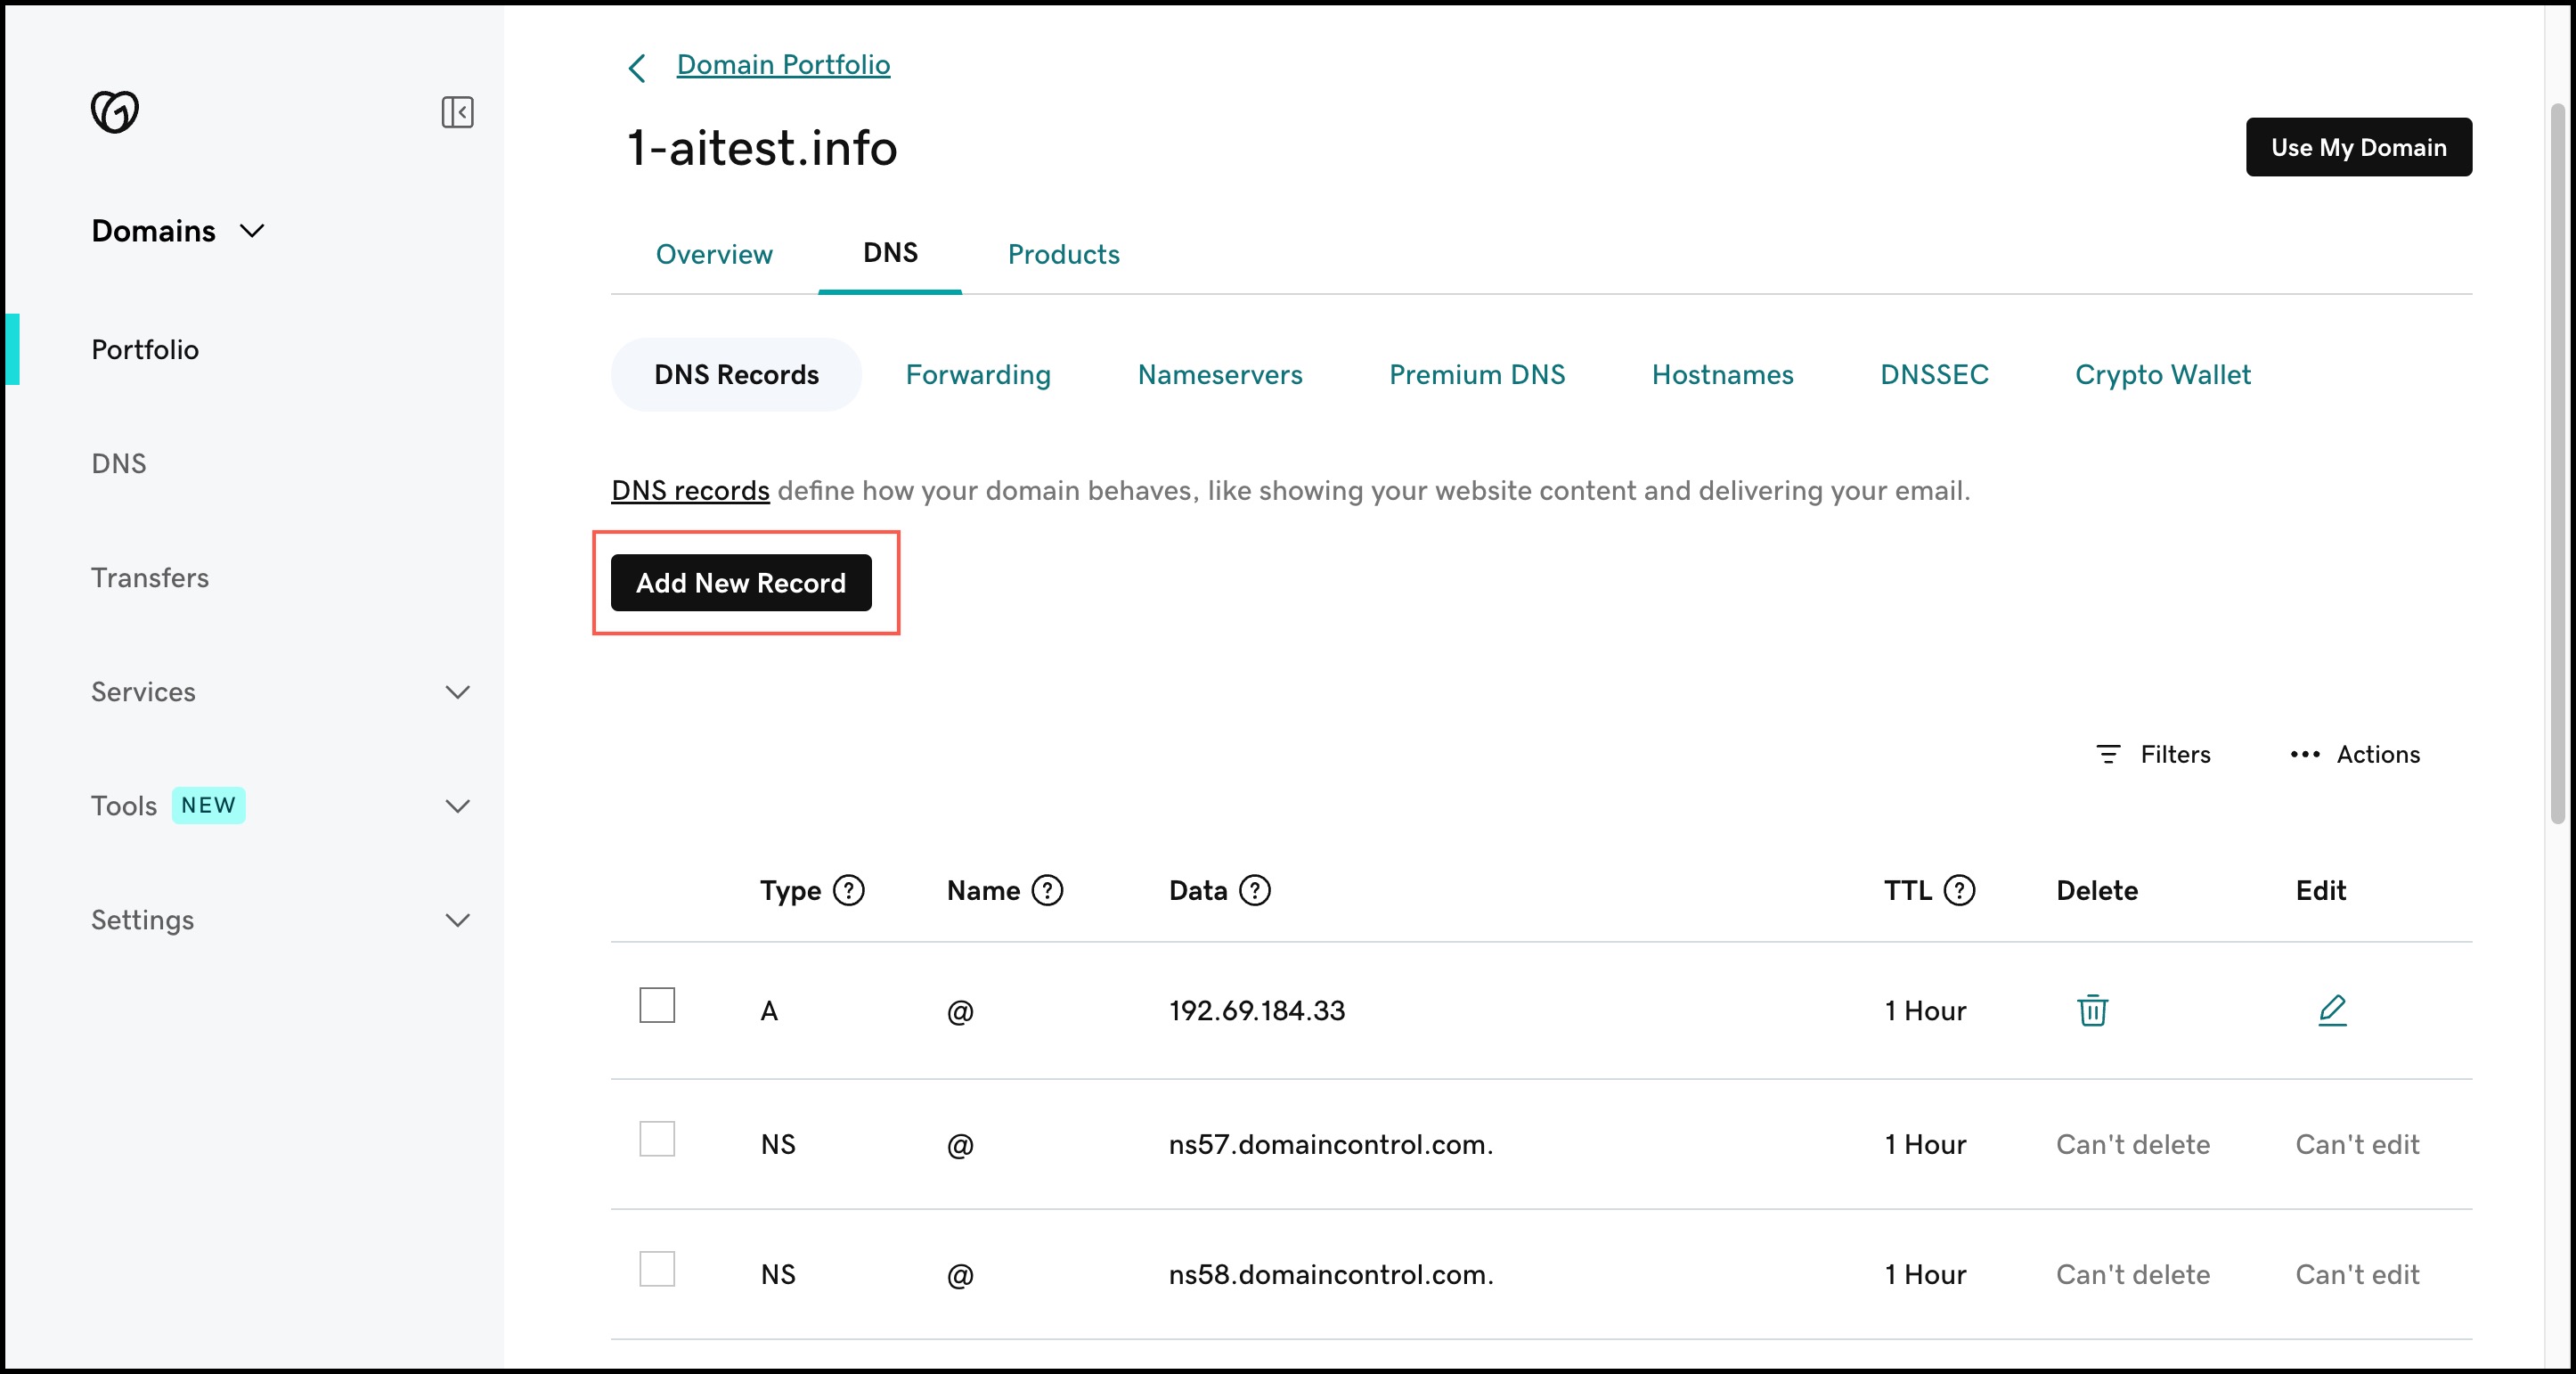
Then, Click on the Add New Record button to add new CNAME records.
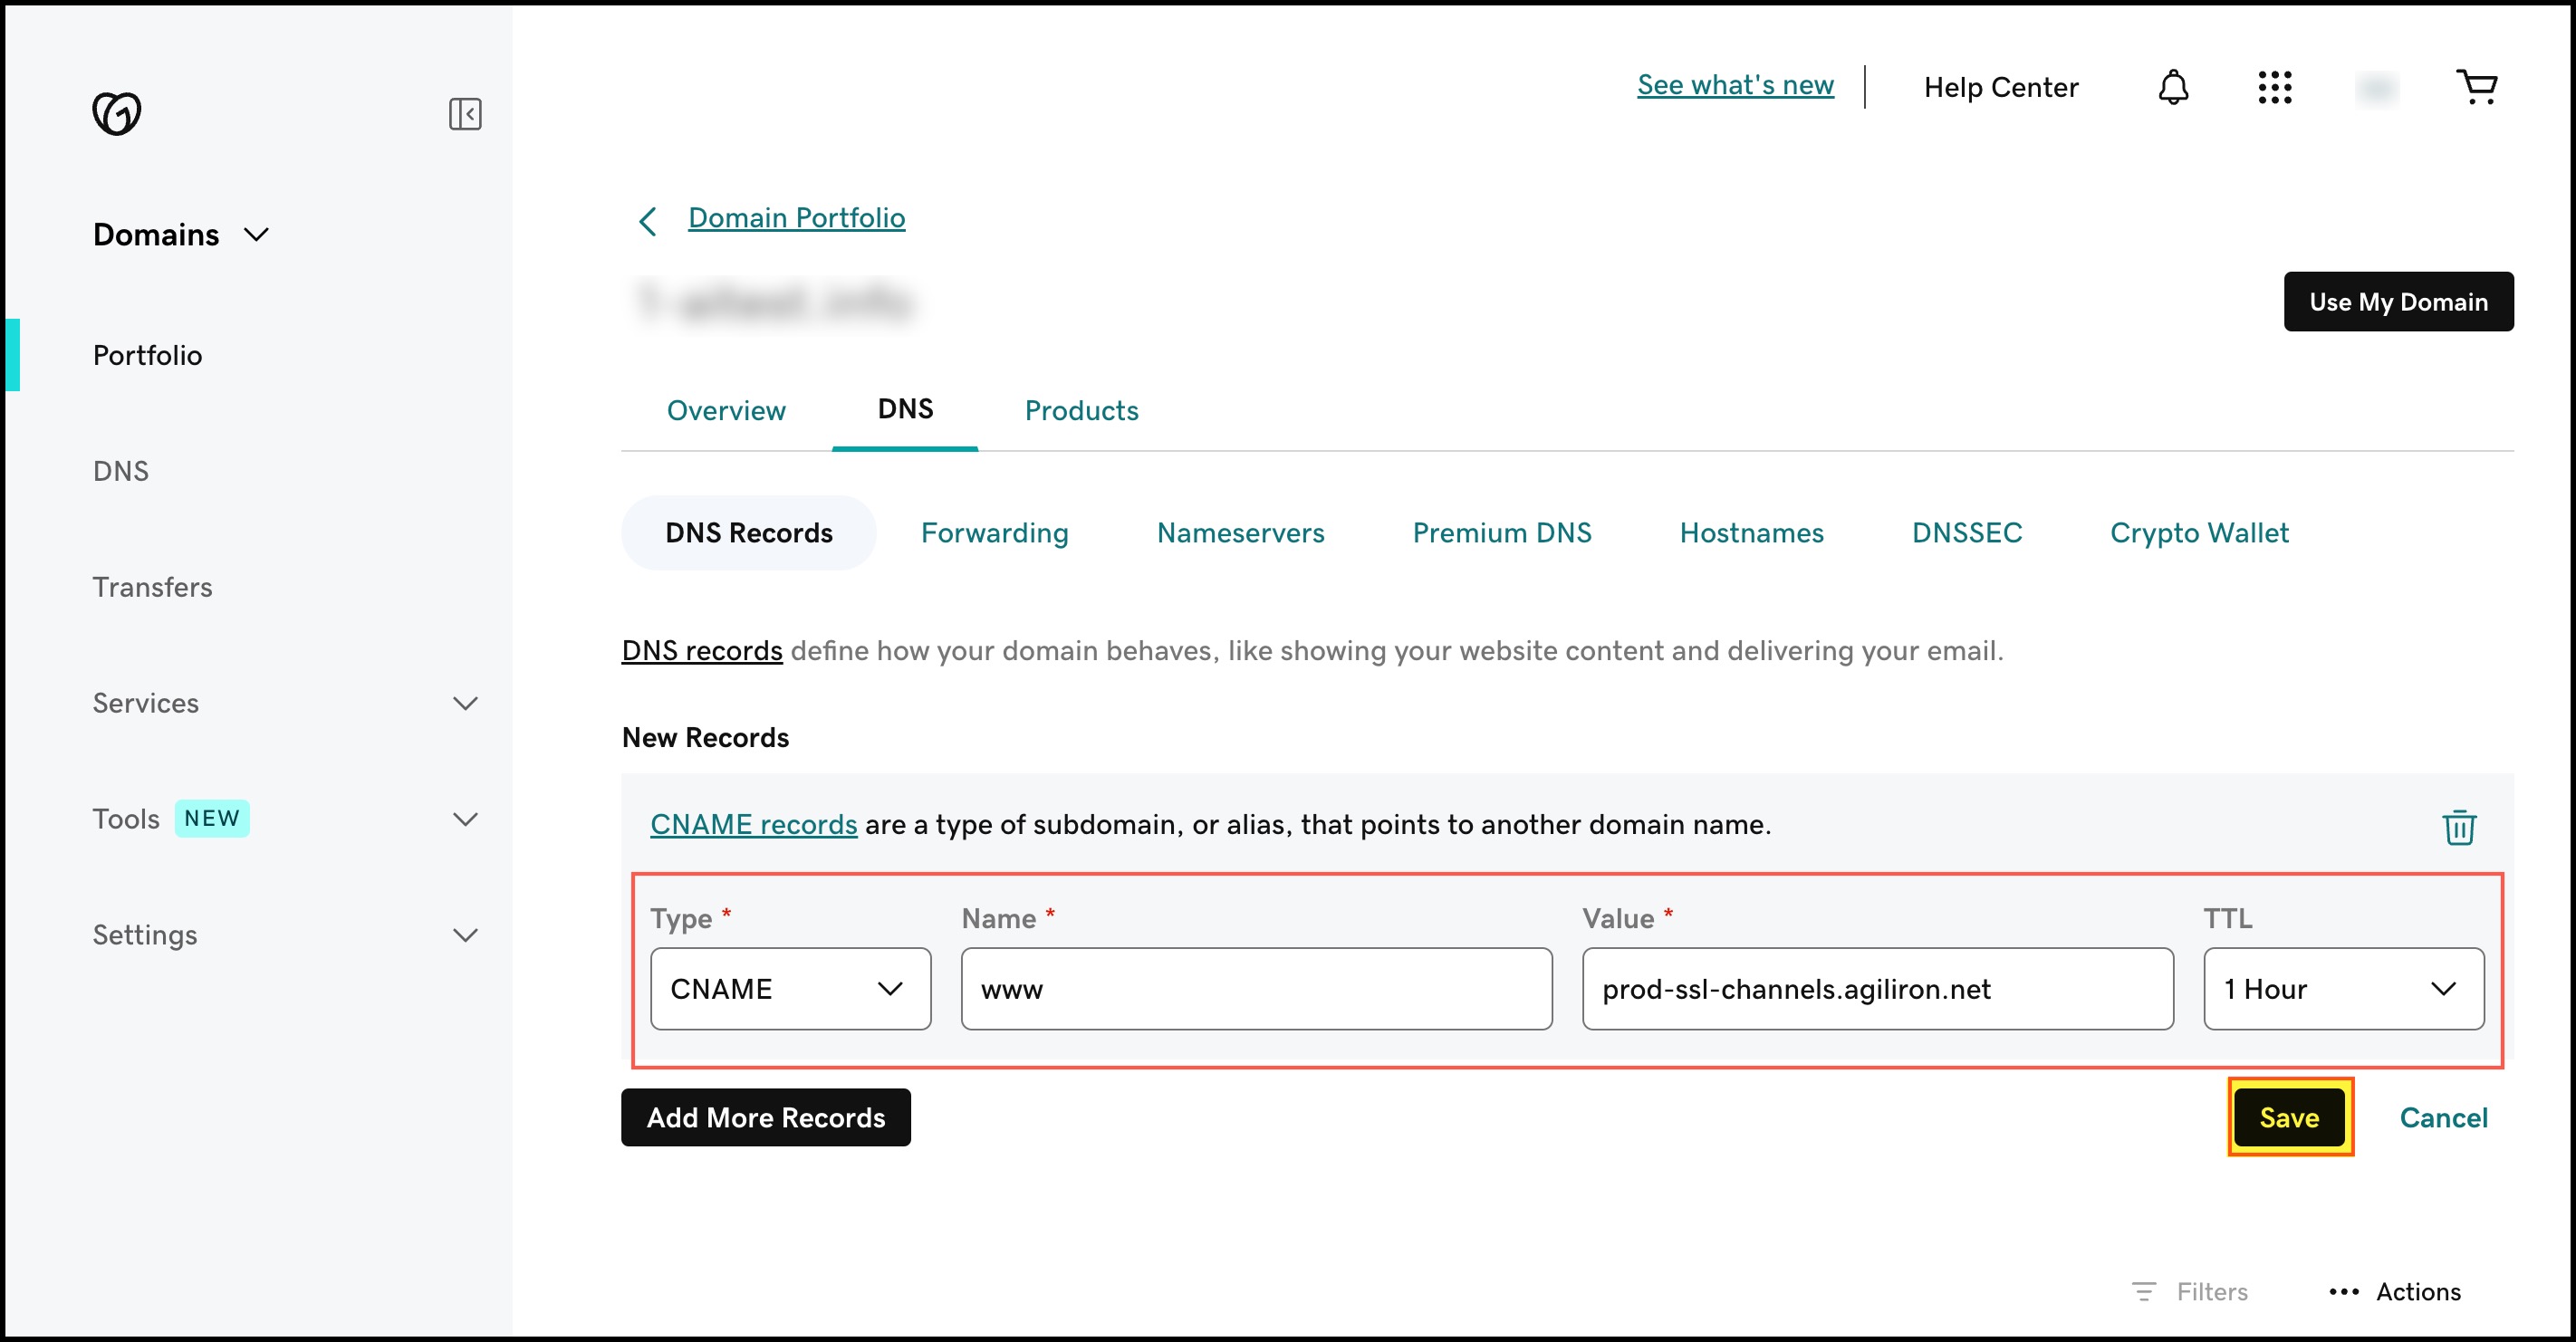
The following screen will be presented where you need to enter/select the following details:
- Select "Type" - Since you want to add the CNAME record, select CNAME from the dropdown list.
- Enter the "Name" field - It can be the hostname or prefix of the record, without the domain name, such as blog or shop. Here we've entered www.
- Enter the "Value" field - The URL you are setting as the destination for the host (prod-ssl-channels.agiliron.net)
- Select "TTL" for "1 Hour". If a longer TTL is selected, the domain change propagation across the internet will take longer.
- Click on the "Save" button.
Note: Please expect it may take 1 hour or even up to 48 hours (globally) for the routing to take effect and propagate.
Updated over 1 year ago