Importing Vendors
The application allows the user to import Vendors into the system in a CSV (comma separated values) file format. Most other systems will allow you to export data in this format facilitating migration of existing data into this system.
Note: On Windows, to export from MS-Excel to CSV format, click on "File > Save As..." and select the "CSV (Comma Delimited)" option. On Mac OSX, to export from MS-Excel to CSV format, click on "File > Save As..." and select the "CSV (Windows)" option.
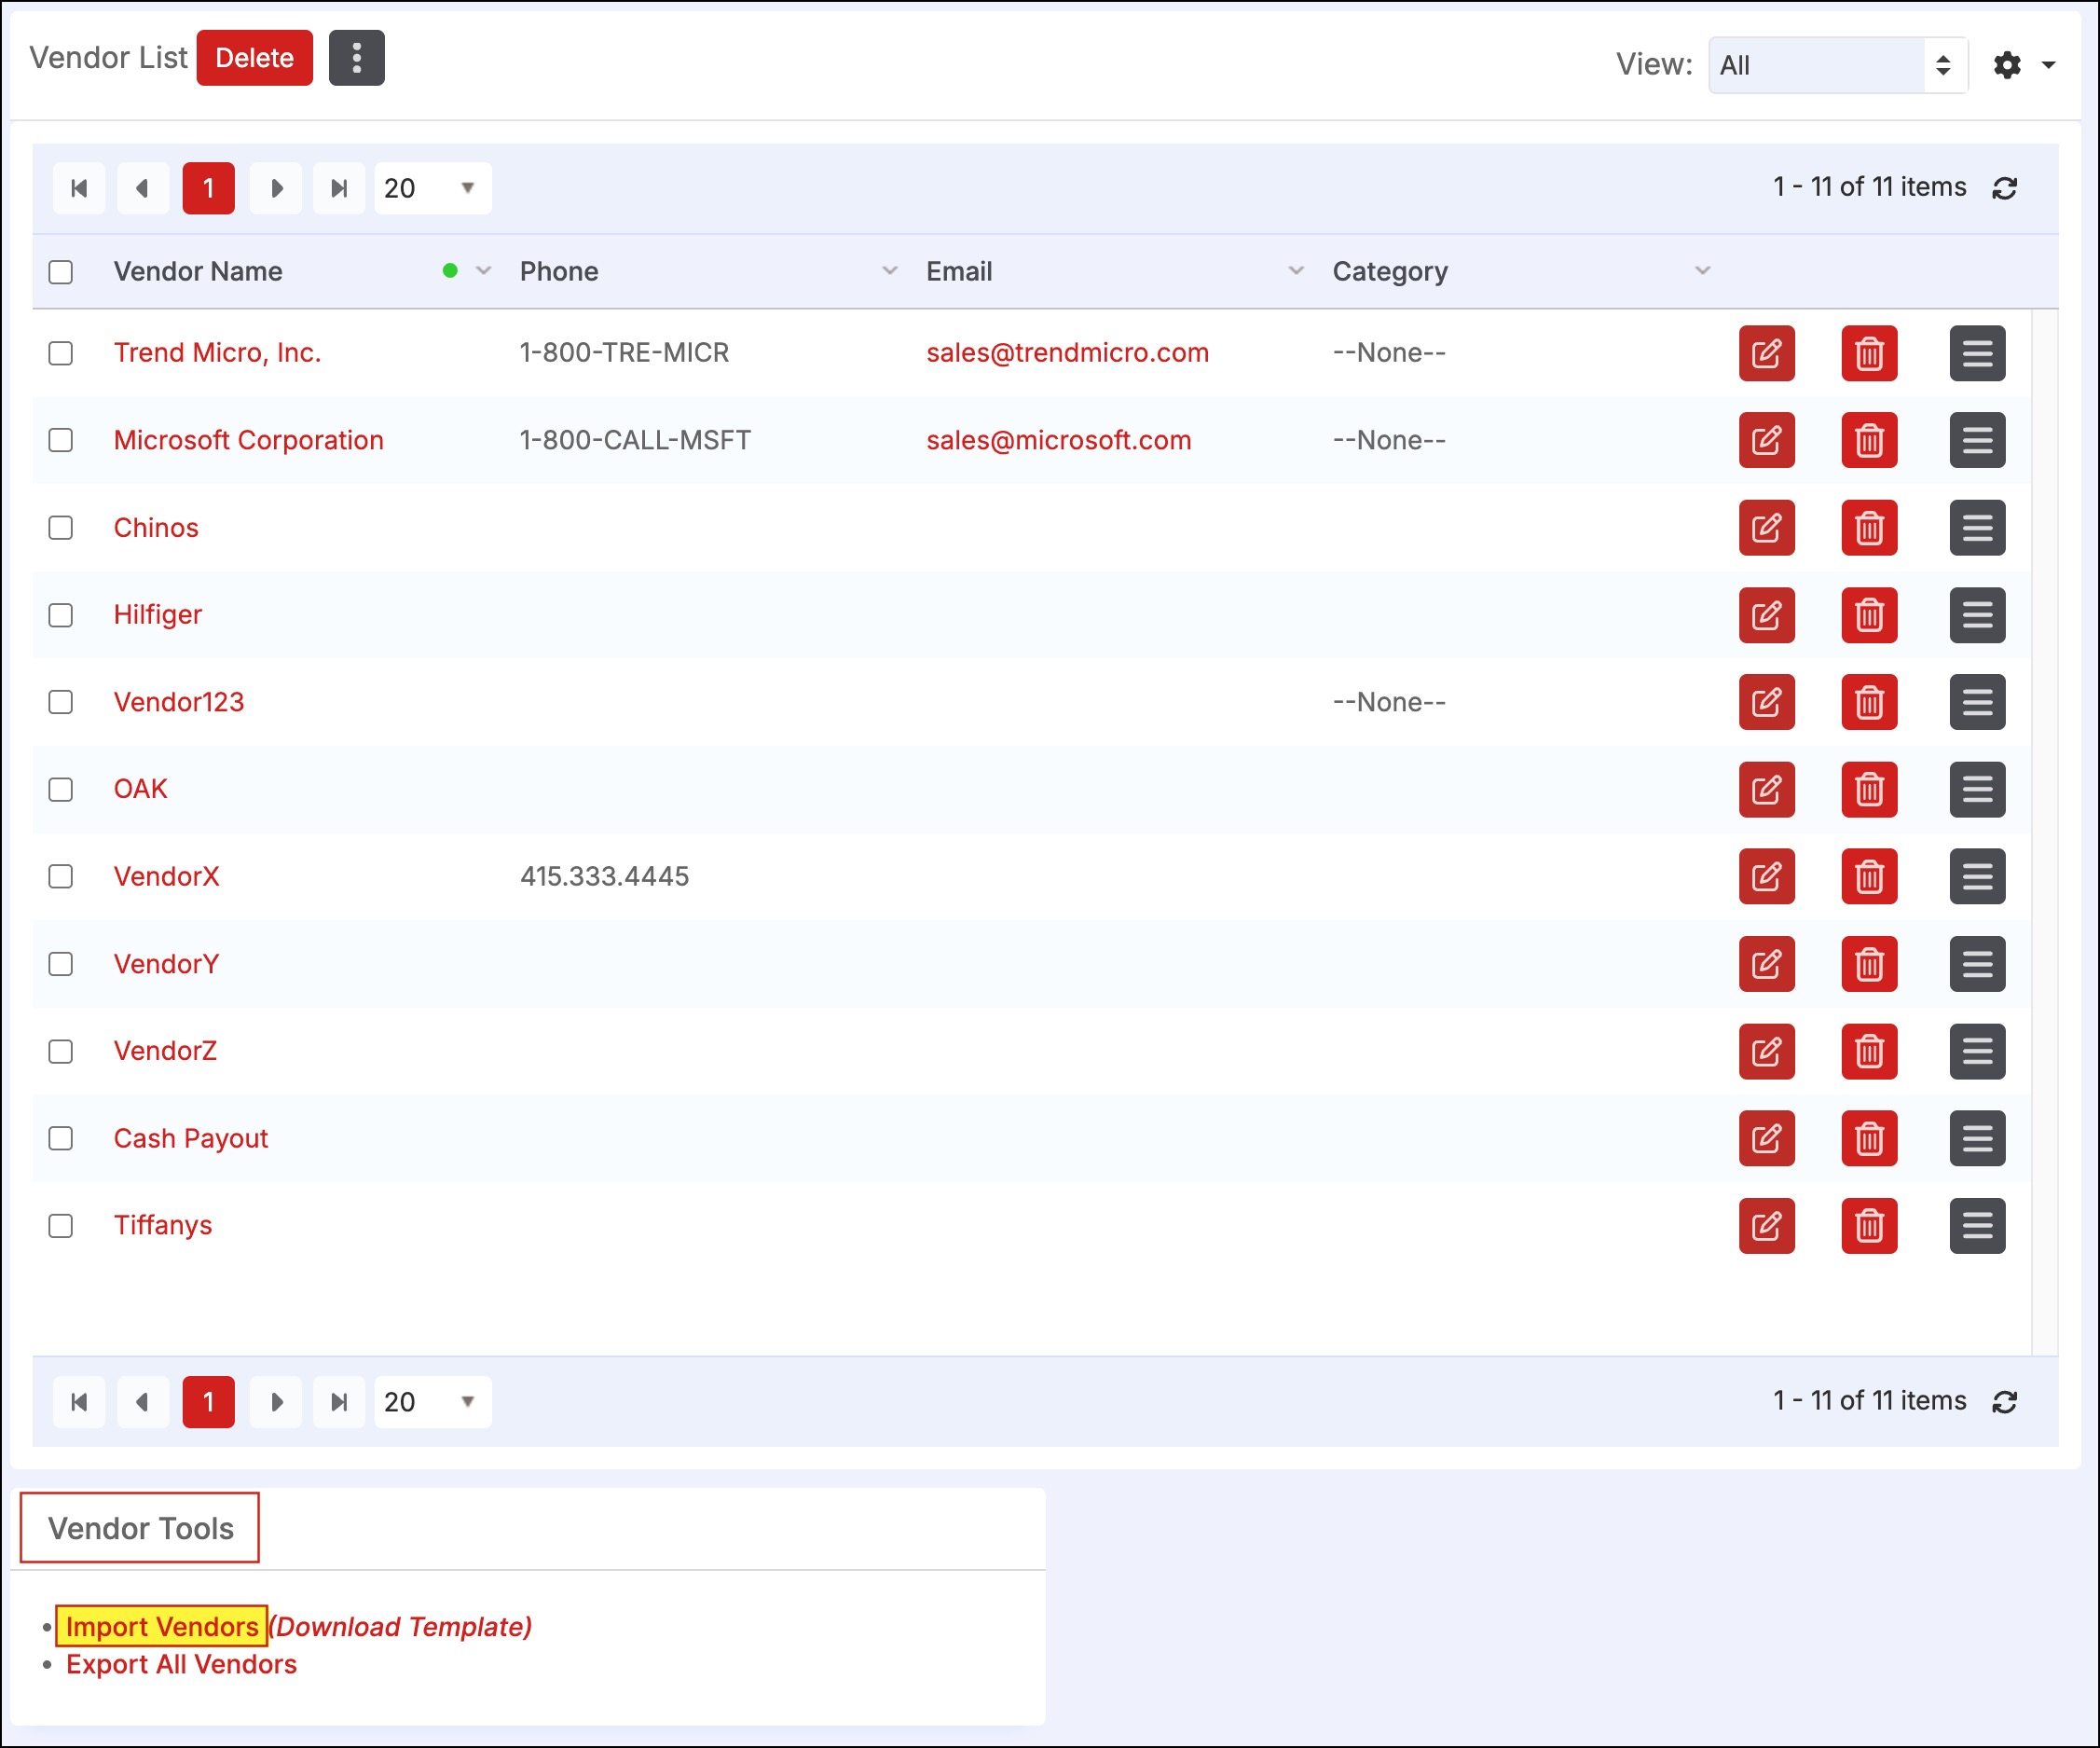
To import Vendors, go the "Products > Vendors" tab and select "Import Vendors". The "Download Template" link to its right provides a spreadsheet template for providing the Vendor information along with instructions.
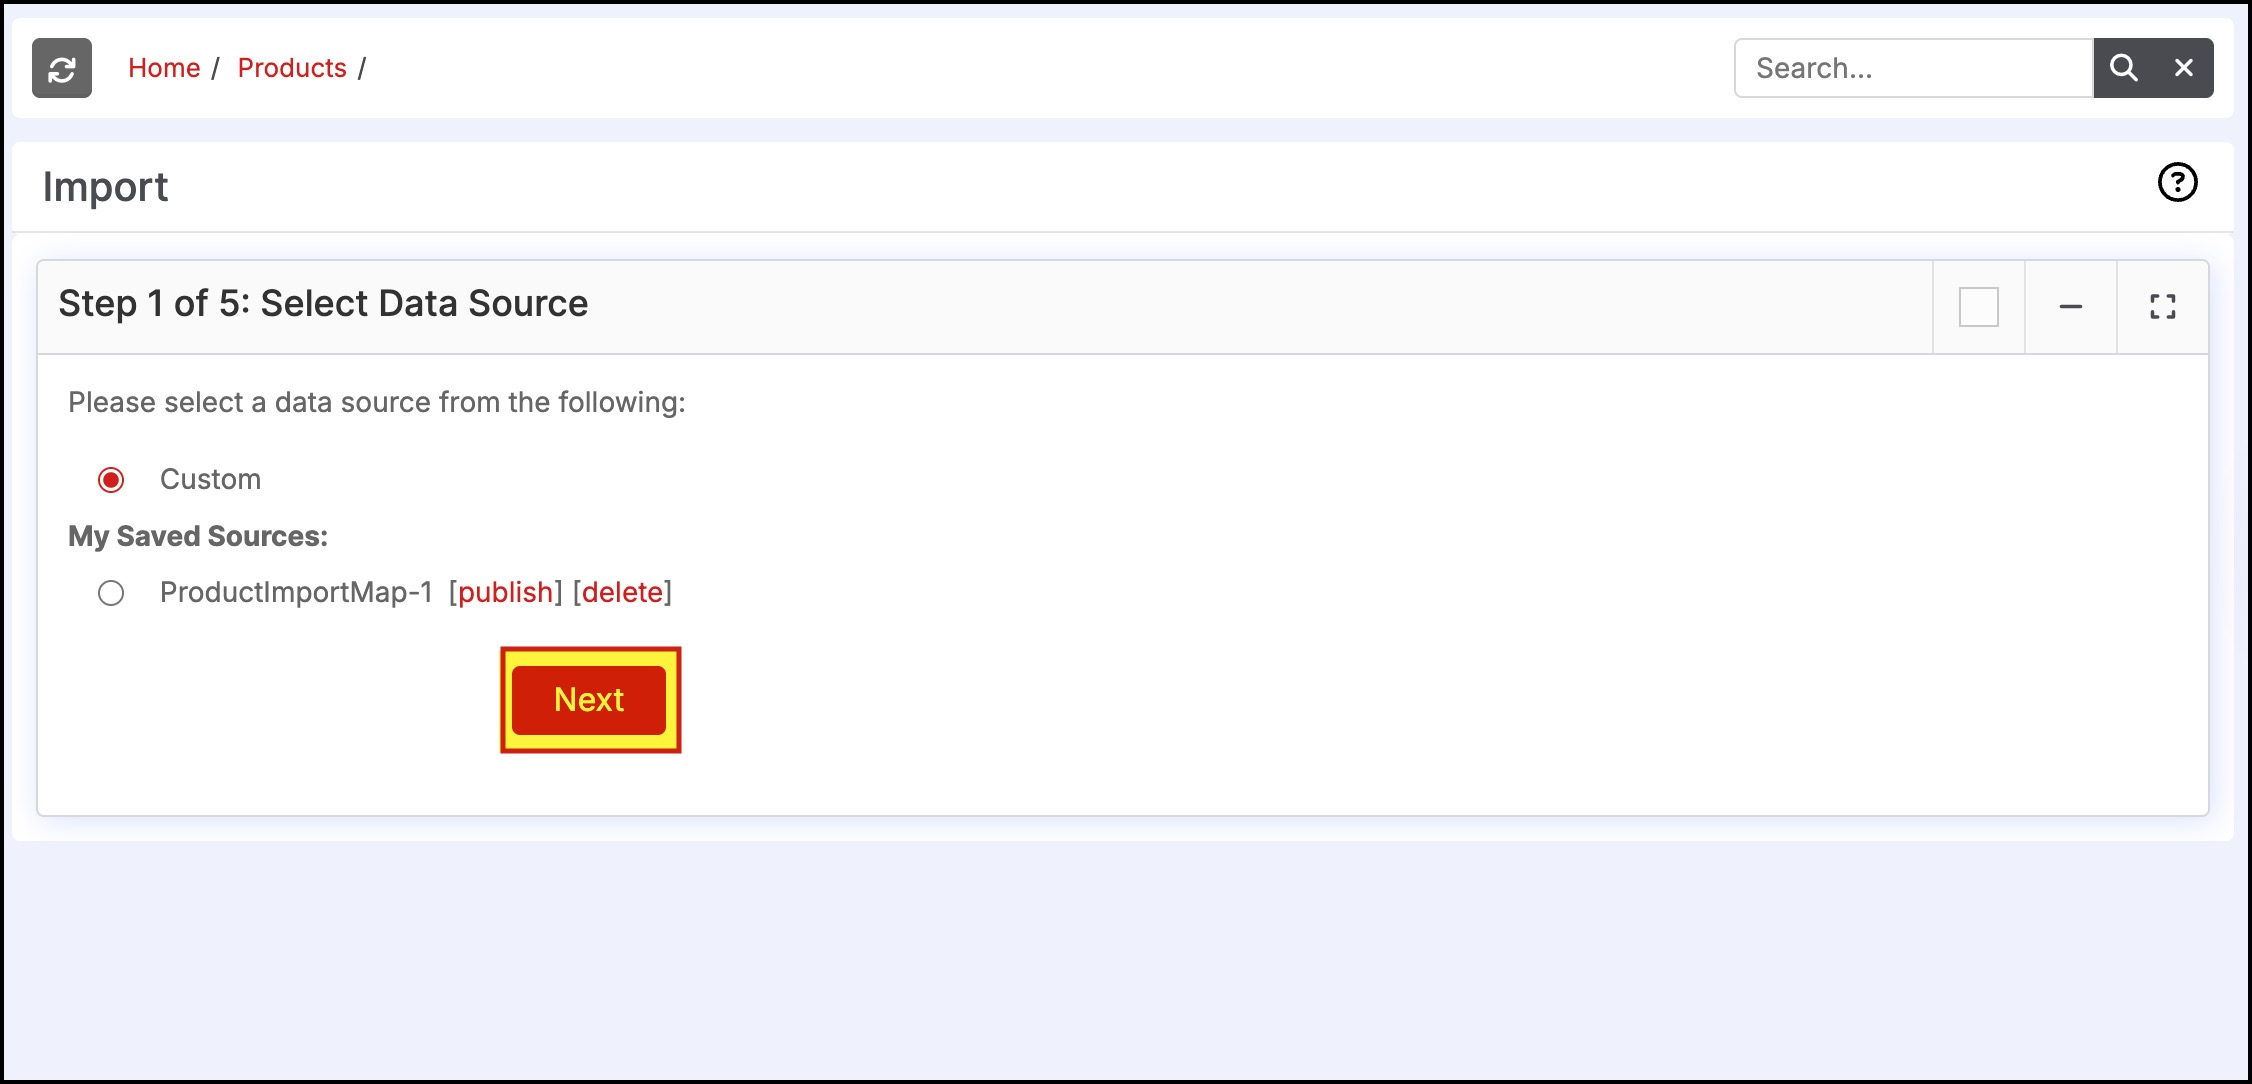
This will bring up a four-step wizard that walks the user thru the import process. In this first step, select an option from a data source mapping method. If this is the first time you are importing data, choose "Custom". If a previous mapping exists under "My Saved Sources", then you may select that if the mapping has not changed. Click the "Next" button.
Note: If the header row or the columns of the CSV file are changed, the saved mappings will need to be mapped again.
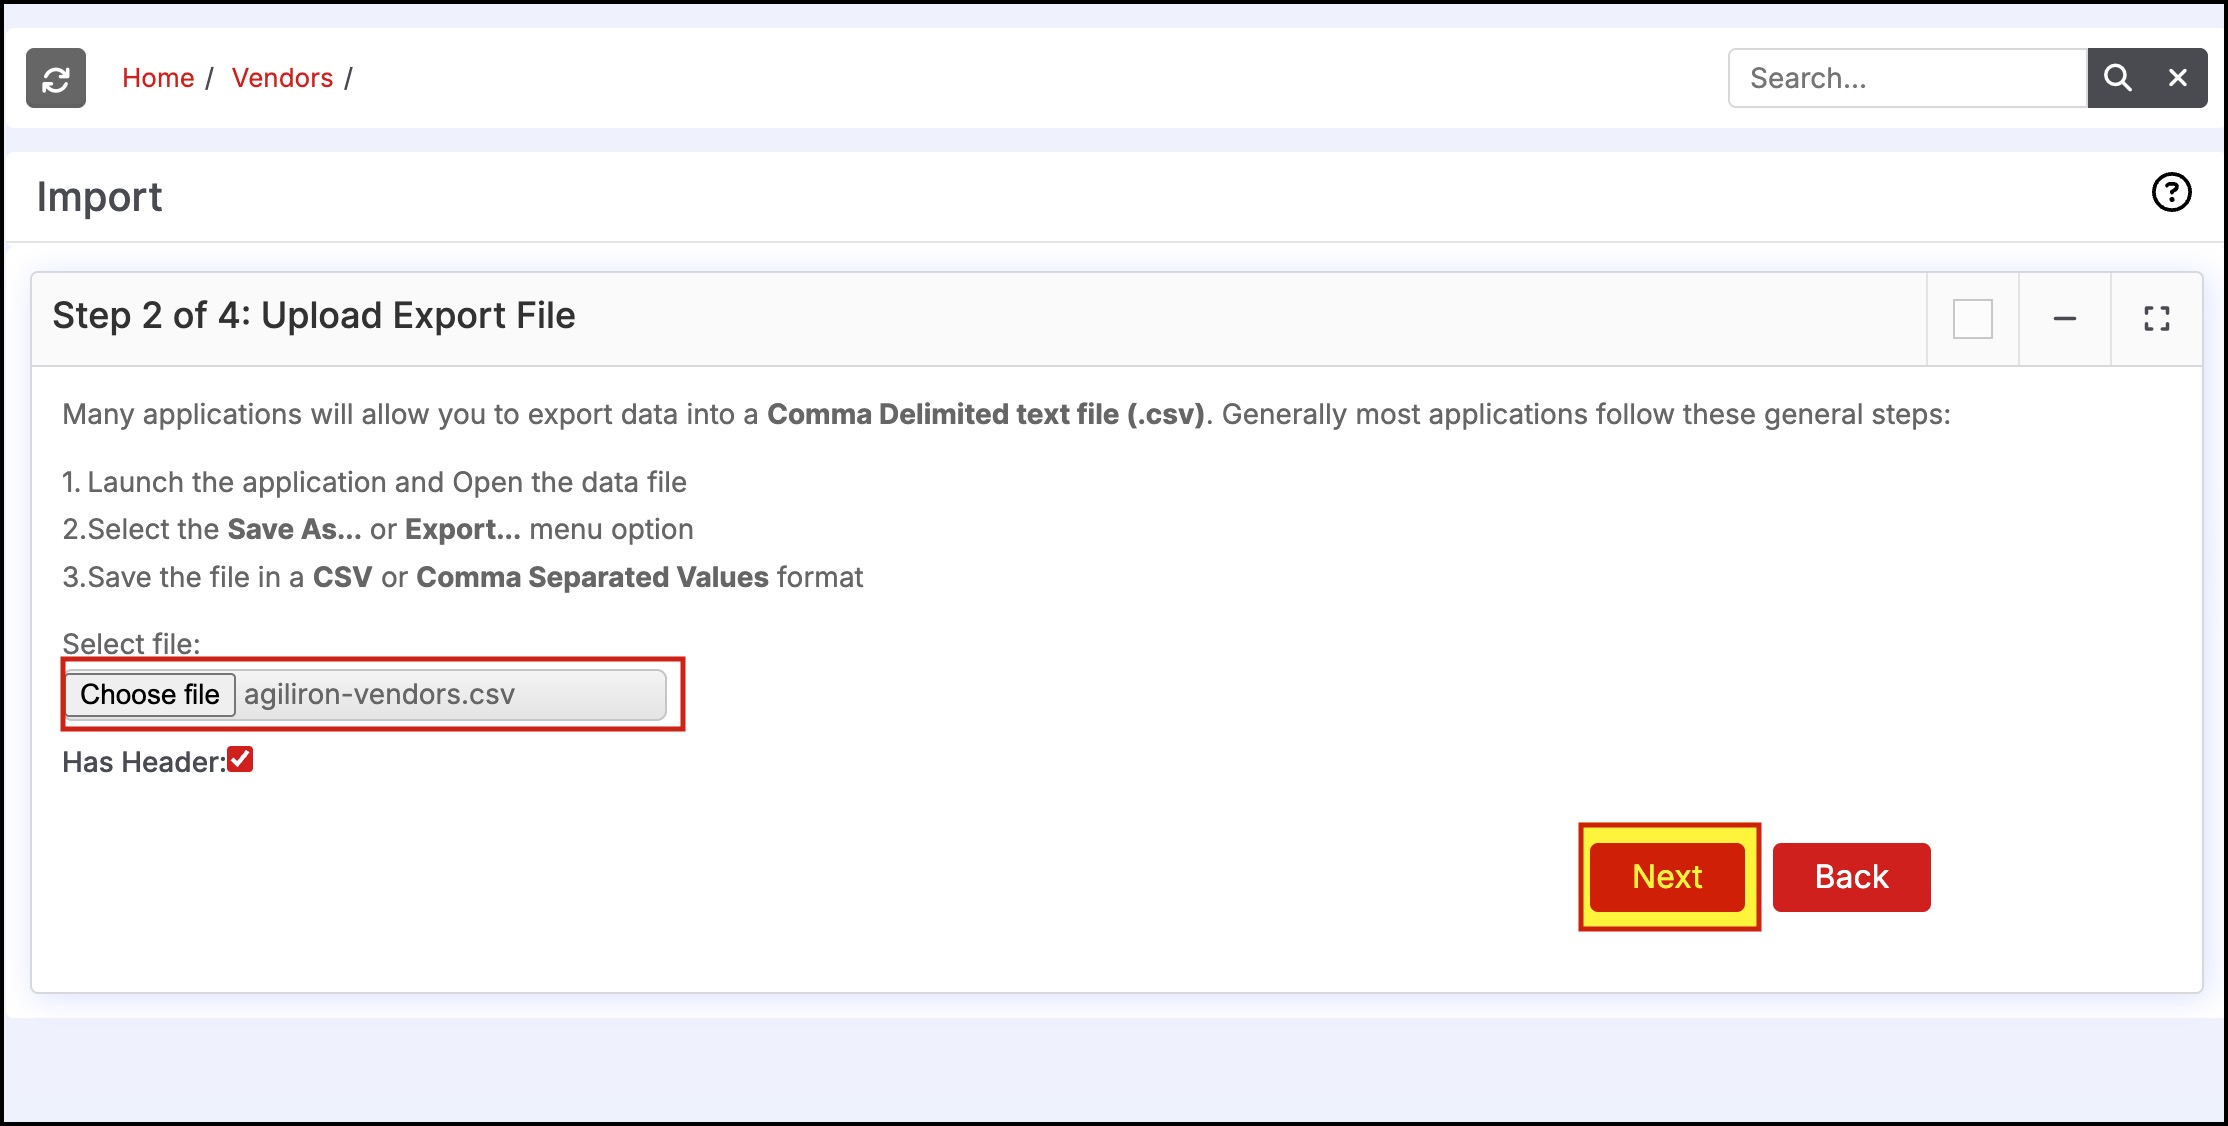
In the next step, select the import file by clicking the "Browse" button. Check the "Has Header" checkbox if the import file has a header line that identifies the data fields in the file. Click the "Next" button to go to the next step.
The next step involves mapping each field in the file to the corresponding field in this application's product database. Select the relevant fields that can be mapped. If this a mapping that you plan to use again, save it using the "Save as Custom Mapping" check box and a name. Then click "Import Now" button.
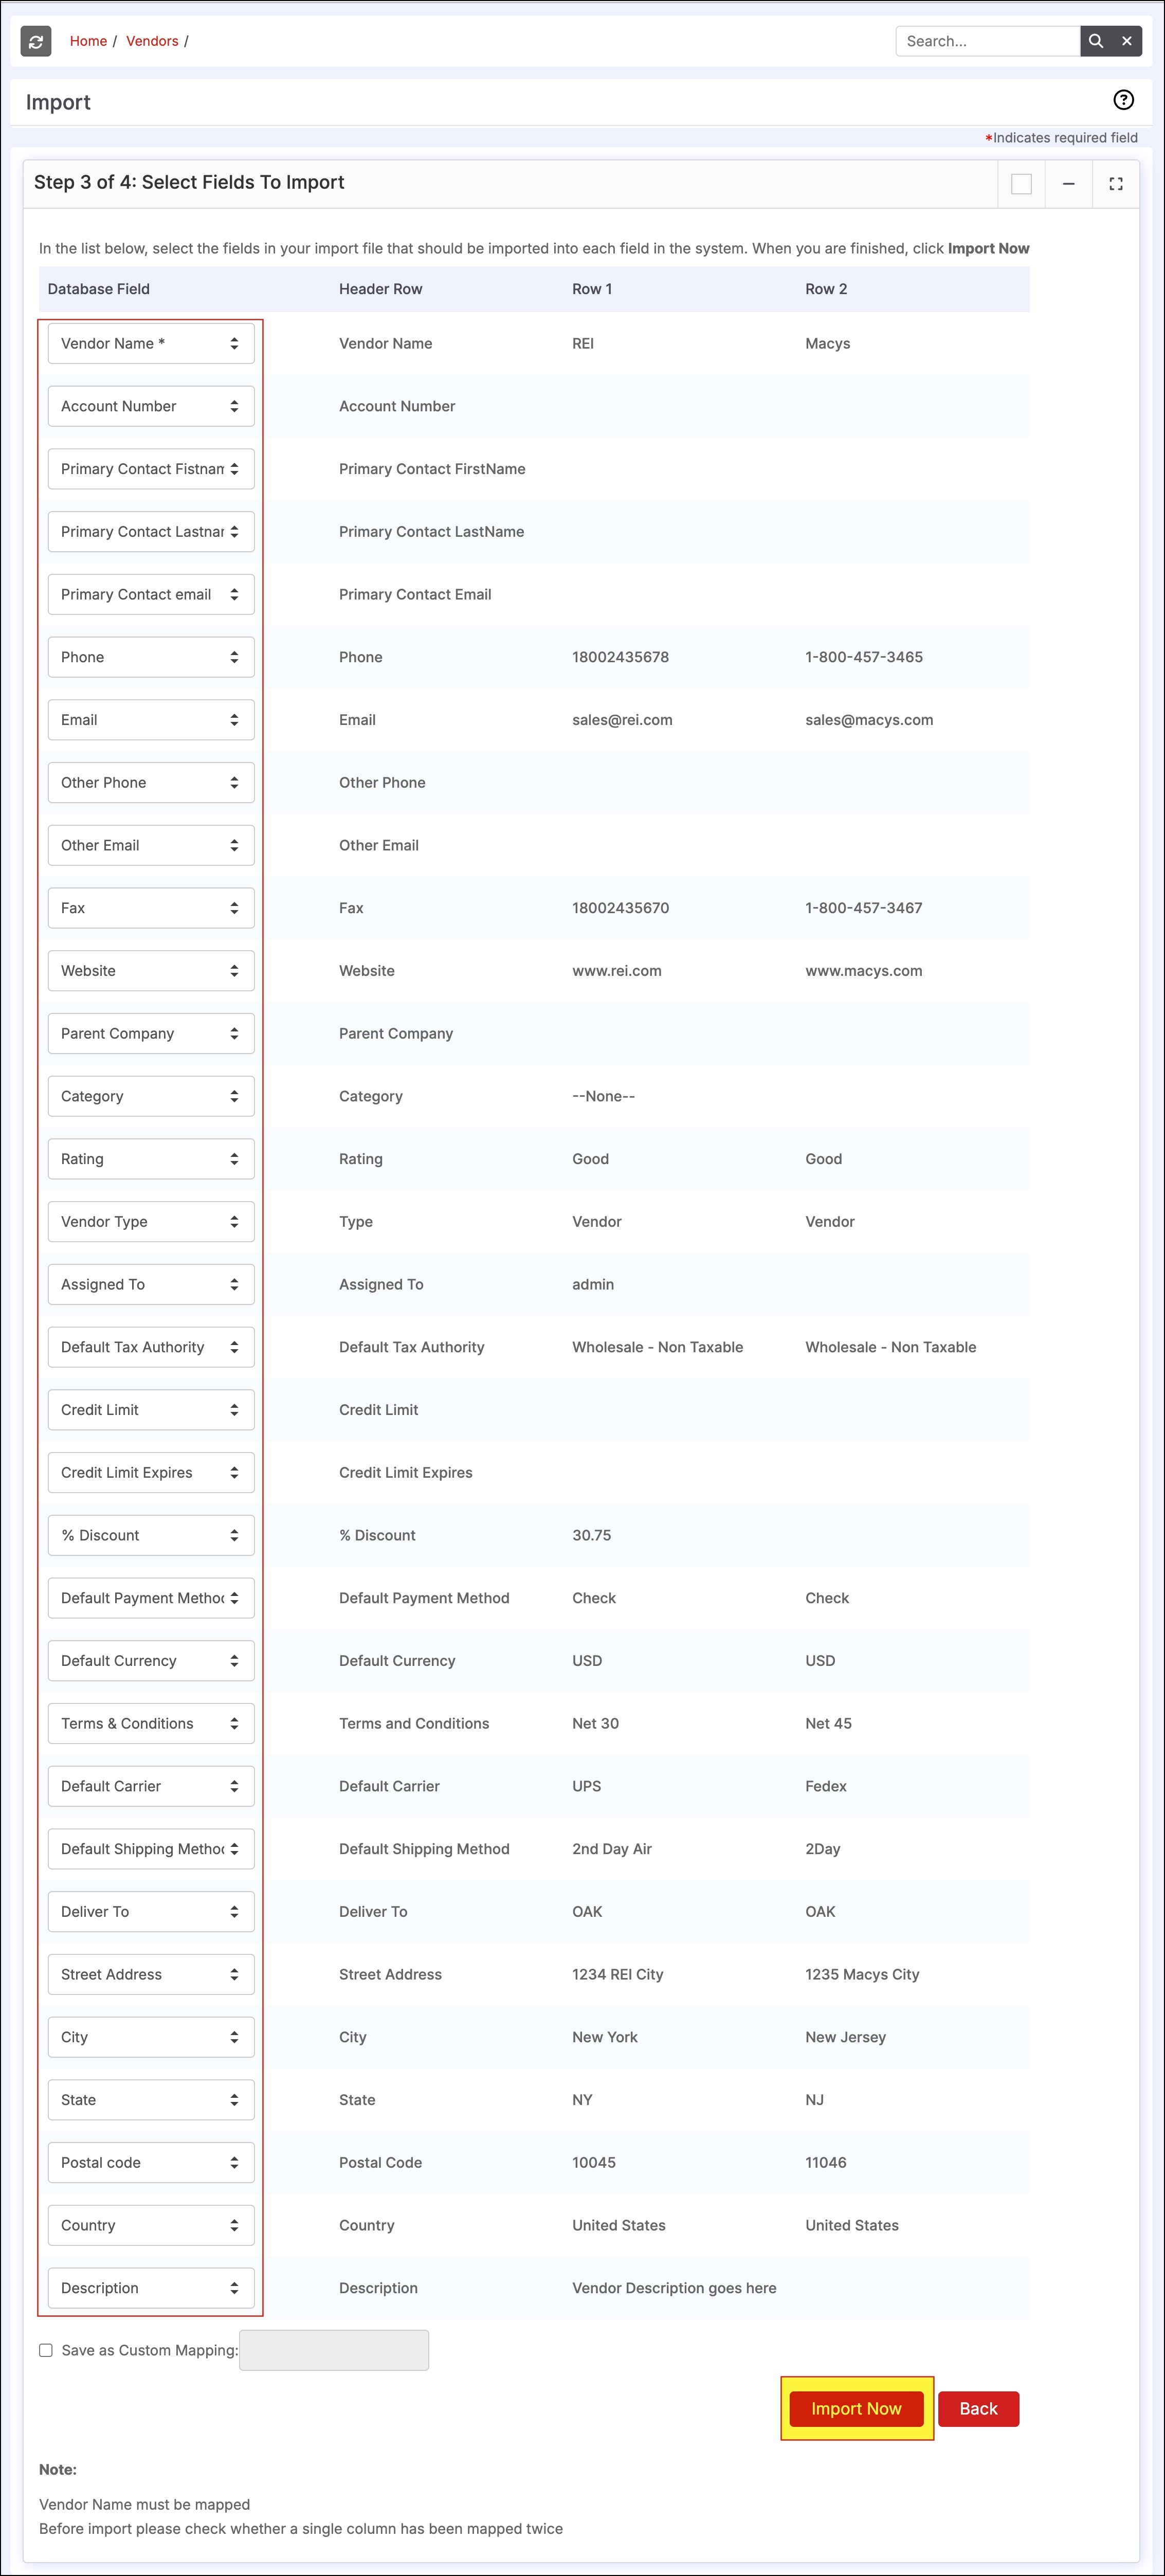
An example mapping of the data fields is shown above.
Note: Import of Vendors that already exist in the system (as identified by the Vendor Name match) will replace all the attributes in the system for that Vendor with the ones imported through the file.
Updated 11 months ago