Products Tab
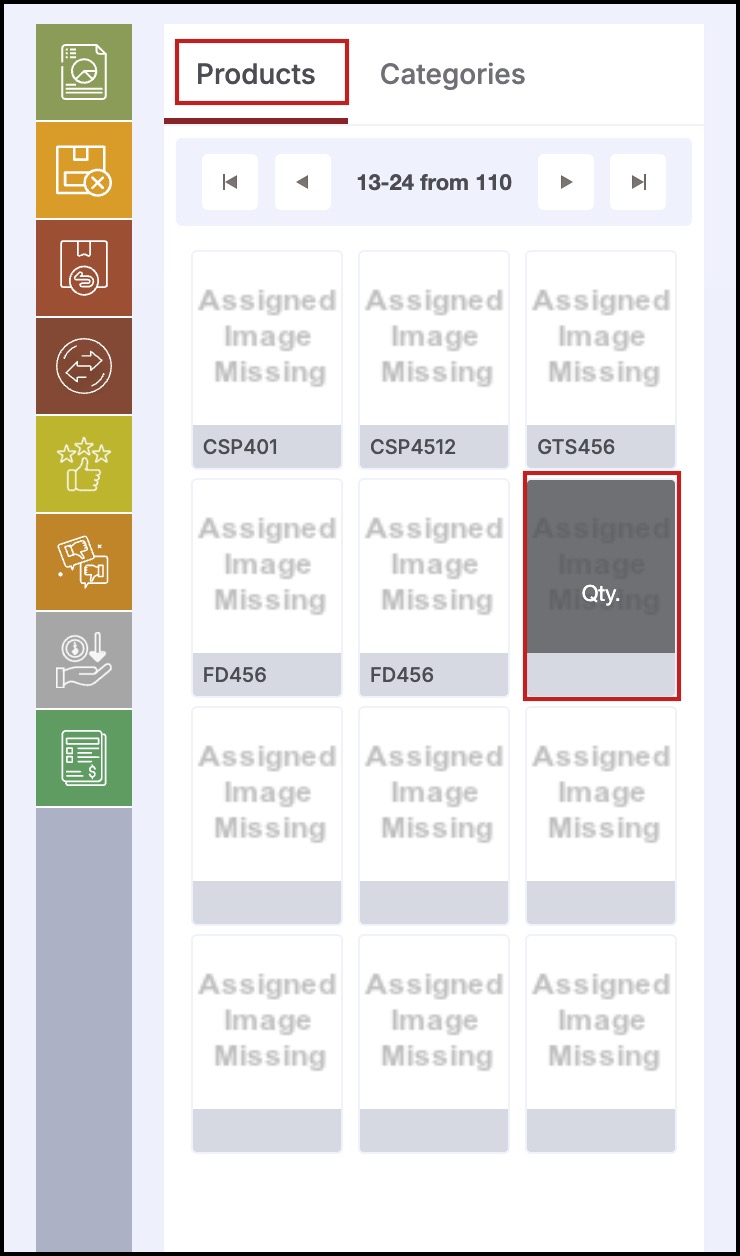
- From the Products tab, click the Quick Access (QA) button for which you would like to assign a product.

- The following popup window is displayed.
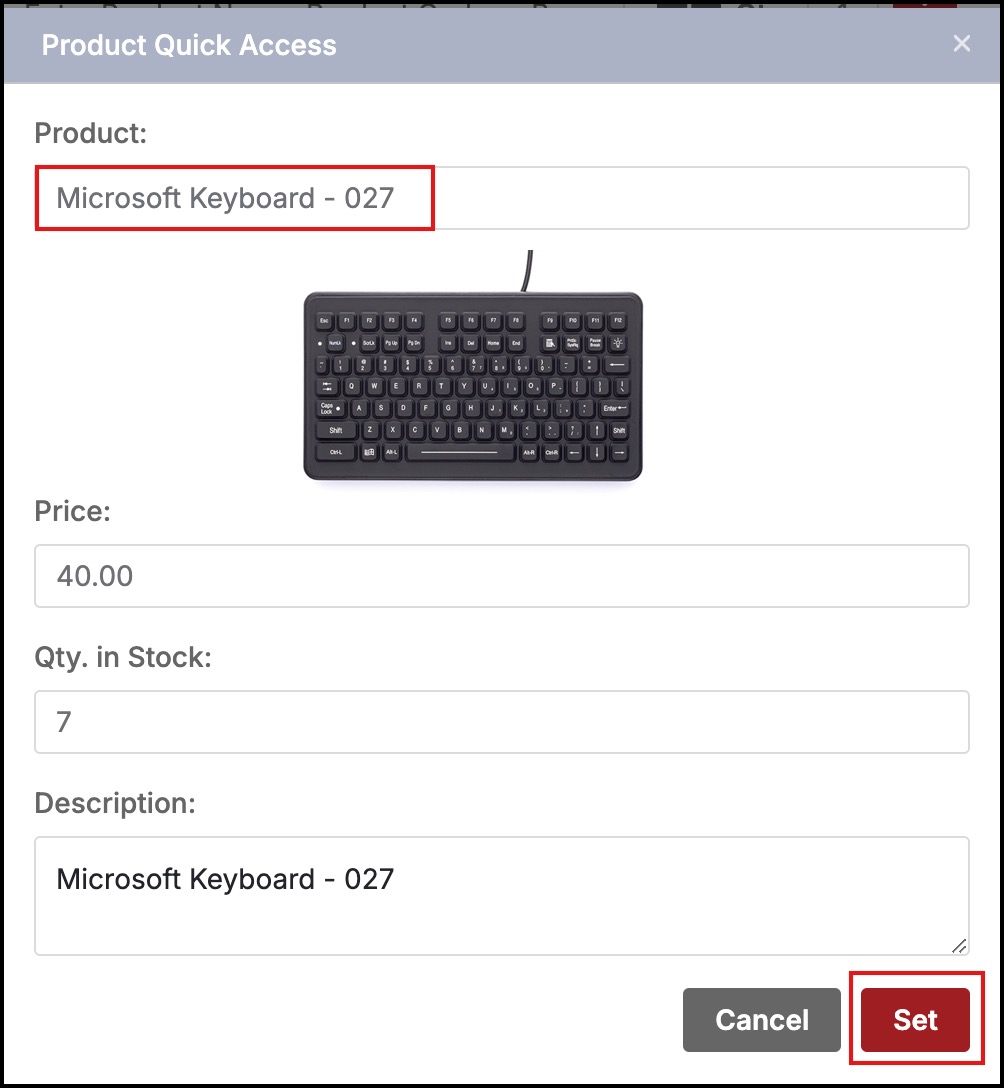
- Click OK. The following window is displayed.

- Enter the name of the product in the Product field. As you begin typing, a filtered drop-down list of product appears. Once selected, the image corresponding to the product is displayed.
- Note: On entering the first few characters, the list of matching products are displayed. You can select the required product from the list.
- On selecting the product, the price, quantity in stock and product description of the product are displayed automatically.
- Click Set. This assigns the product to the QA button.

Once a product has been assigned to a QA button, the button can then be selected to add product to the purchase ticket.
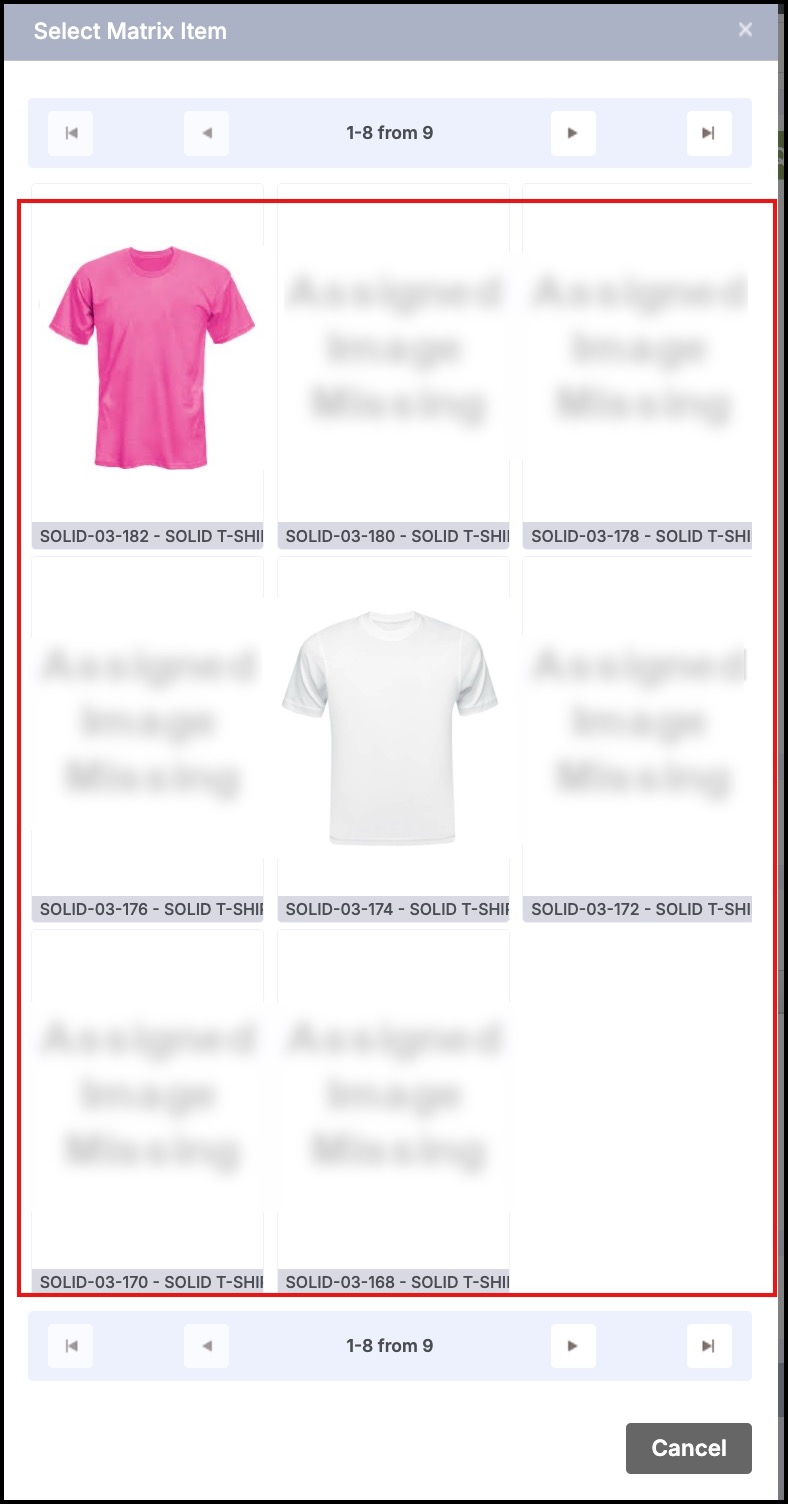
For Matrix Item products, when the QA button is selected an option is presented for selecting the SKU attribute to be added to the ticket. Note: SKUs that have been deleted from the POS channel's stock location are not available for selection.
Also, if an image has been assigned to the Matrix SKU Code, the image for that specific sku will appear for selection as shown below.

Additional information about Quick Access buttons:
- There are 110 QA buttons available to be assigned to various products spread across the numbered tabs (1, 2, 3, 4, 5).
- The buttons can be reassigned to other products by "Ctrl+Click" on the button followed by selecting a new product described above
- You can delete the buttons assignment or association with a product by "Shift+Click" on the button.
- These QA button settings are saved for the POS channel and will be available the next time a sales associate logs in at that location.
- As the user moves the mouse over the button, a popup will display the "Product Name - Product Code" (e.g. "Altec Speakers - 4387498").
- Note: QA settings require the browser to be closed for MS Internet Explorer to save the settings.
Updated about 1 year ago
