Order Desk Connection / Adding a New Channel
For Order Desk channel connection:
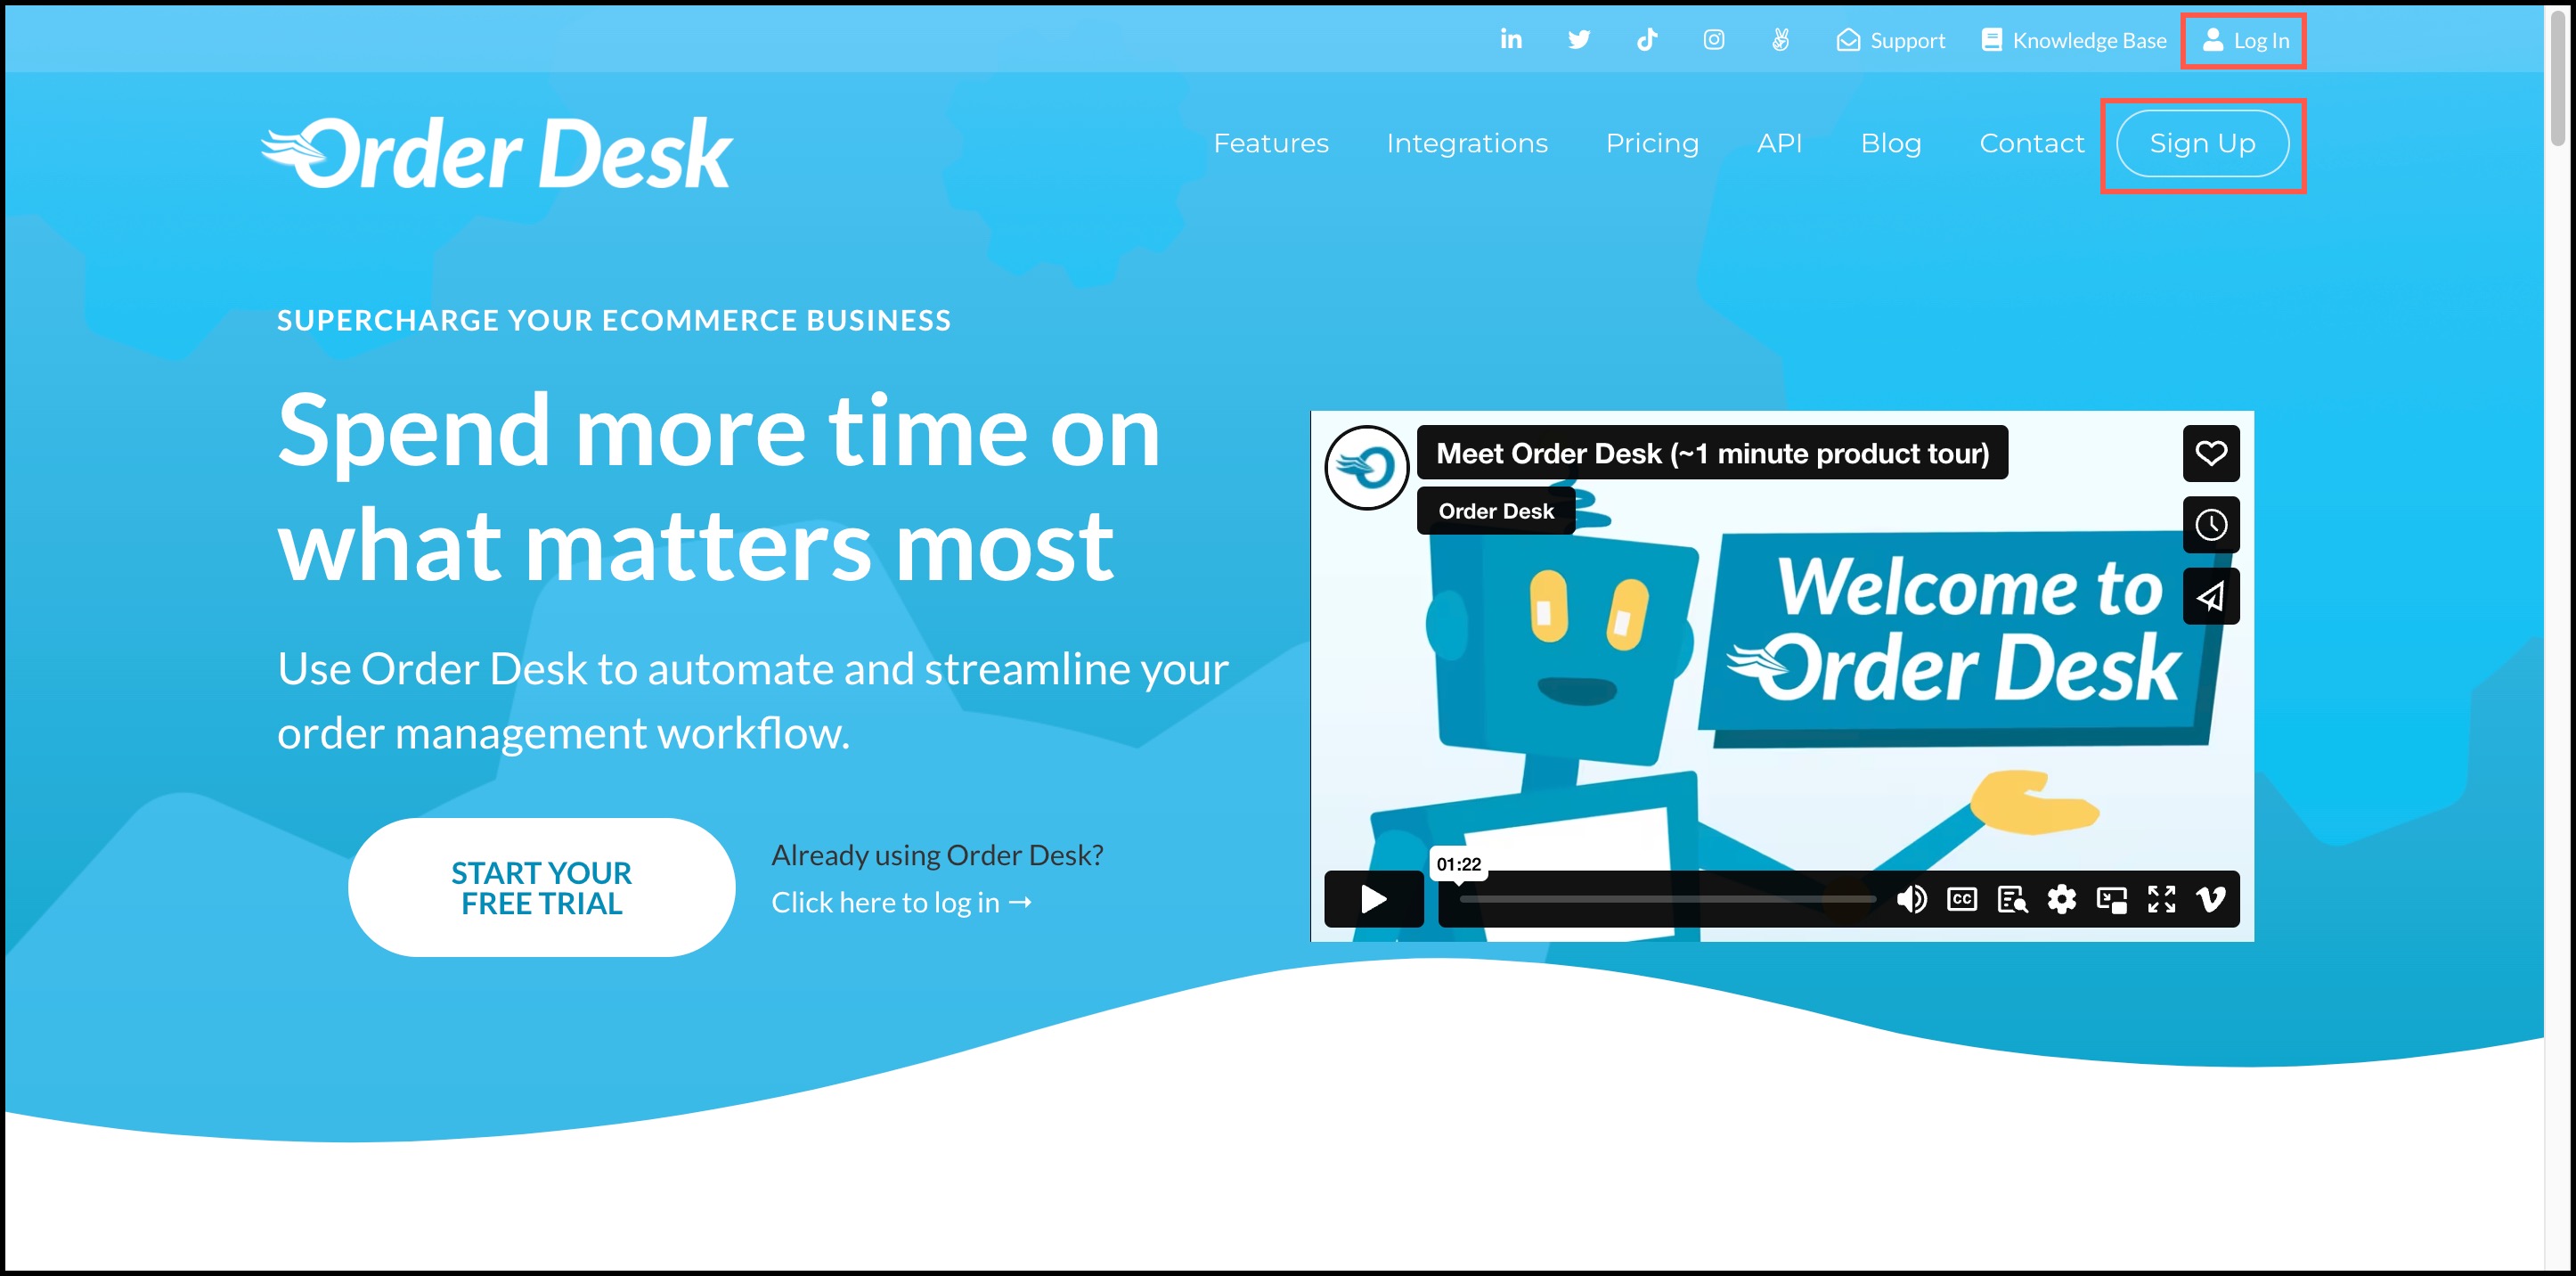
- Go to the Order Desk website.
- If you are a new user - click on Sign up and if existing user - click on Log in.
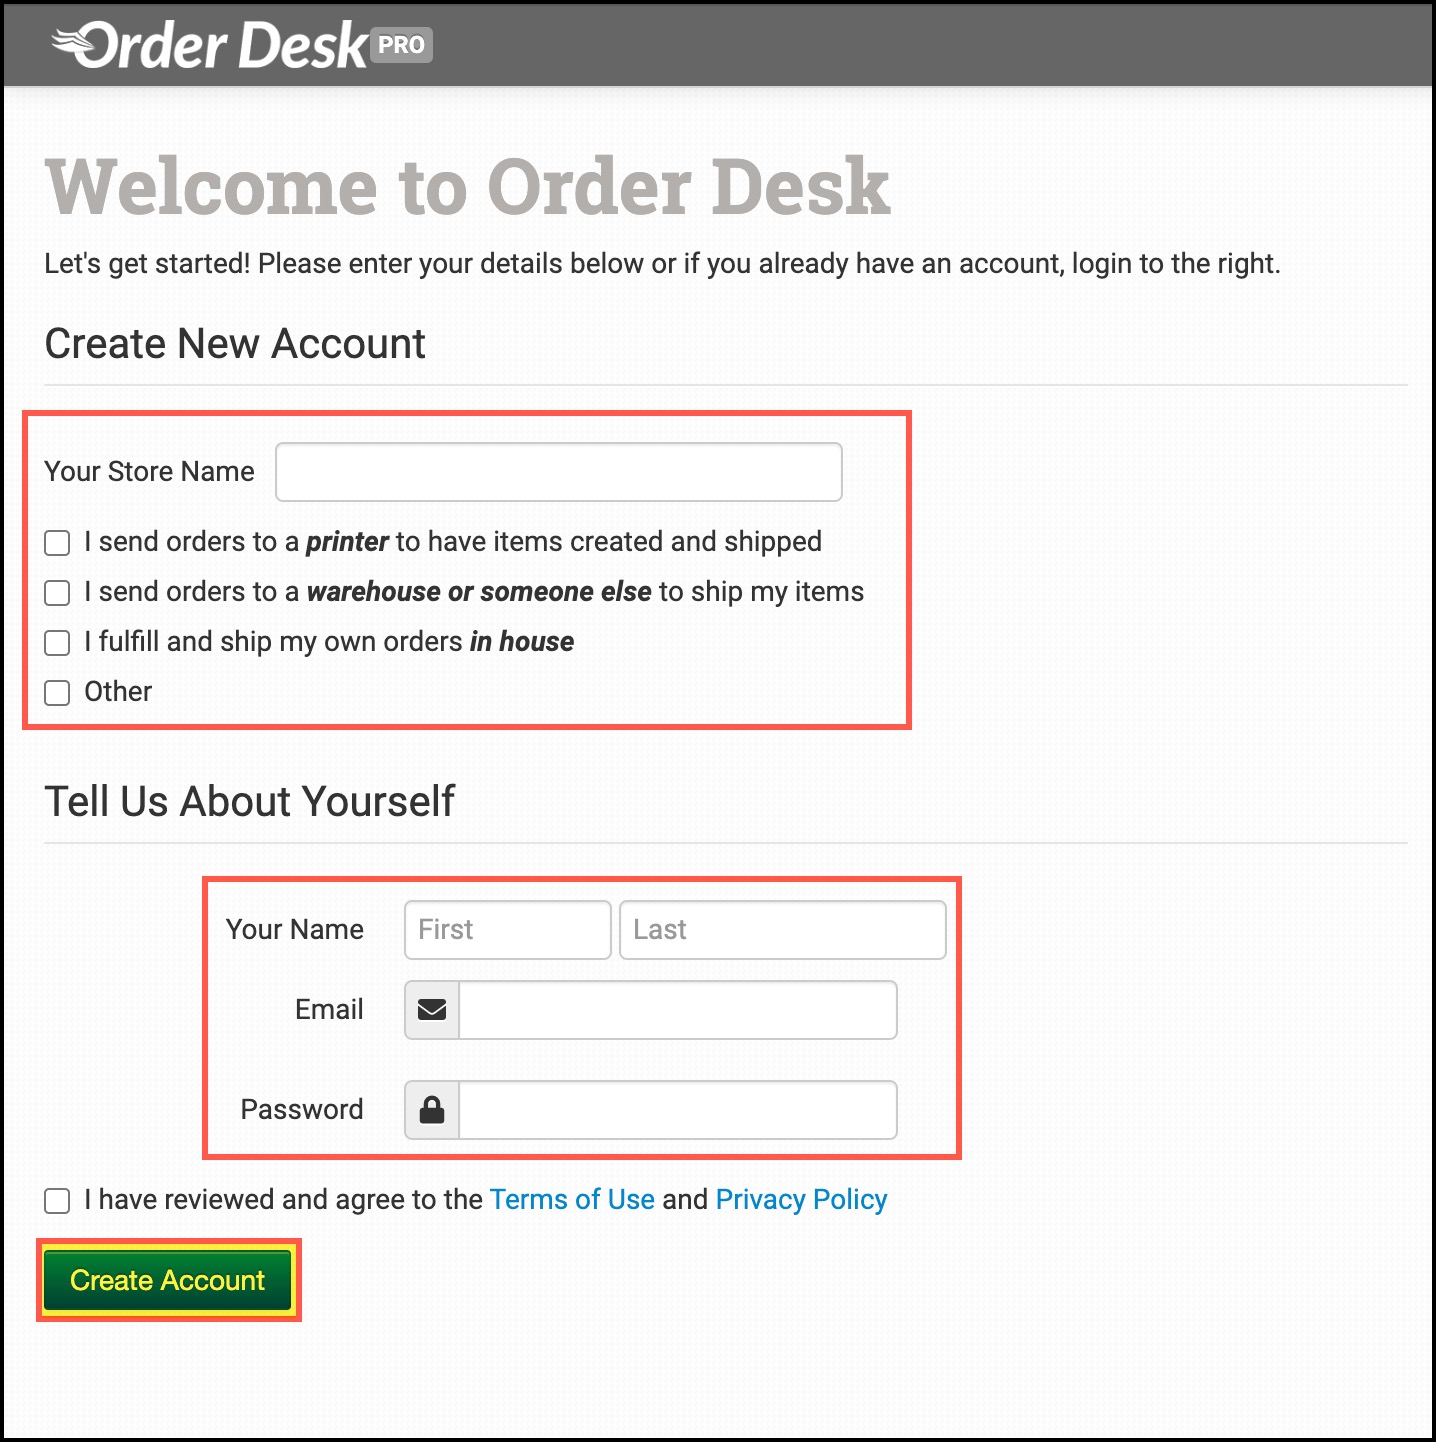
- To get started with Order Desk (new user), enter the details shown below and proceed by clicking on Create Account.
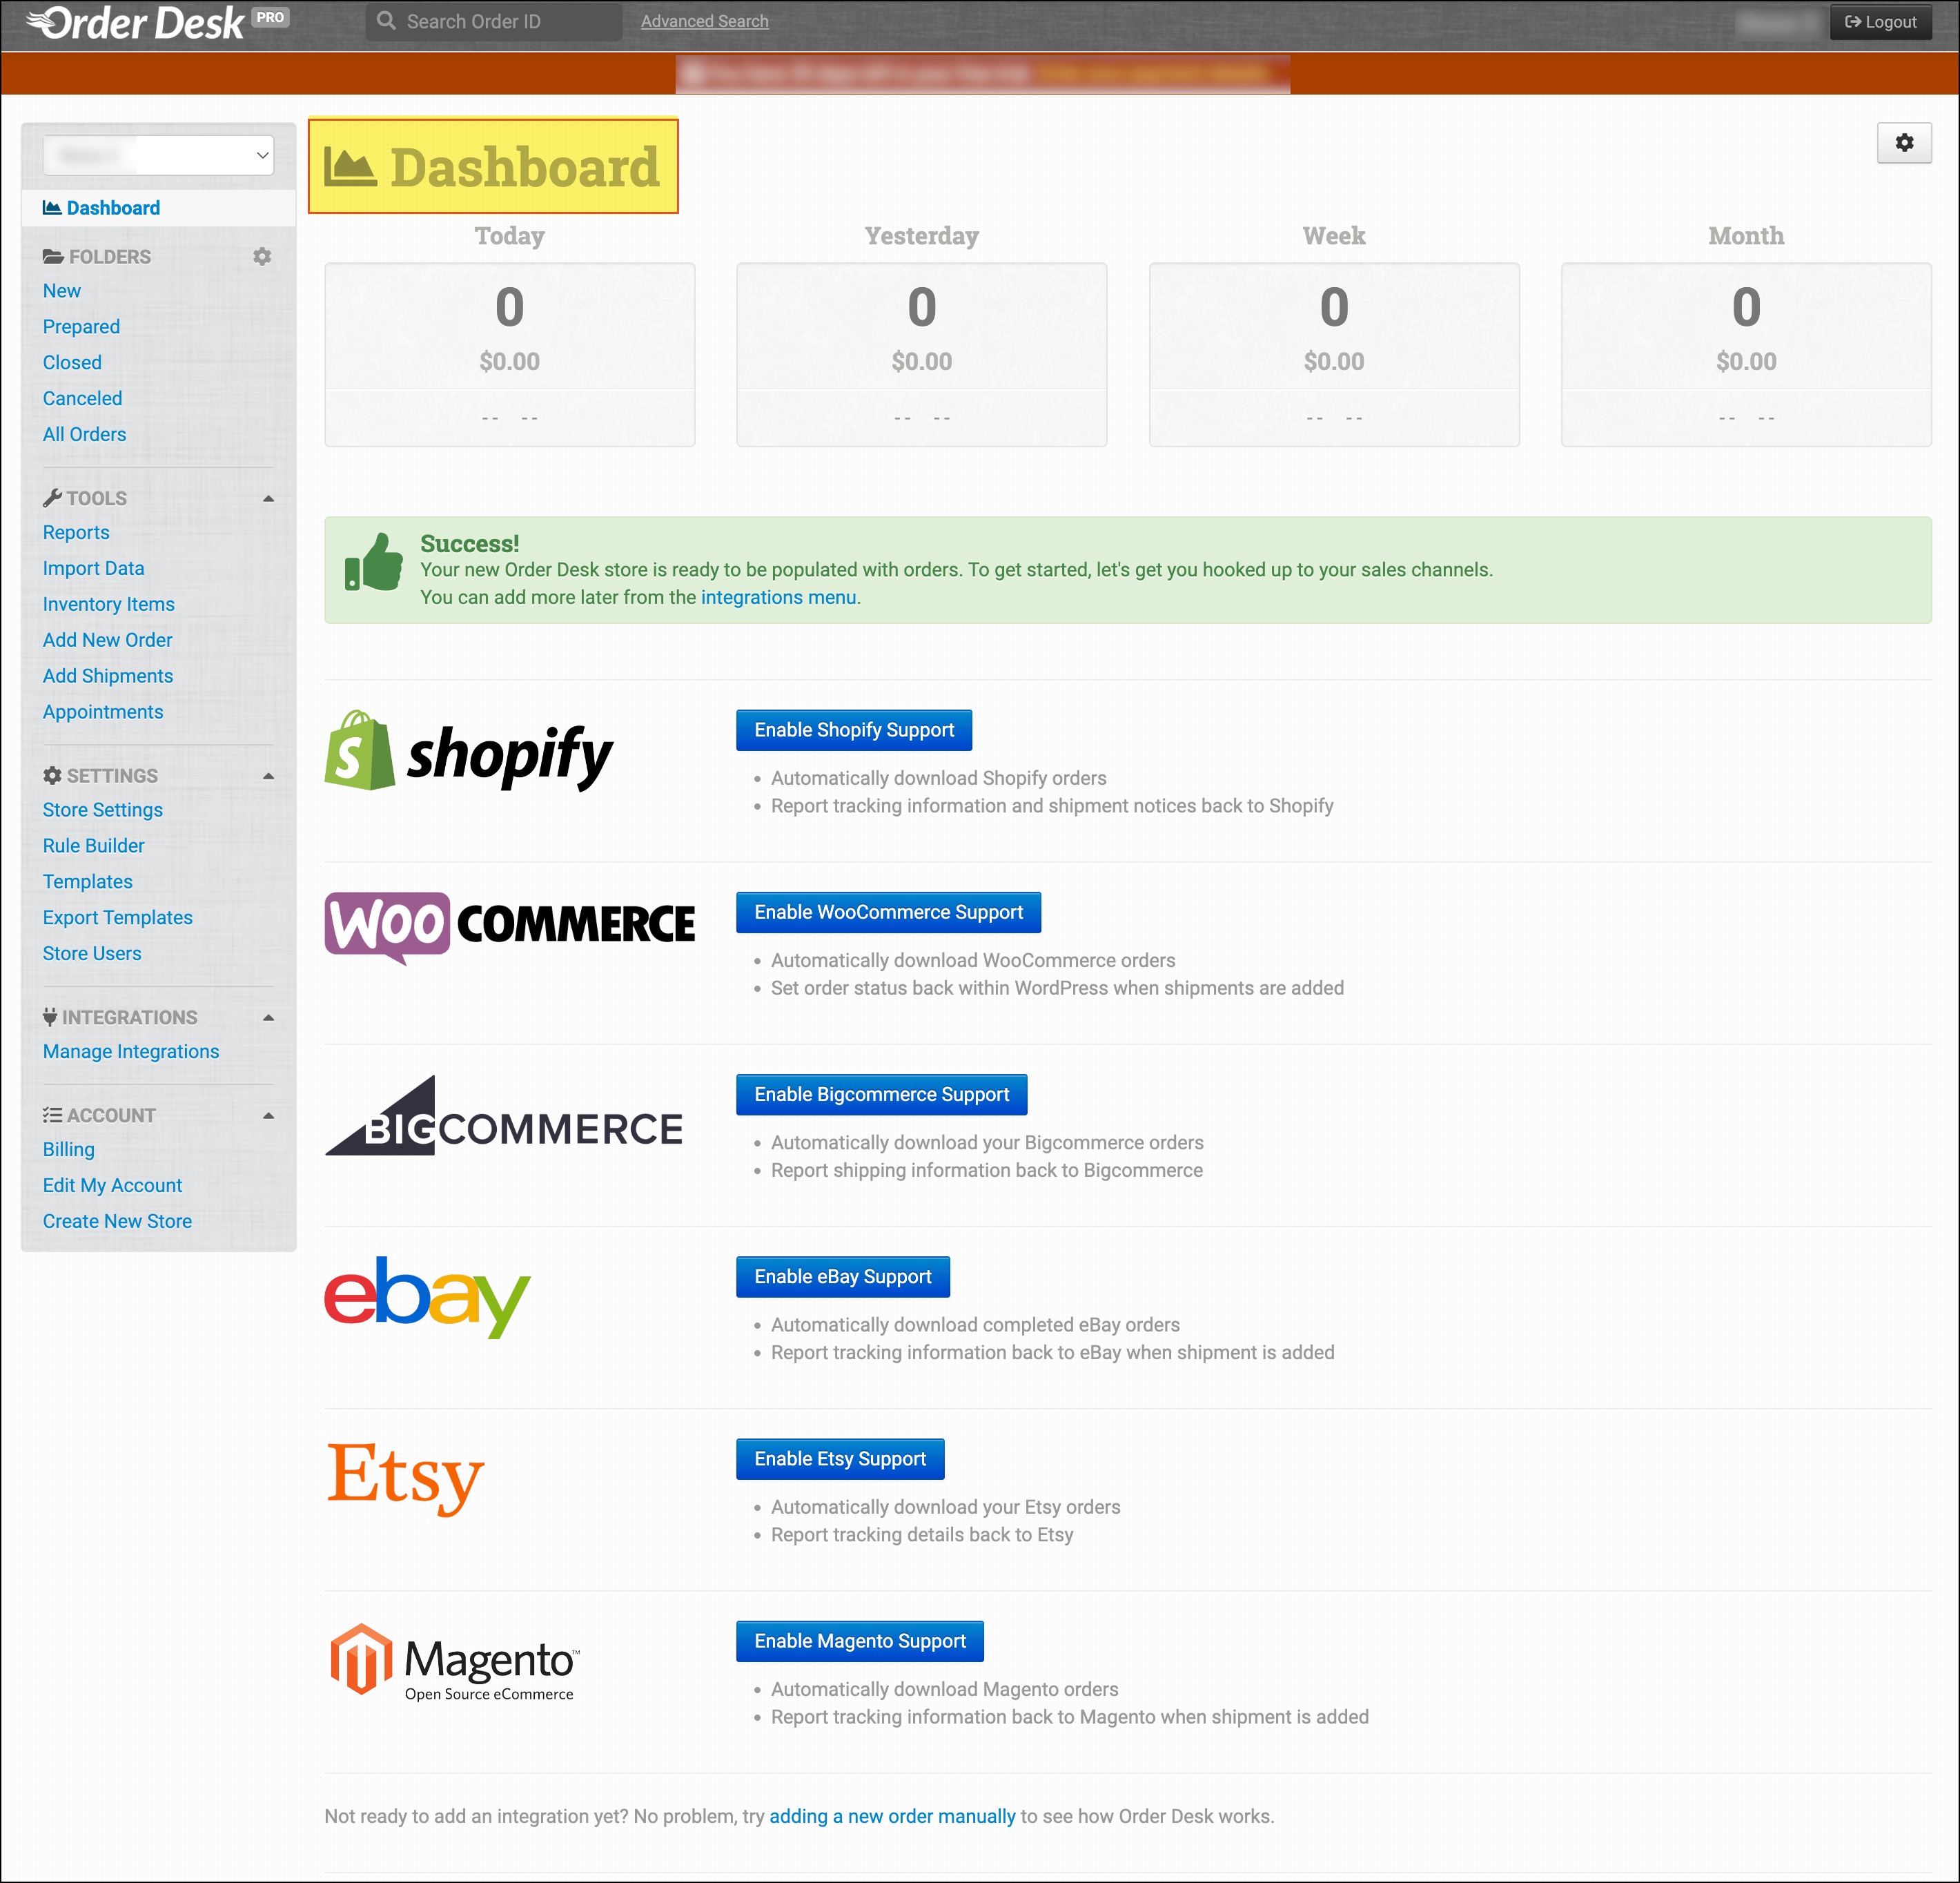
After logging in, user (both new and existing) will land on Dashboard.
- Now on the Dashboard -> Left menu under Account option -> click on Create New Store option.
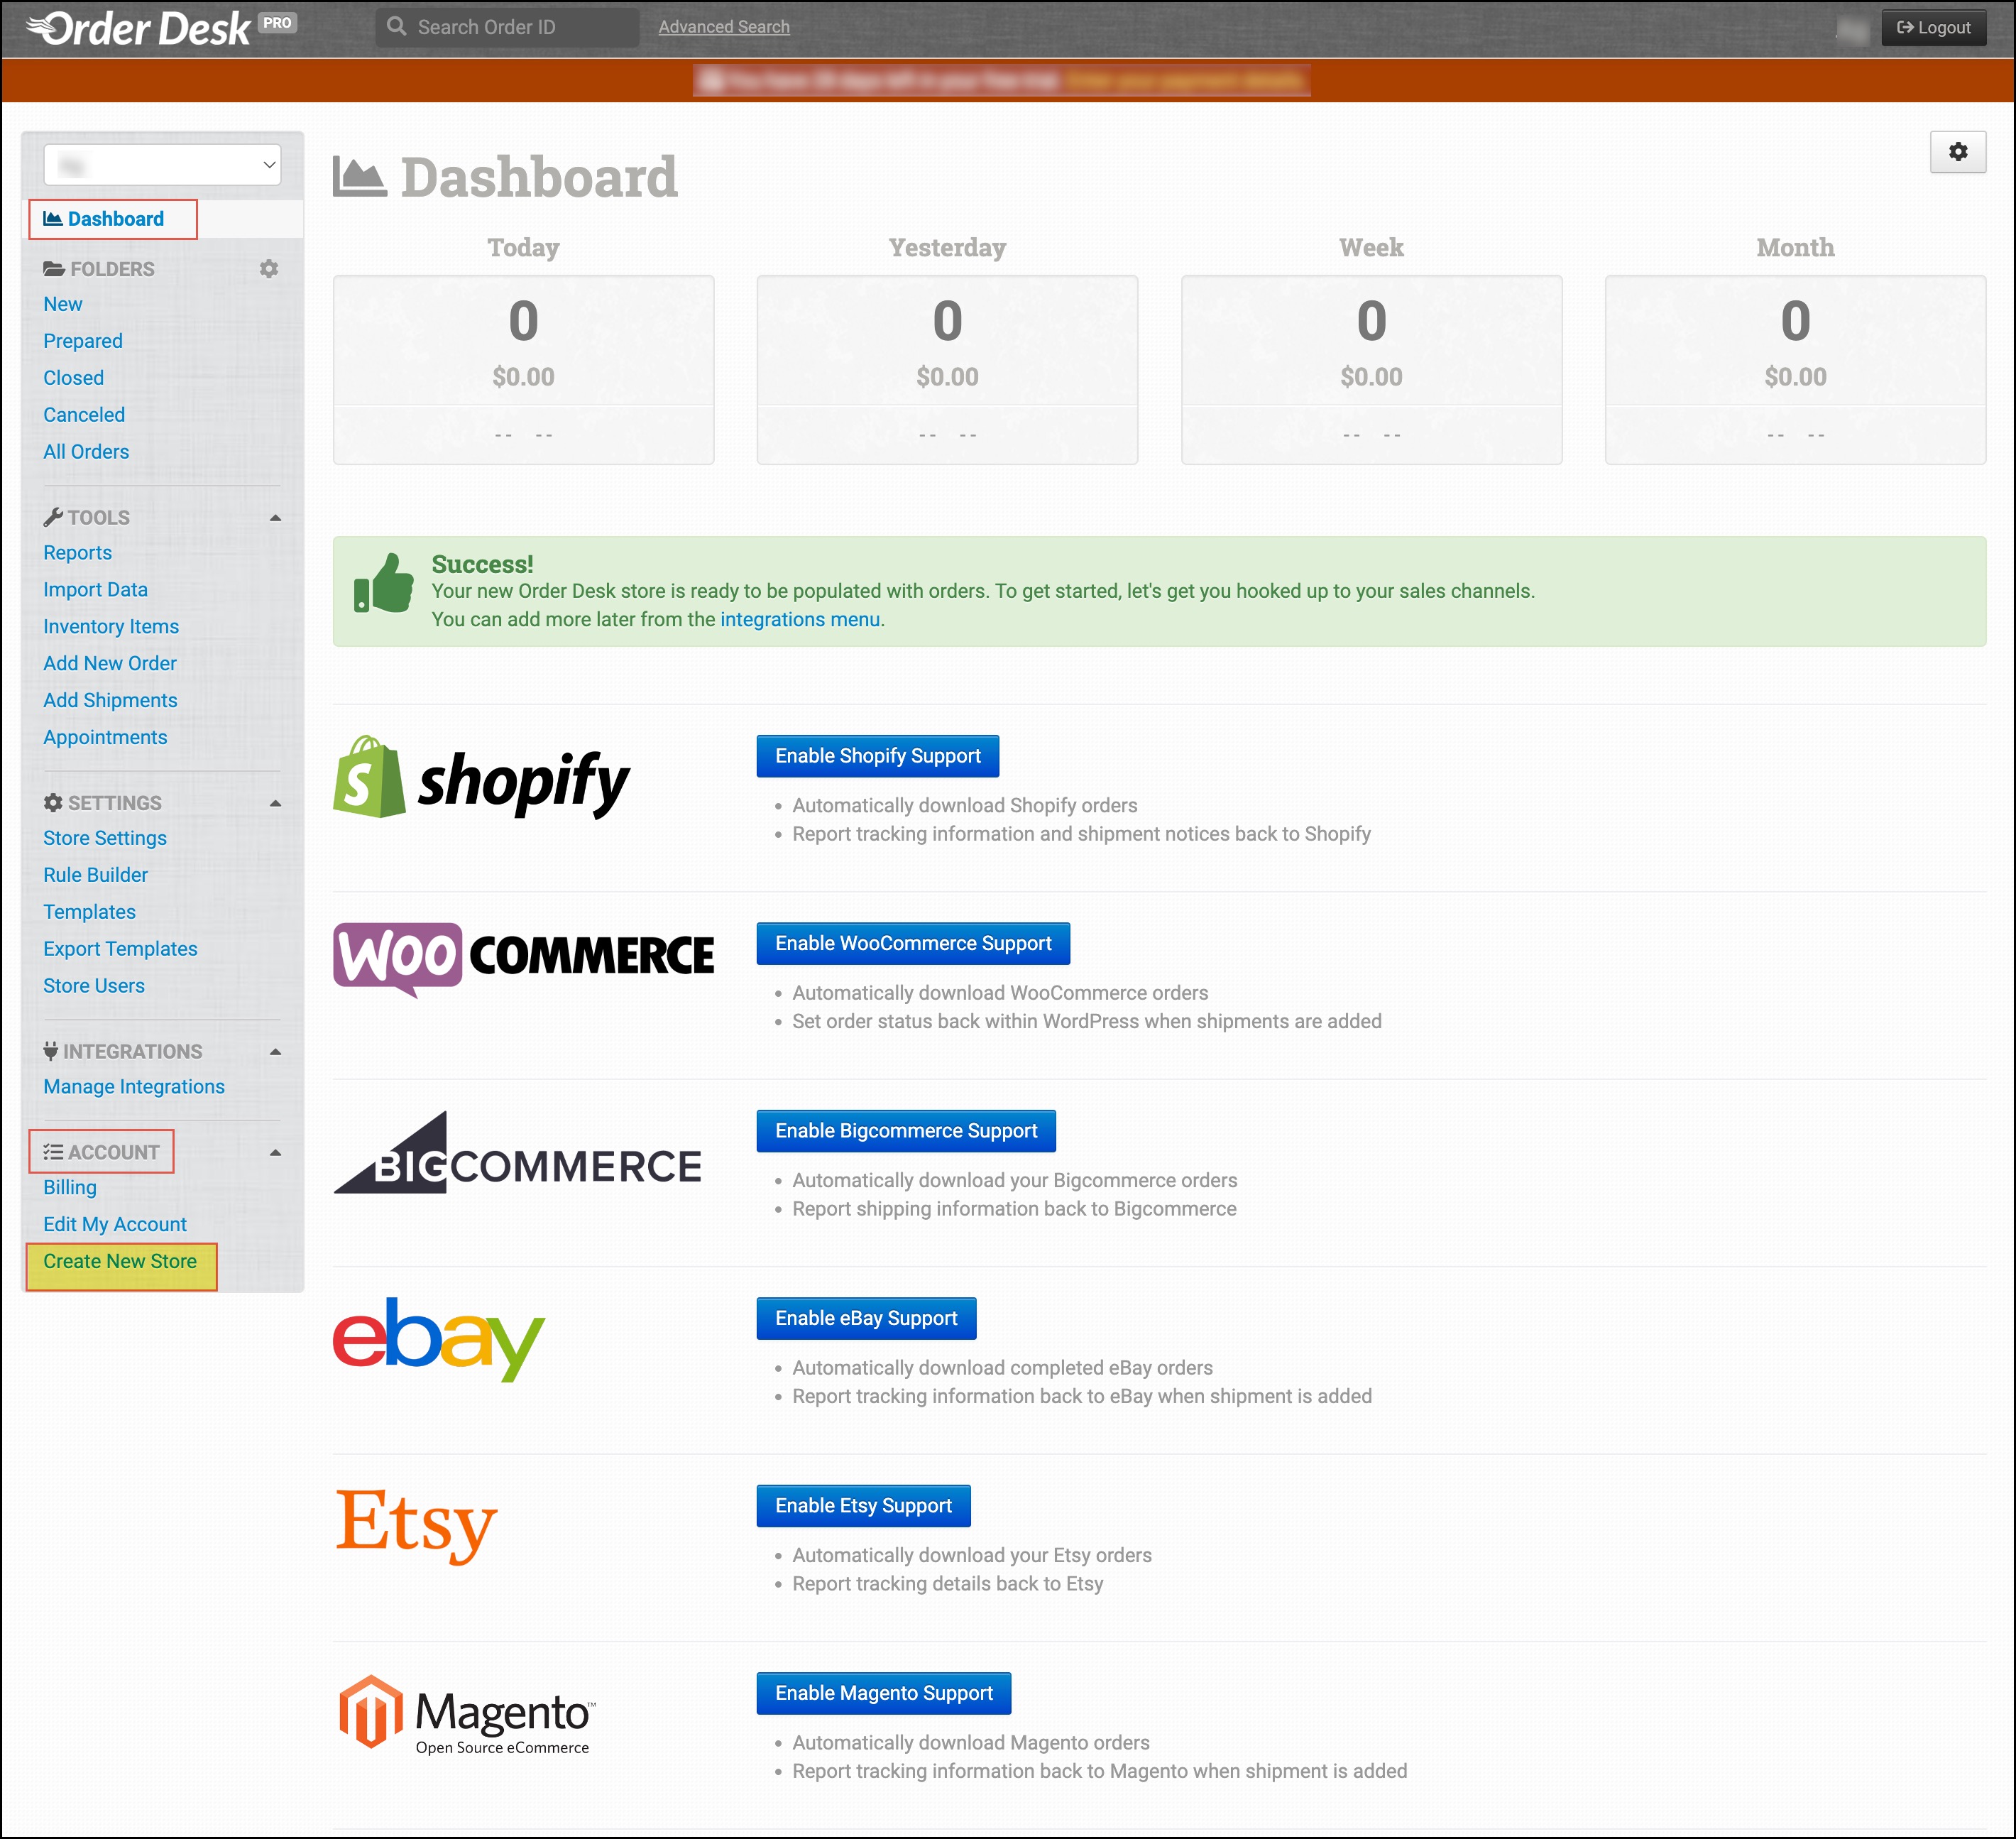
- Name your store or duplicate the existing one, and click on Create New Store.

- After the store is created, click on Store Settings, under the Settings option.

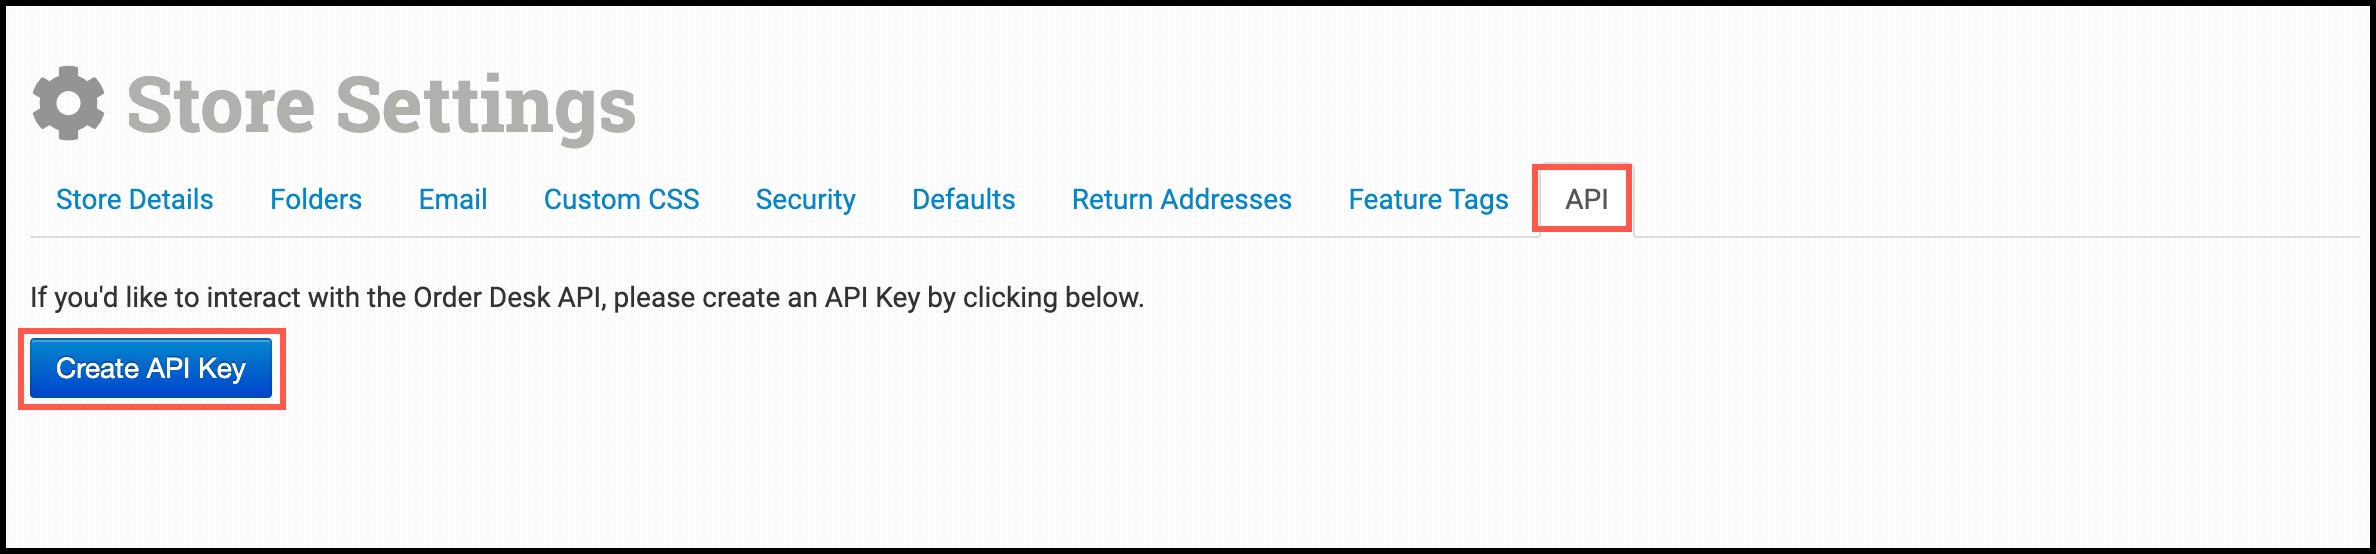
- Go to the API tab and click on Create API Key.
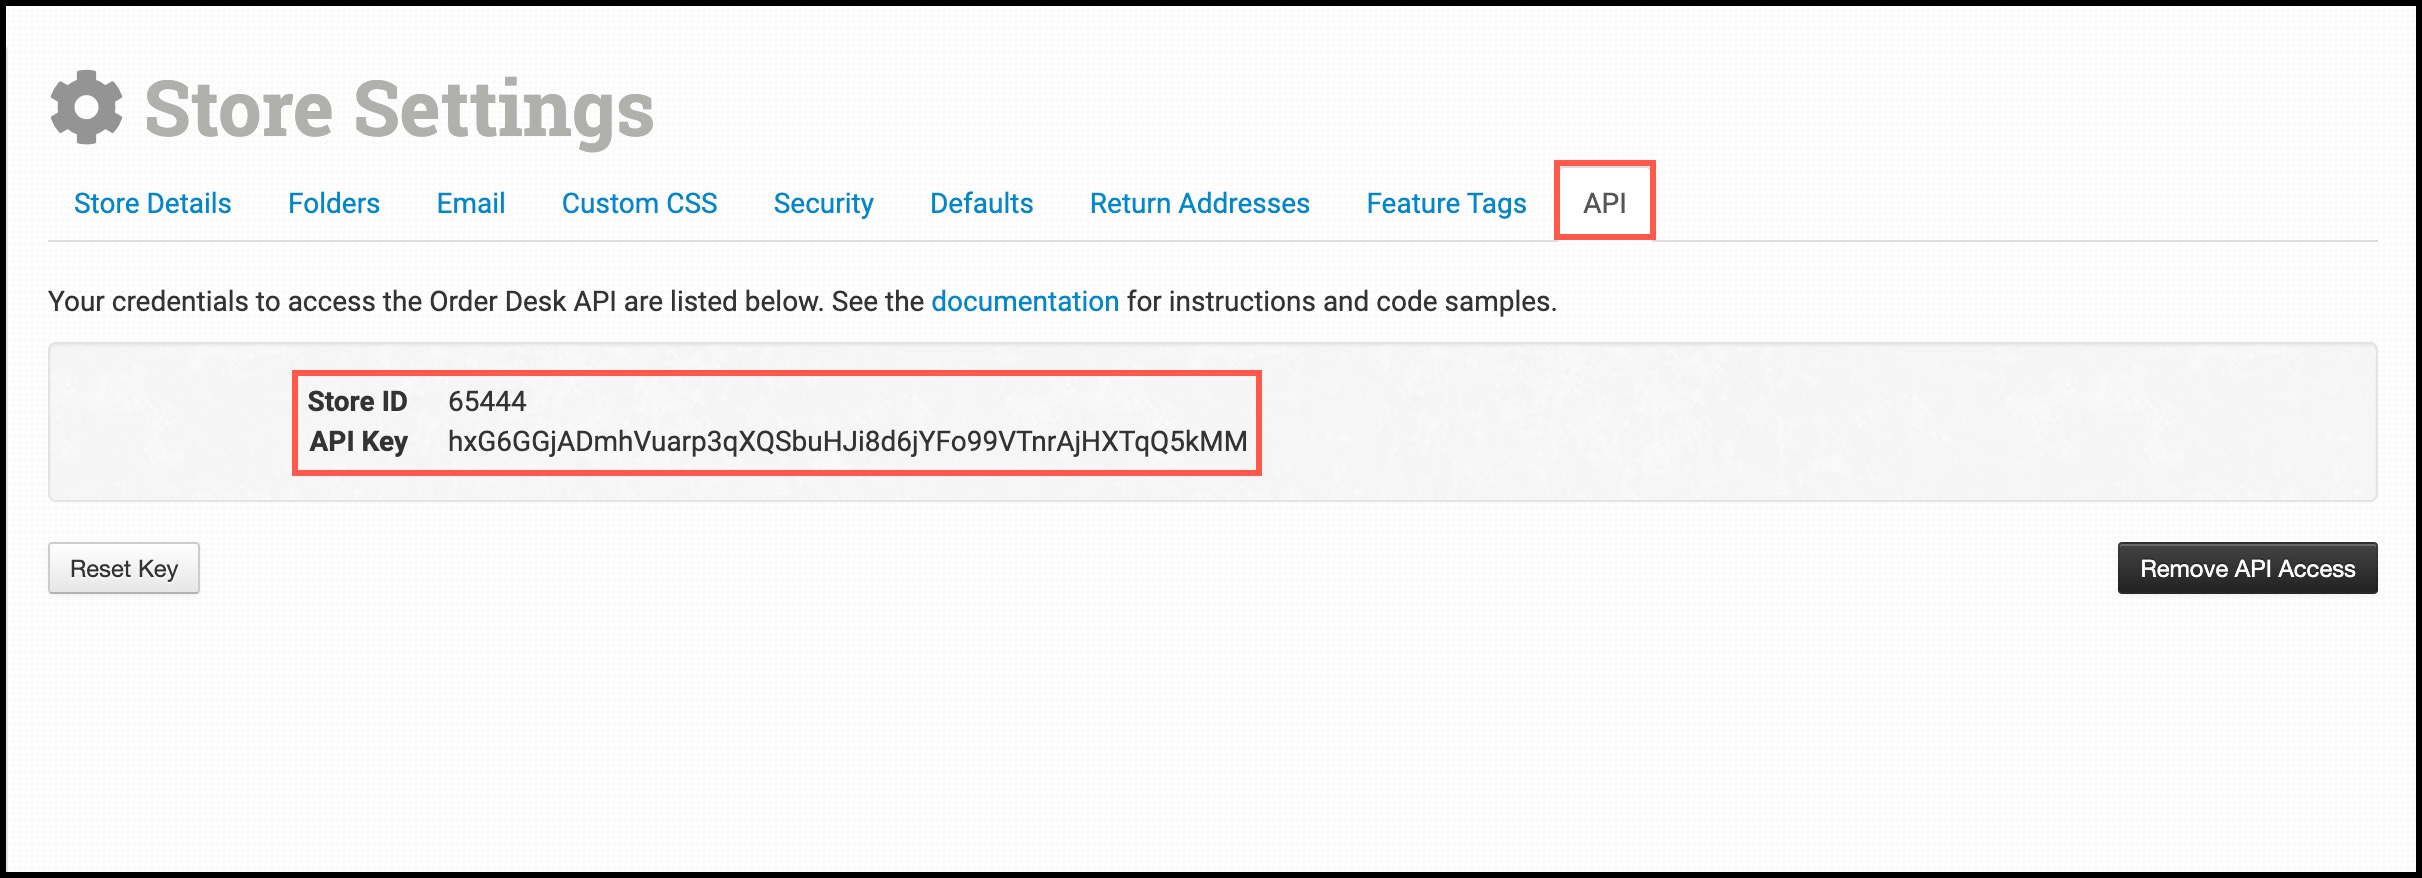
You'll get the credentials to access the Order Desk API.
- Note/Copy the Store ID and API Key.
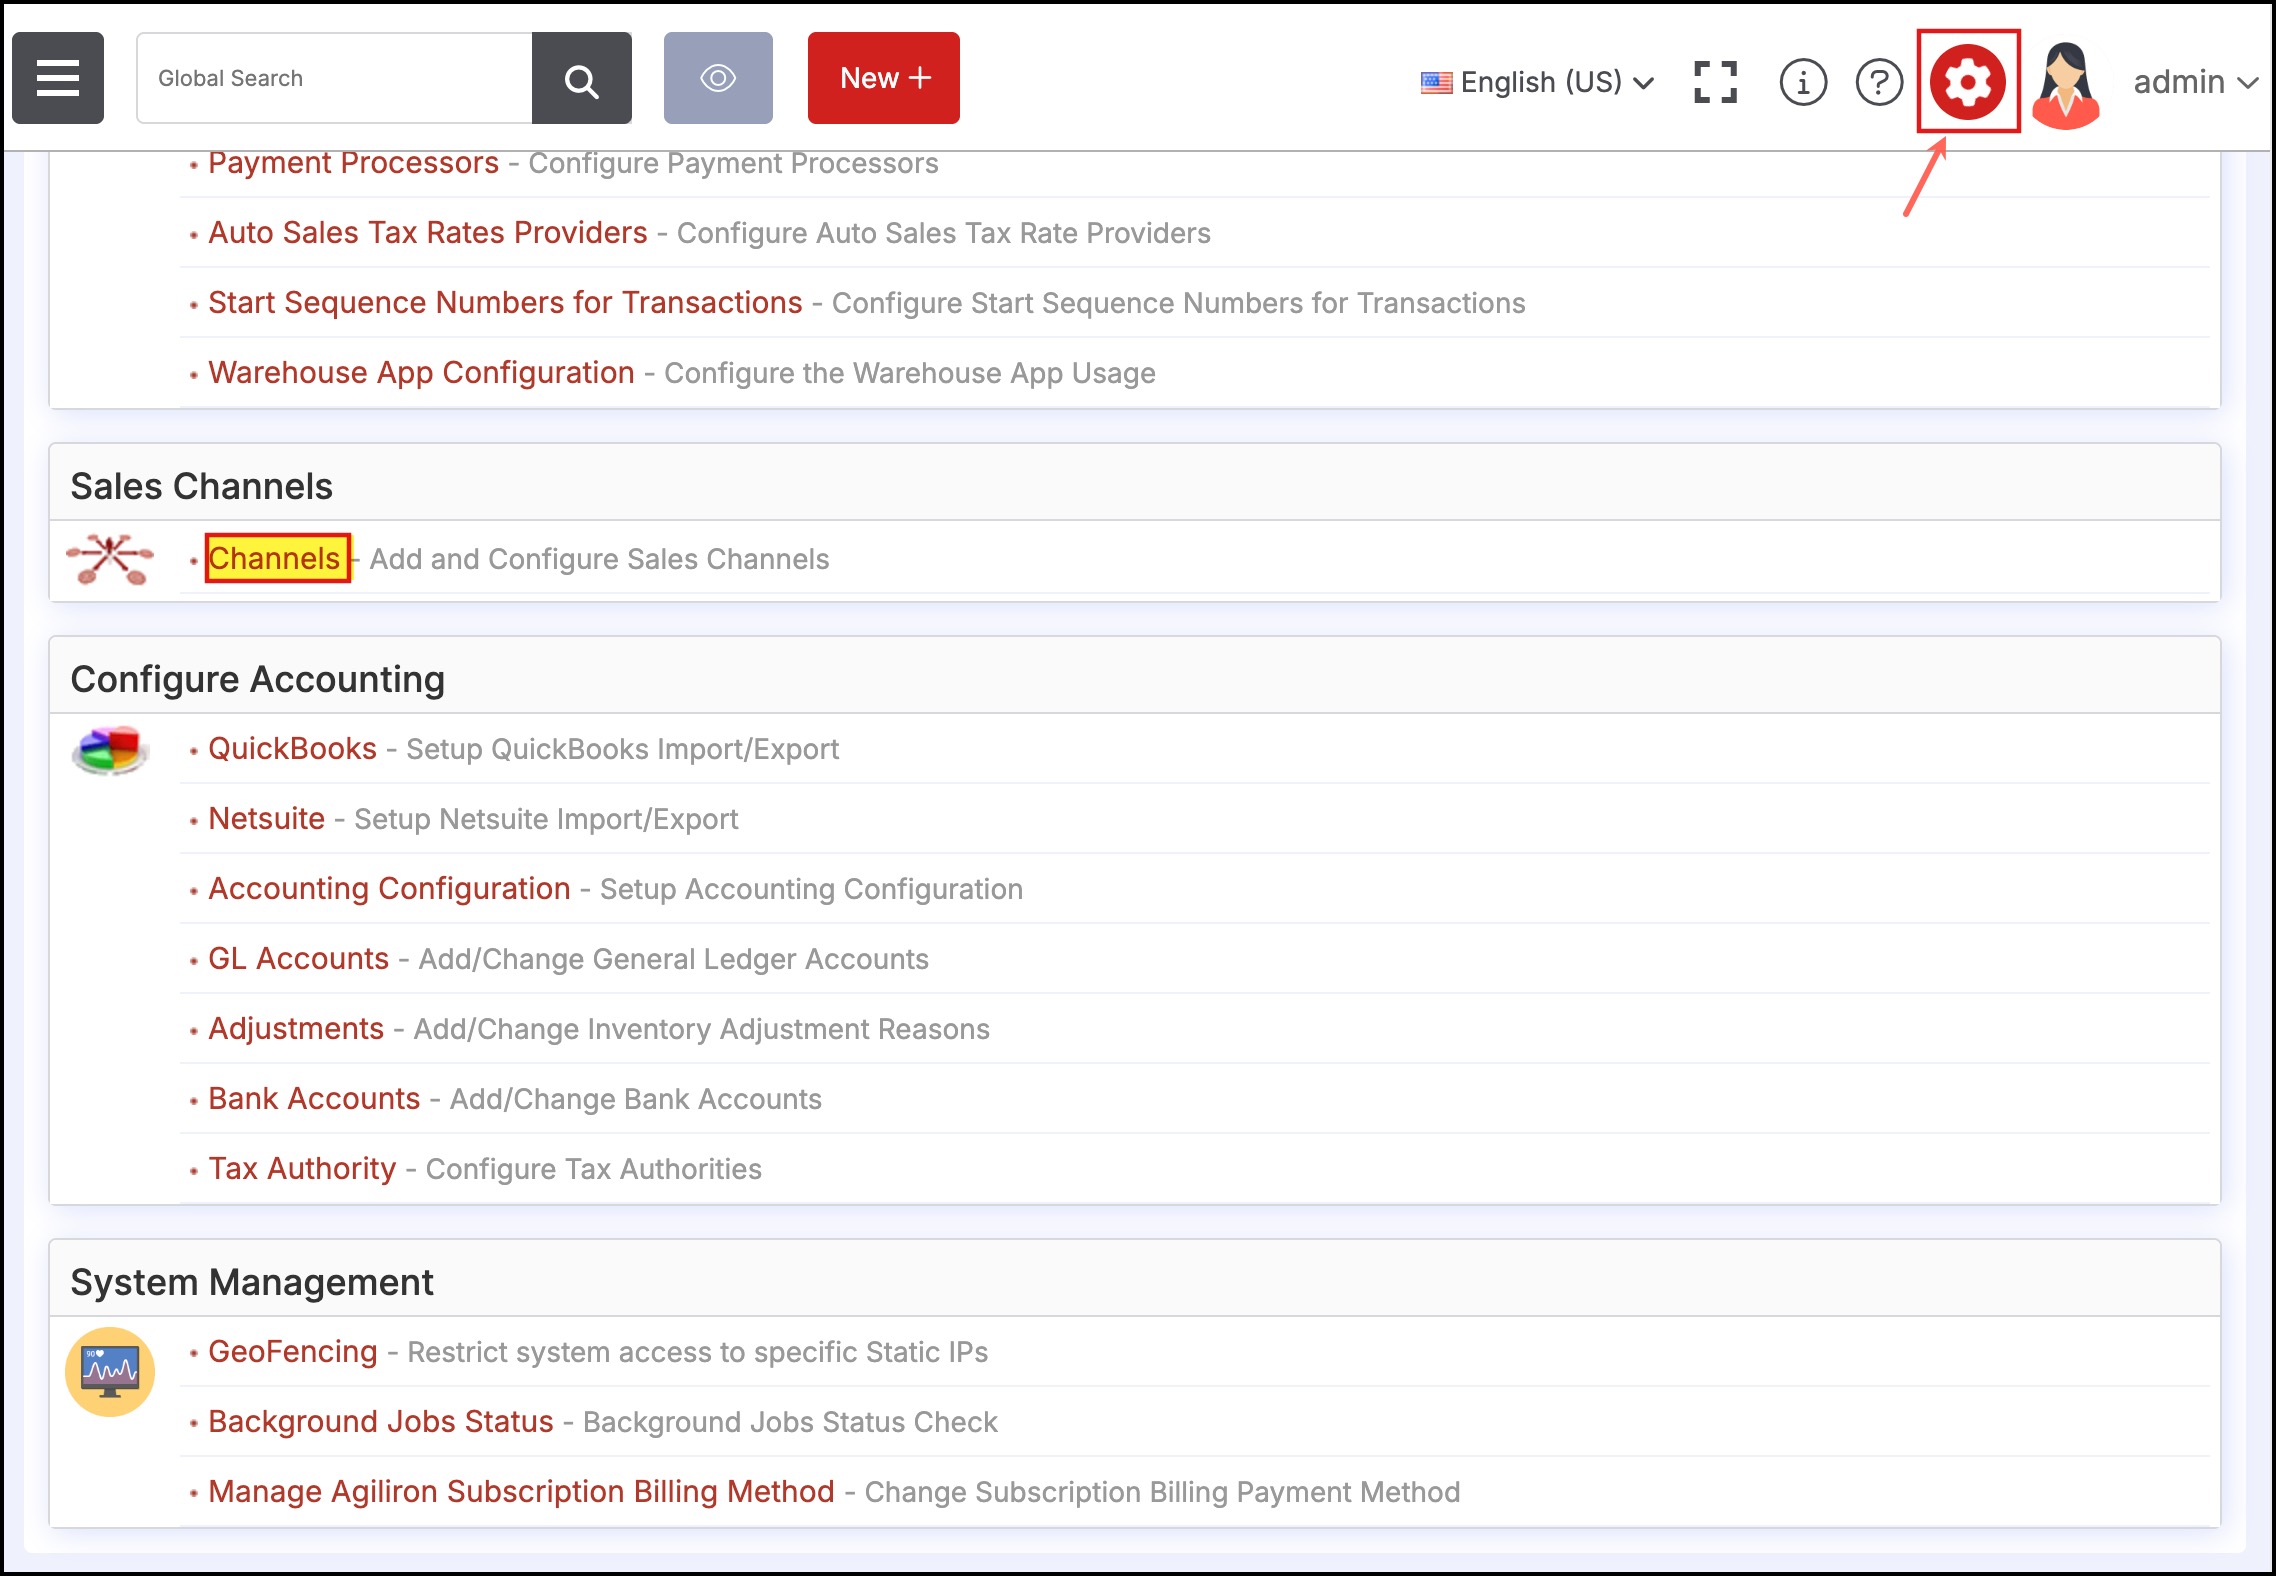
- Now, in Agiliron Backoffice, go to Settings -> Sales Channels -> Channels.
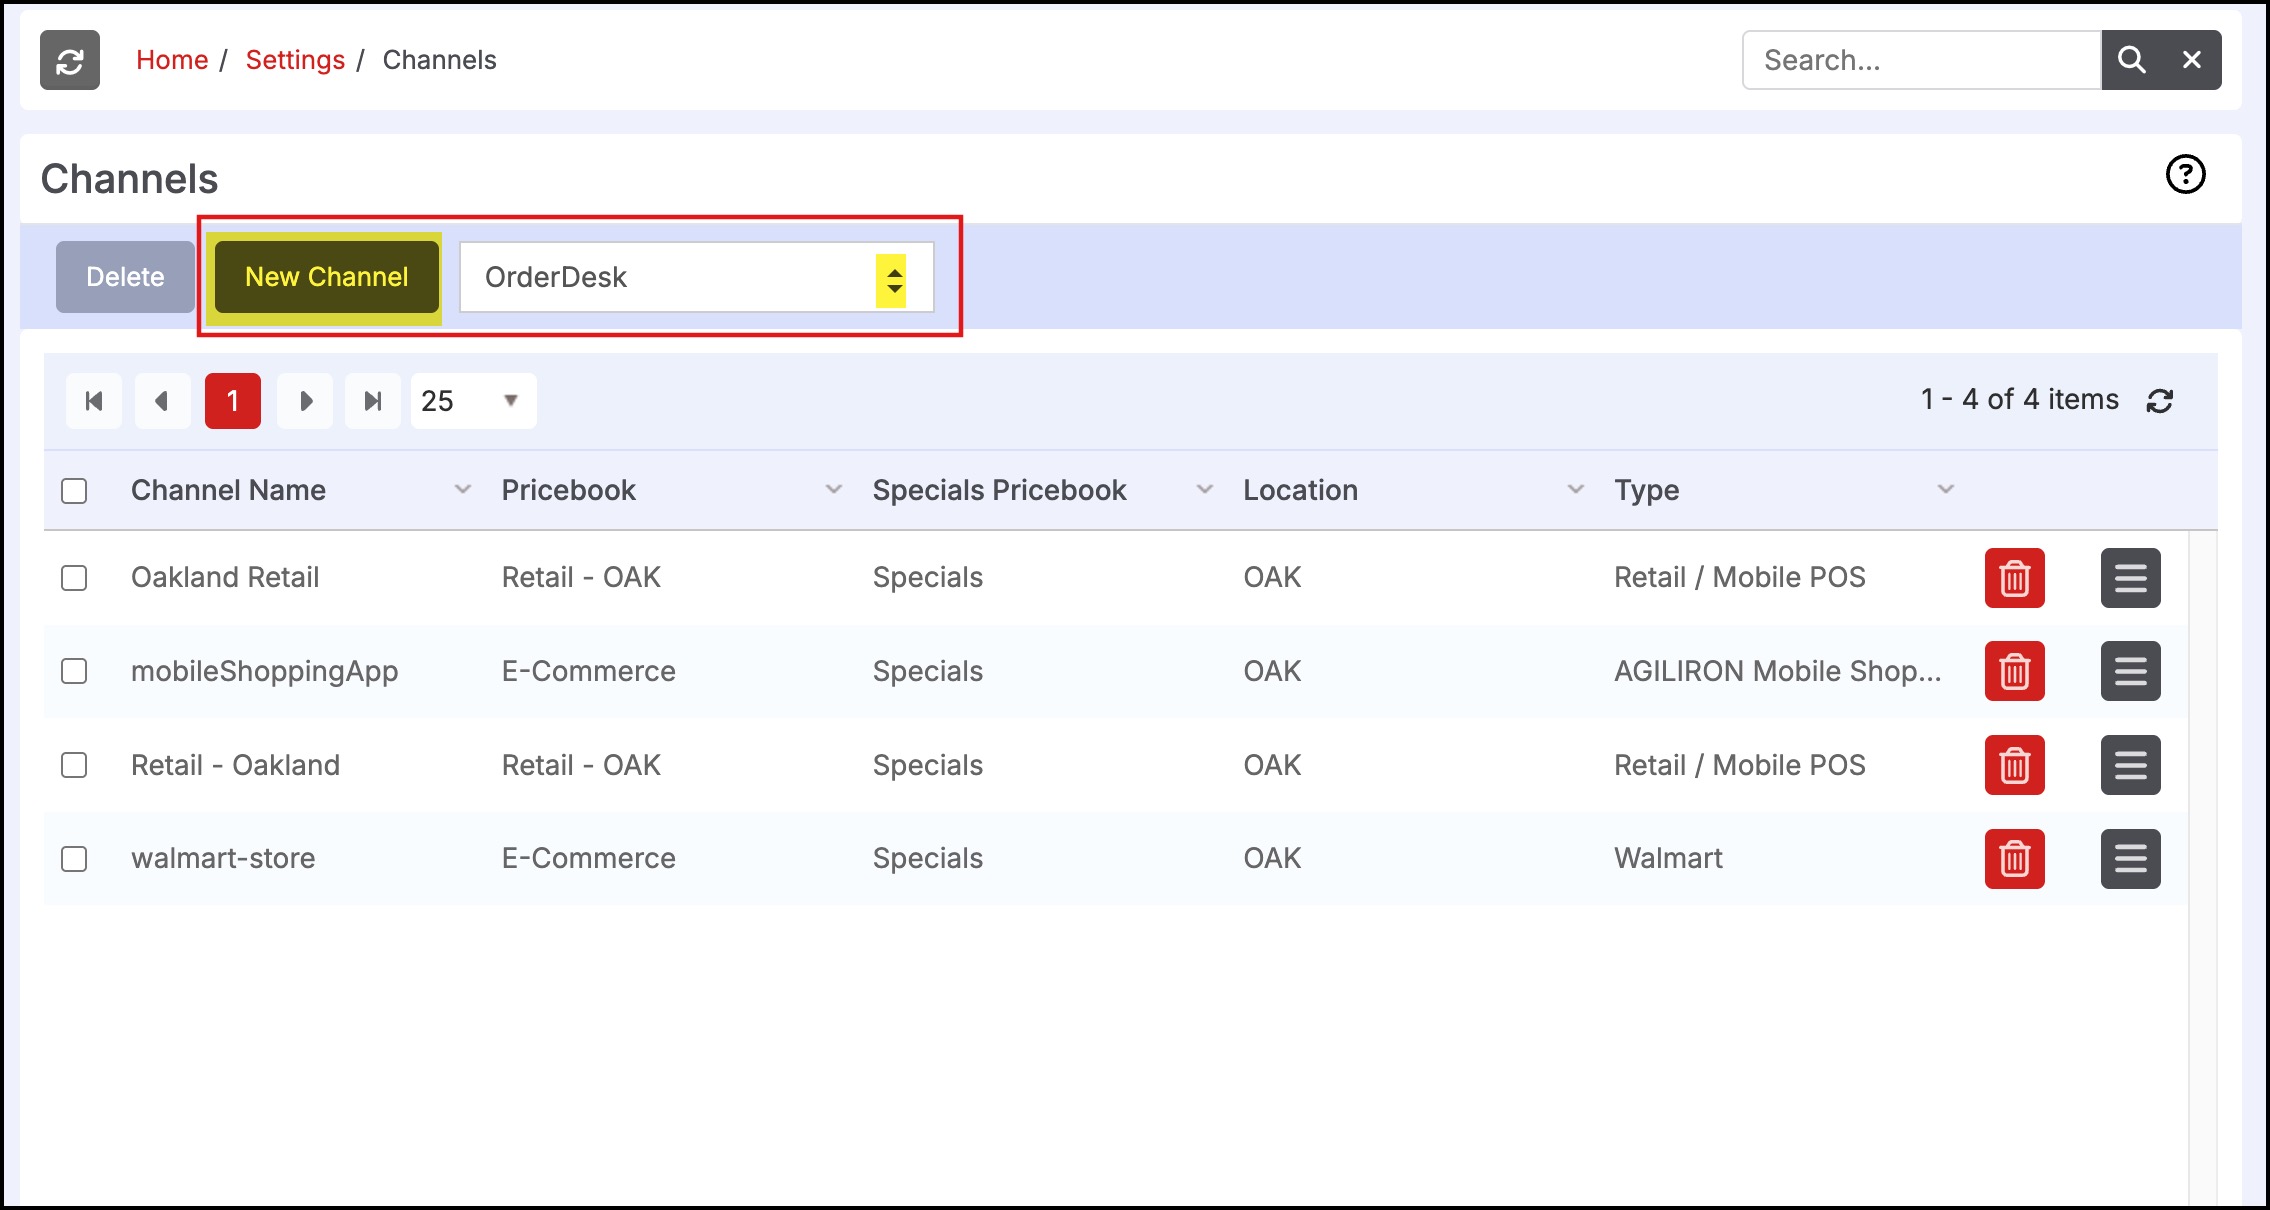
- From the dropdown menu options, select Order Desk and then click on the New Channel button.
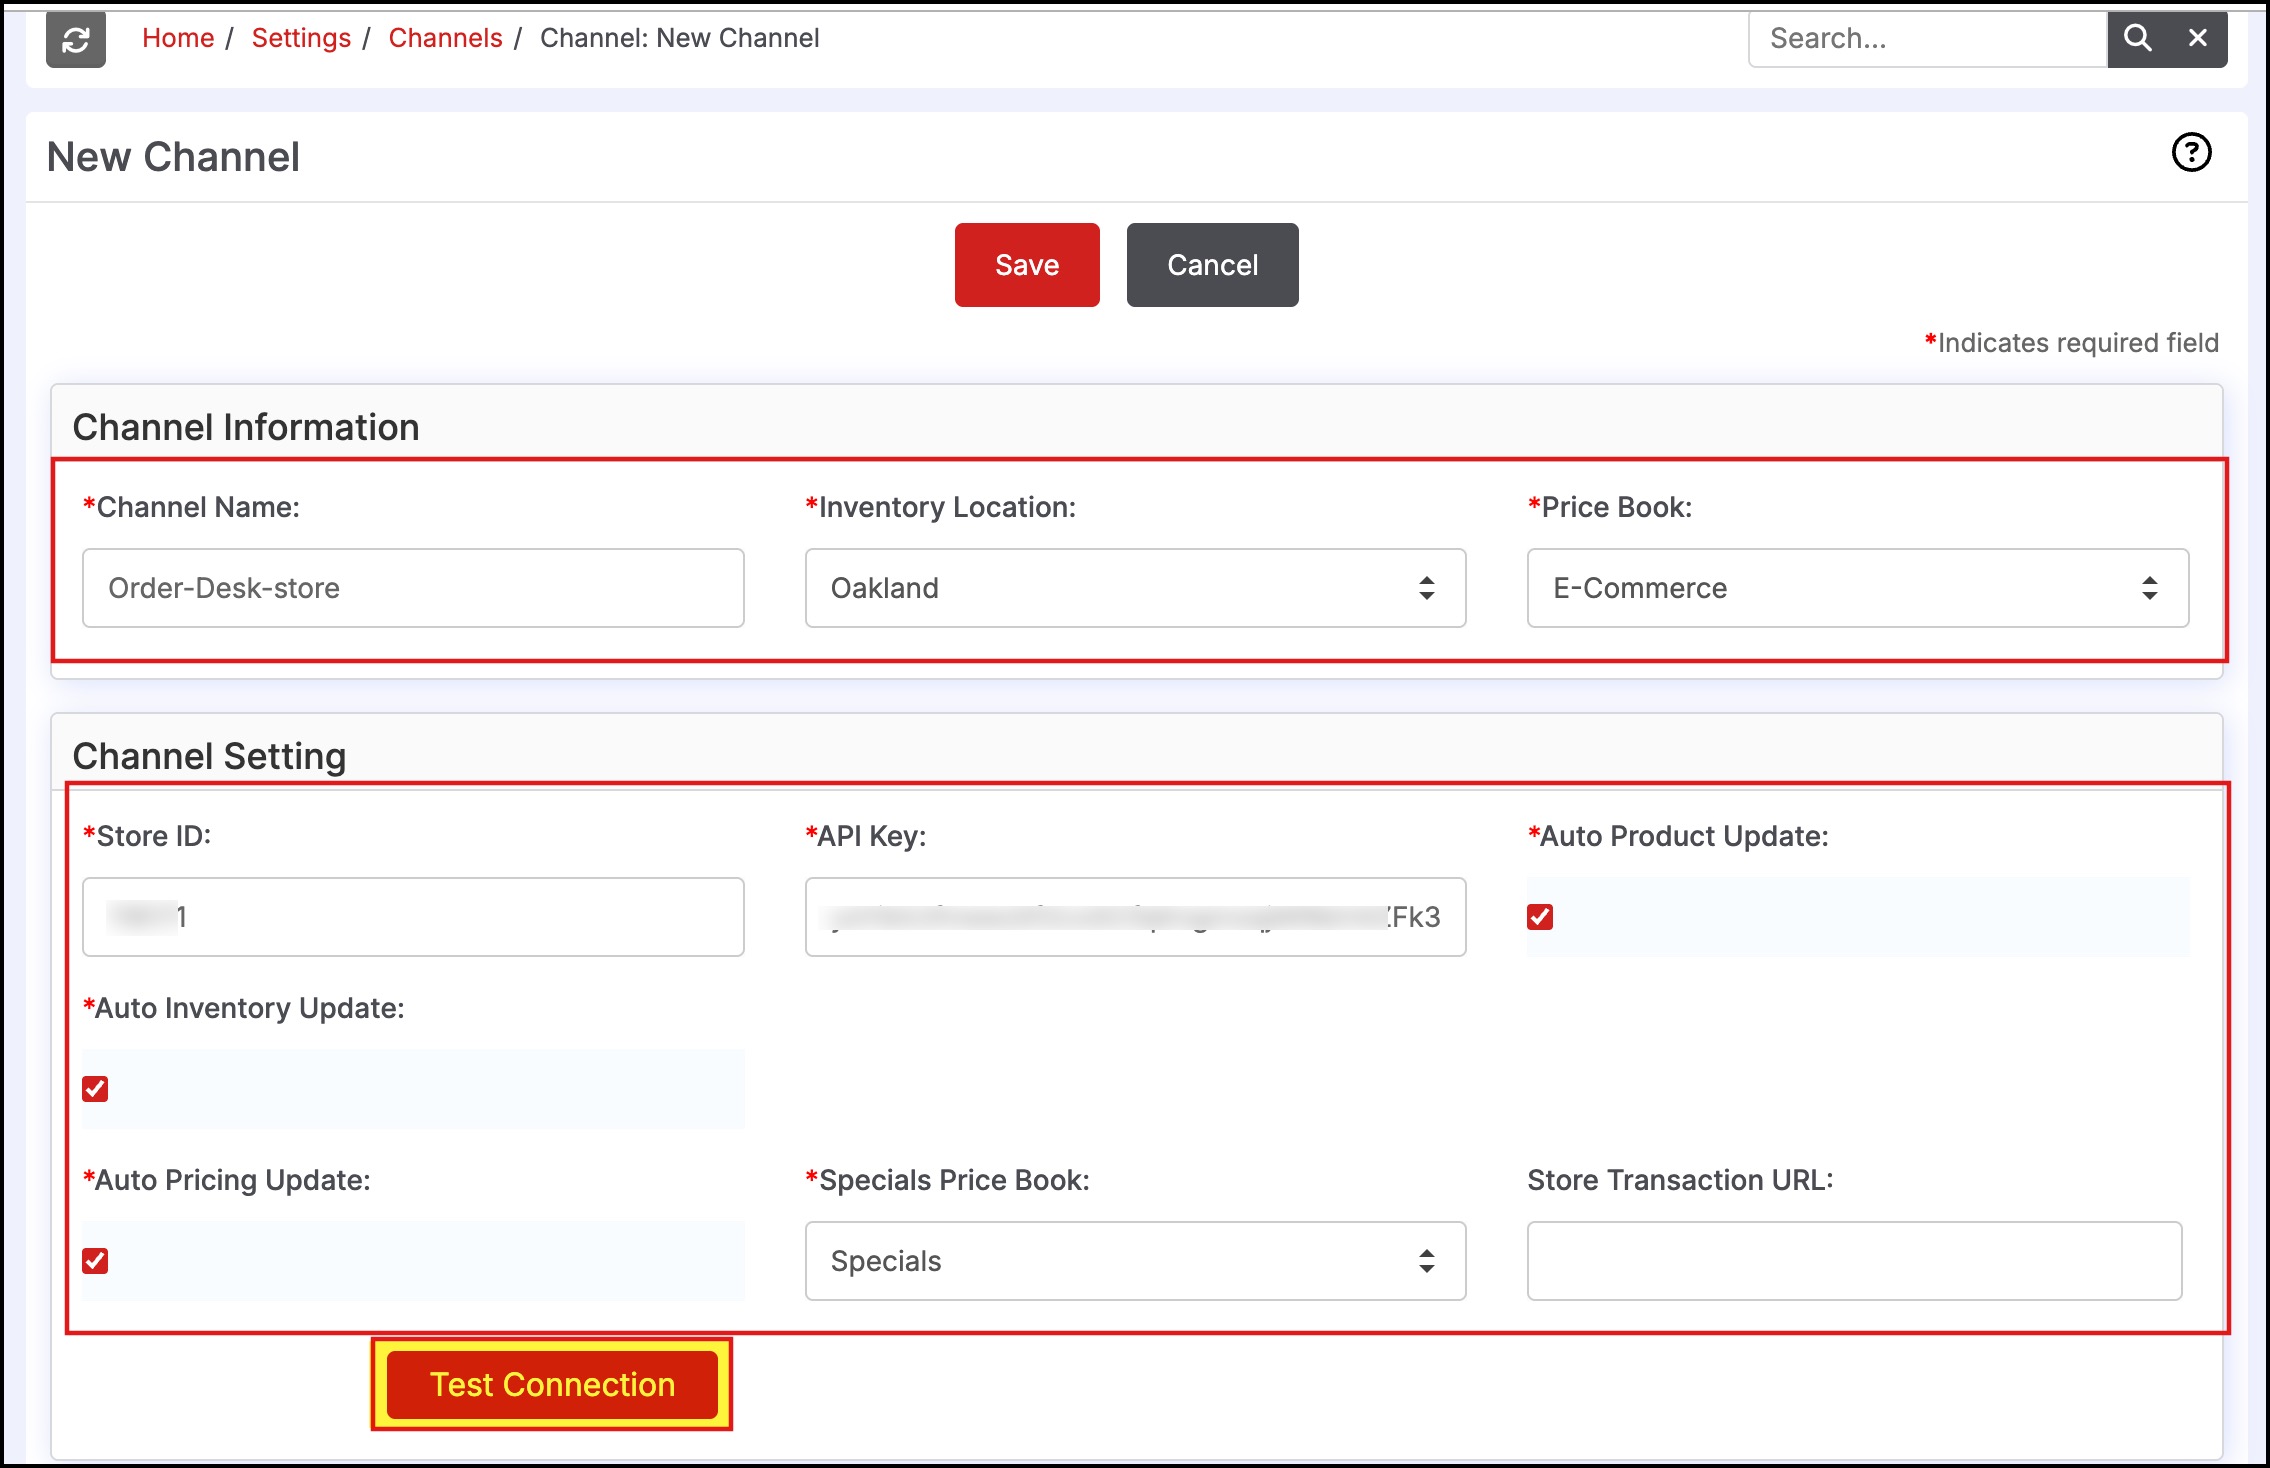
- Now enter the Store ID, API Key, other necessary details, and then click on Test Connection to see if everything has been set up well.
Note - Here you can setup Invetory Location, Pricebook, Auto Product Update, Auto Inventory Update, Auto Pricing Update, Specials Pricebook options.
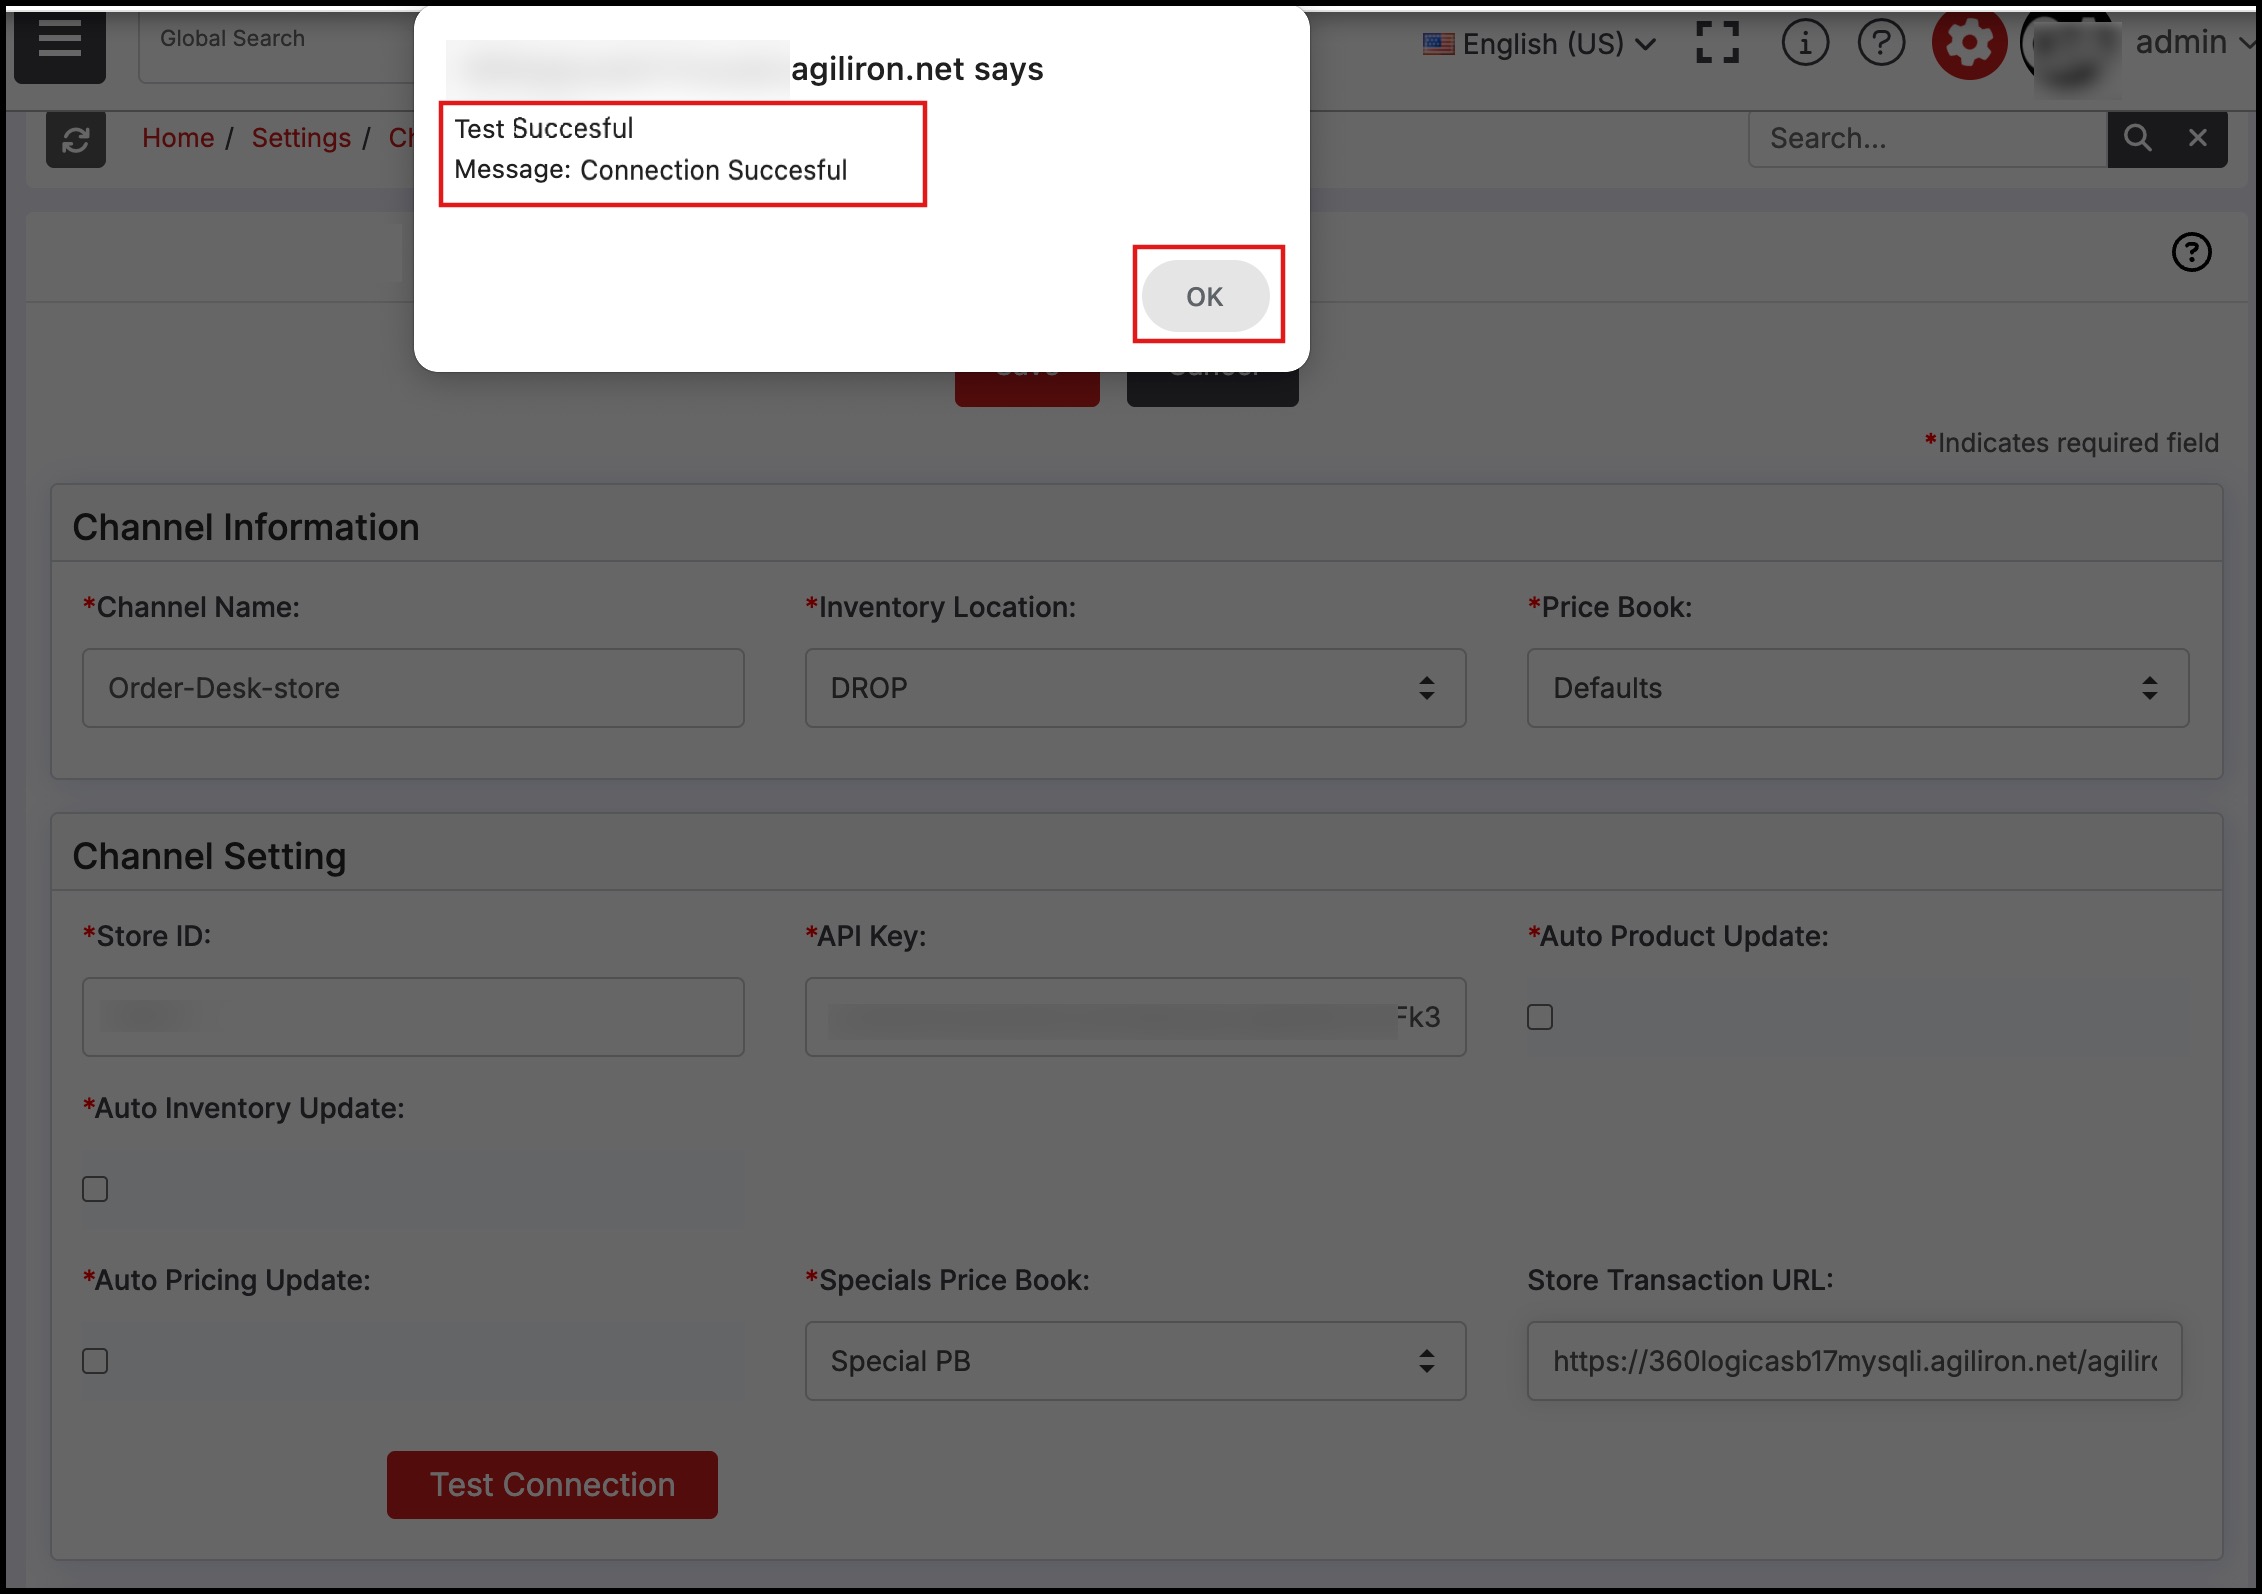
Successful setup will show a Connection Successful message.
Updated about 1 year ago