Setting Up Configuration Options
Once the Retail POS channel is created, it is necessary to setup additional configuration elements to complete the channel setup.
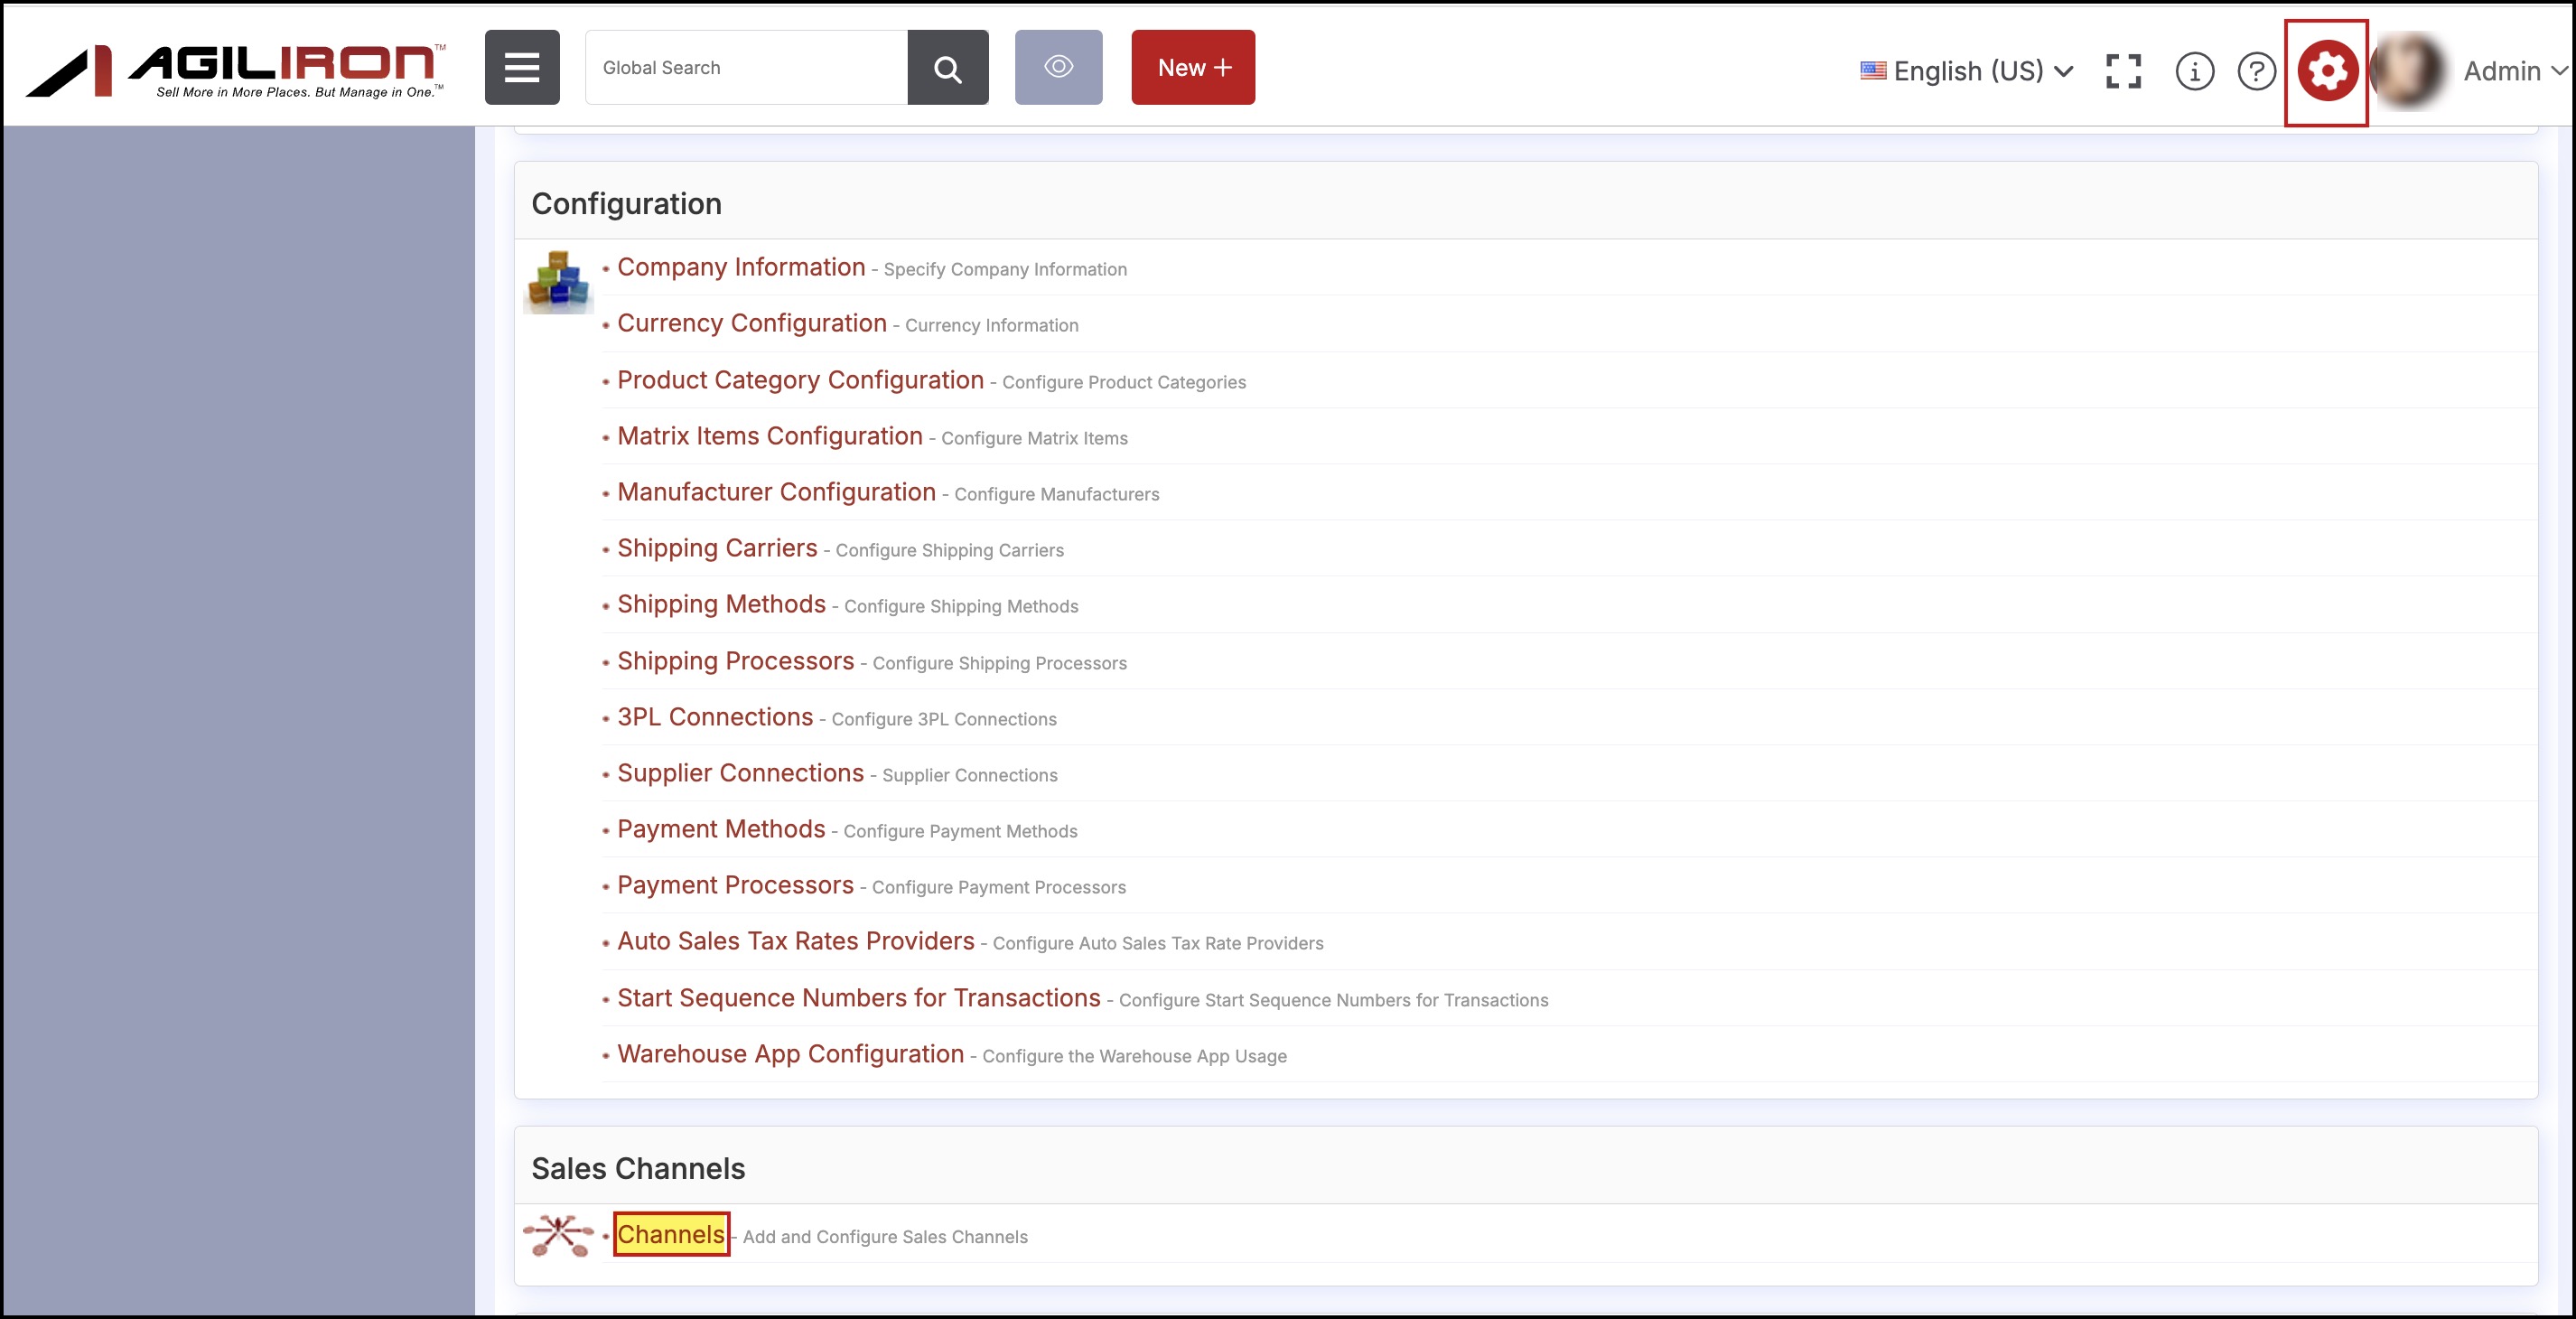
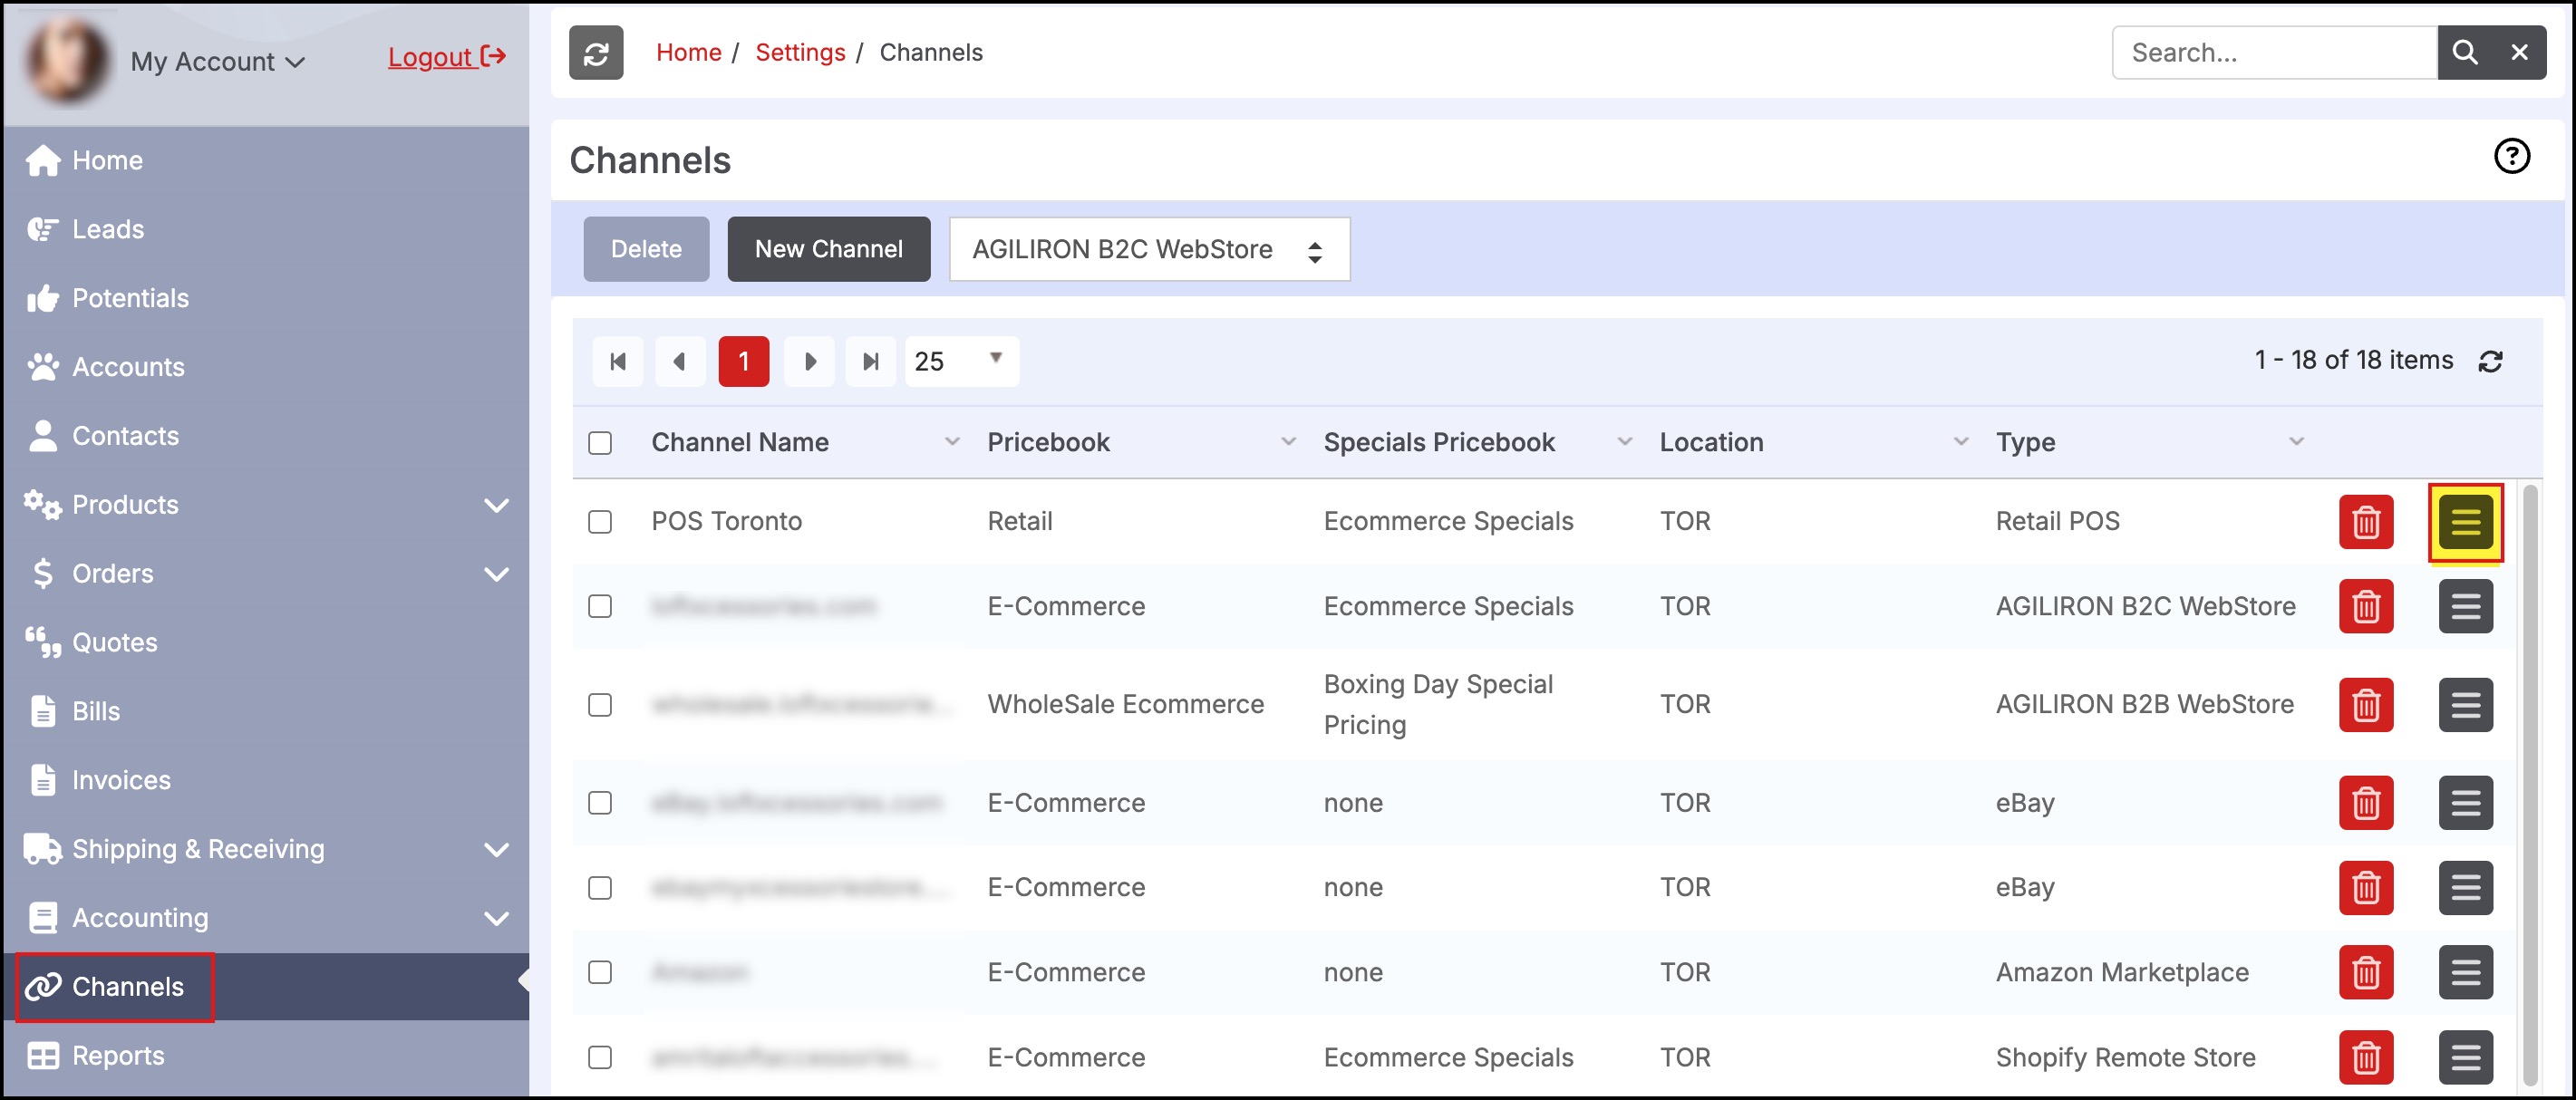
- Go to Settings > Channels. The following page is displayed.
- Click edit next to the POS channel that requires configuration.
- The following page is displayed.
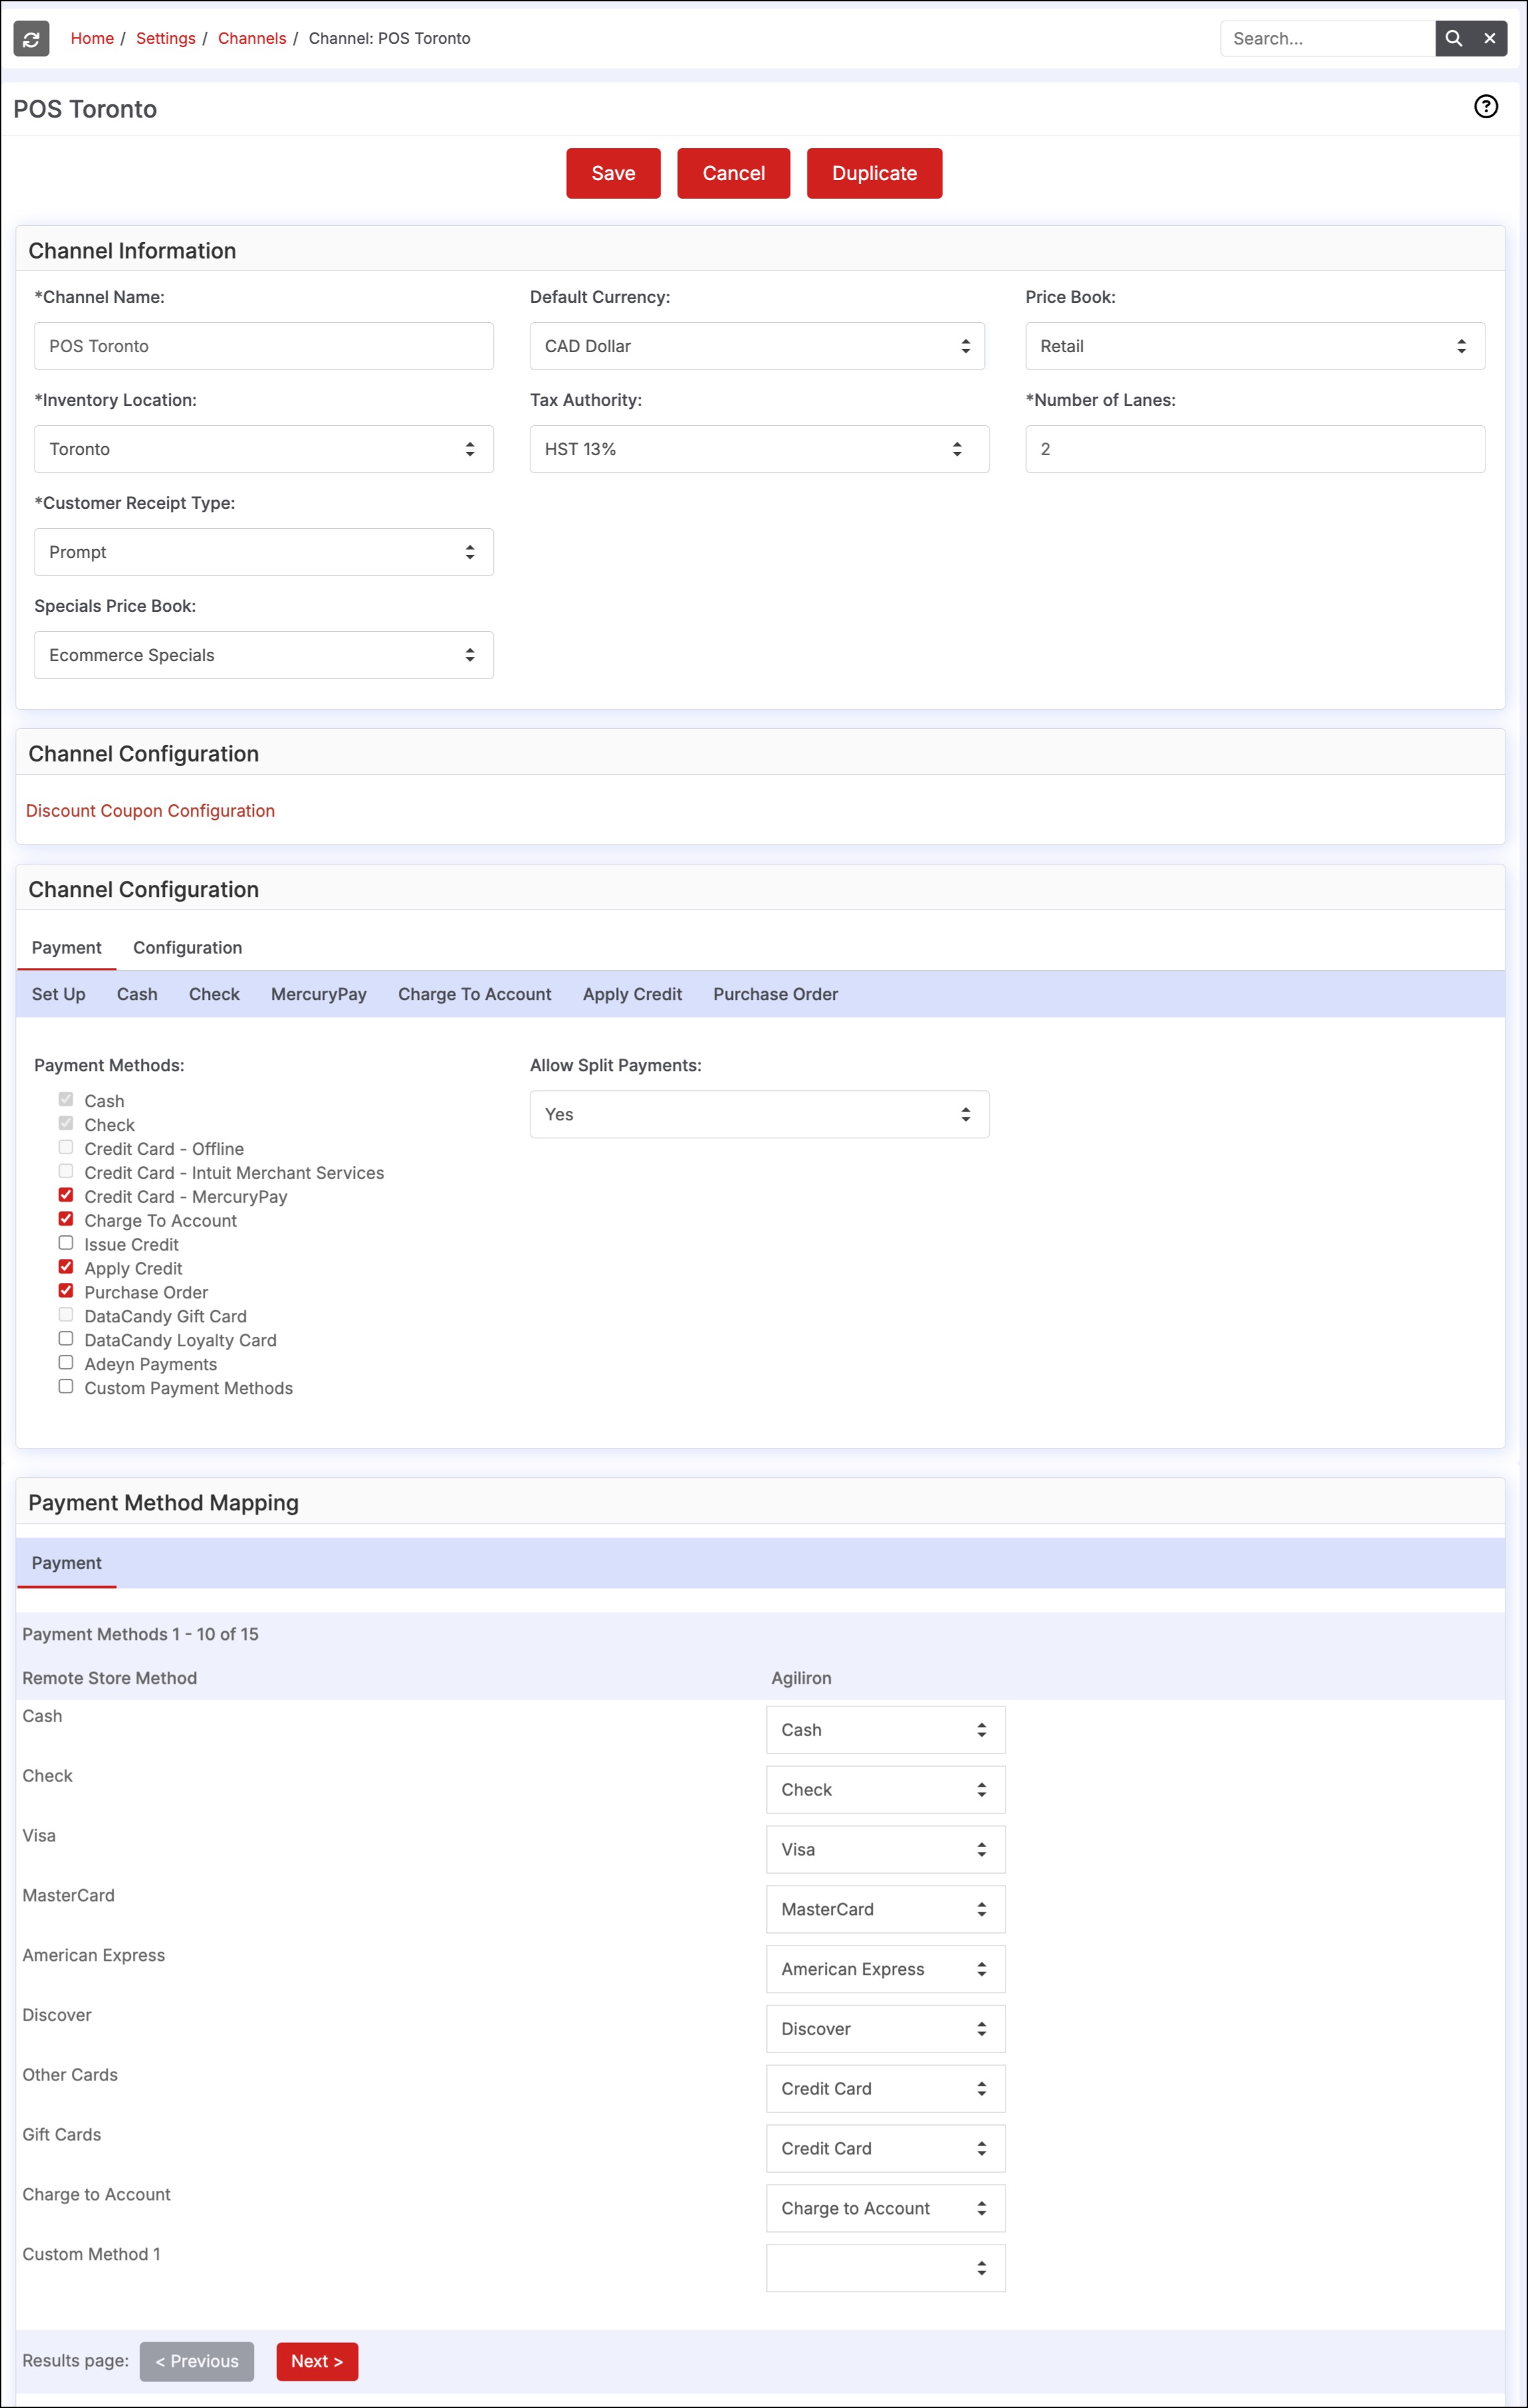
- Click the Configuration tab. The following page is displayed under the Sales Associate Controls tab.
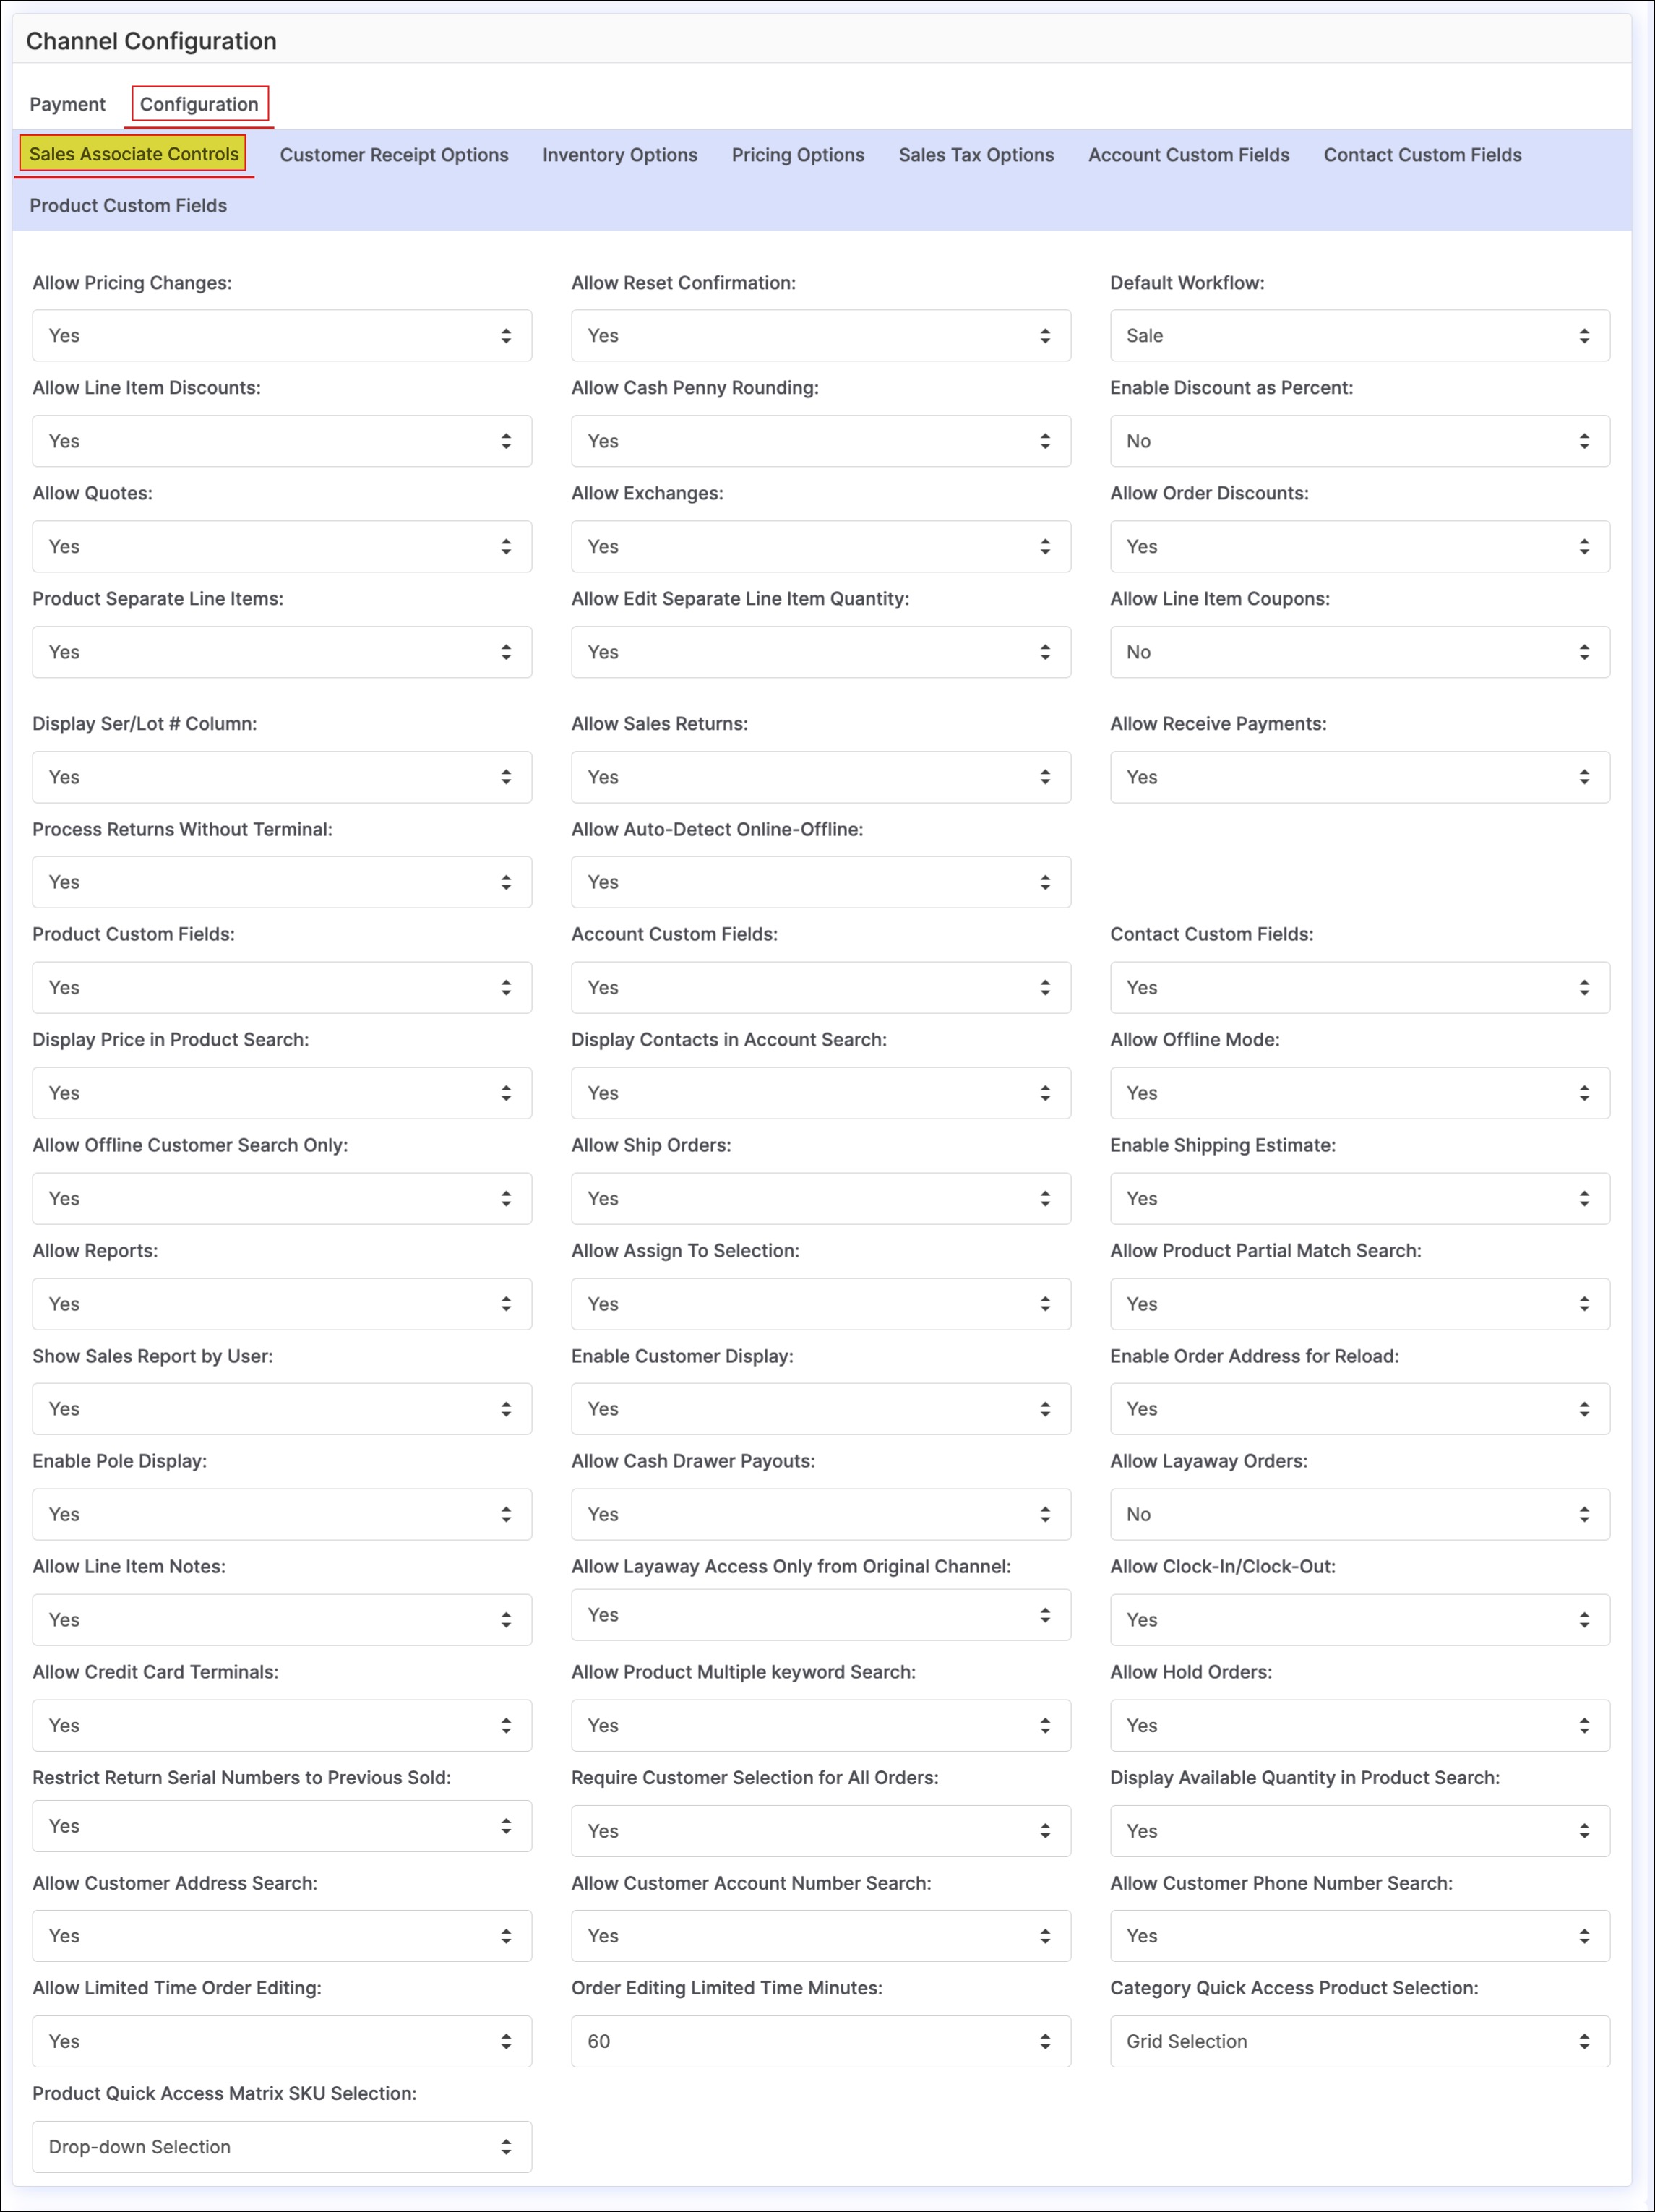
- "Sales Associate Controls" tab
- Allows the business owner/manager to control the permissions assigned to each Sales Associate operating the POS.
- Select the required option (Yes / No) from the Allow Pricing Changes dropdown list to allow associates to change the product price.
- Select the required option (Yes / No) from the Allow Line Item Discounts dropdown list to allow associates to apply discounts to individual products.
- Select the required option (Yes / No) from the Allow Order Discounts dropdown list to allow associates to apply discounts to orders.
- Select the required option (Yes / No) from the Allow Exchanges dropdown list to allow associates to create sales exchanges in a single transaction at the POS.
- Select the required option (Yes / No) from the Allow Sales Returns dropdown list to allow associates to process sales returns at the POS.
- Select the required option (Yes / No) from the Allow Quotes dropdown list to allow associates to prepare Quotes at the POS.
- Select the required option (Yes / No) from the Process Returns Without Terminal dropdown list to manage sales returns.
- By default this setting is set to "Yes". This allow sales returns to be processed without requiring the customer's card to be inserted into the credit card terminal (only applies to returns that originated from previous sales made from the POS).
- Select the required option (Yes / No) from the Allow Offline Mode dropdown list to allow the POS to operate in Offline Mode.
- Select the required option (Yes / No) from the Allow Auto-Detect Online-Offline Mode dropdown list.
- If the Allow Offline Mode setting is turned on, this feature will allow the POS to go online/offline automatically depending on whether or not the internet connection is available.
- Select the required option (Yes / No) from the Allow Ship Orders dropdown list to allow associates to create orders for shipping at the POS.
- Select the required option (Yes / No) from the Allow Reports dropdown list to allow associates to run end of day sales reports/close out the register.
- Select the required option (Yes / No) from the Allow Assign To Selection dropdown list to assign a sales person to the sales order.
- Select the required option (Yes / No) from the Allow Product Partial Match Search dropdown list to conduct a search based on entering a portion of the product name.
- Select the required option (Yes / No) from the Allow Line Item Notes dropdown list to allow associates to add notes to each product line item.
- Select the required option (Yes / No) from the Allow Cash Drawer Payouts dropdown list allow cash payouts for petty cash, etc.
- Select the required option (Yes / No) from the Allow Clock-In/Clock-Out dropdown list allow associates to track time worked.
- Select the required option (Yes / No) from the Allow Product Multiple keyword Search dropdown list to conduct product search by Product Name or Product Code with multiple keywords.
- Select the required option (Yes / No) from the Allow Credit Card Terminals dropdown list (this is for EMV card support, Mercury must be selected as the payment processor to enable this feature).
- Select the required option (Yes / No) from the Allow Layaway Orders dropdown list to enable layaway processing.
- Select the required option (Yes / No) from the Allow Hold Orders dropdown list to place an order on hold without completing the sale.
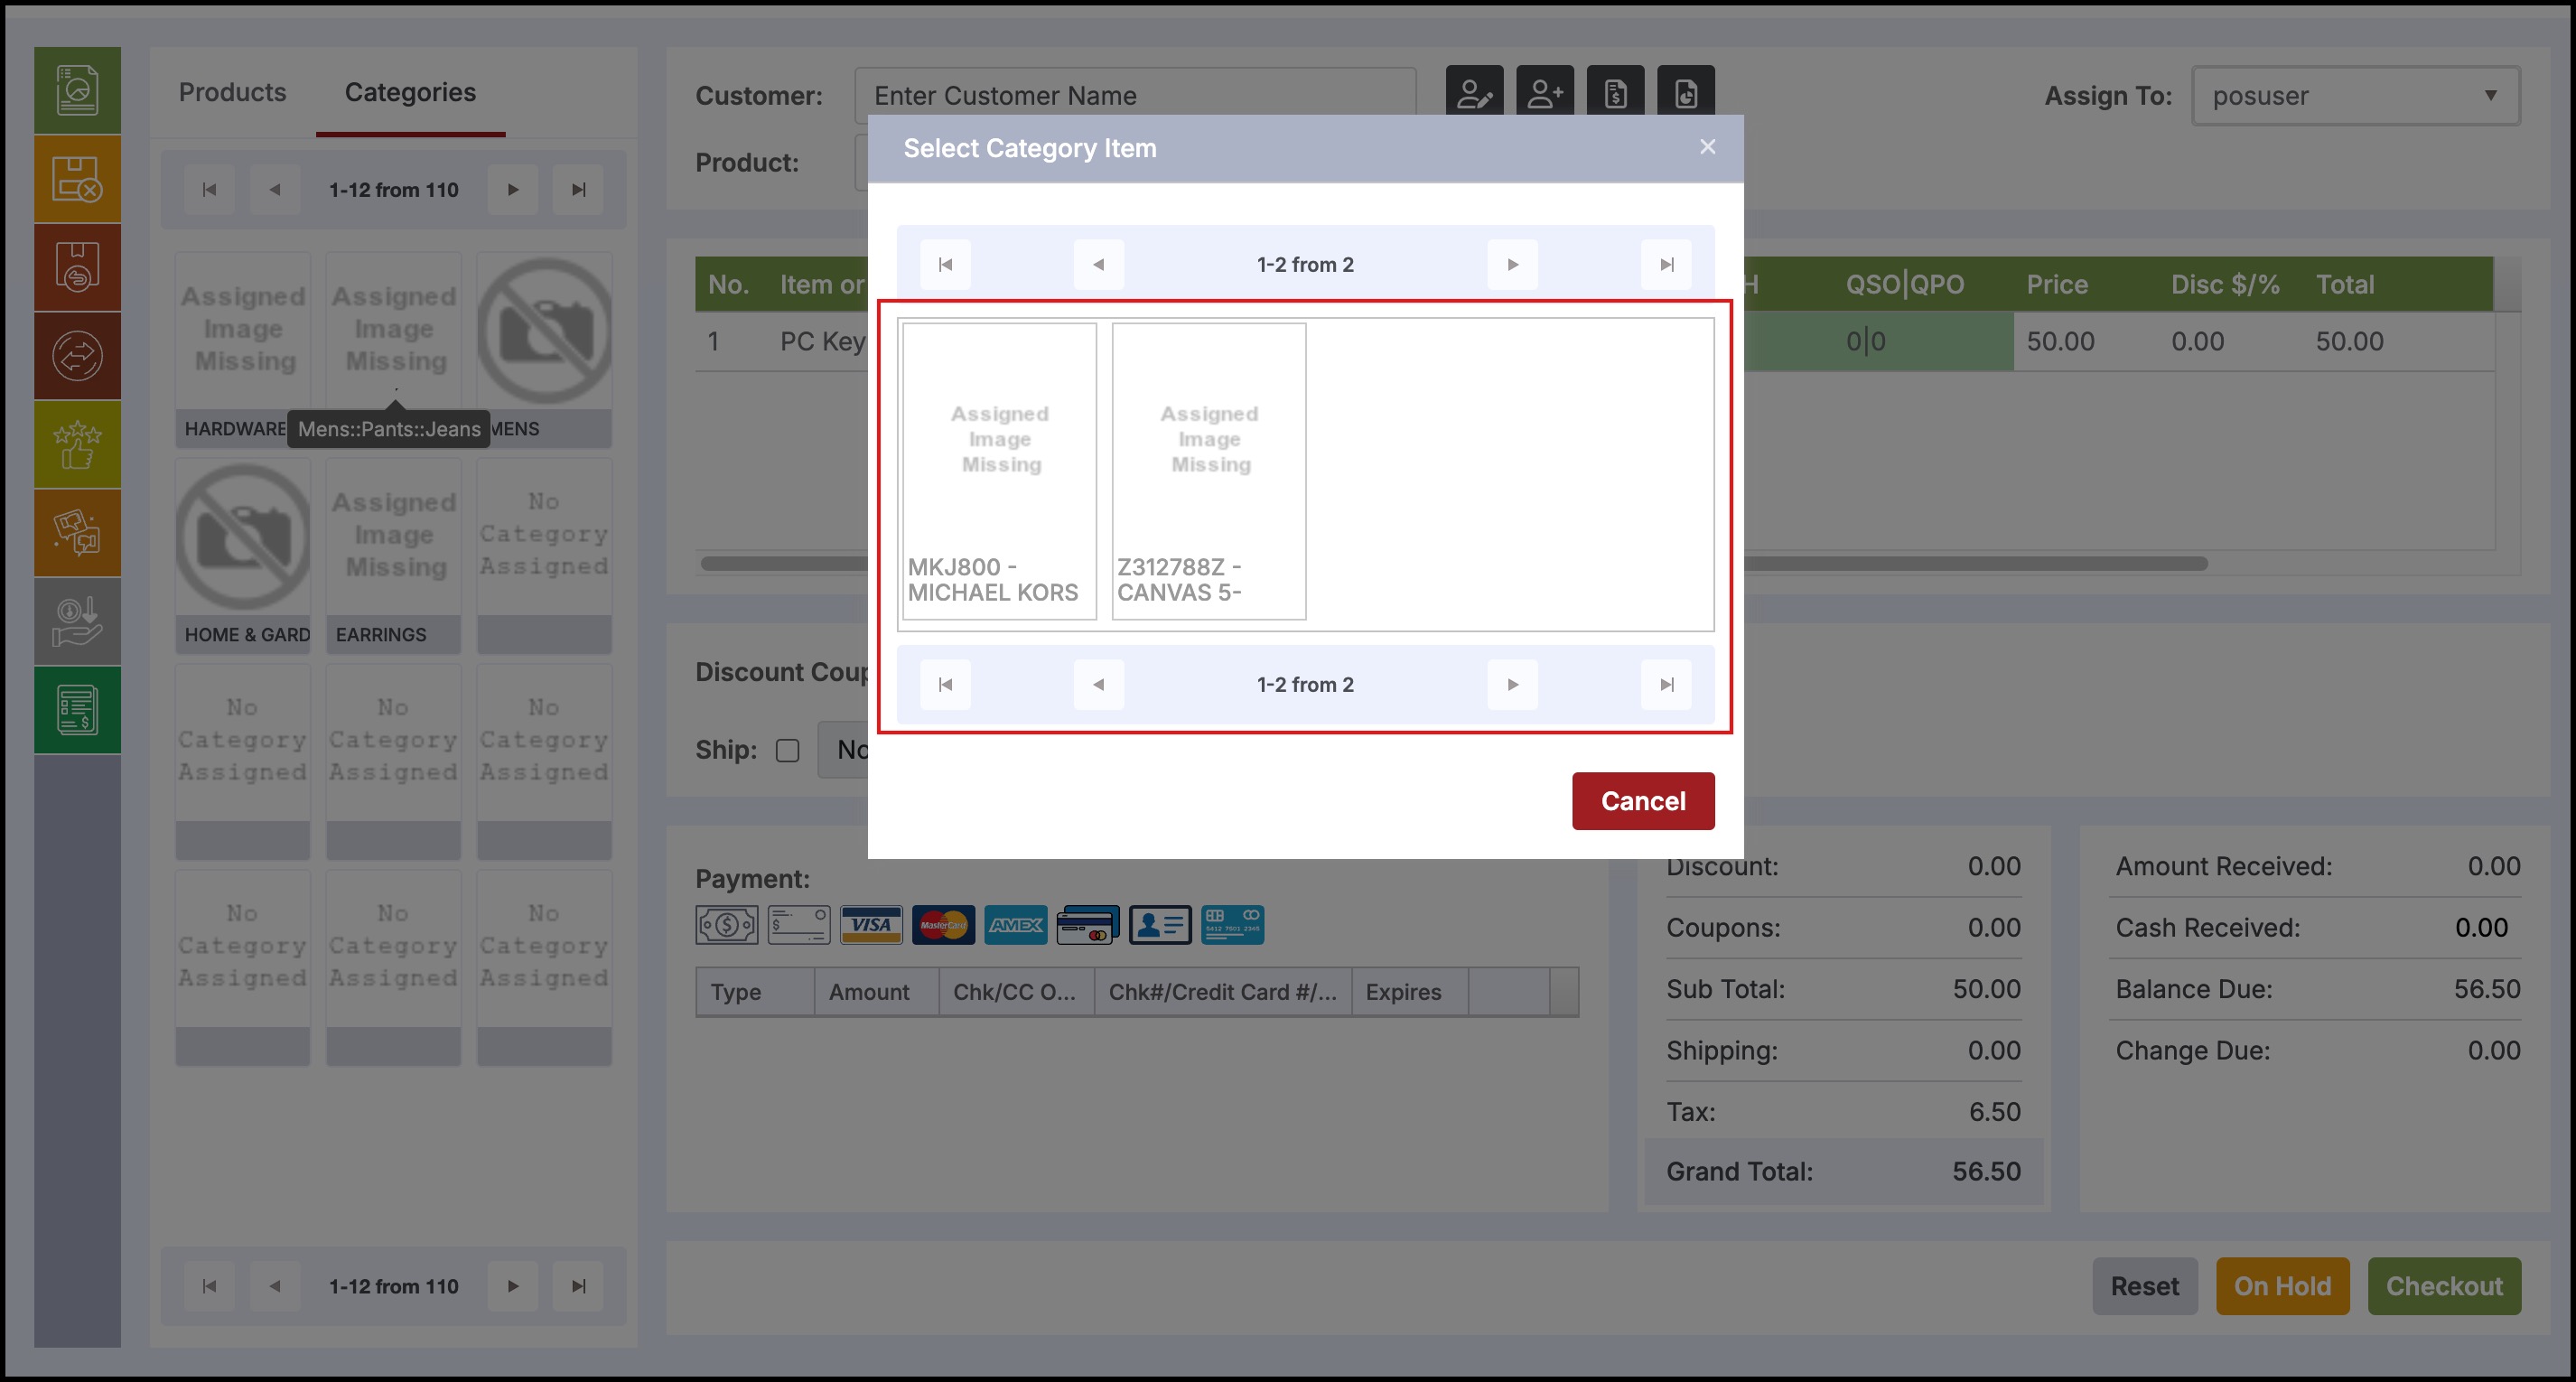
- Select the required option (Drop-down Selection/Grid Selection) from the Category Quick Access Product Selection dropdown list to select products for the Quick Access buttons by using the drop-down selection or selecting from a grid format.
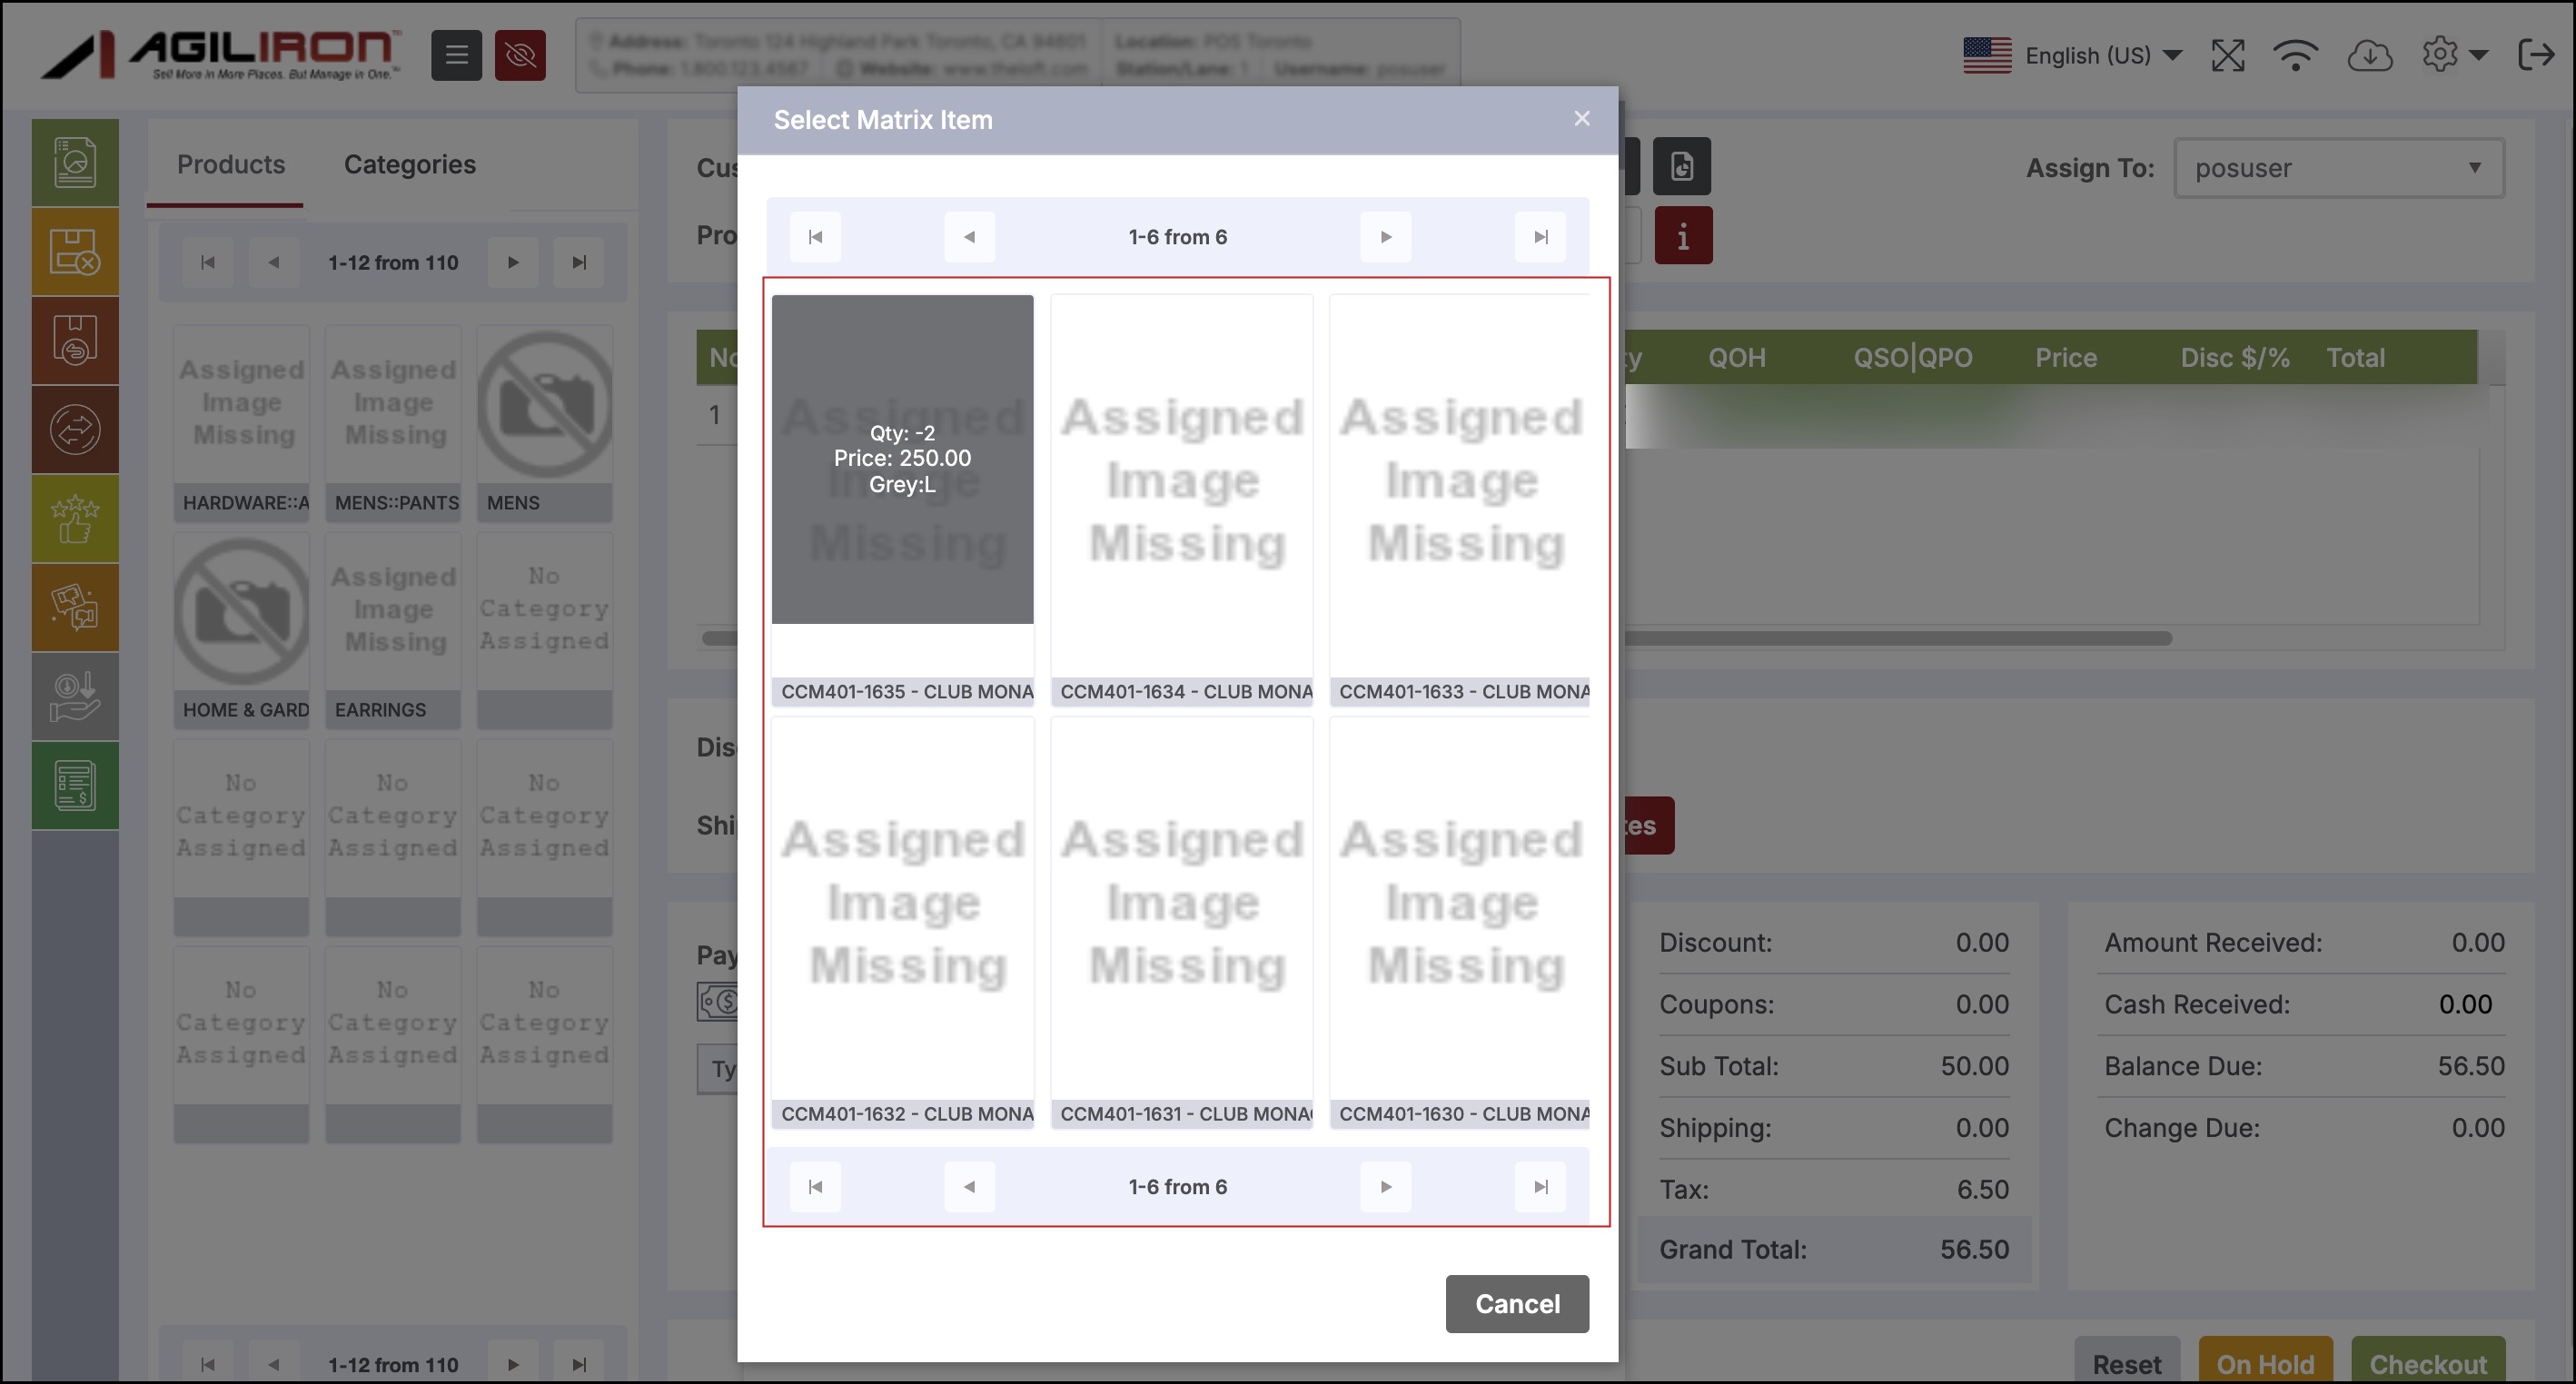
- Select the required option (Drop-down Selection/Grid Selection) from the Product Quick Access Matrix SKUSelection dropdown list to select Matrix products for the Quick Access buttons by using the drop-down selection or selecting from a grid format.
- "Customer Receipts Options" tab
- Select the required option (Yes / No) from the Customer Electronic Signature dropdown list.
- When "Yes" is selected, a box will appear in the center of POS screen during checkout. The customer can draw their signature with either their finger (if using tablets/touchscreens) or a mouse (if using laptops/desktops). The image of the signature is captured within the Sales Order in the back-office as an “Attachment” (under the "Orders" tab).
- Select the required option (Yes / No) from the Gift Receipt dropdown list.
- When "Yes" is selected, a Gift Receipt will print after the regular receipt has printed. The Gift Receipt does not include any pricing or payment information.
- Select the required option (Yes / No) from the Duplicate Receipt dropdown list.
- When "Yes" is selected, a Duplicate Receipt will print after the regular receipt has been printed. The information on it is identical to the regular receipt. Note: To print customer receipts the "Customer Receipt Option" must be set to "Print" during the POS channel setup.
- If both "Gift Receipt" and "Duplicate Receipt" are selected, the order of printing is:
- Regular
- Duplicate
- Gift Receipt
- The next four receipt types can be customized to the user's specifications. Instructions for customizing sales receipts can be found here. Note: This feature is only available in the Enterprise and higher editions of Agiliron.
- Select the required format of the gift receipt from the Sales Receipt Format Template dropdown list.
- Select the required format of the gift receipt from the Gift Receipt Format Template dropdown list.
- Select the required format of the return receipt from the Return Receipt Format Template dropdown list.
- Select the required format of the return receipt from the Invoice for Orders on Account Format Template dropdown list.

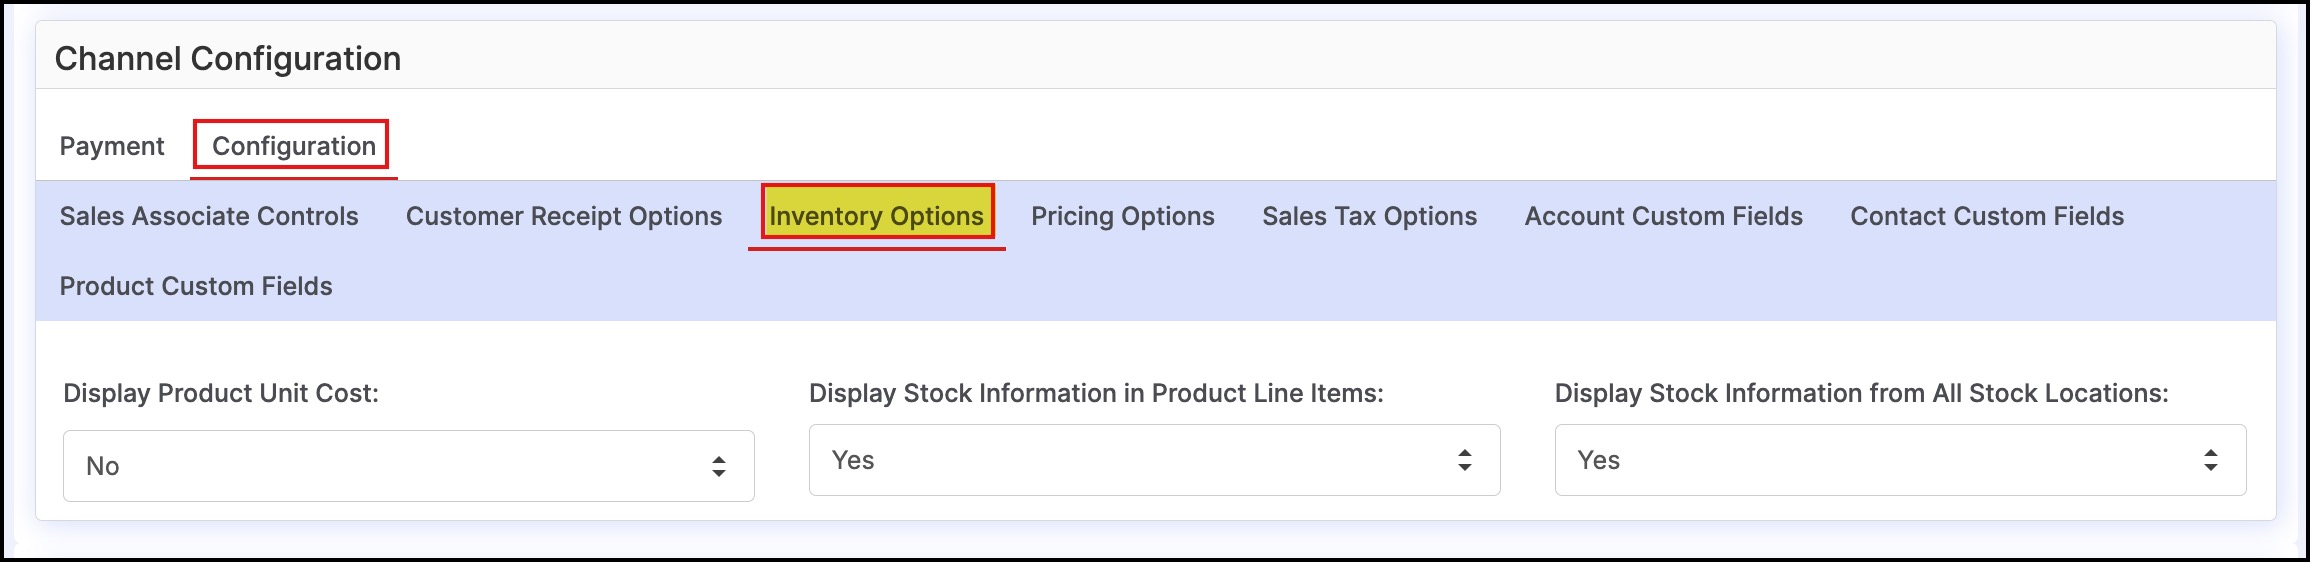
- Inventory Options tab
- Select the required option (Yes / No) from the Display Product Unit Cost dropdown list.
- When "Yes" is selected, the "Product Information Dialog" displays the unit cost for the item.
- Select the required option (Yes / No) from the Display Stock Information from All Stock Locations dropdown list.
- When "Yes" is selected, the "Product Information Dialog" displays the stock information from all Stock Locations in the system, otherwise stock information from the "Inventory Location" assigned only to the POS Channel will be displayed.
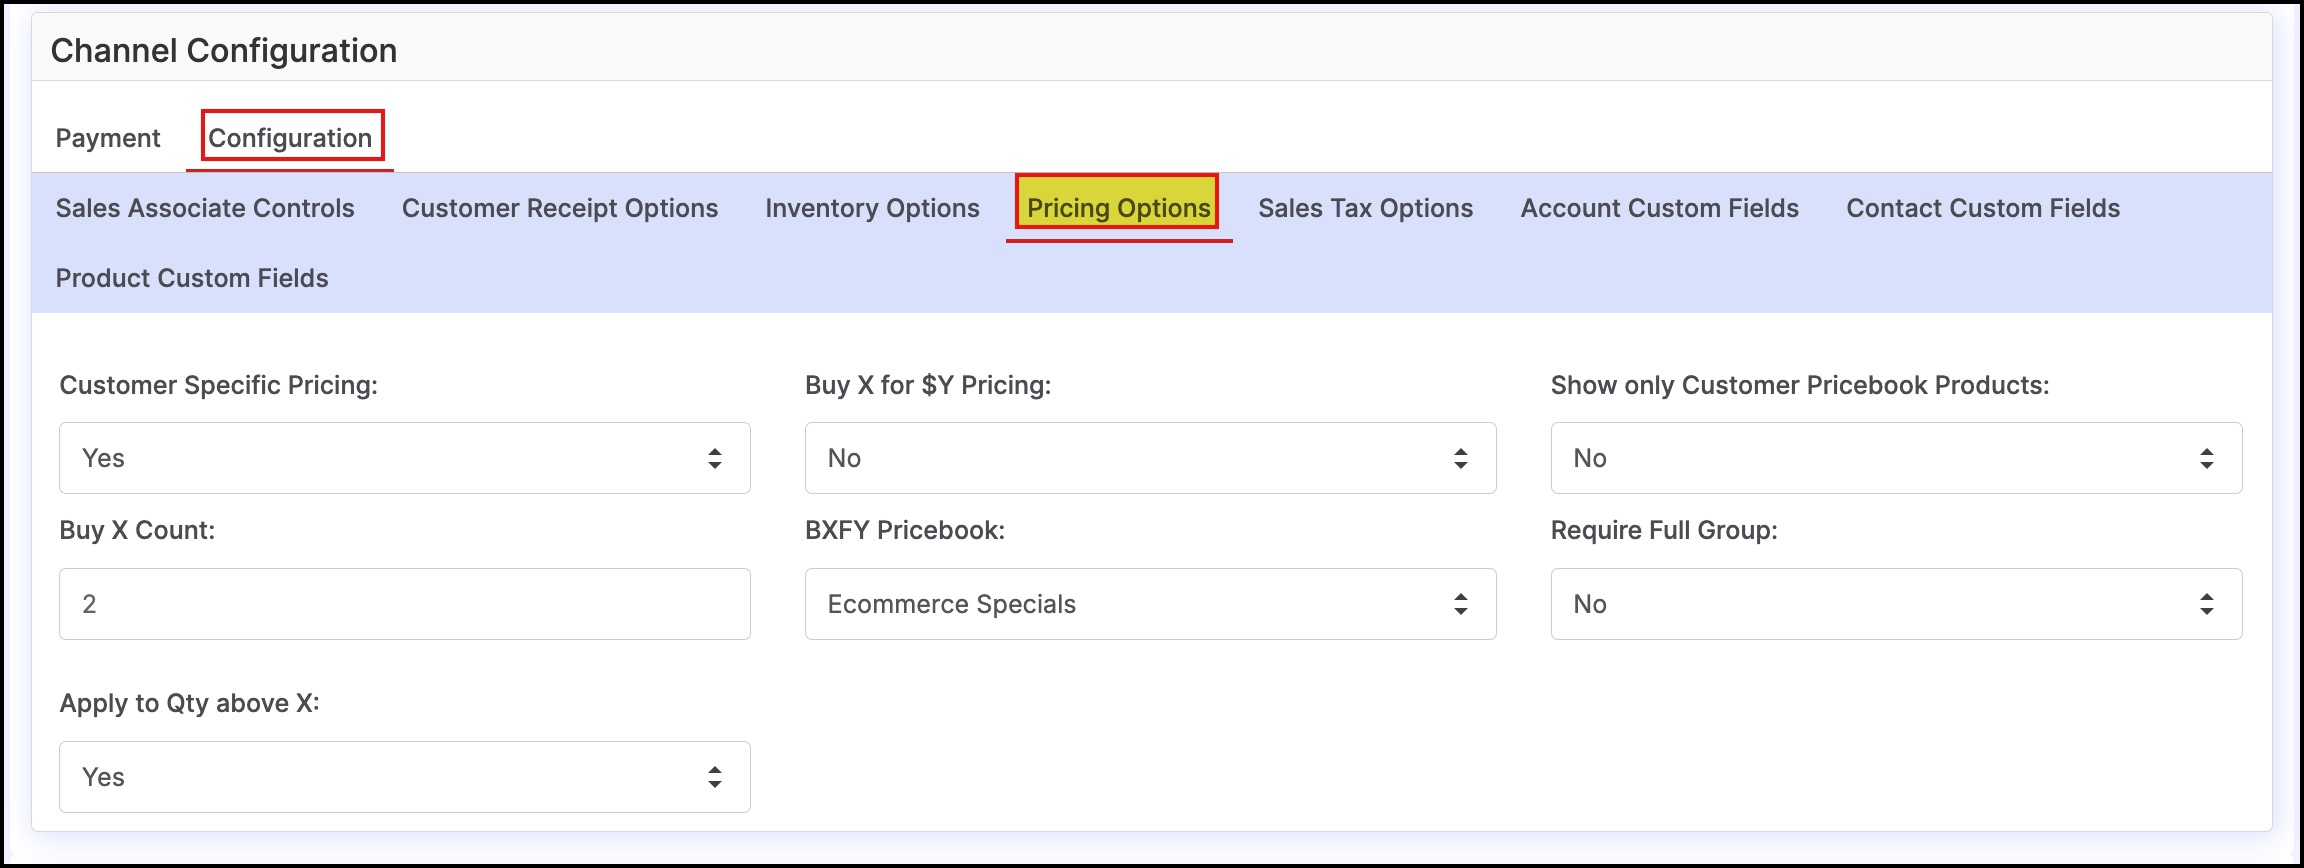
- Pricing Options tab
- Select the required option (Yes / No) from the Customer Specific Pricing dropdown list.
- When "Yes" is selected, this will automatically assign pricing based on the pricebook selected for each customer in the system. Pricebooks can be assigned to the customer under the "Account" module.
- Note: A customer must be selected at the POS using the "Customer" text field in order for the pricing to take effect.
- Select the required option (Yes / No) from the "Buy X for $Y Pricing" dropdown list.
- When set to set to "Yes", enter the value of the "X" in the Buy XCount field.
- Select the required value for BXFY Pricebook in the pricebook dropdown list (this only displays "Specials" pricebooks).
- Select the required option (Yes / No) from the Require Full Group dropdown list.
- When "Yes" is selected, the customer must purchase the entire group of products specified in "Buy X Count" before the discount can be applied to the order.
- Select the required option (Yes / No) from the Apply to Qty above X dropdown list.
- When "Yes" is selected, the discount can be applied to product purchased beyond the quantity set in "Buy X Count".
- For more information on setting up this feature, please see Buy X for Y Pricing.
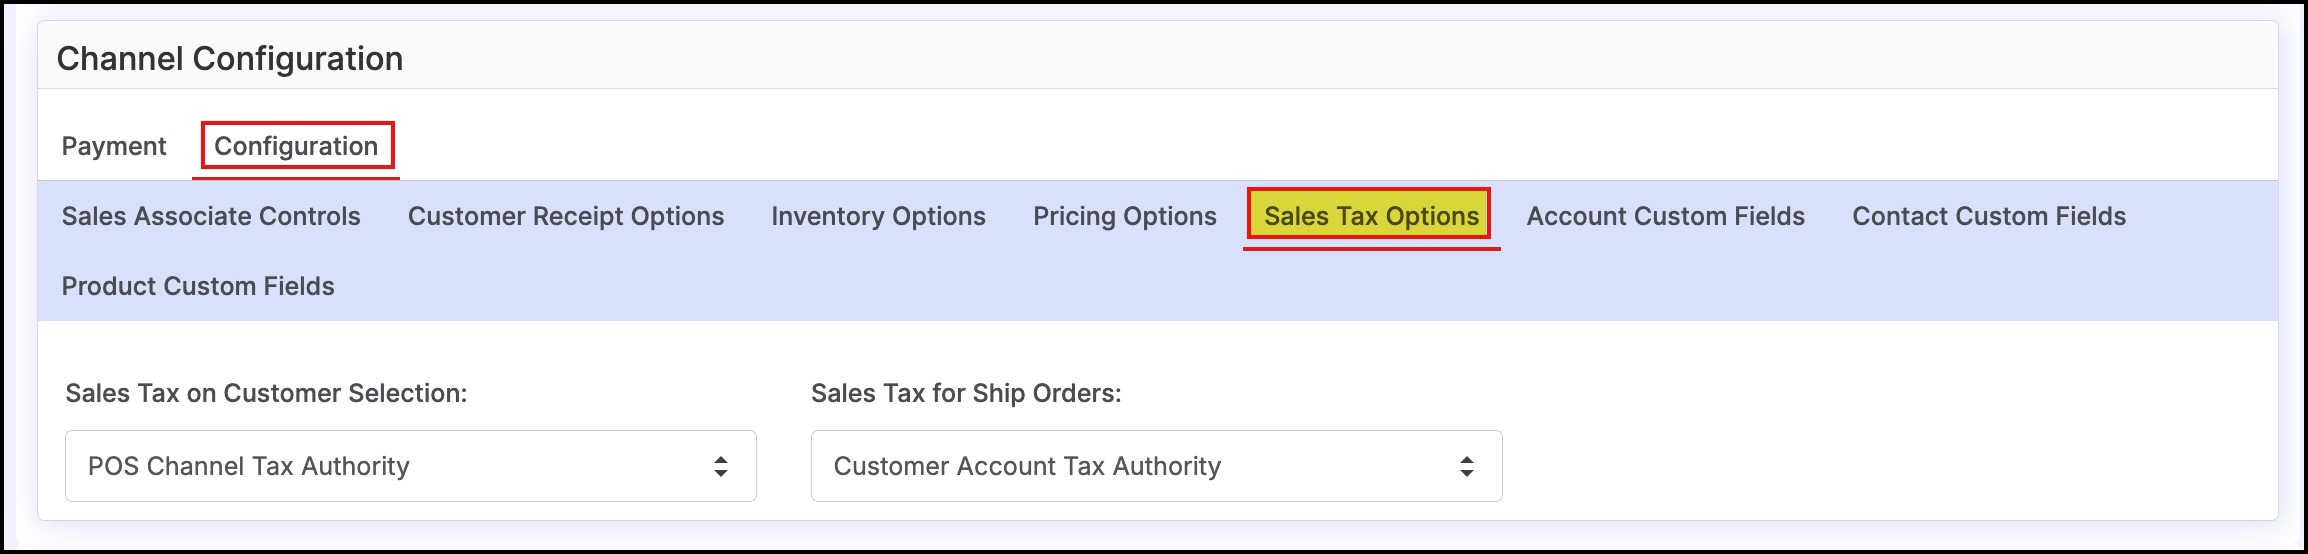
- Sales Tax Options tab
- Select the required option (Yes / No) from the Sales Tax on Customer Selection dropdown list.
- When "POS Channel Tax Authority" is selected, sales tax is calculated based on the Tax Authority selected under "Channel Information".
- When "Customer Account Tax Authority" is selected, sales tax is calculated based on the Tax Authority that was set for the Customer Account upon creation.
- Select the required option (Yes / No) from the Sales Tax for Ship Orders dropdown list.
- When "Customer Account Tax Authority" is selected, sales tax is calculated based on the Tax Authority selected under "Accounts" for each customer.
- When "POS Channel Tax Authority" is selected, sales tax is calculated based on the Tax Authority selected under "Channel Information".
- If TaxCloud or Avalara has been enabled, the user may select one of these options for calculating tax on shipped orders.
- Click the "Save" button to save the configuration changes.

Updated 8 months ago