Cross-platform Warehouse App Settings Configuration
The Settings button allows the user to adjust various default settings in the Warehouse Management App.
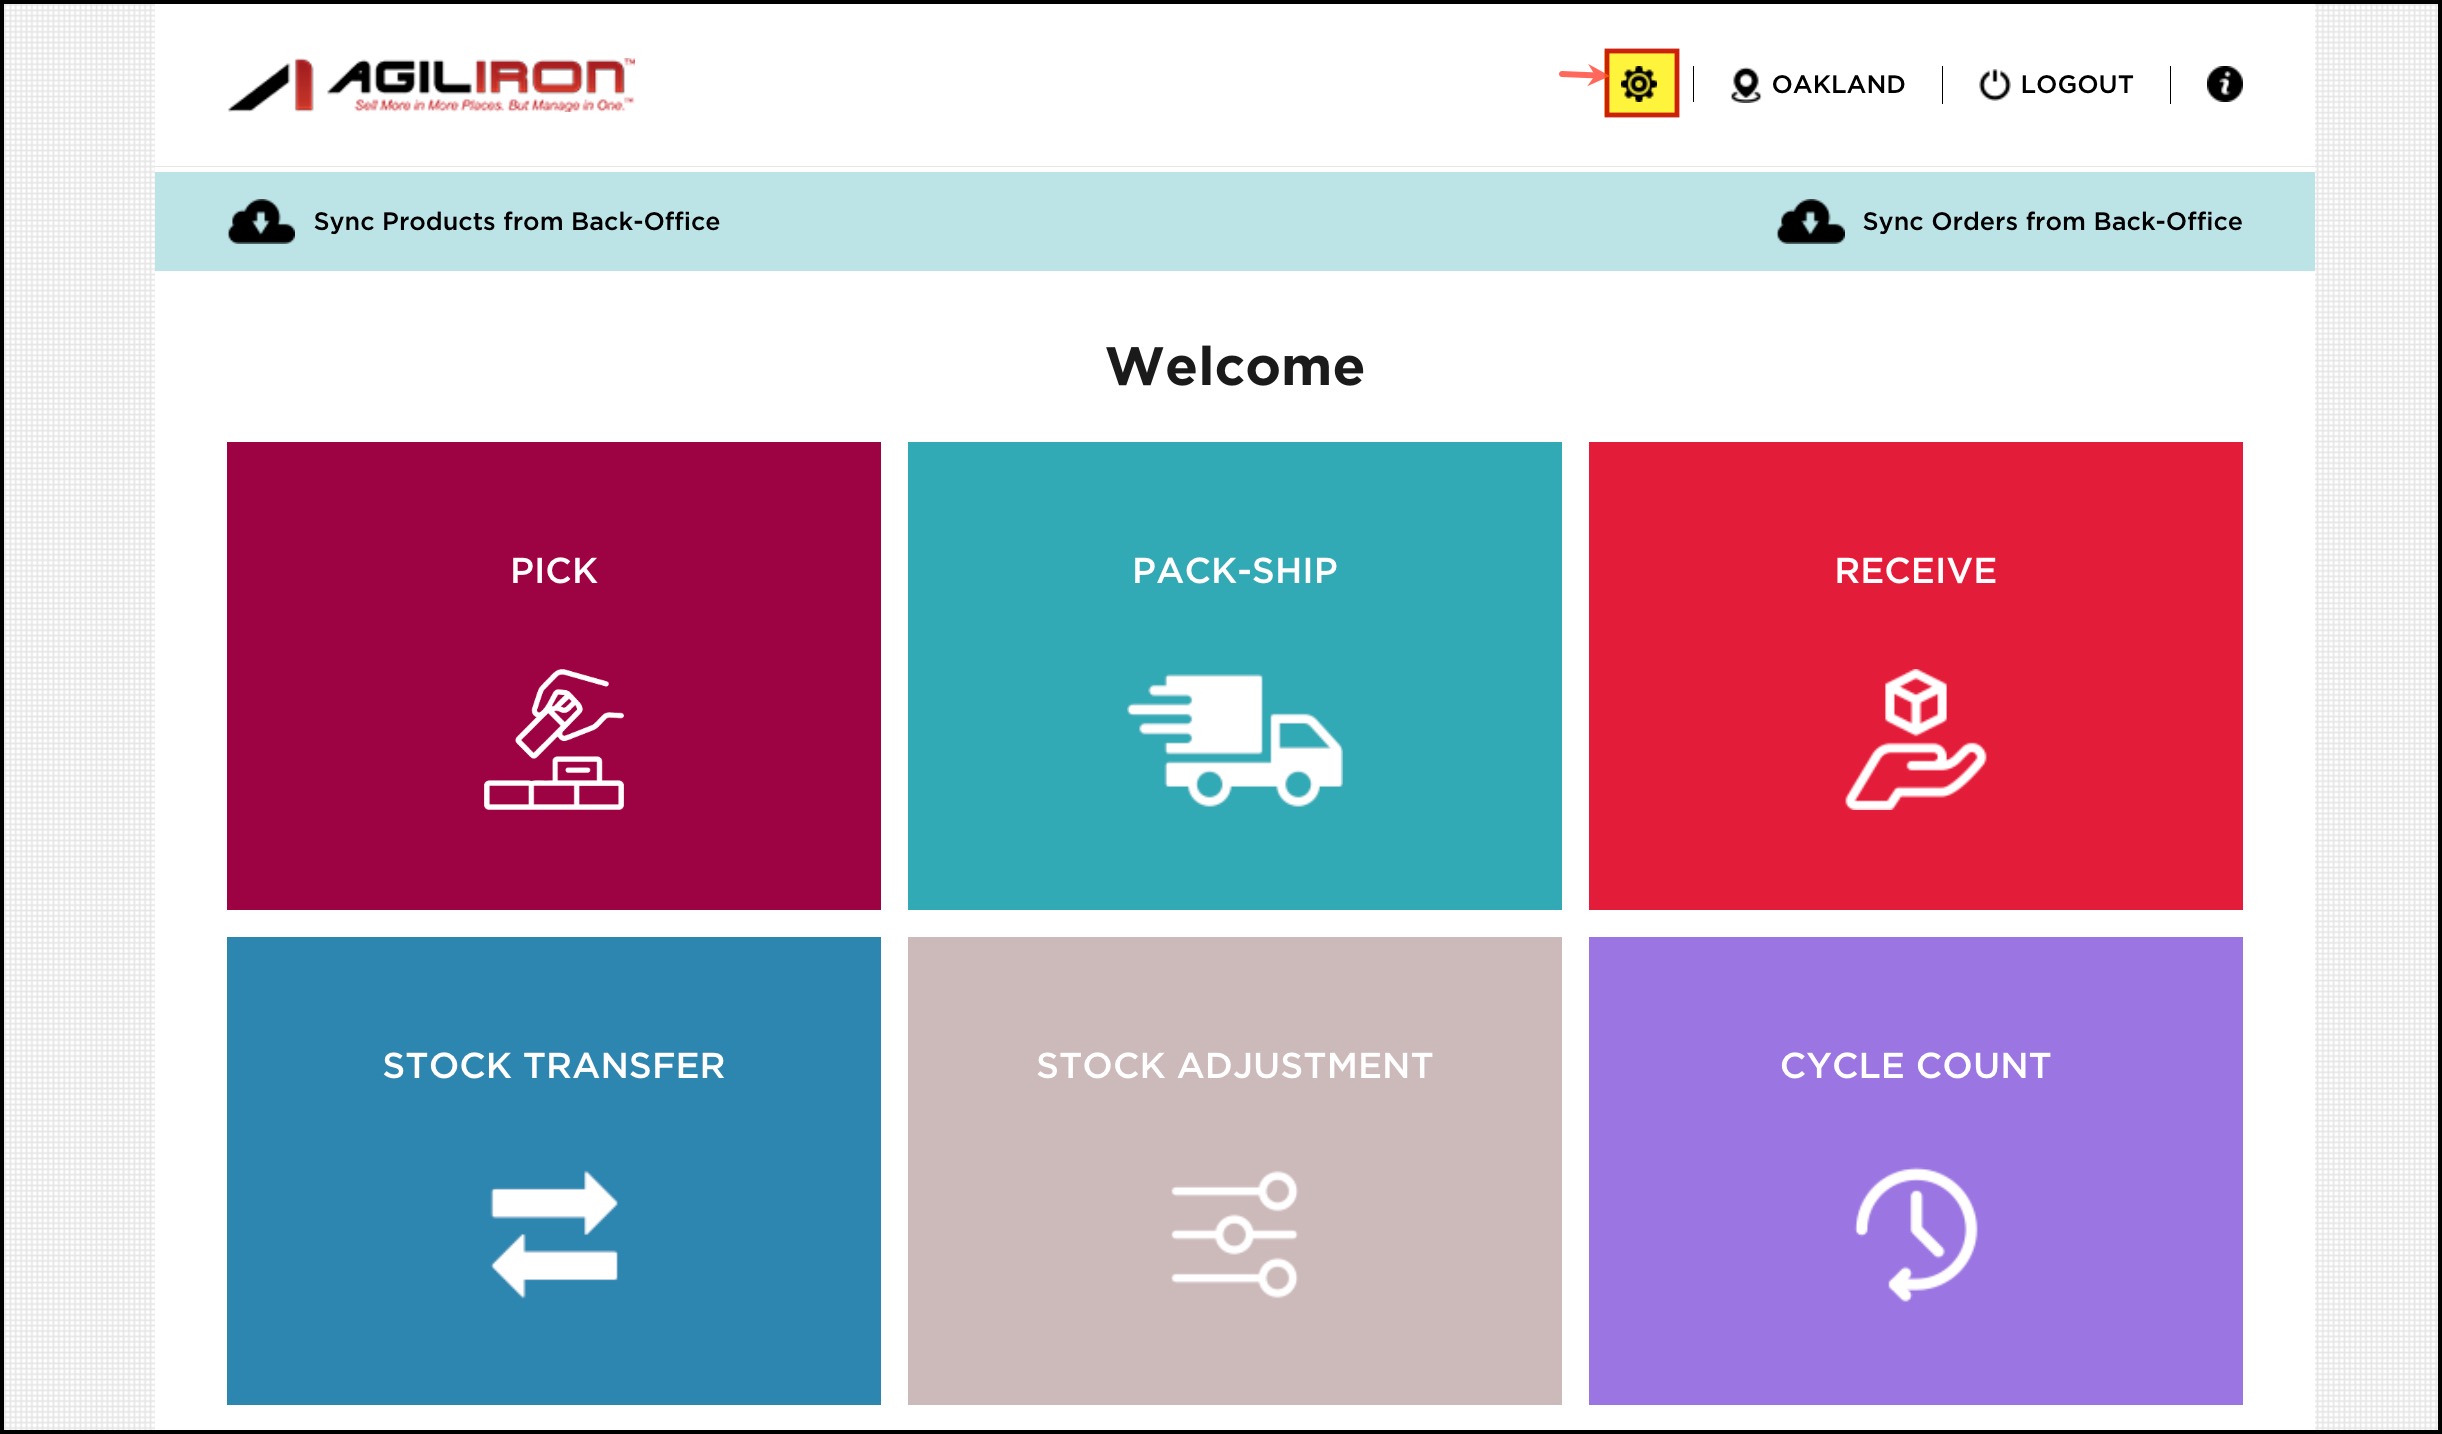
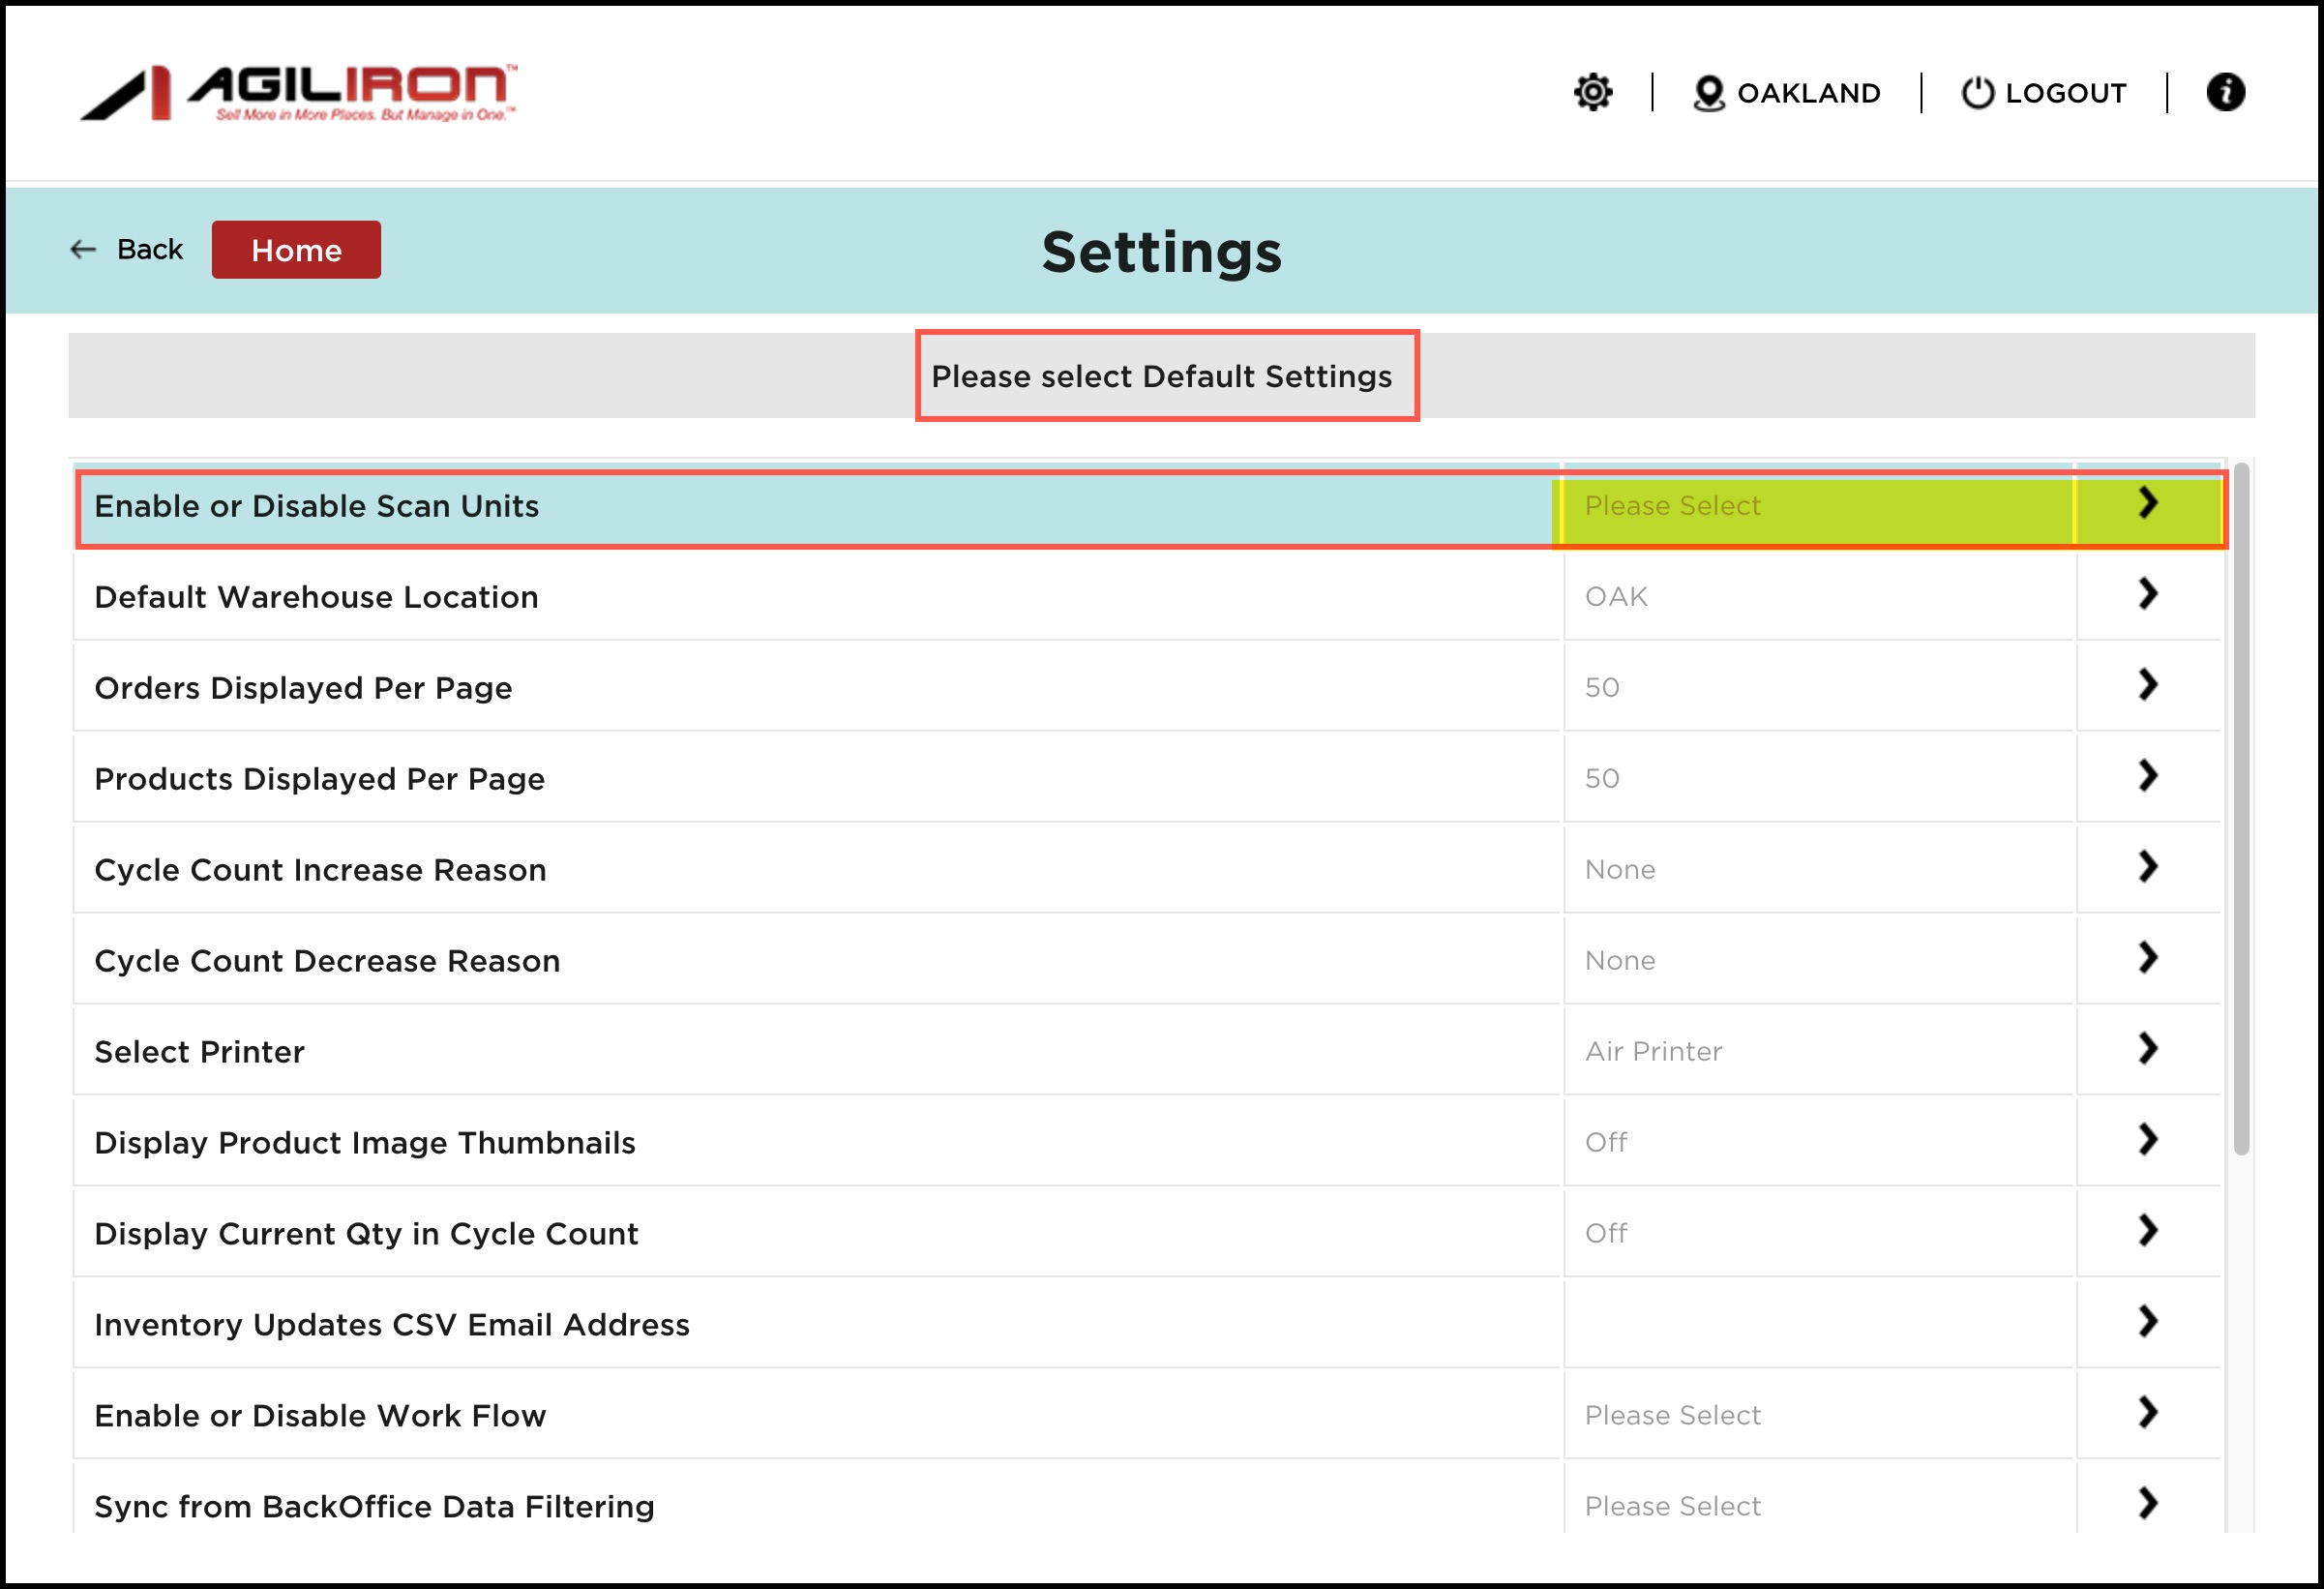
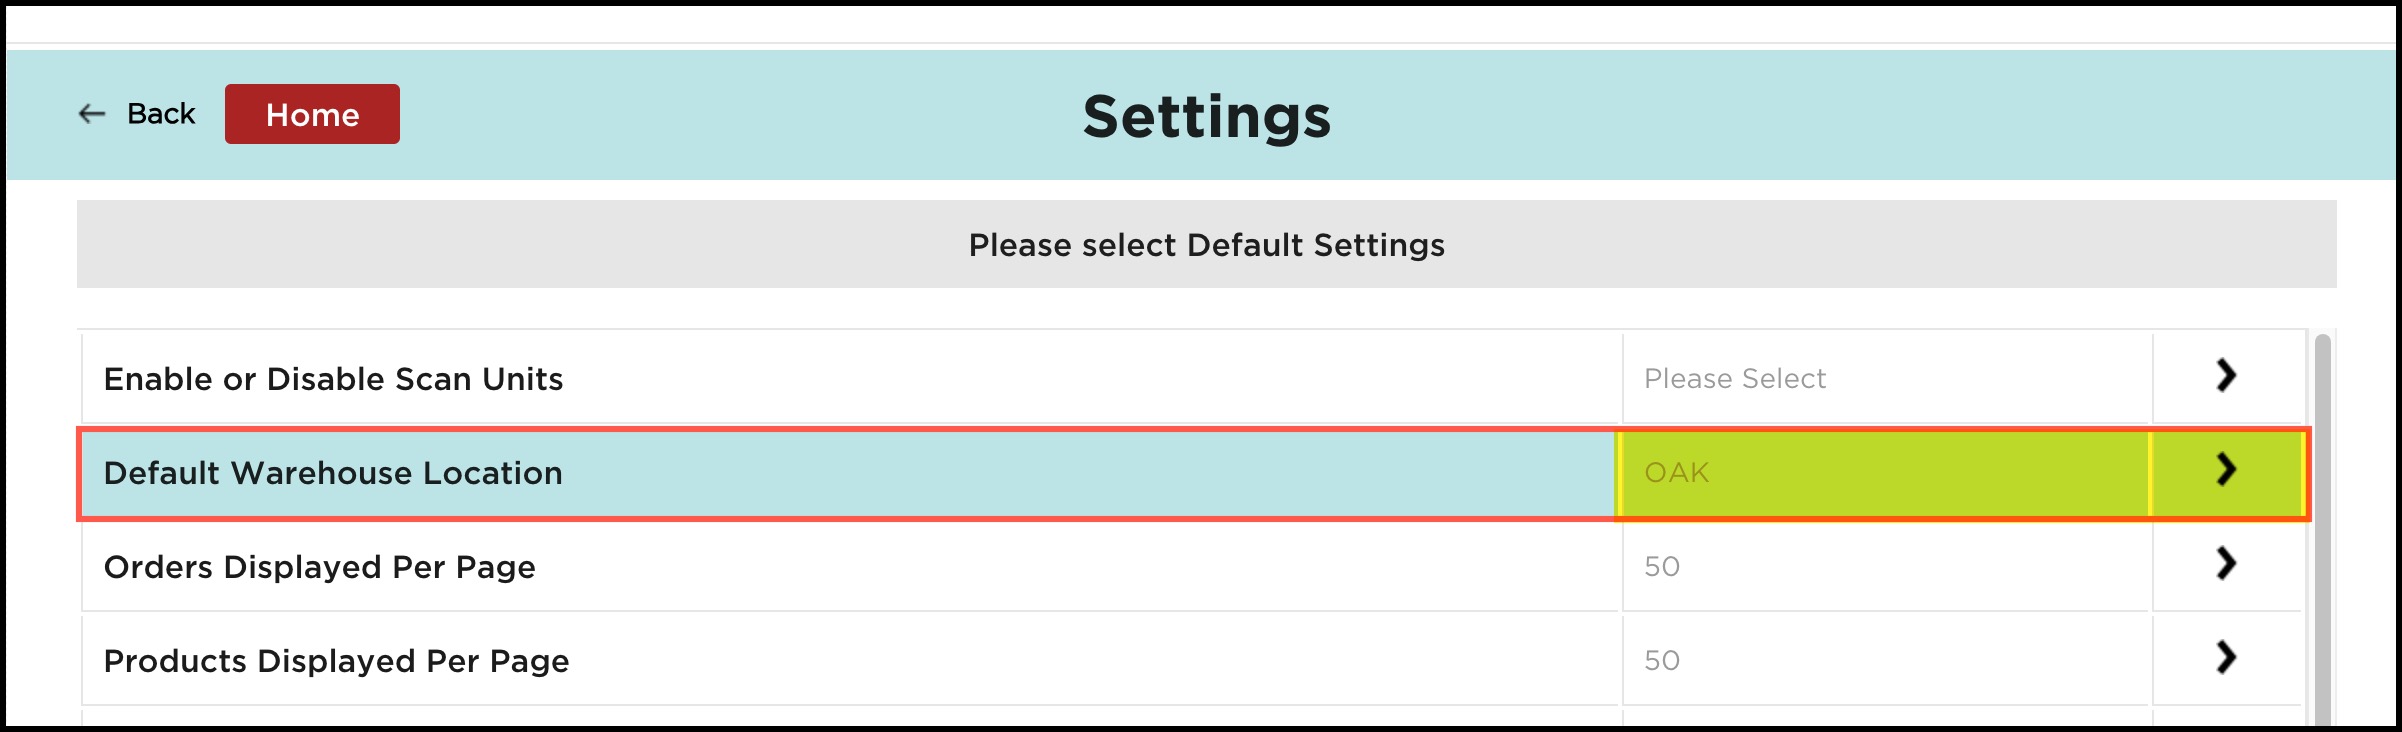
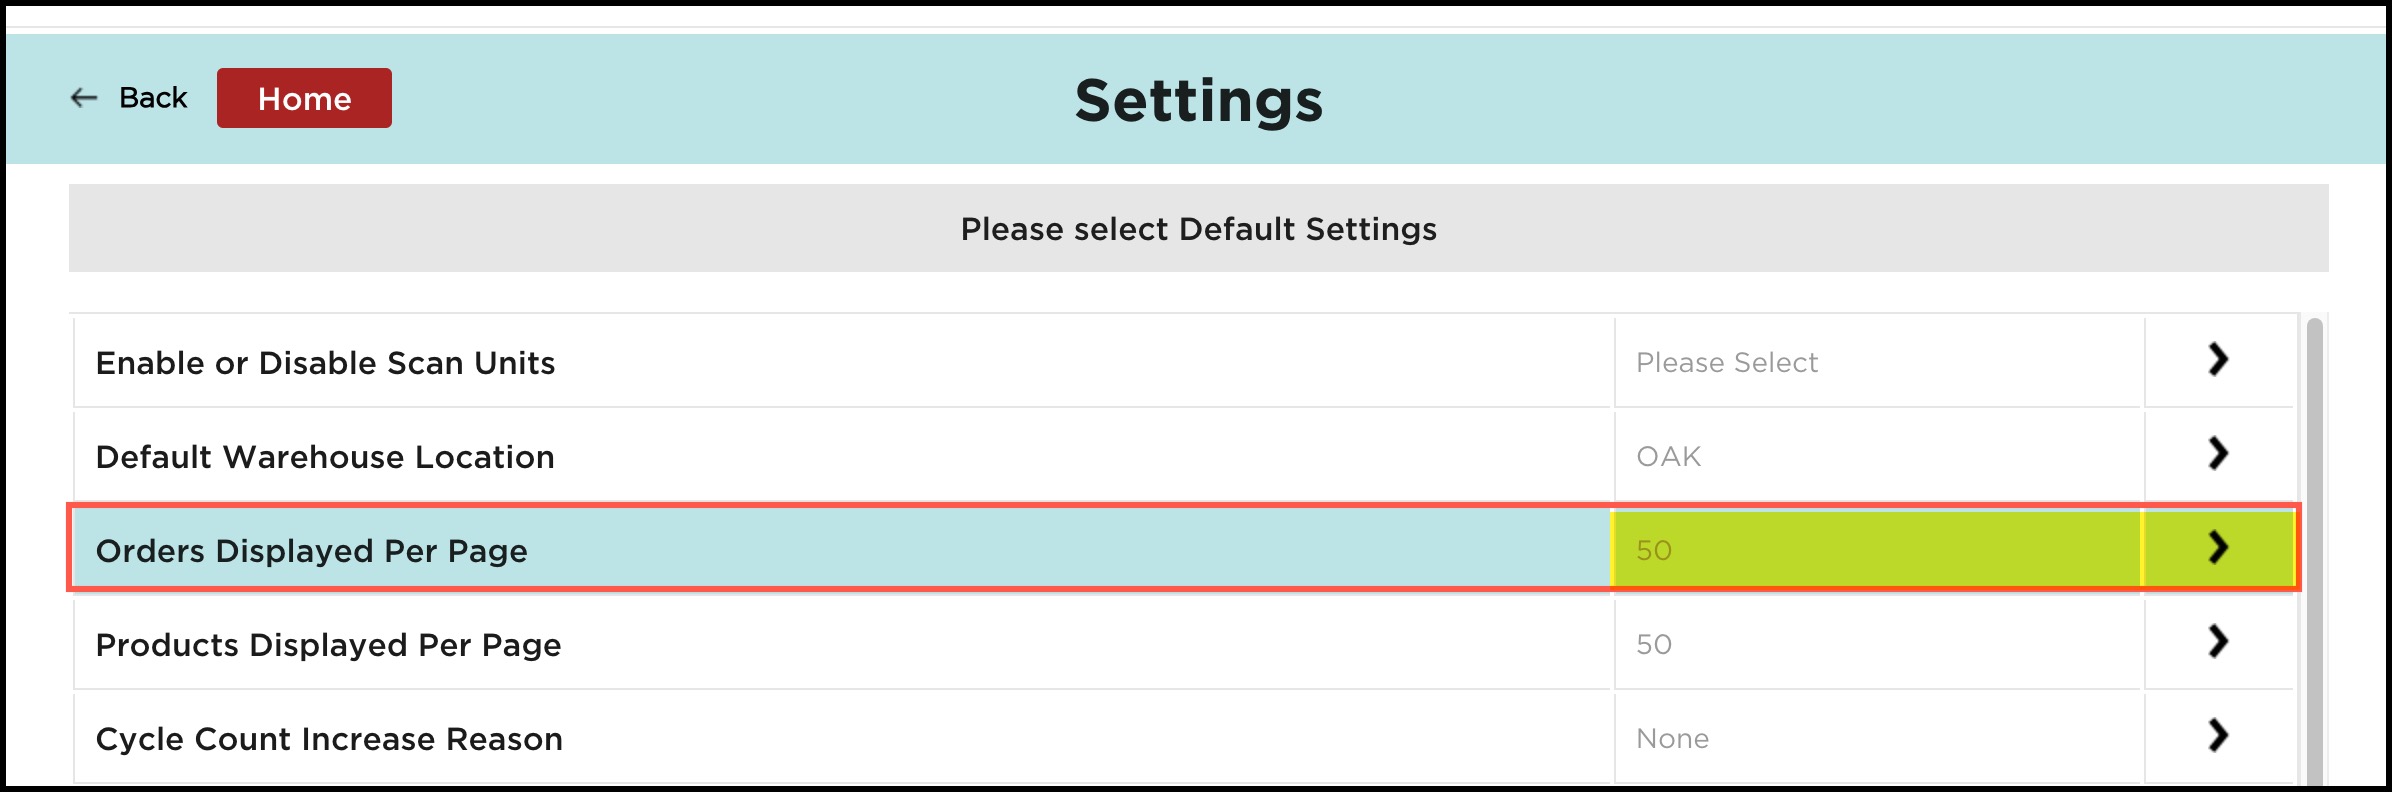
After clicking on the Settings, you will see the Default Settings which you can edit and change as per your requirement.
The first setting is Enable or Disable Scan Units which allows either enter units and scan units.
- Click on Please Select.
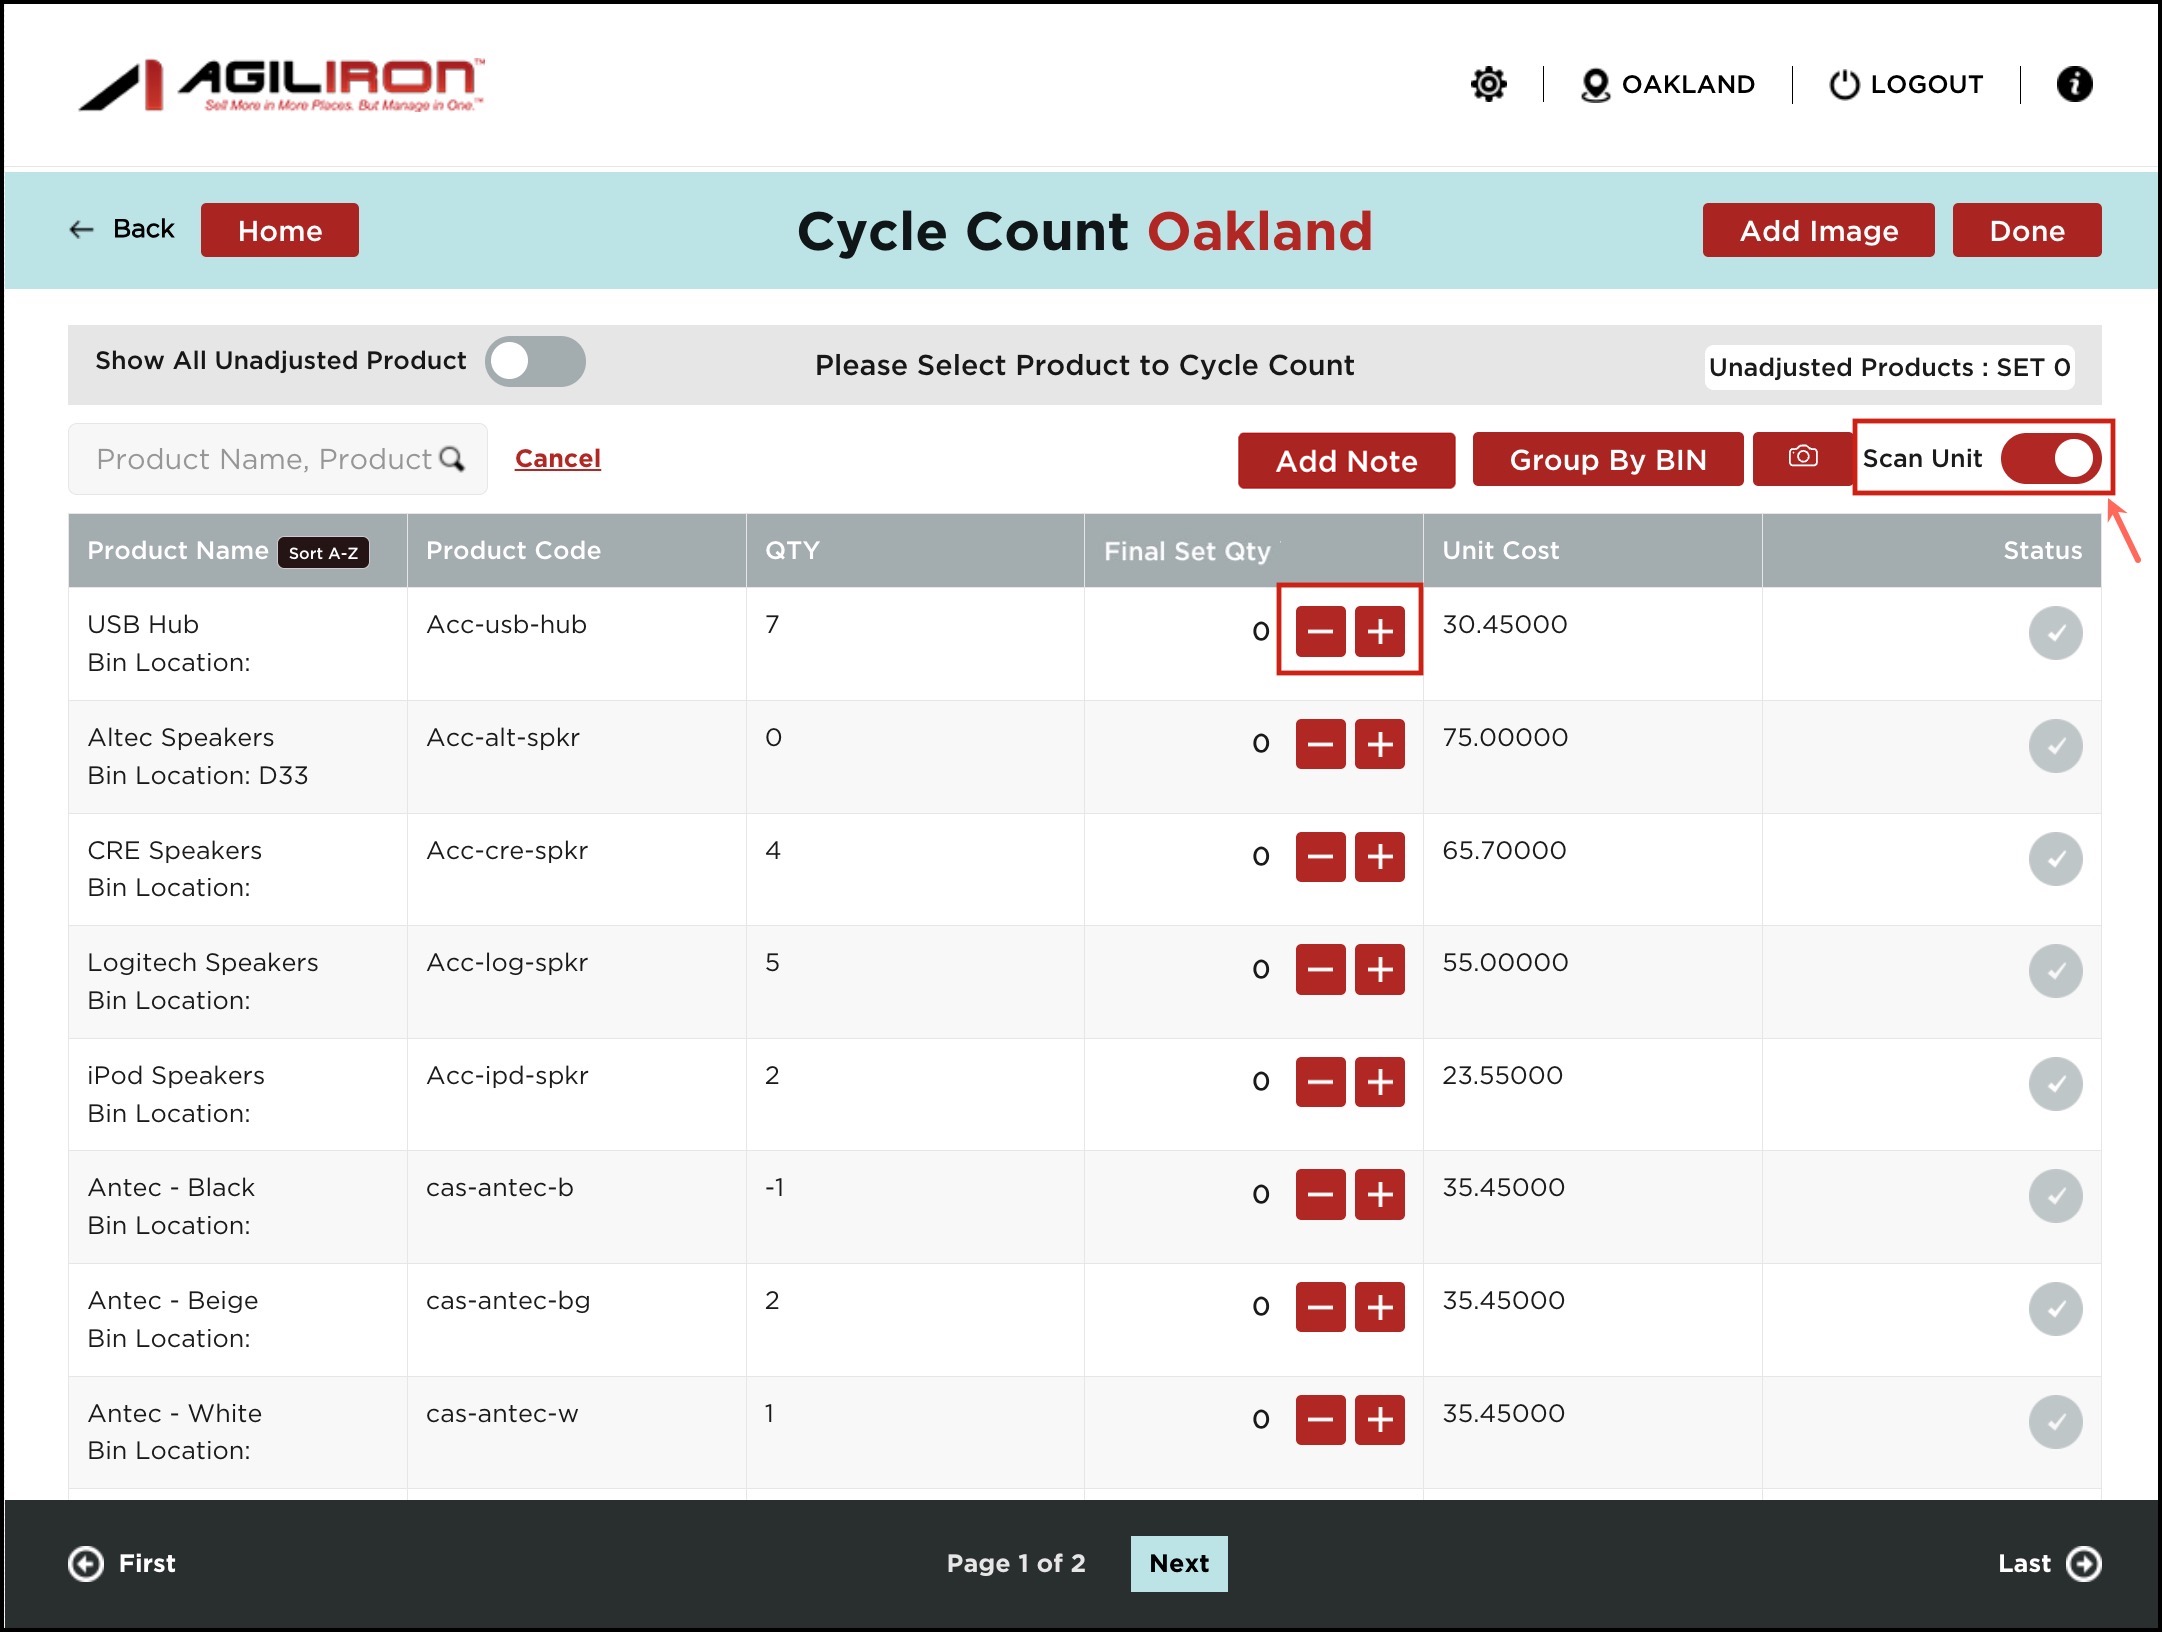
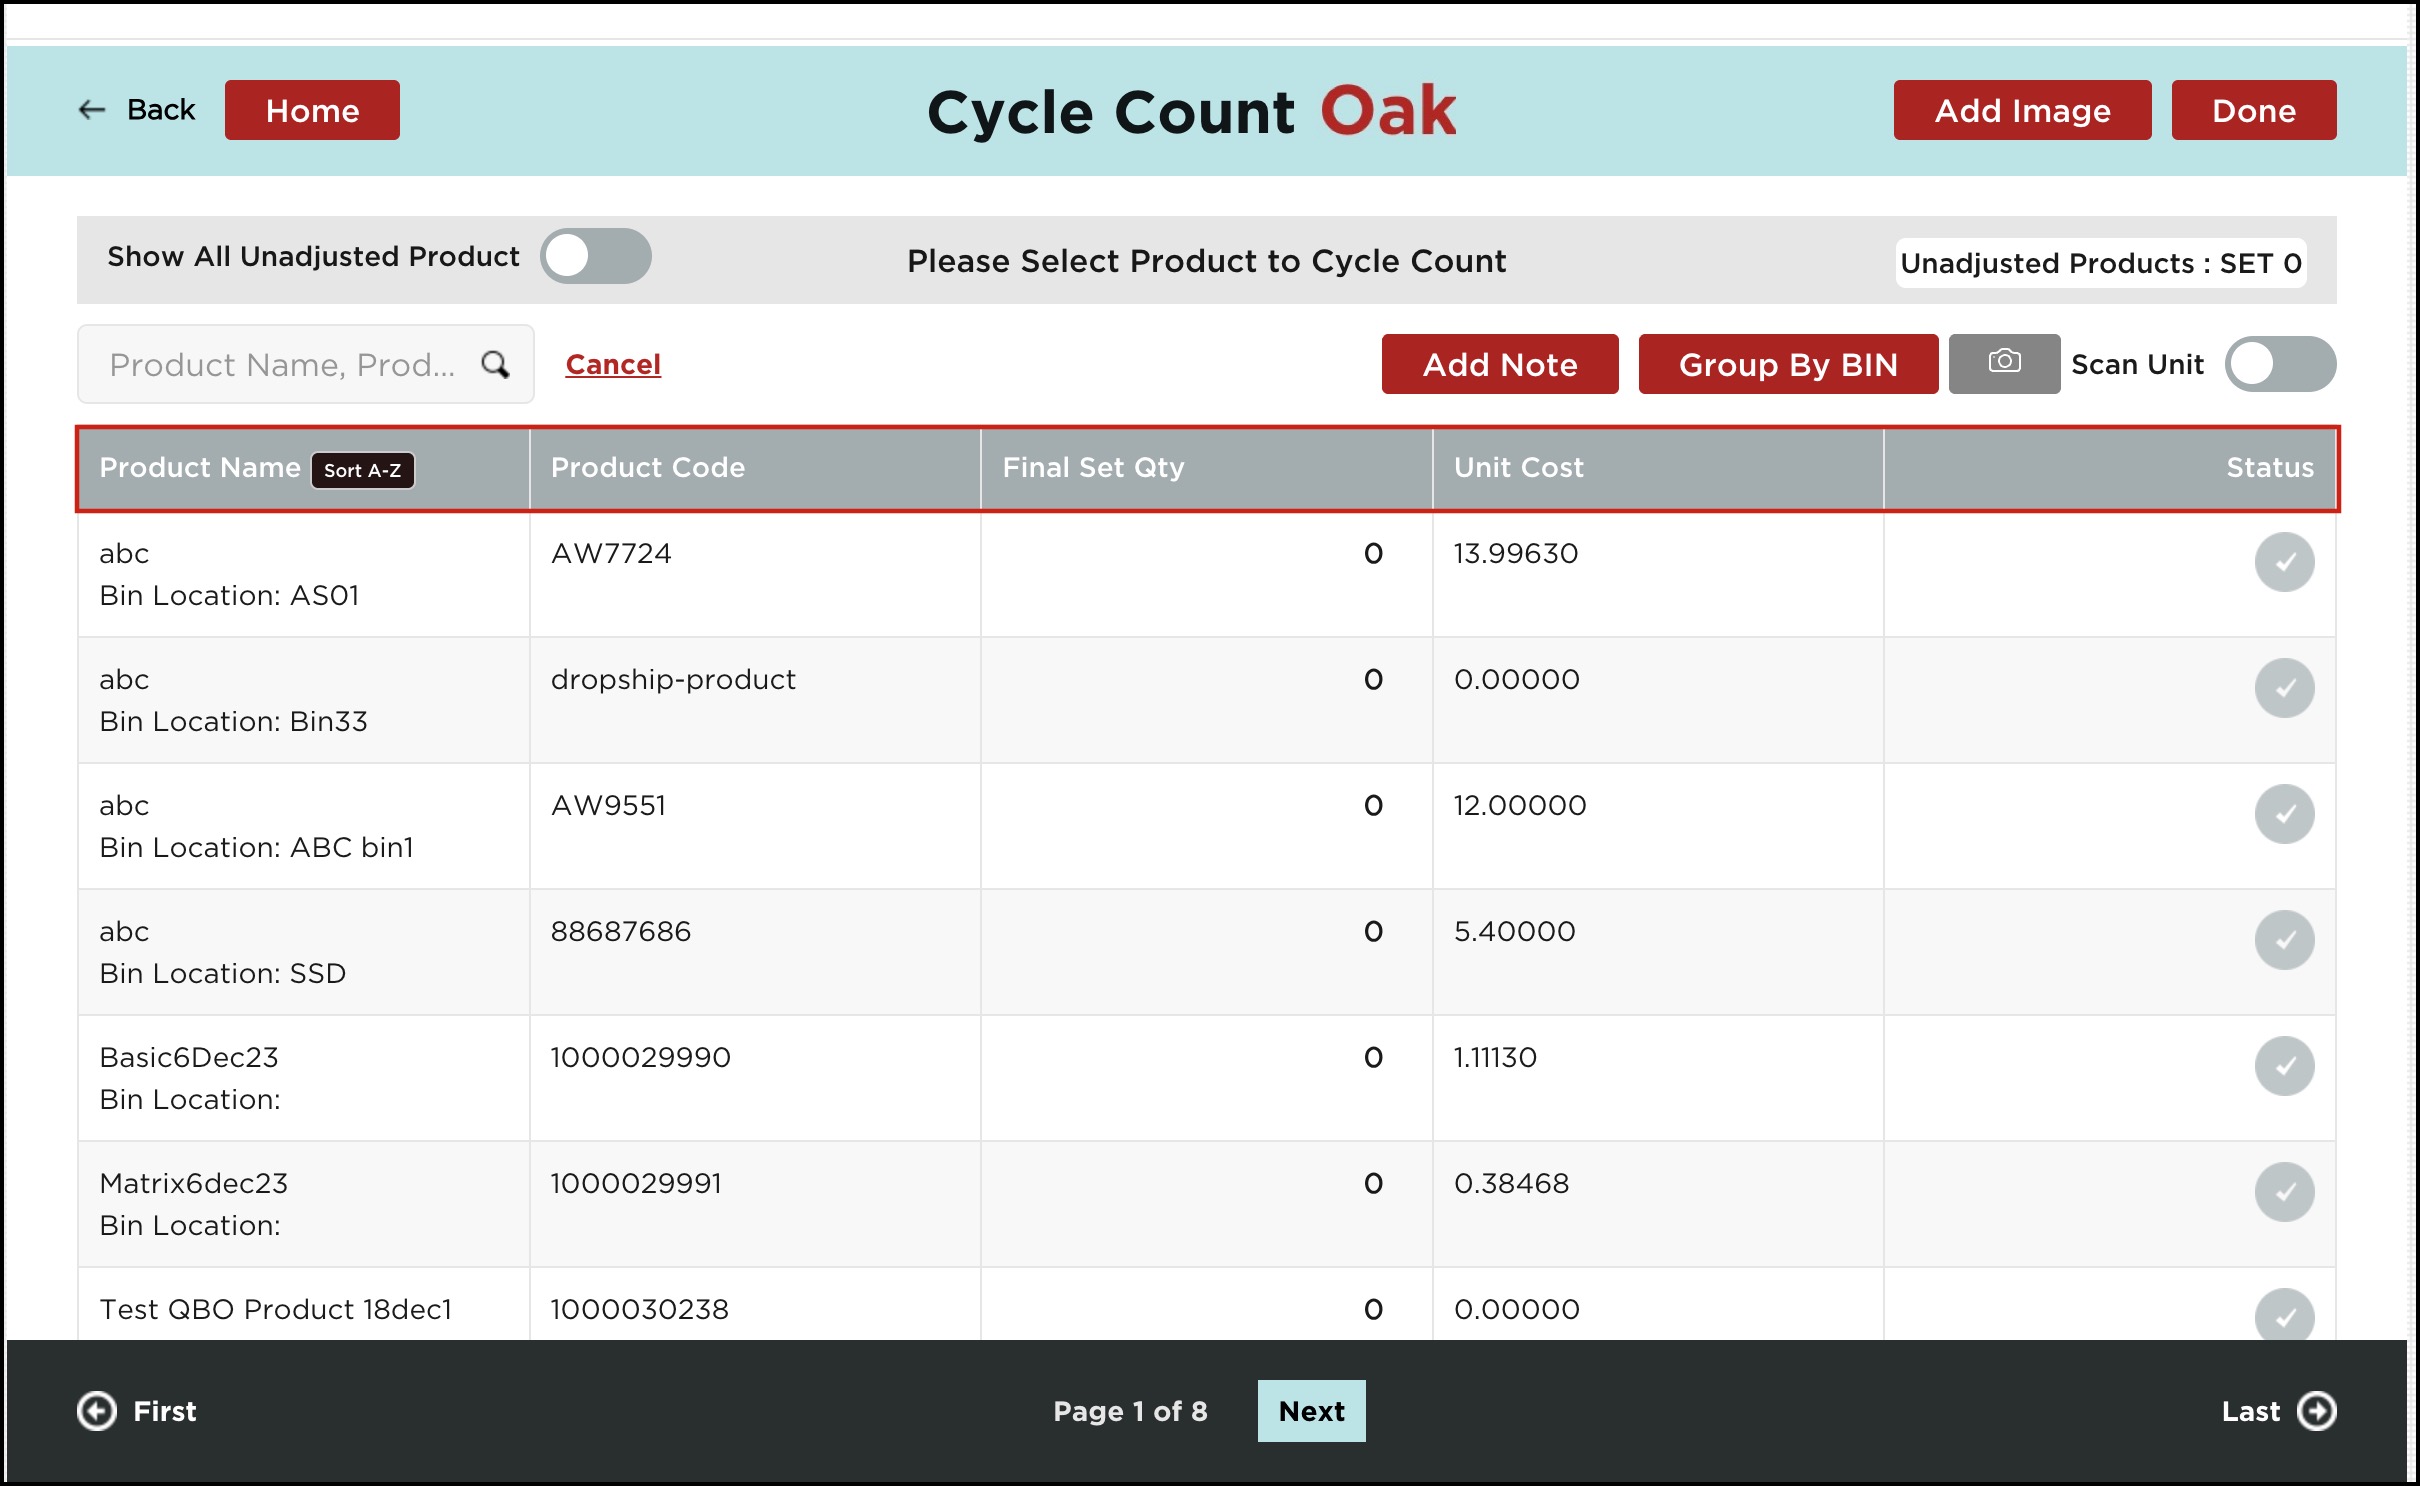
- You can toggle to enable or disable scans, like here we did for Cycle Count. Scan Unit is enabled.
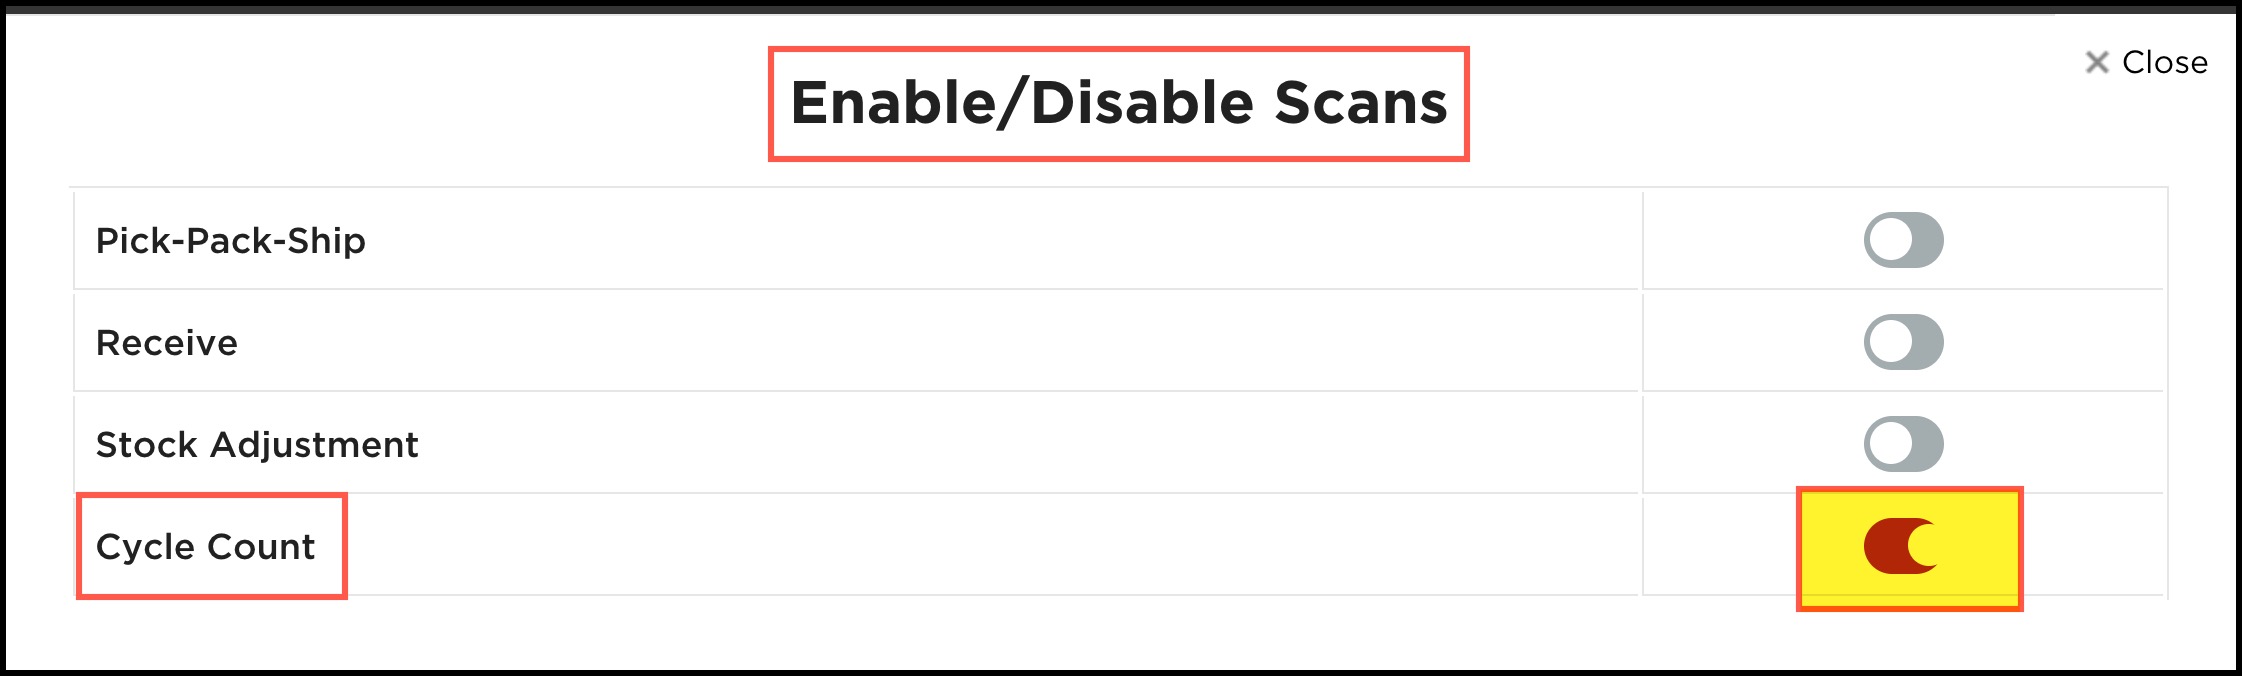
If you go back to home screen (click on home icon top left corner) and click on Cycle Count
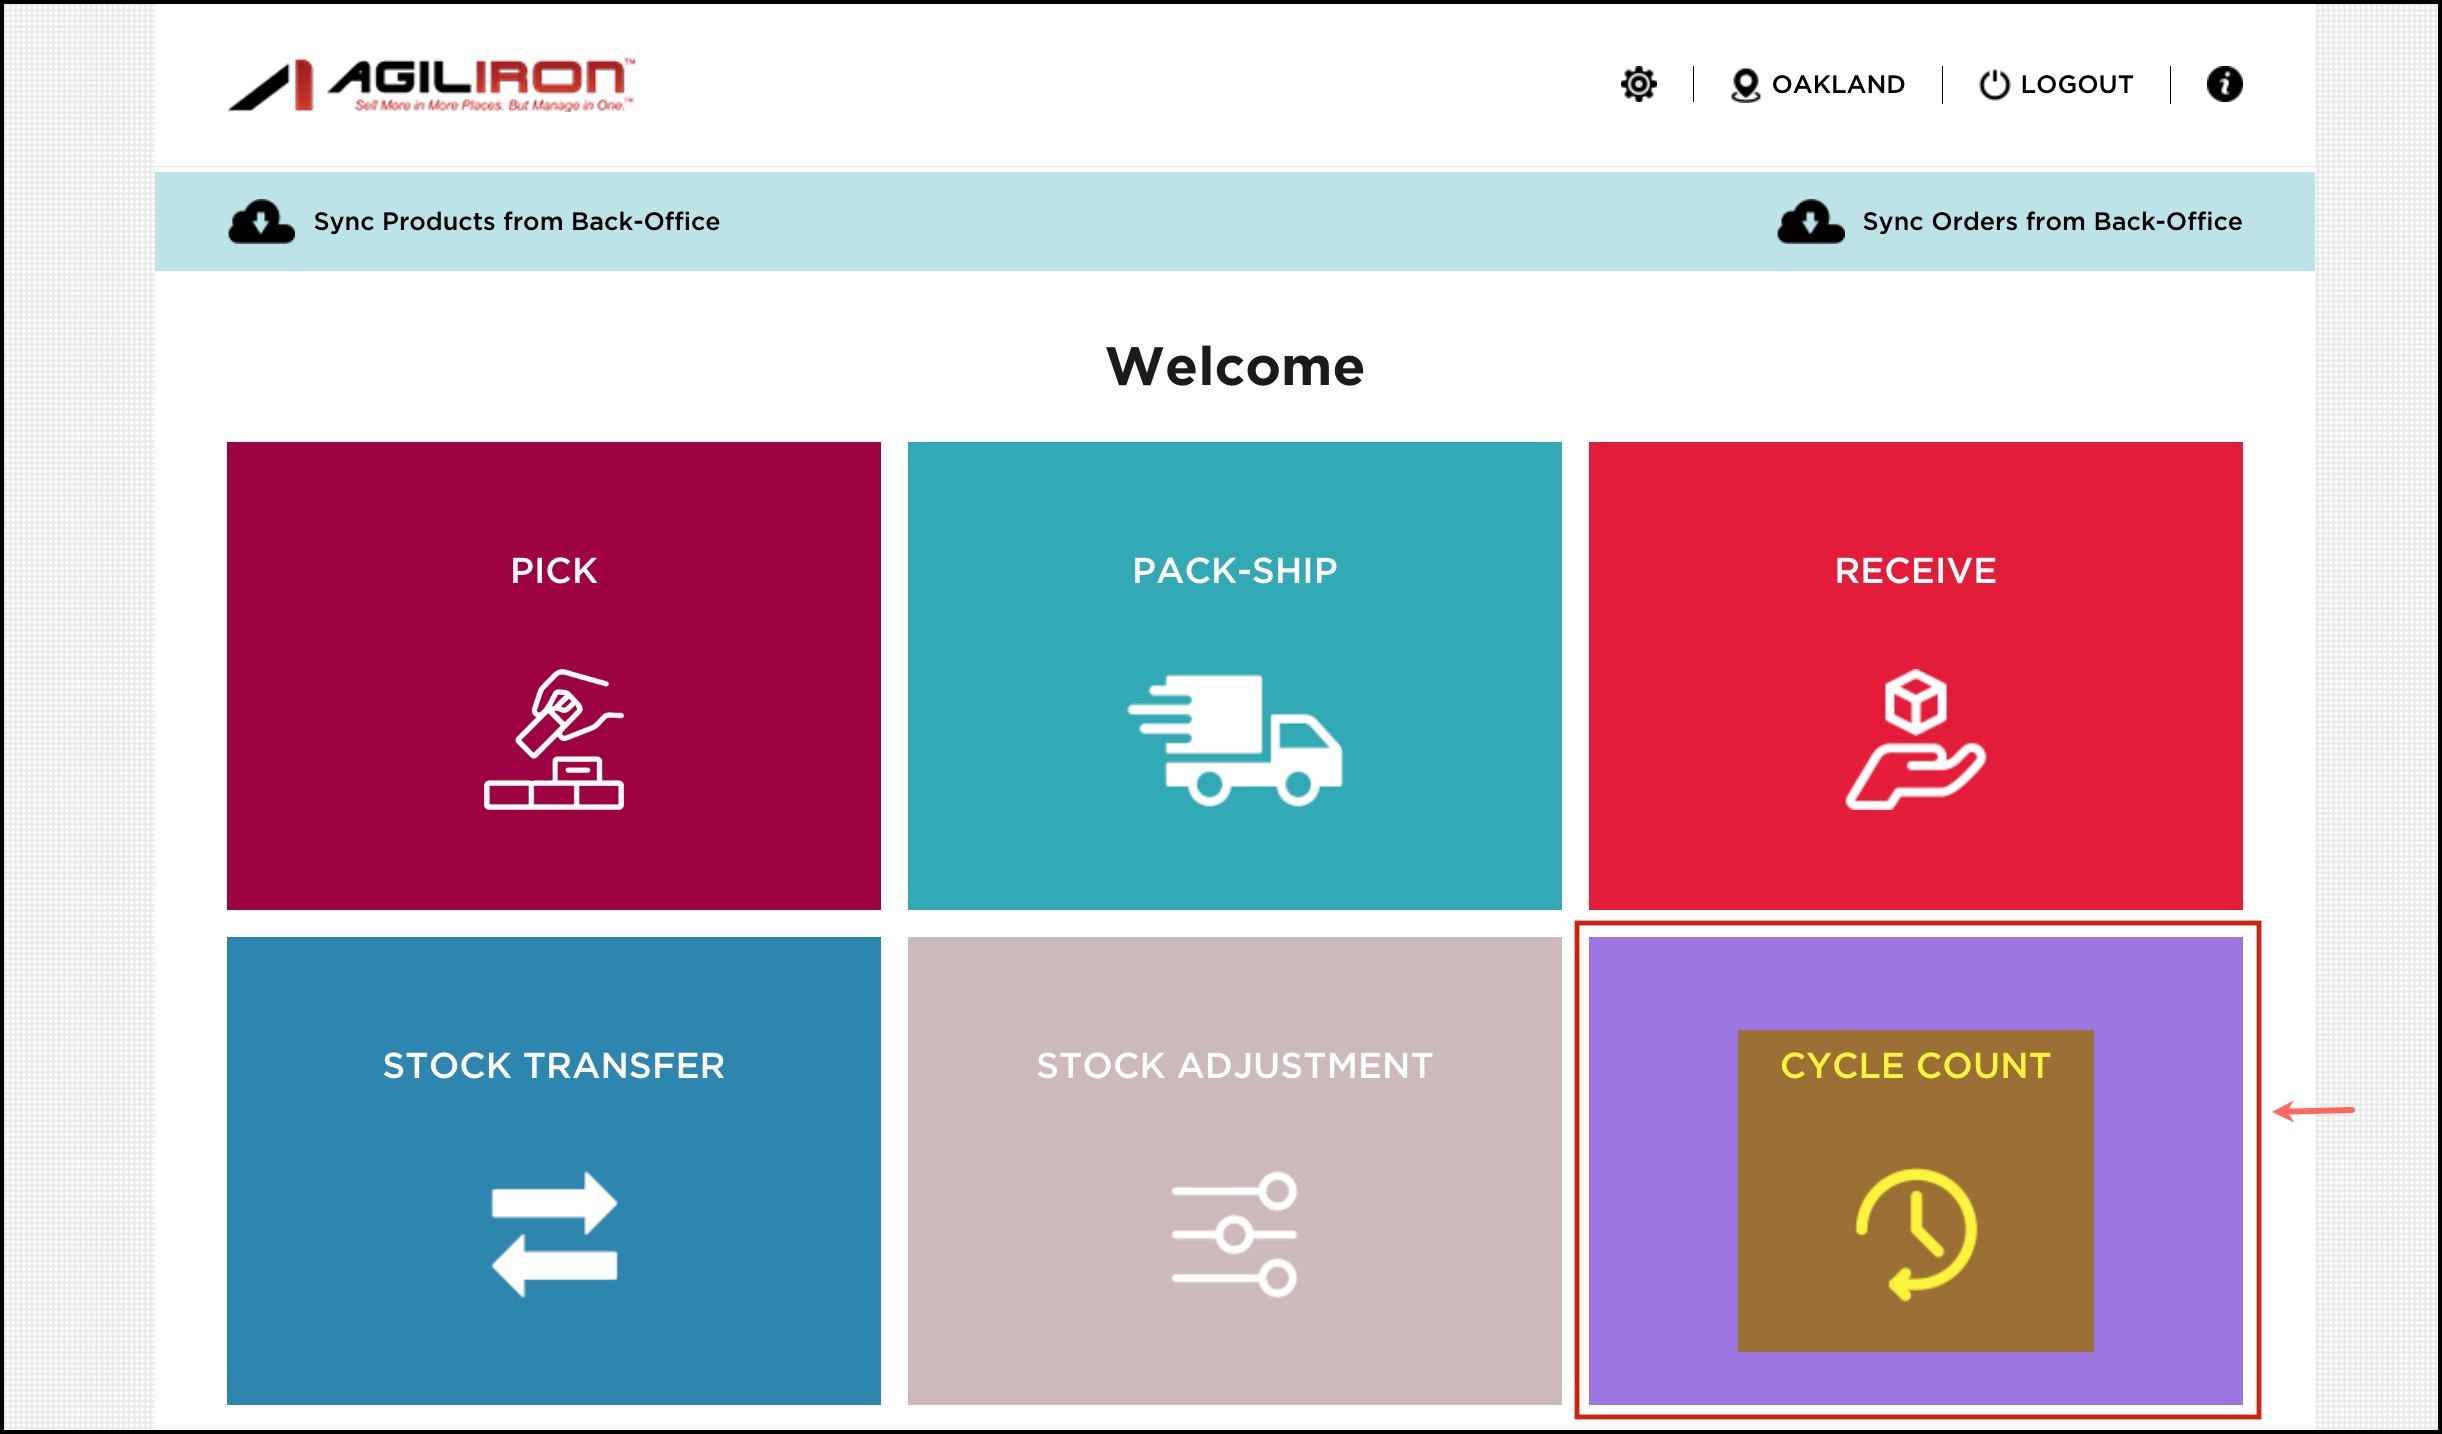
you will see the Scan Unit is enabled.
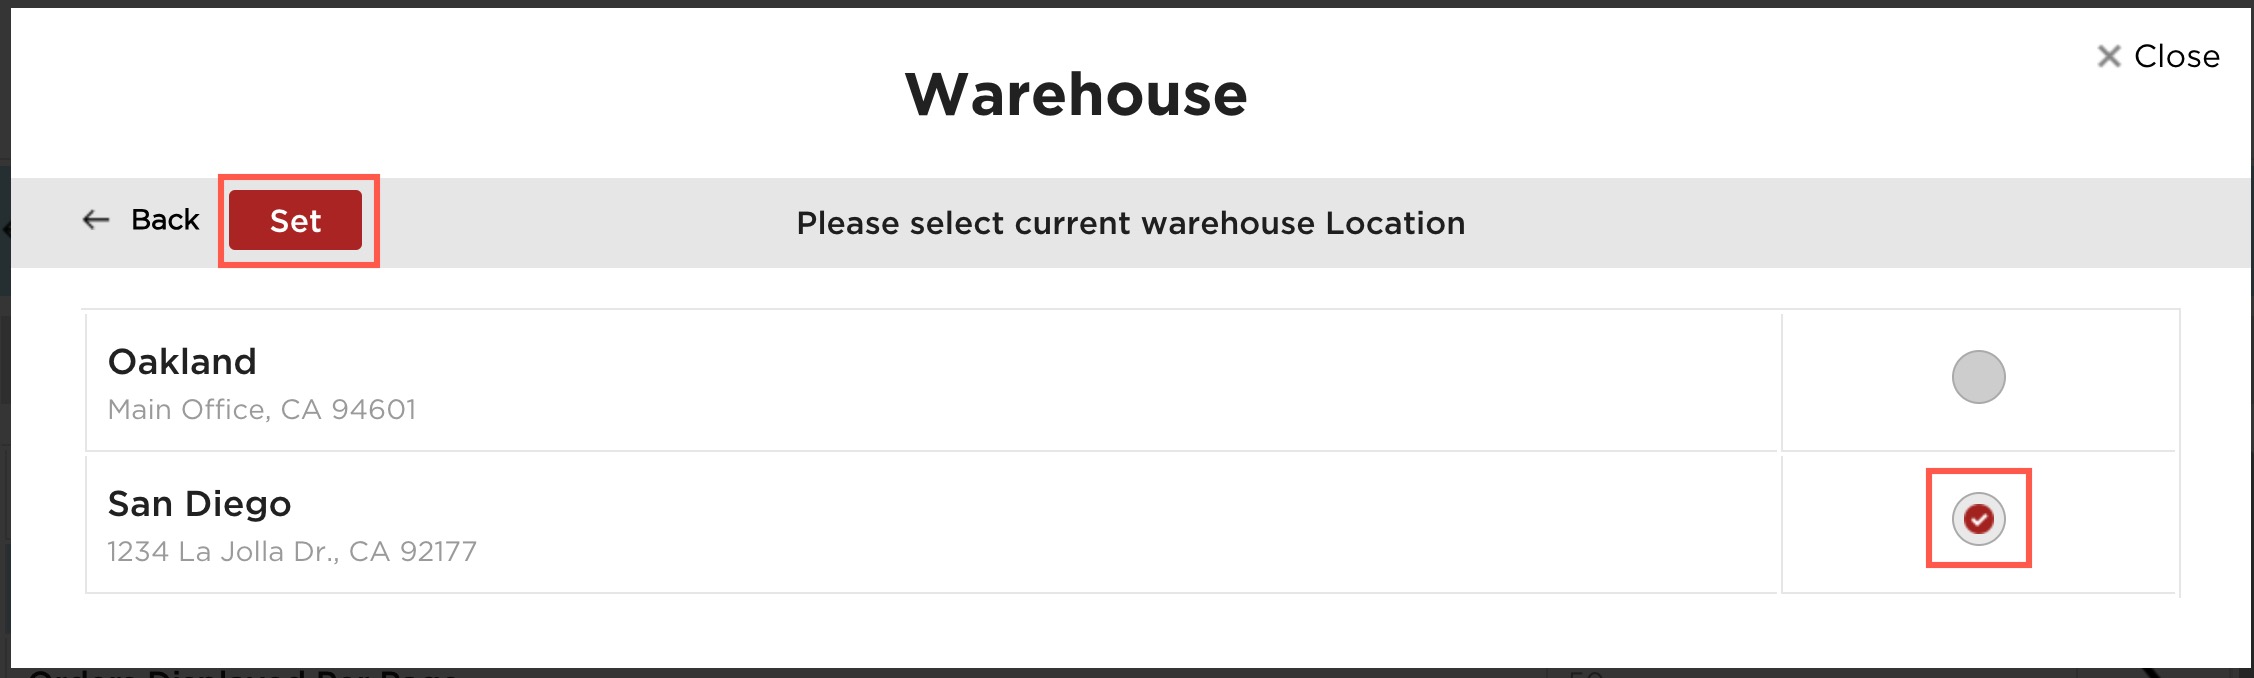
- The Default Warehouse Location can be changed here as well. Click on the Default Warehouse Location option to change the location.
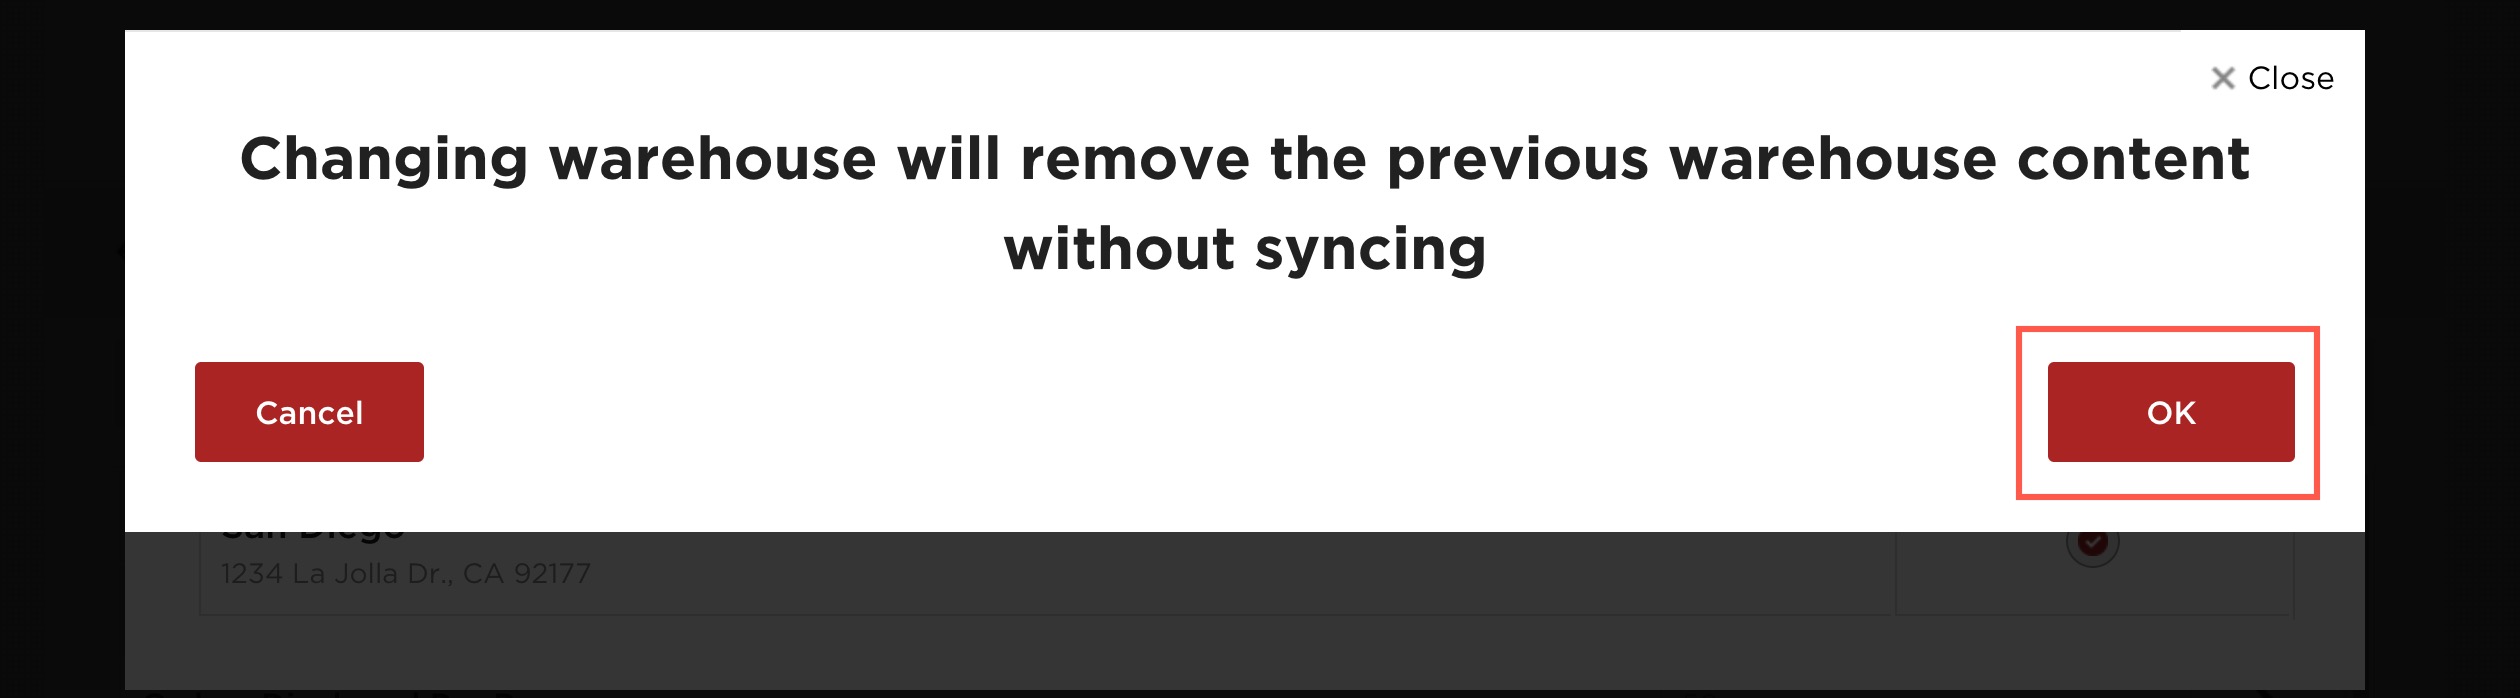
- Change the location -> click on OK if you wish to continue with the location change.
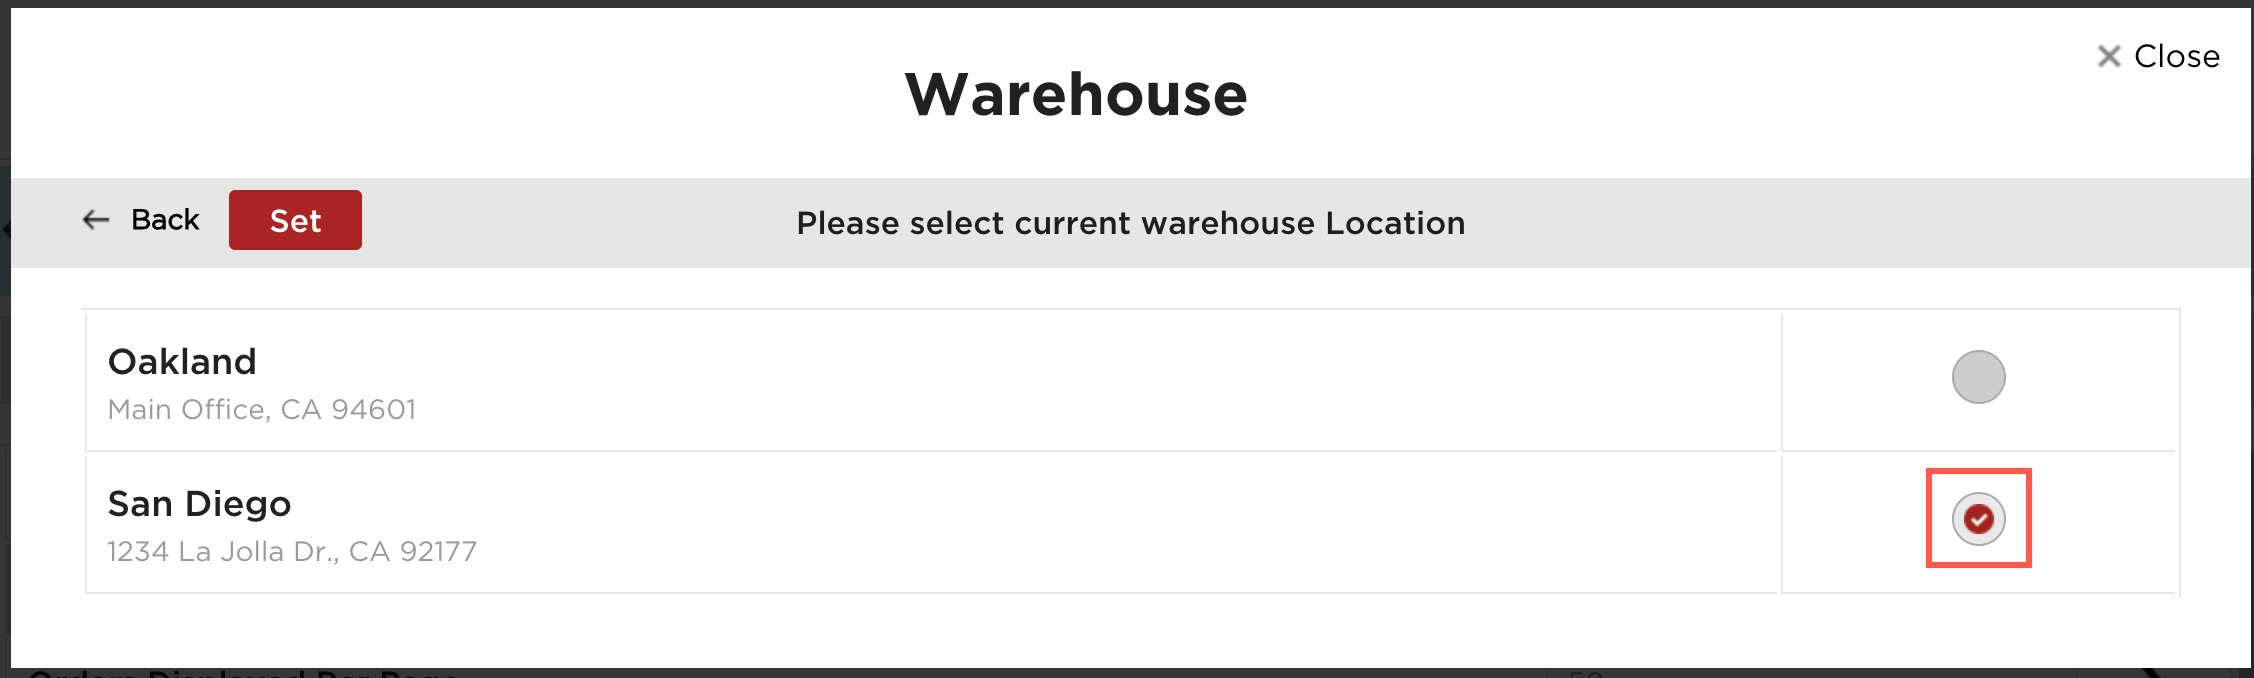
- Click Set to save the selection.
NOTE:
If you had set the stock location while creating the Warehouse App Associate User (in the back office) then change to Stock Location selection in the Warehouse Management App is not allowed.
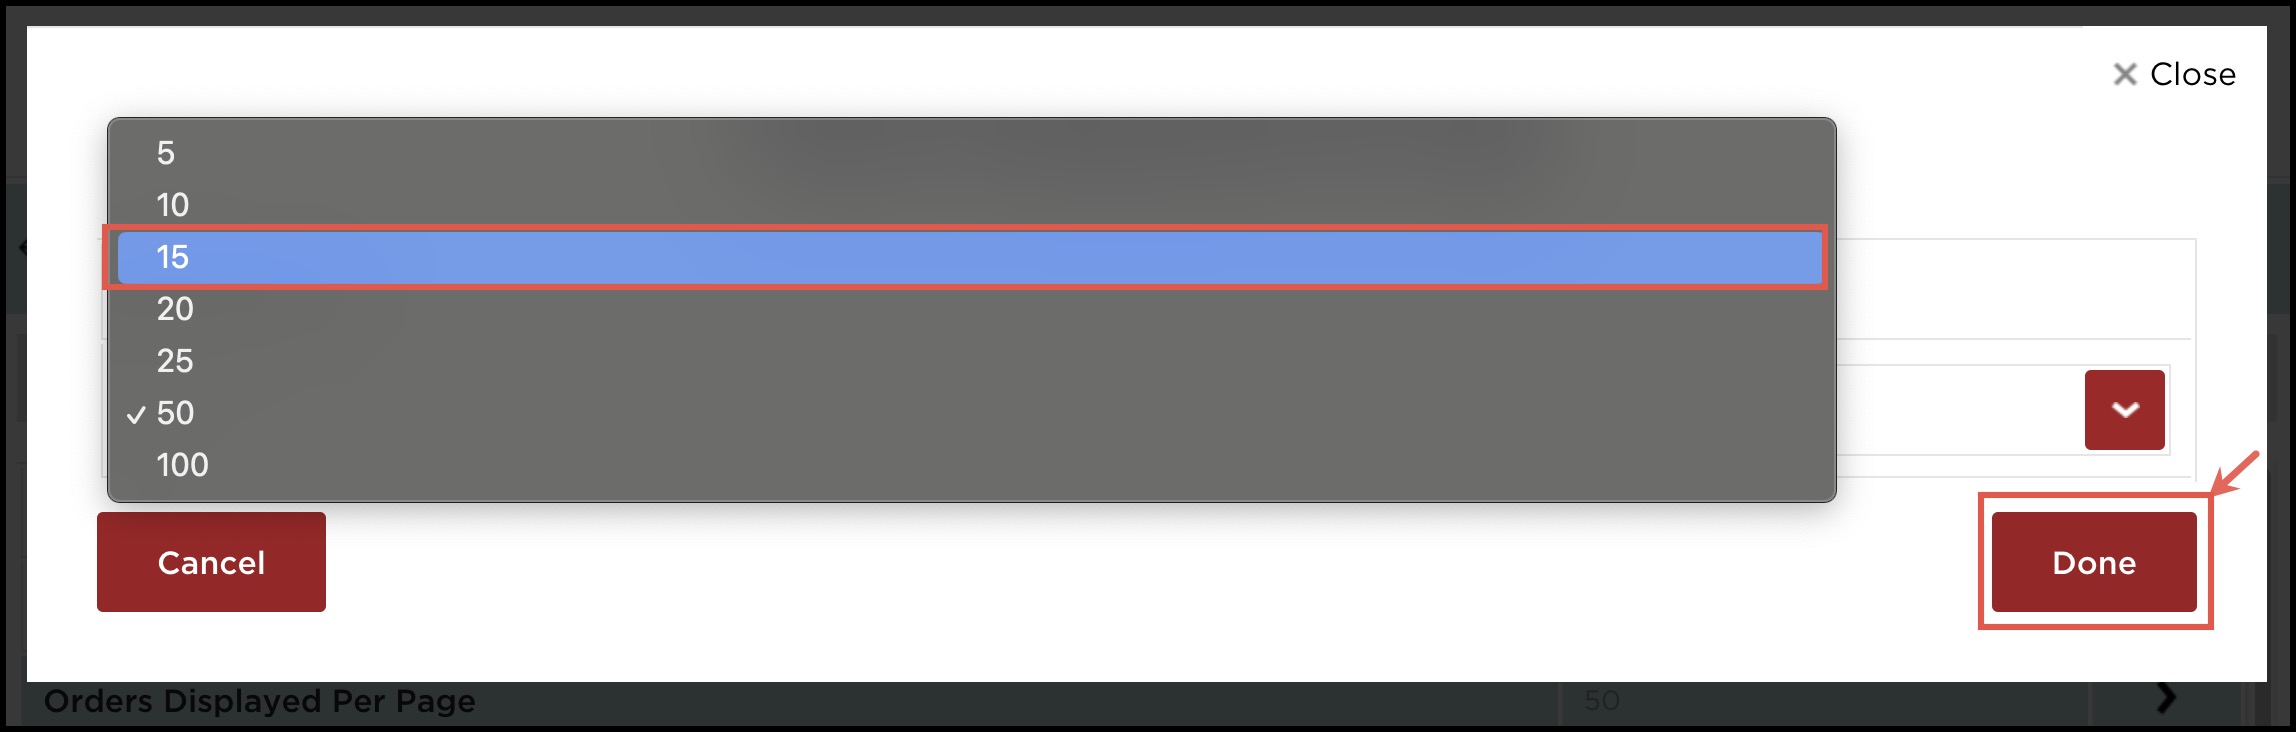
- The number of orders displayed per page can be changed by selecting the Orders Displayed Per Page option and selecting the desired quantity for display.
- Click Done to save the selection.
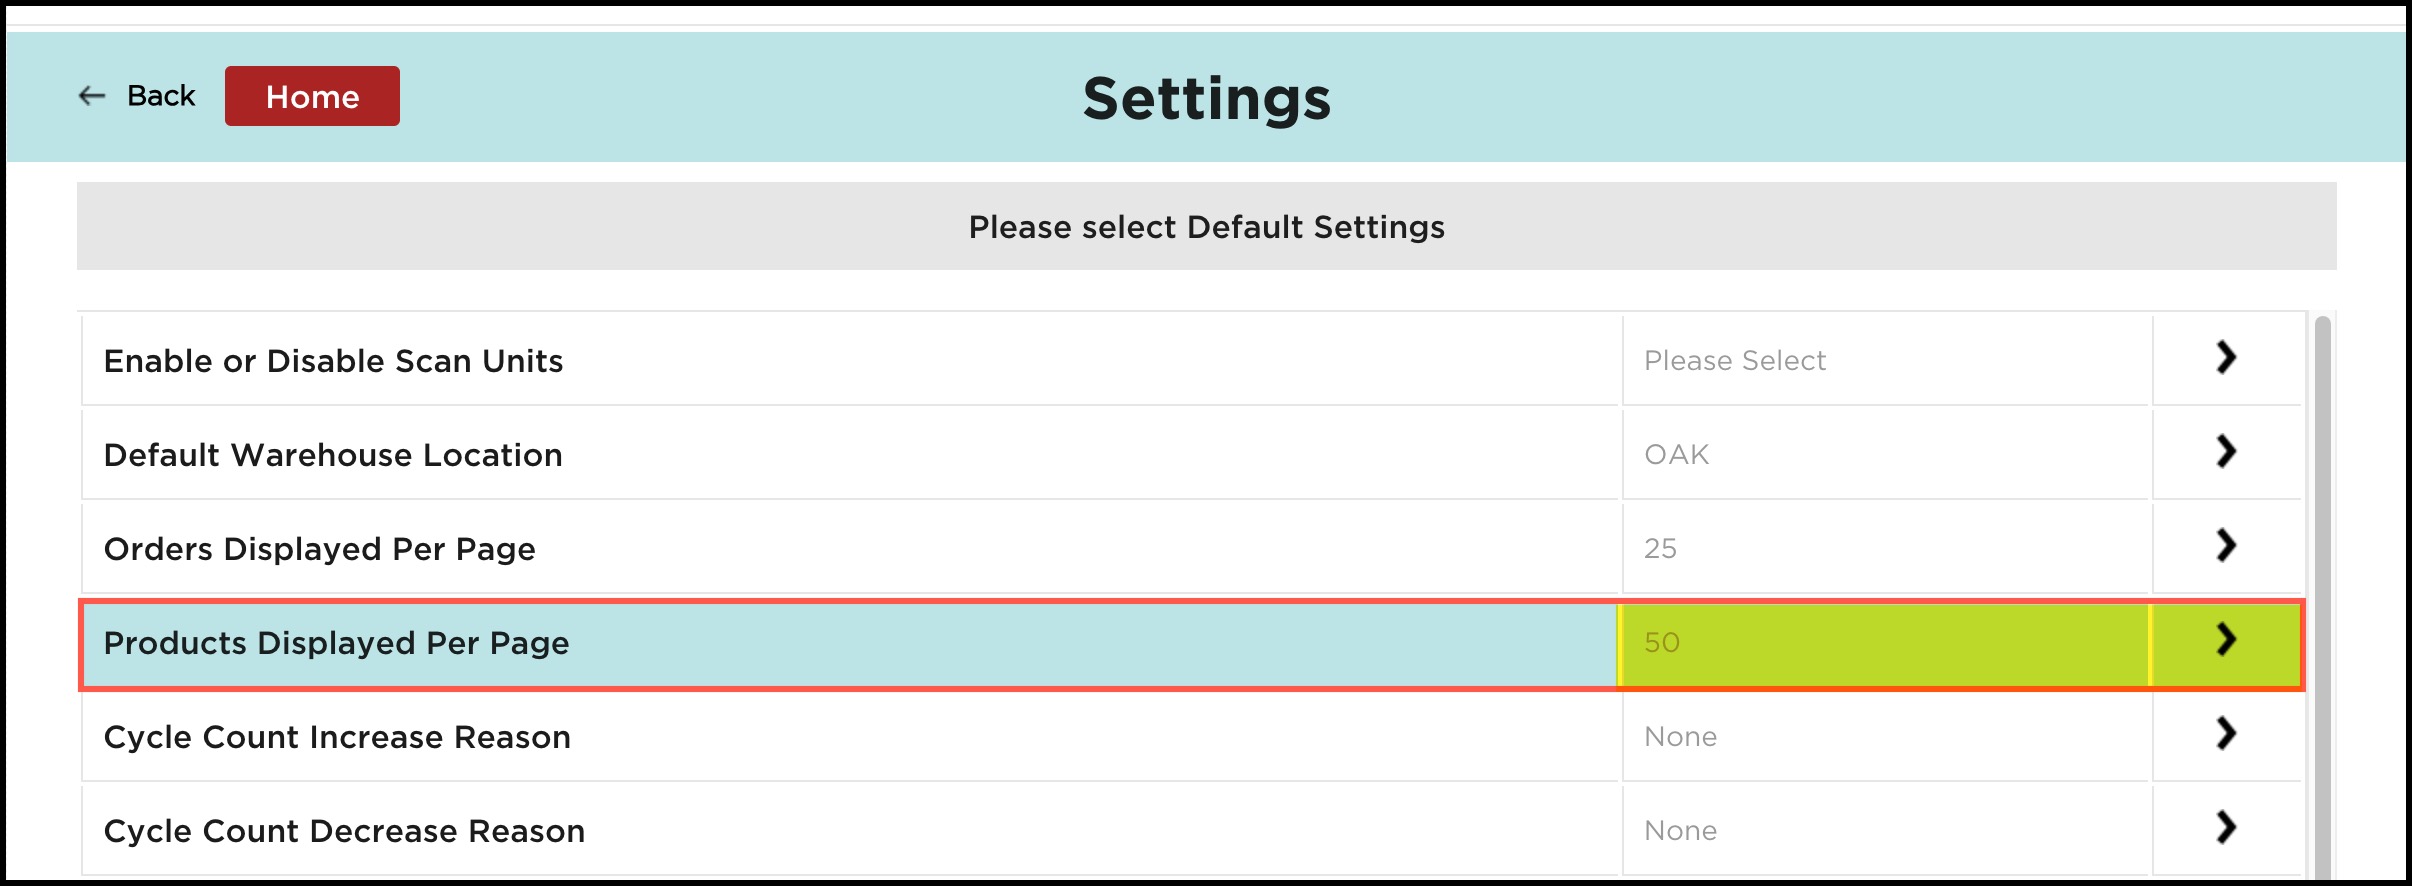
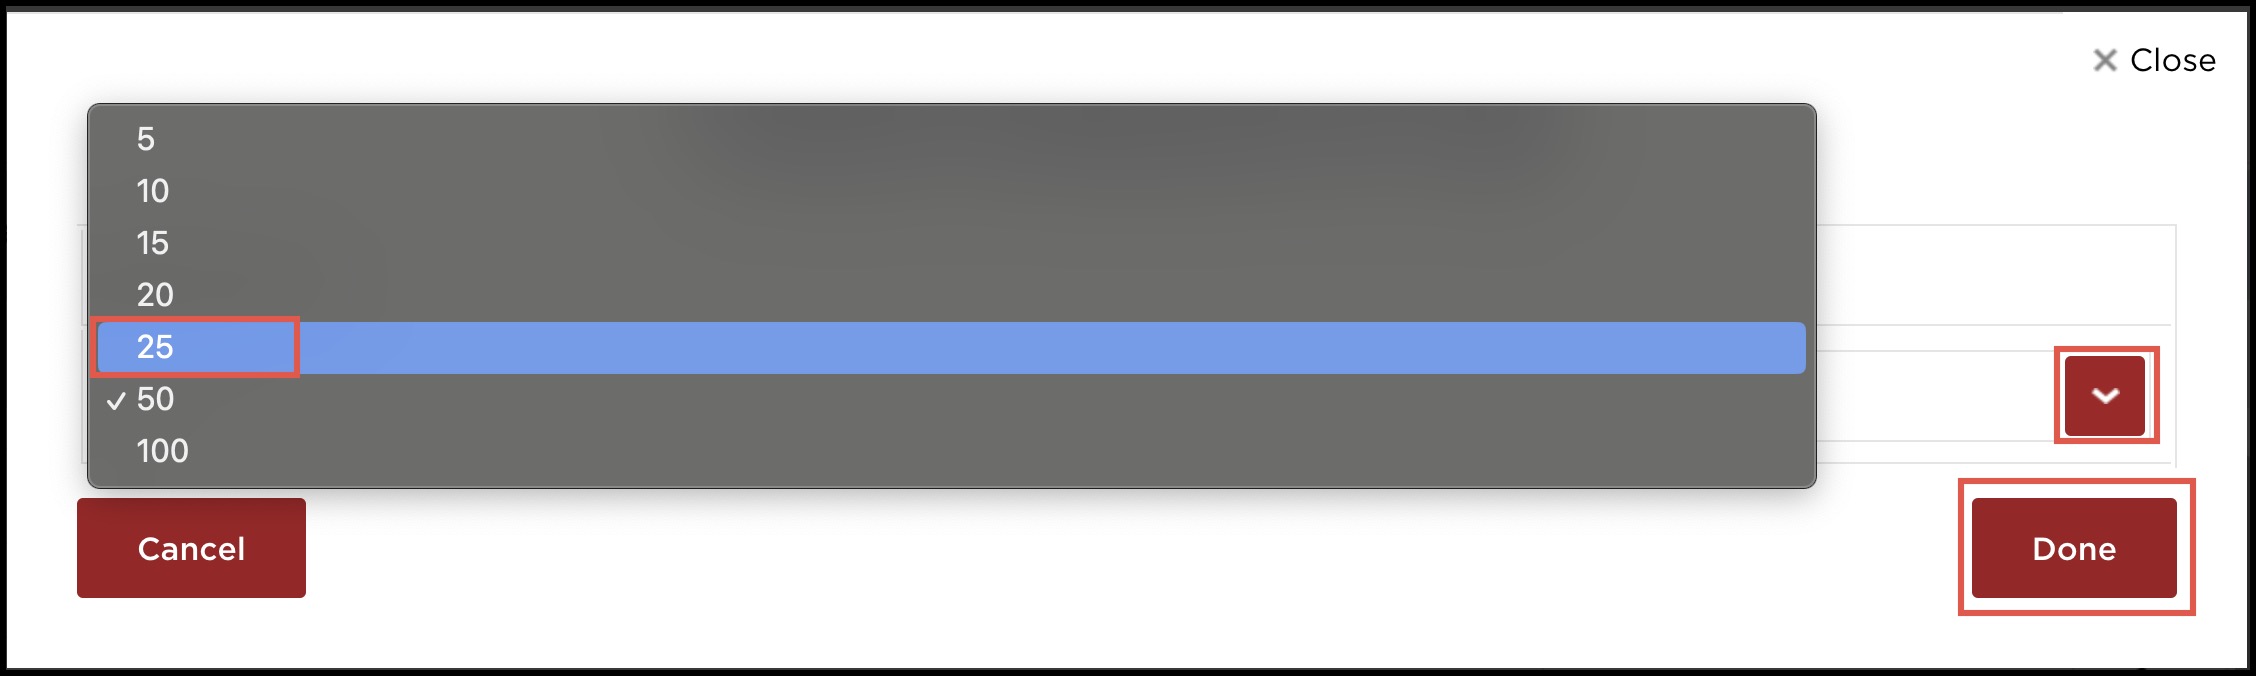
- The number of products displayed per page can be changed by selecting the Products Displayed Per Page option and selecting the desired quantity for display.
- Click Done to save the selection.
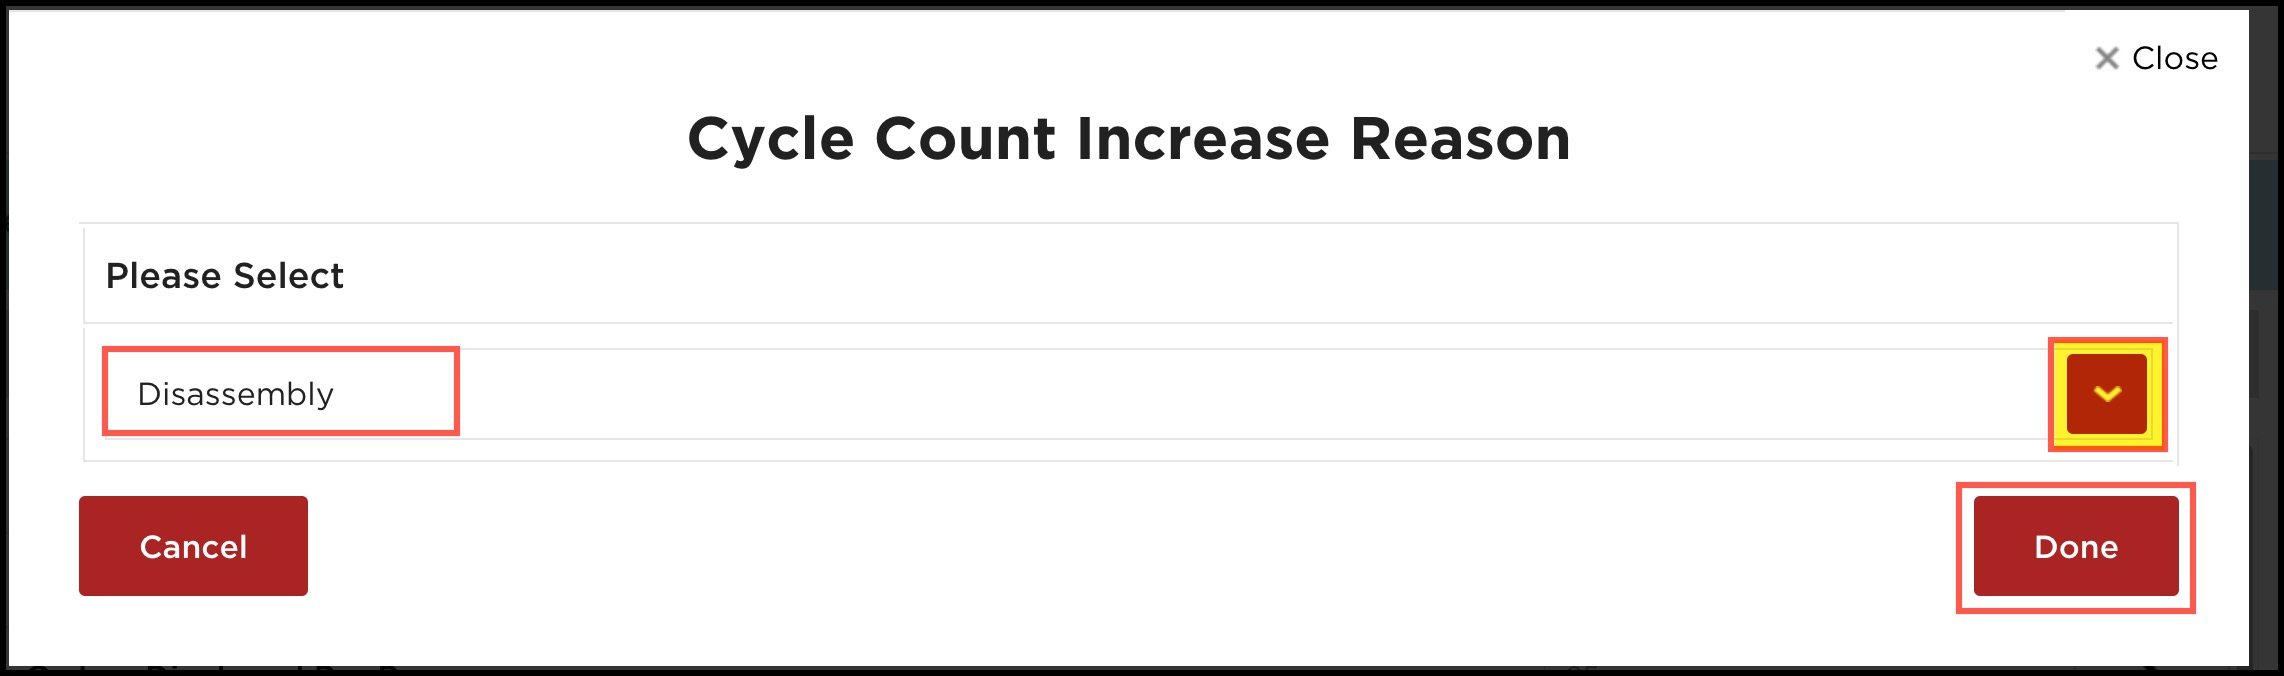
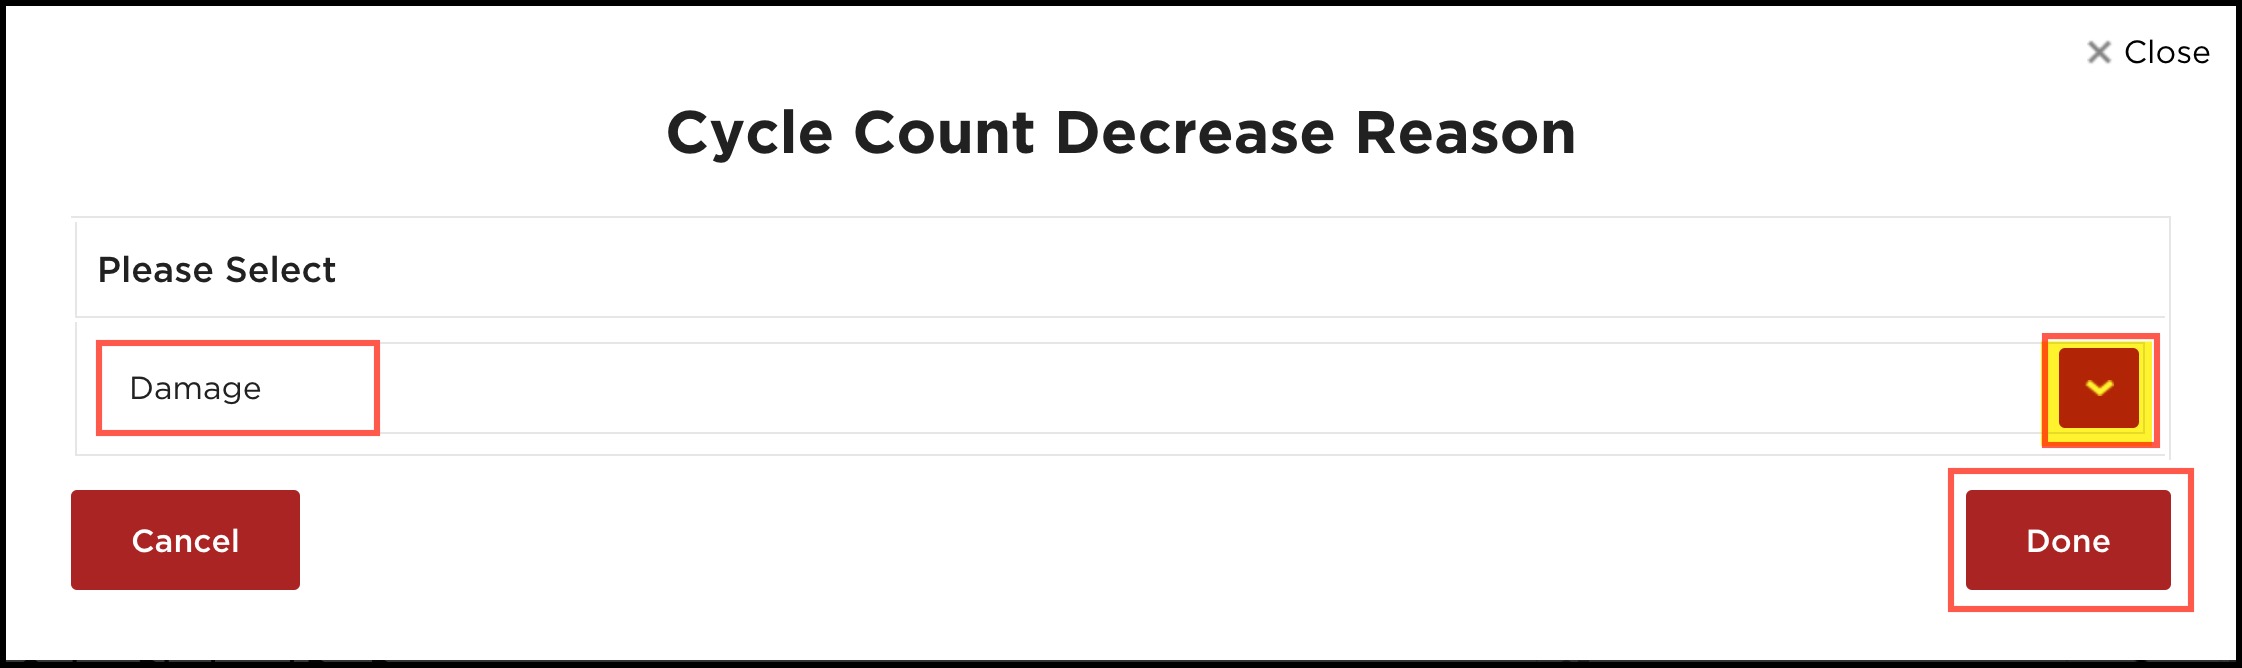
- Cycle Count Increase/Decrease Reasons can be set or changed by clicking on the respective options. You need to choose from the varied reasons available.
- Click Done to save the selection.
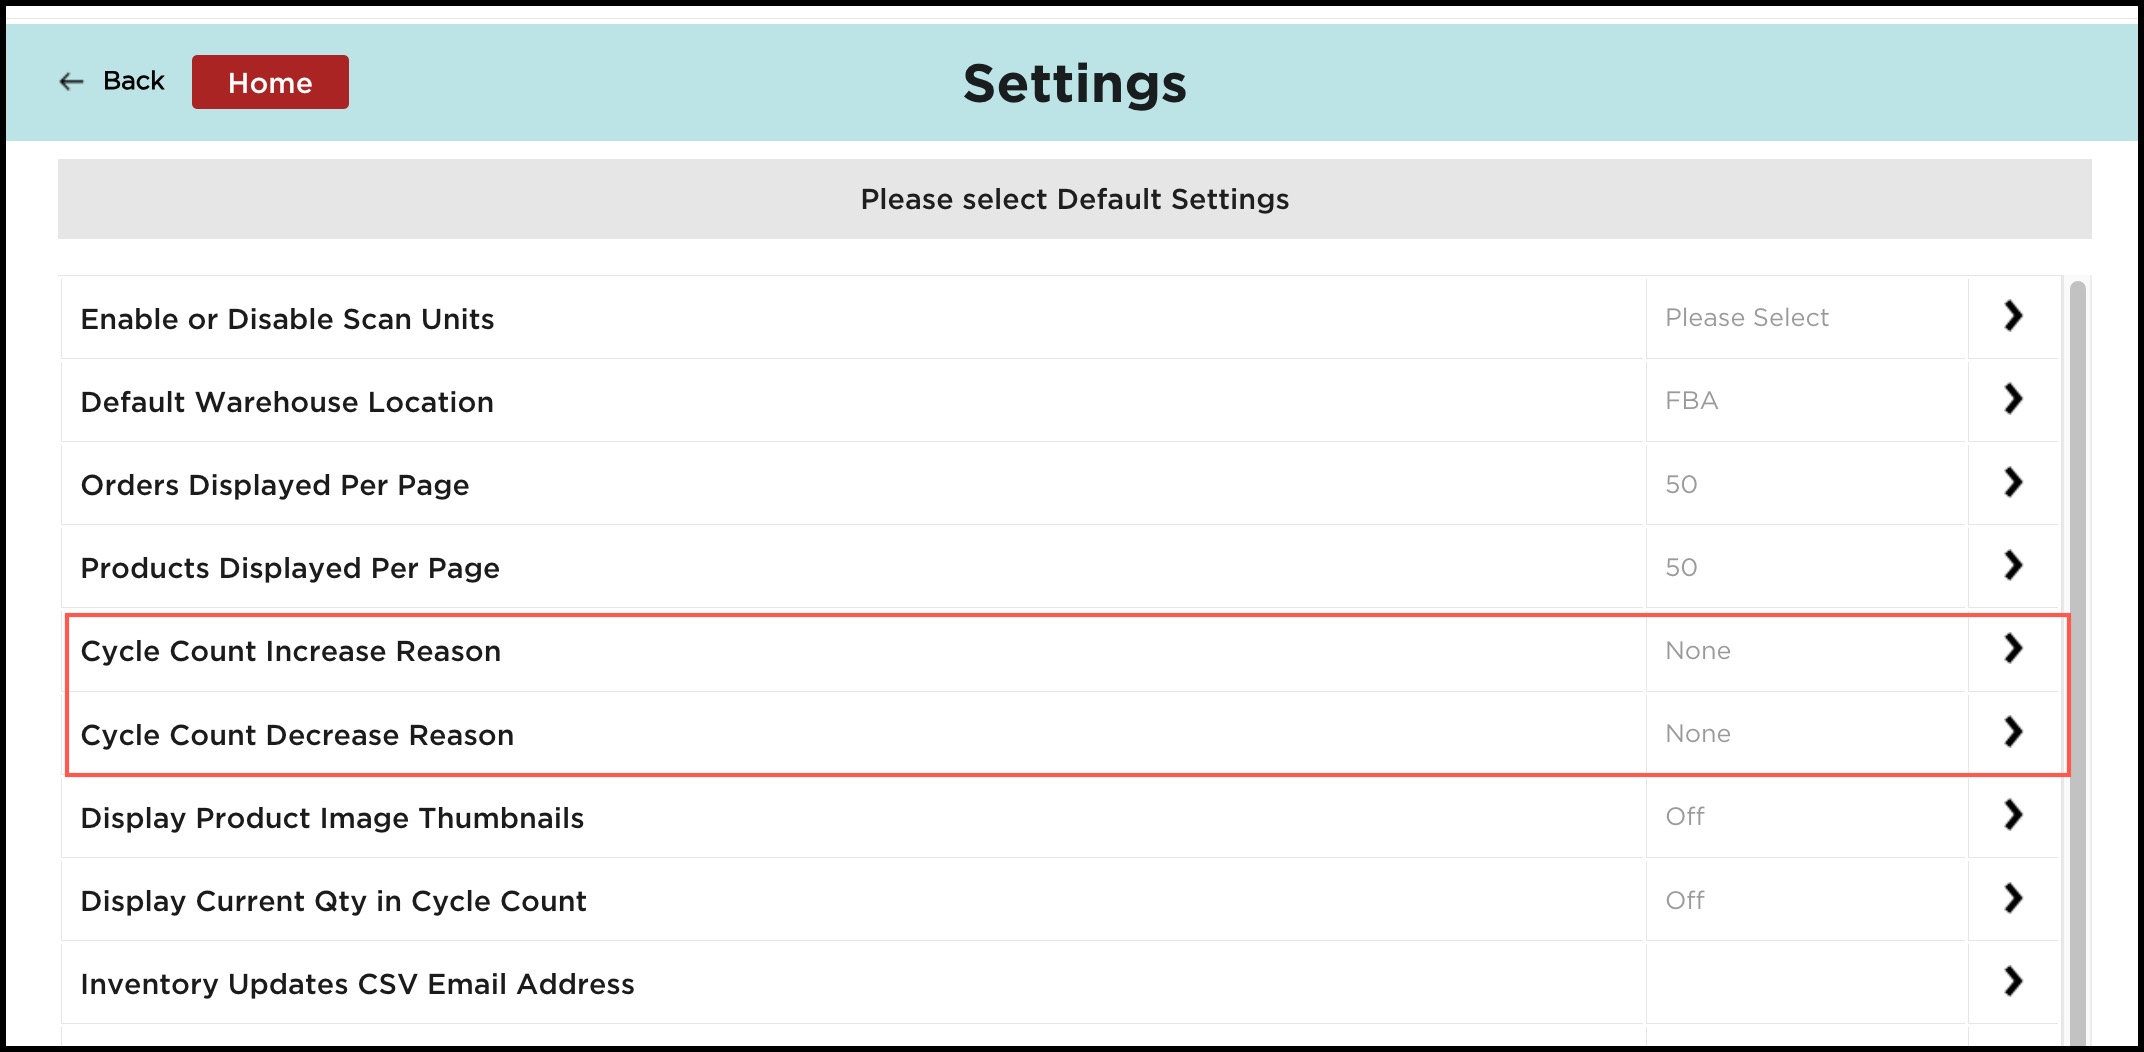
Cycle Count Increase Reason
Cycle Count Decrease Reason
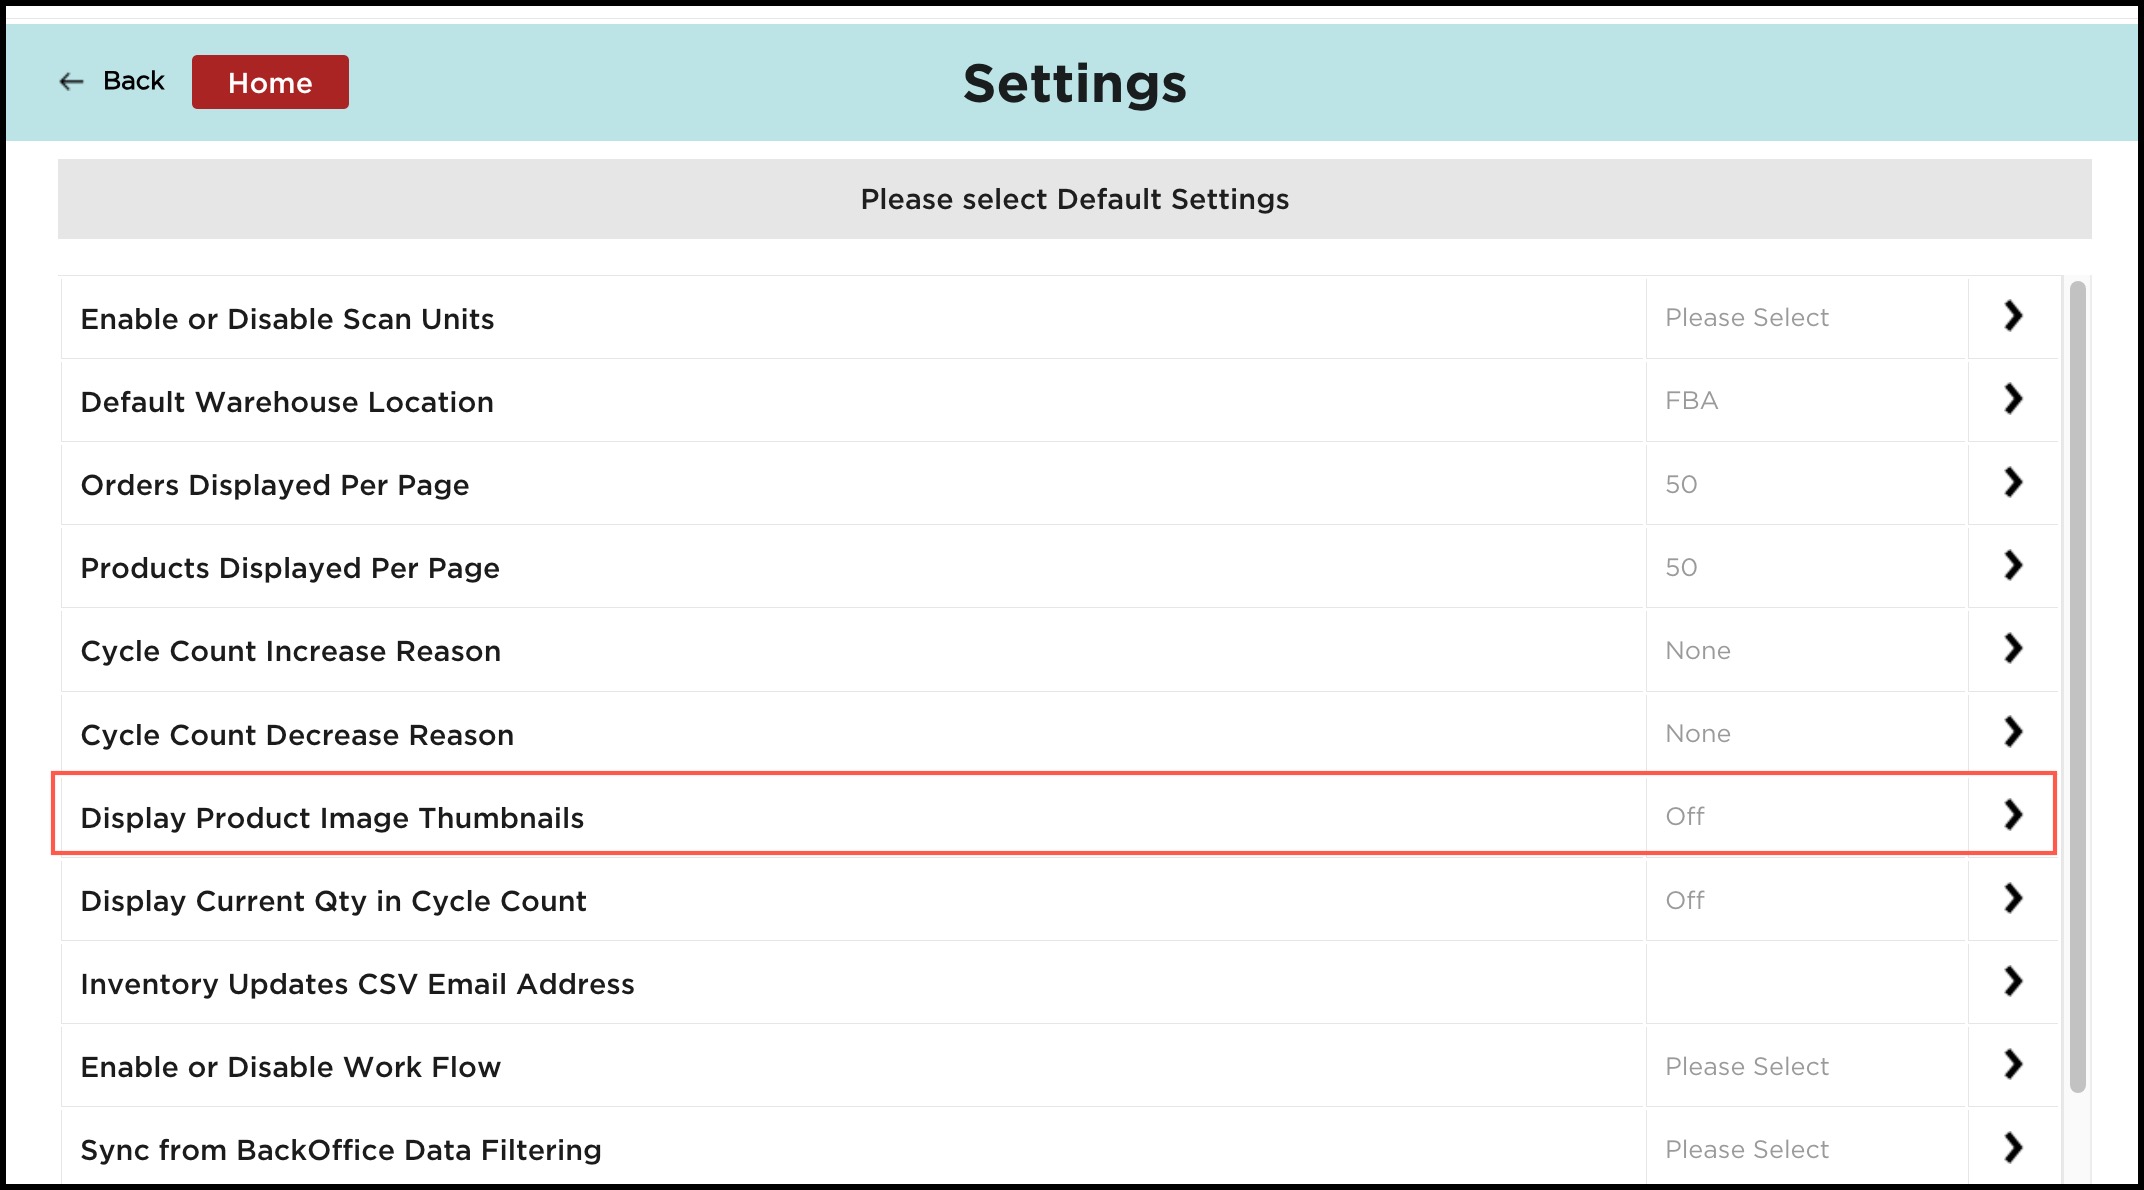
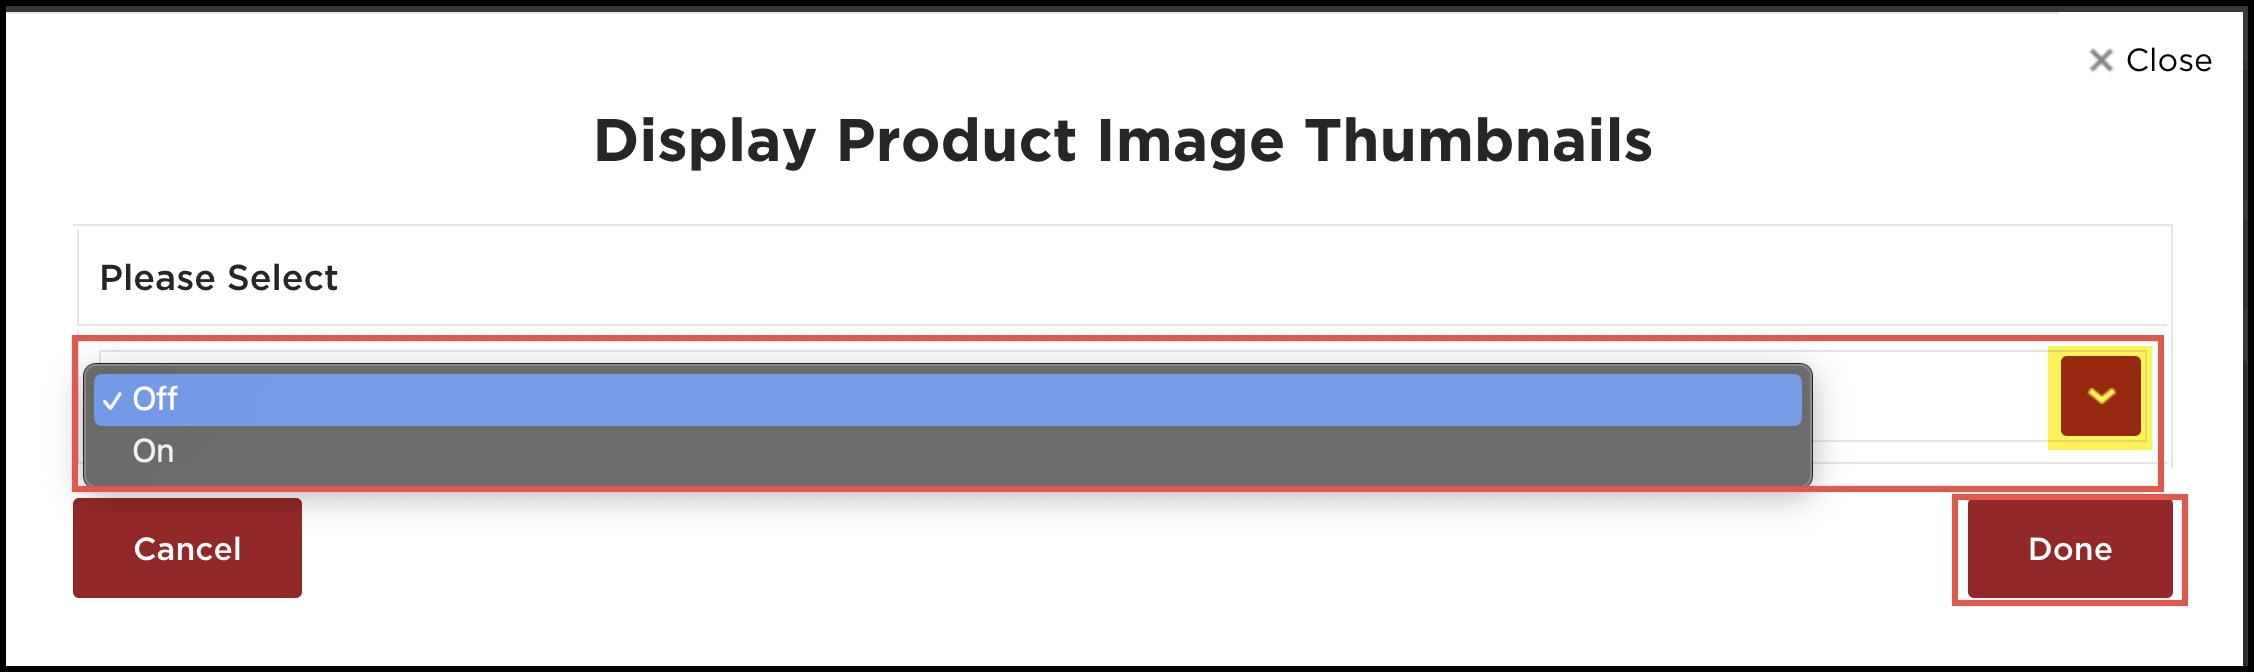
- Display Product Image Thumbnails, when set to "On" shows product image thumbnails in pick flow when picking products (this feature is Off by default).
Note: Enabling this feature may affect the performance of the app if there is a large quantity of products and images in the back office.
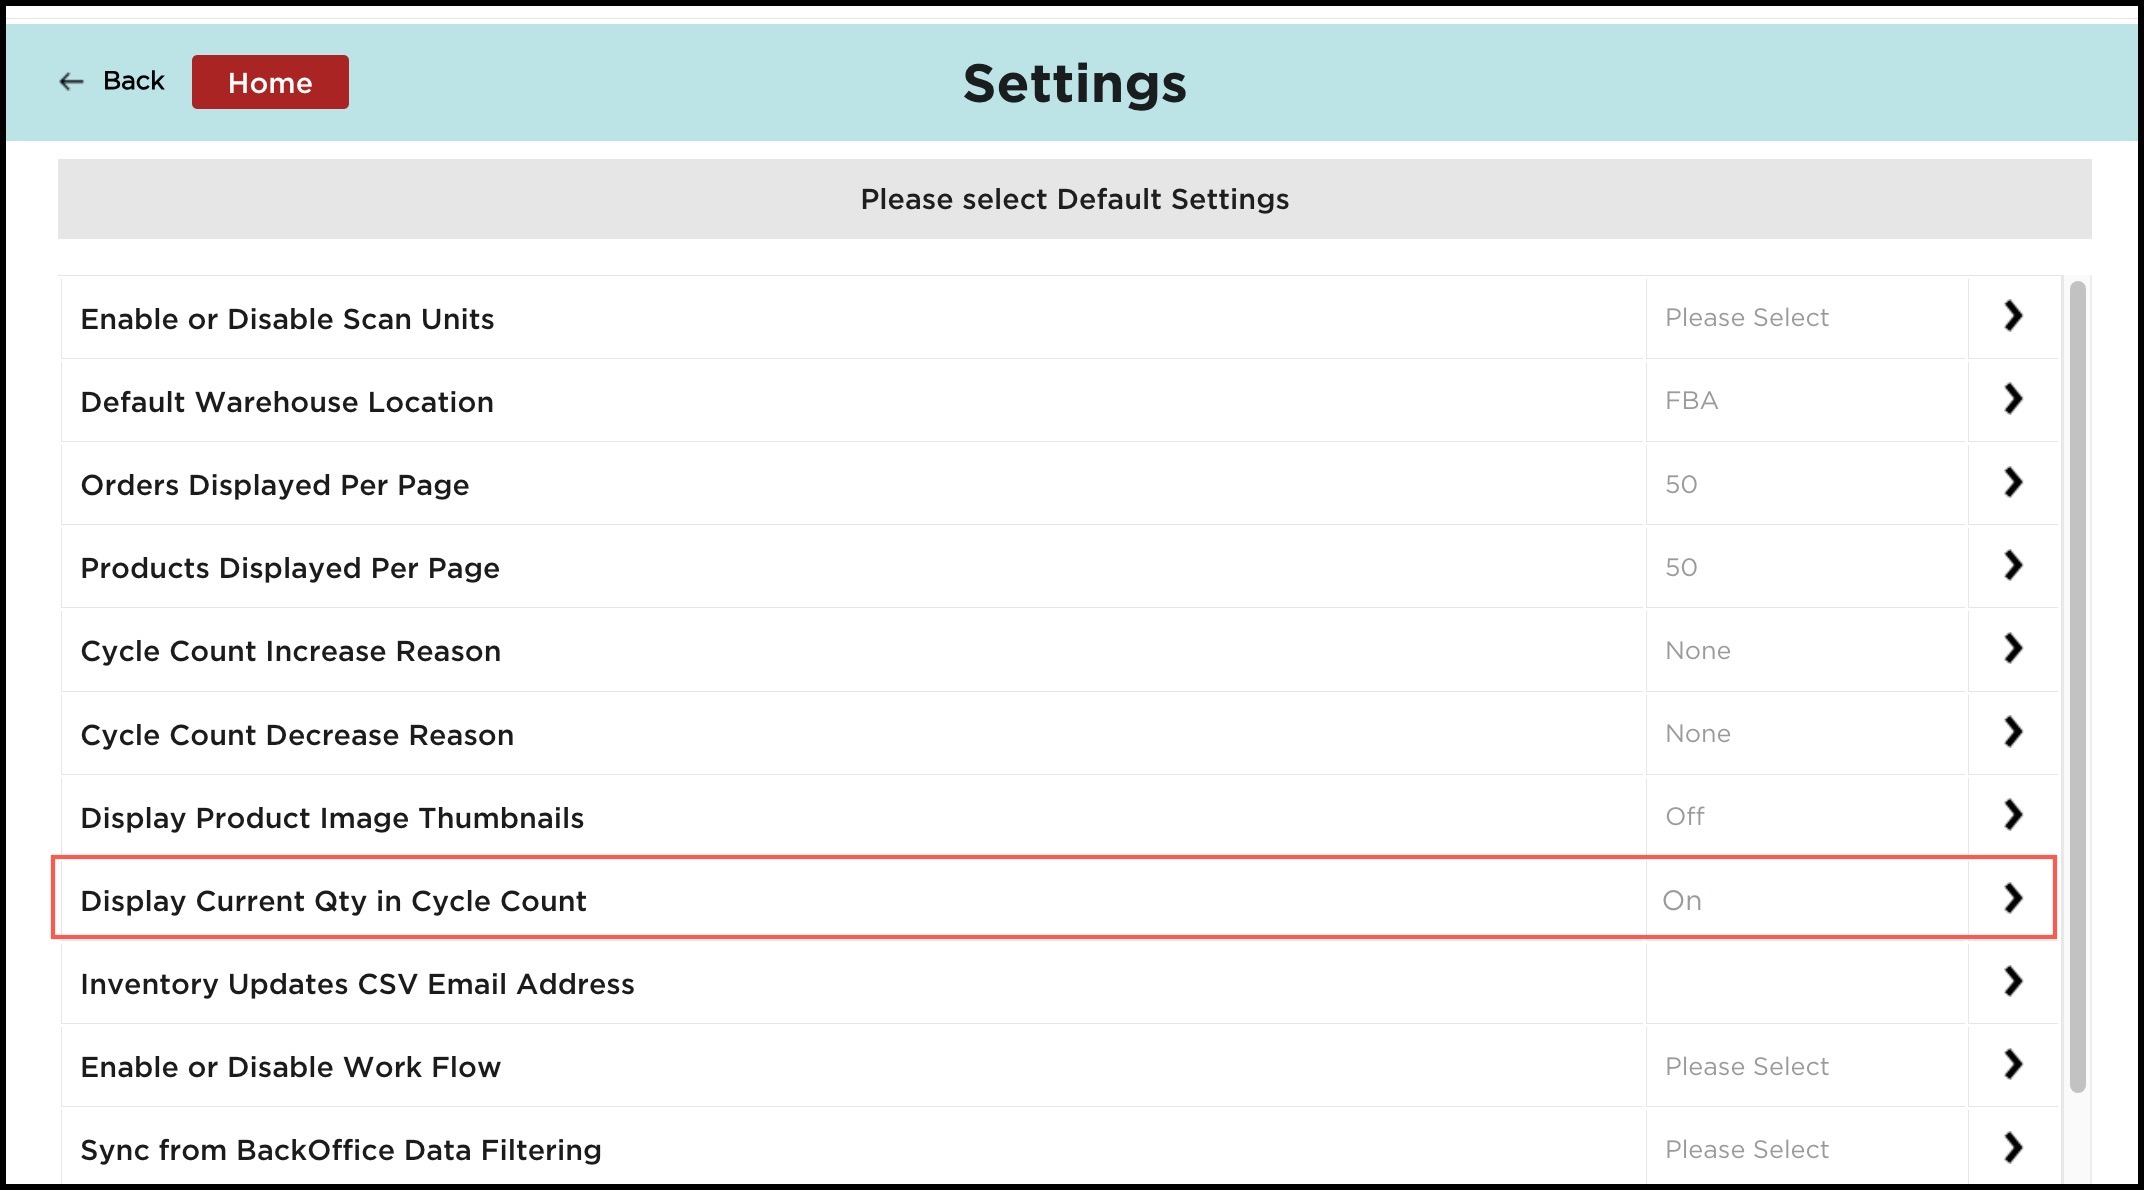
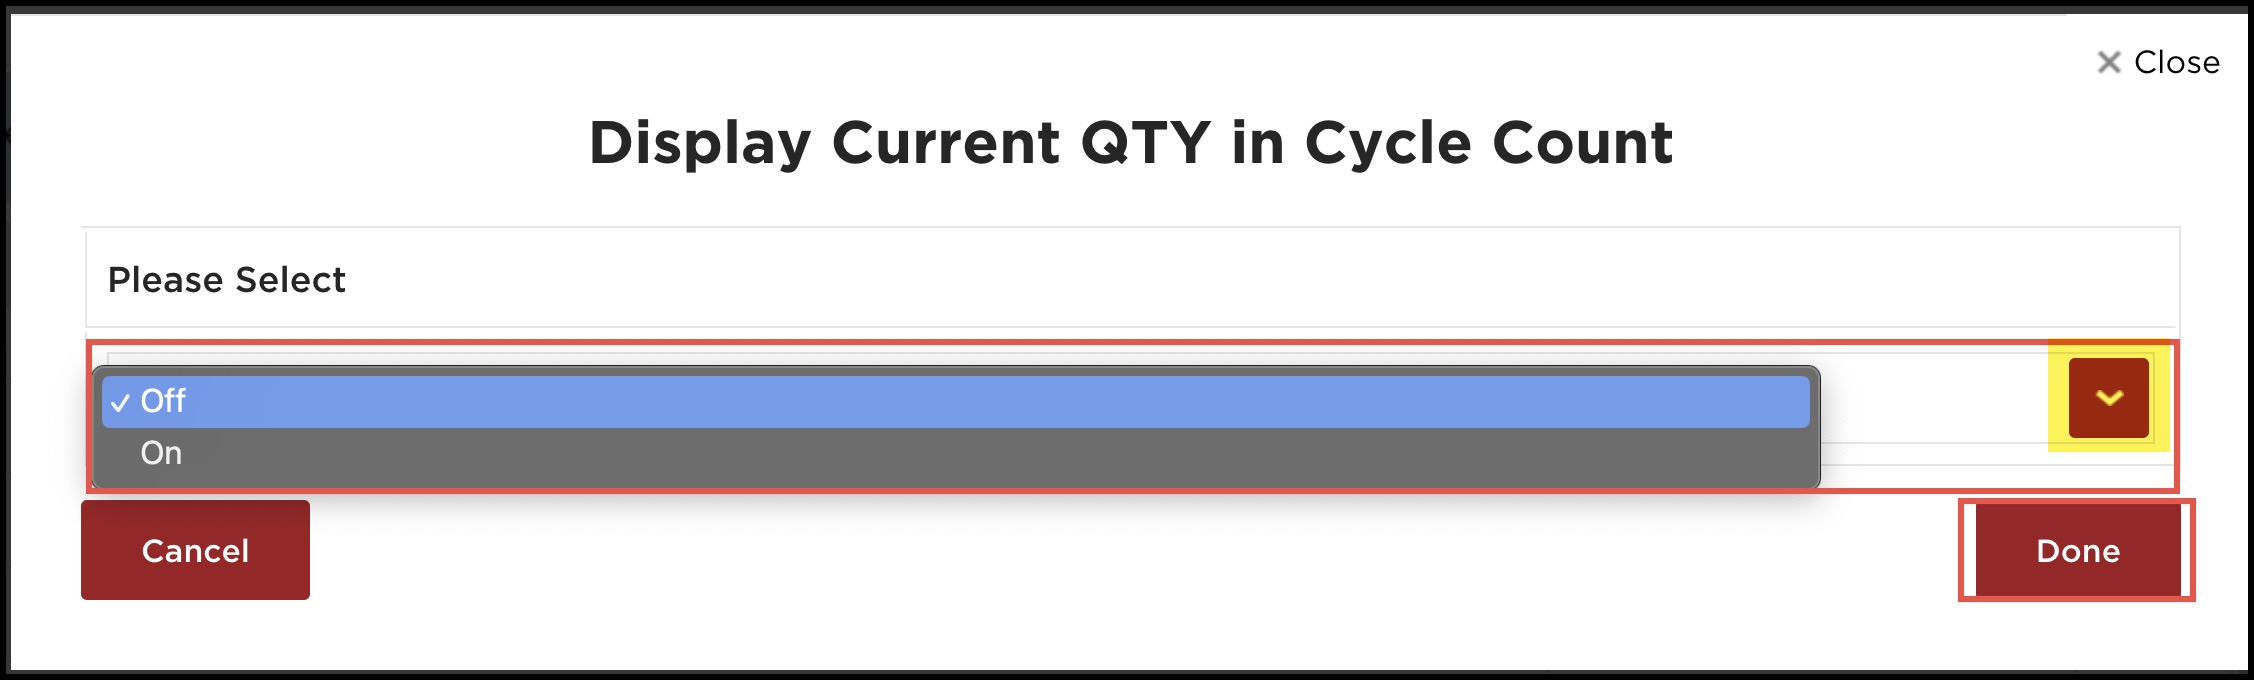
- Display Current Qty in Cycle Count - It displays the current quantity of each product in the Cycle Count. You can either set it to On or Off. By default, it is set to On.
NOTE (if you log in using warehouse app associate username):
Only if you are allowed local override you can change the "Display Current Qty in Cycle Count" setting locally (in the warehouse app). Refer to Warehouse App Settings Configuration in Back Office to understand in detail.
- If it is set to off, you won't be able to see the current quantity of the products in the Cycle count Workflow.
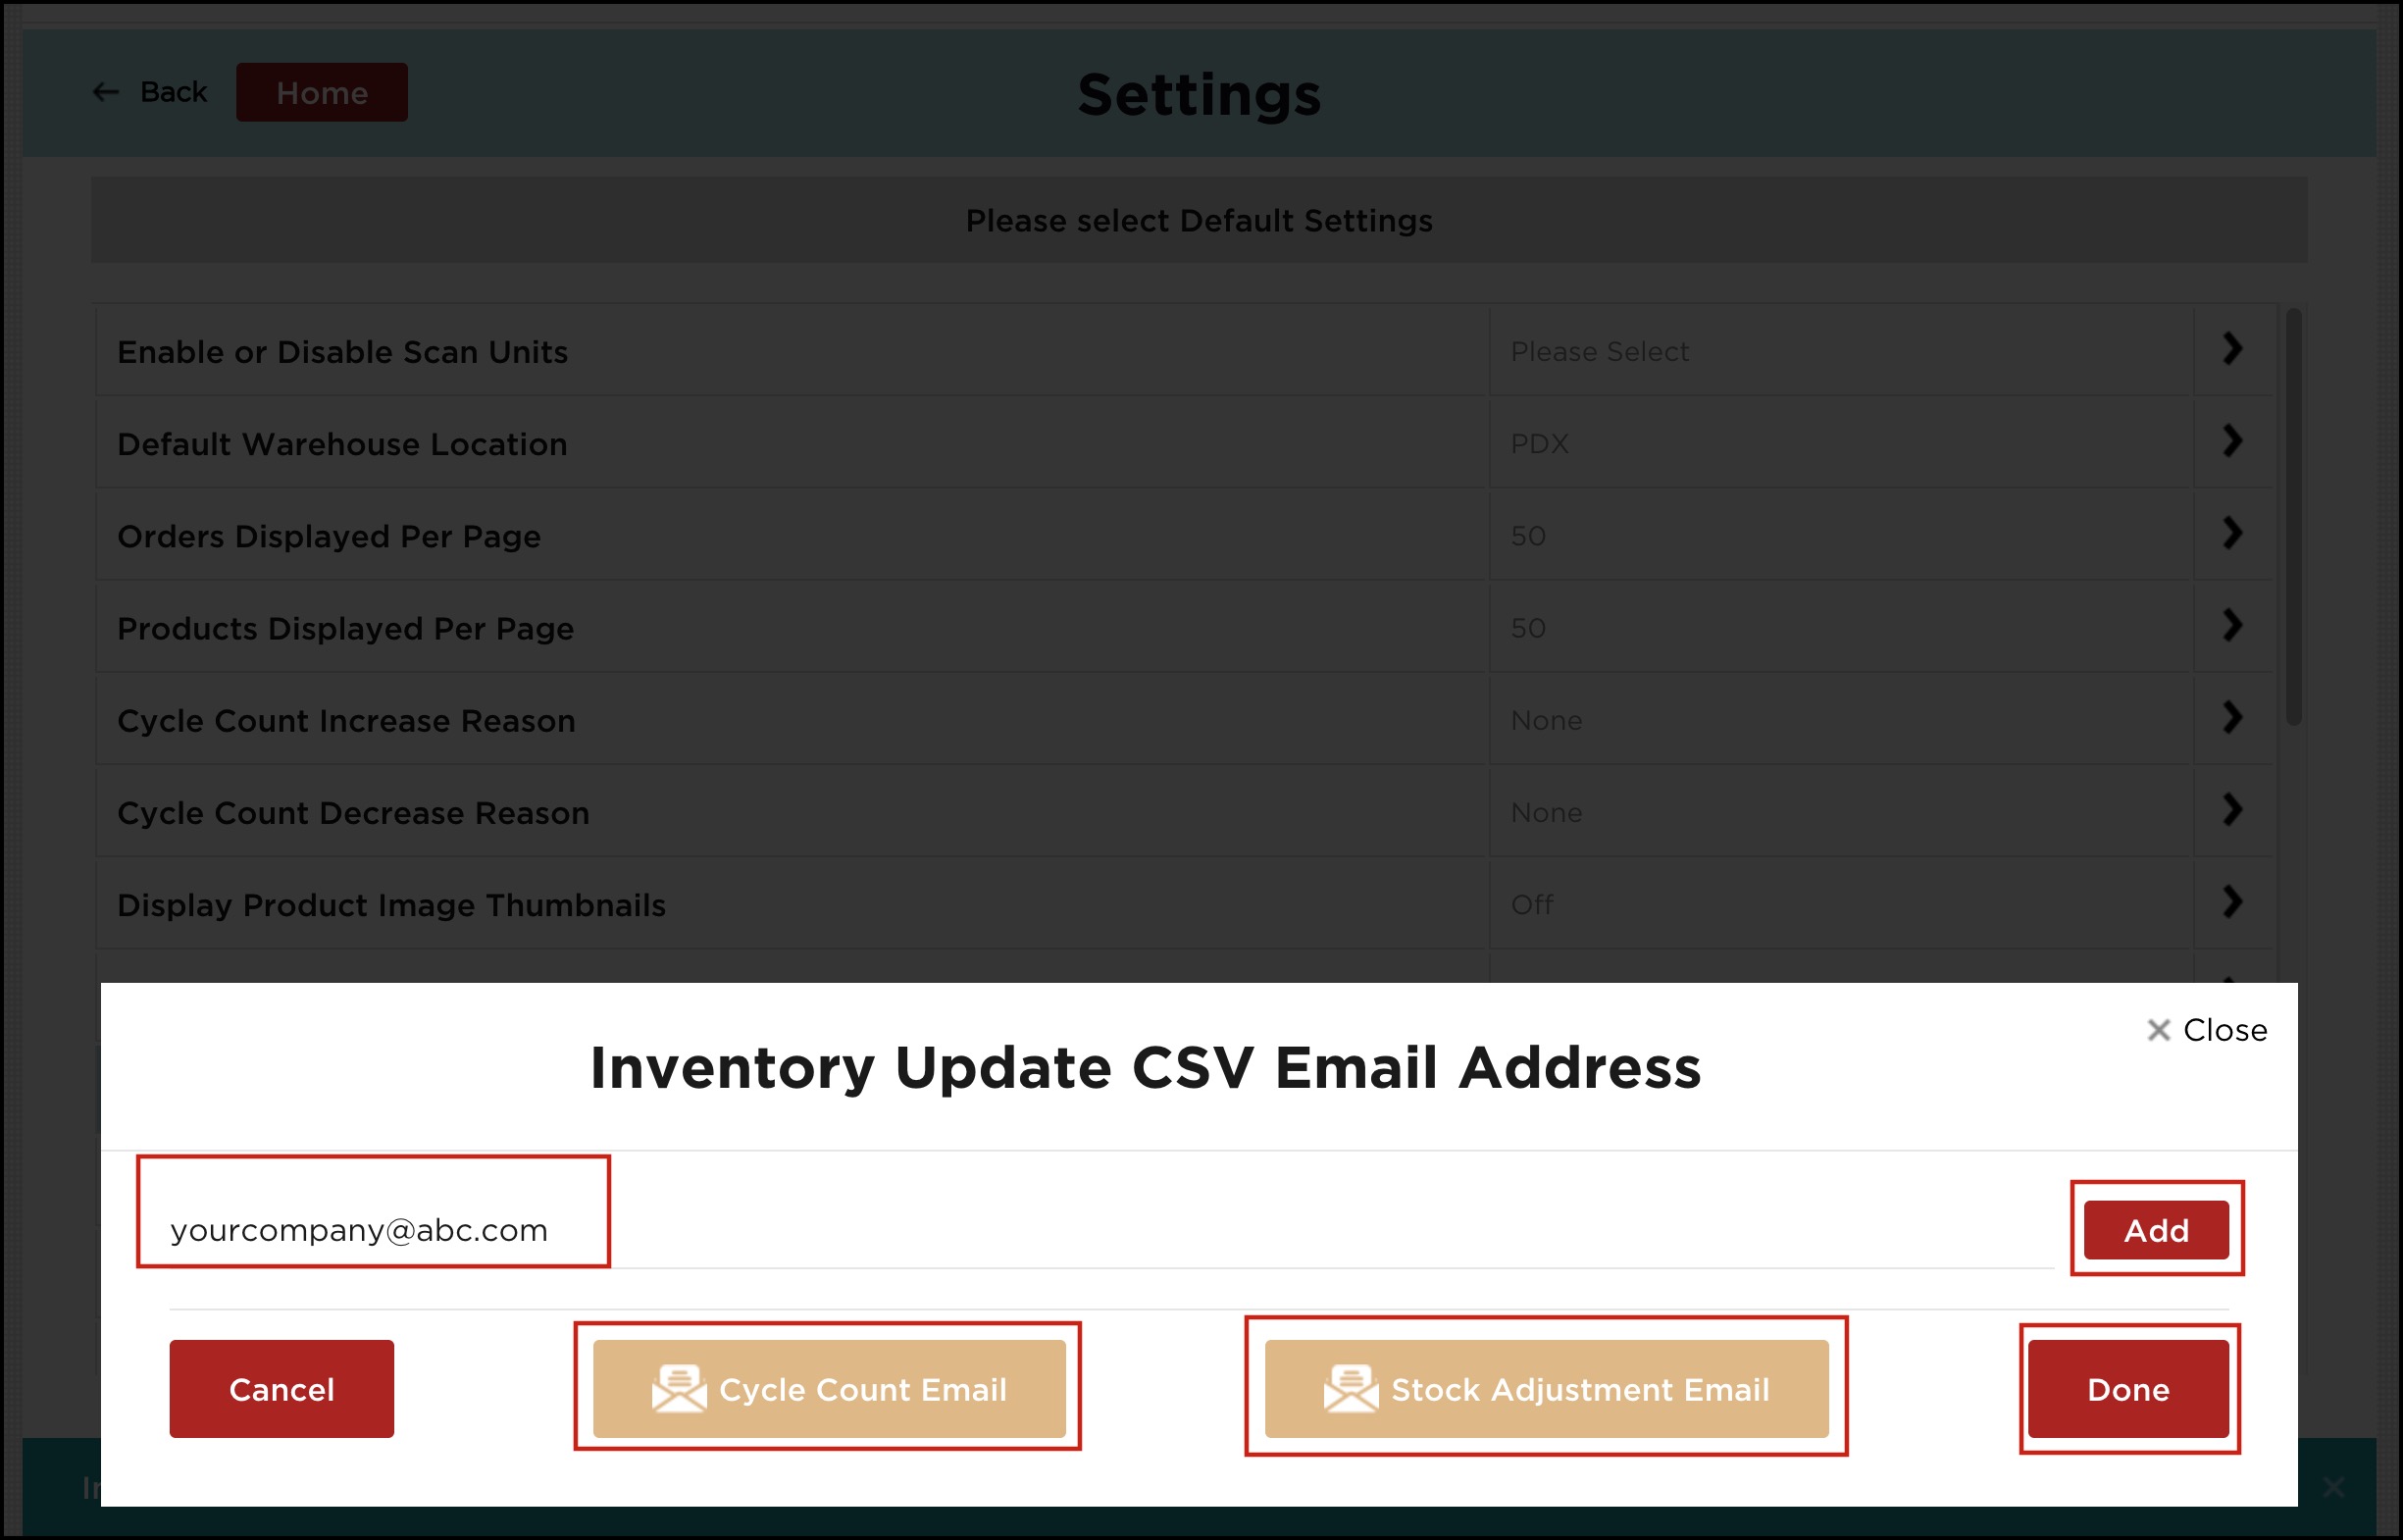
- Inventory Updates CSV Email Address - Here, you can add email addresses to receive a CSV of cycle counts and stock adjustments.
Along with the home screen (Email Inventory Updates CSV - in the bottom left corner), this feature is now added in Settings as well)
- Enter email address -> Click on Add -> Click on Done.
- After you've finished with the cycle count and need inventory updates for the same. Click the Cycle Count Email button. Similarly, for stock adjustment, click on the Stock Adjustment Email button.

- Enable/Disable Workflow - All the workflows are by default enabled but if you wish to disable any of the workflow, click on the toggle, next to the respective workflow and close the window.
NOTE (if you log in using warehouse app associate username):
- Only if you are allowed local override you can change the workflow settings locally. Refer to Warehouse App Settings Configuration in Back Office to understand in detail.
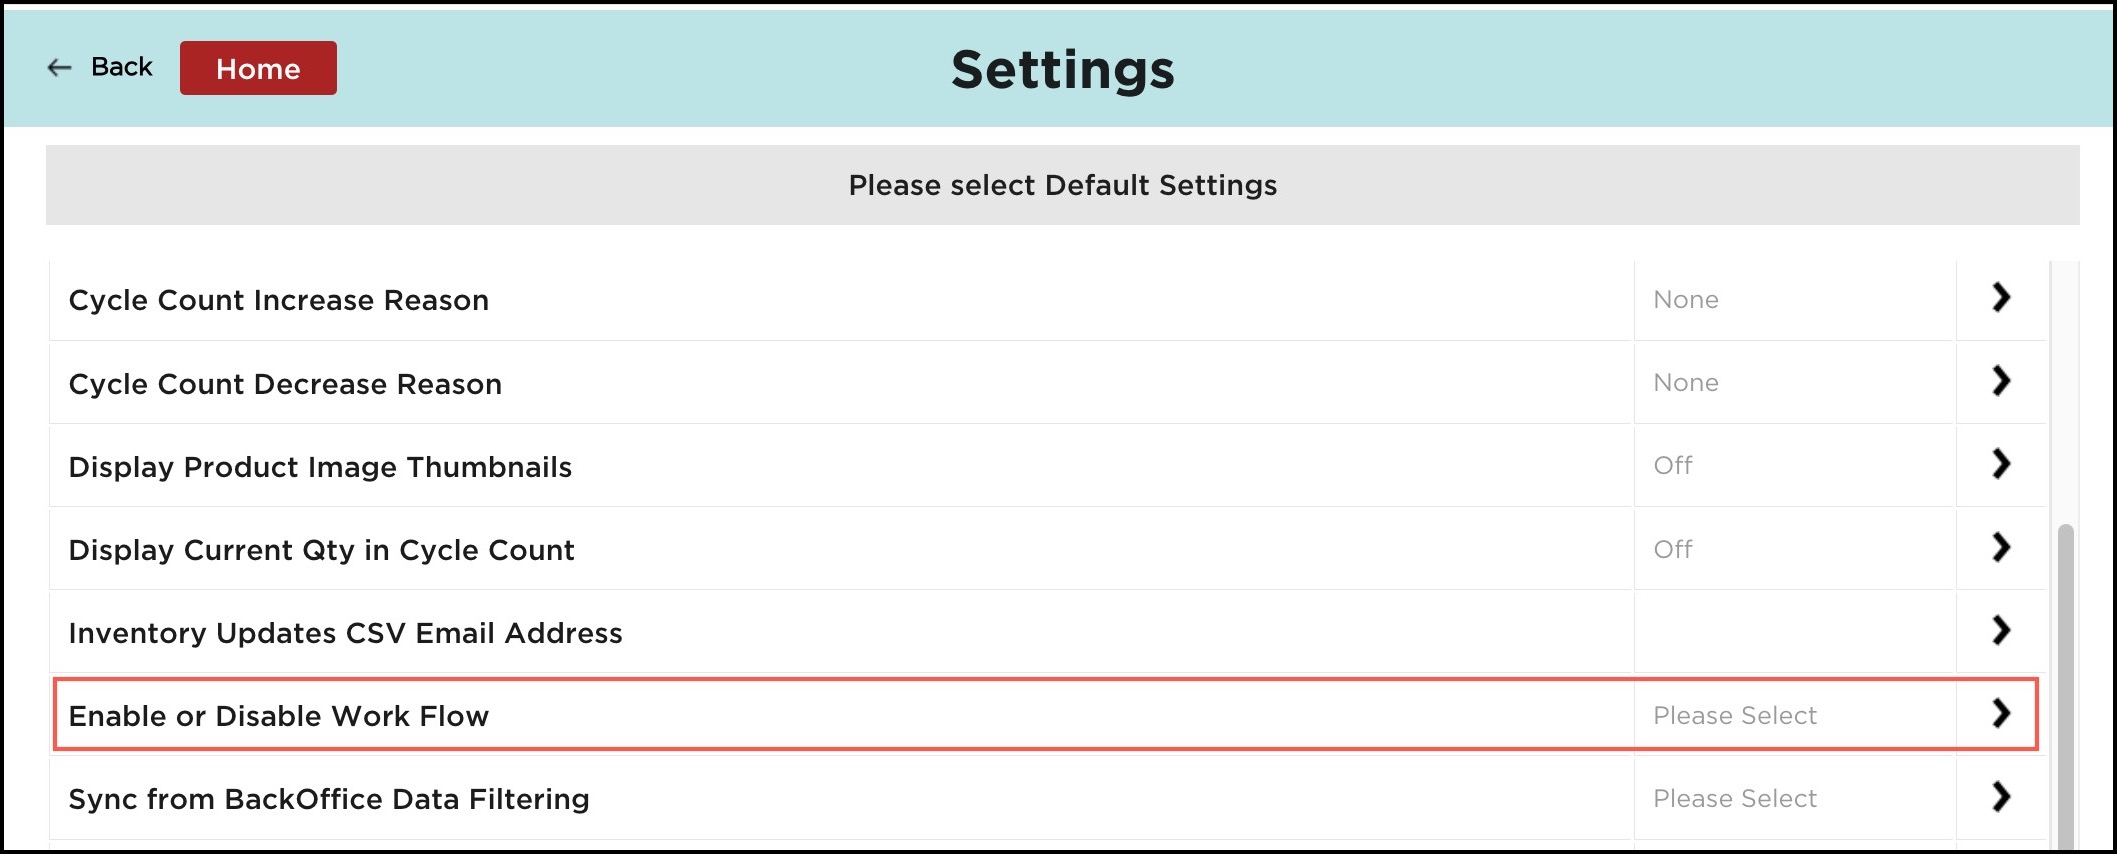
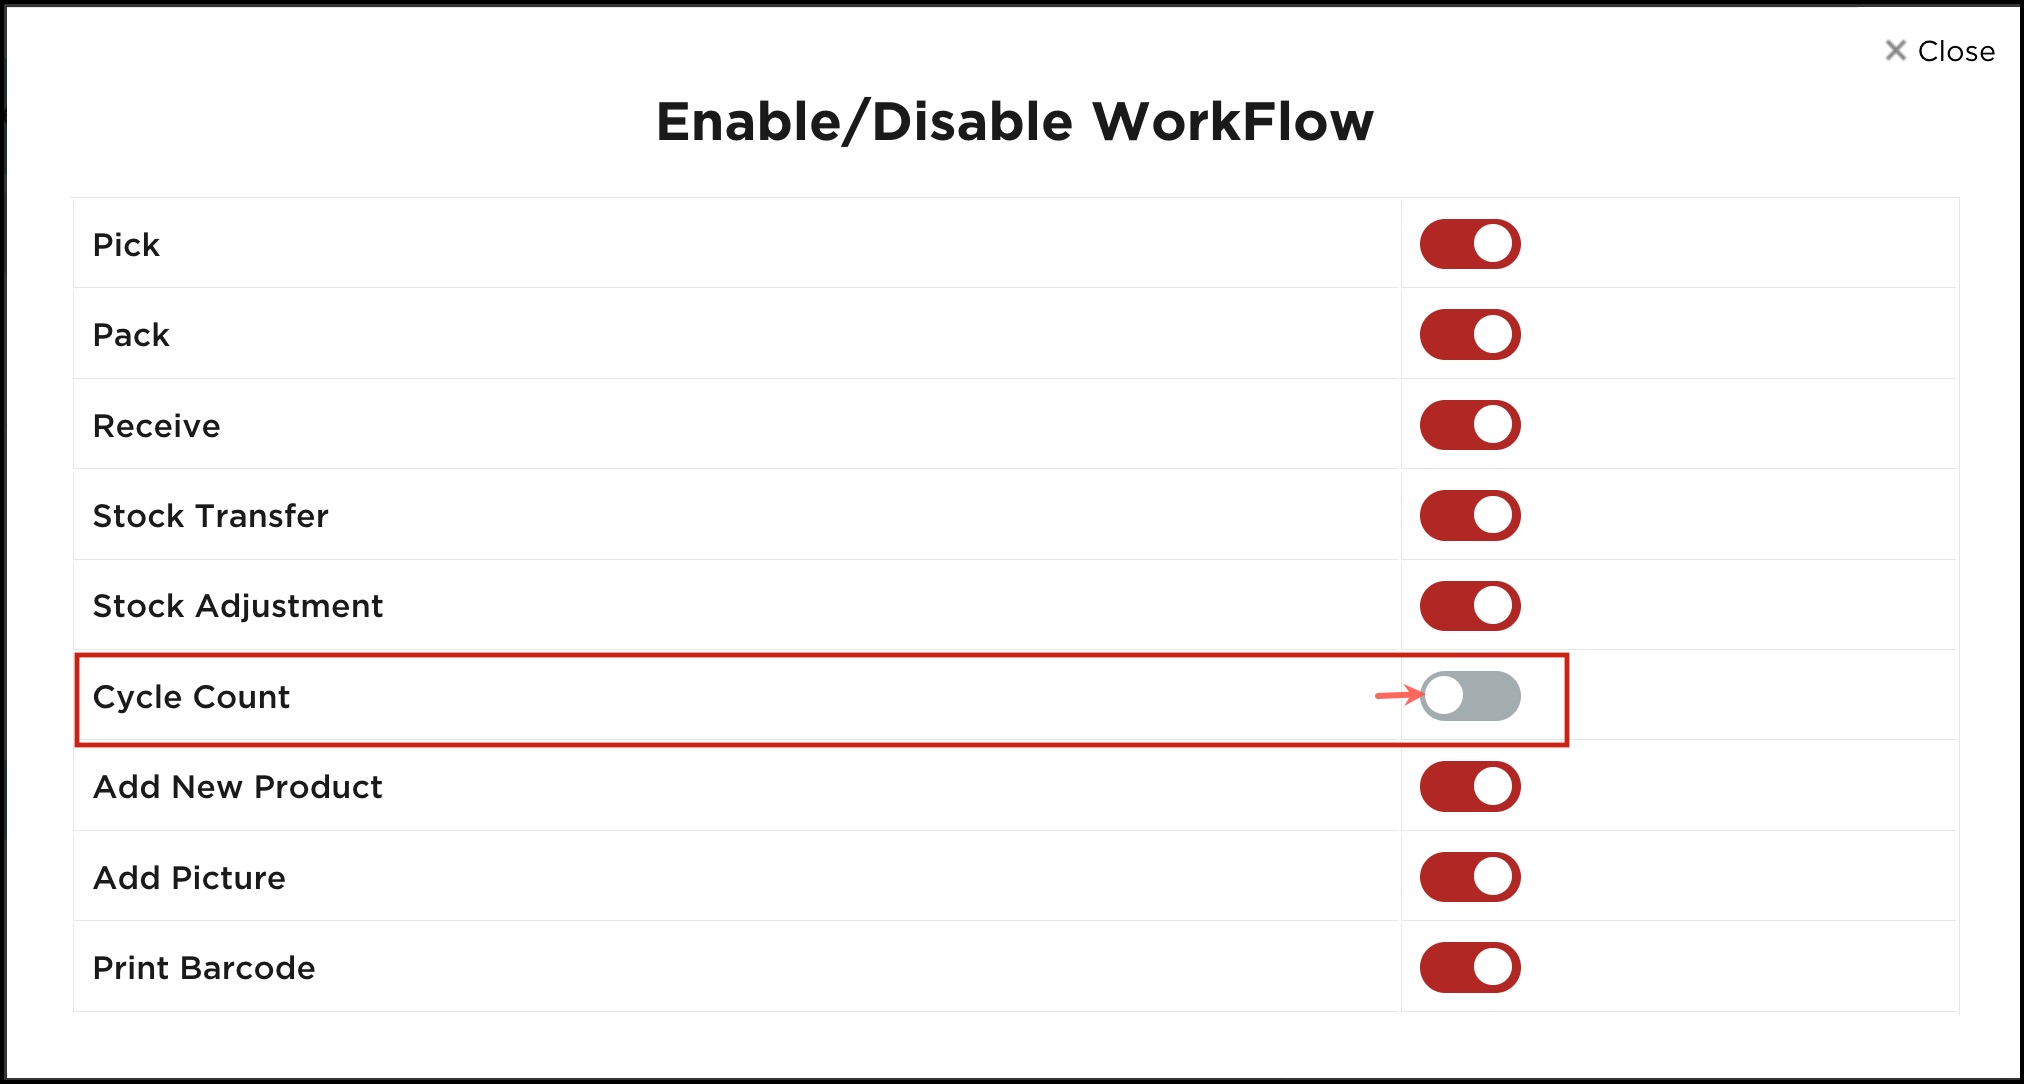
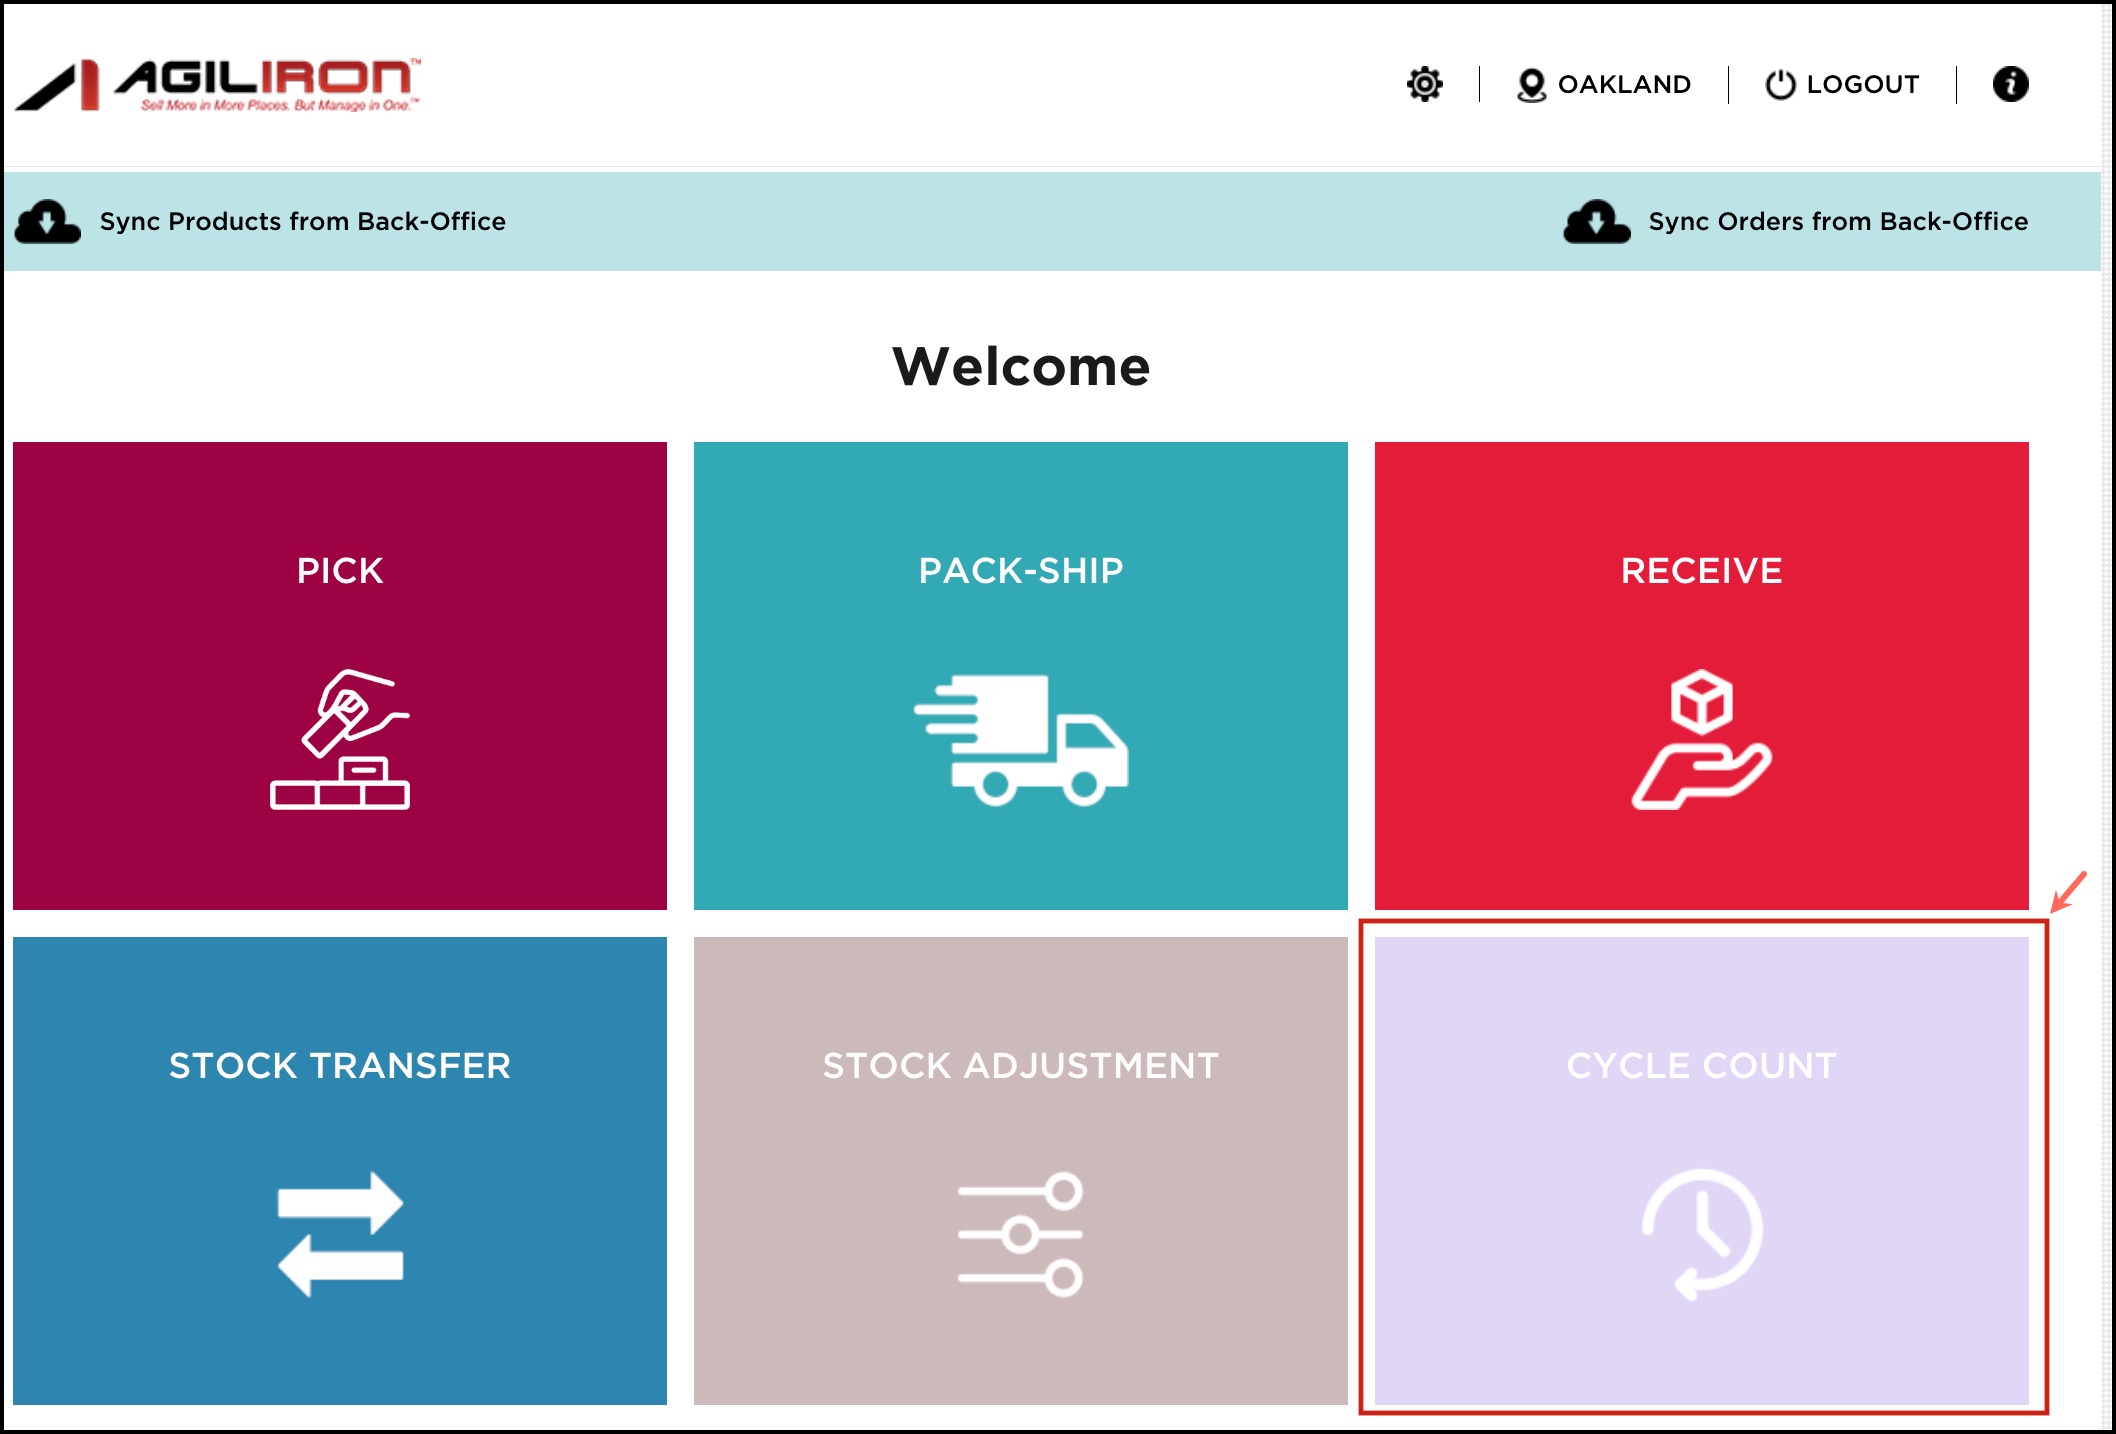
The workflow/workflows that are disabled in Settings will get Disabled on the home screen too.
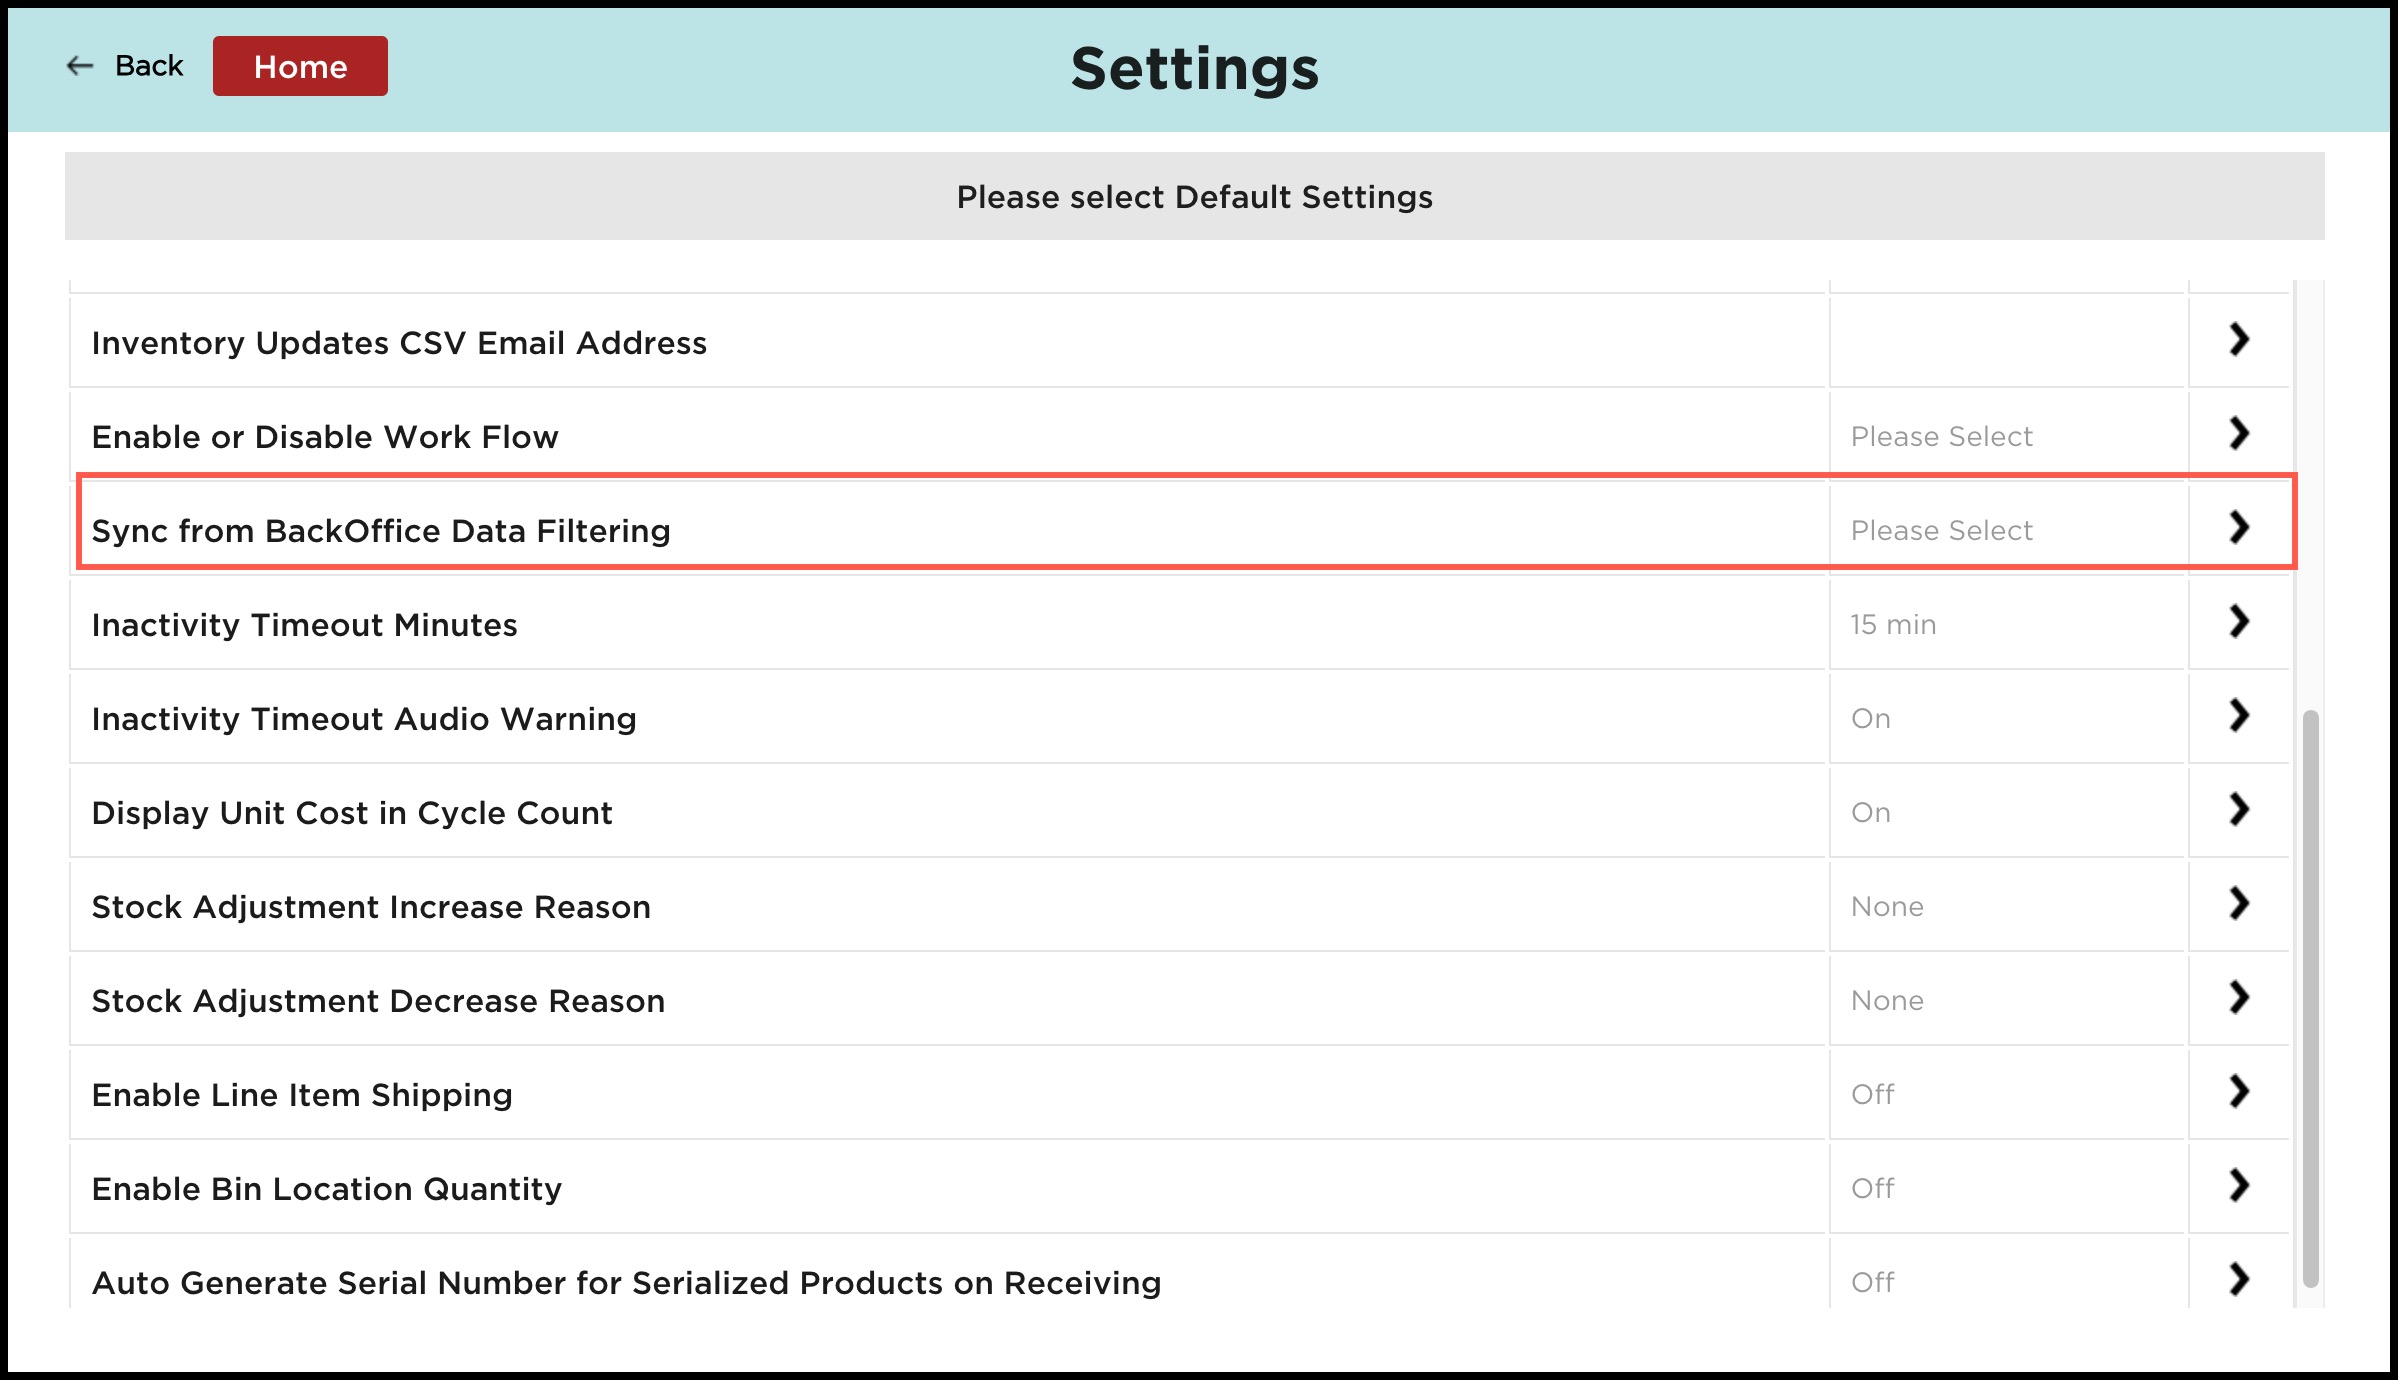
- Sync from BackOffice Data Filtering - In the backoffice there is a lot of data related to modules. With this feature, you can filter the data and get a custom view of the data only which you want.
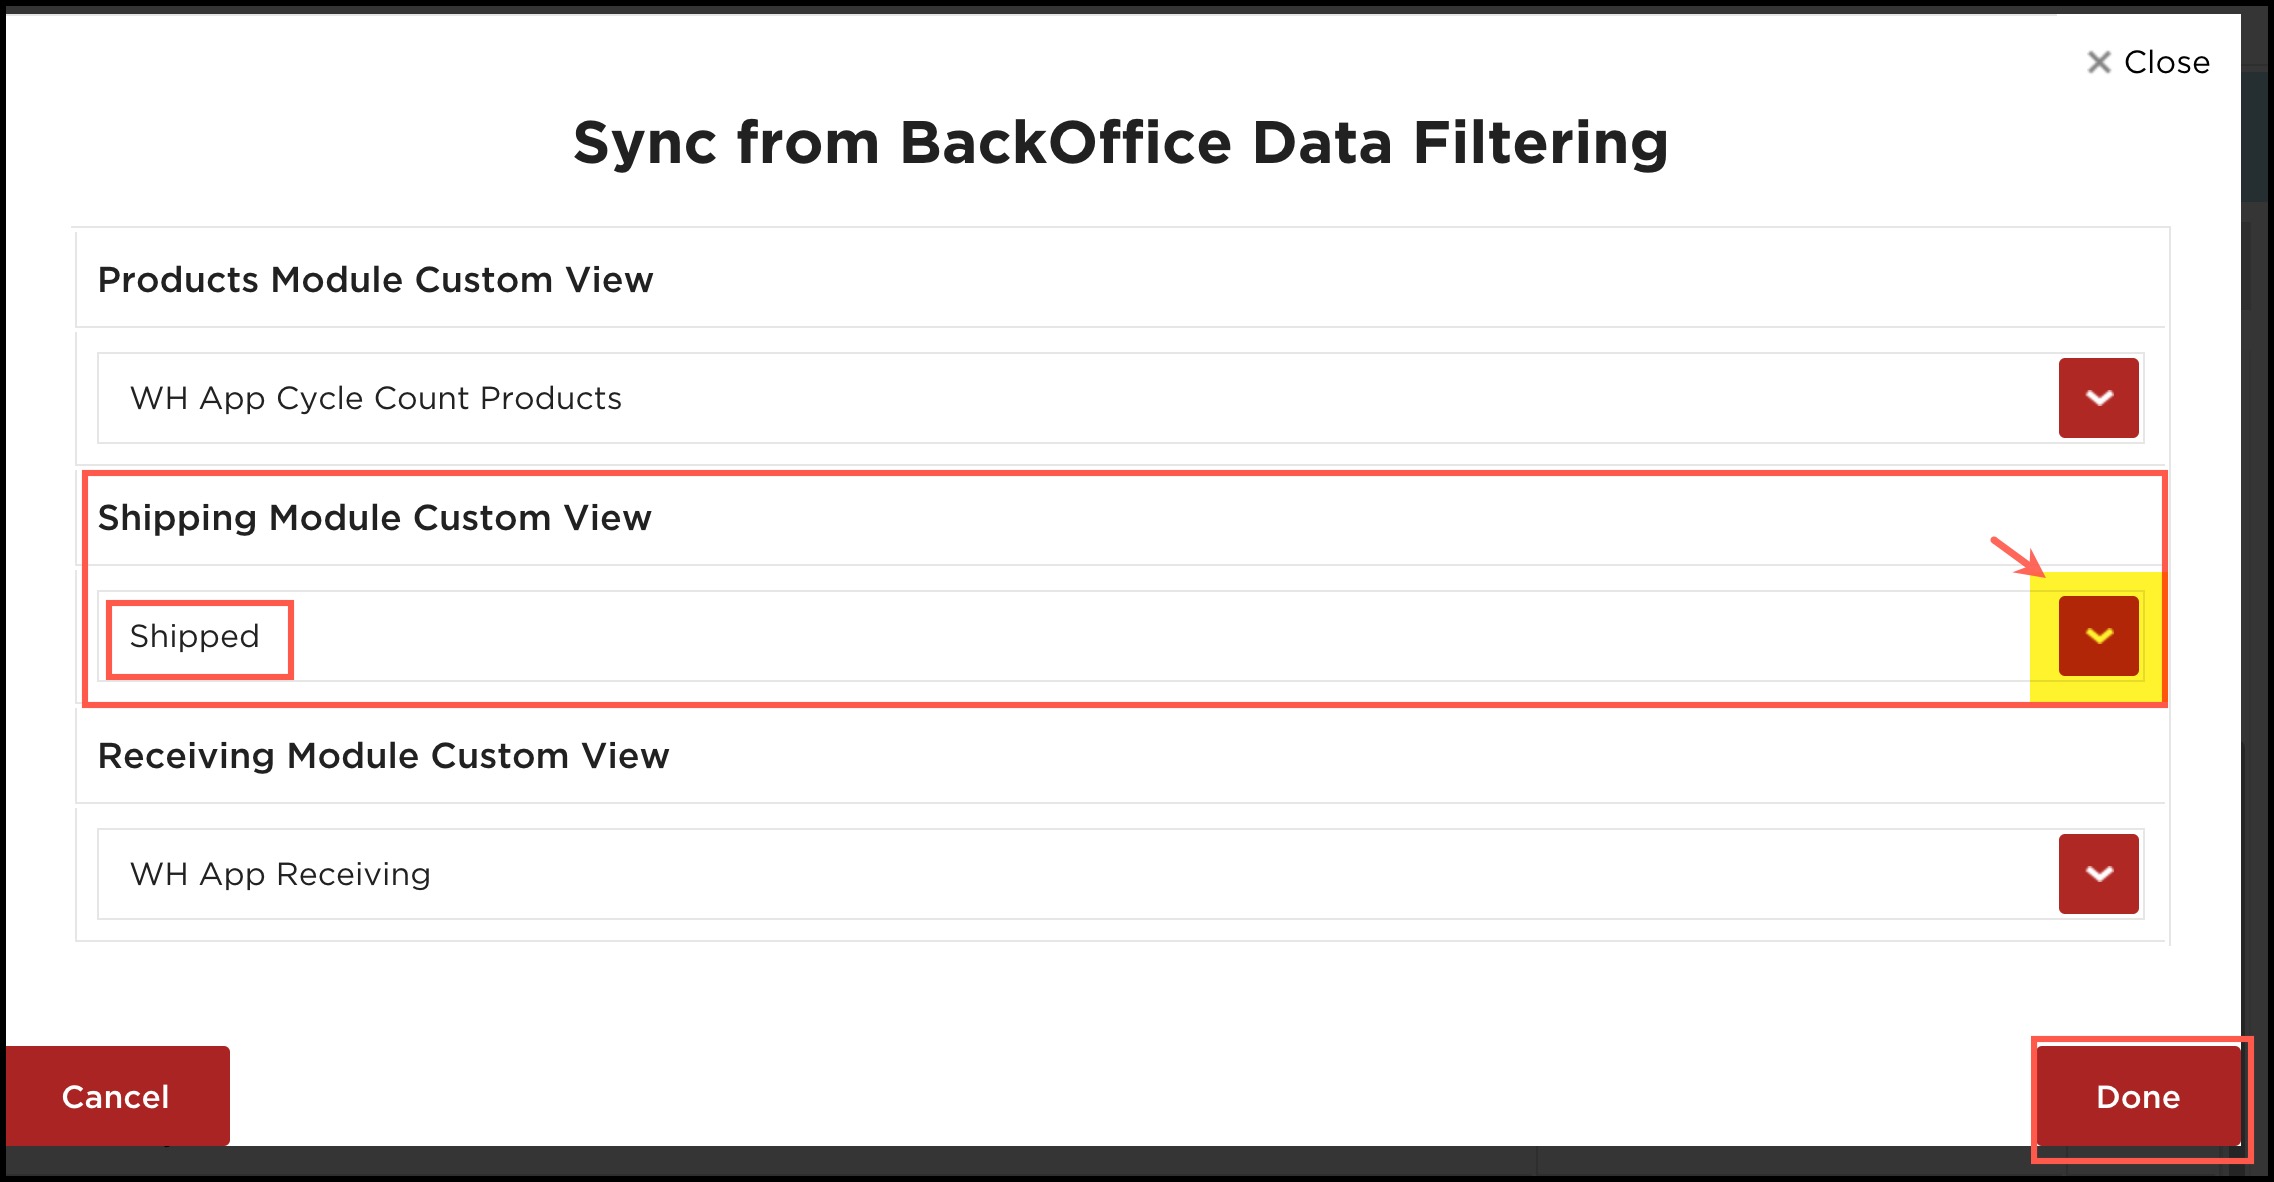
For example - For the Shipping Module Custom View, if you want to see only the orders that are shipped
- Click on the Arrow sign, alongside.
- You can see a pop-up with options like a picker. We here are choosing the Shipped option.
- Click on Done.
This way the data will be filtered and you will be able to see only the orders that are shipped.
- Inactivity Timeout Minutes - By default, the session expire time is set to 5 Minutes. You can now modify the session timeout and set it anything up to 100 Minutes by clicking on Inactivity Timeout Minutes.
- Click on Done, once the timeout is set.
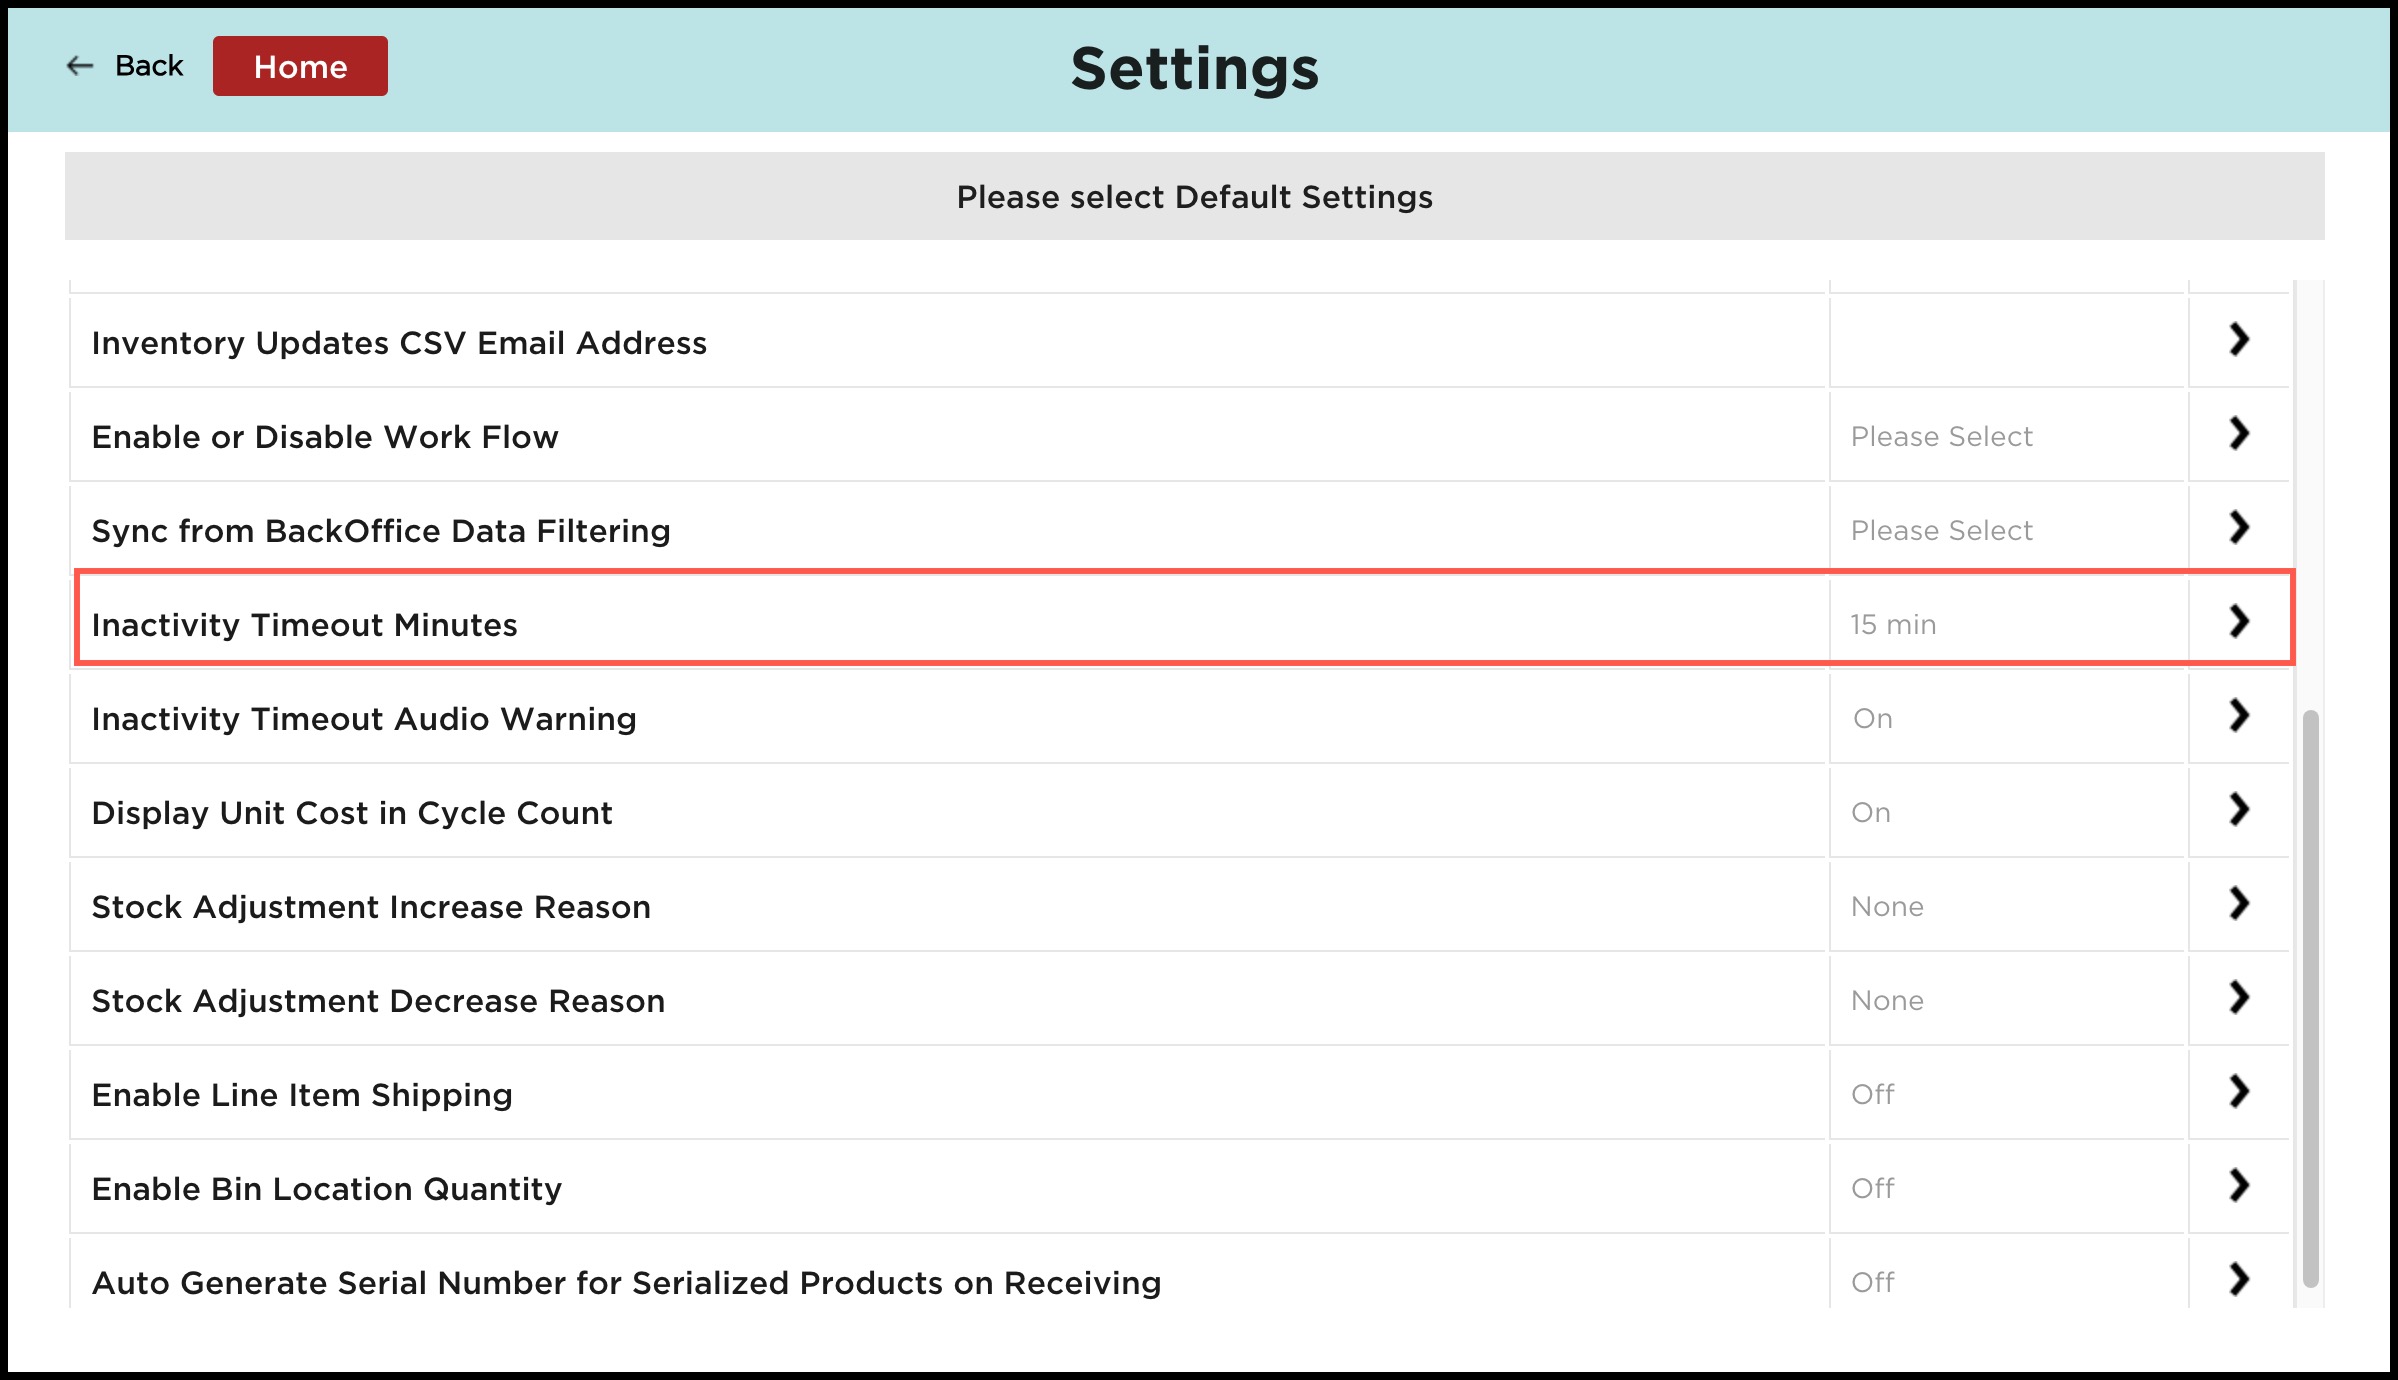

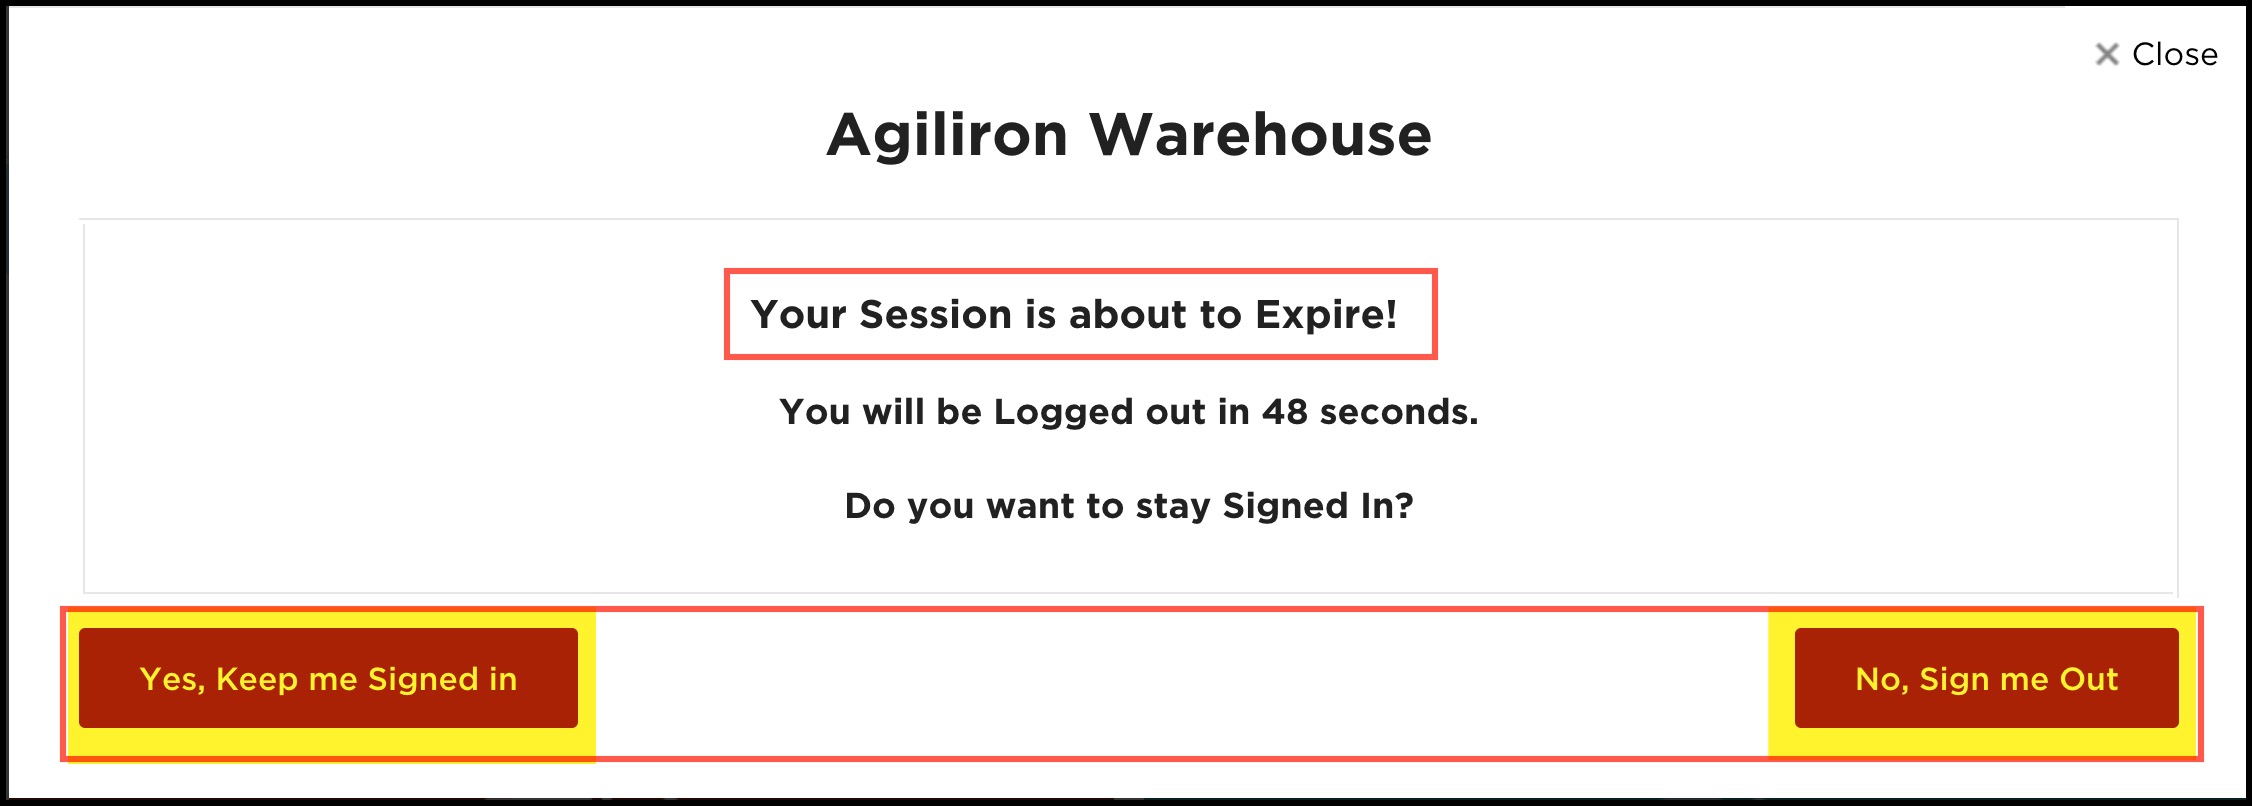
Last 1 minute of inactivity, you can hear a warning sound and see a message asking whether you want to stay signed in or want to sign out. If you don't click any of the stated options, you will be automatically logged out after the session expires.
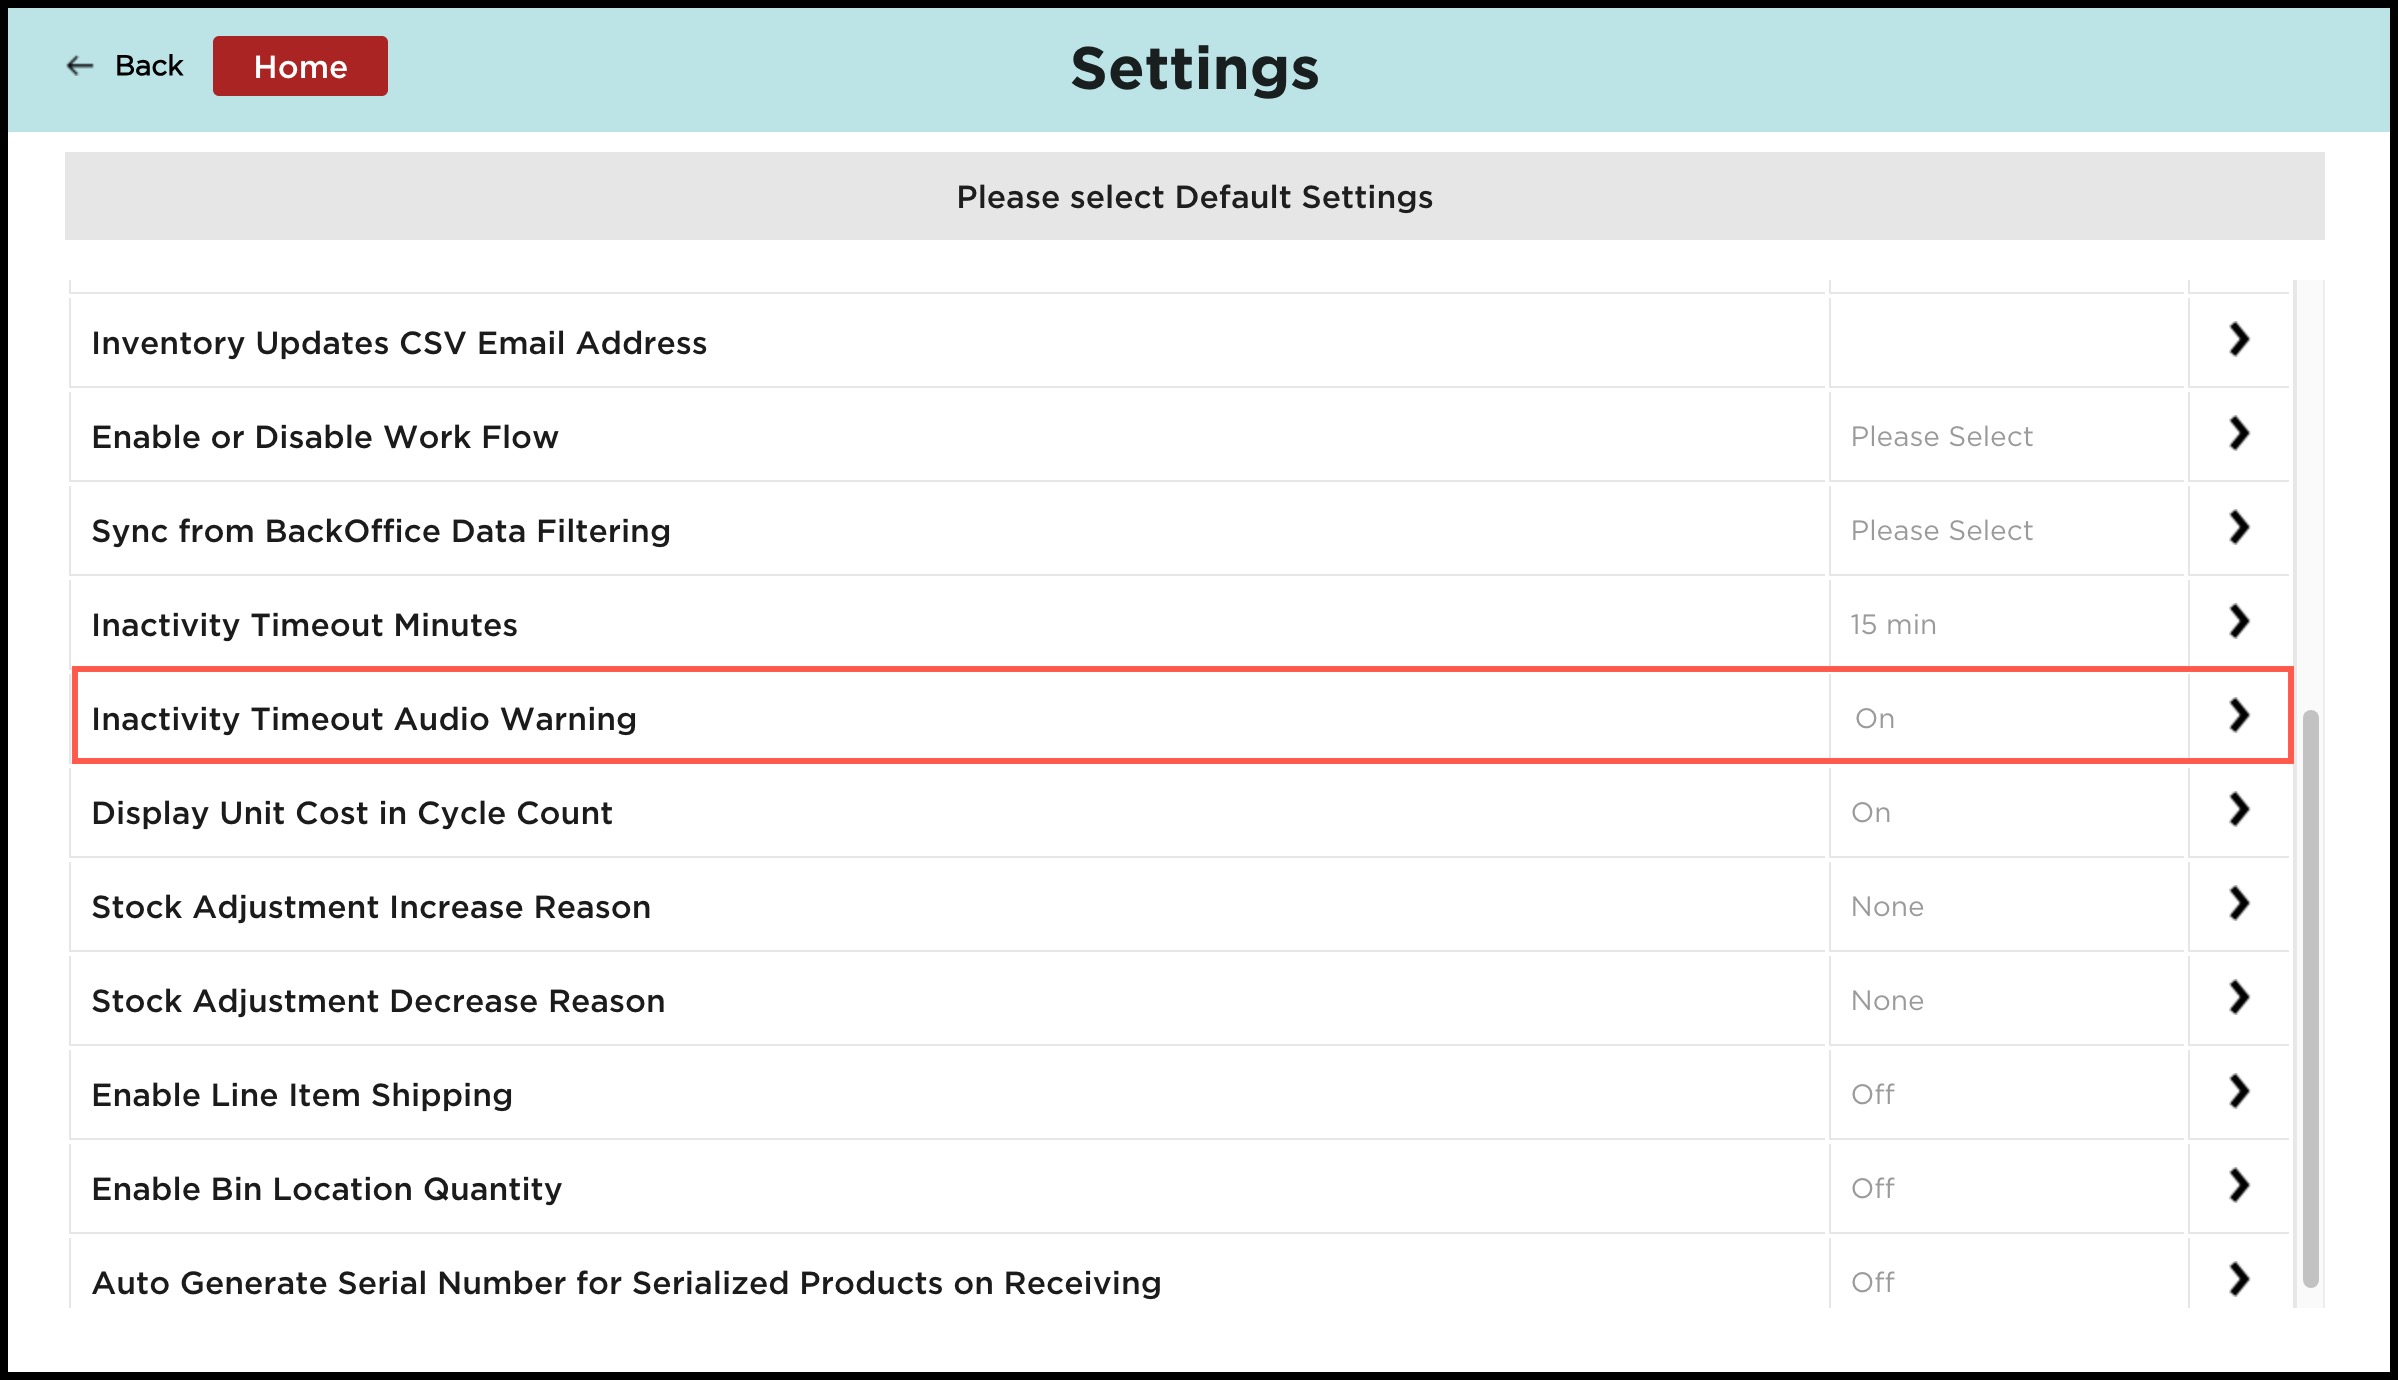
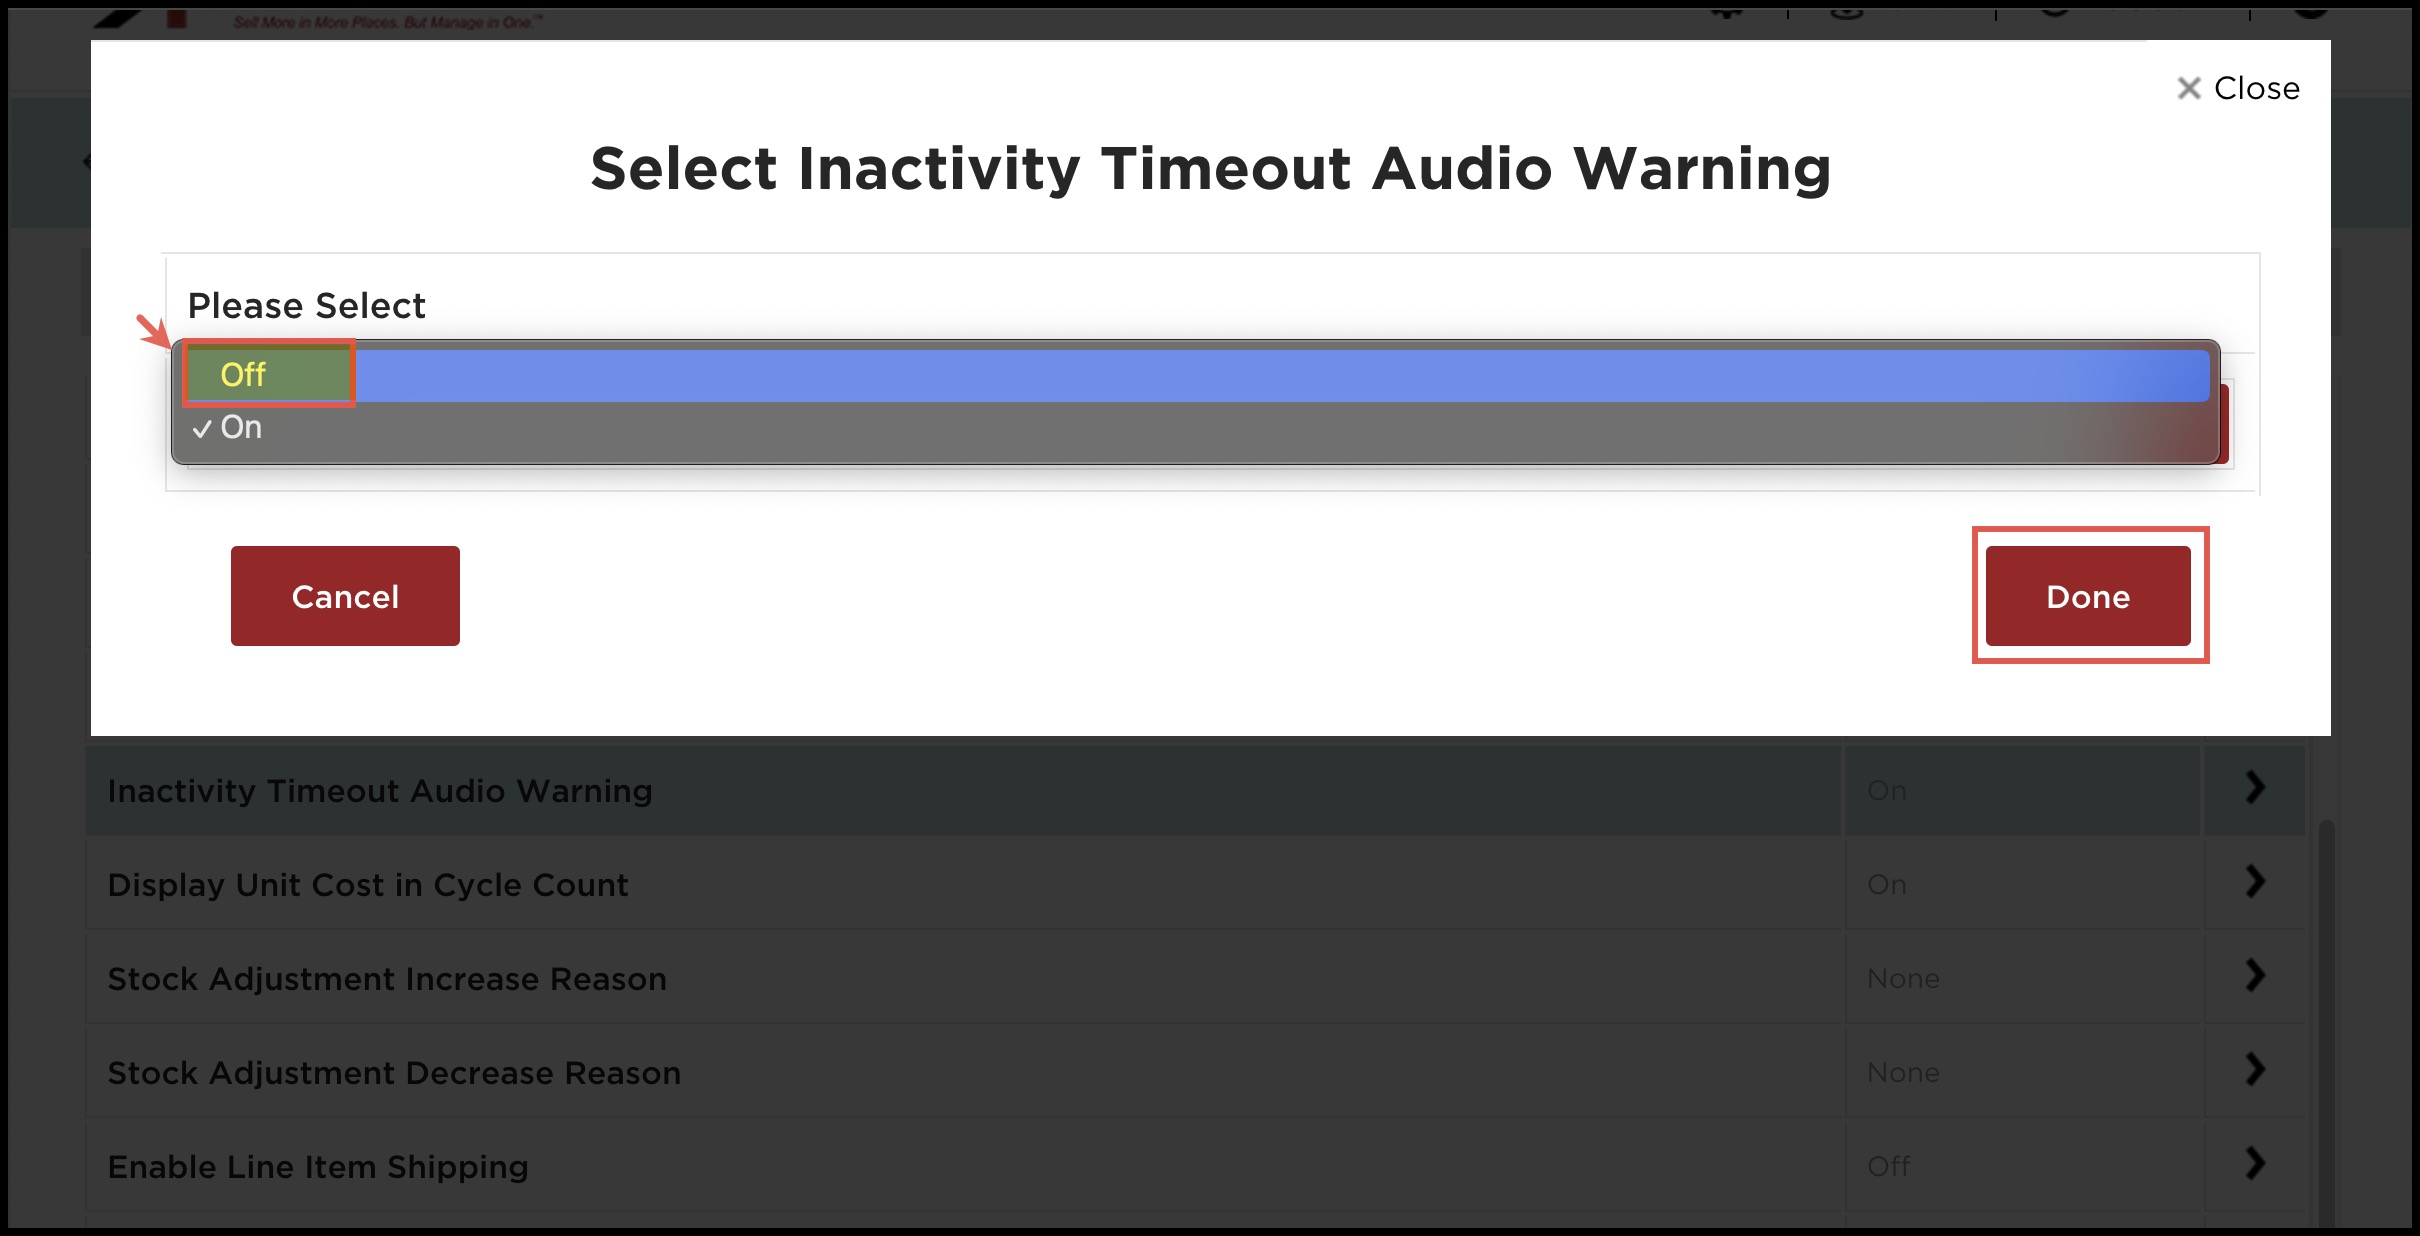
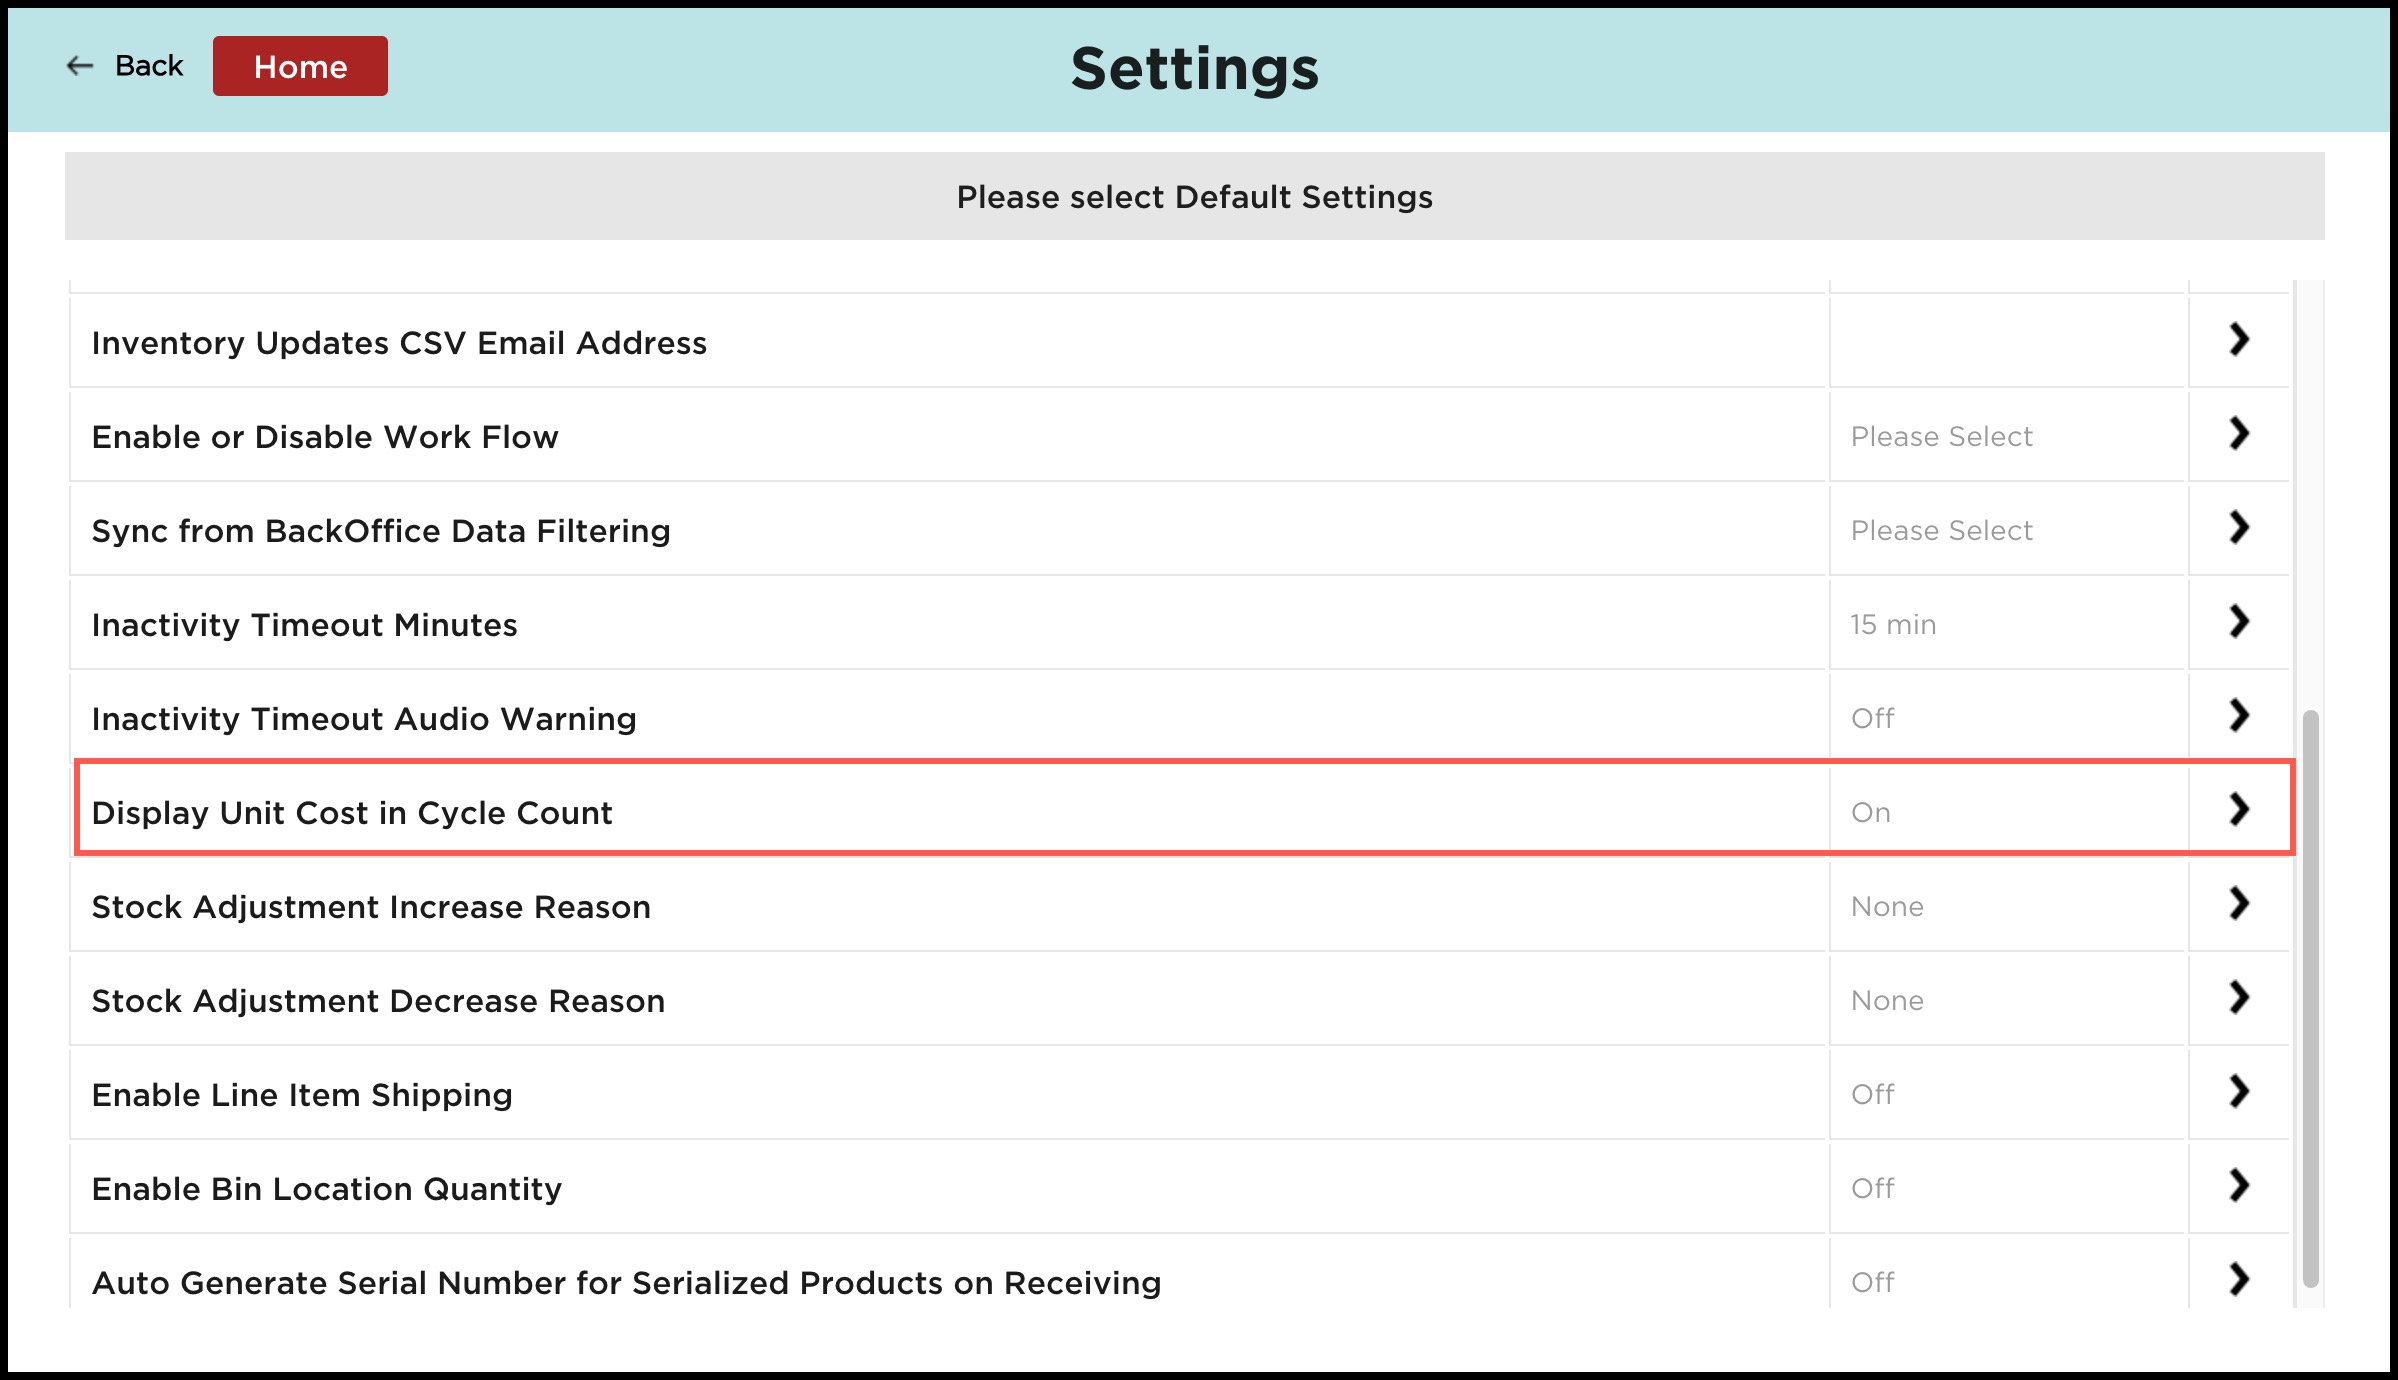
- Inactivity Timeout Audio Warning - As mentioned above when the app times out, an audio warning can be heard. However, you can disable the audio alert before the timeout by switching it off.
- Display Unit Cost in Cycle Count - You can enable or disable the unit cost column in the cycle count by setting it on or off.
By default, the unit cost column is displayed in the Cycle count feature.
NOTE (if you log in using warehouse app associate username):
Only if you are allowed local override you can change the "Display Unit Cost in Cycle Count" setting locally (in the warehouse app). Refer to Warehouse App Settings Configuration in Back Office to understand in detail.
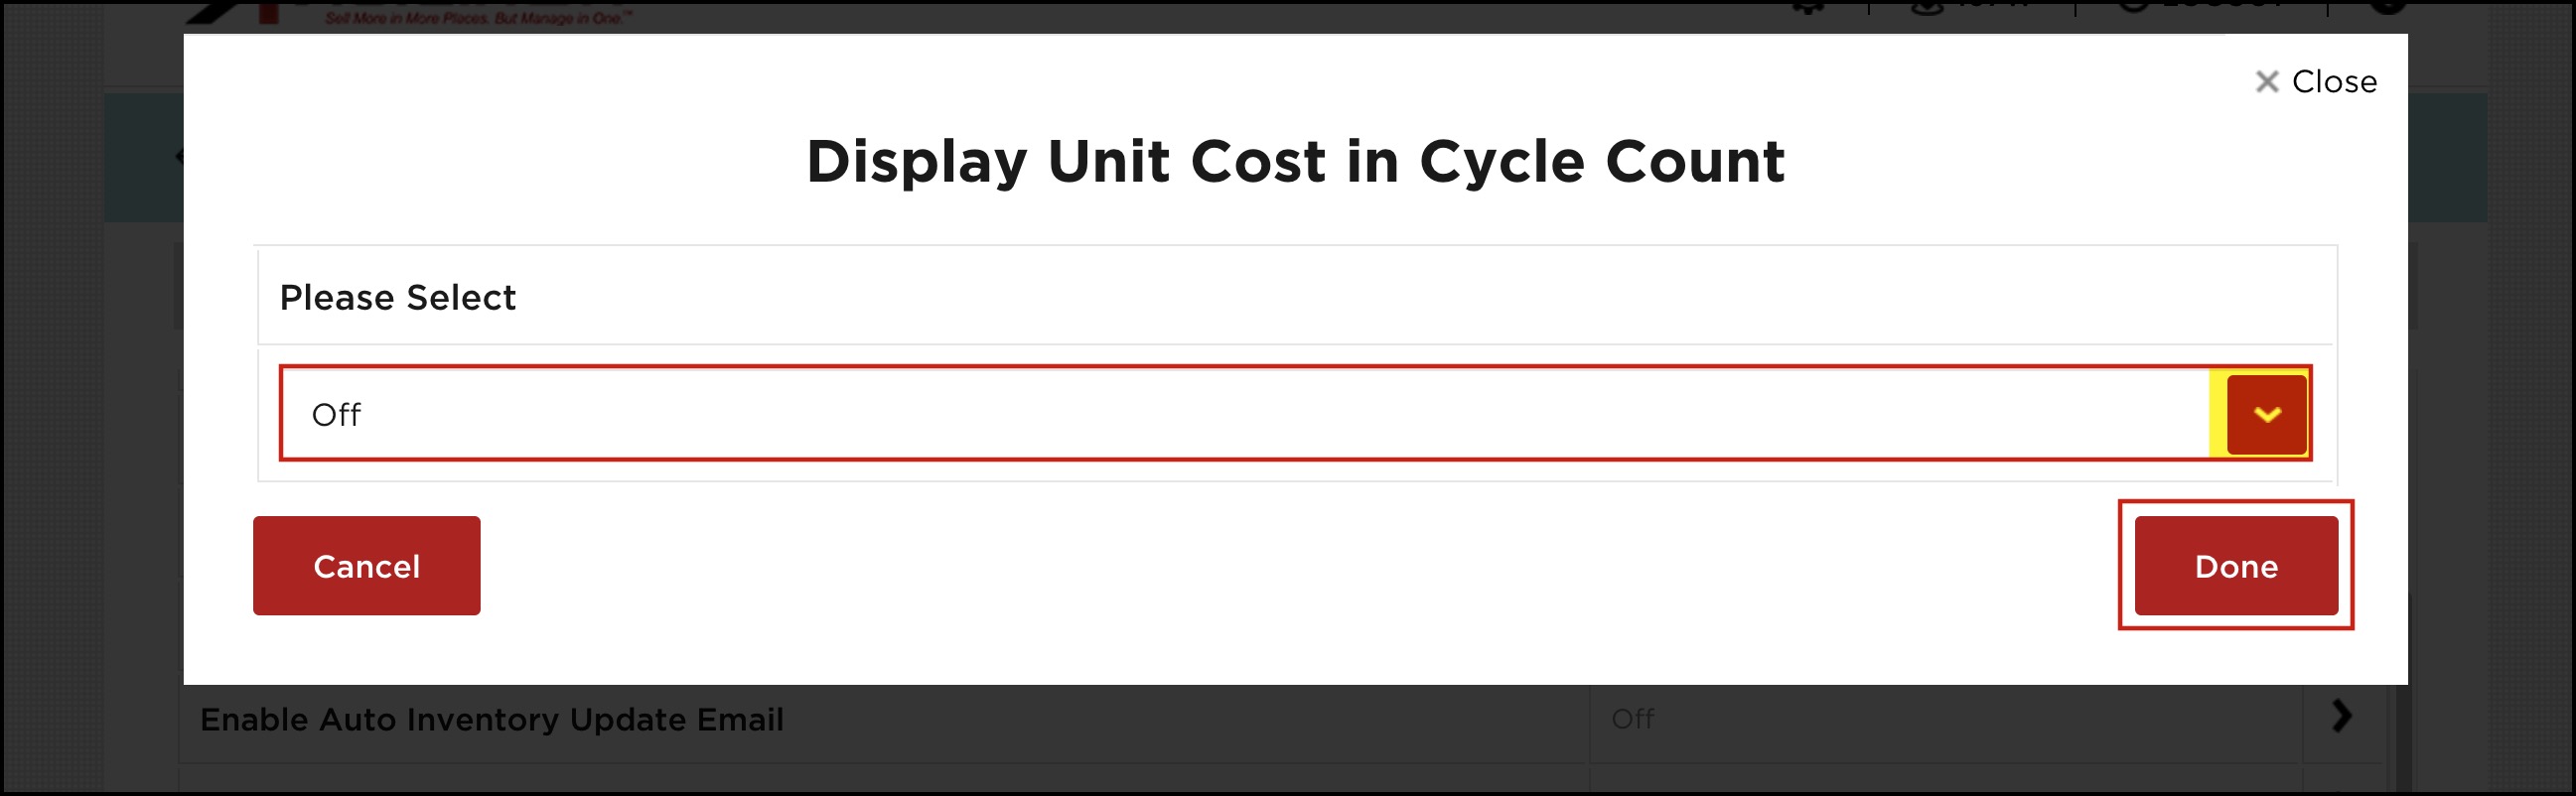
- Click on Display Unit Cost in Cycle Count.
- You can see a pop-up where you can select either on and off. As an example, we are making the display - off.
- Click on Done.
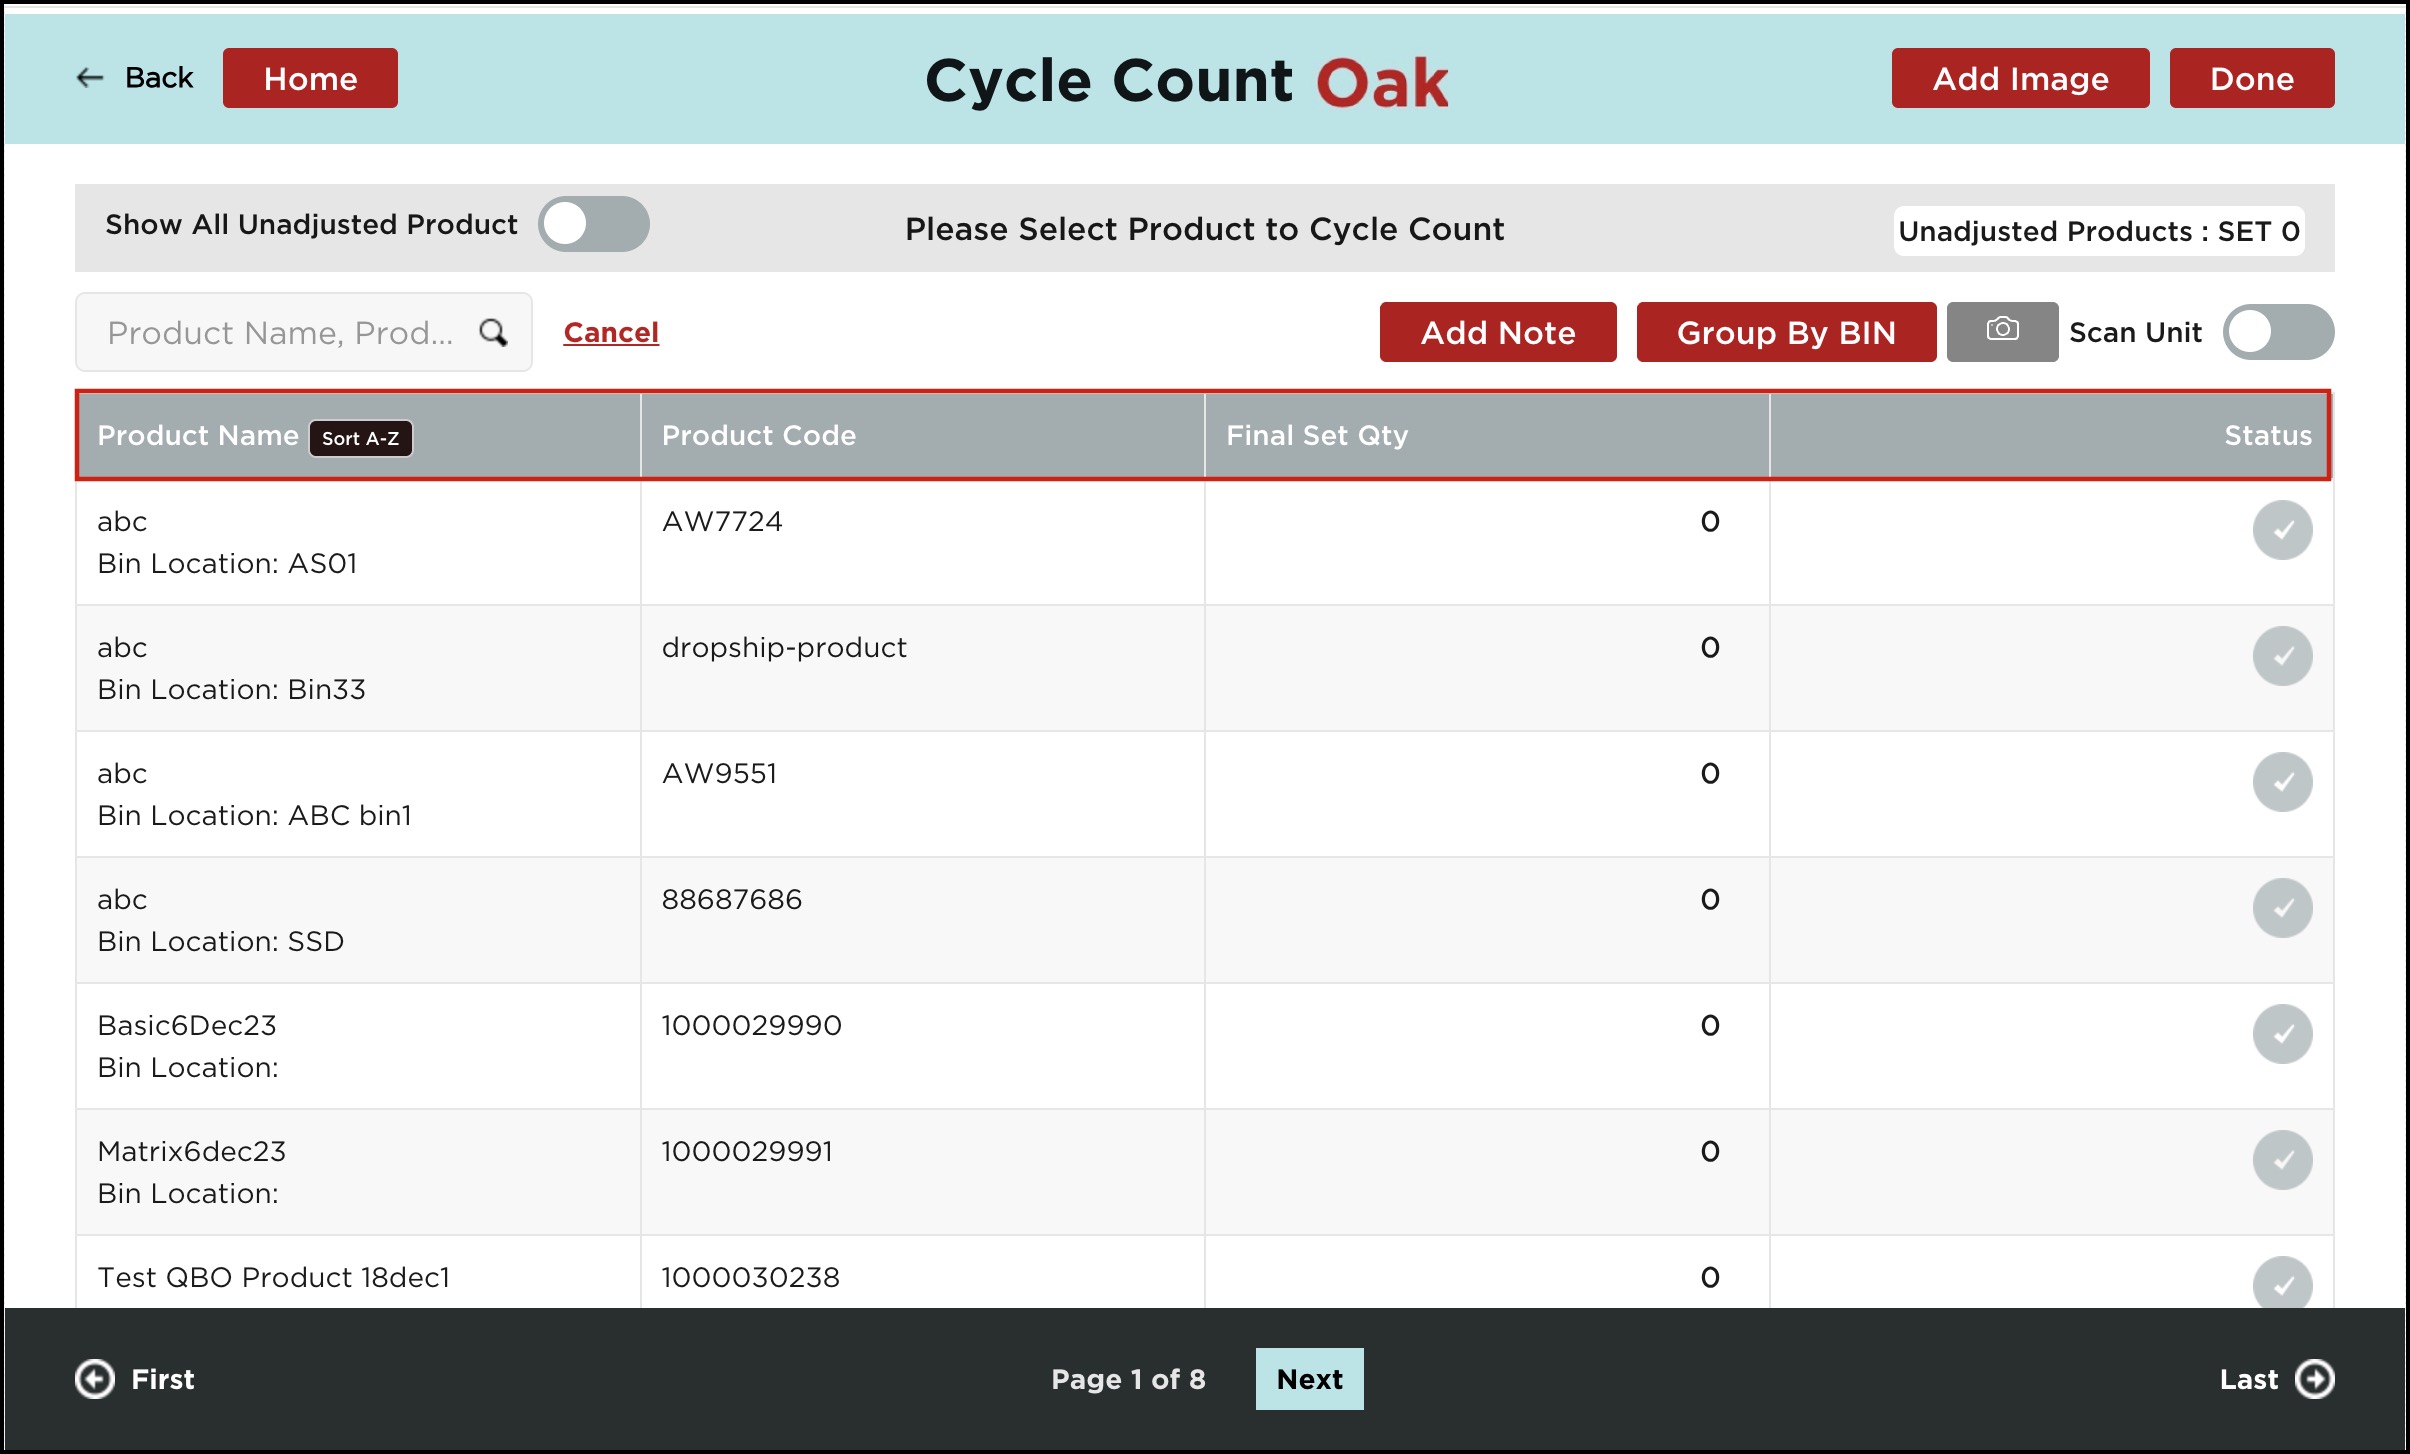
After setting the Display Unit Cost in Cycle Count to Off, when you go to Homepage -> click on Cycle Count, you will see the Unit Cost column is removed from the table.
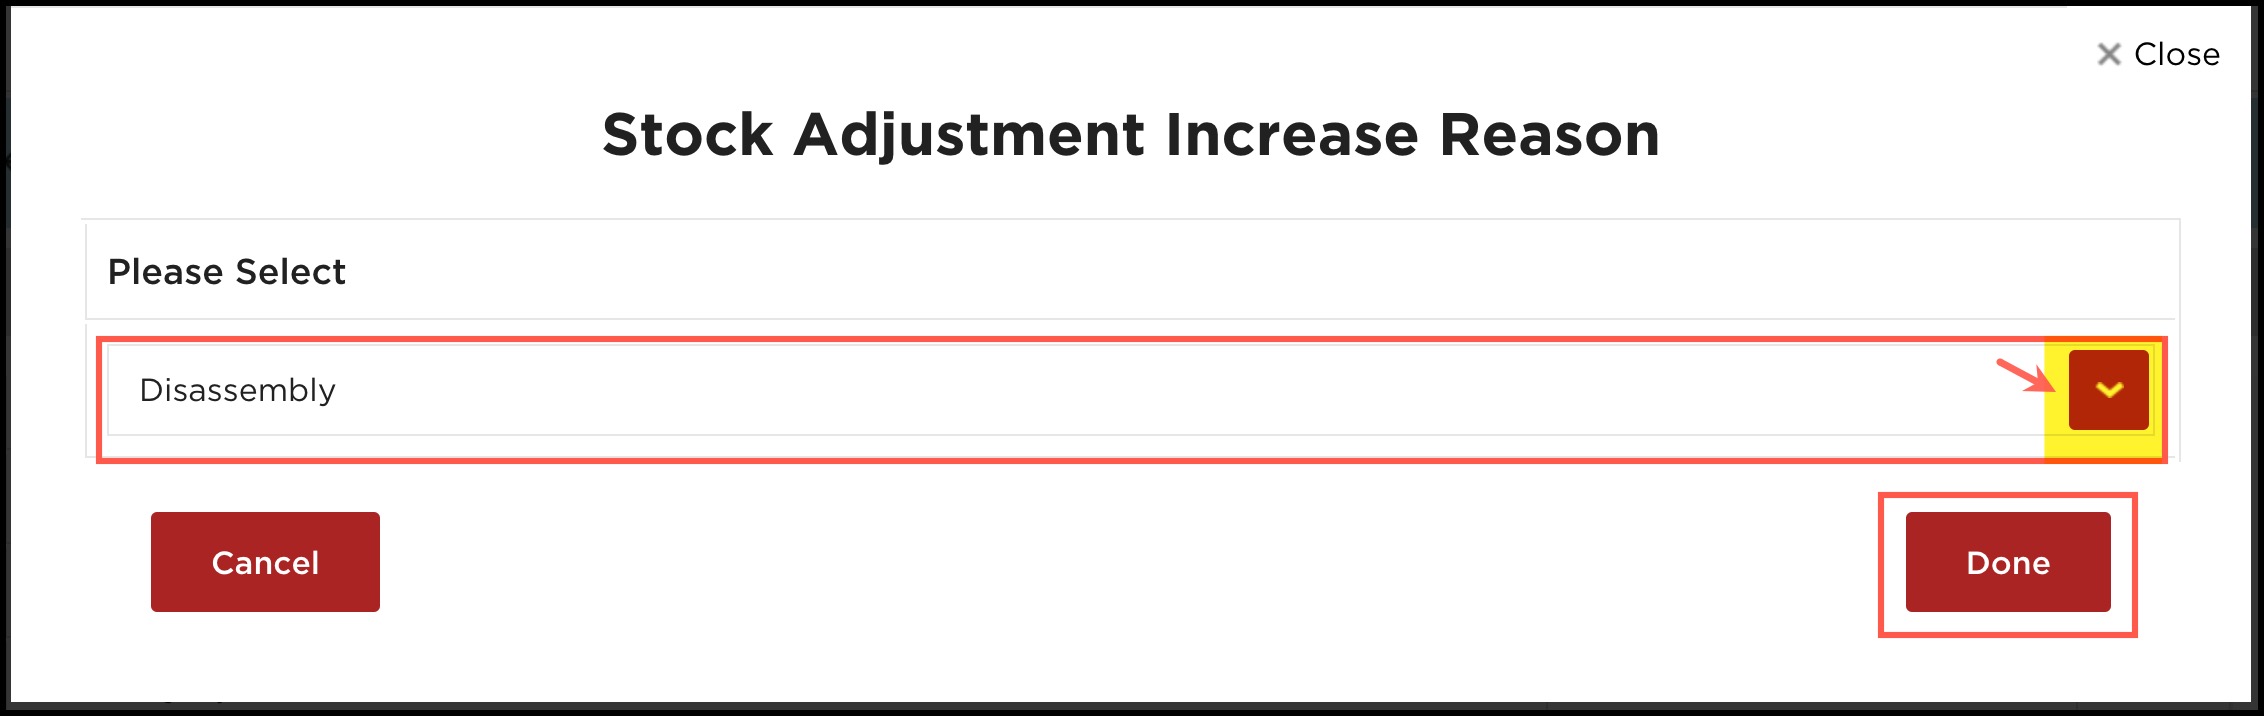
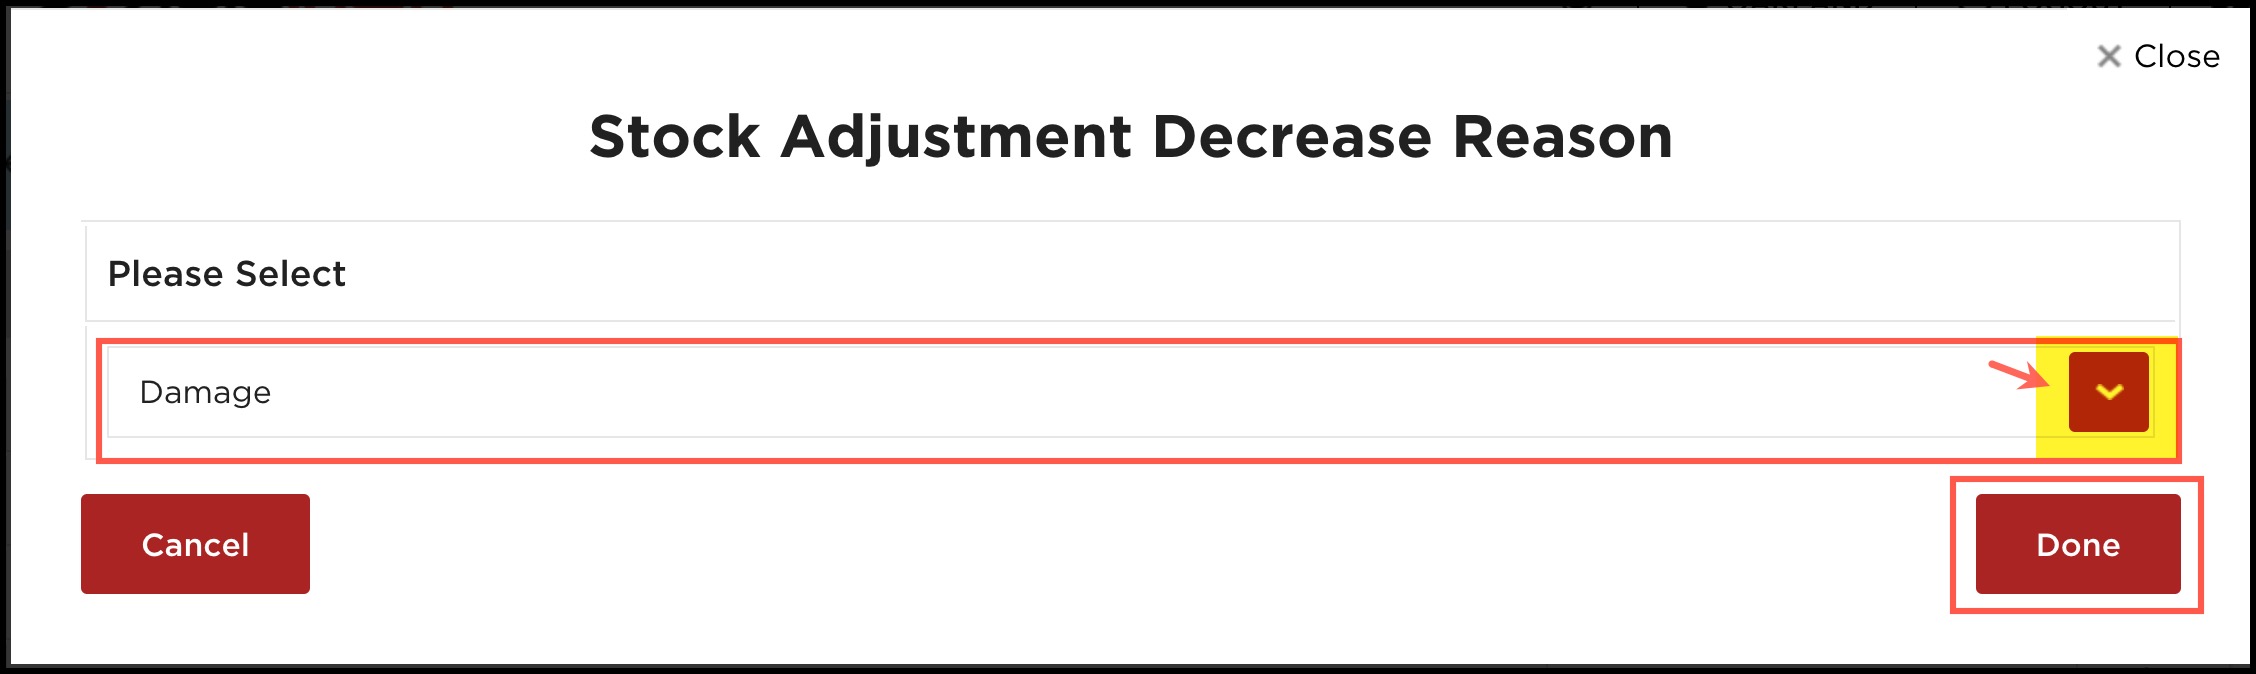
- Stock Adjustment Increase/Decrease Reasons can be changed as well by clicking on the respective options. You can choose from the varied reasons available.
- Click Done to save the selection.
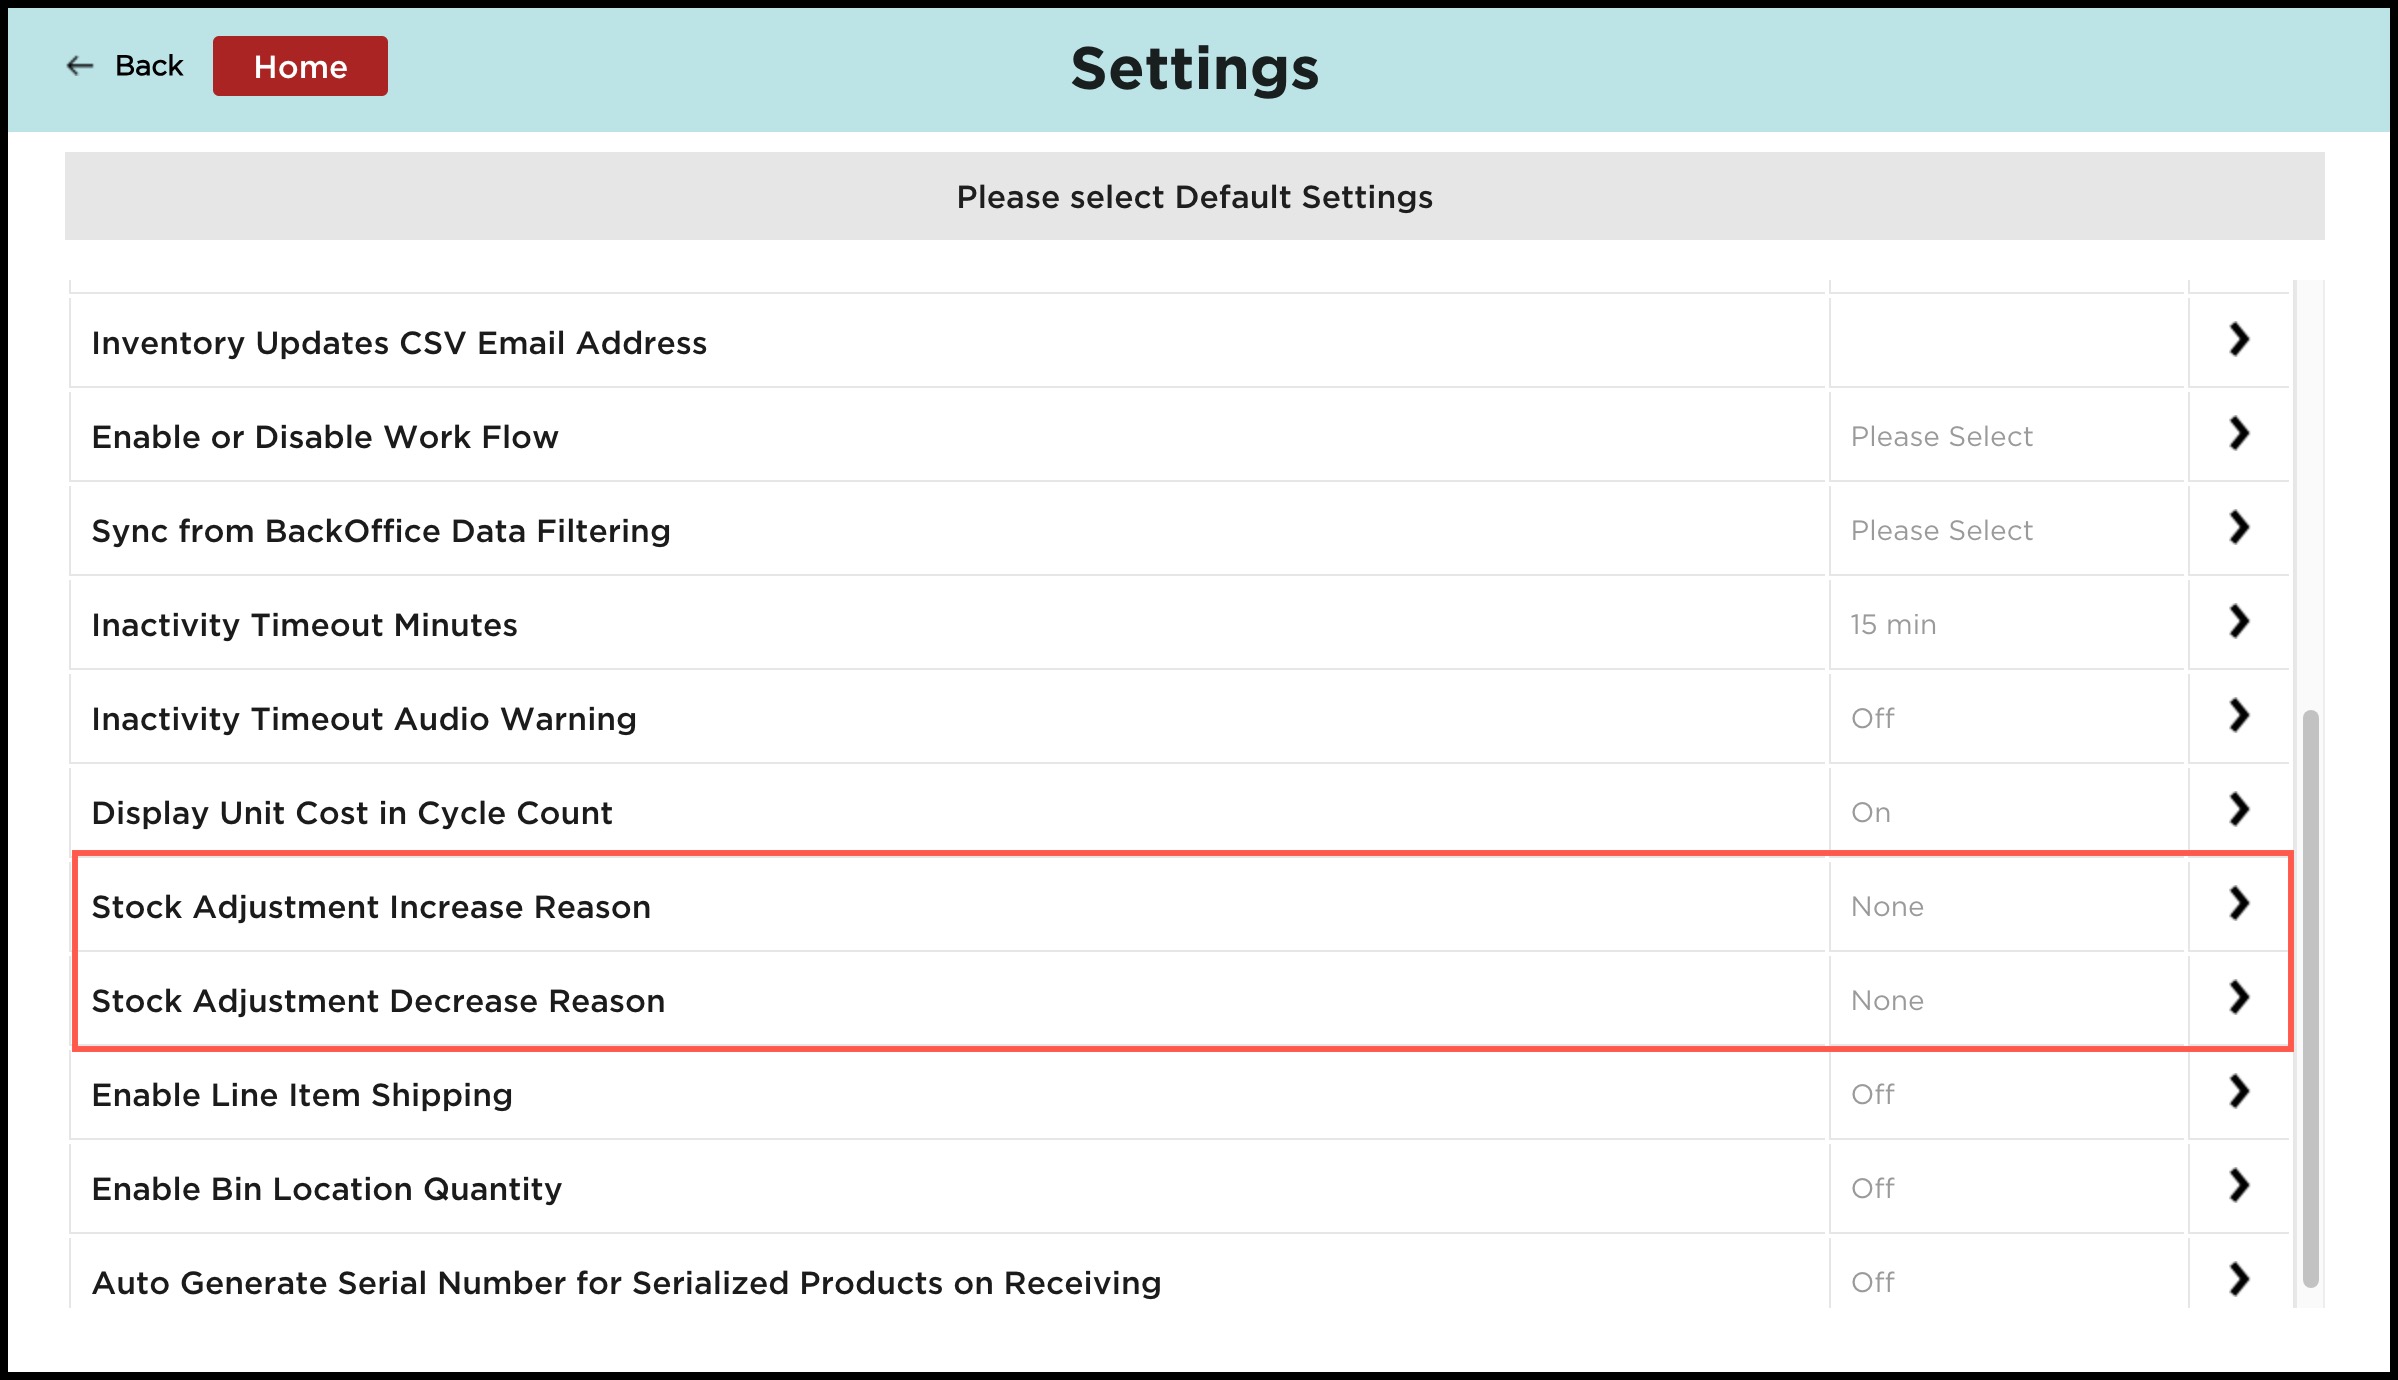
Stock Adjustment Increase Reason
Stock Adjustment Decrease Reason
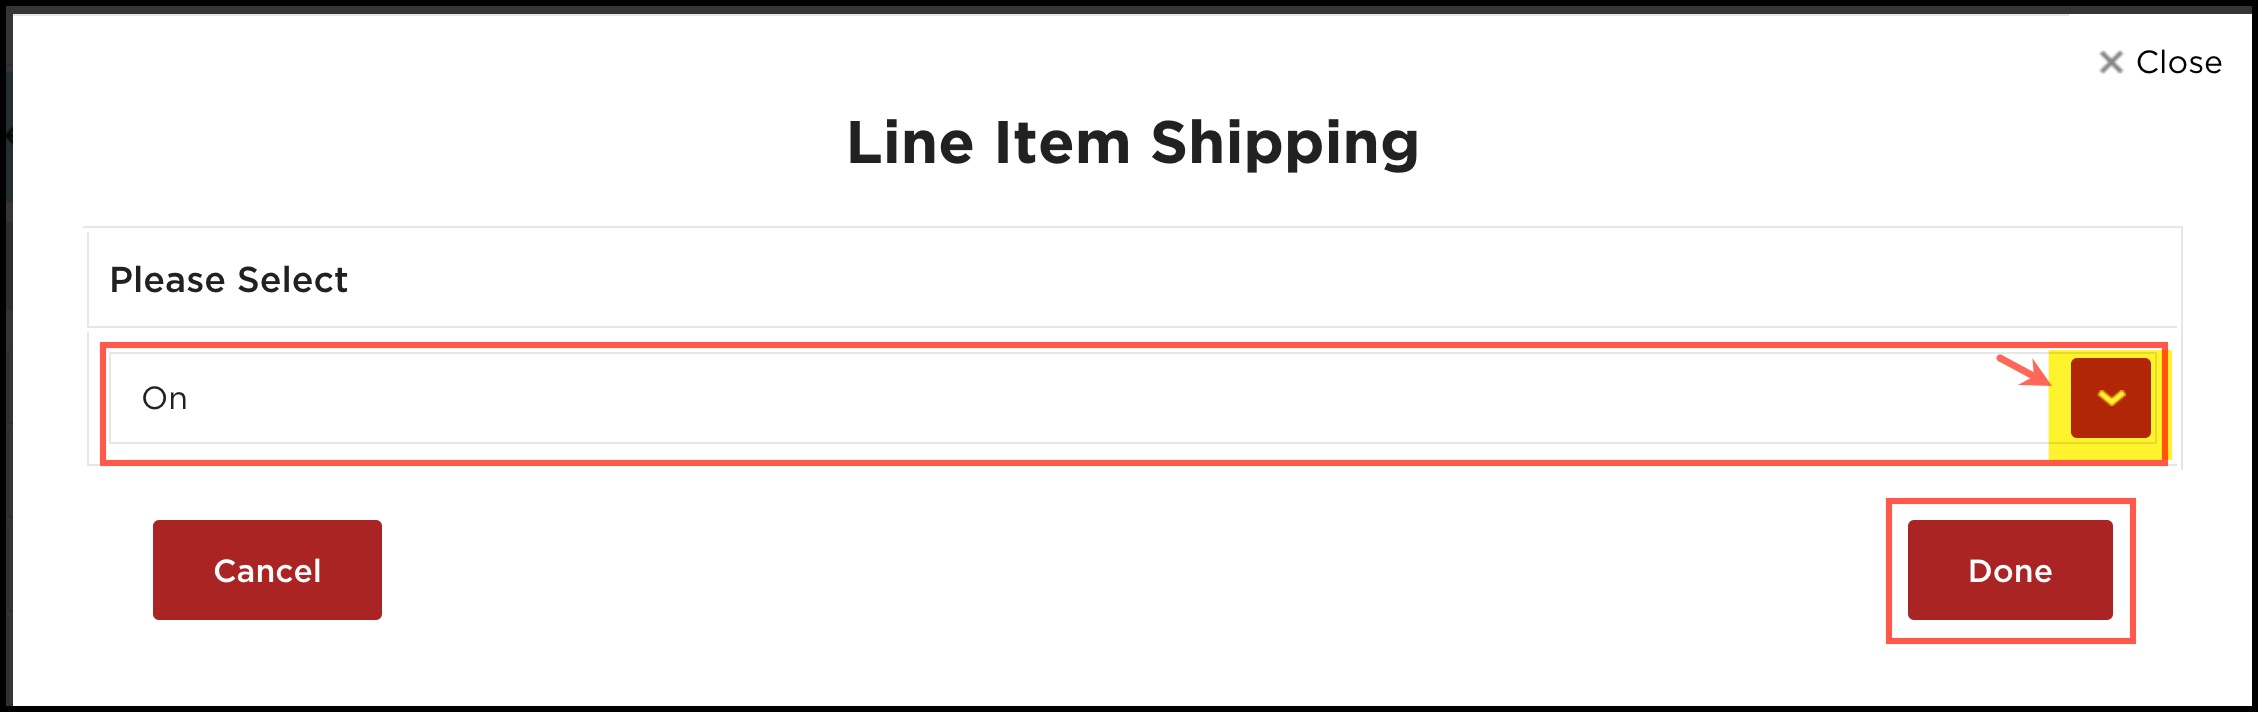
- Enable Line Item Shipping - You can enable or disable this option by setting it on or off.
NOTE (if you log in using warehouse app associate username):
- Only if you are allowed local override you can change the "Enable Line Item Shipping" setting locally (in the warehouse app). Refer to Warehouse App Settings Configuration in Back Office to understand in detail.
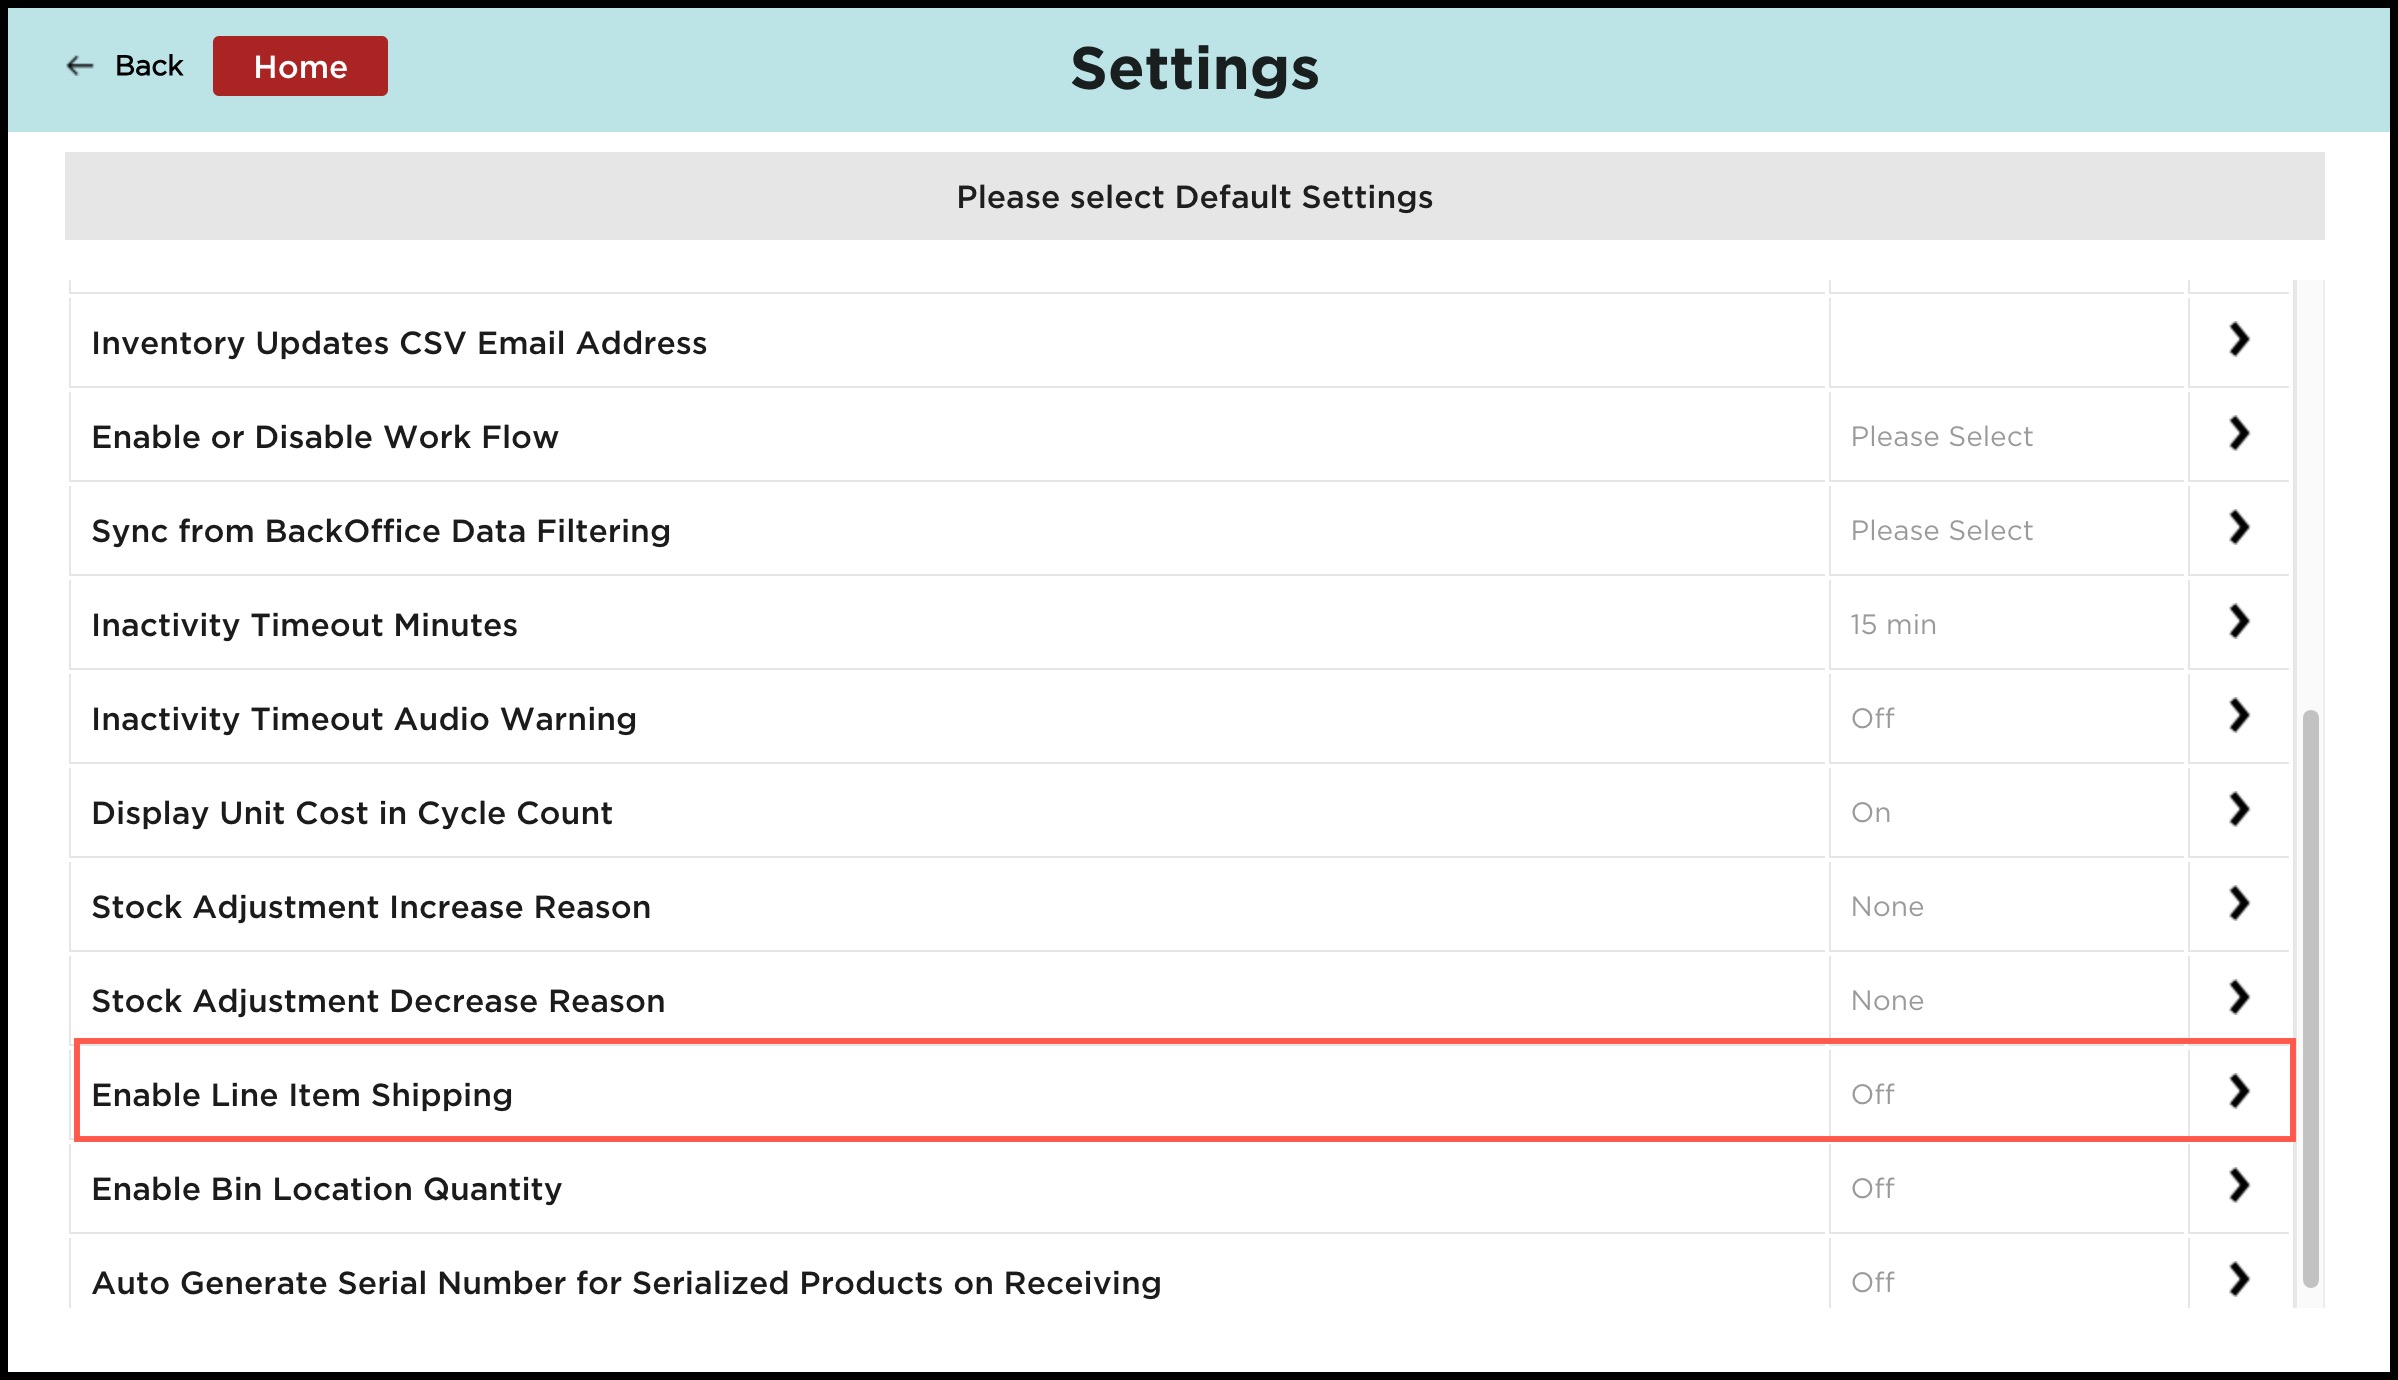
- By default, it is set to off. When line item shipping is enabled, in the Pick/Pick-Ship flow, only Line Items in Sales Order, associated with the Selected Stock Location (top left location in the warehouse app home screen) will be displayed.
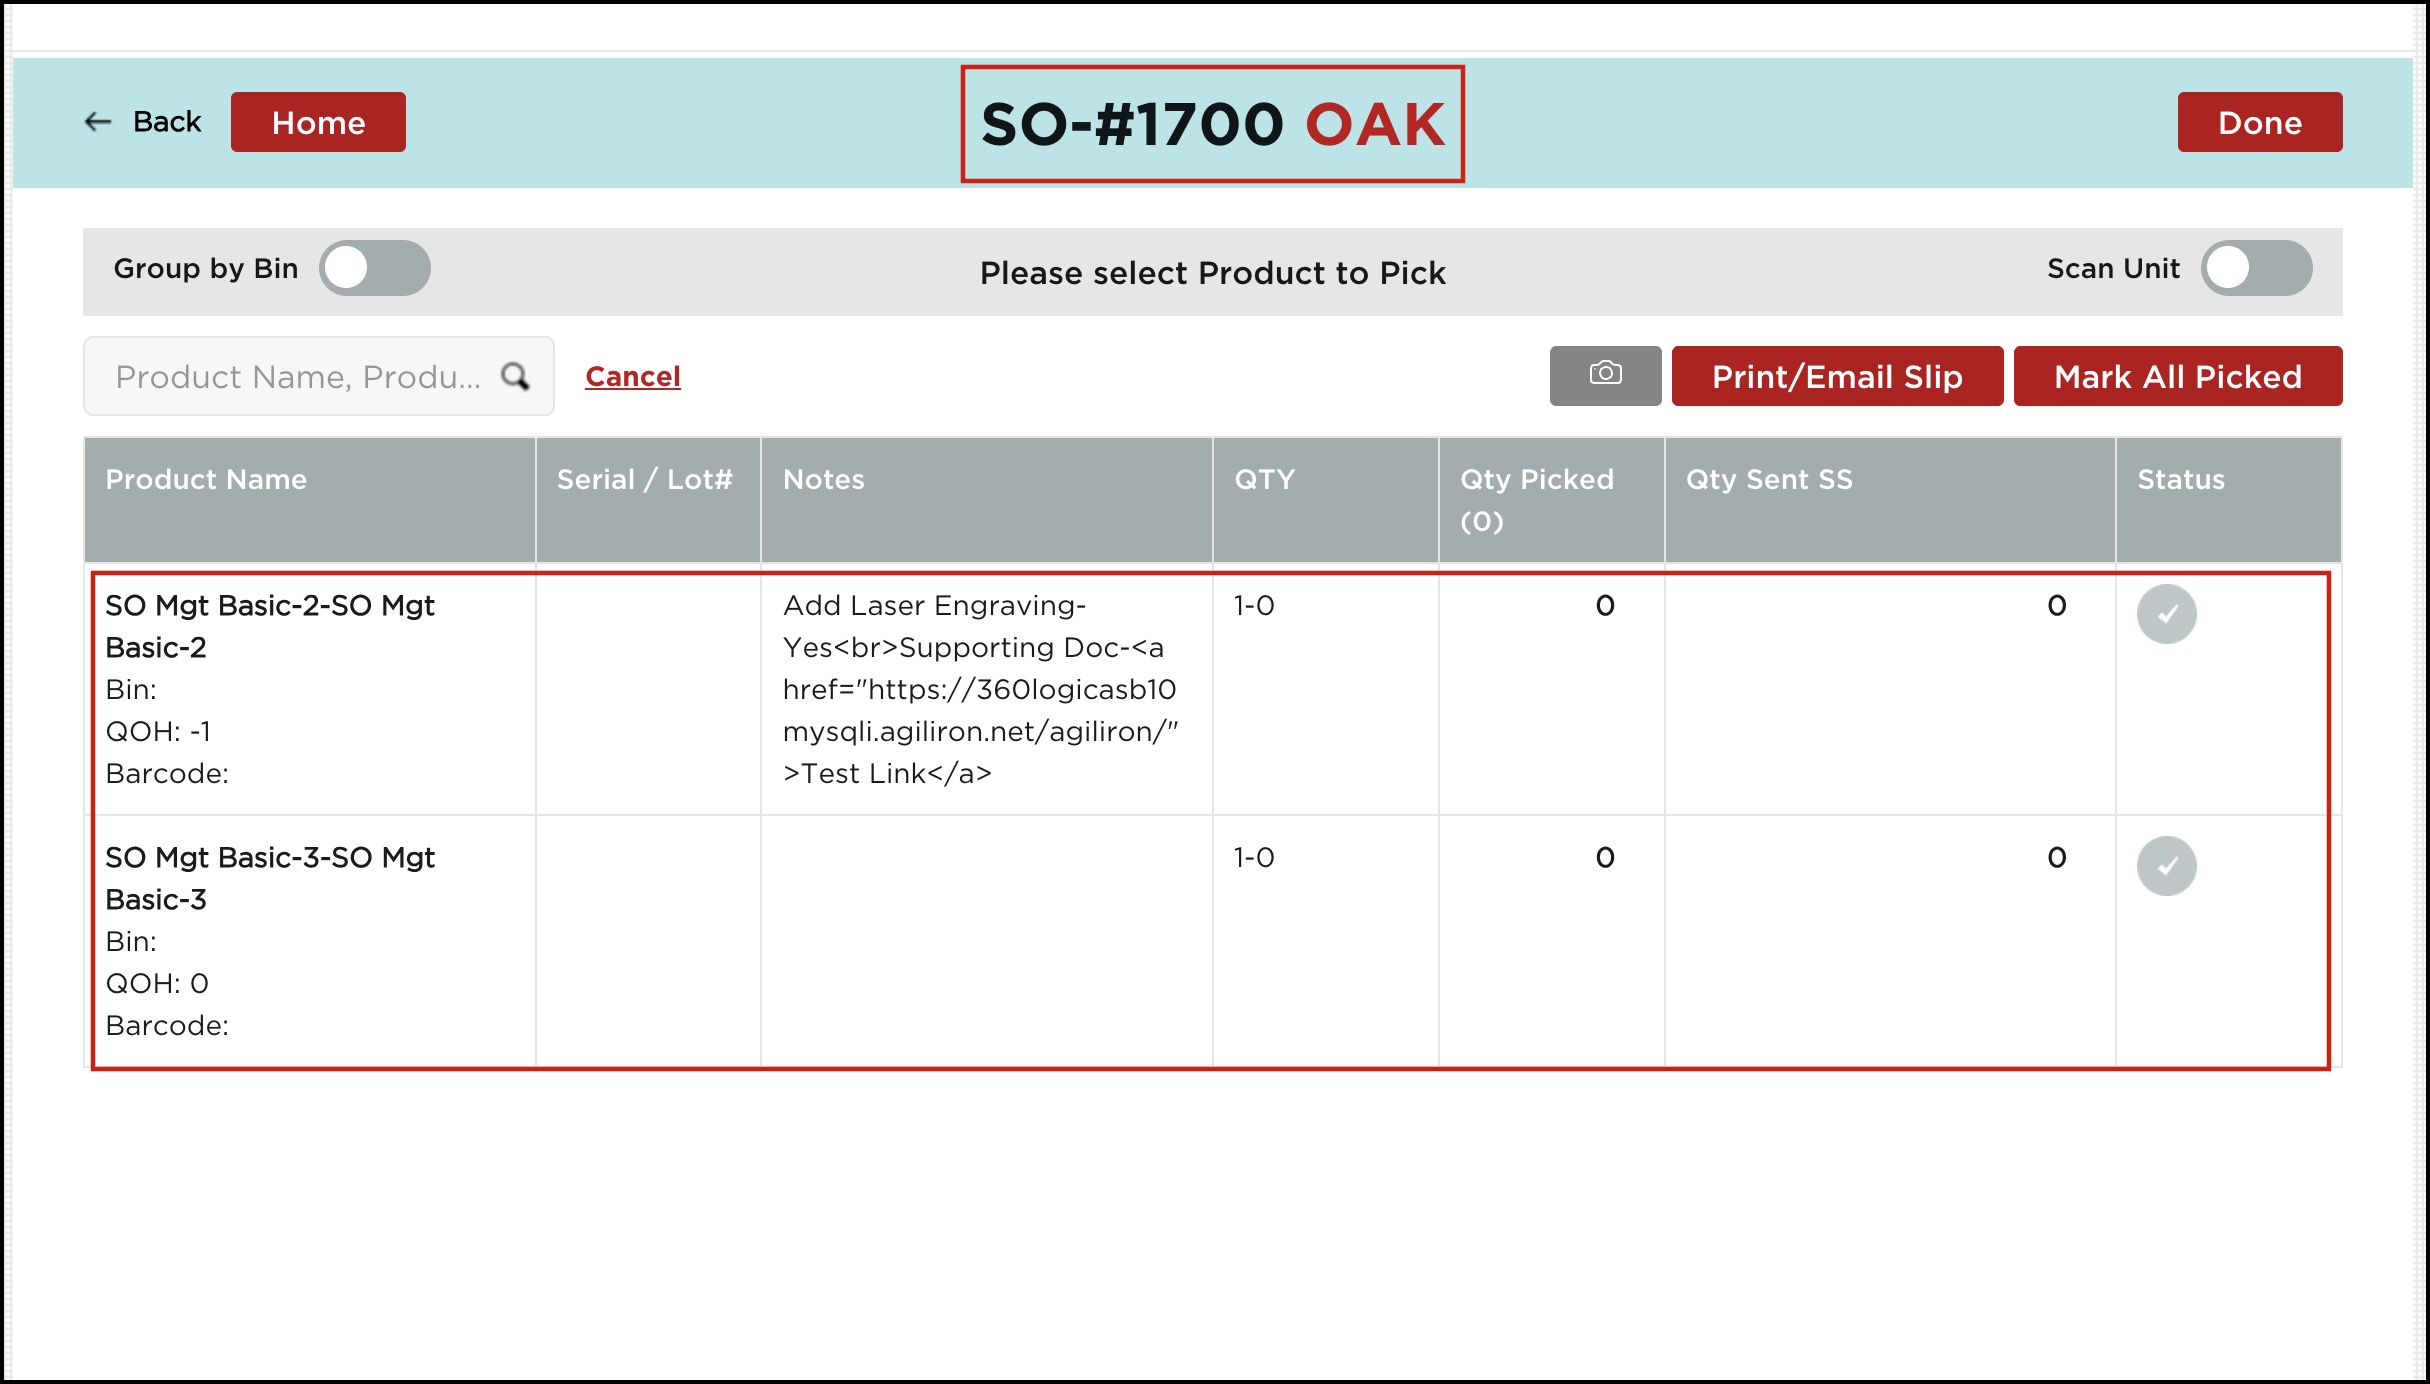
For example, let's consider one sales order under Pick/Pick-Ship flow.
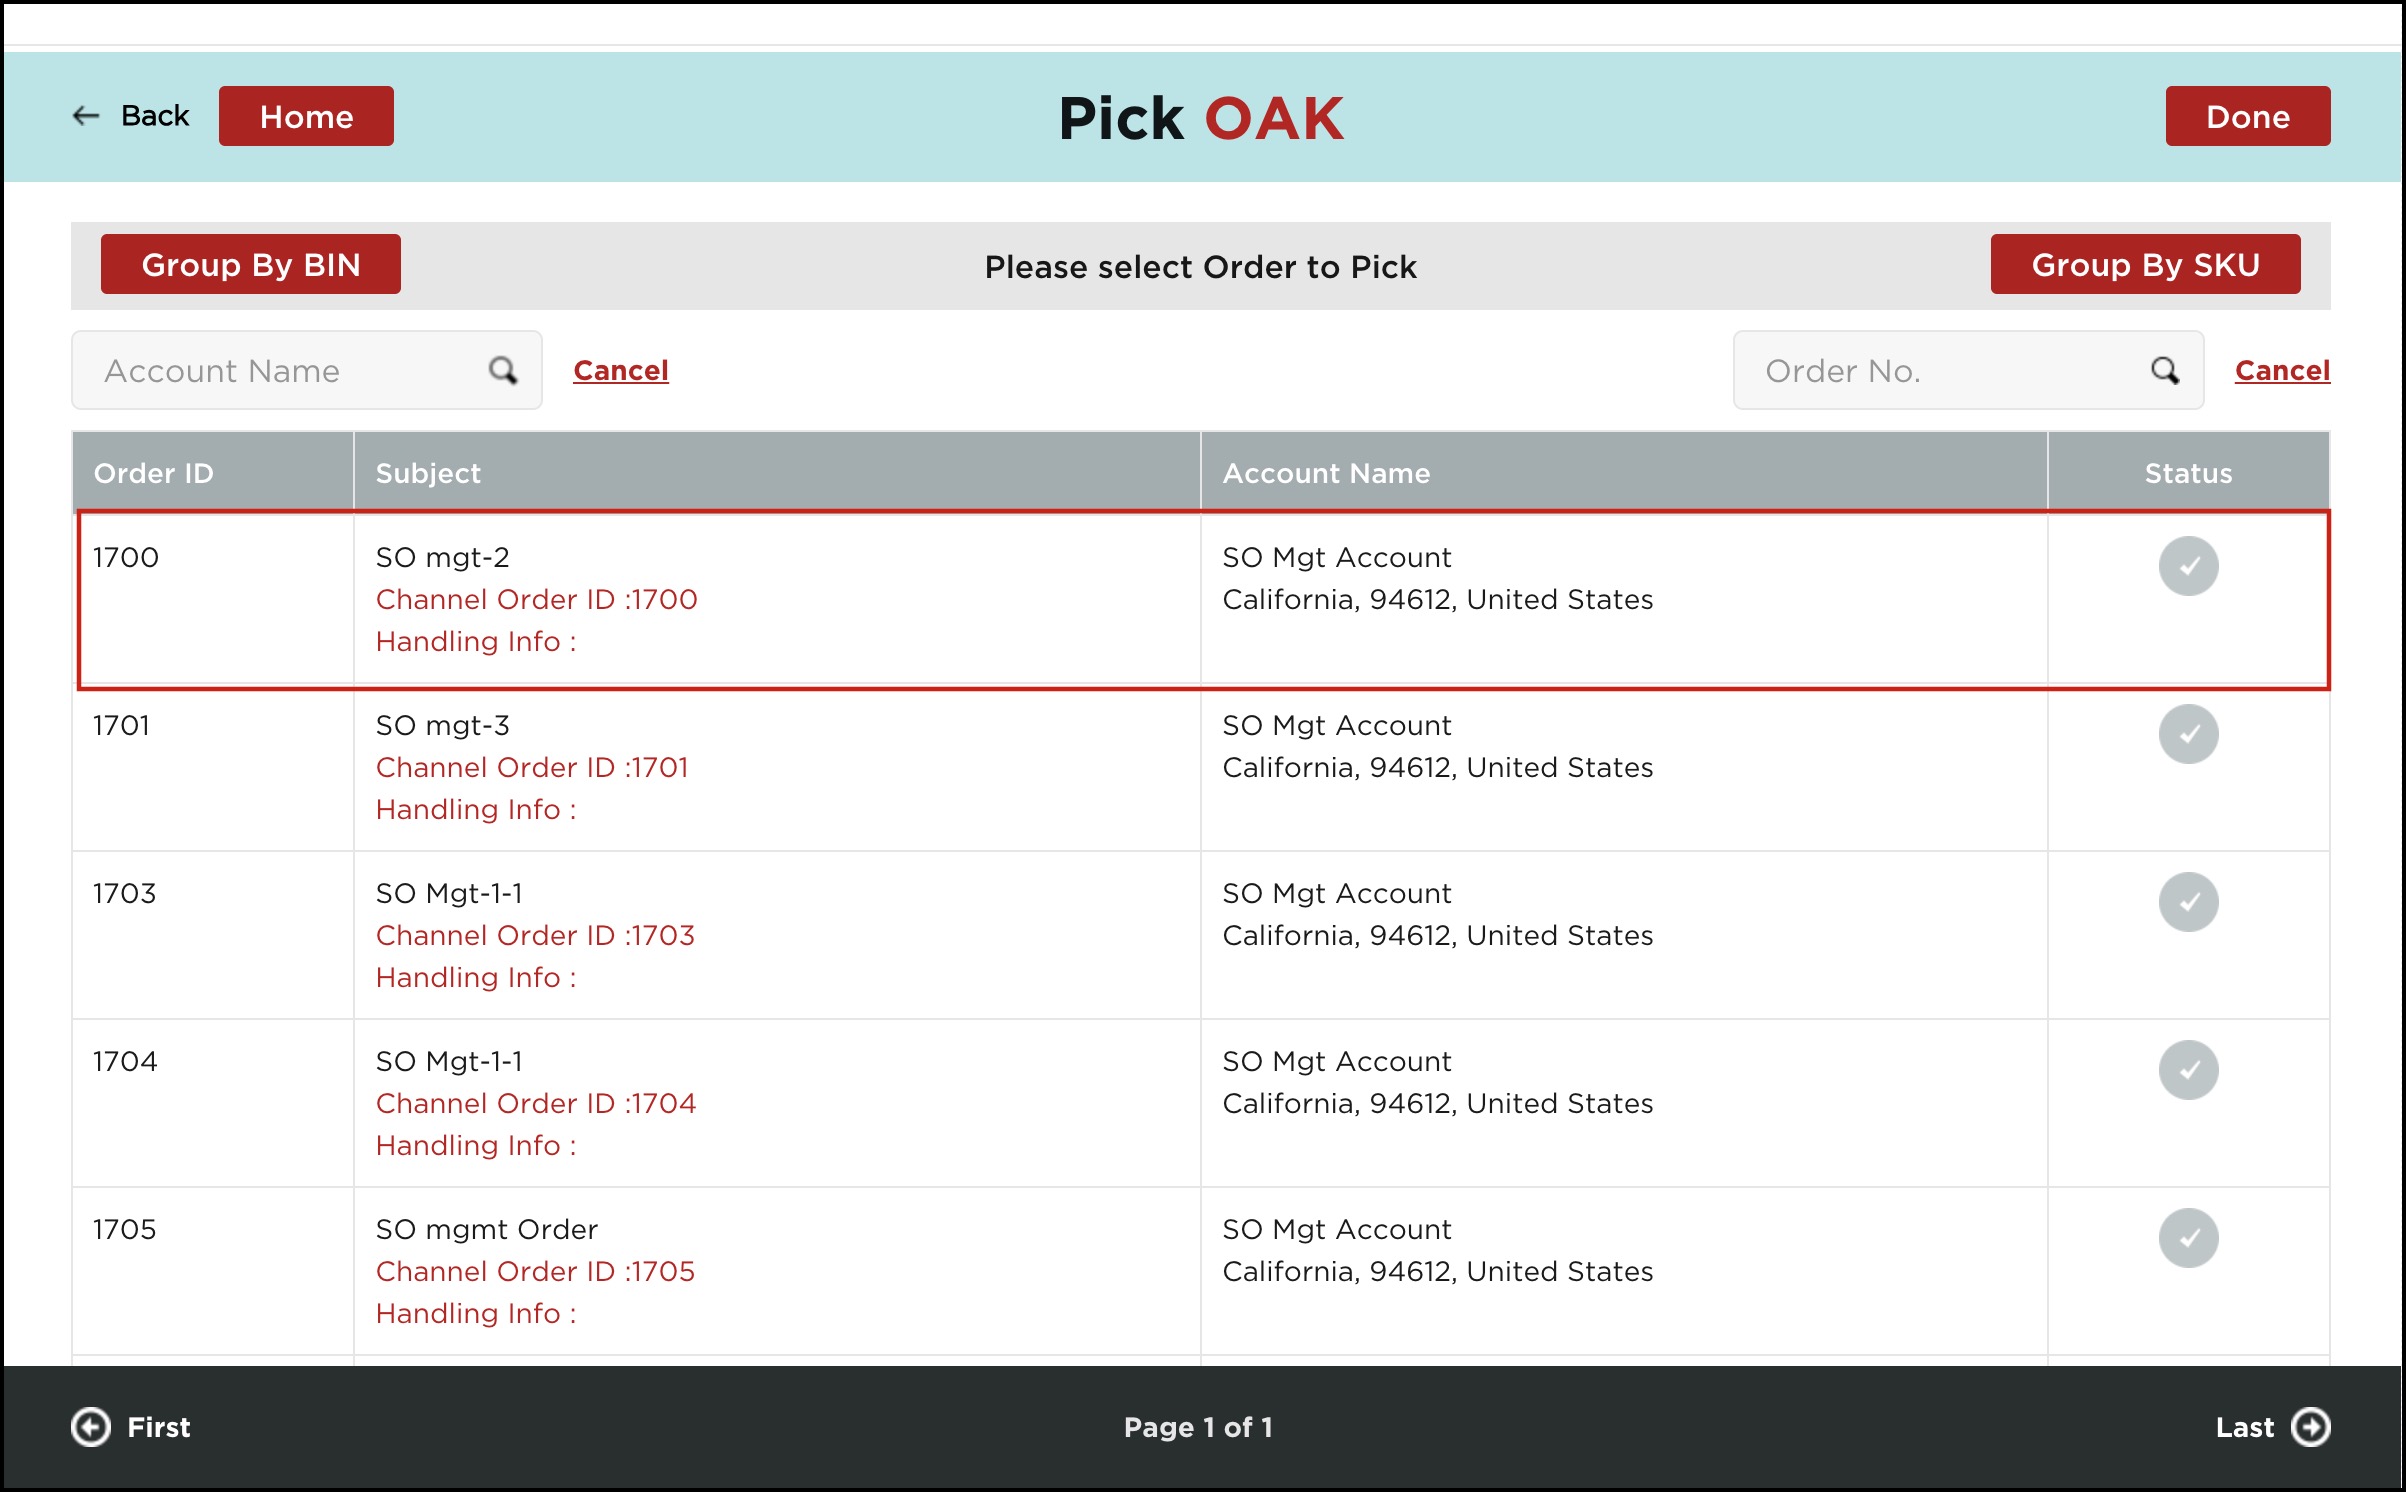
Here you can see all the line items under that particular sales order. Total, there are 2 items.
Now, in the Settings, when Enable Line Item Shipping is set to "on".
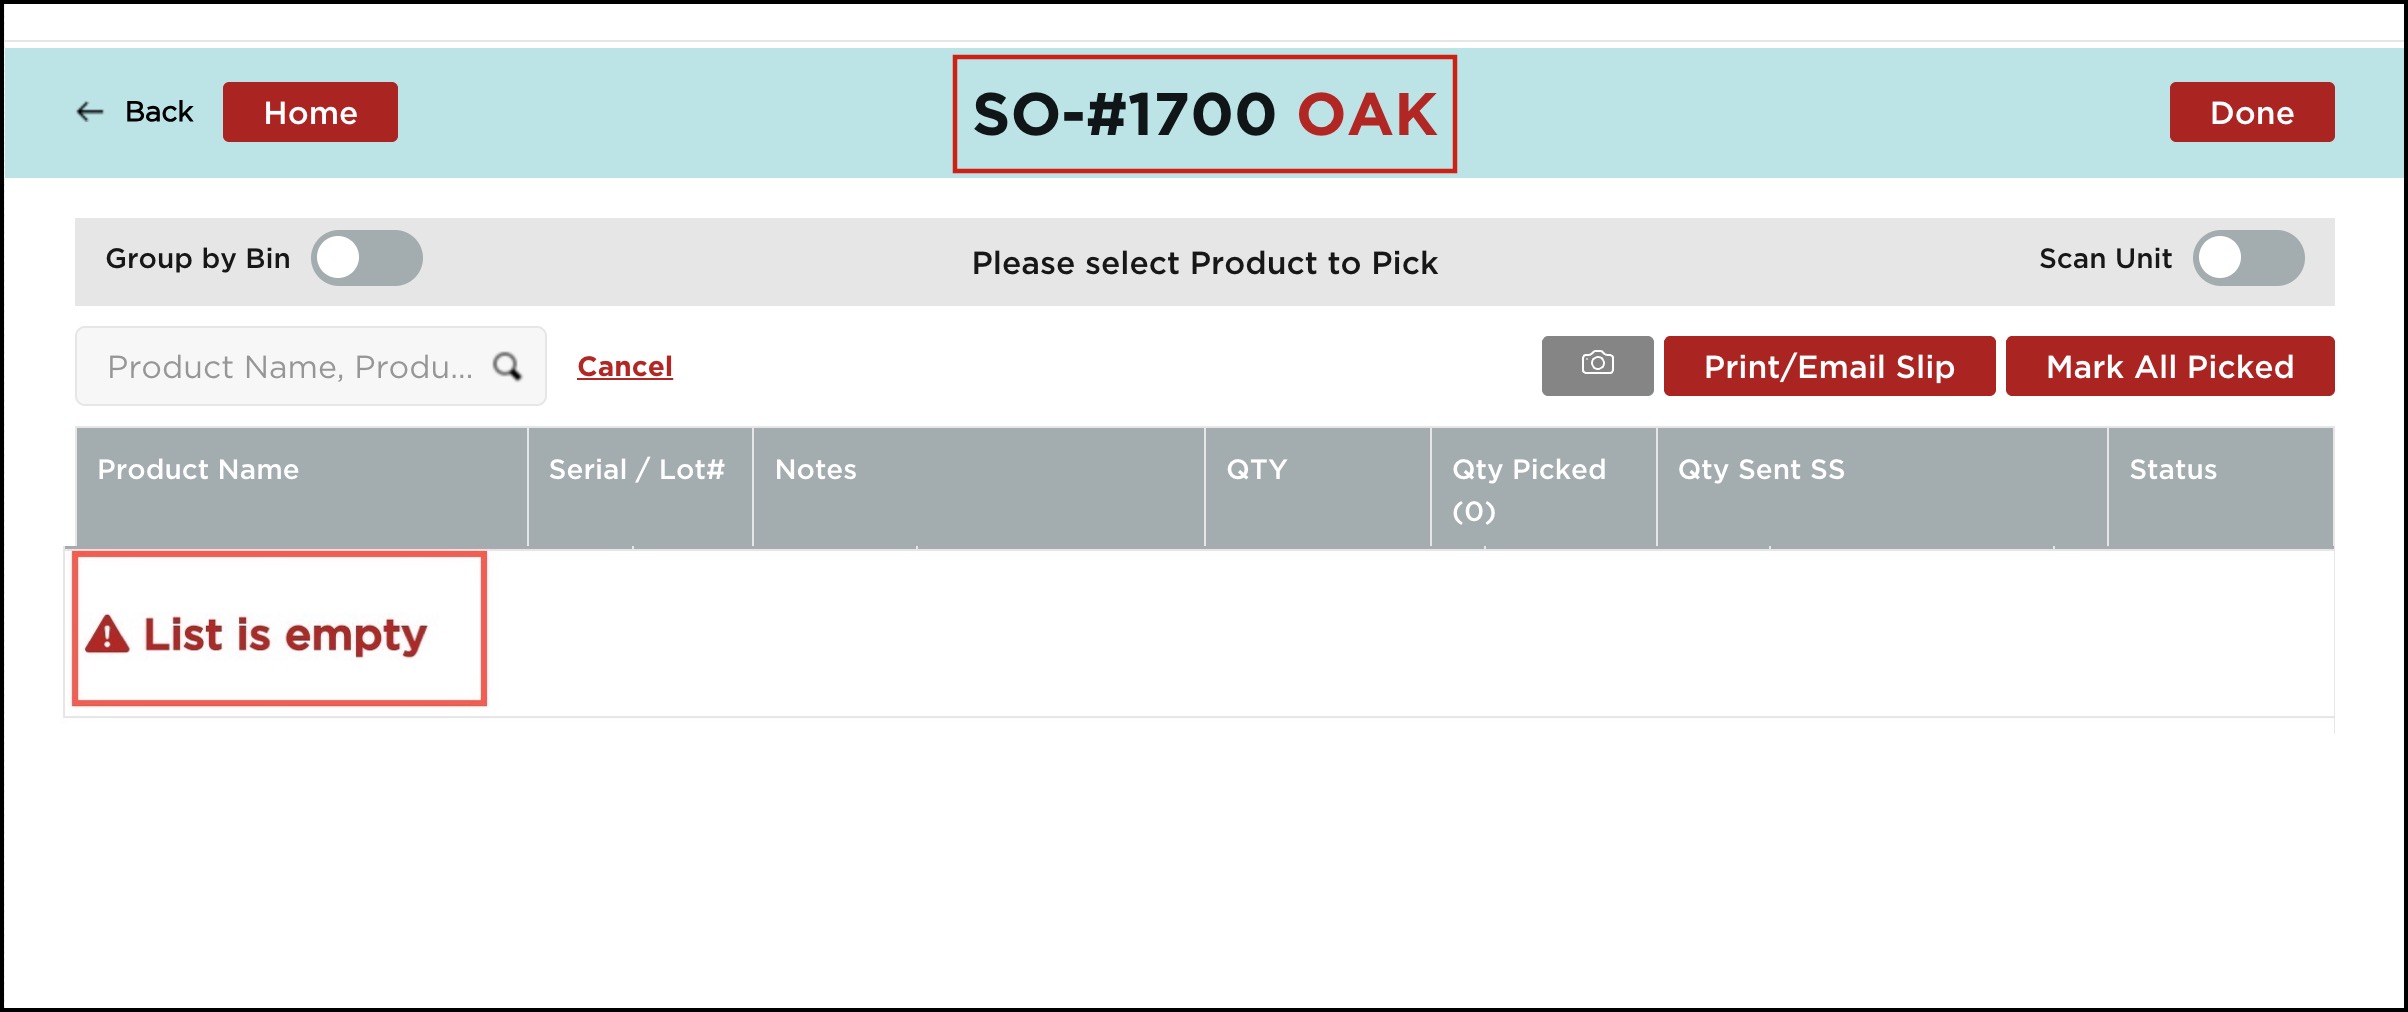
and when you go back to that particular Sales Order under the Pick/Pick-Ship flow workflow, you will see only those line items associated with the set stock location. Also, only those line items can be sent to Shipstation.
Earlier there were 2 line items, now you can see the list is empty as there are no line items associated with the selected stock location.
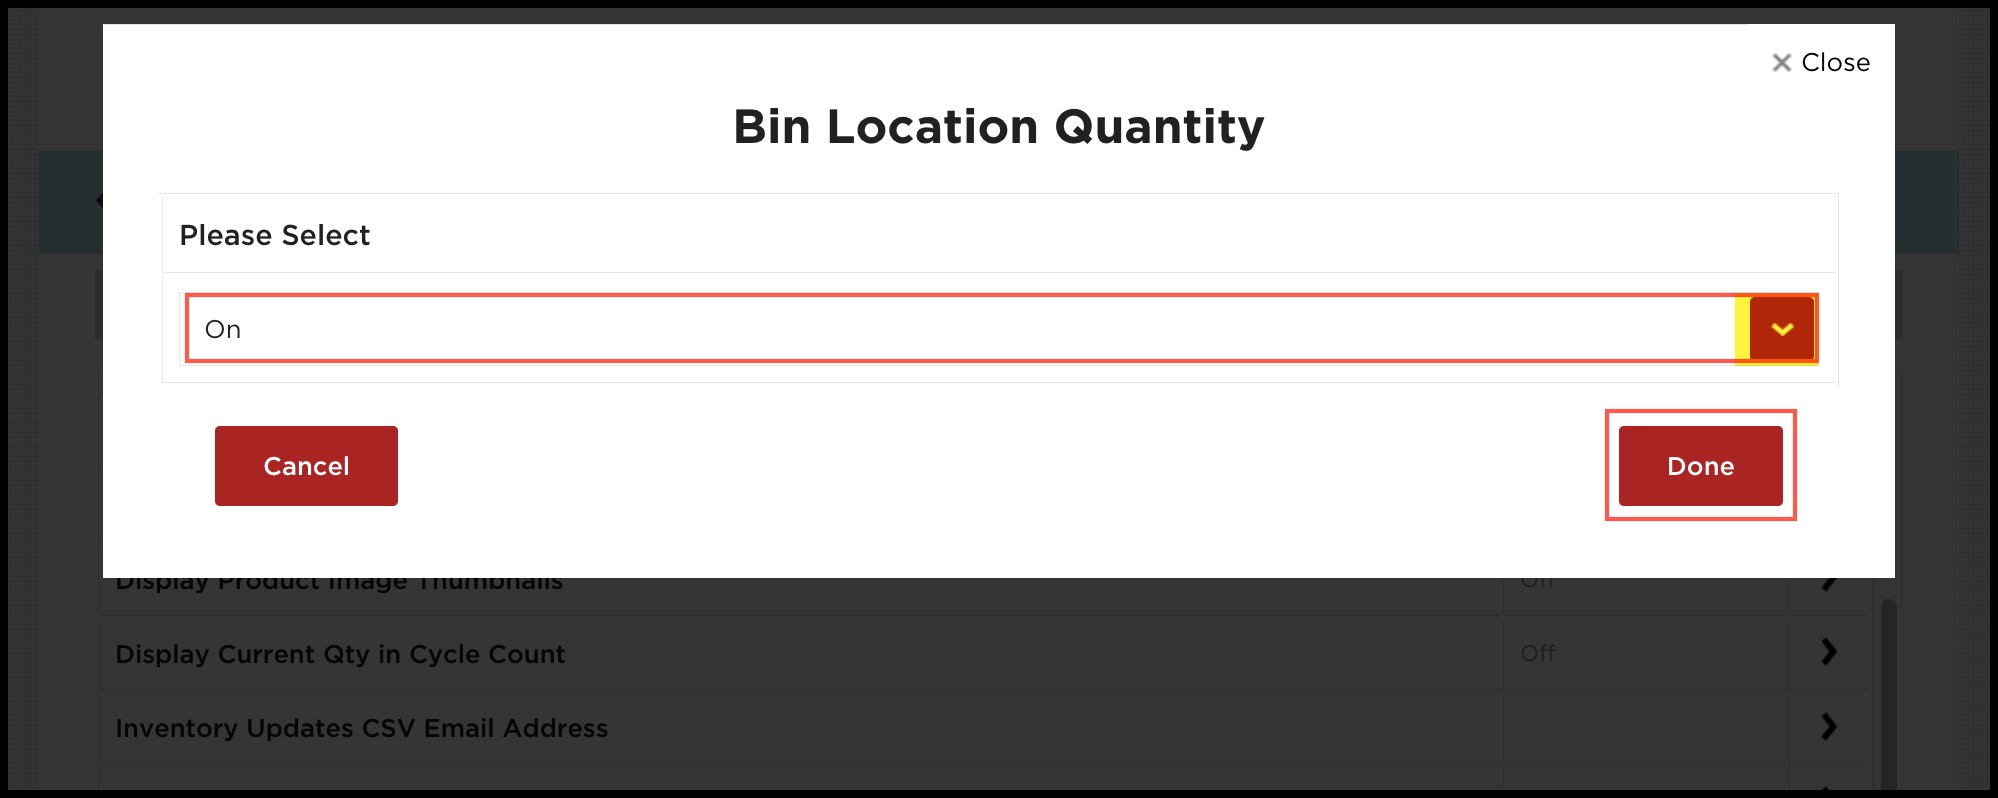
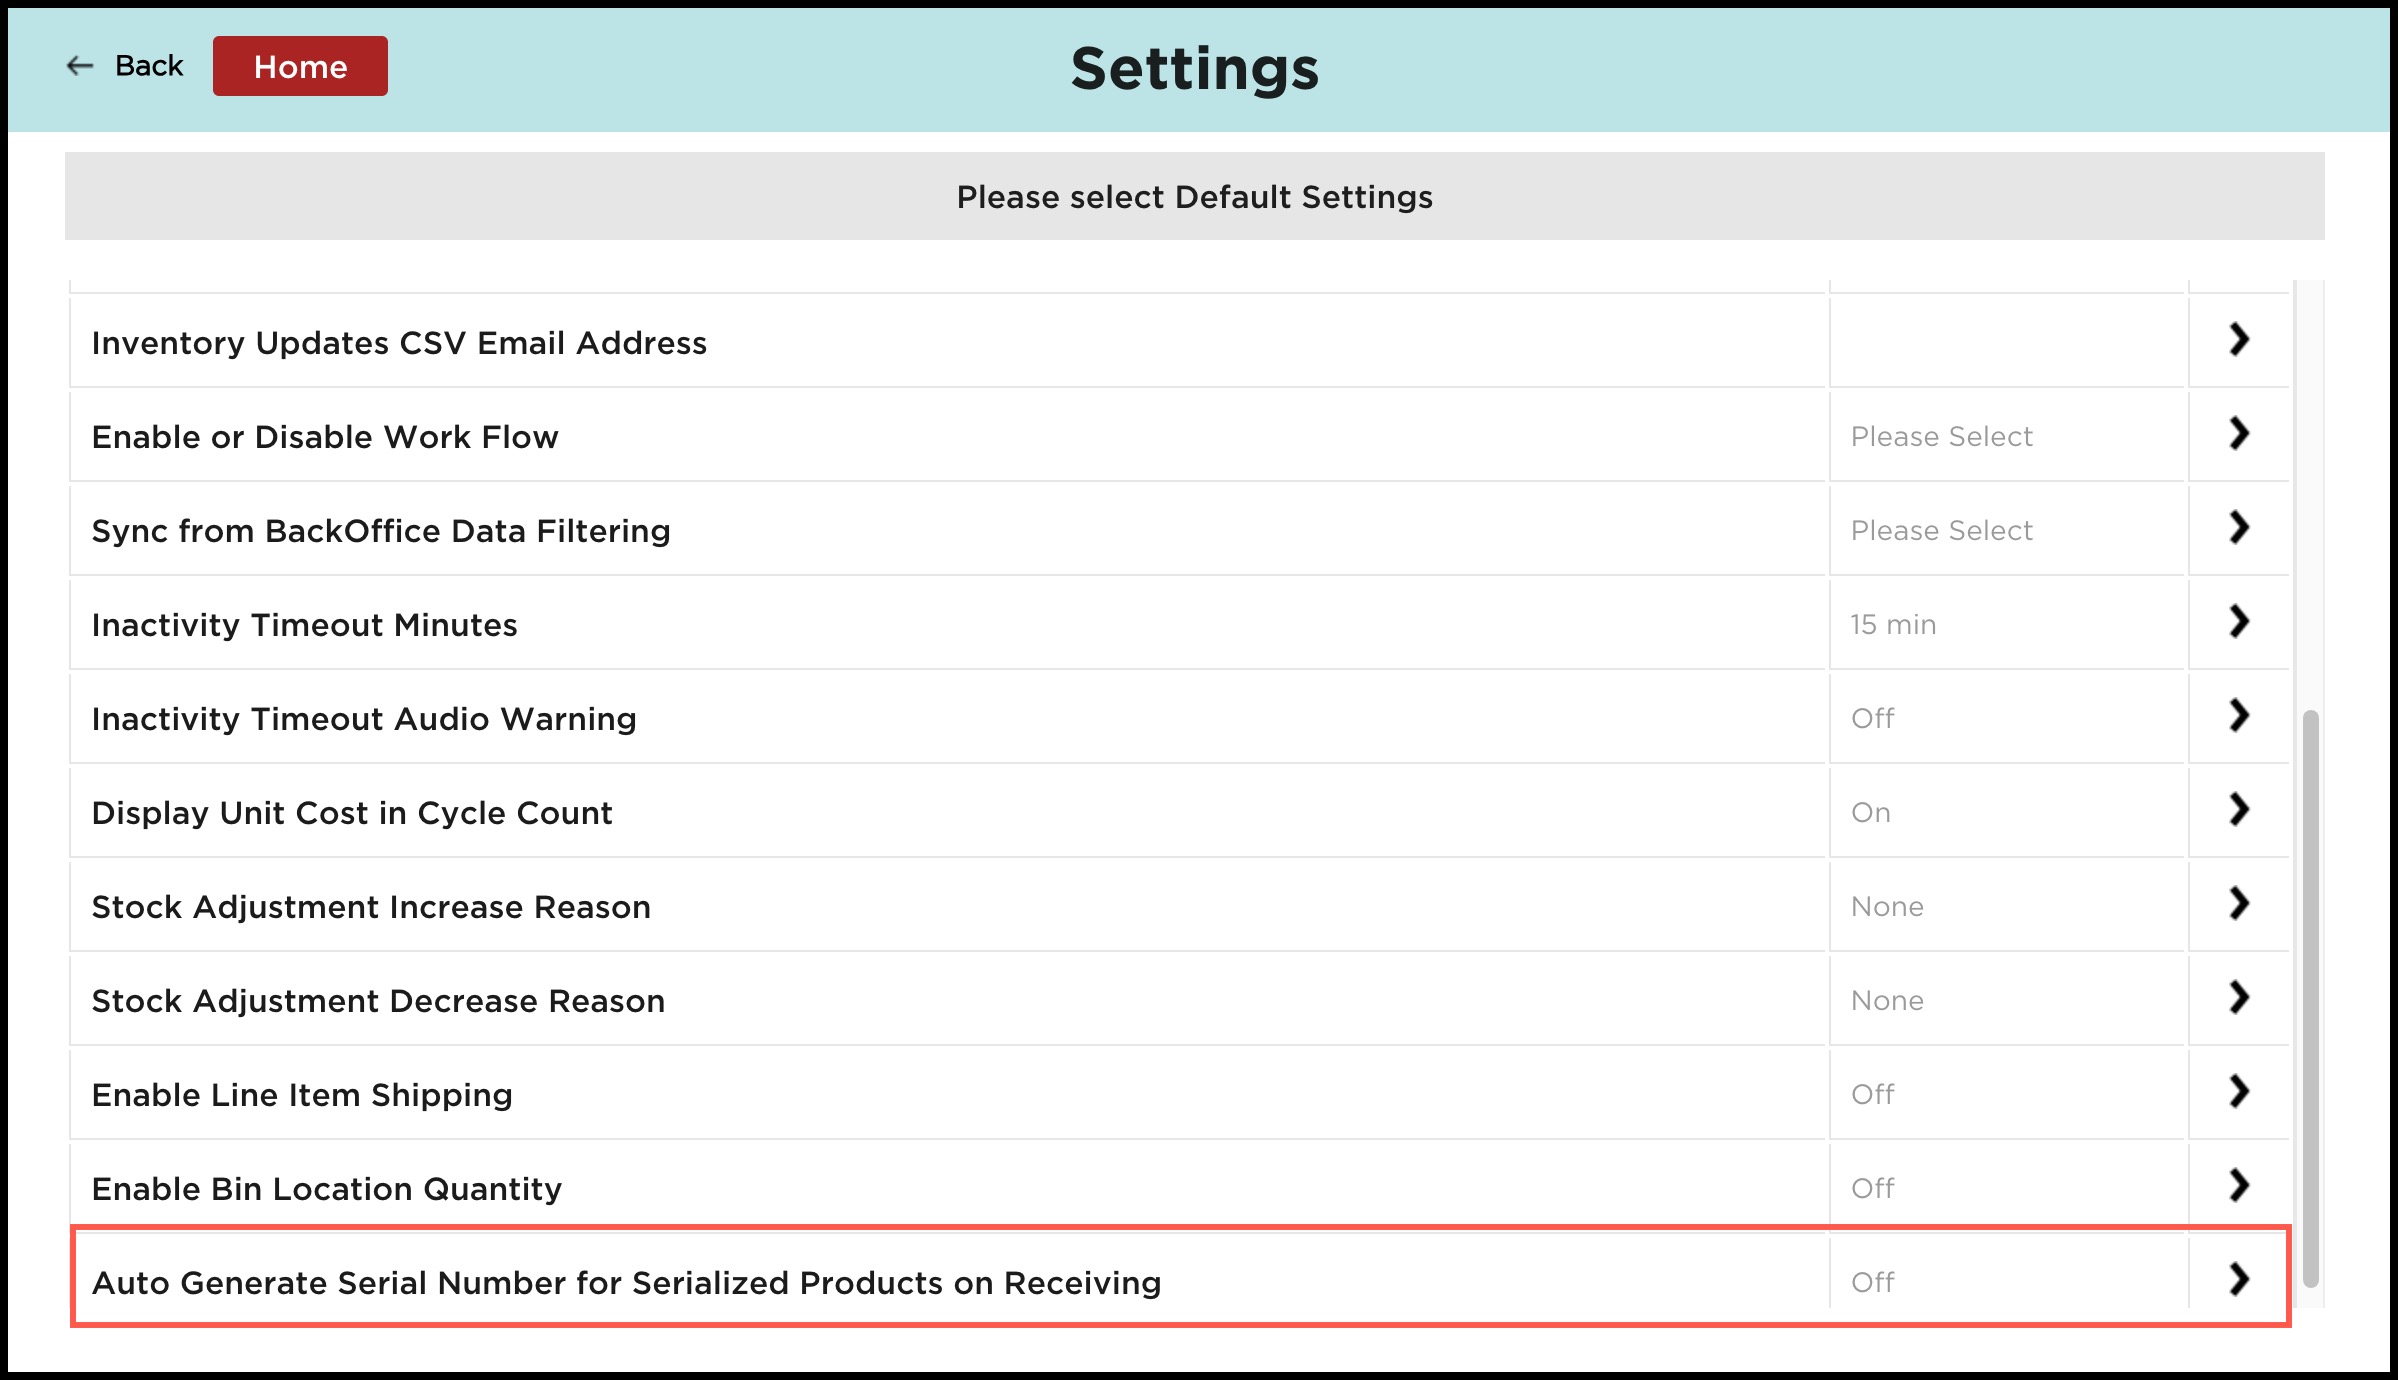
- Enable Bin Location Quantity - You can enable or disable this option by setting it on or off.

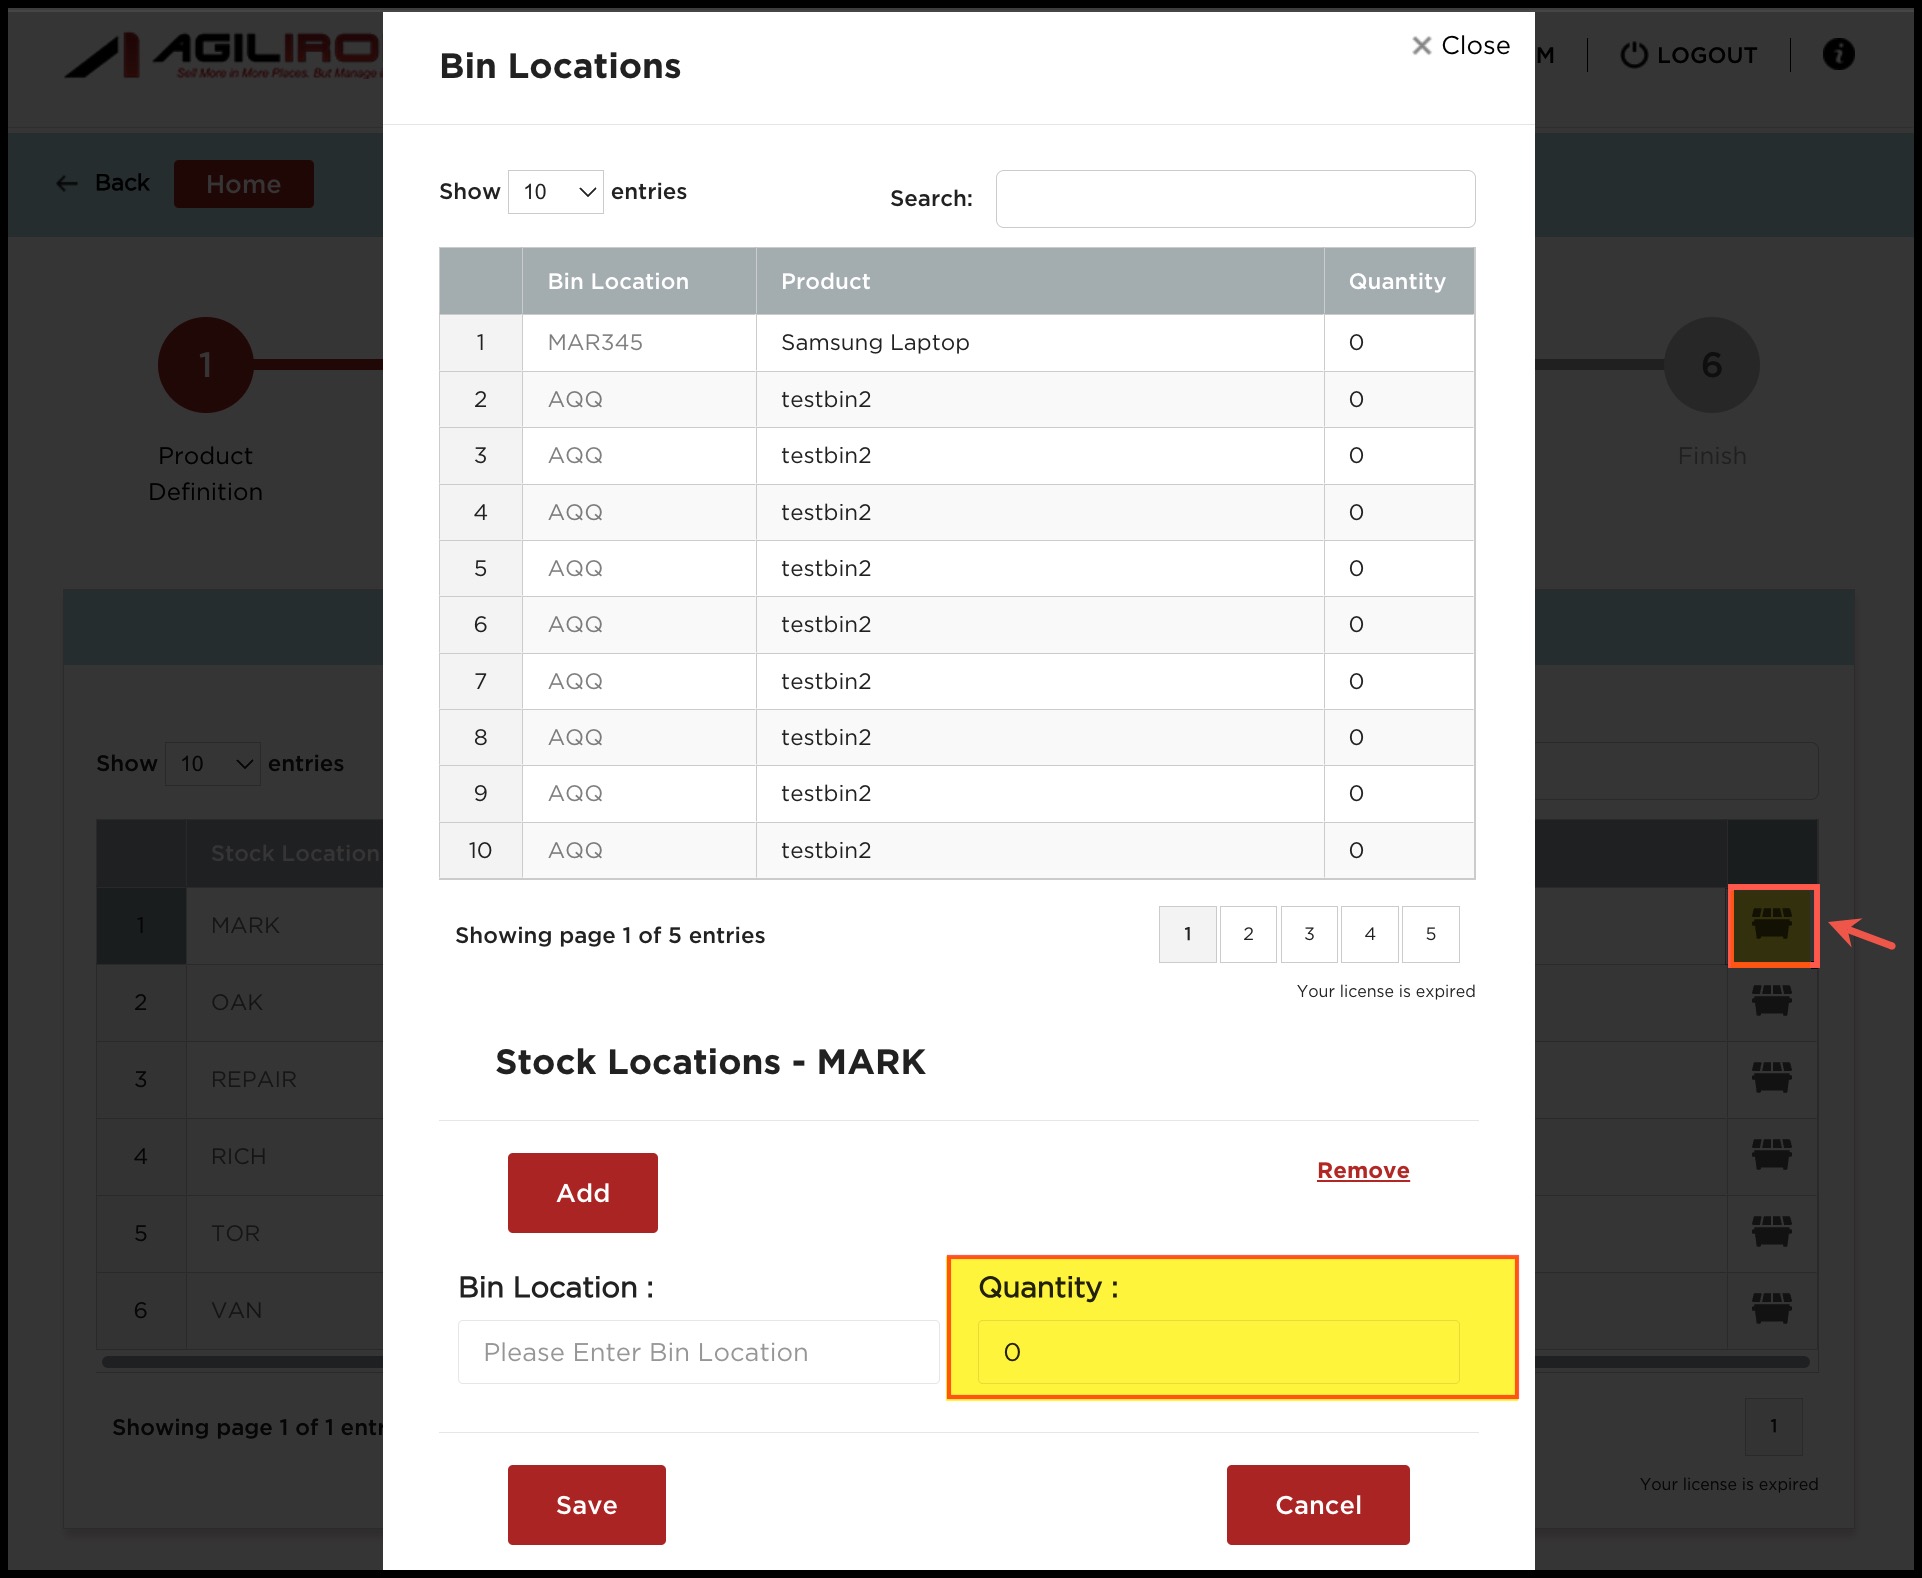
When Bin Location Quantity is enabled (i.e. set to On), in the Add New Products workflow -> Inventory Information Step -> Bin Location Selector icon when clicked - will display the Quantity field in the Bin Locations pop-up. If Enable Bin Location Quantity is set to off, the Quantity field will not be displayed.
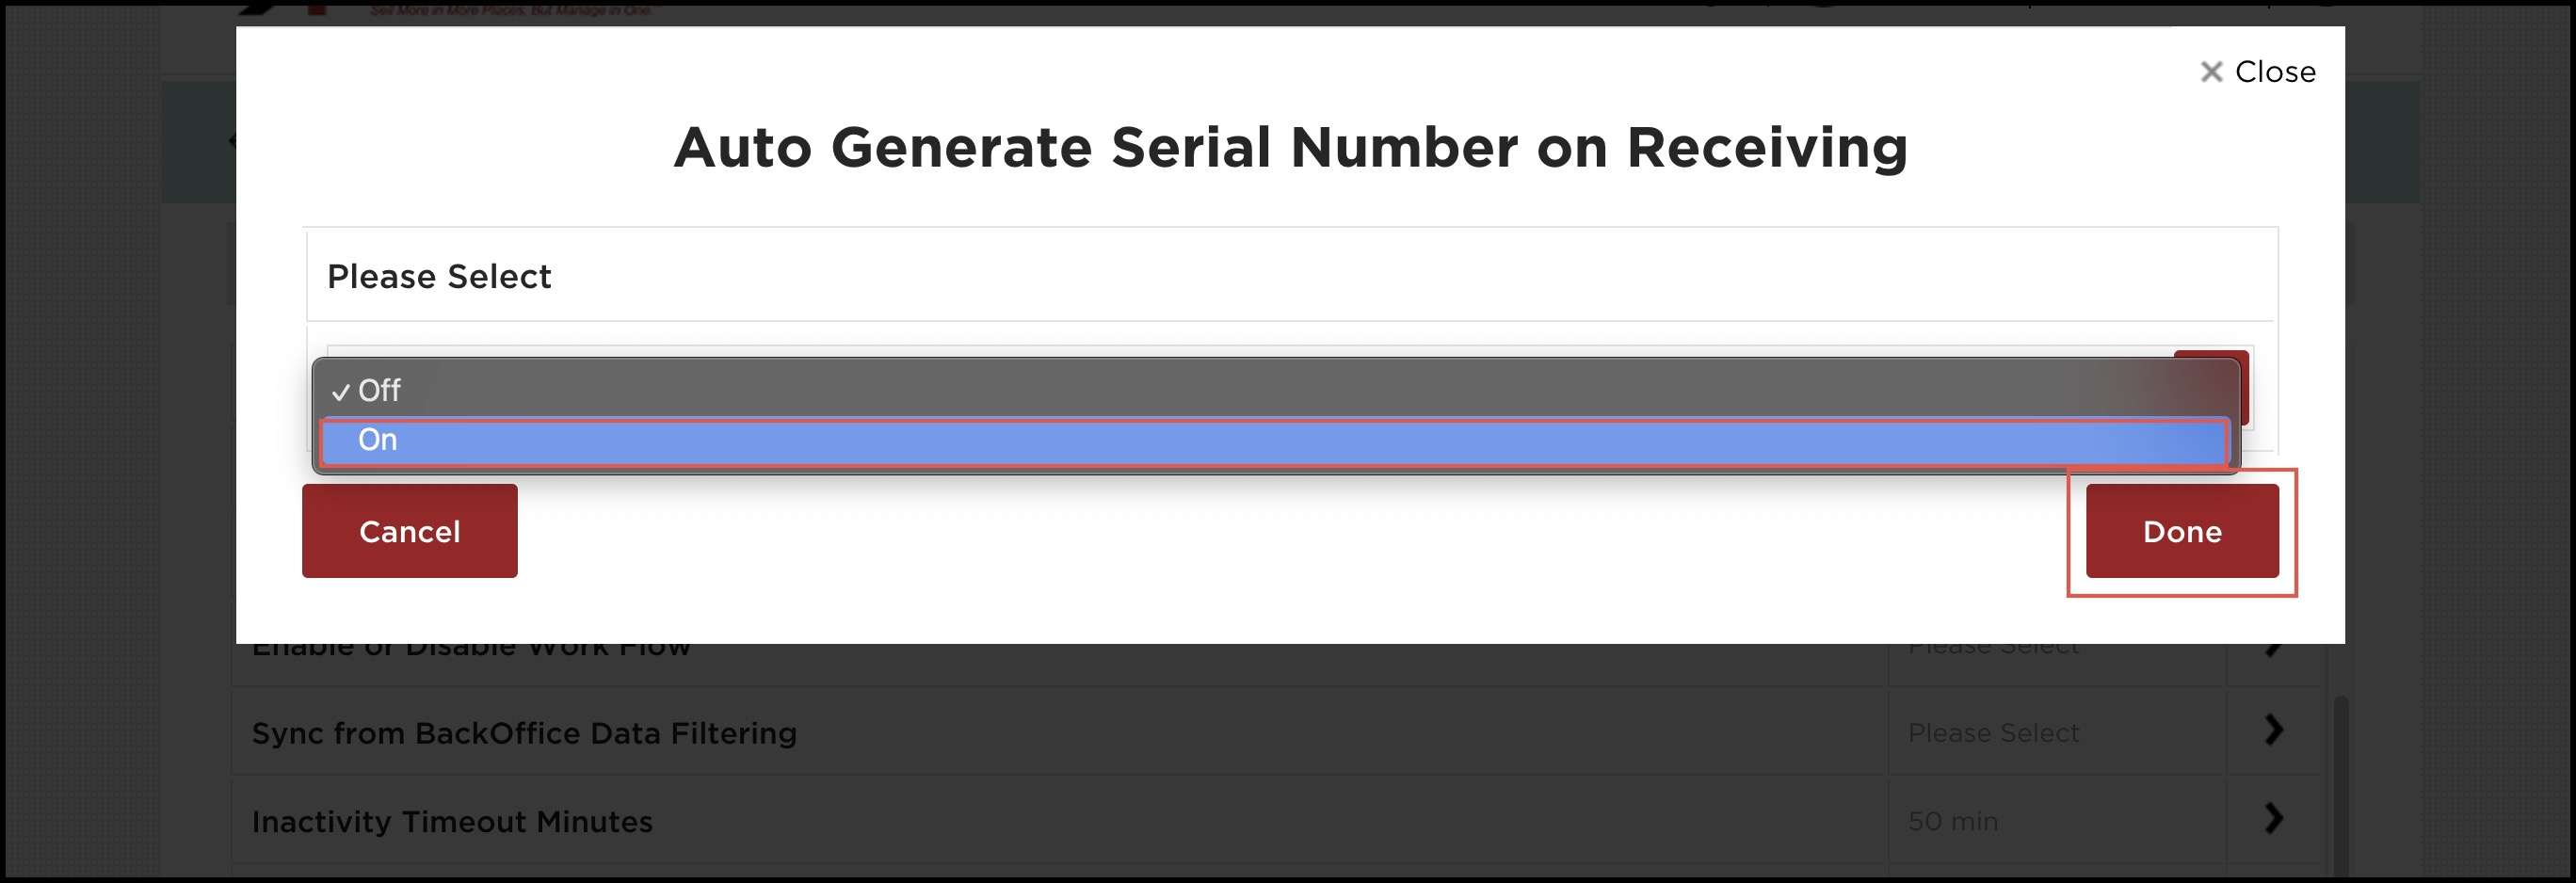
- Auto Generate Serial Number for Serialized Products on Receiving - If this setting is set to On then the serial number gets auto-generated for the serialized products on Receiving.
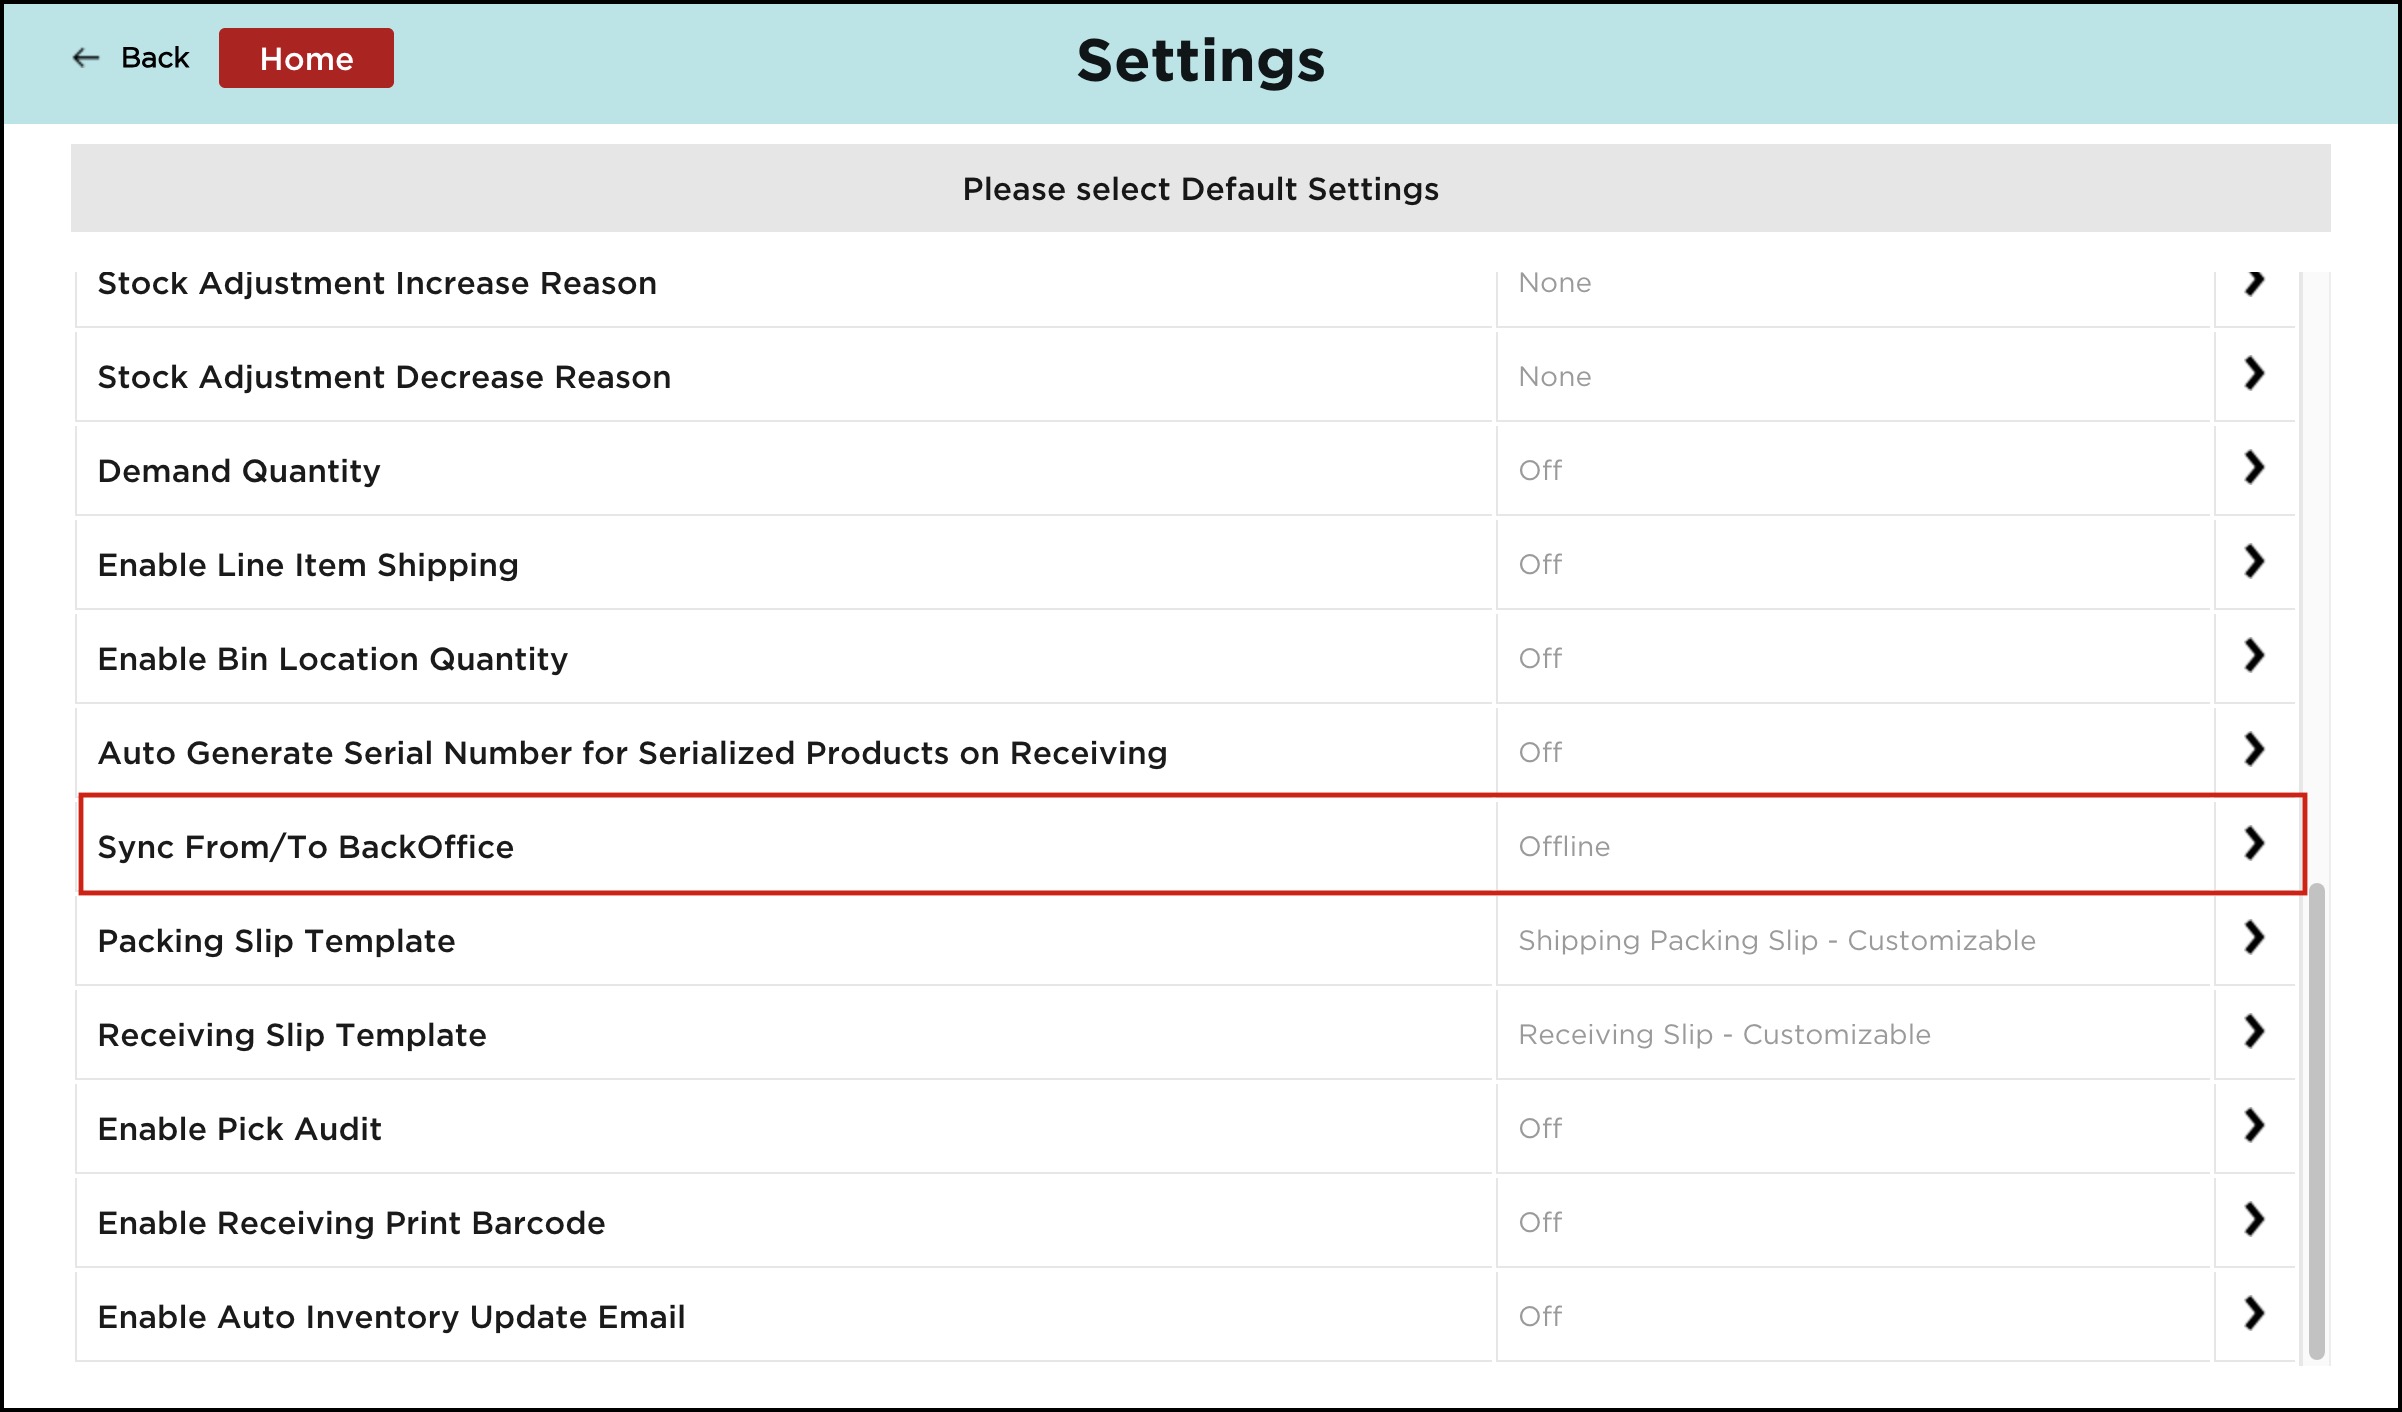
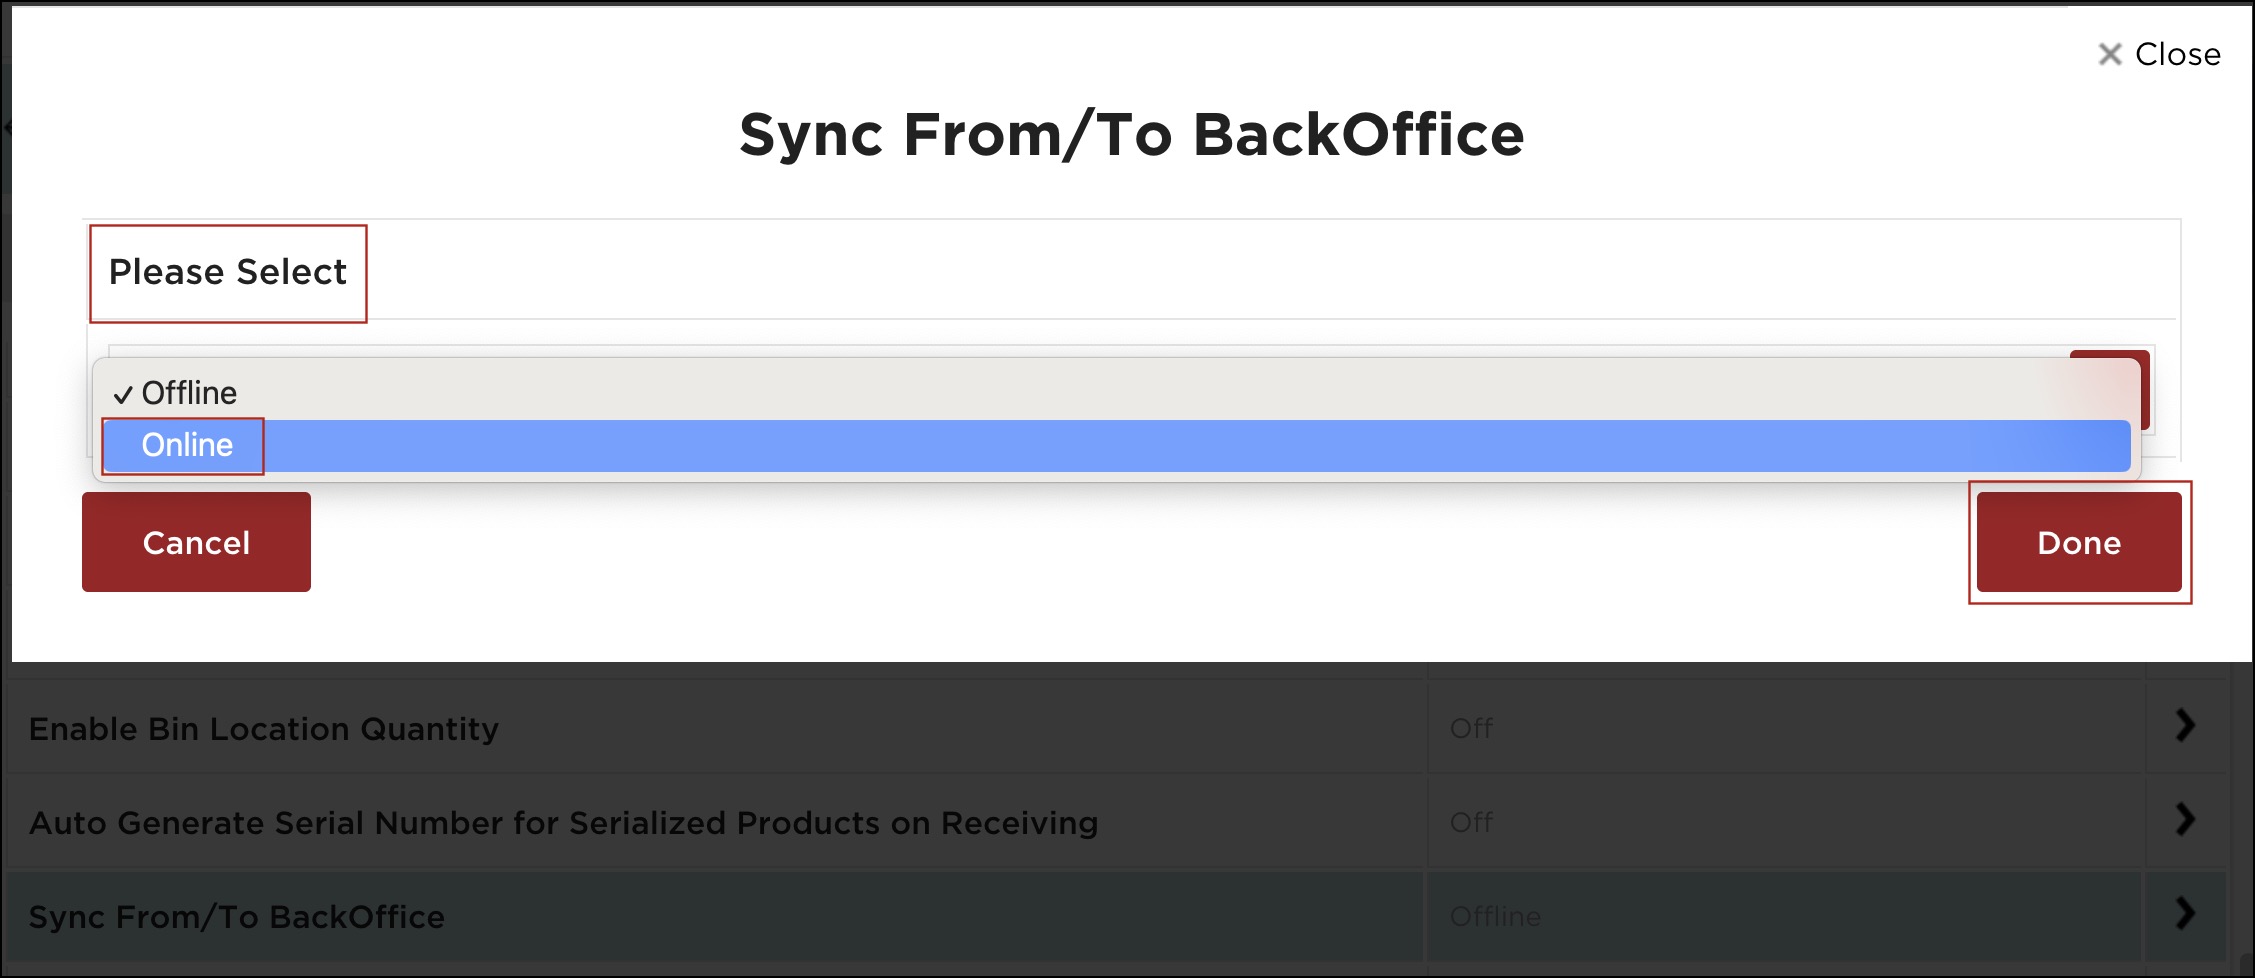
- Sync from/to Backoffice - If this setting is turned online, it will auto-sync products and orders from/to backoffice.
- So after every workflow you follow in WMA, for example, pick orders, receive orders, add products, etc., it will be automatically synced to the back office and vice versa, if this feature is turned on.
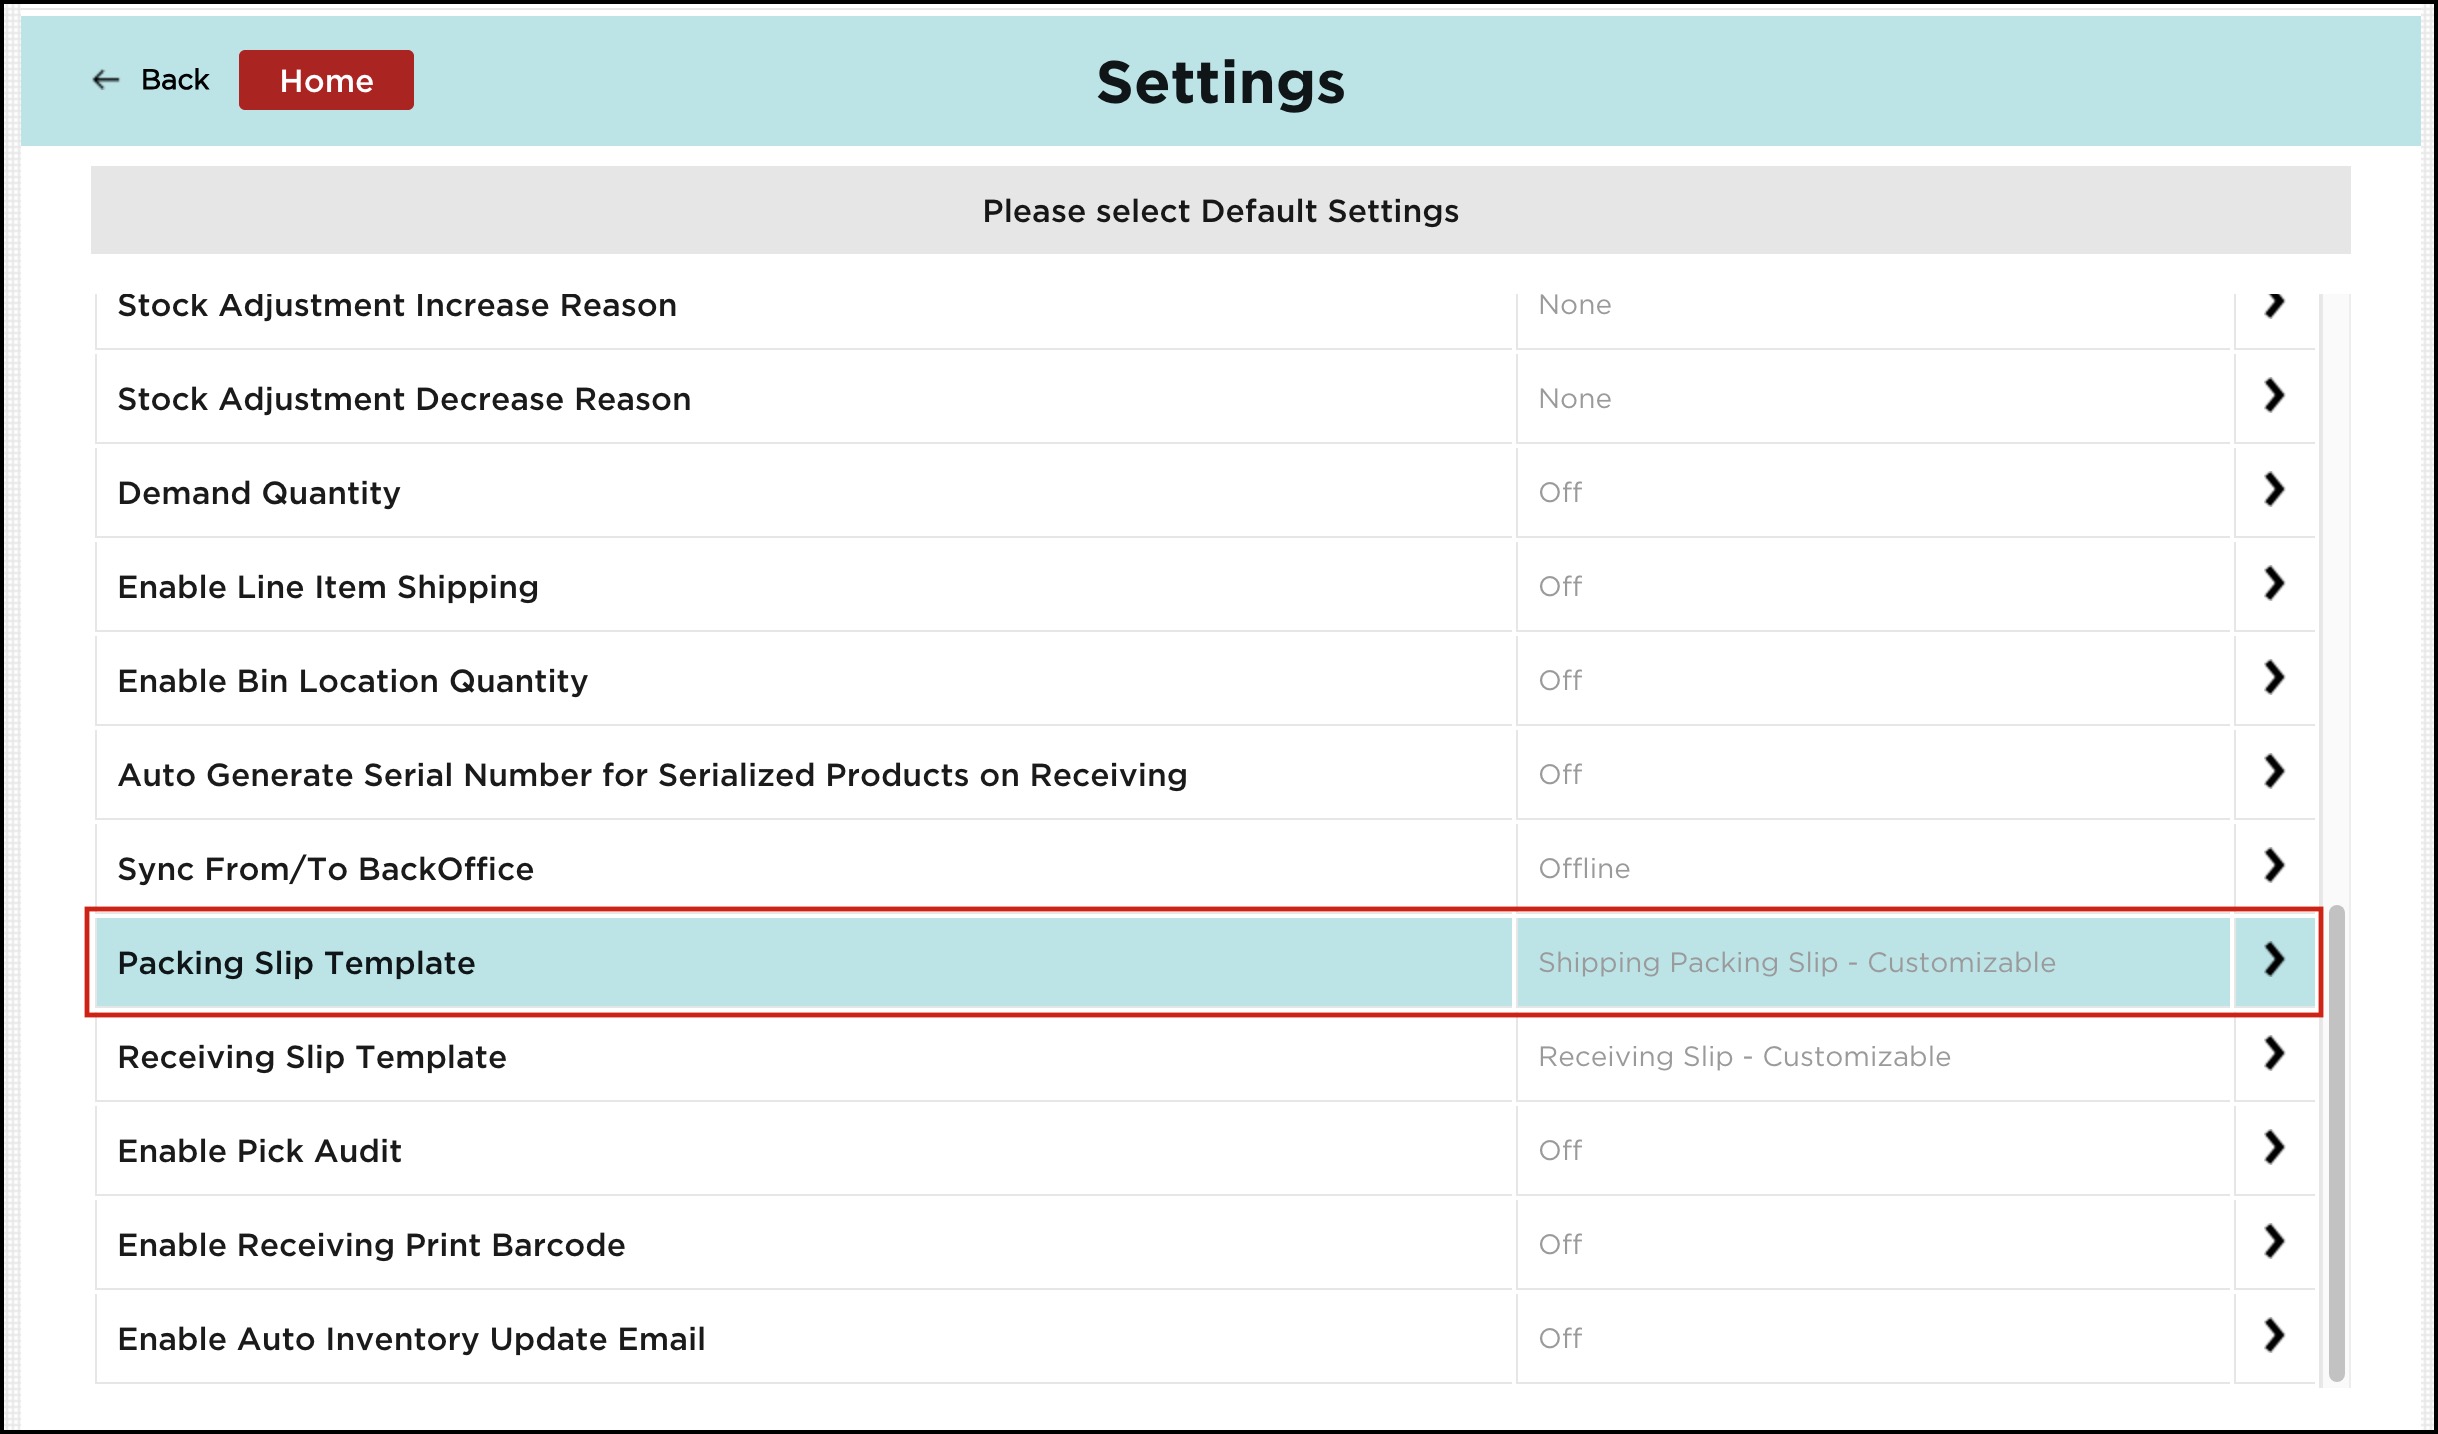
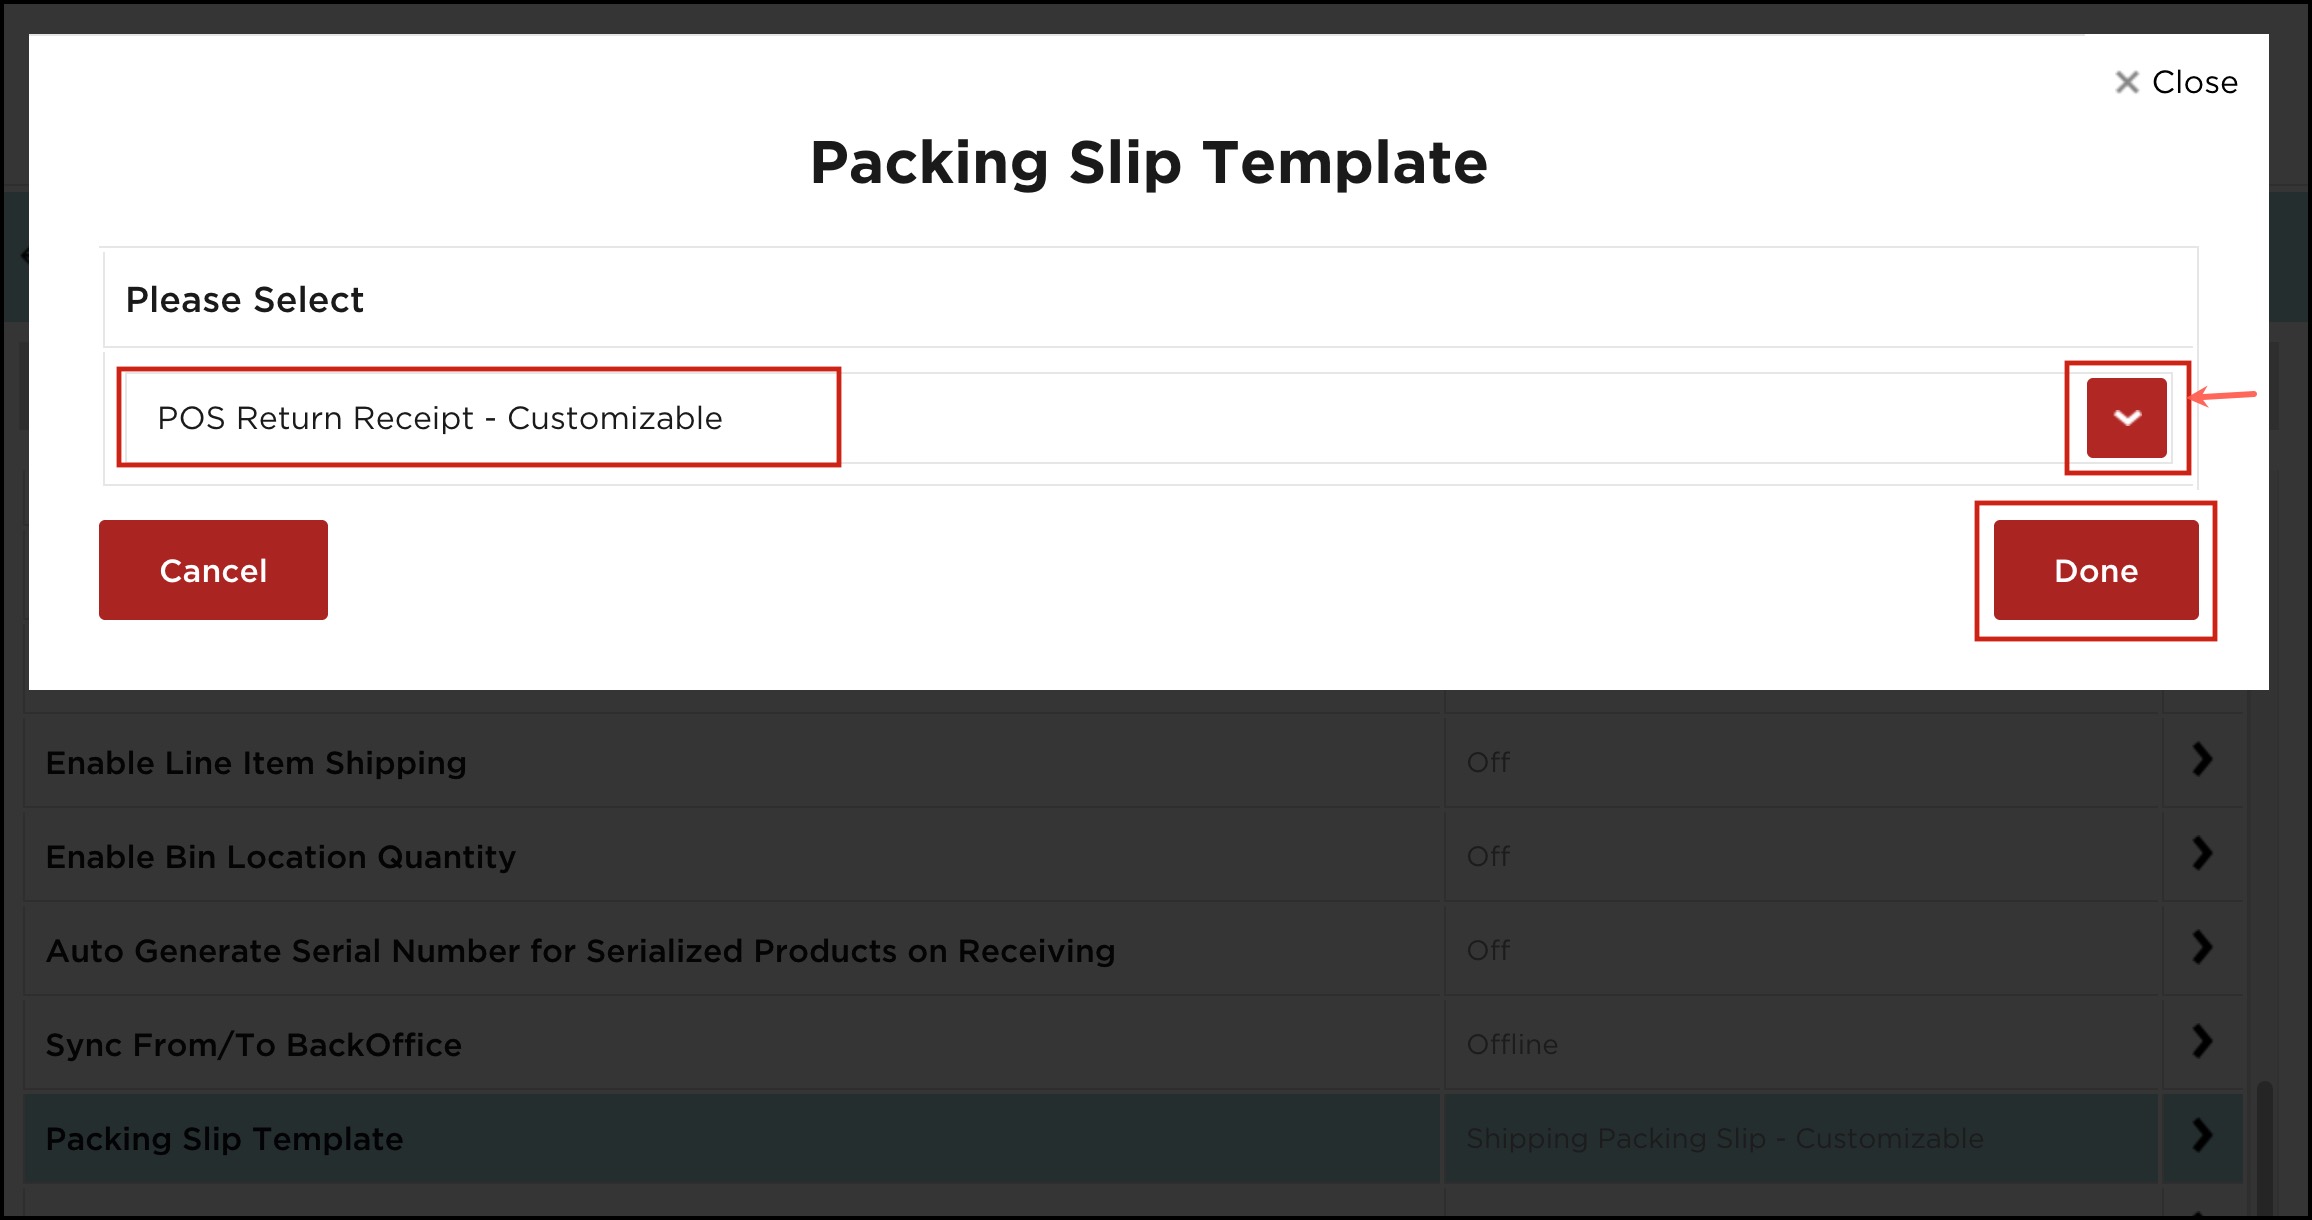
- Packing Slip Template - To print a slip, you can choose any one to print any template from the options or it will be set to the default one.
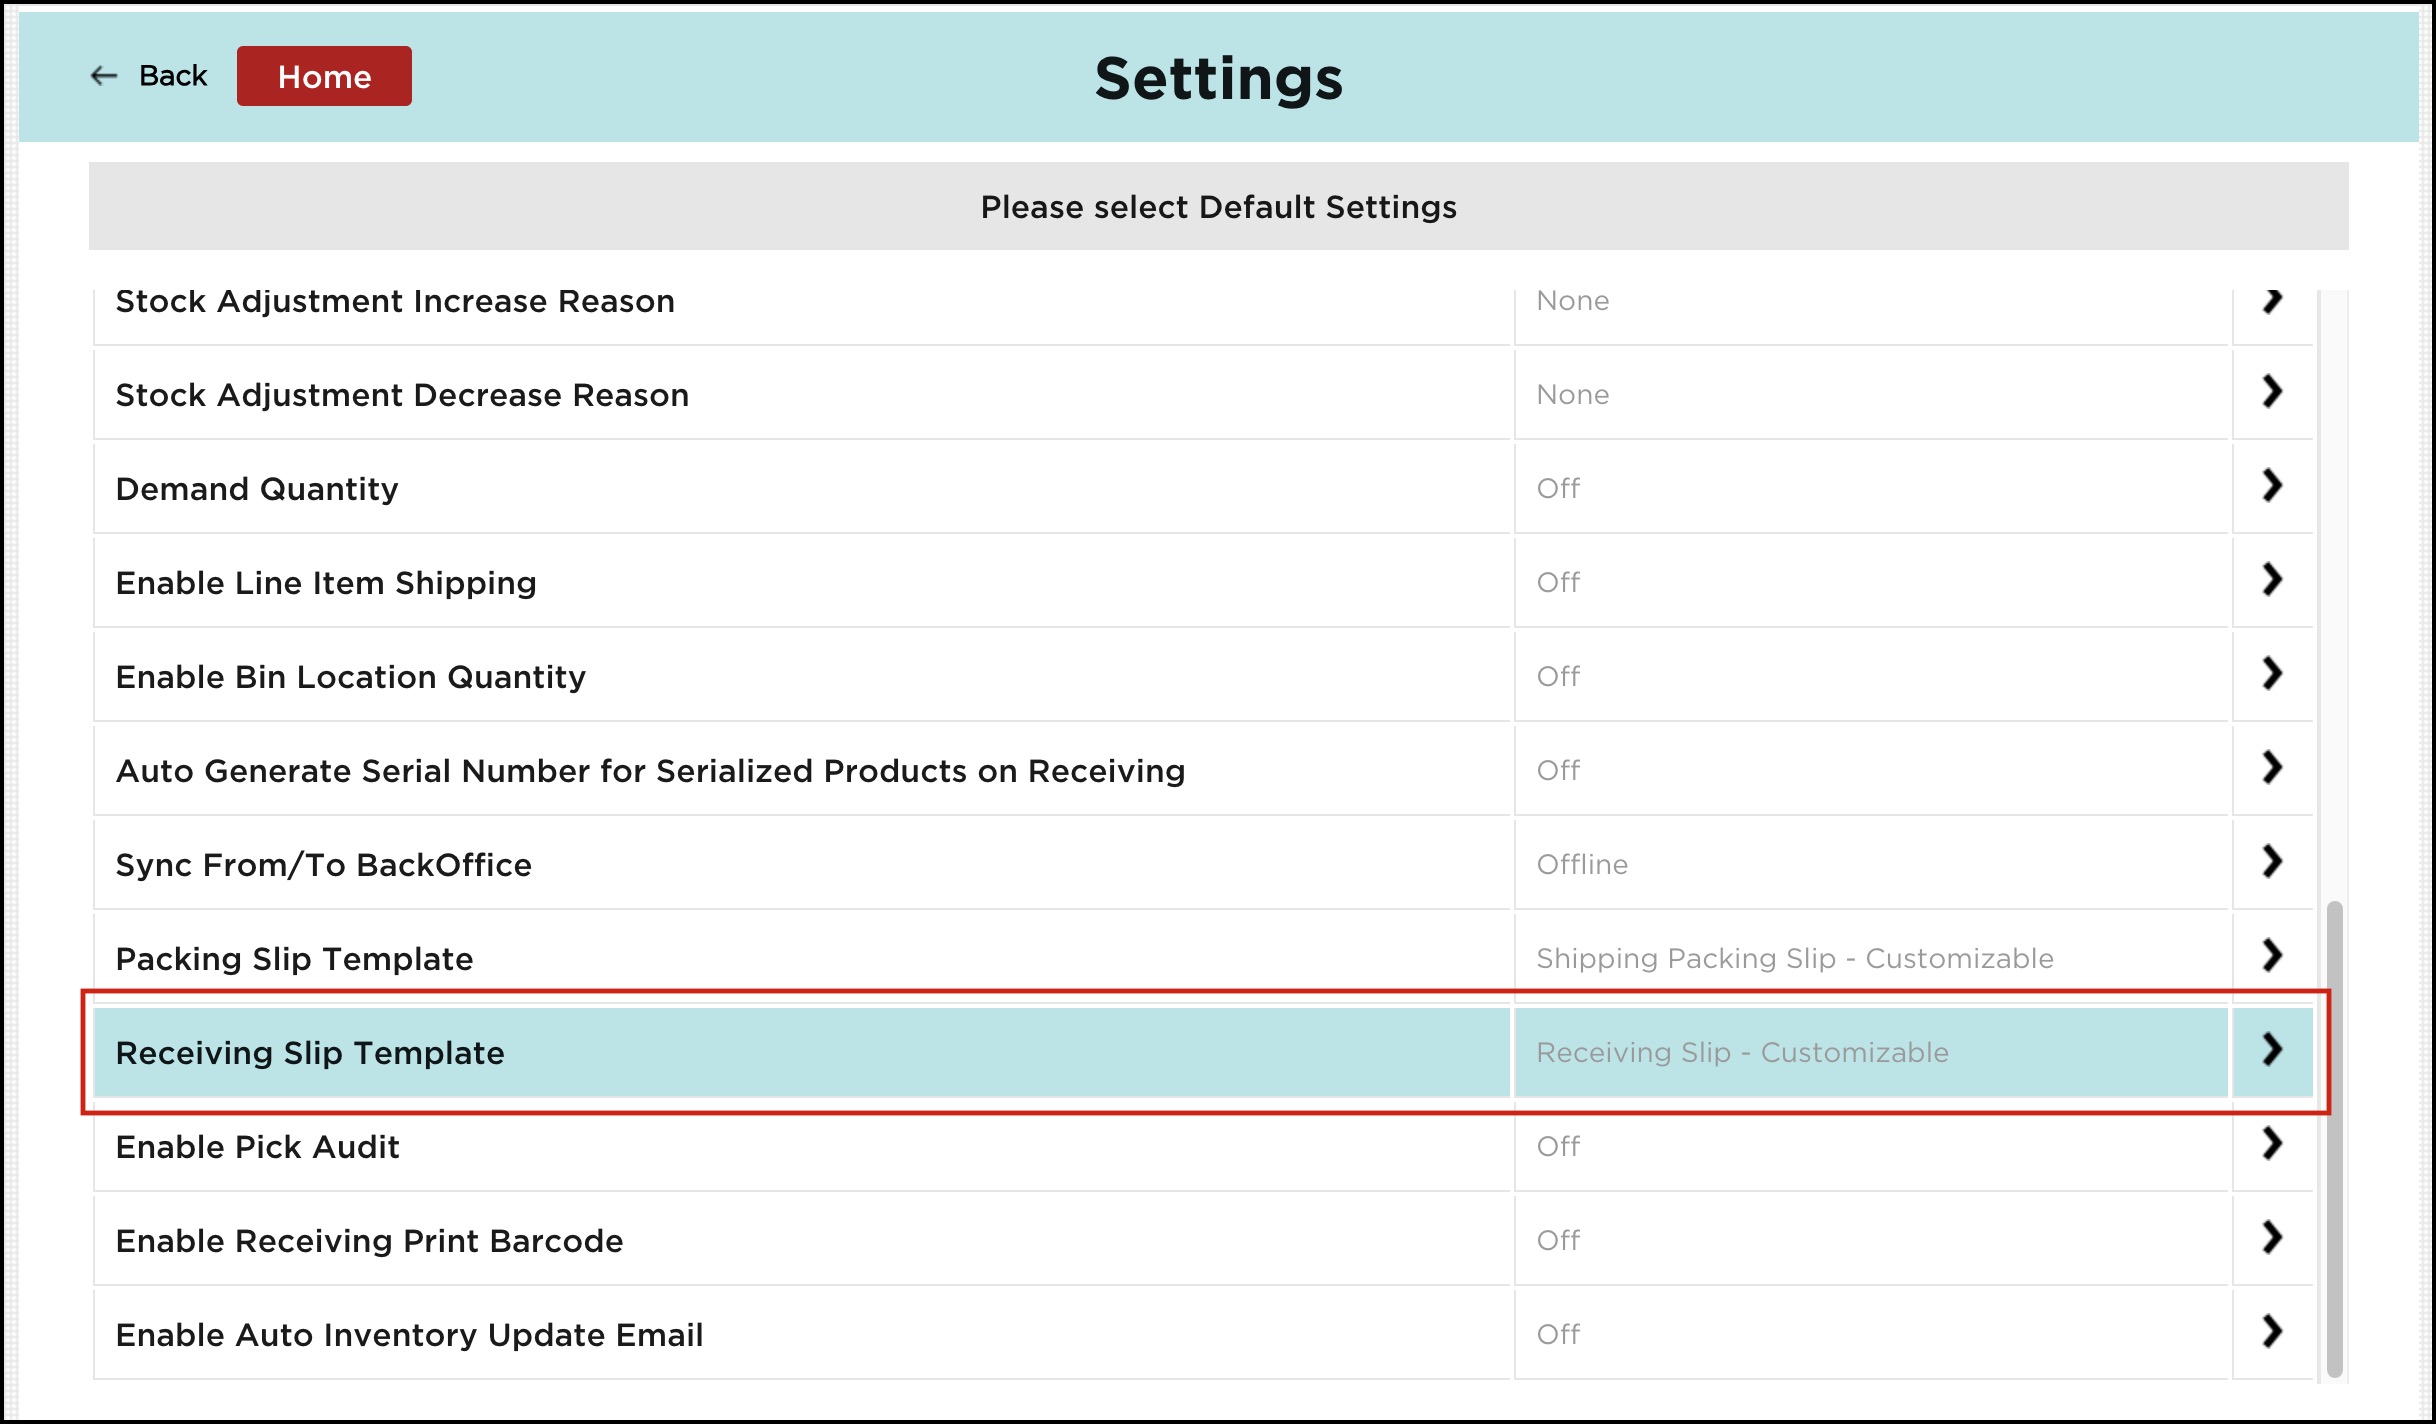
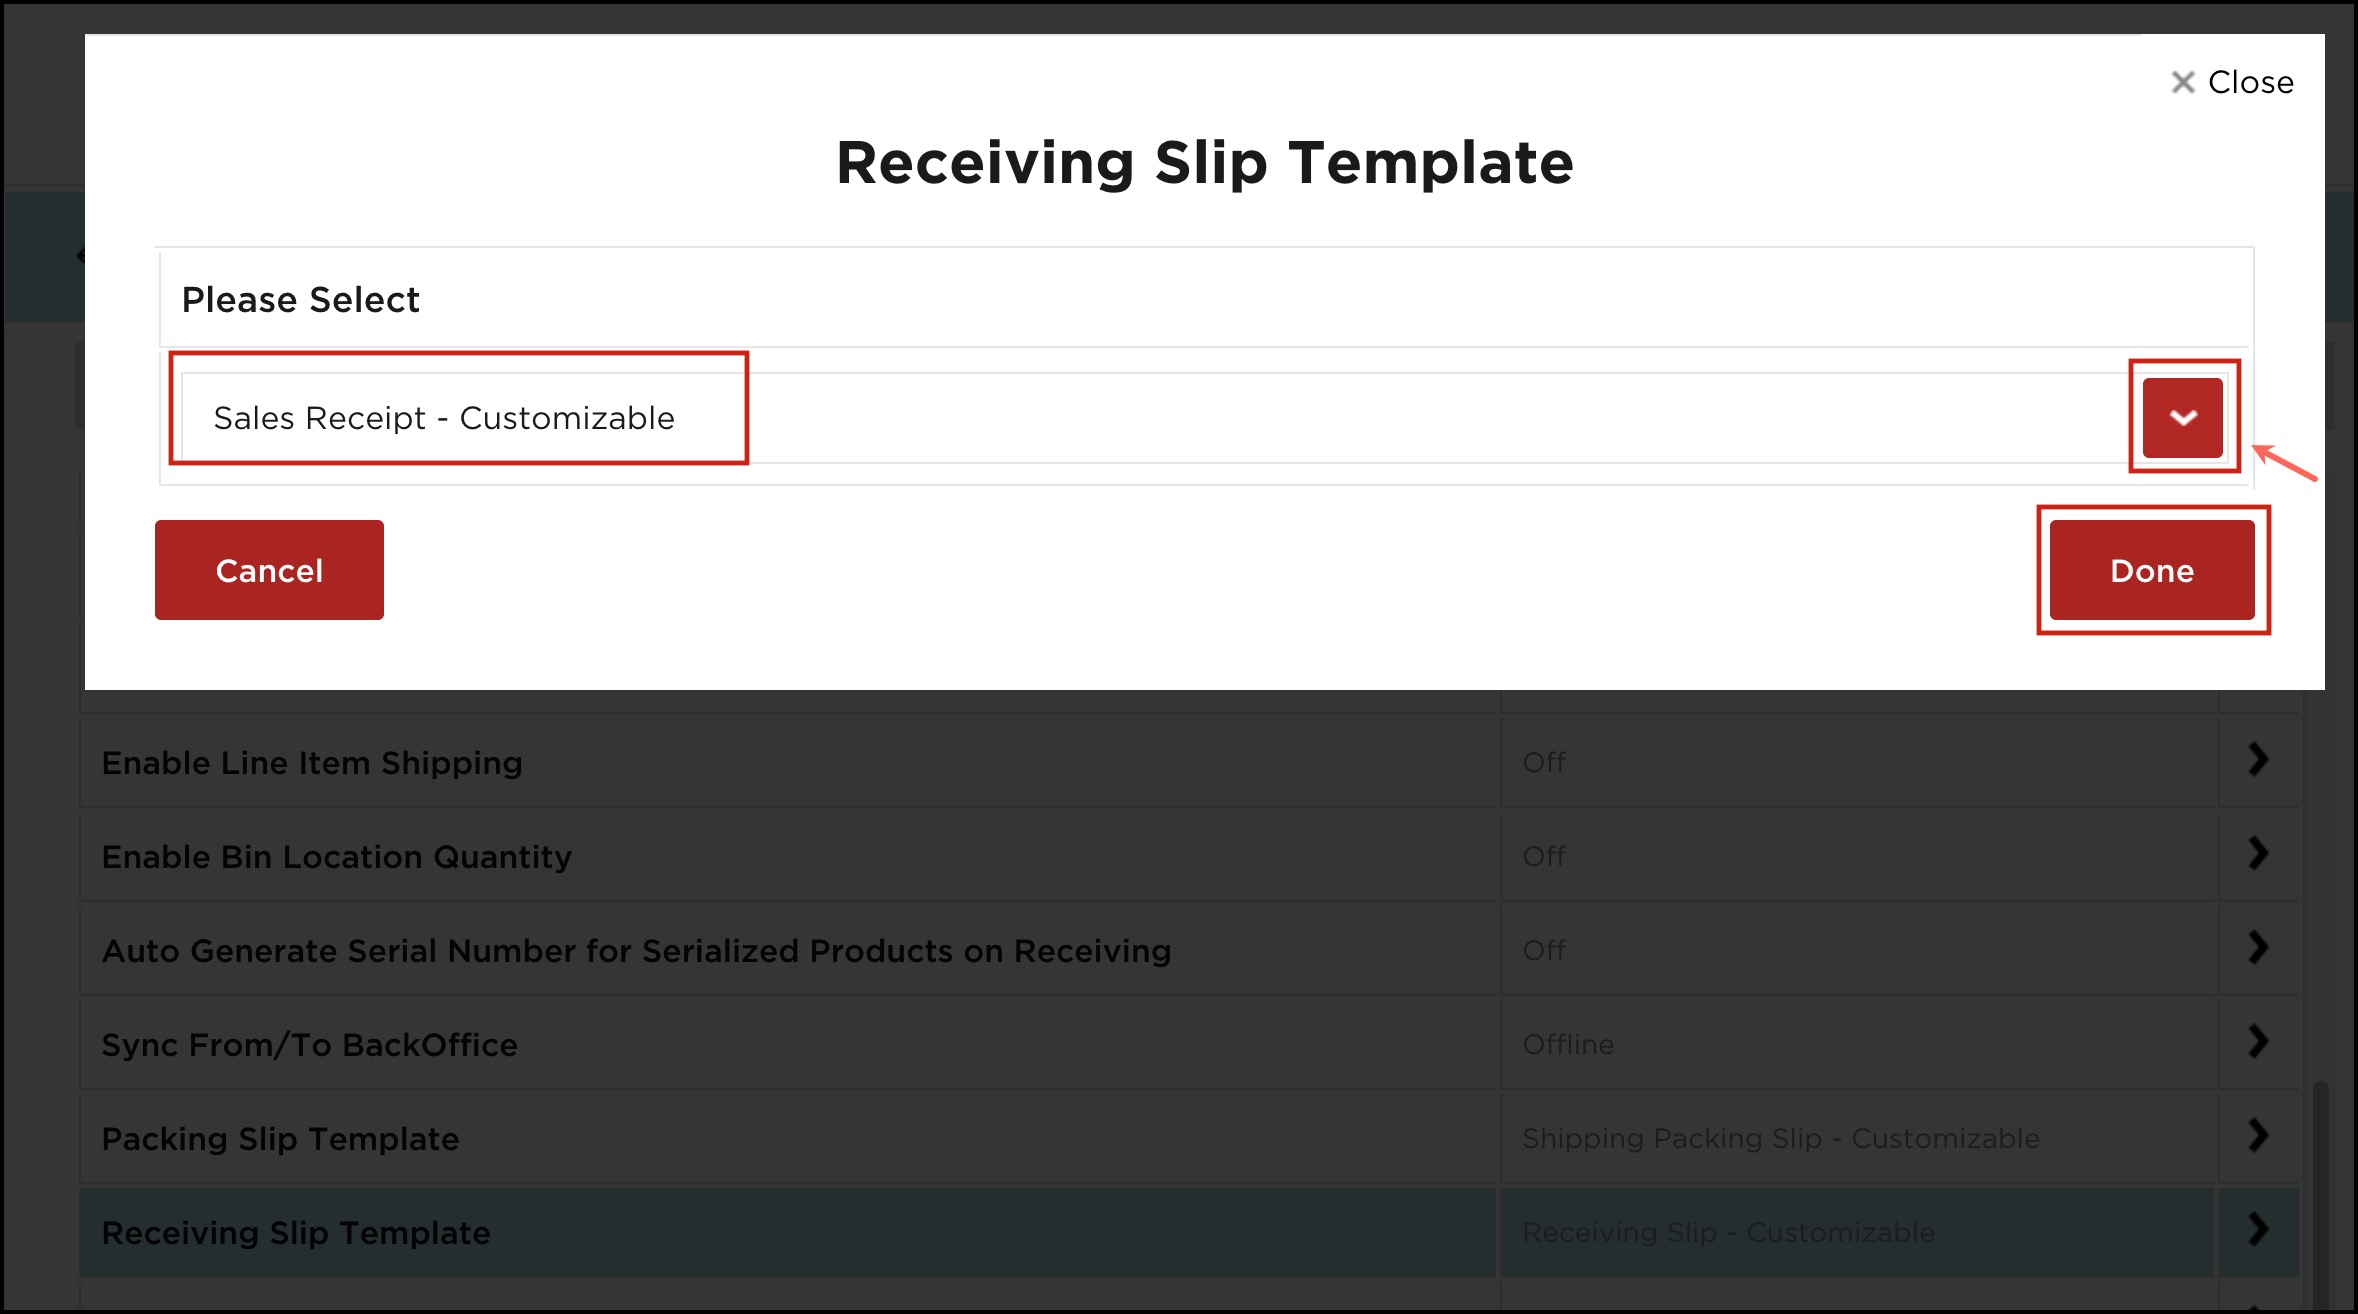
- Receiving Slip Template - To print a receiving slip, you can choose any one to print any template from the options or it will be set to the default one (this works for the receiving section).
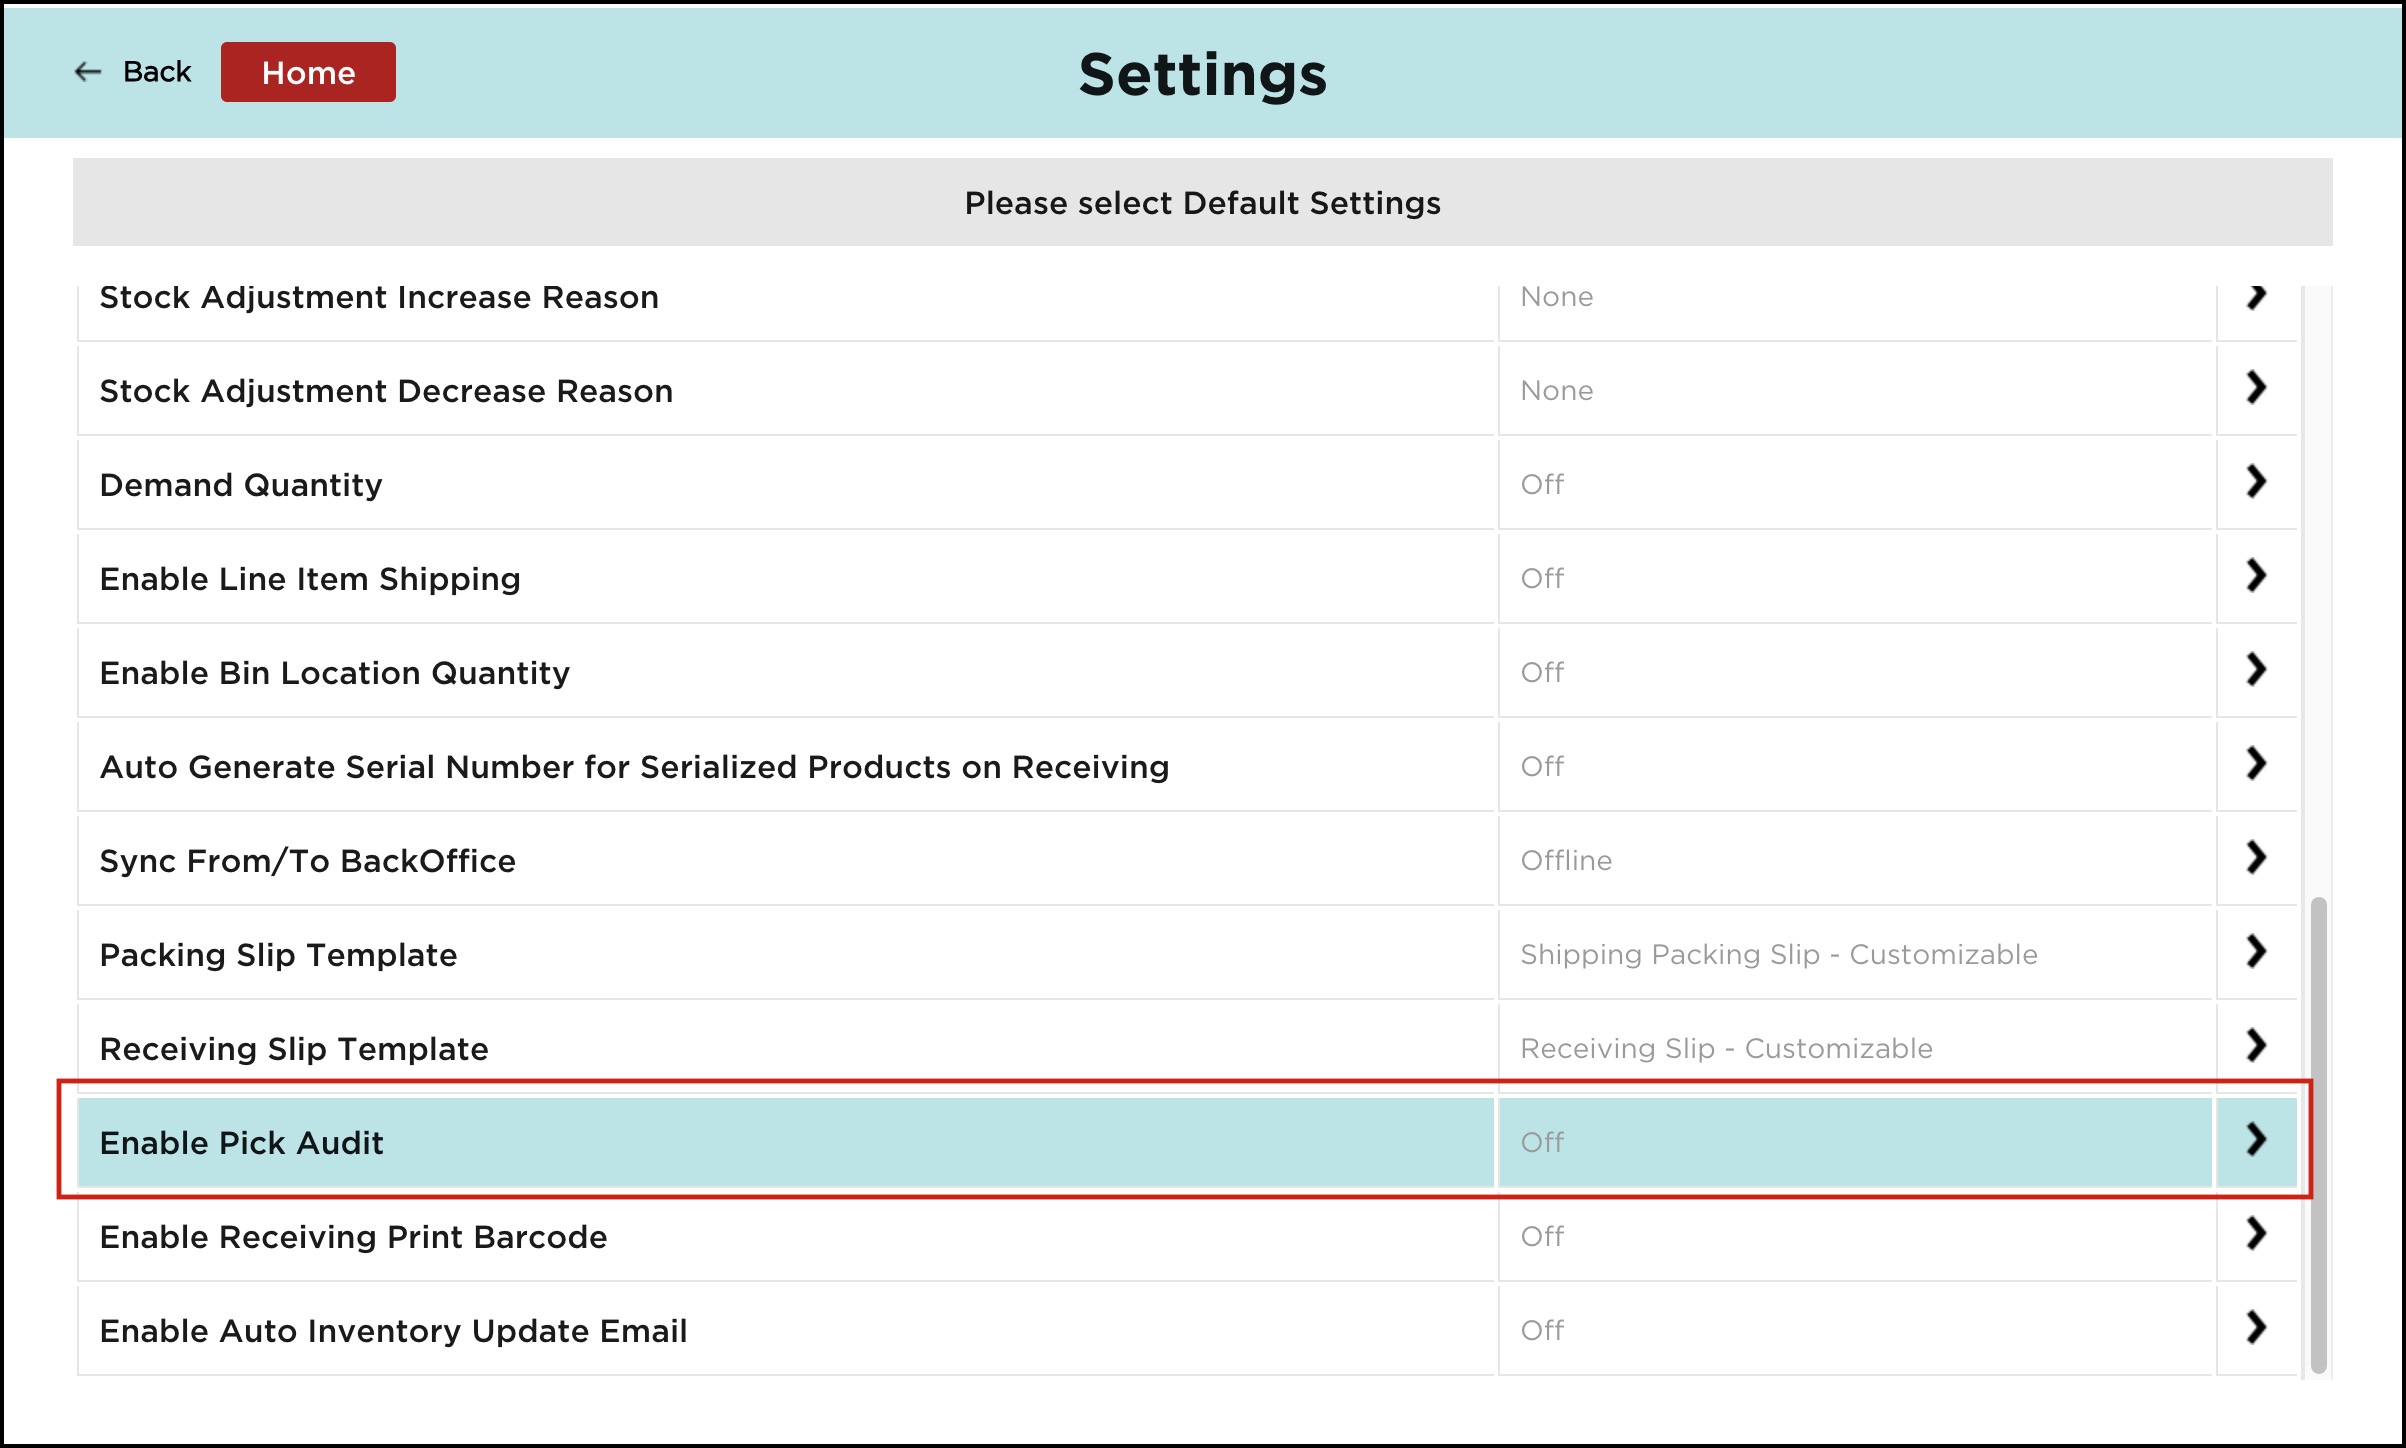
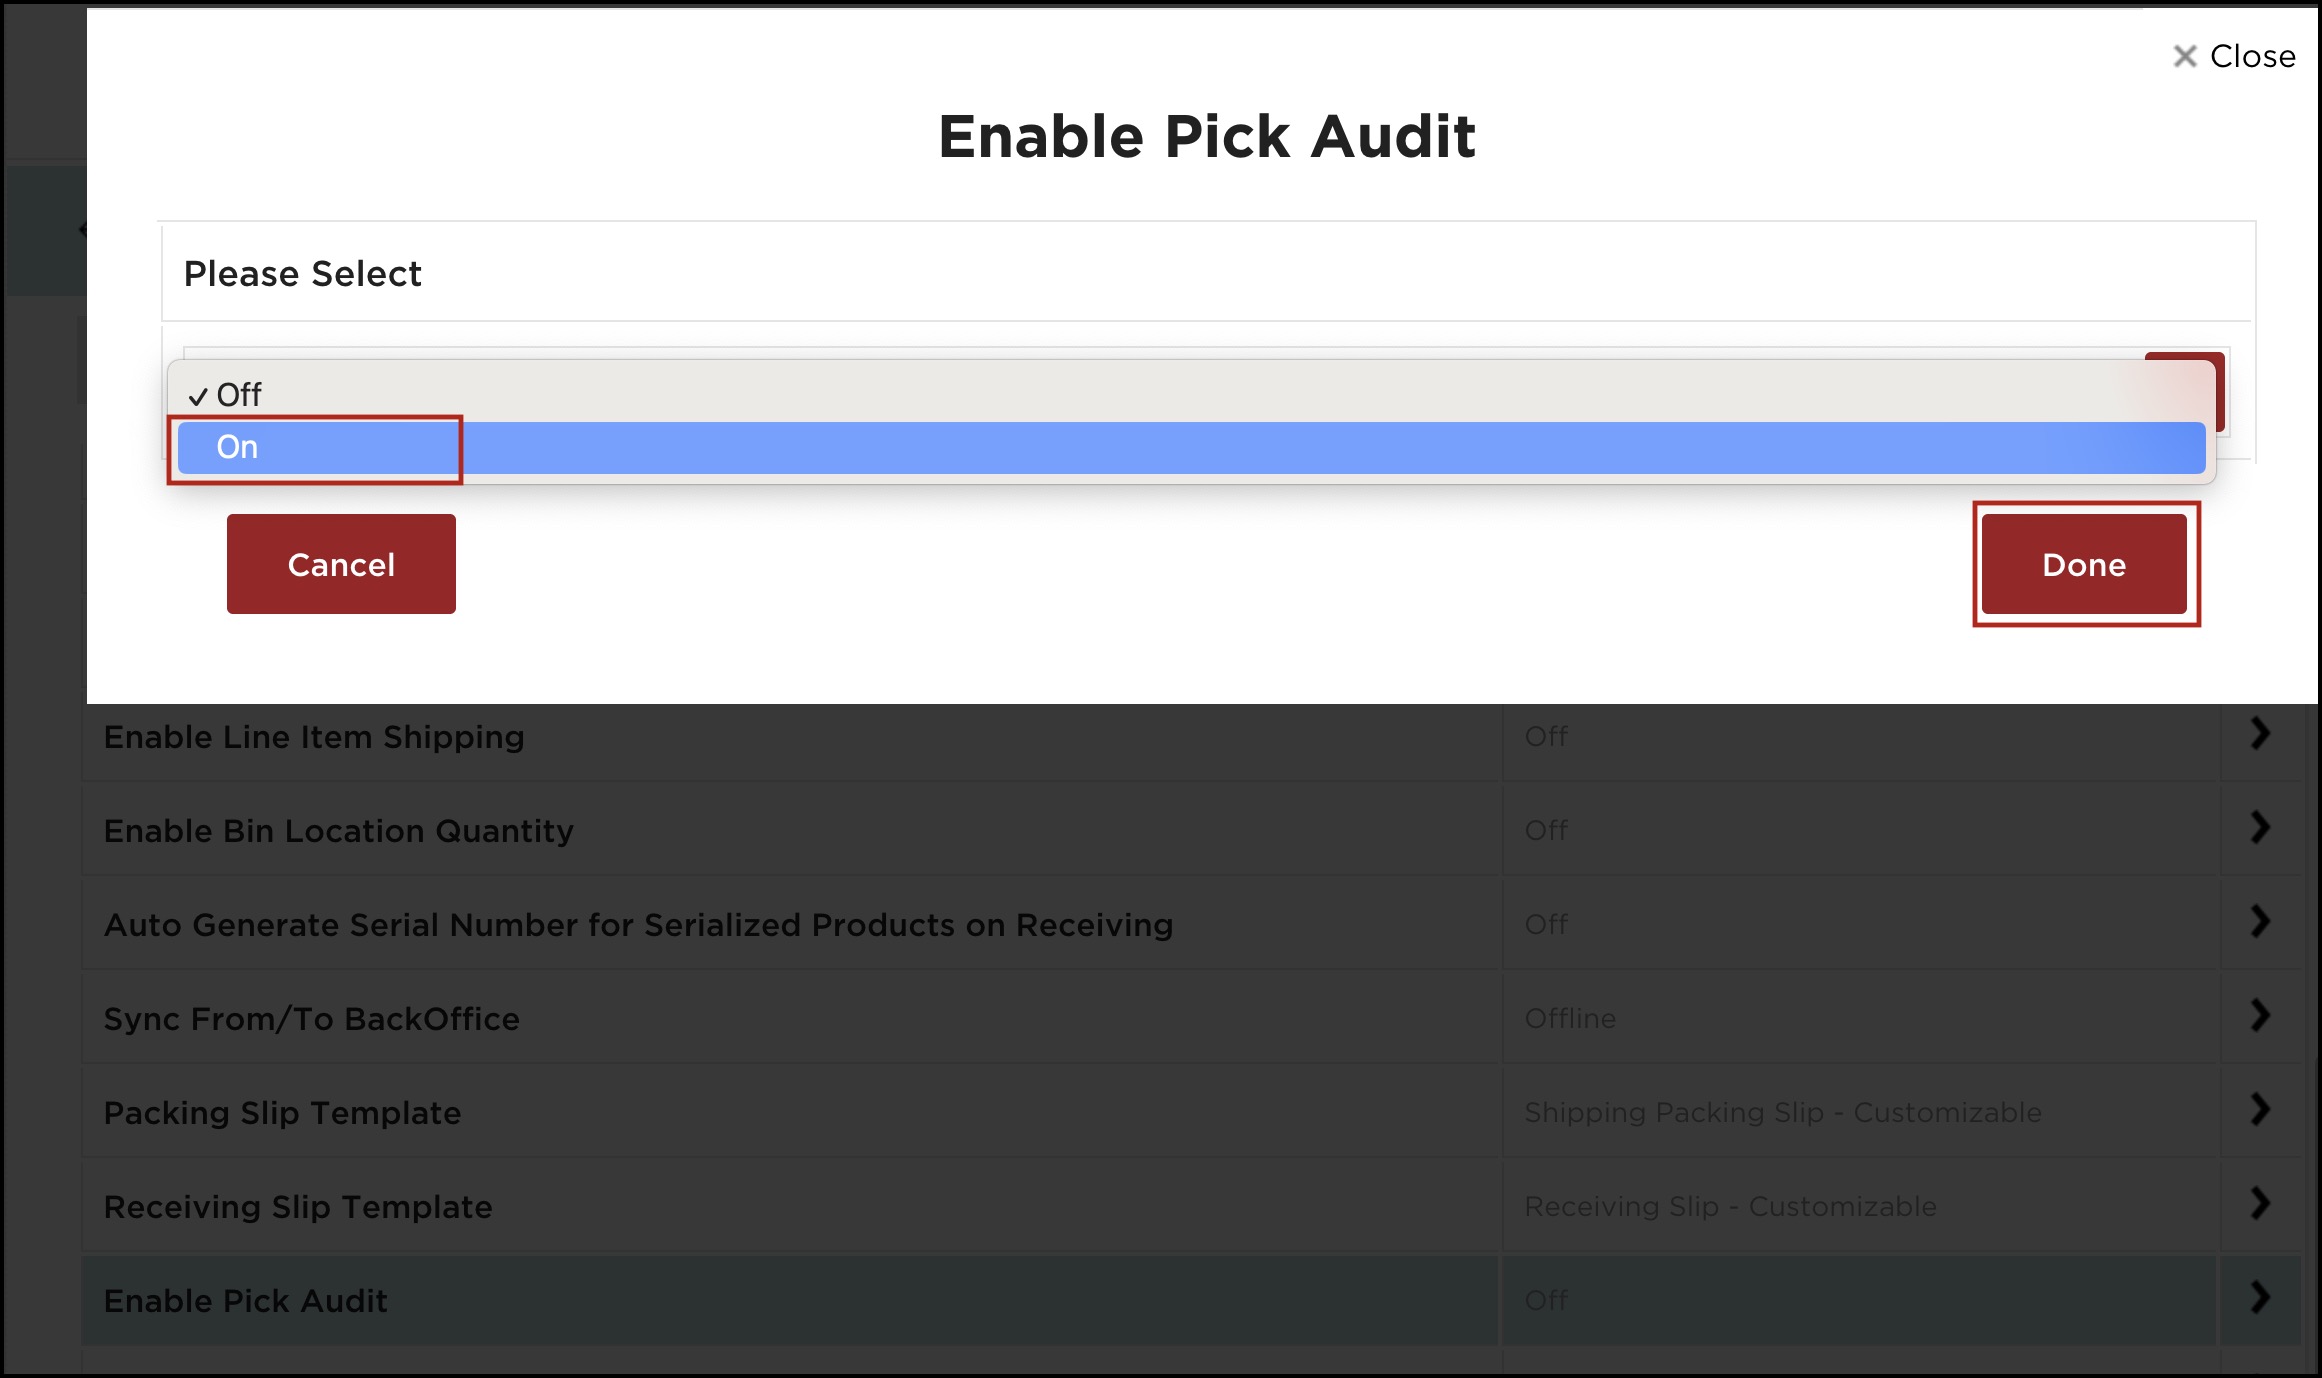
- Enable Pick Audit - Setting this feature to /'on' will allow auditing in the pick and pack-ship workflow.
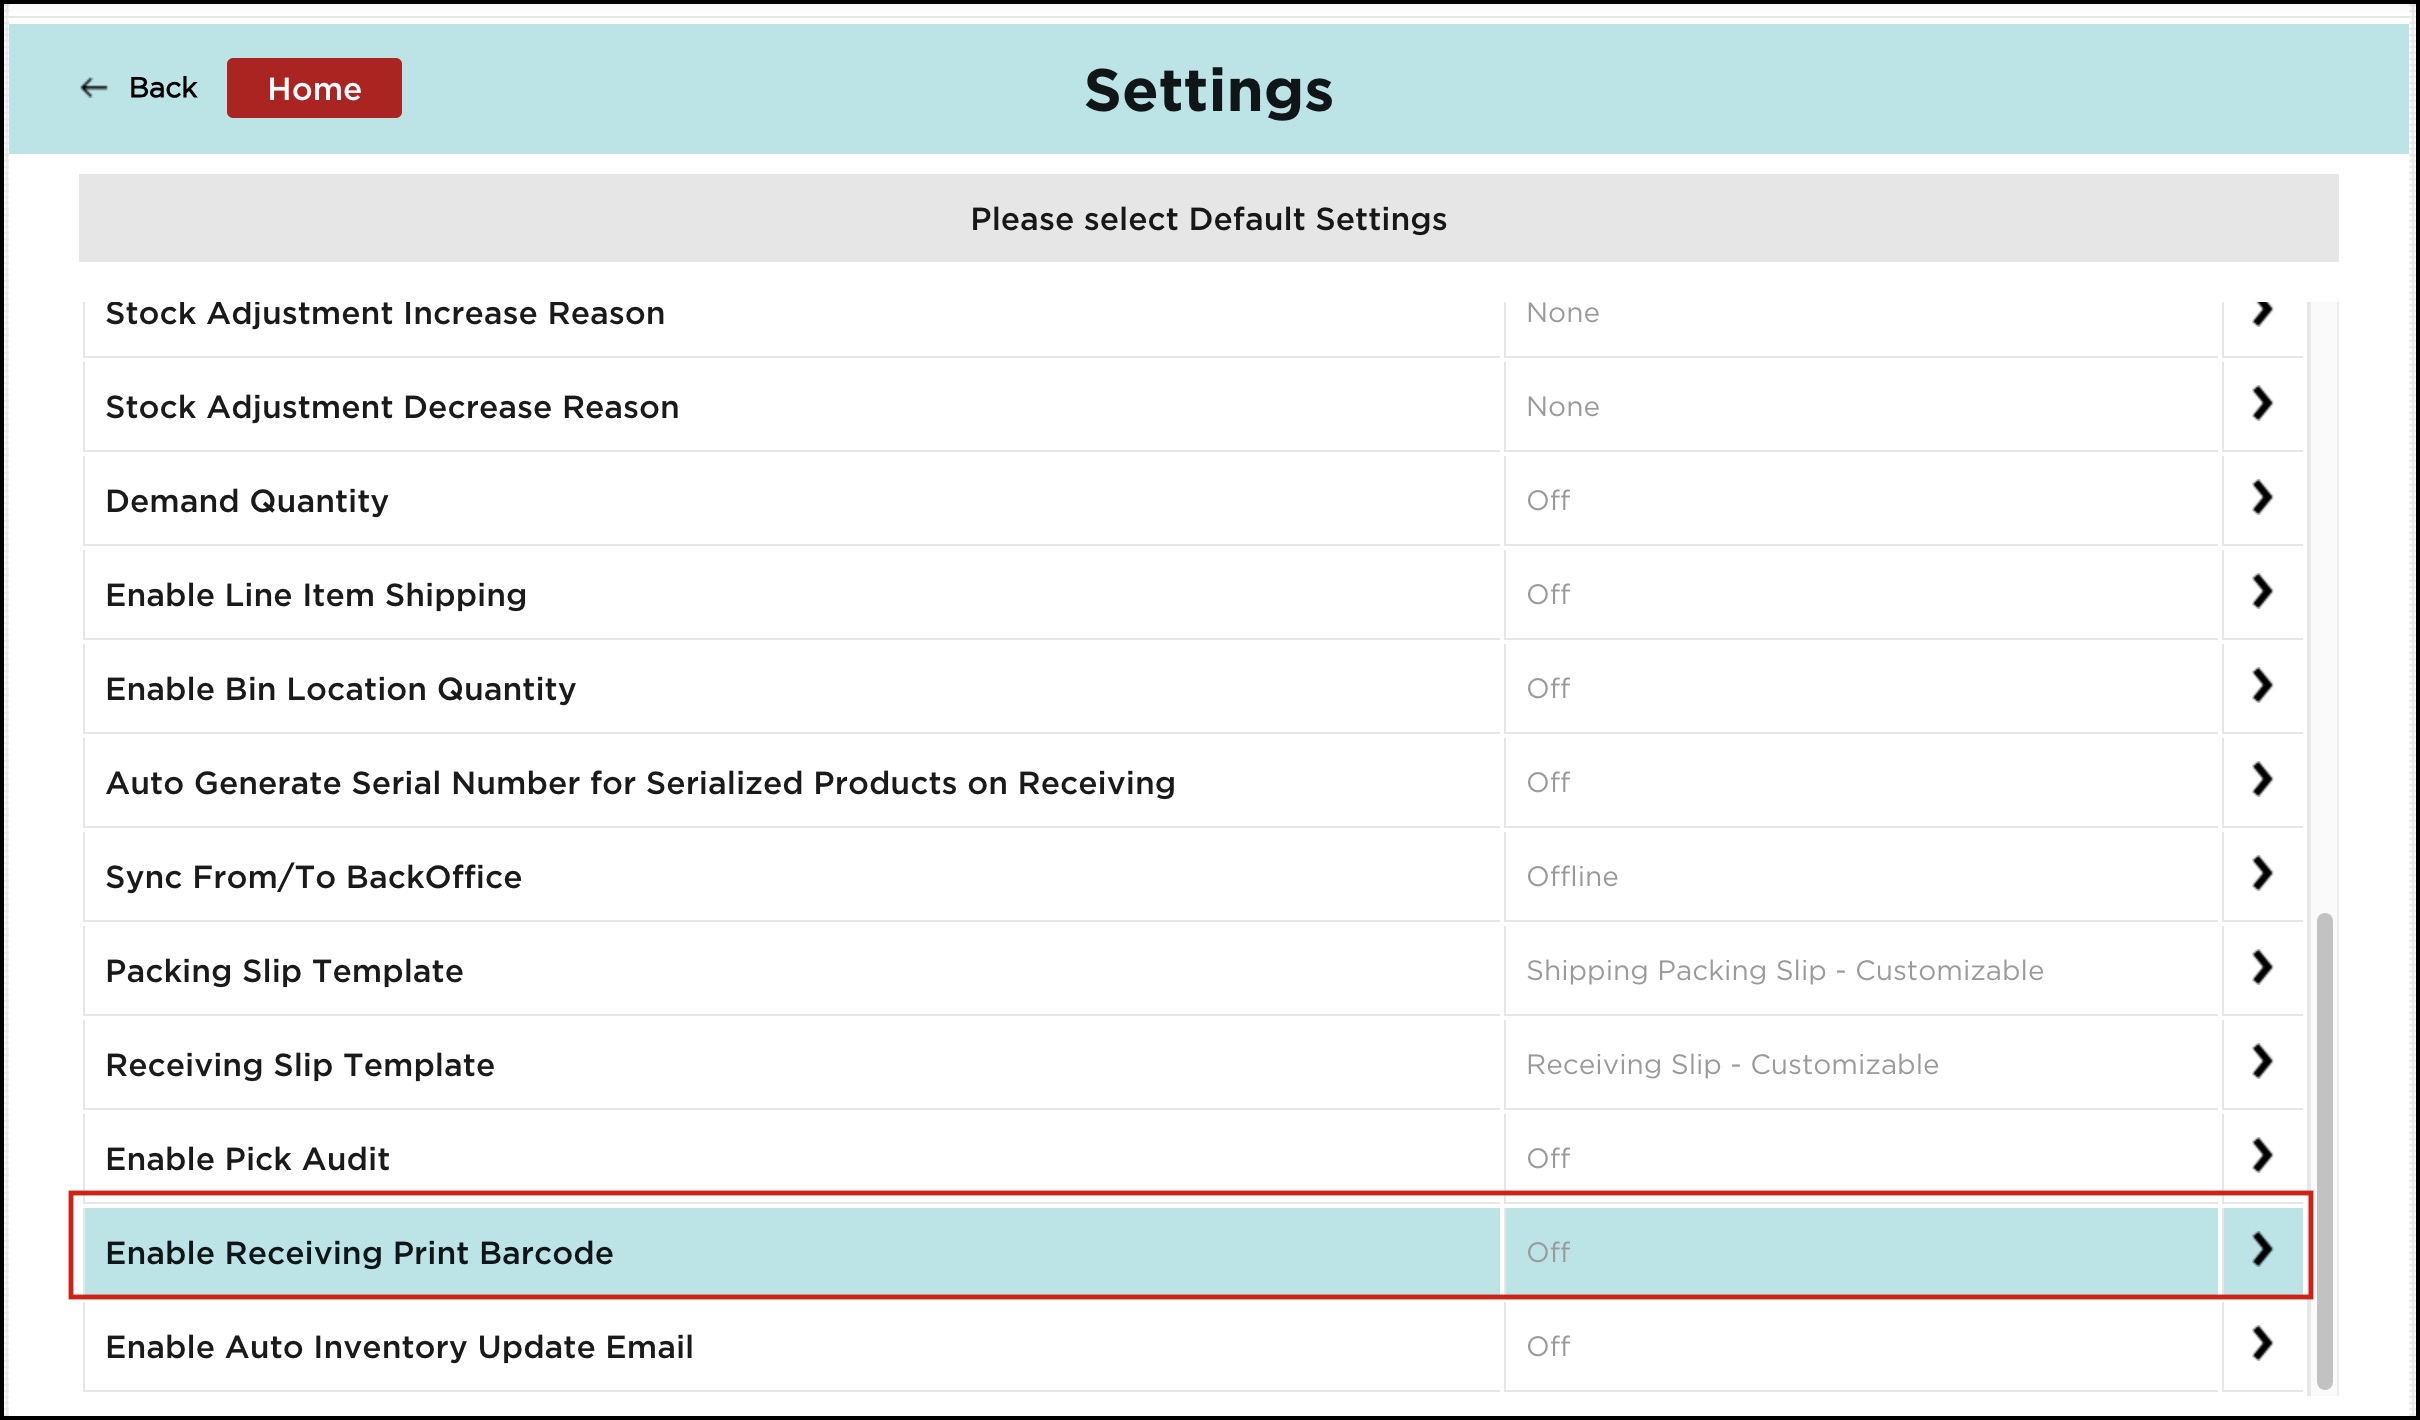
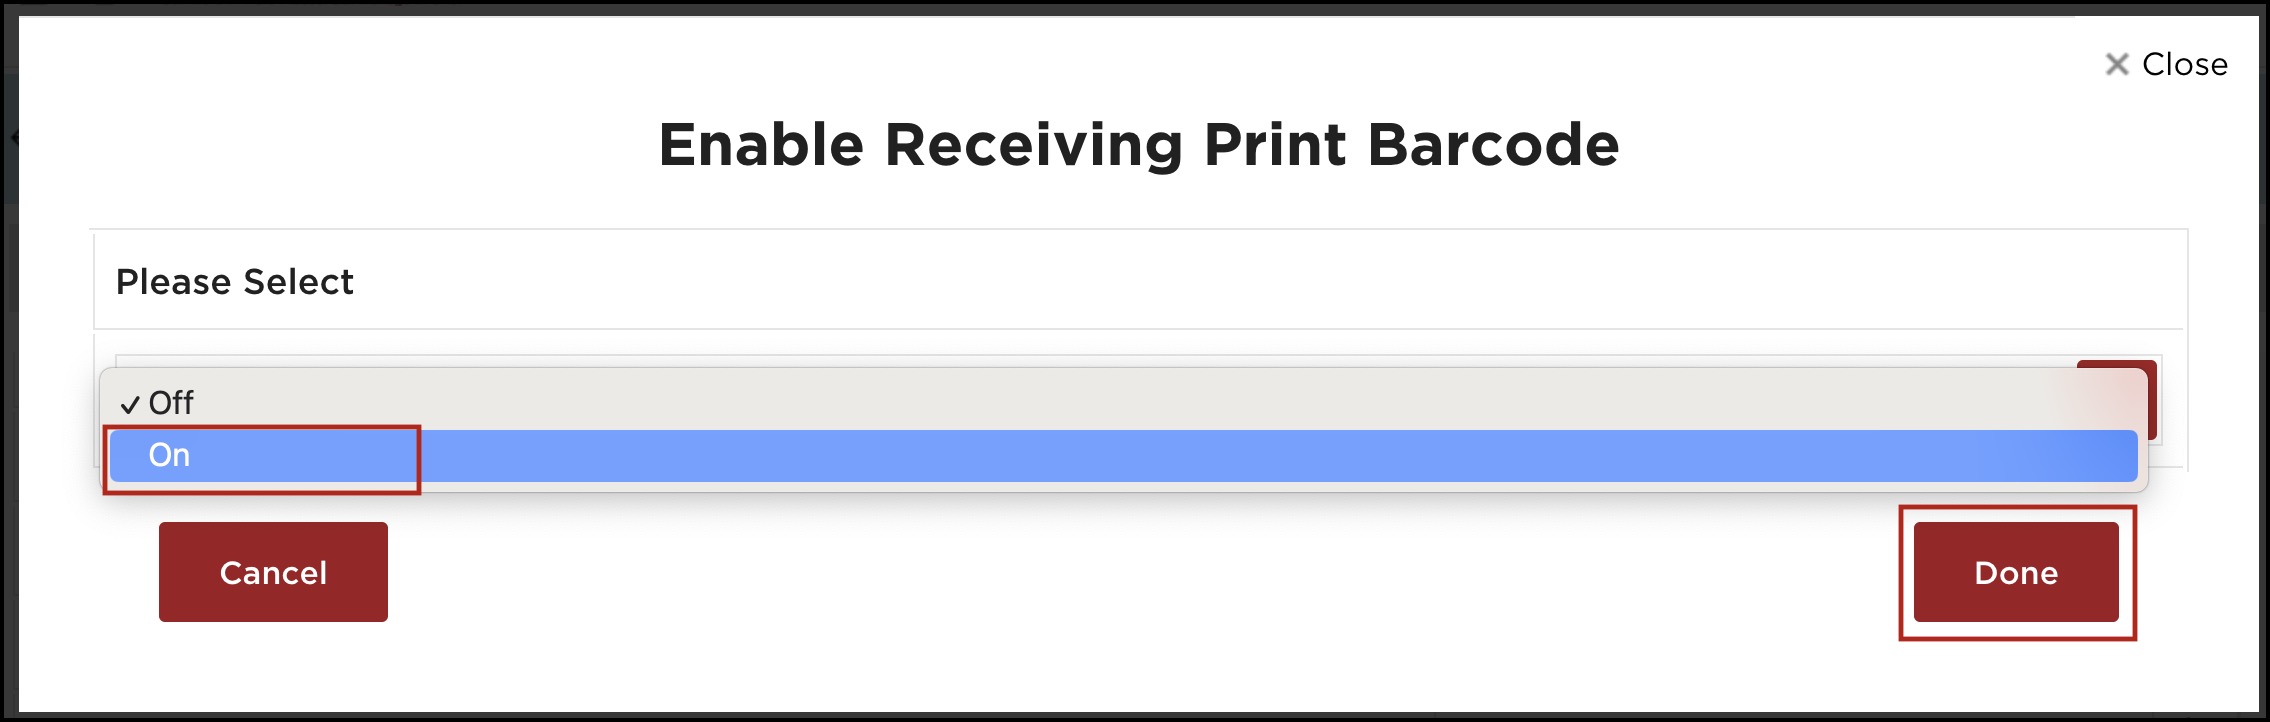
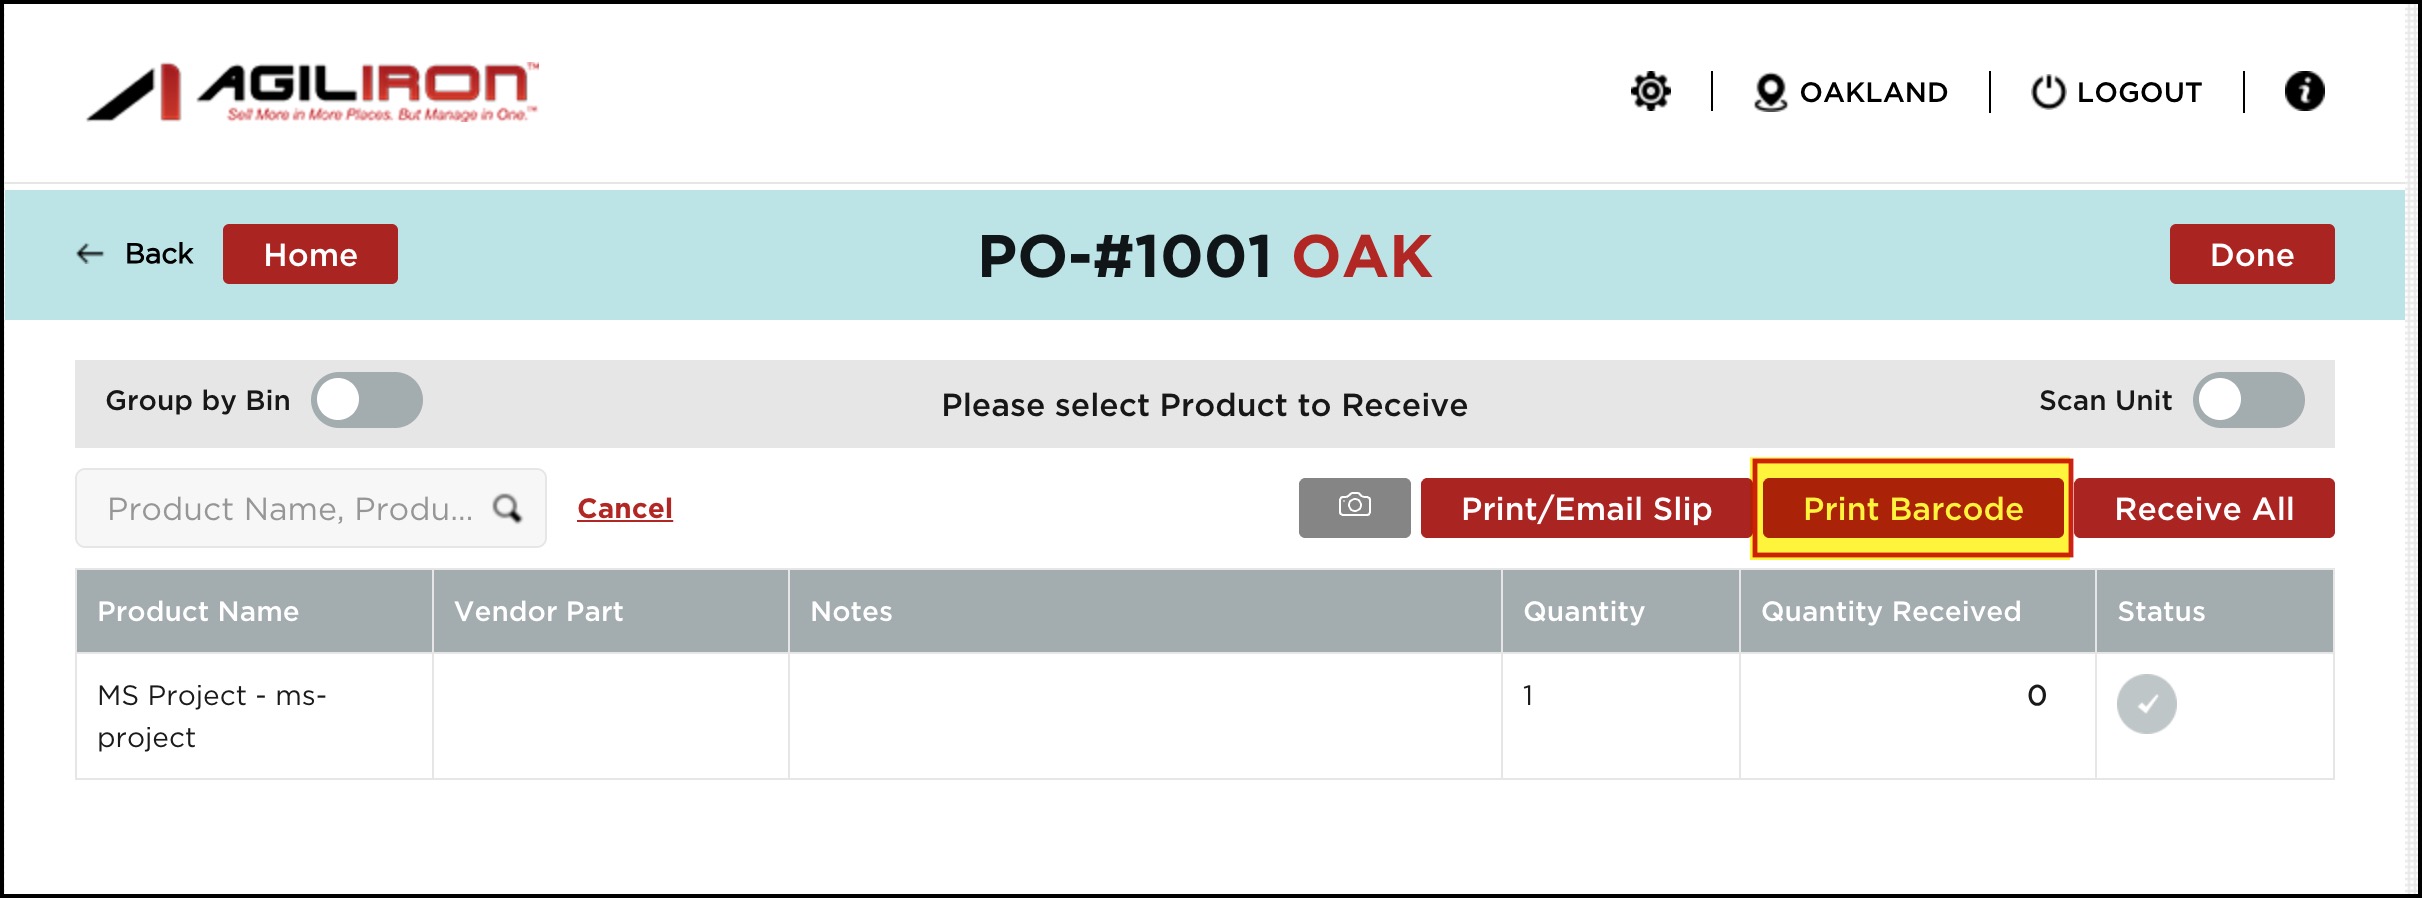
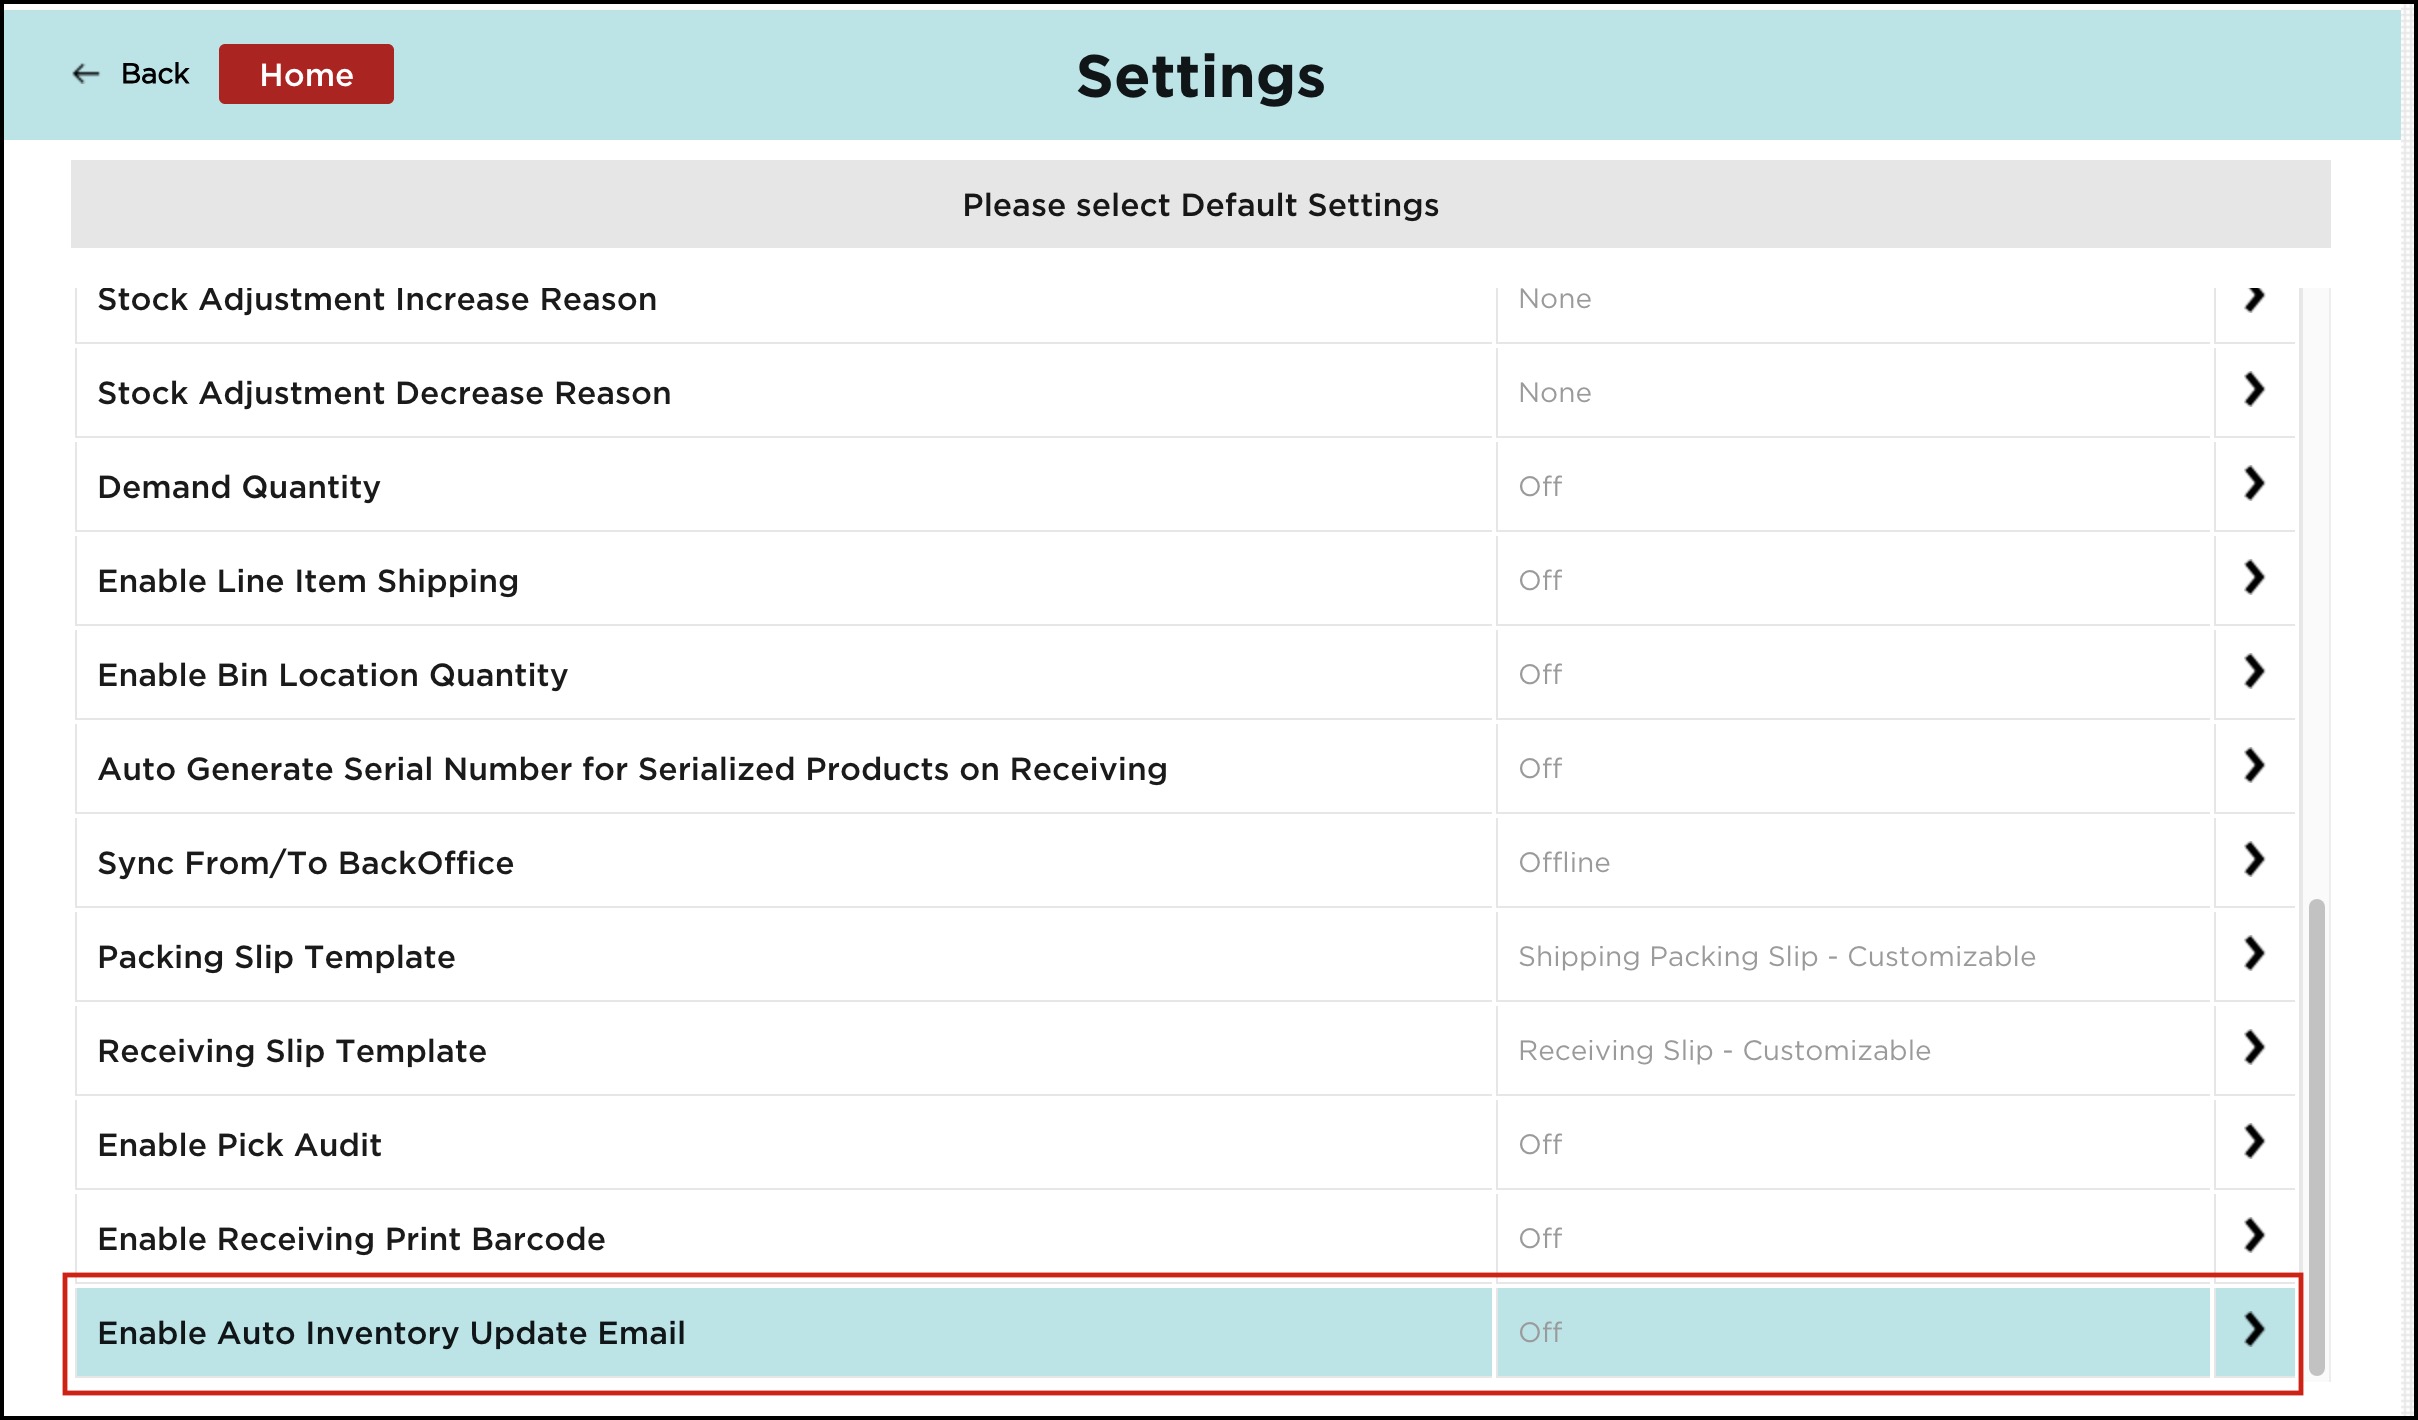
- Enable Receiving Print Barcode - If this is set to 'On', then this will enable the Print Barcode option in the receive workflow.
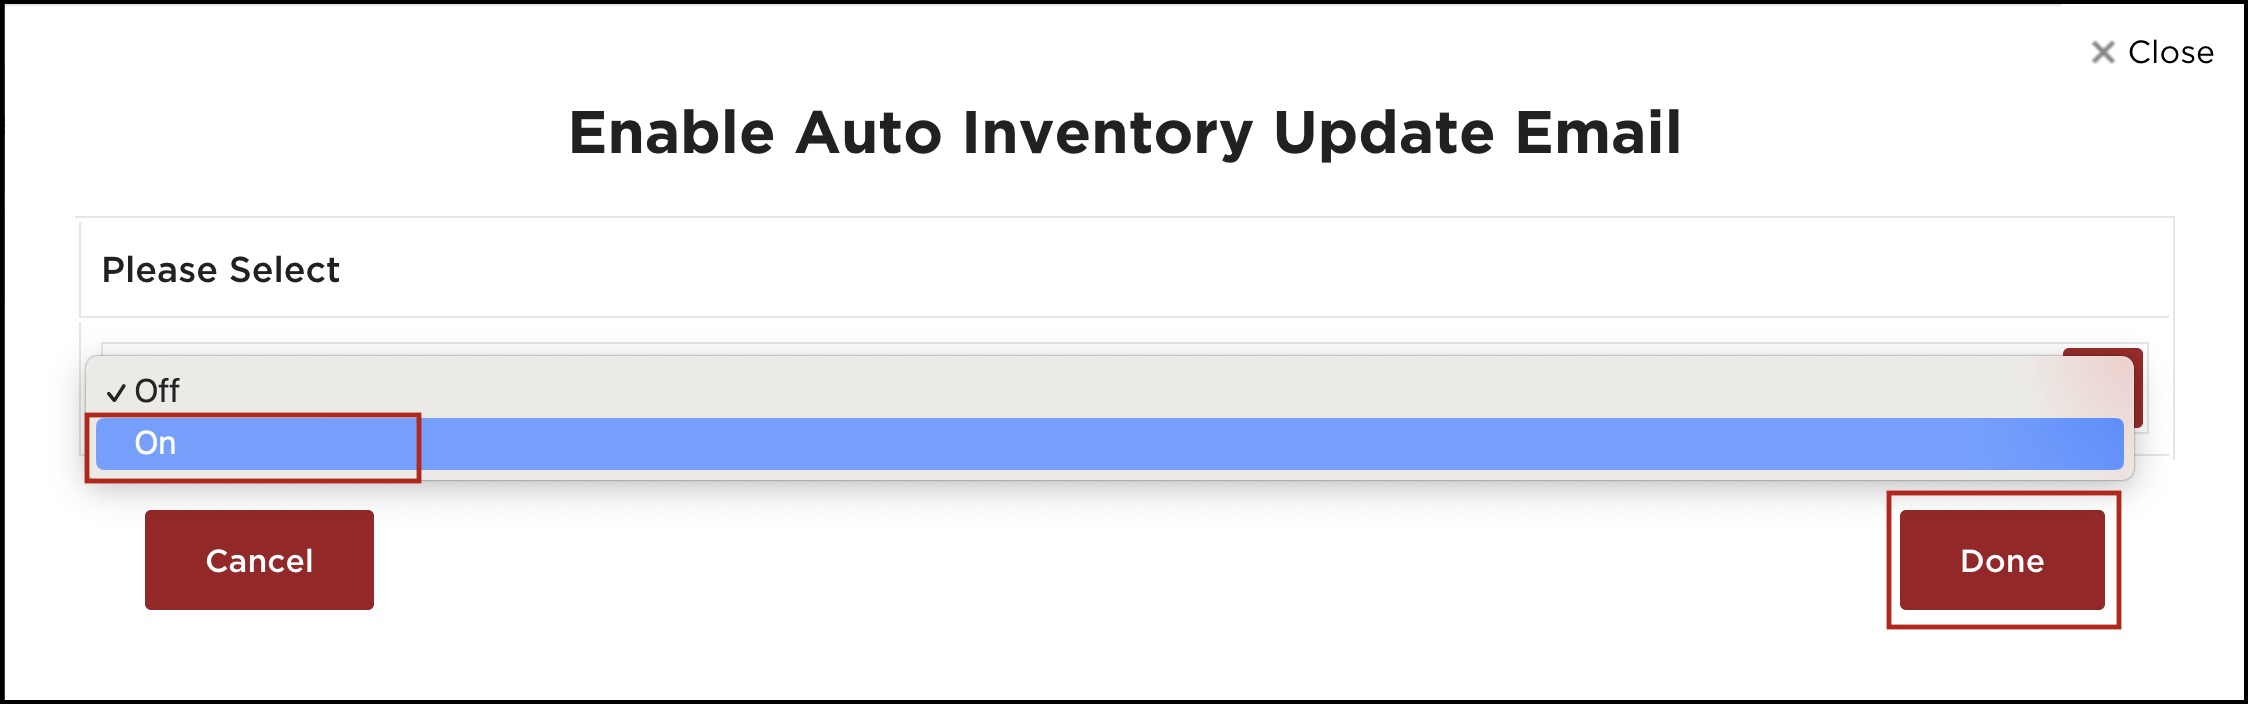
- Enable Auto Inventory Update Email - This will allow you to receive the Cycle Count CSV file by email automatically.
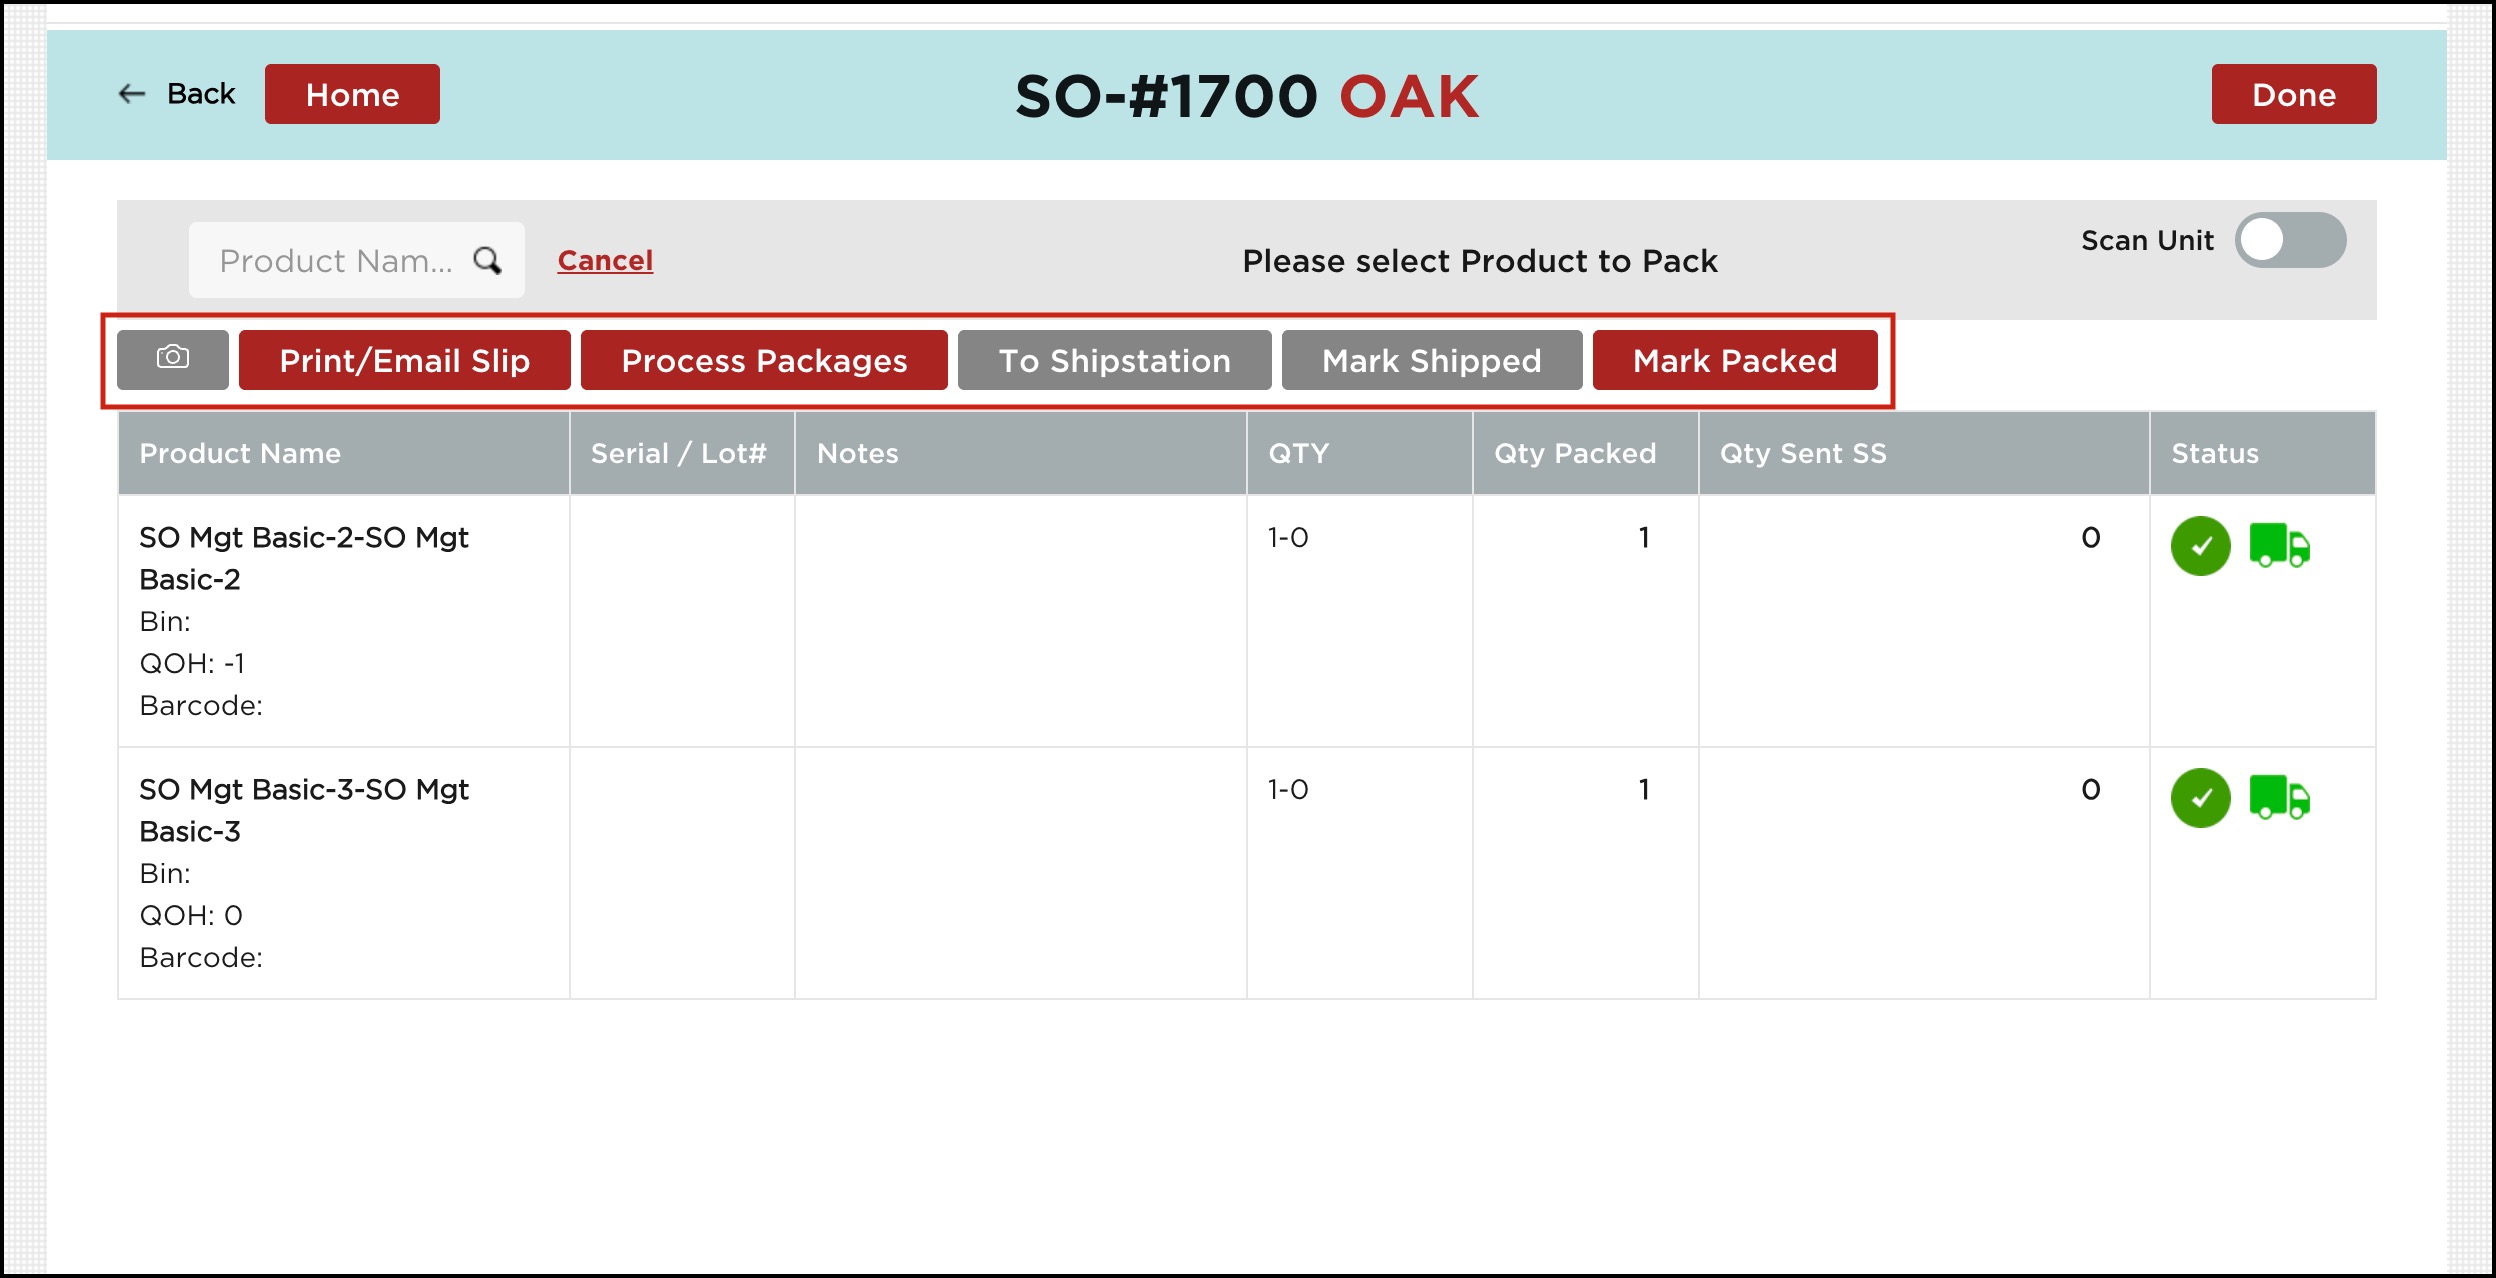
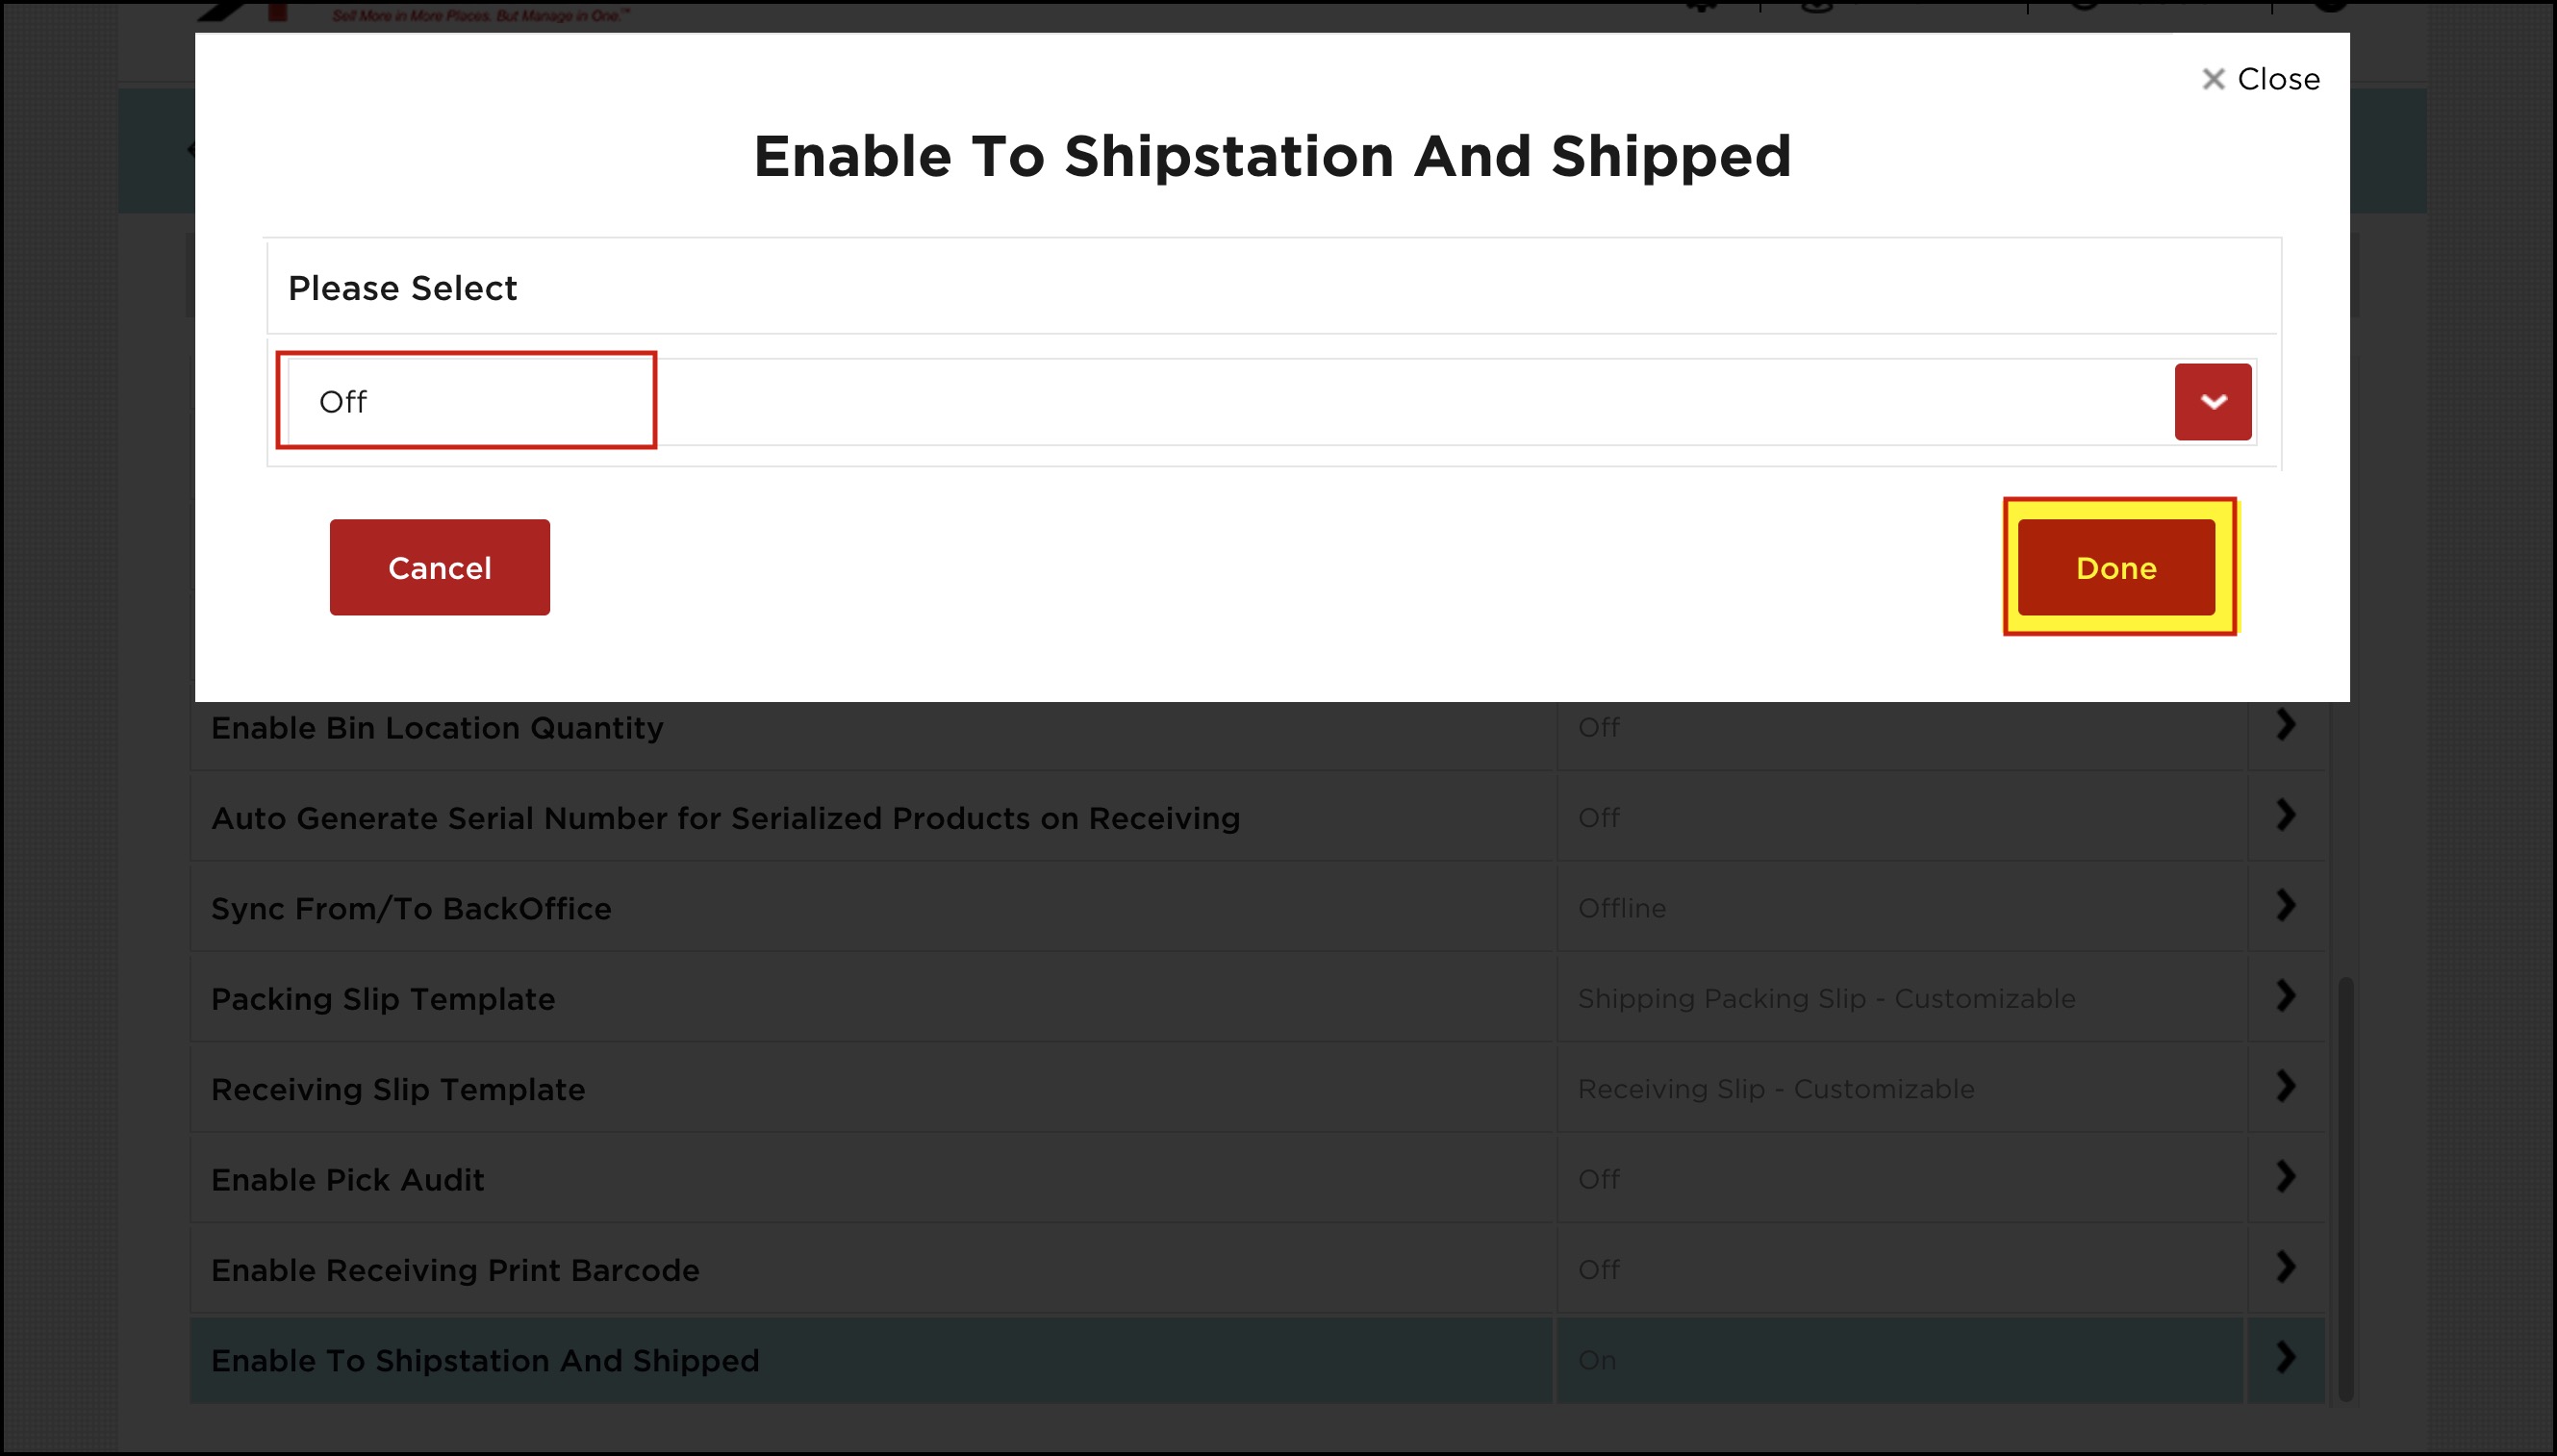
- Enable To ShipStation And Shipped - This setting is by default set to 'On'. If the Pack-Ship workflow is enabled, then the send To ShipStation and Mark Shipped options are available in the Pack-Ship flow.
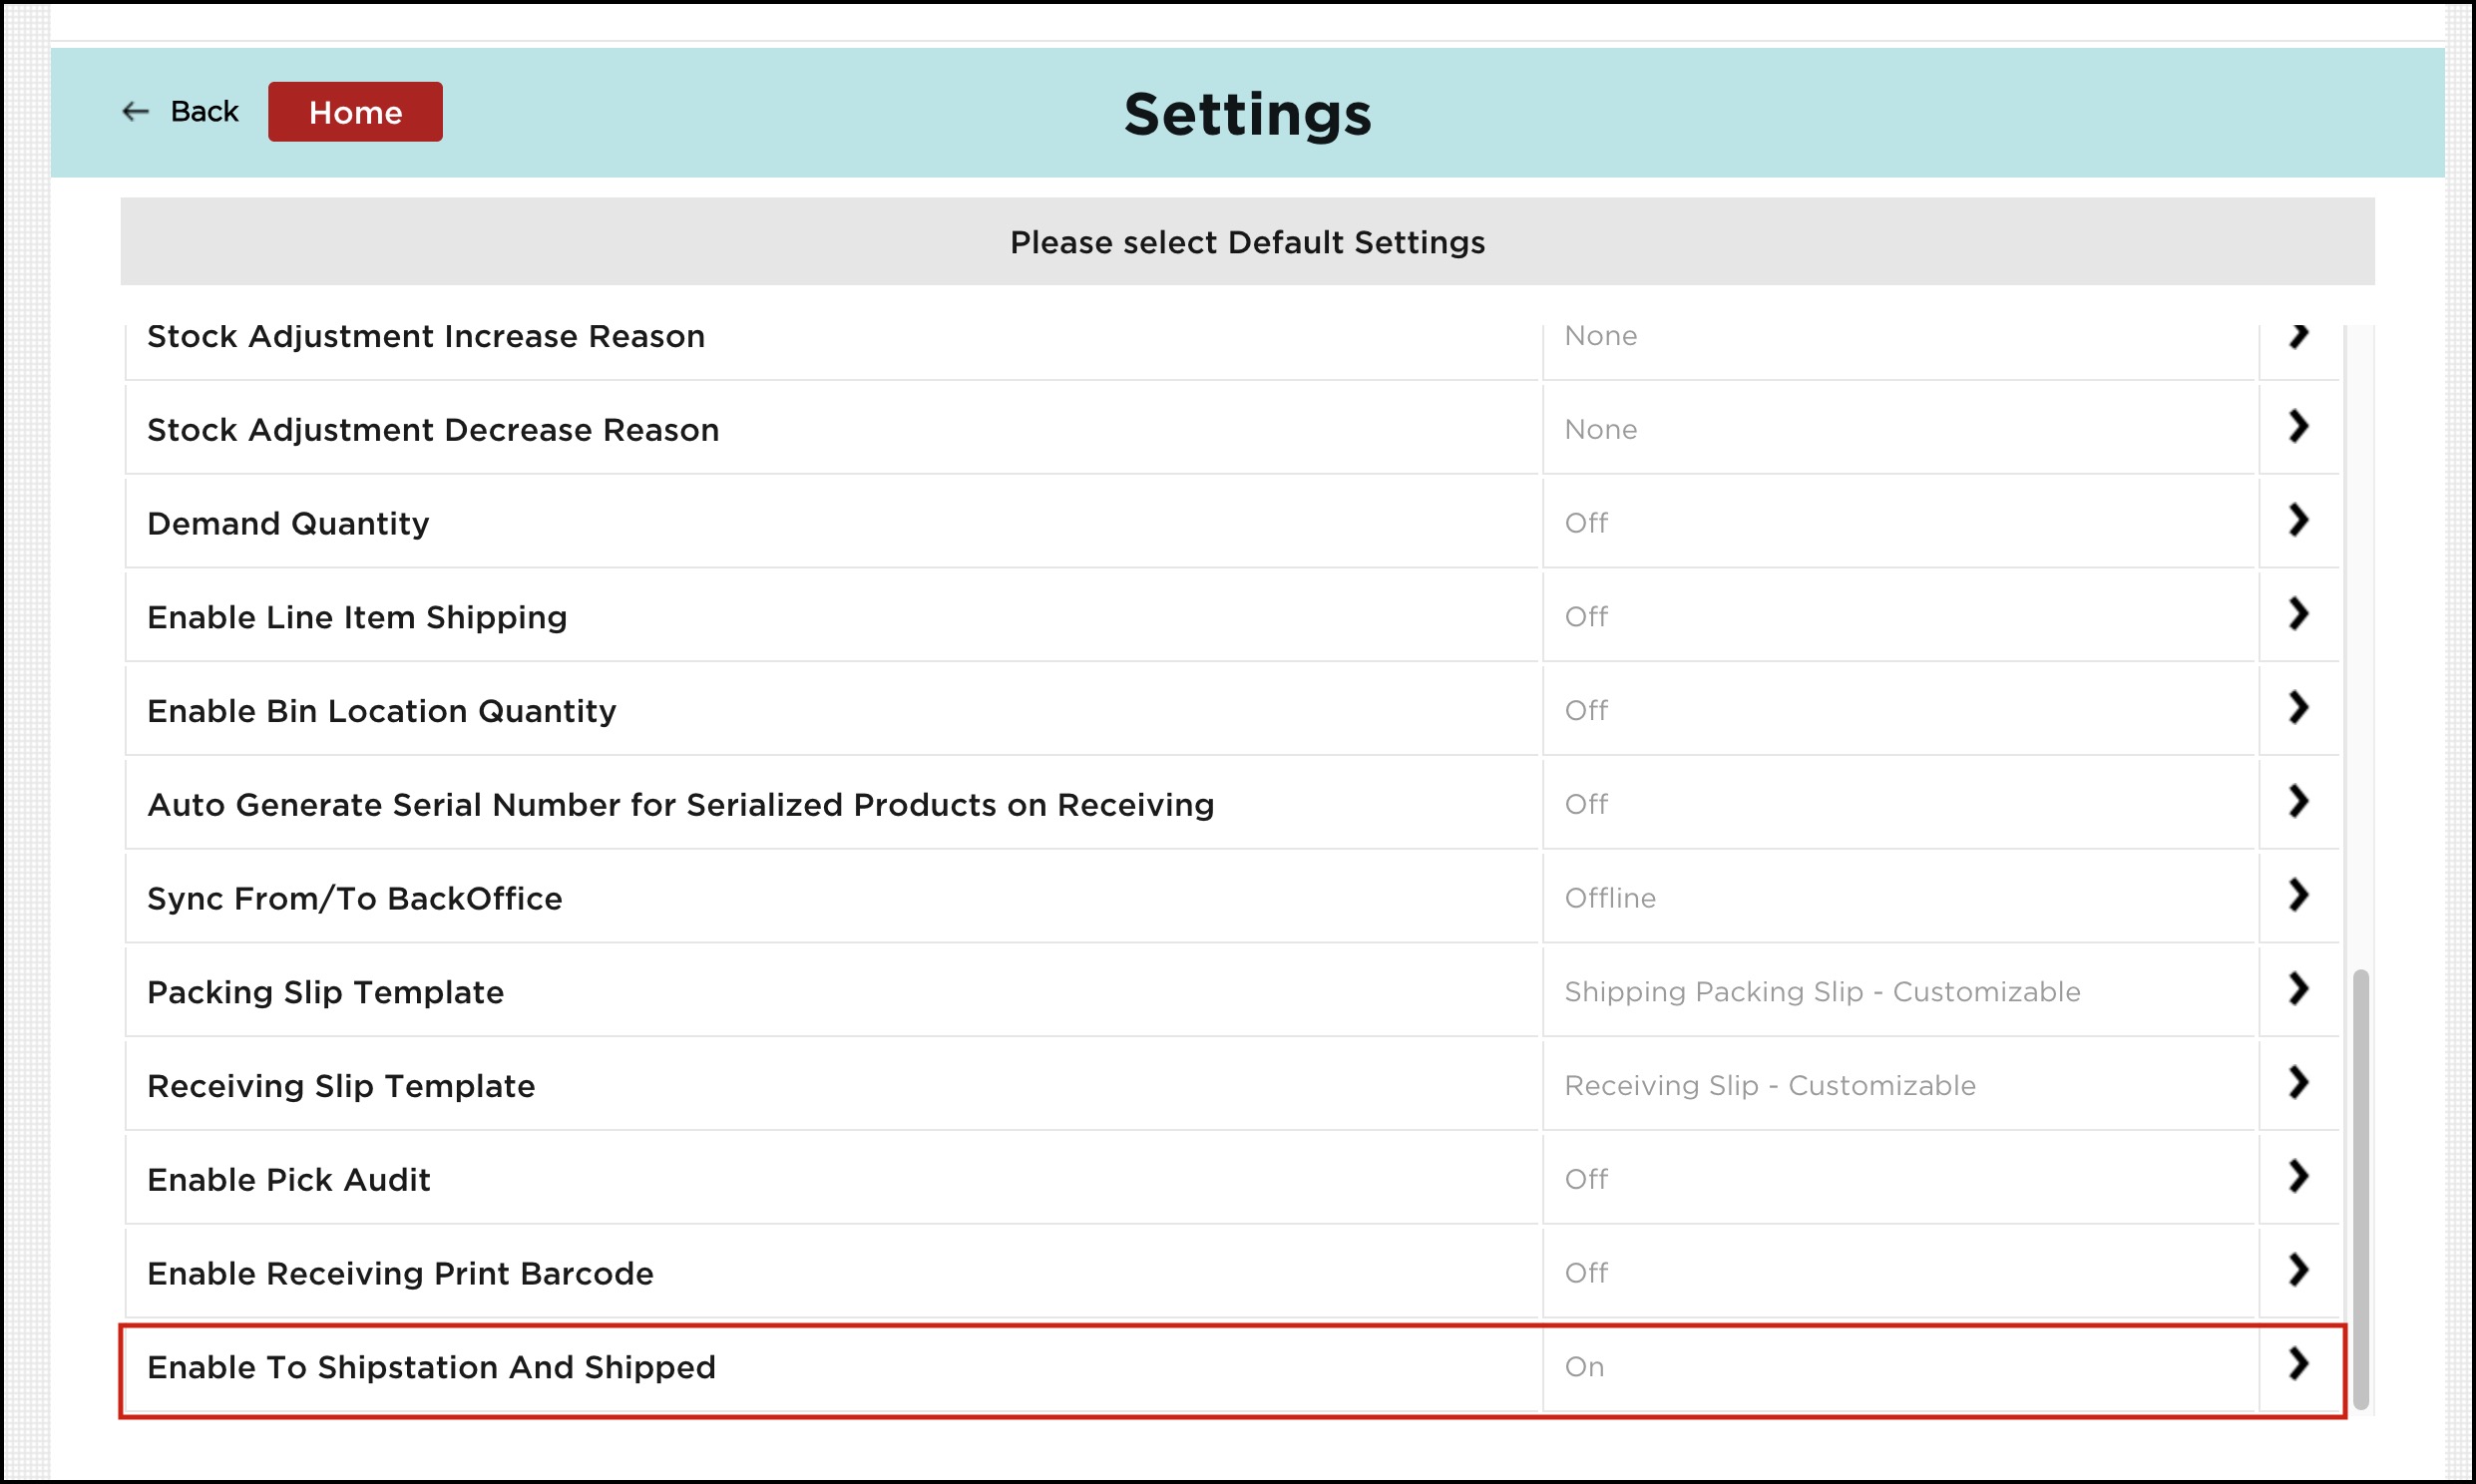
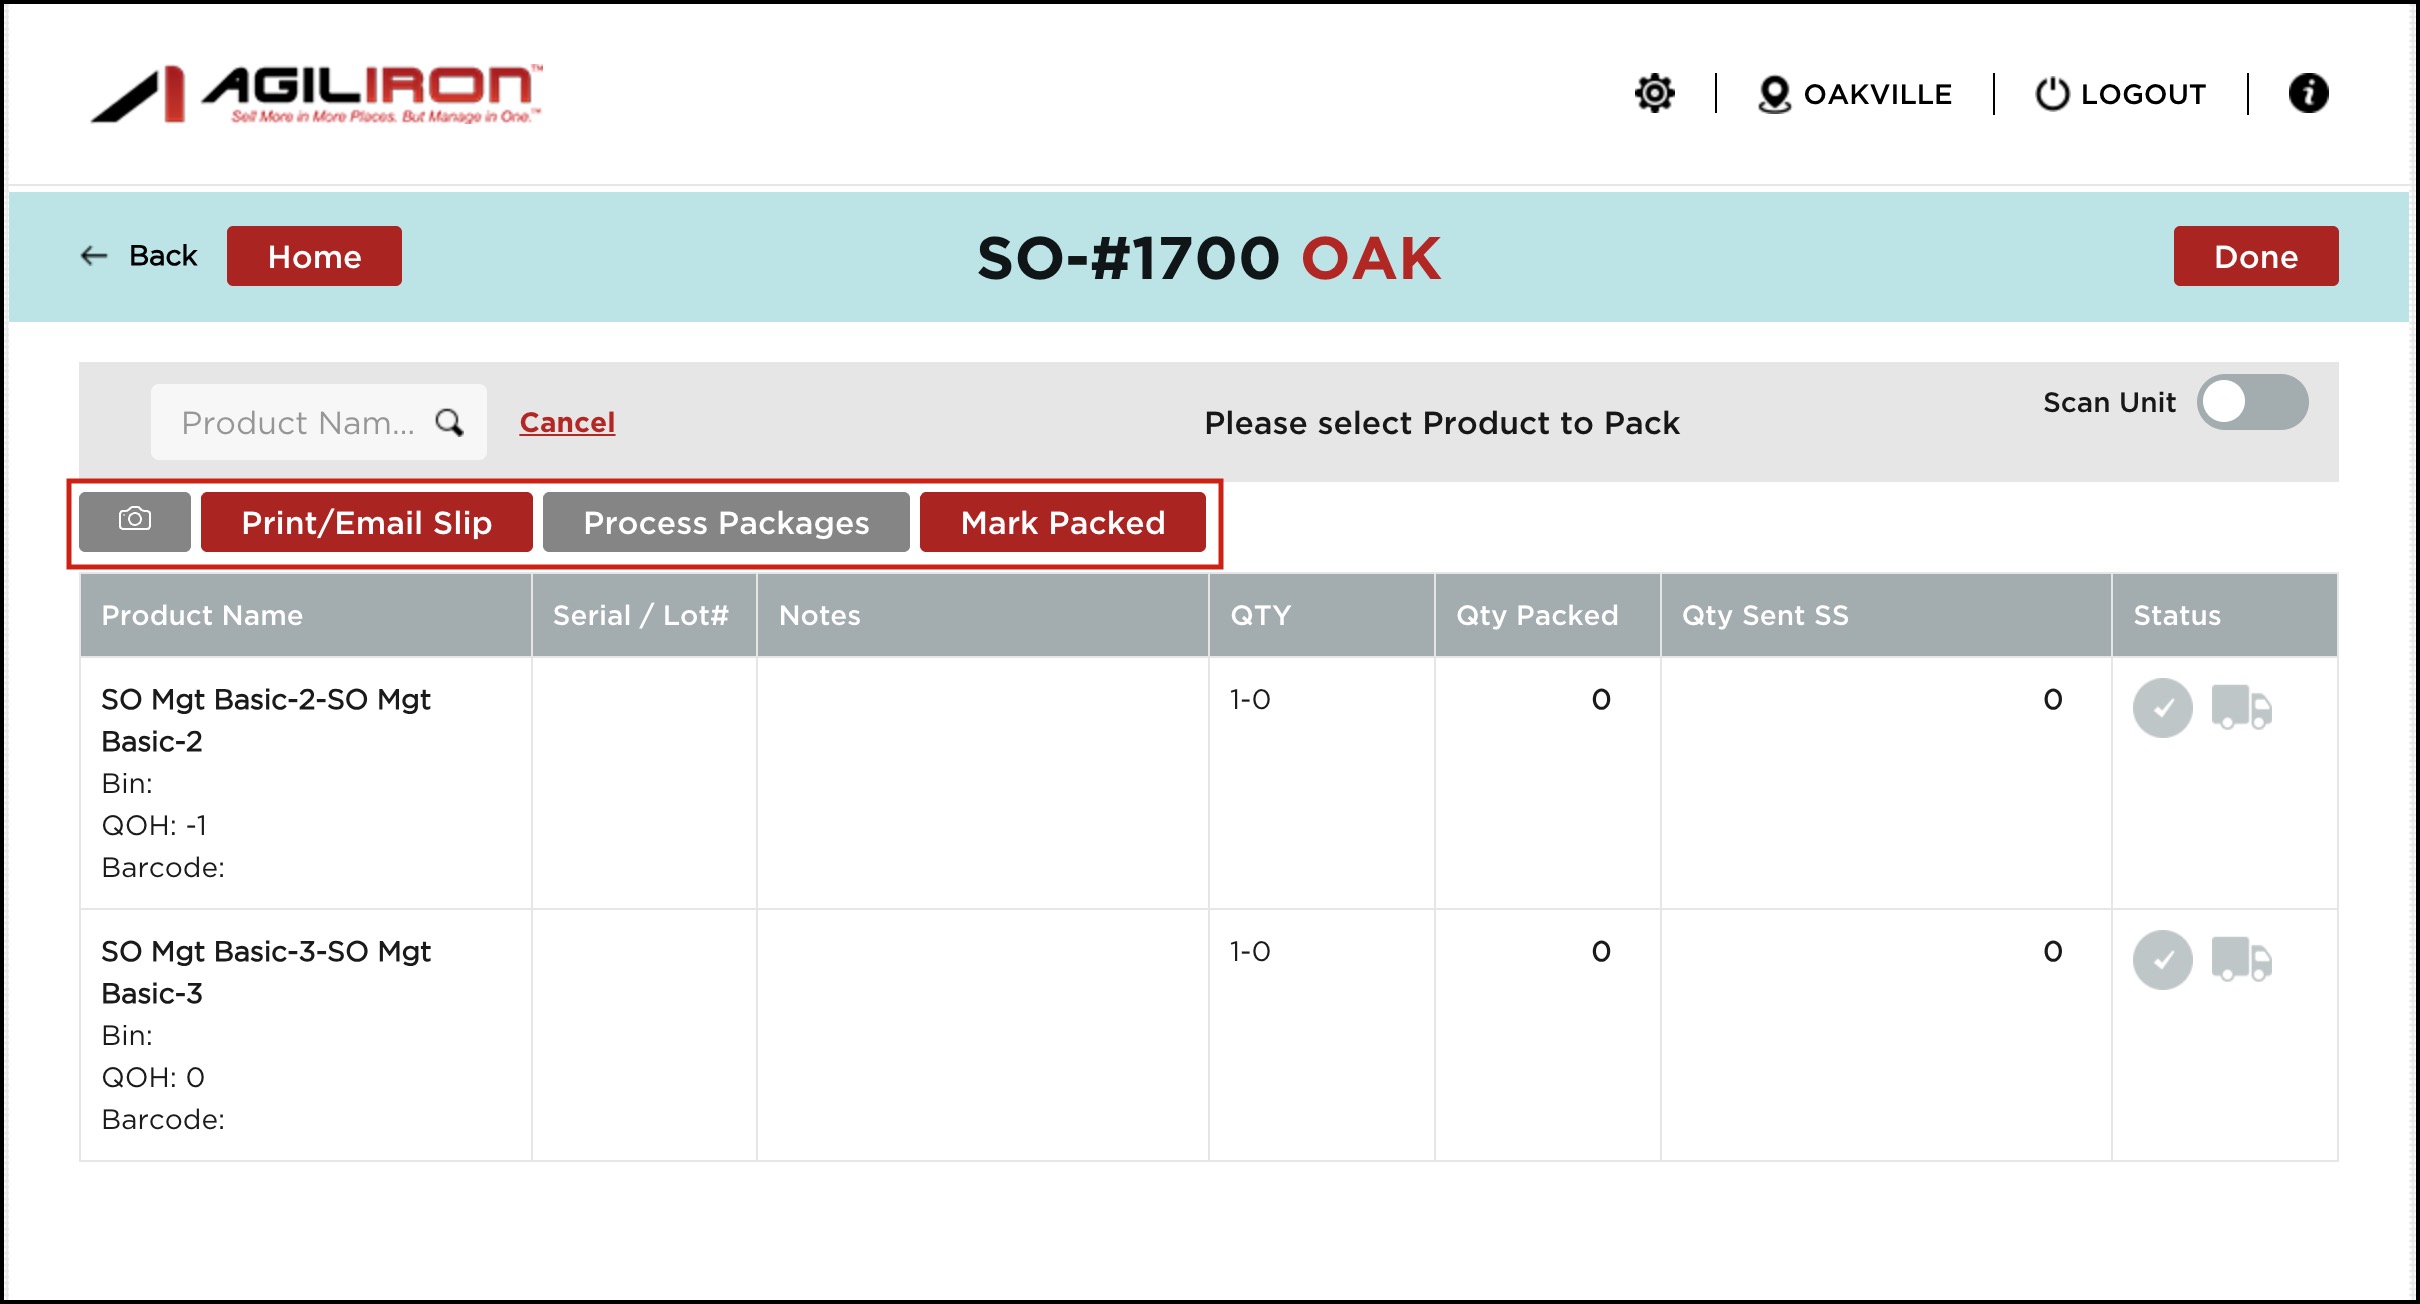
If the Enable To ShipStation And Shipped setting is disabled, then the relevant buttons get disabled in the Pack-Ship workflow.
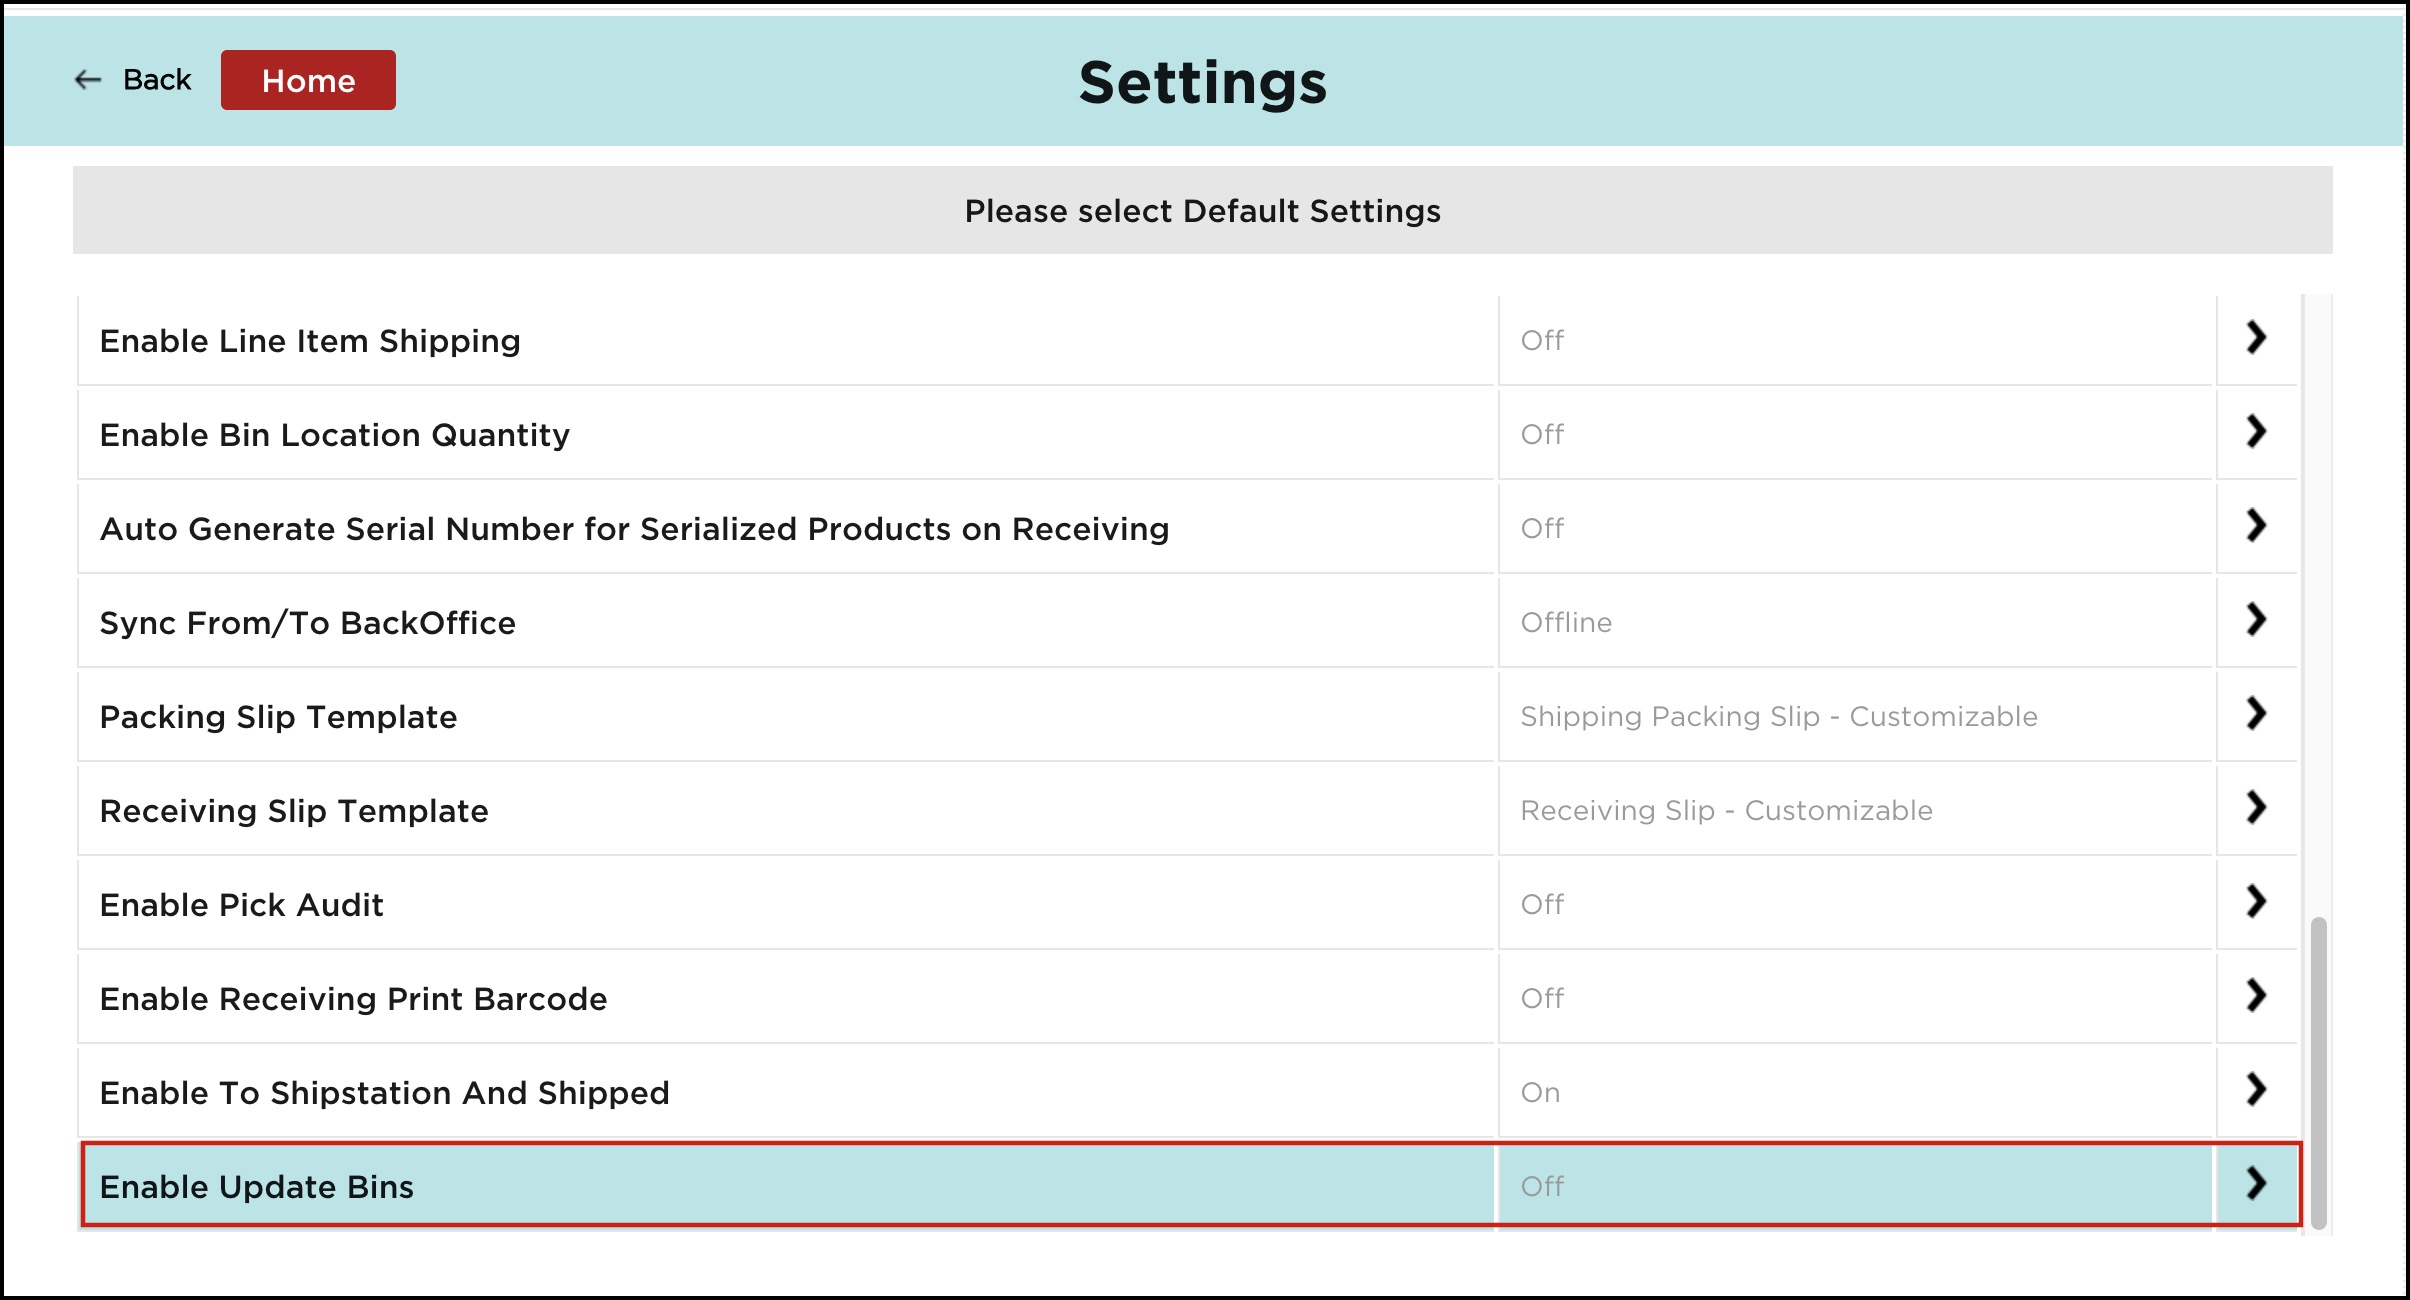
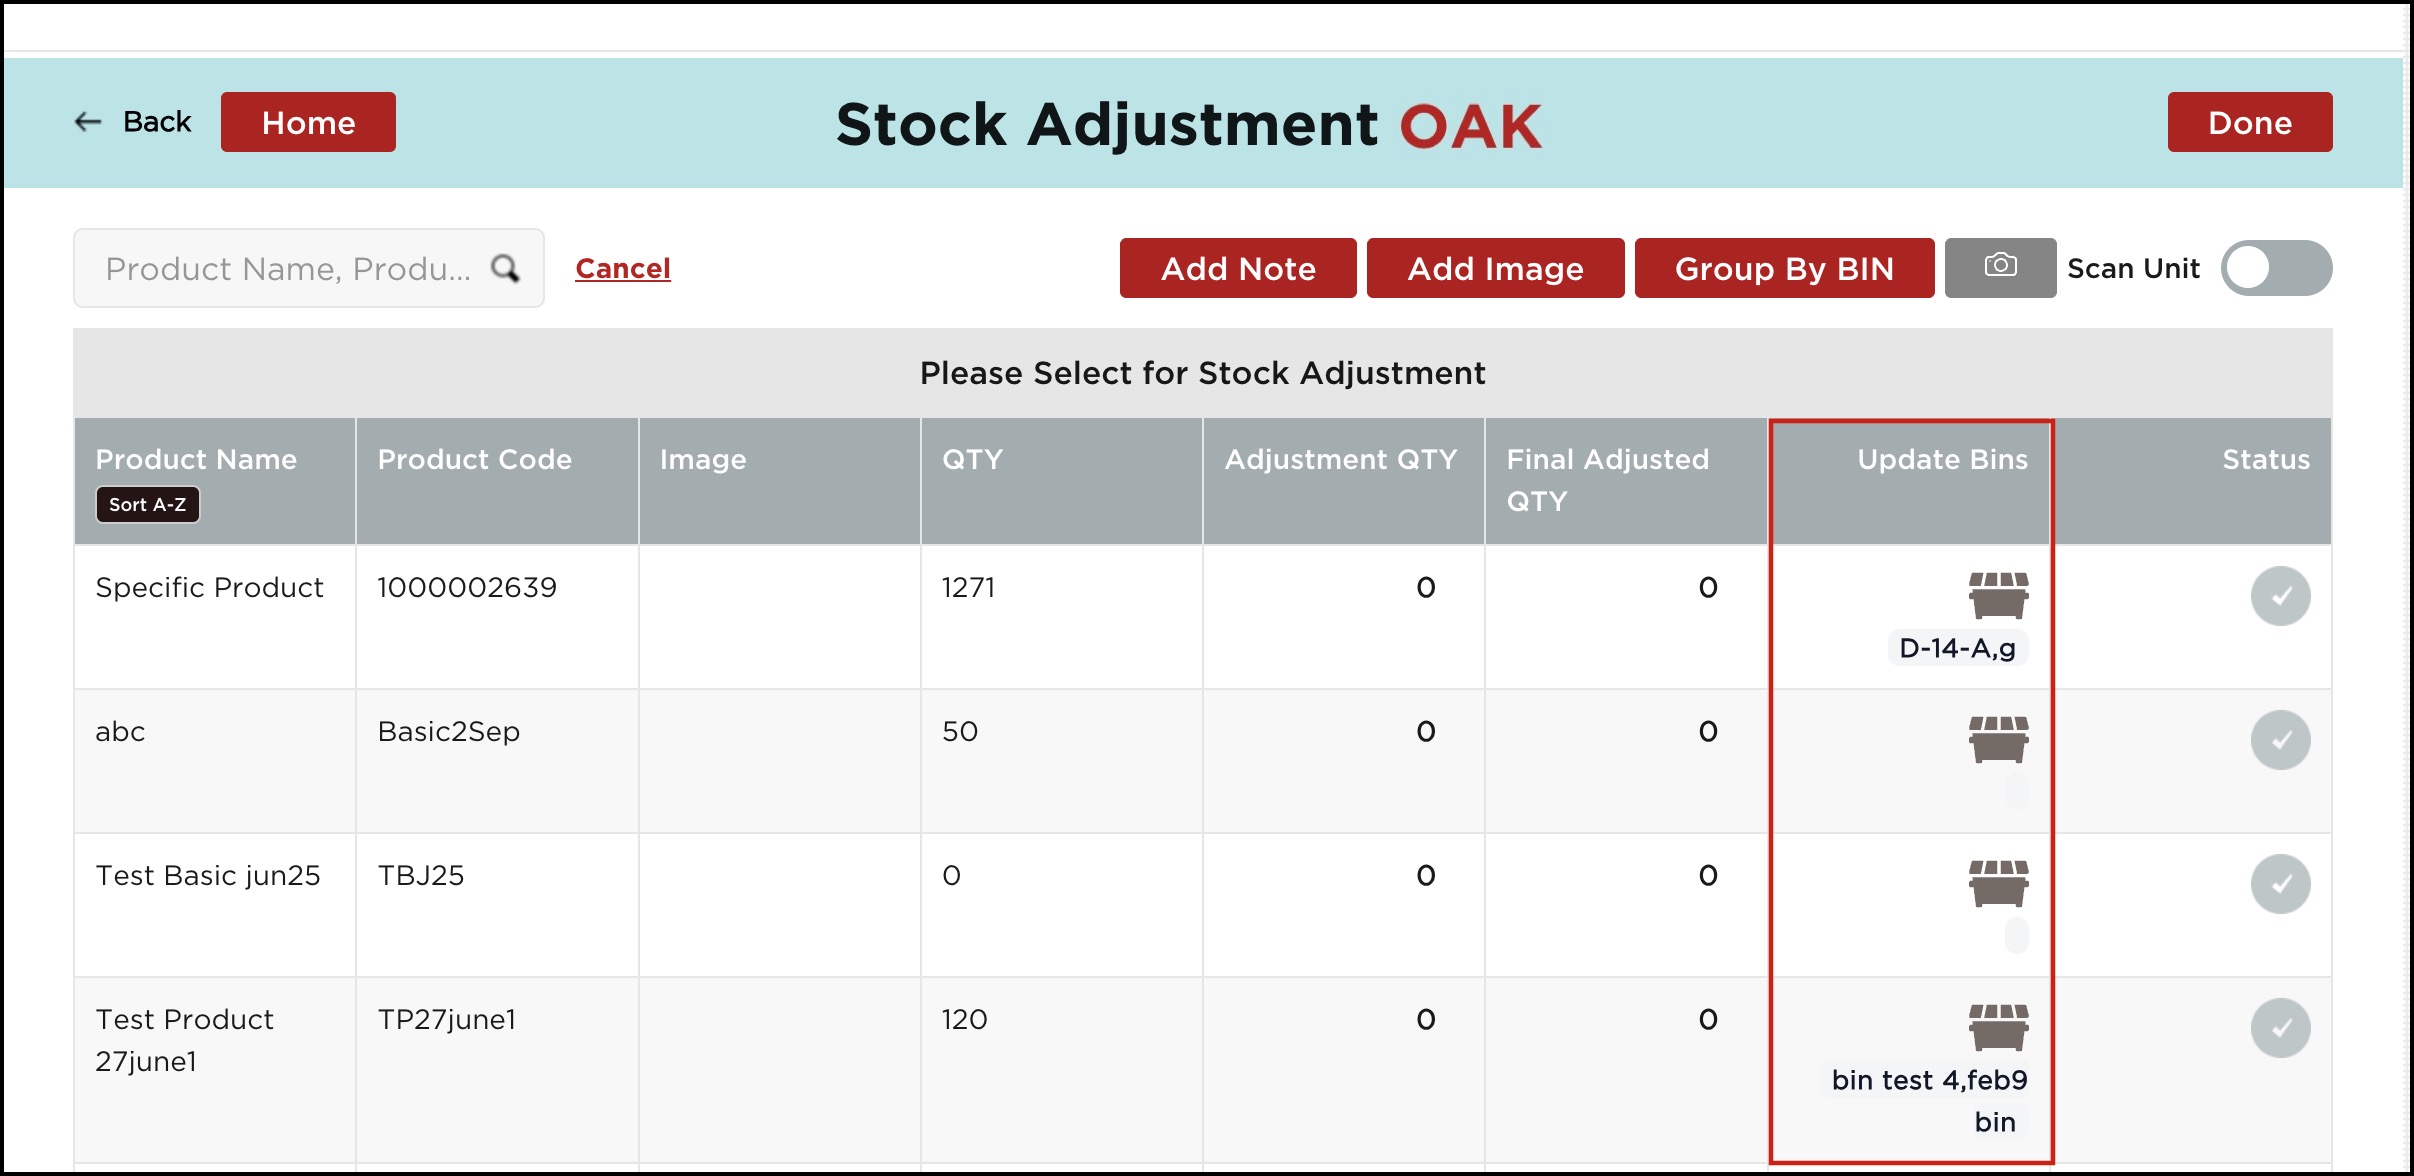
- Enable Update Bins - If this is set to 'On', then this will enable the Update Bins option in the Stock Adjustment workflow, which will allow you to add bins.

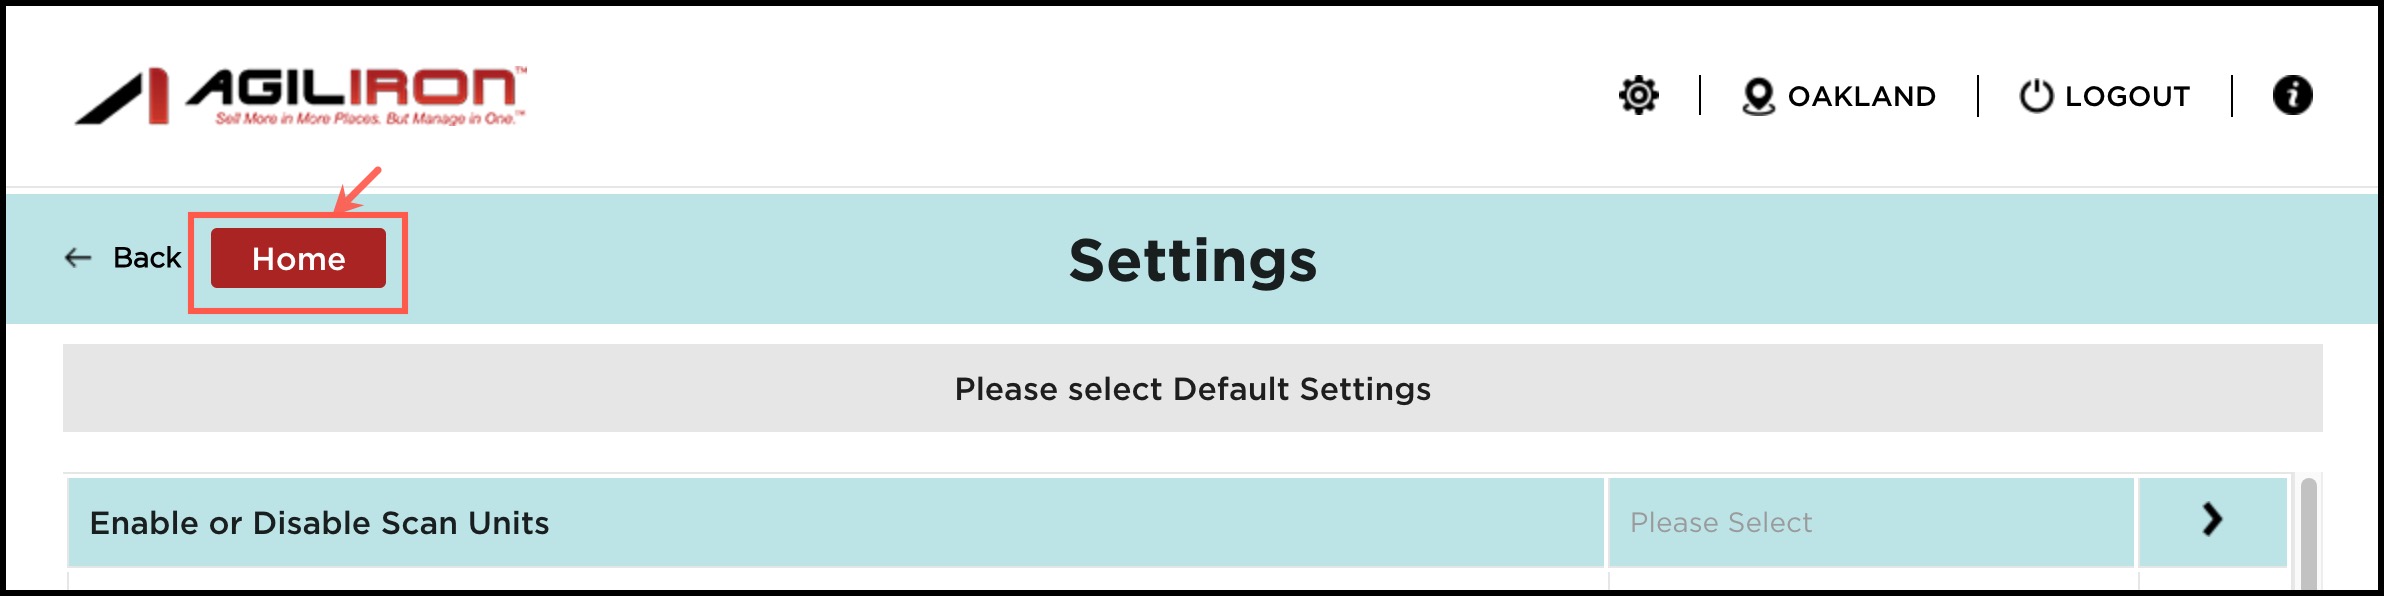
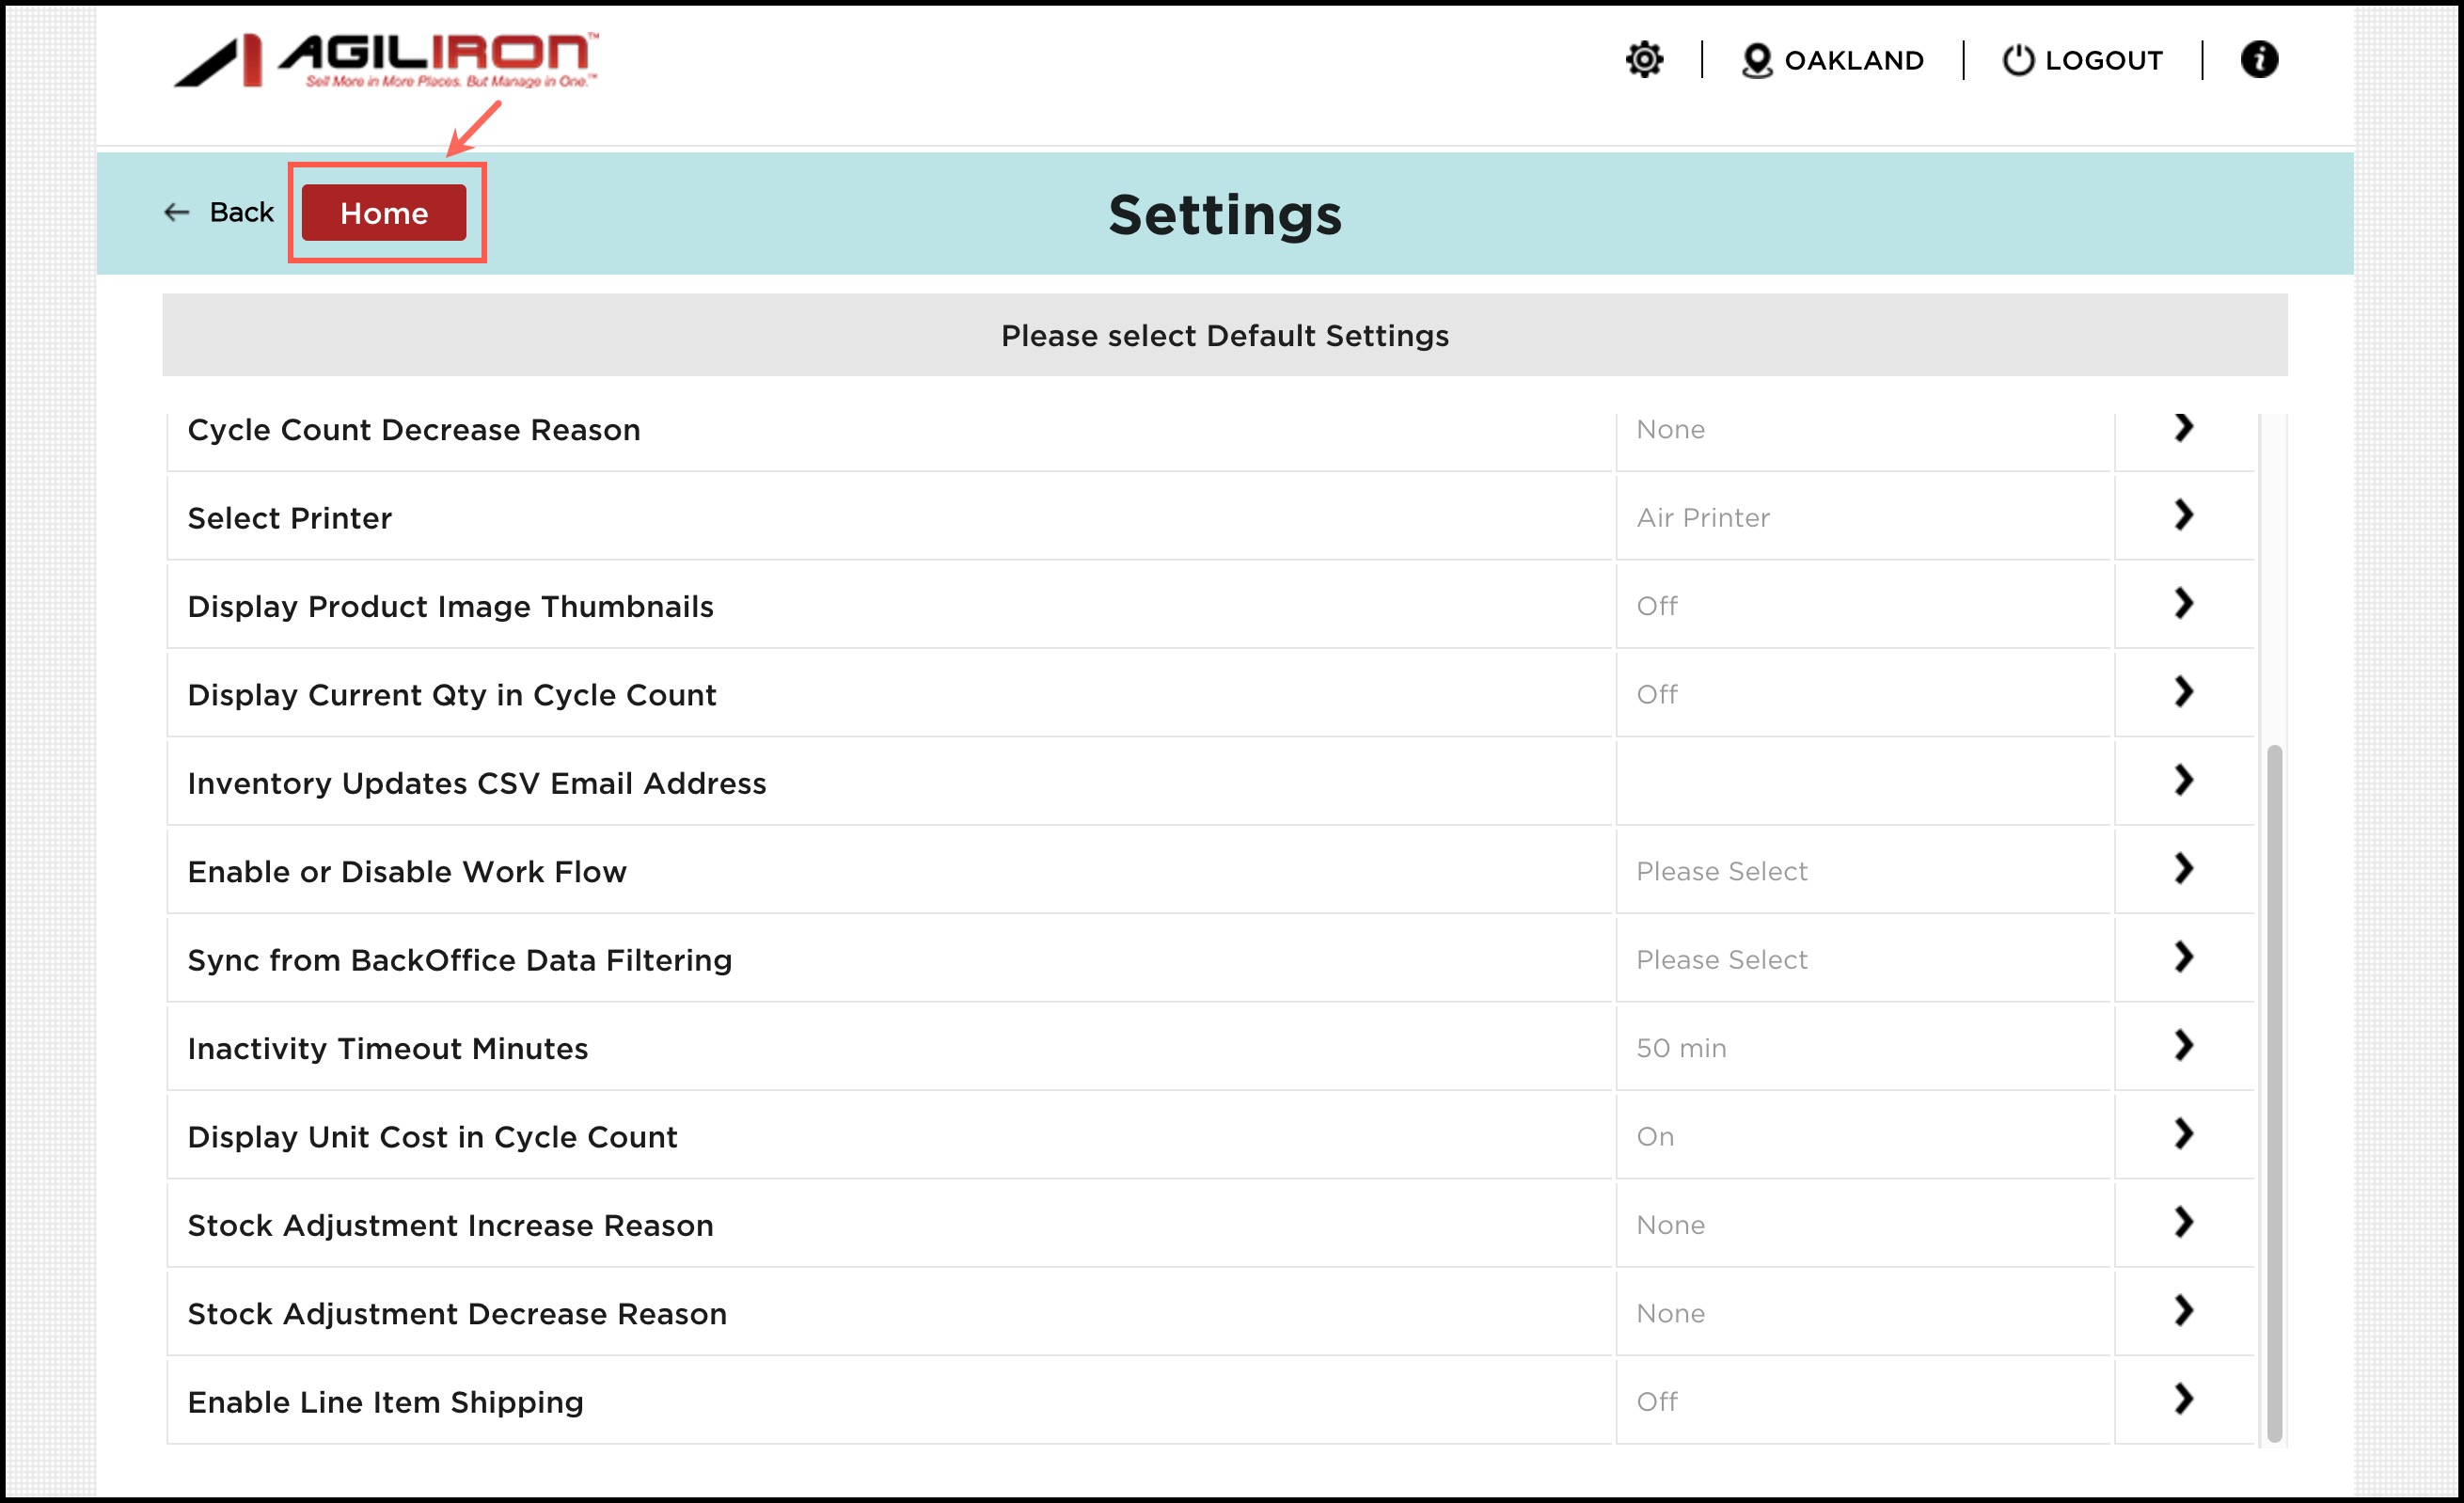
Once all the Settings are done, click on the Home button to return to the Home screen.
Updated 4 months ago