Customize Agiliron B2B/B2C WebStore Admin Platform
This user guide is related to the customization of the current Event E-Commerce Services platform. The process shown below will help you to customize eCommerce - B2B/B2C WebStore left menu and stock/order list.
To customize the left menu options and list views of your B2B/B2C webstore admin platform:
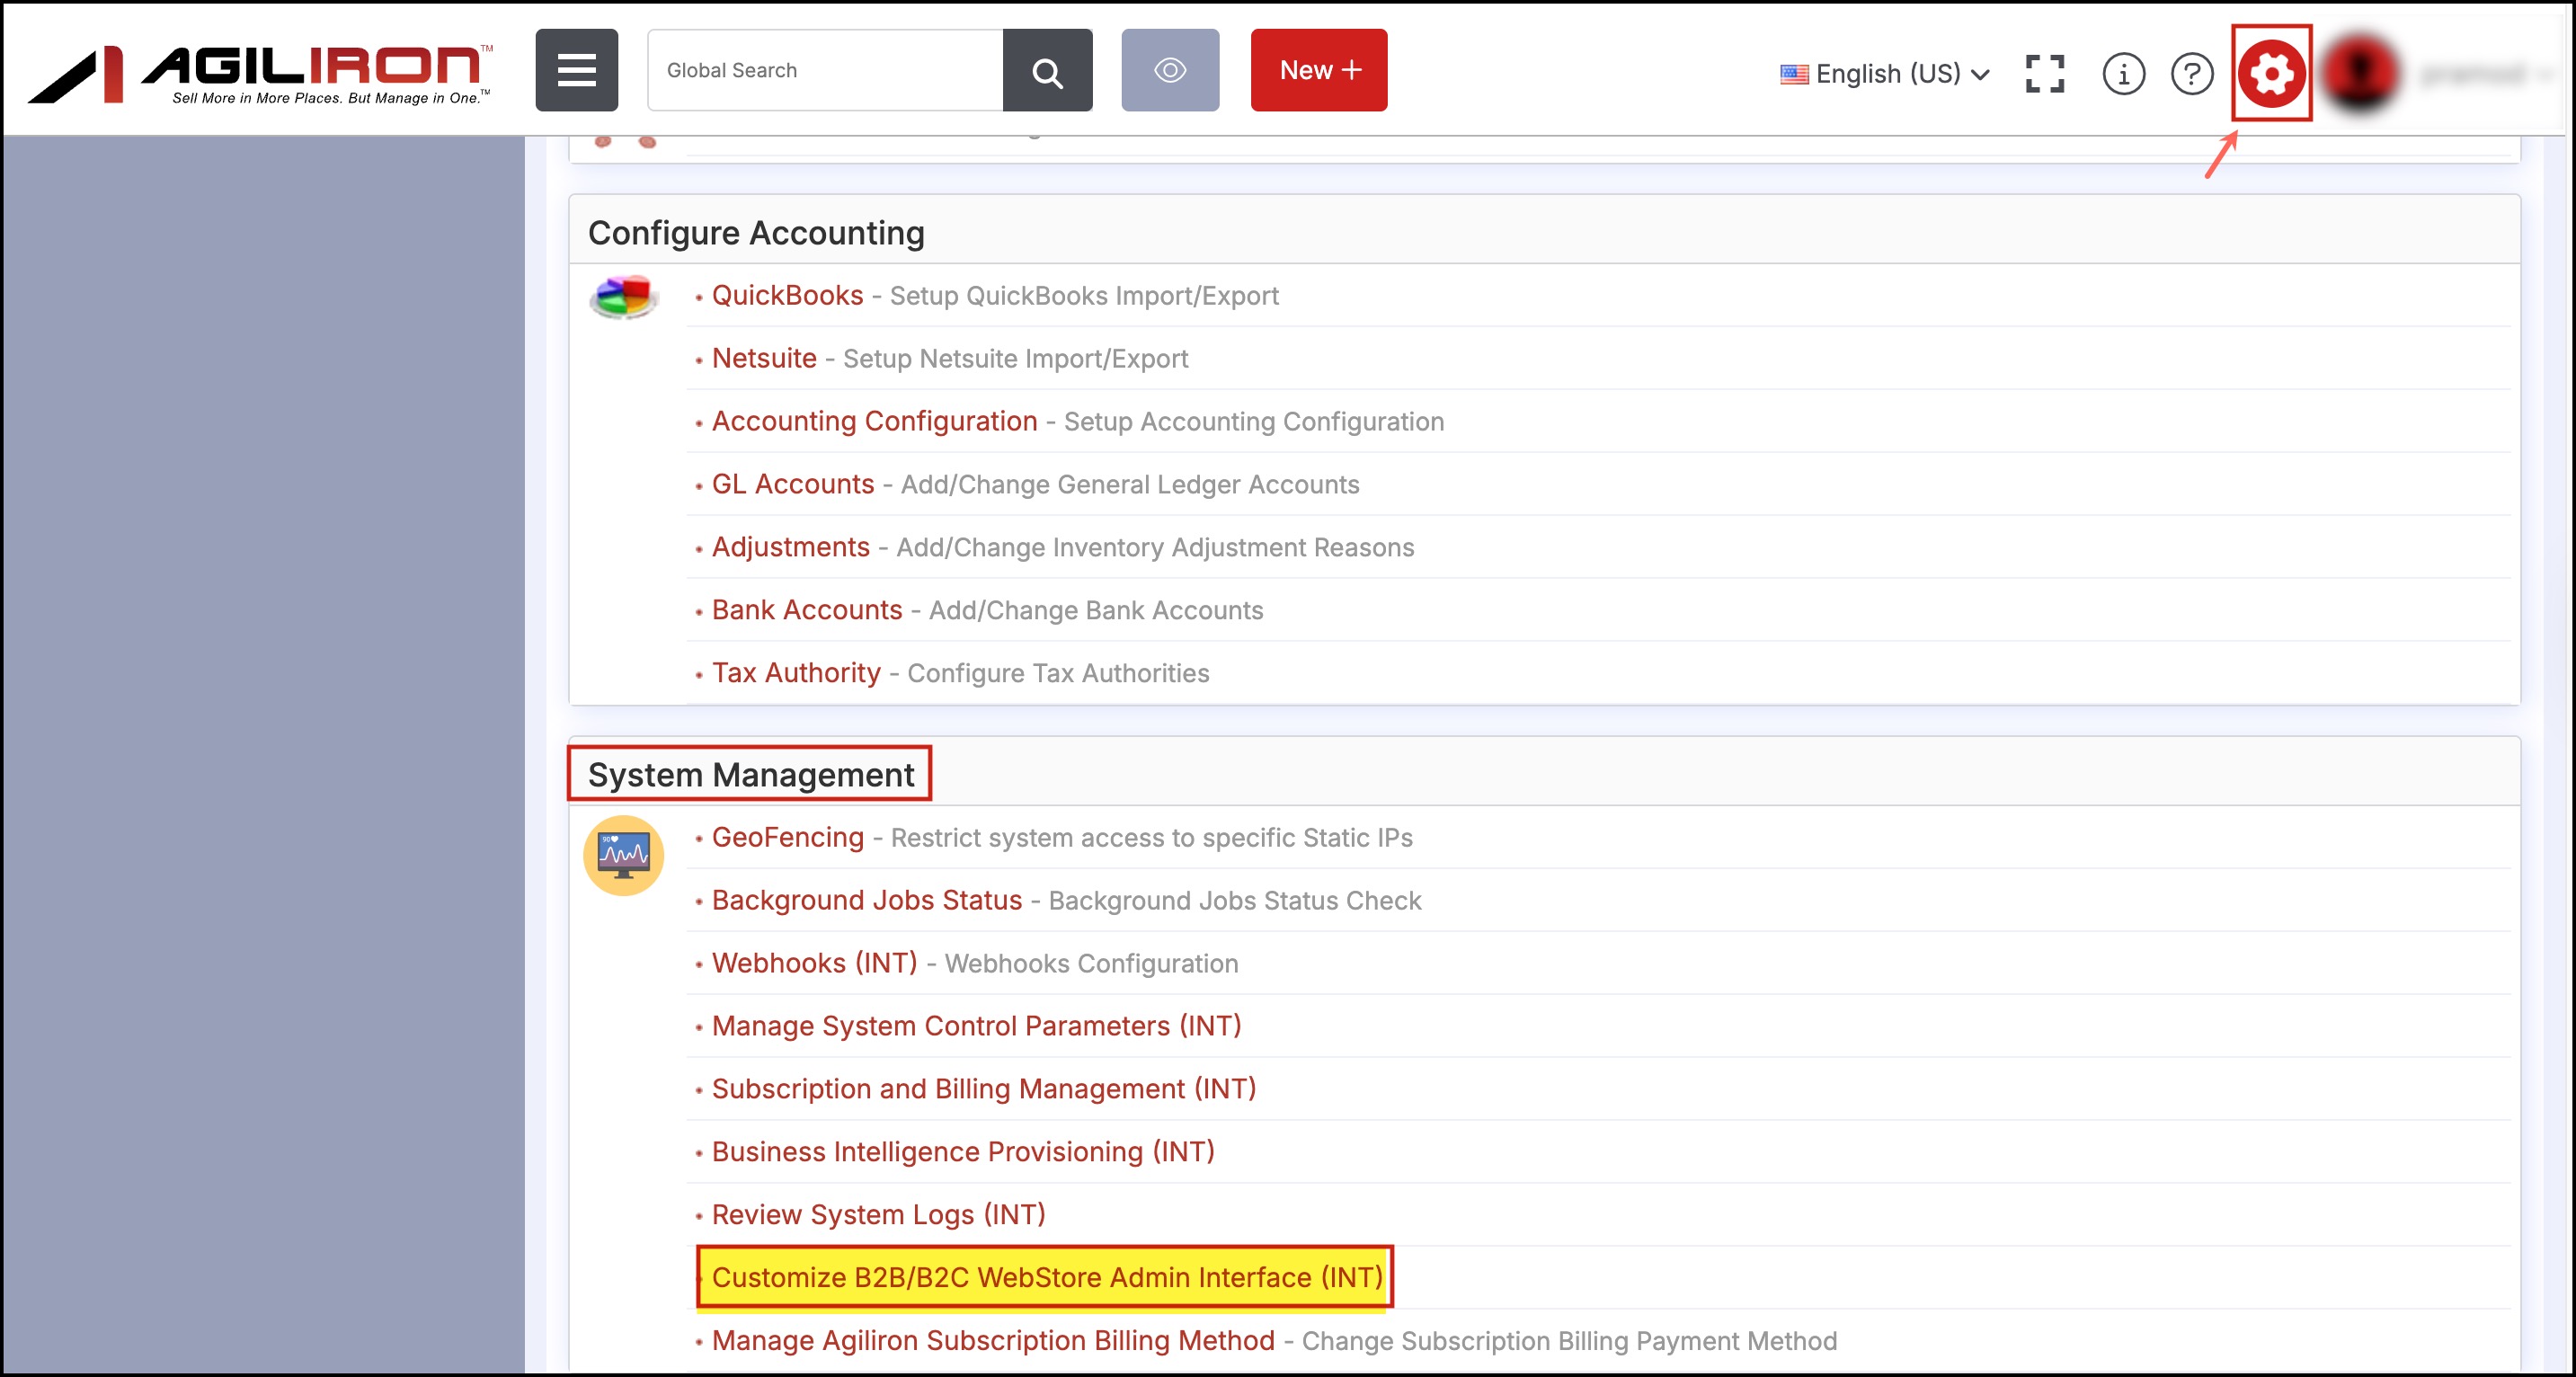
- Go to Settings -> System Management -> Customize B2B/B2C WebStore Admin Interface (INT).
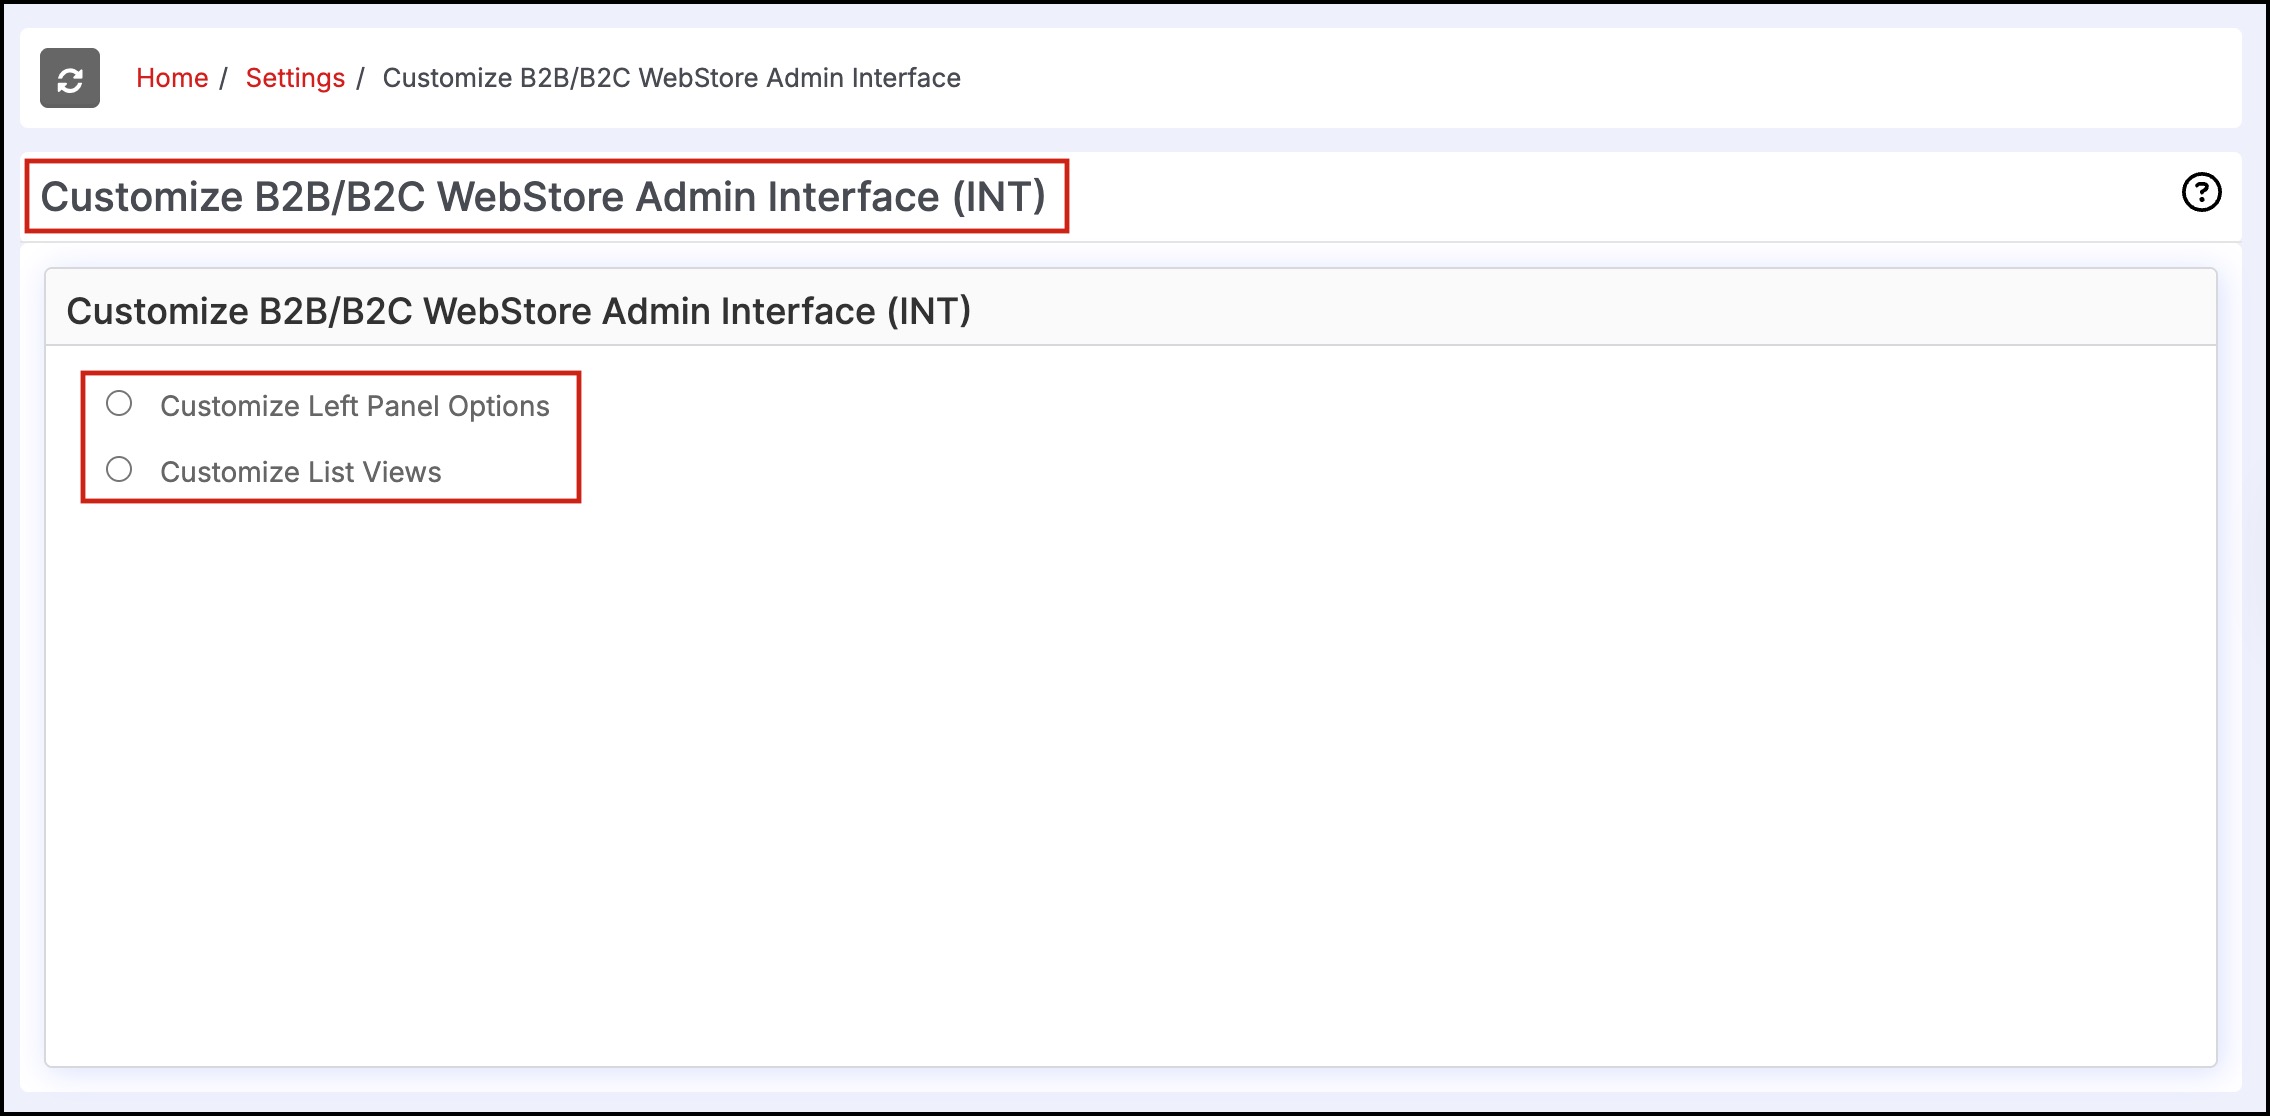
In Customize B2B/B2C WebStore Admin Interface (INT), you can see two options - Customize Left Panel Options, Customize List Views.
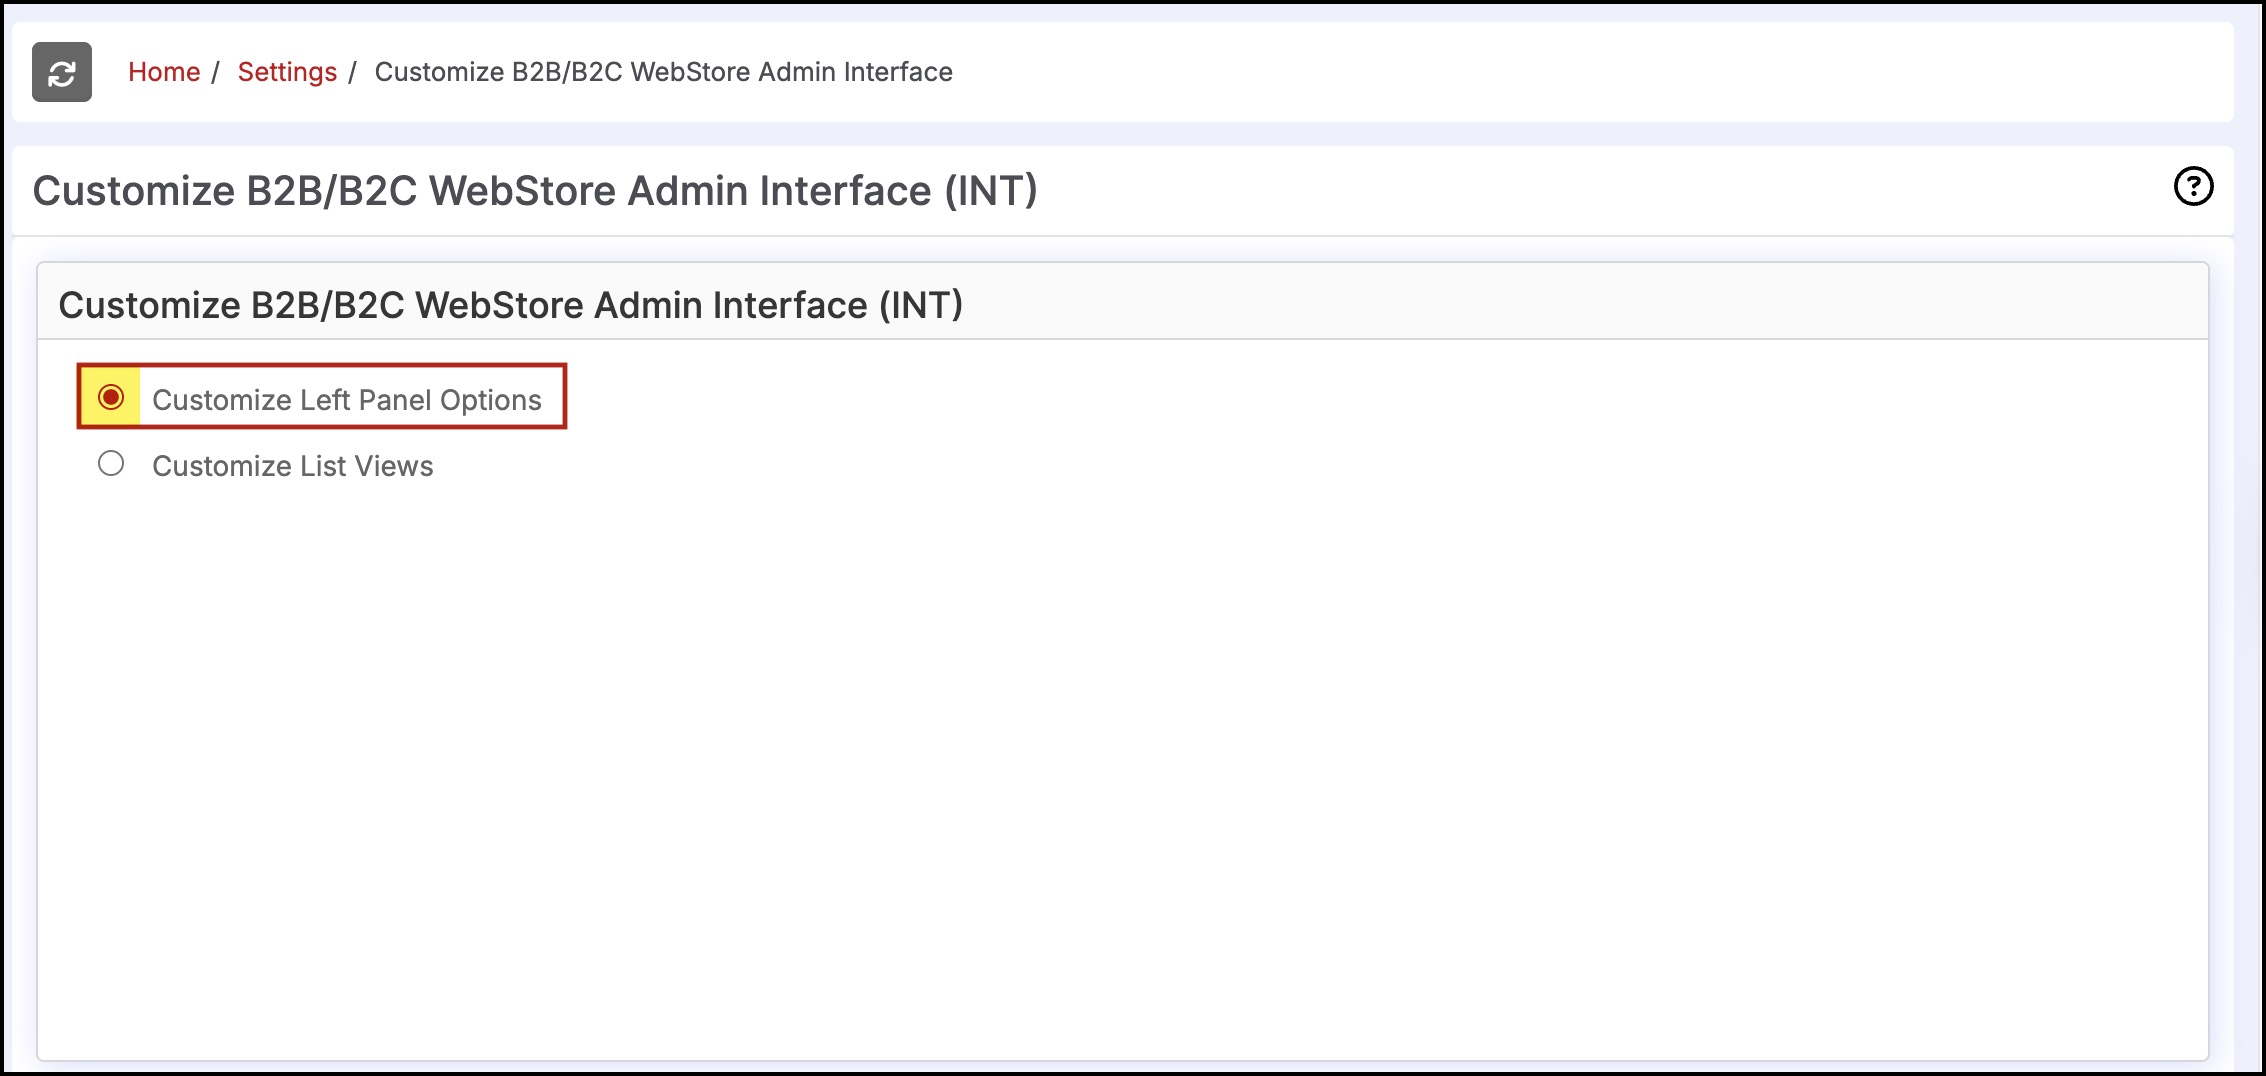
- To customize left panel options, click on its respective radio button.
- Next you will be asked to select the store. Select the store from the drop down list.
- After selecting the store, you can customize the left menu options. Add or remove menus or sub menus as per your requirement.
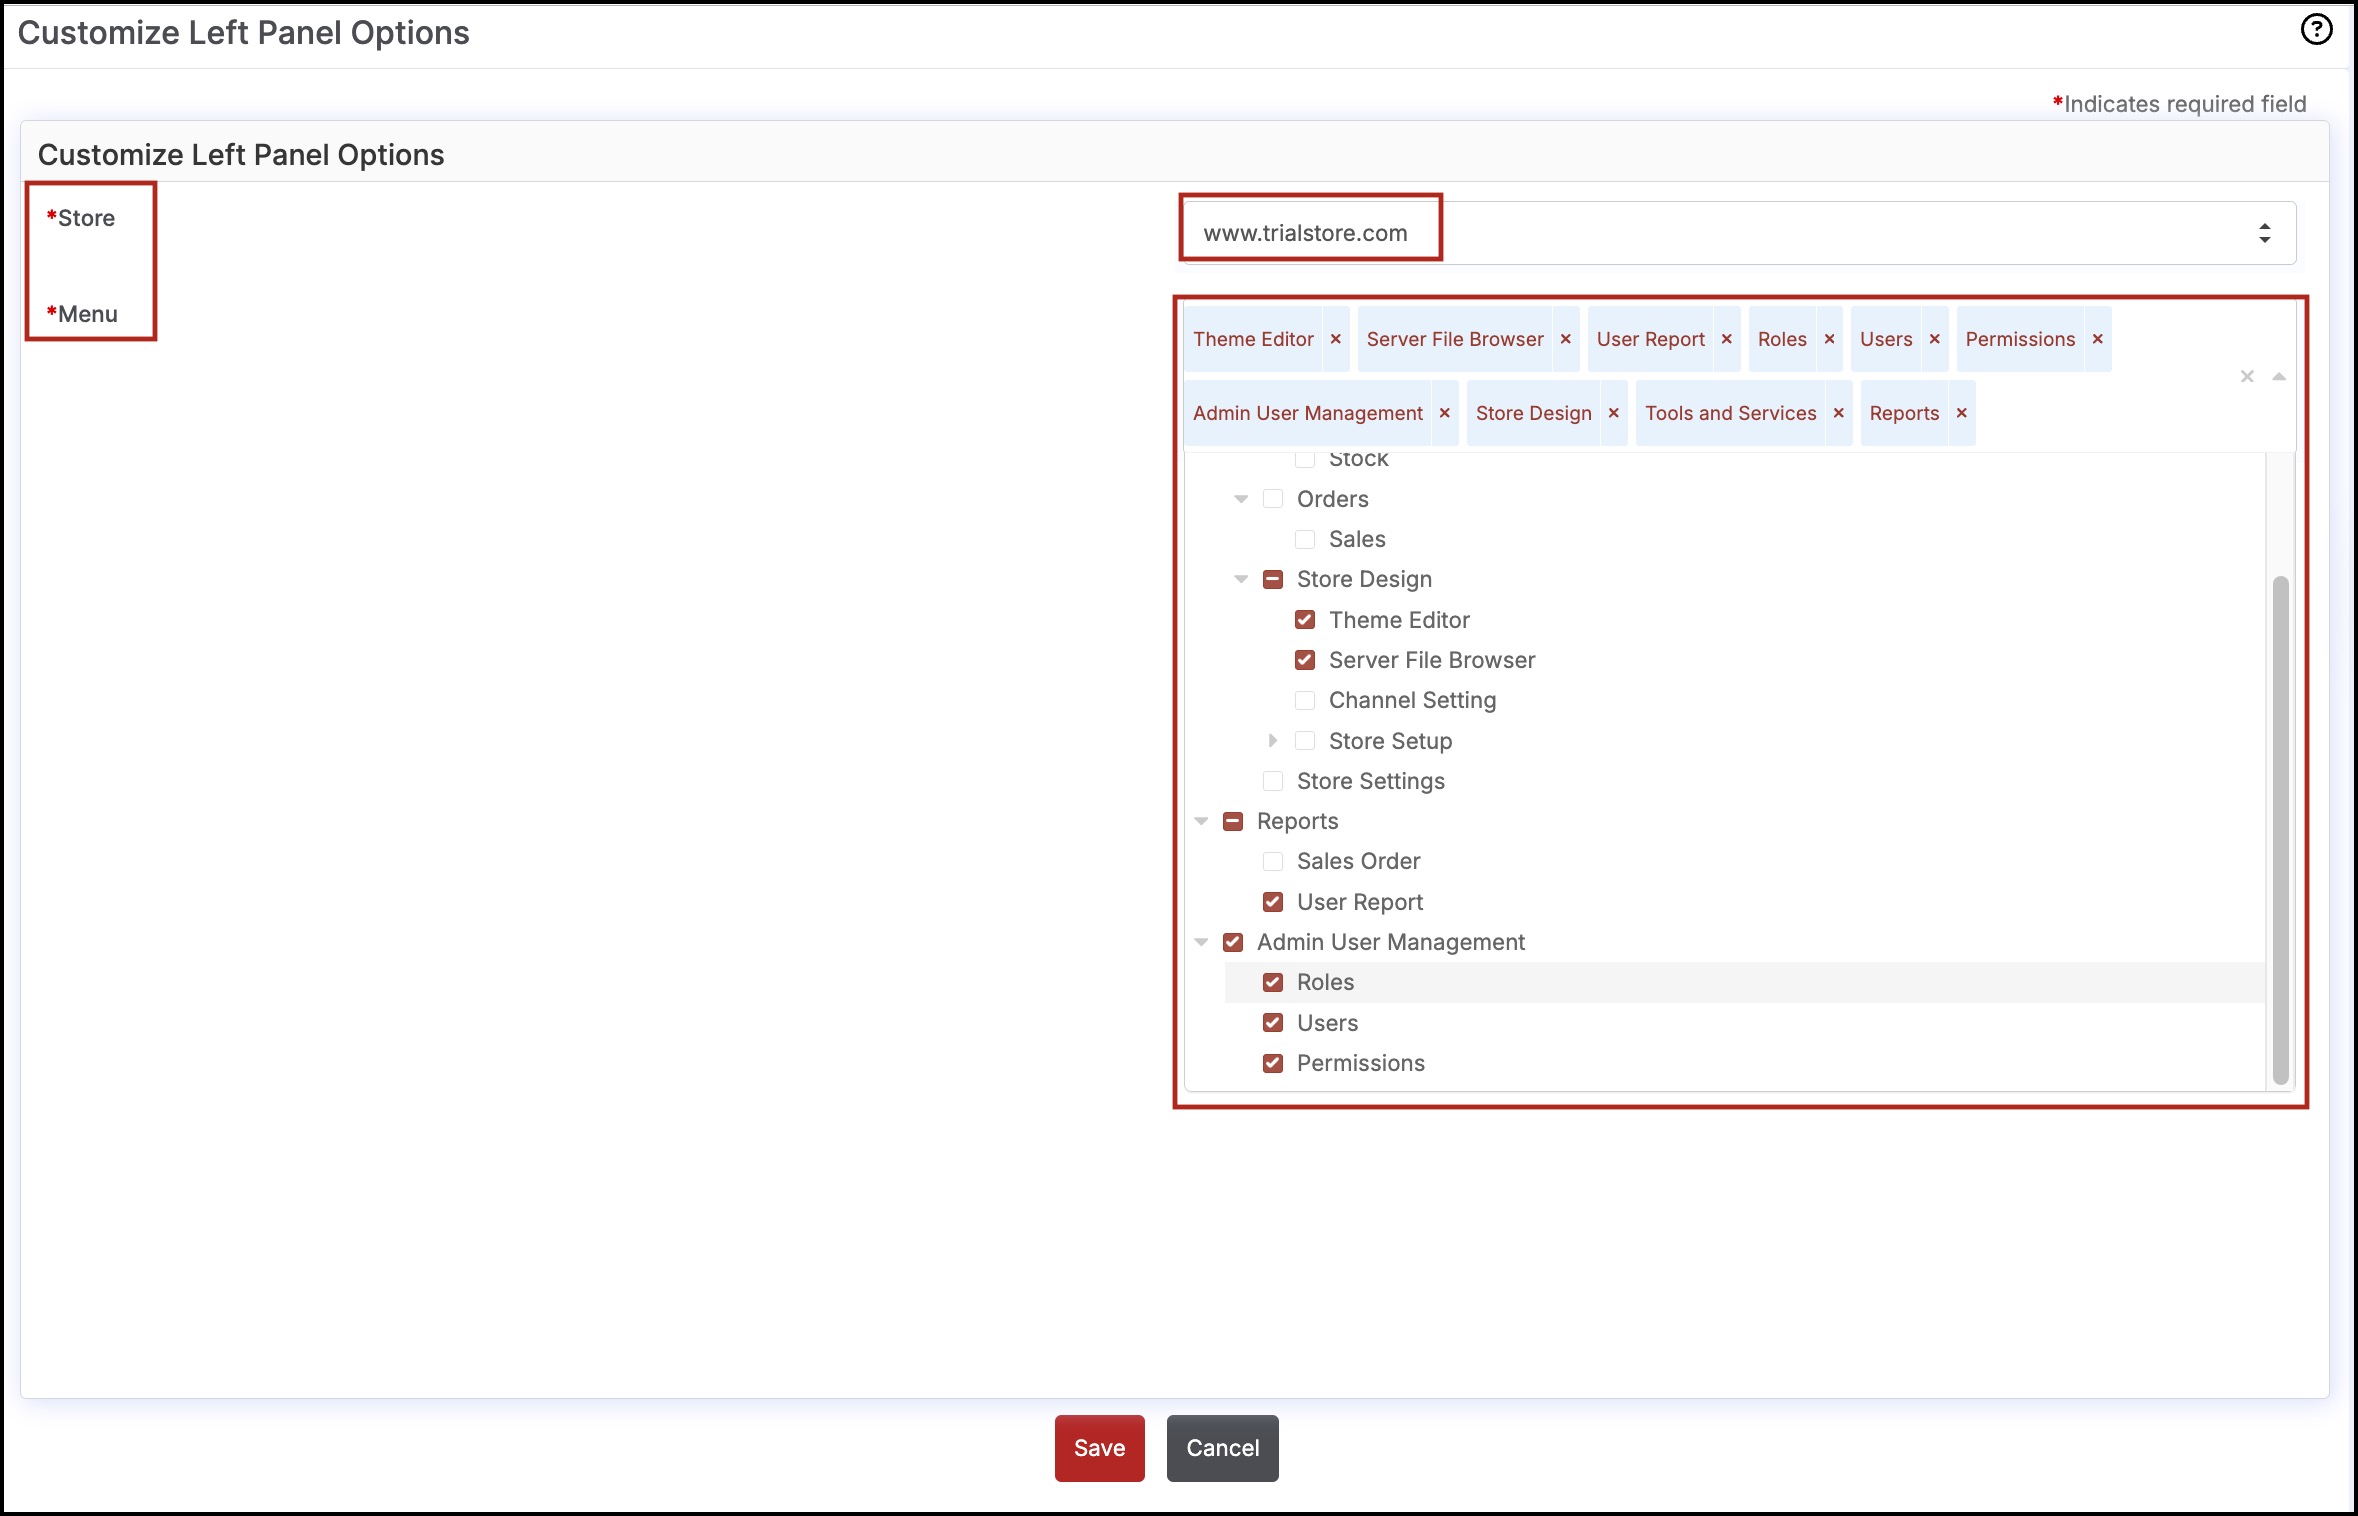
As an example, here in the below screenshot, you can see Store Design visible on the left menu of the ecomm admin platform.
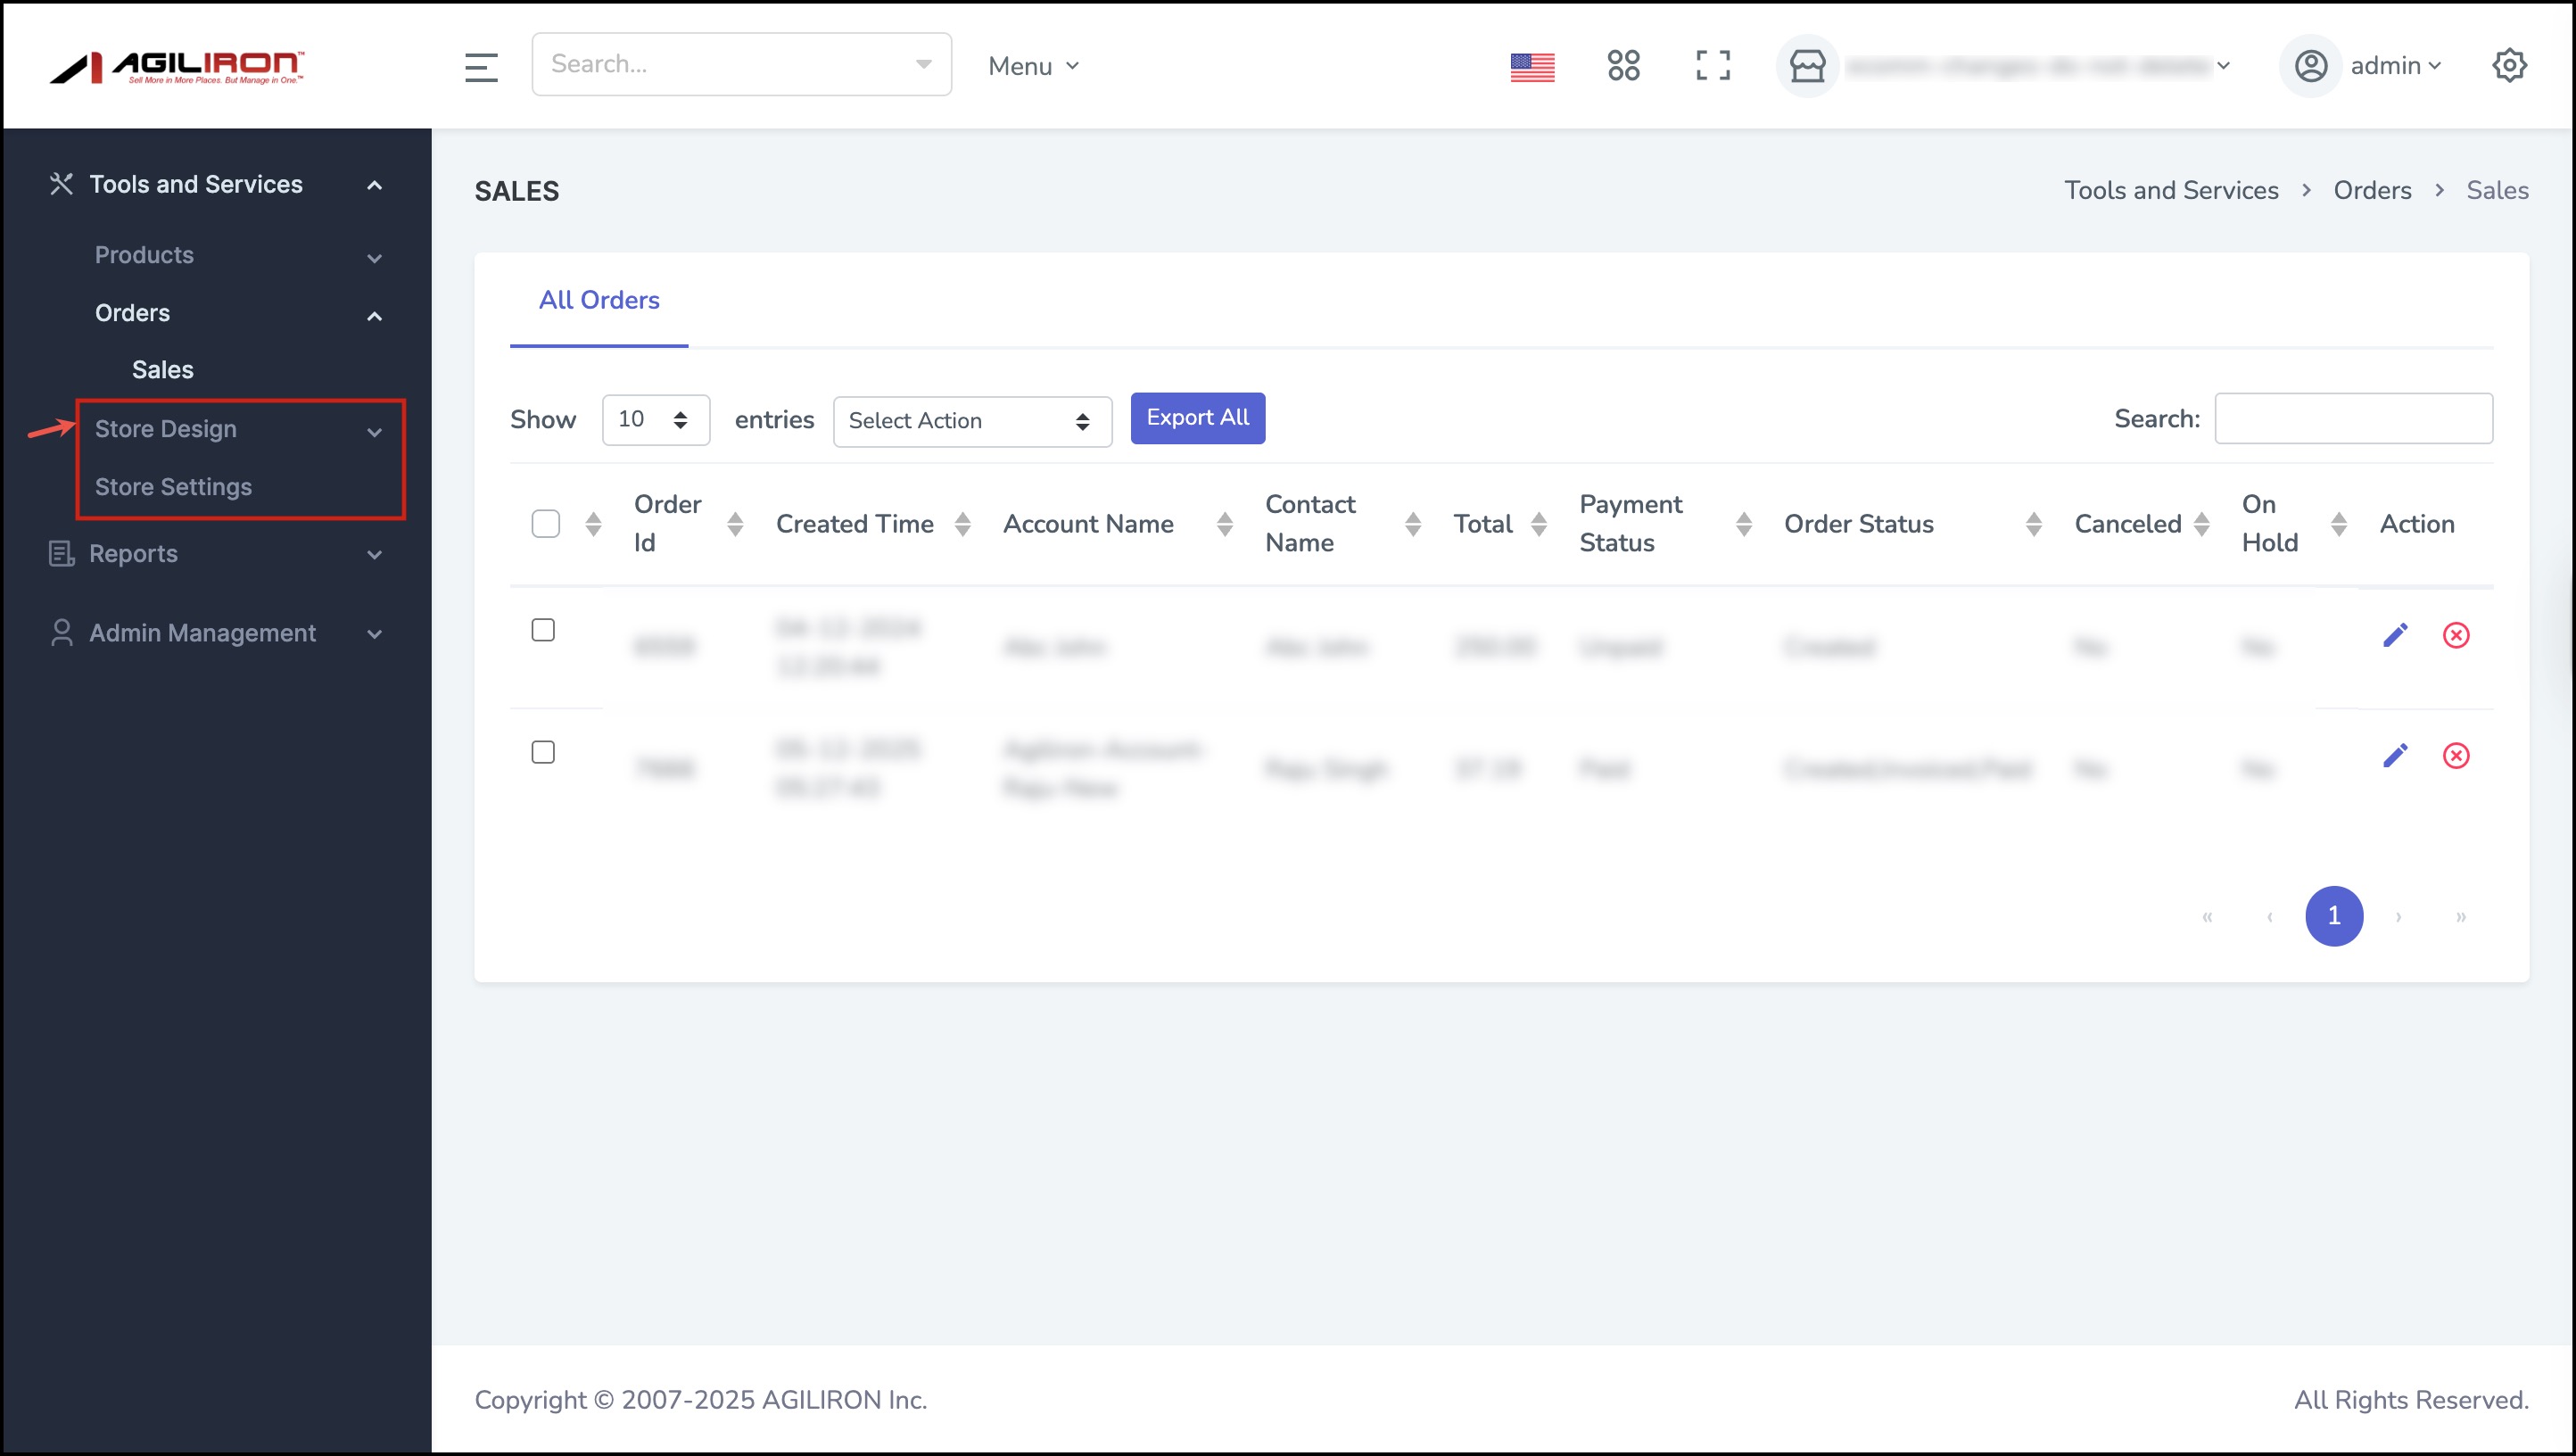
Let's remove it.
- In the back office, we are removing store design
- Once the necessary customization is done, click on Save.
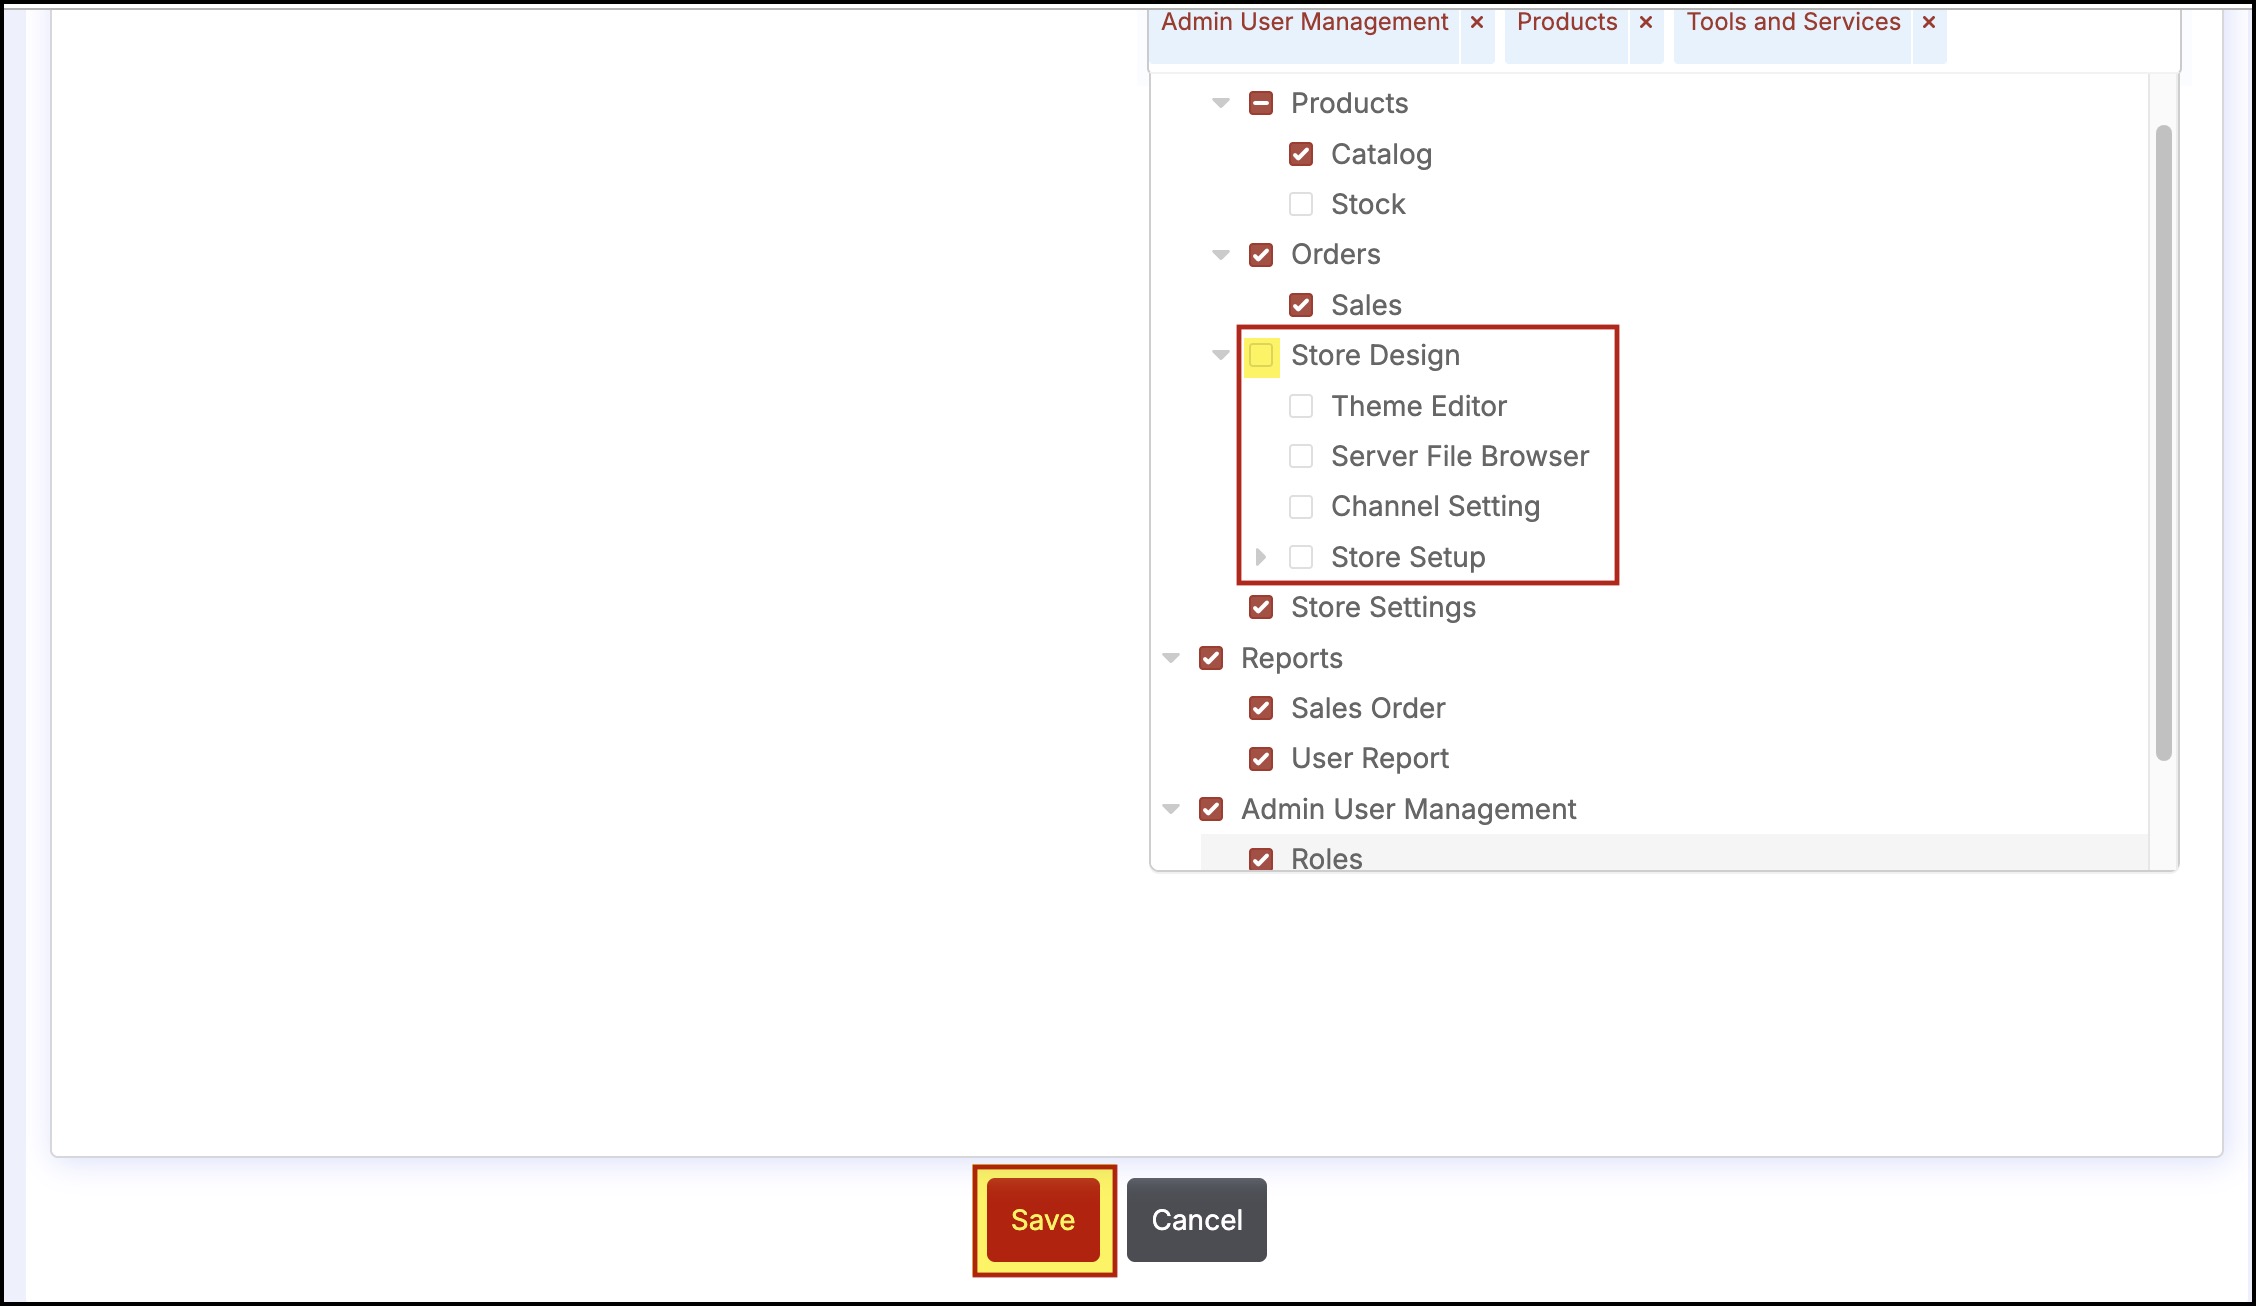
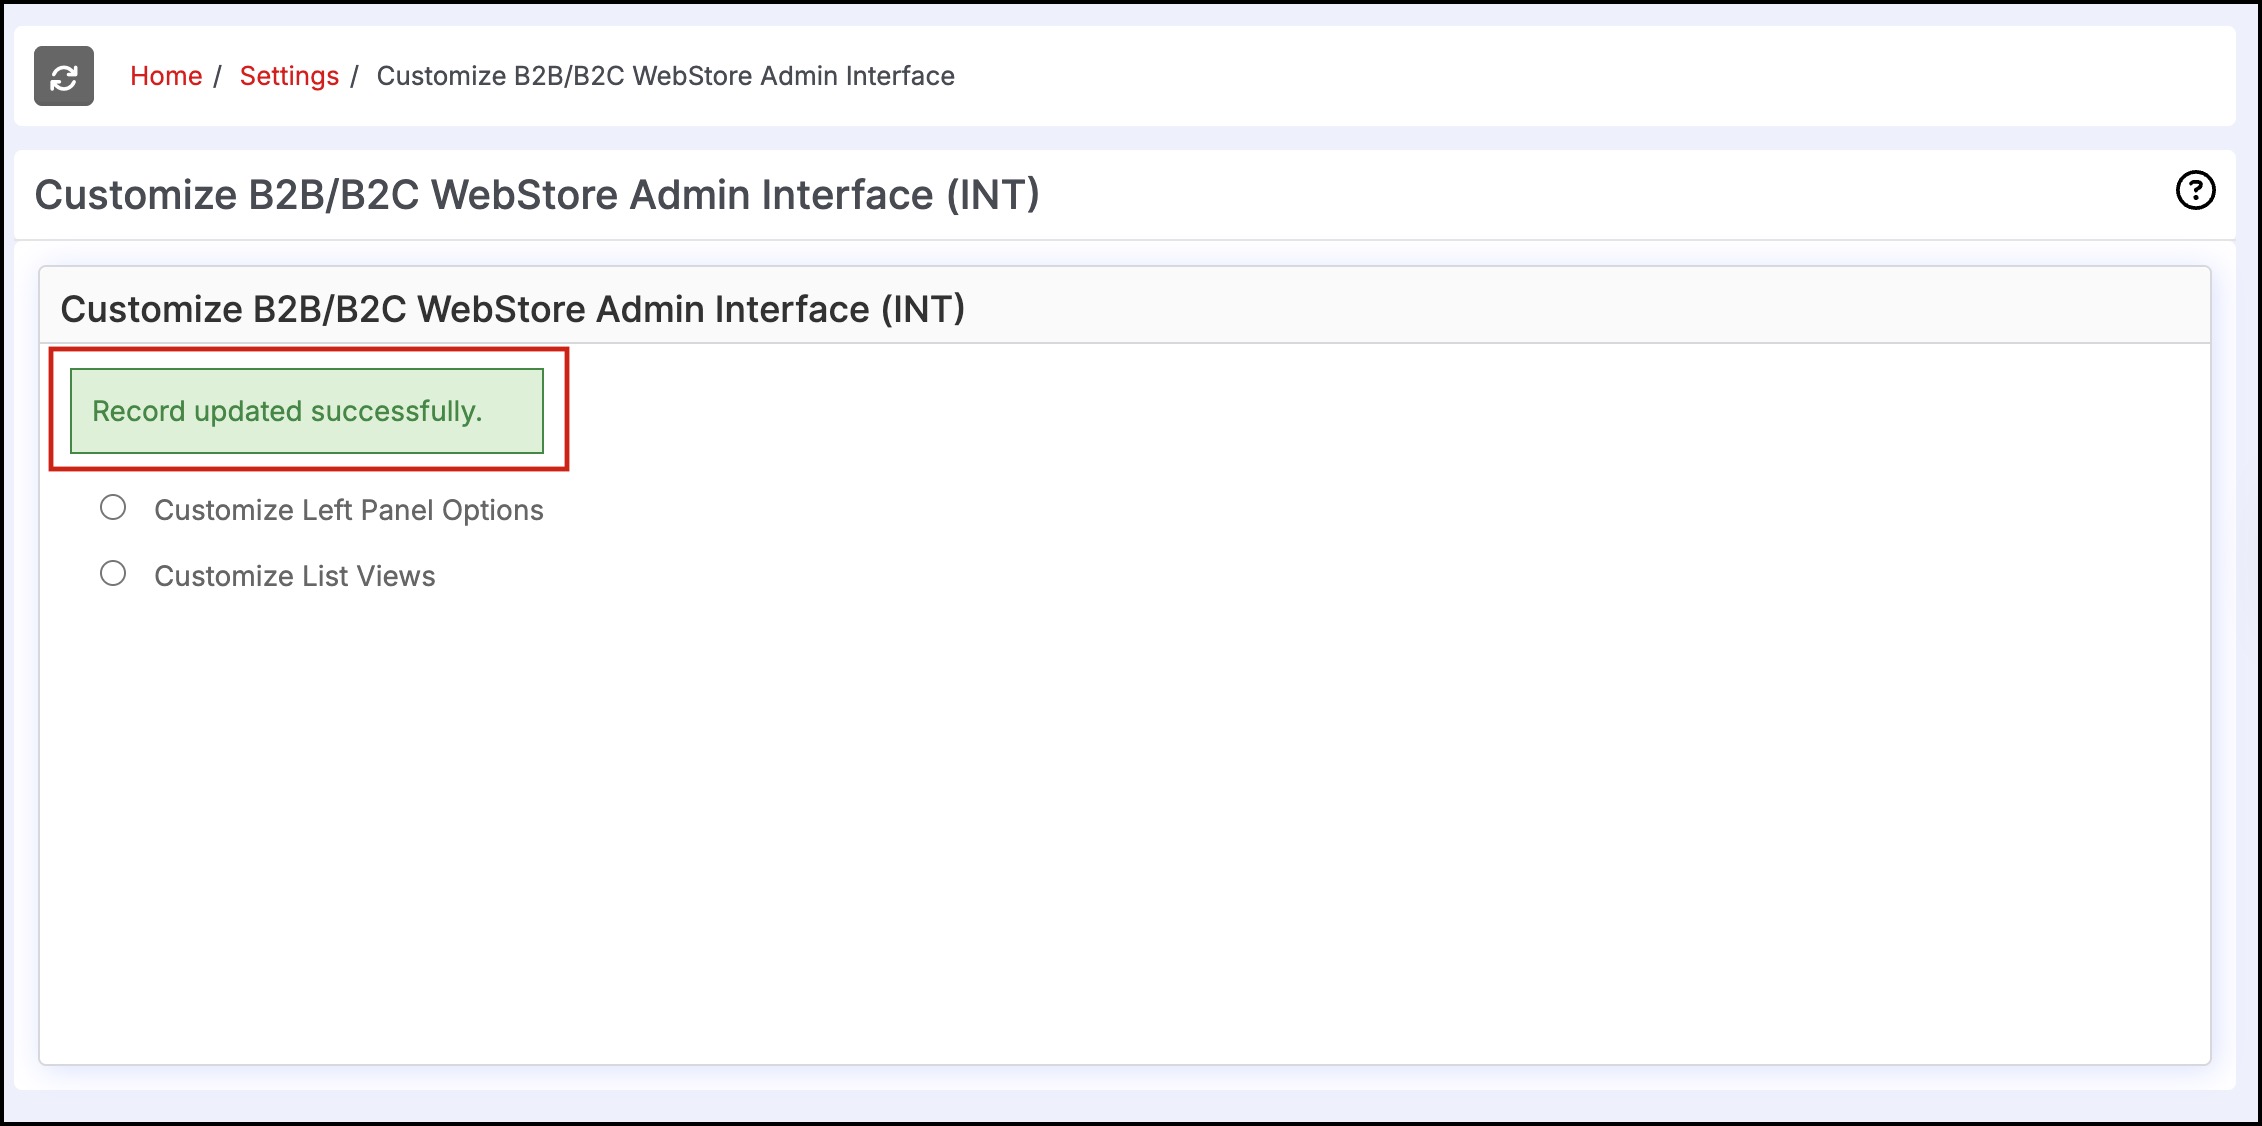
You'll see a message saying, "Record updated successfully".
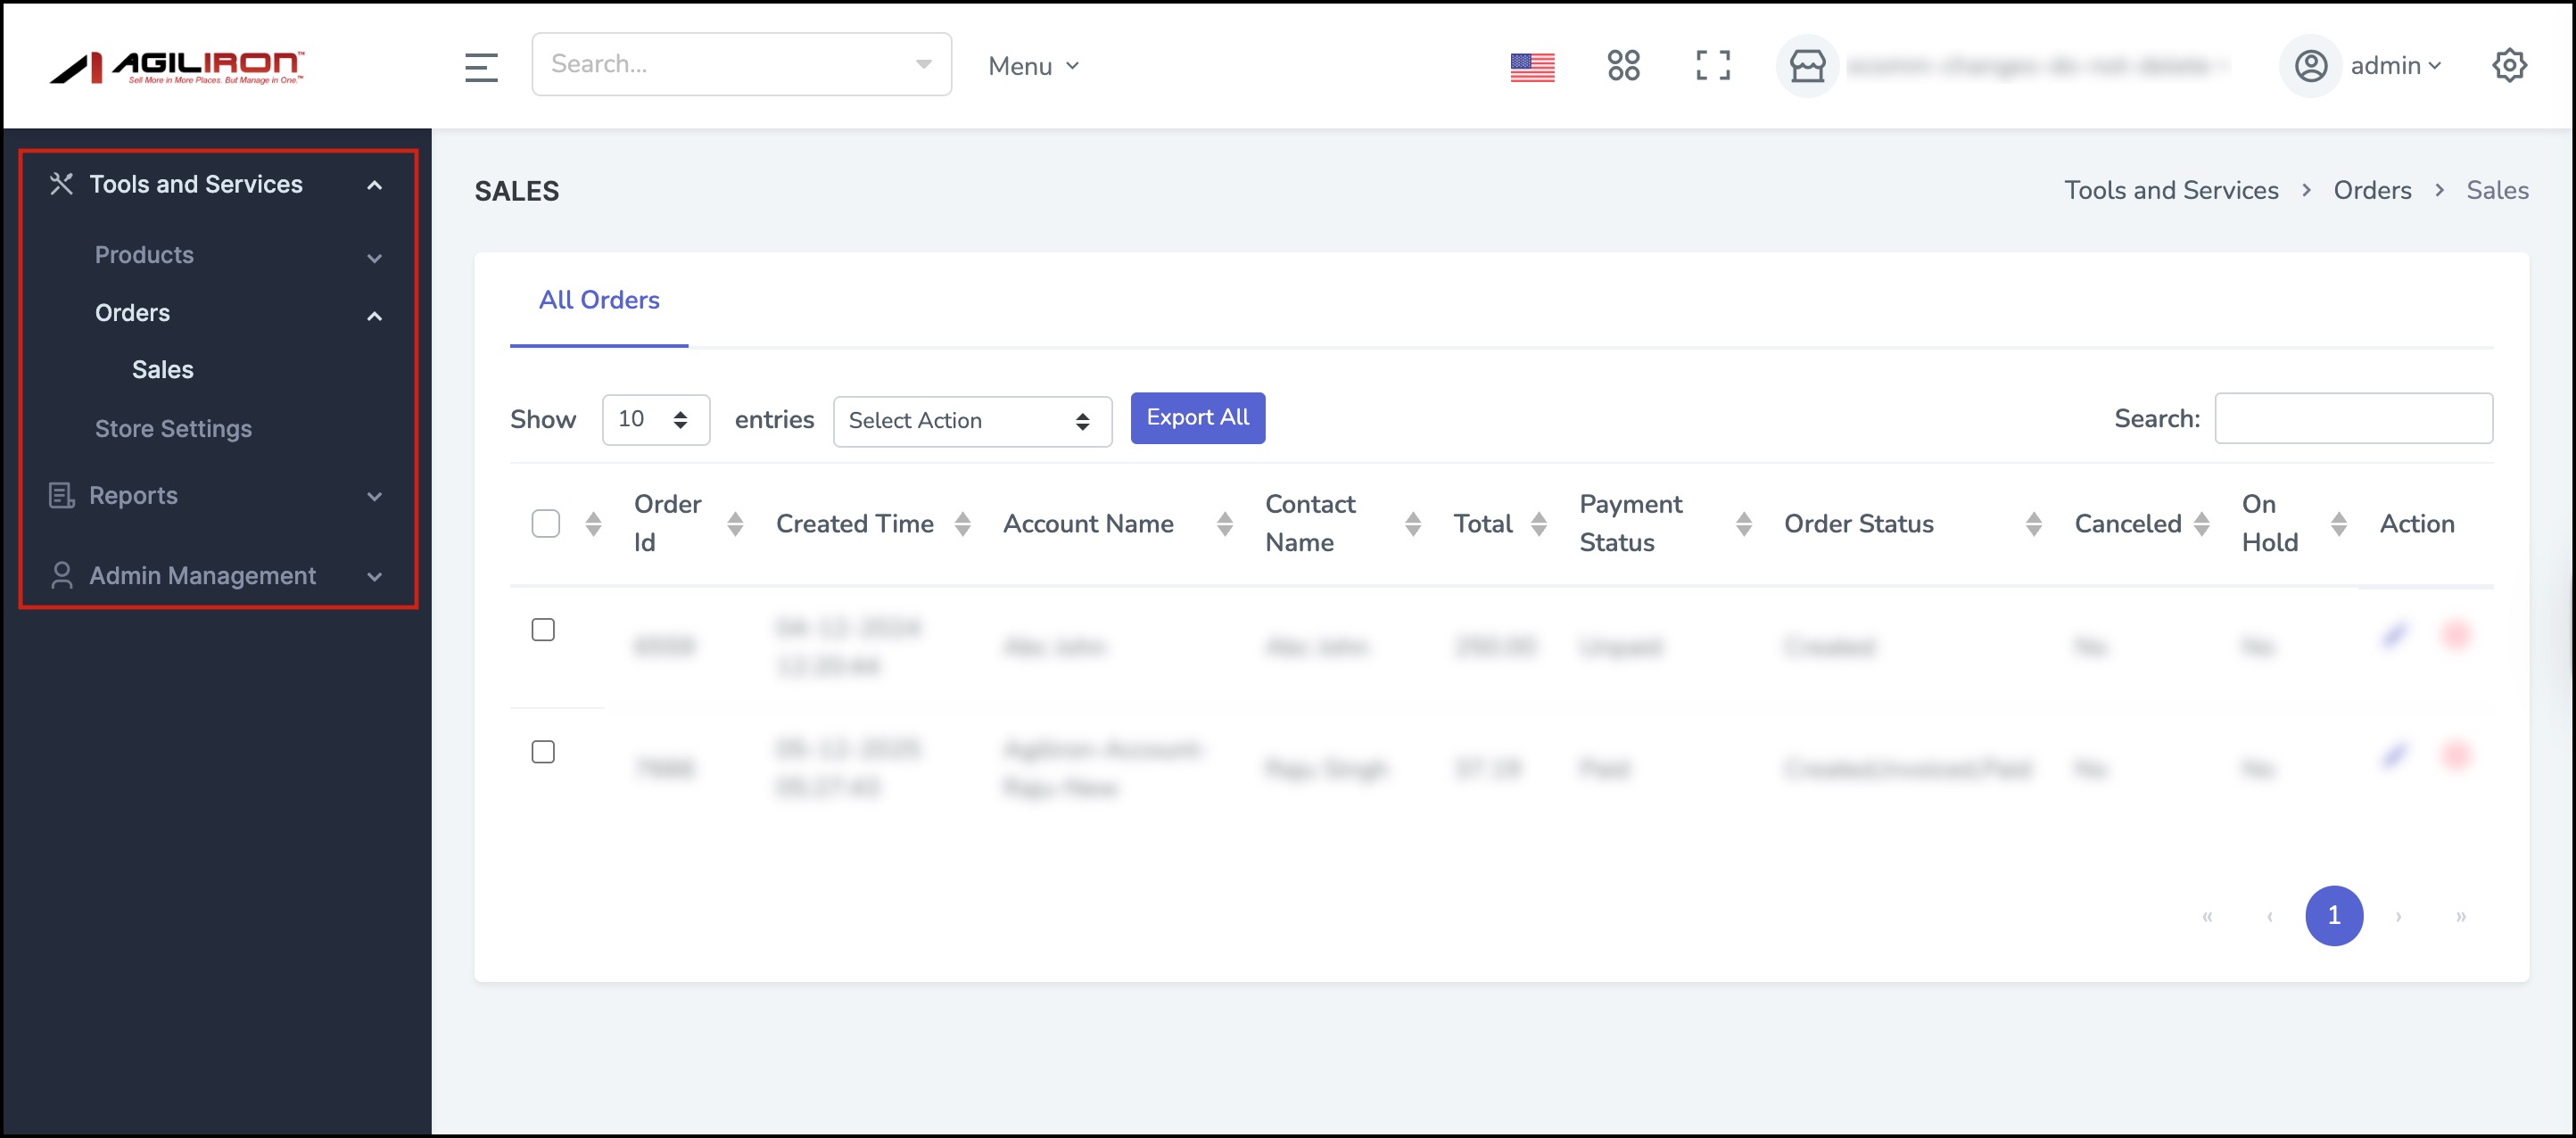
Now, when you login to the ecomm admin platform, you can see the customization done.
Here is the above example, earlier store design option was visible but now after following the customization process, Store design has been removed from the left menu.
Similarly, you can also customize the list views.
- Click on its respective radio button.
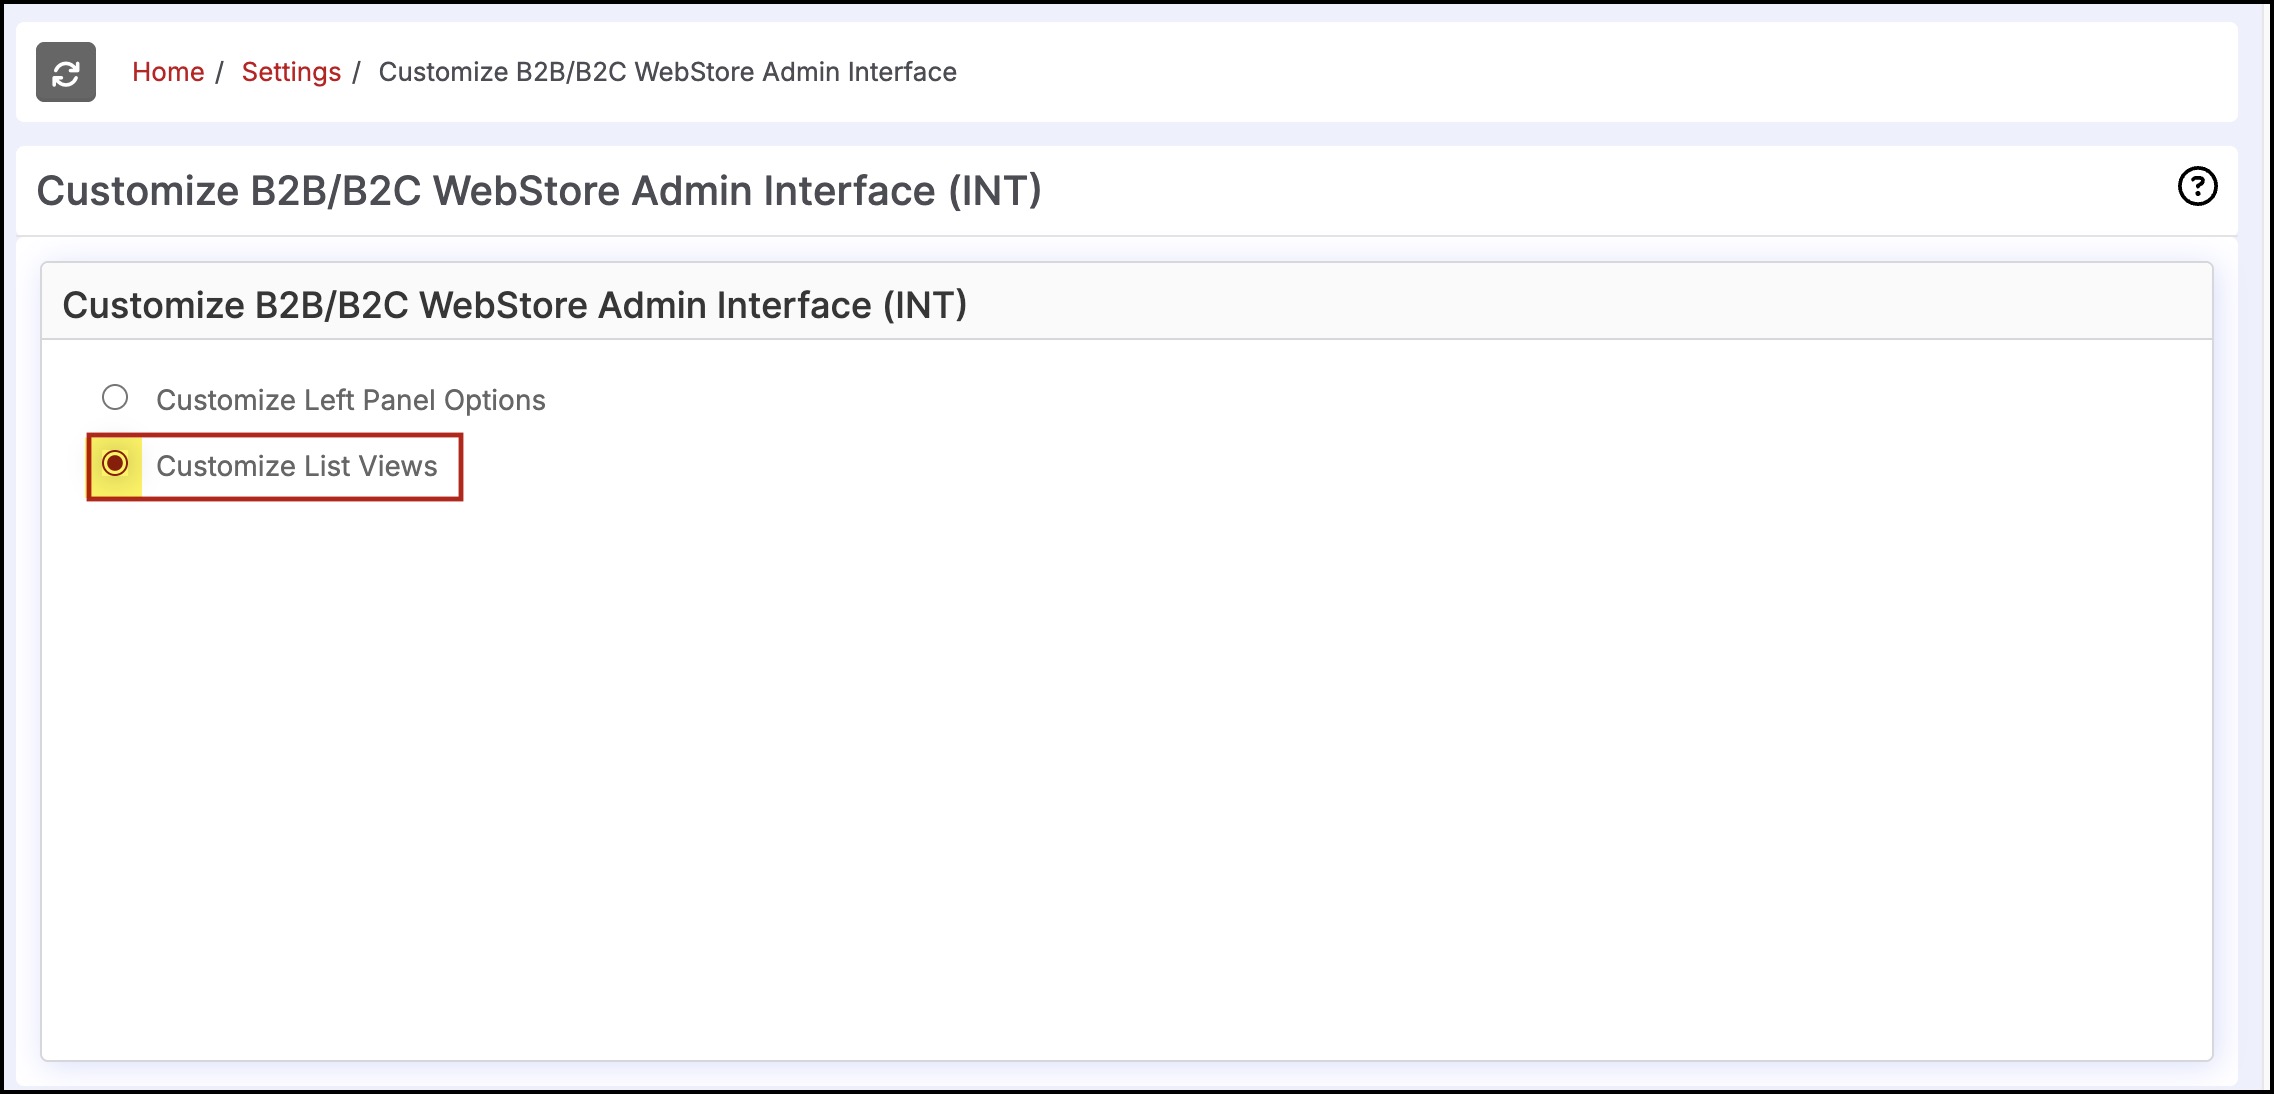
- Next you will be asked to select the store. Select the store from the drop down list. Also, select the list to which you want to make changes.
- The column names will be displayed. Add or remove columns as per your requirement.
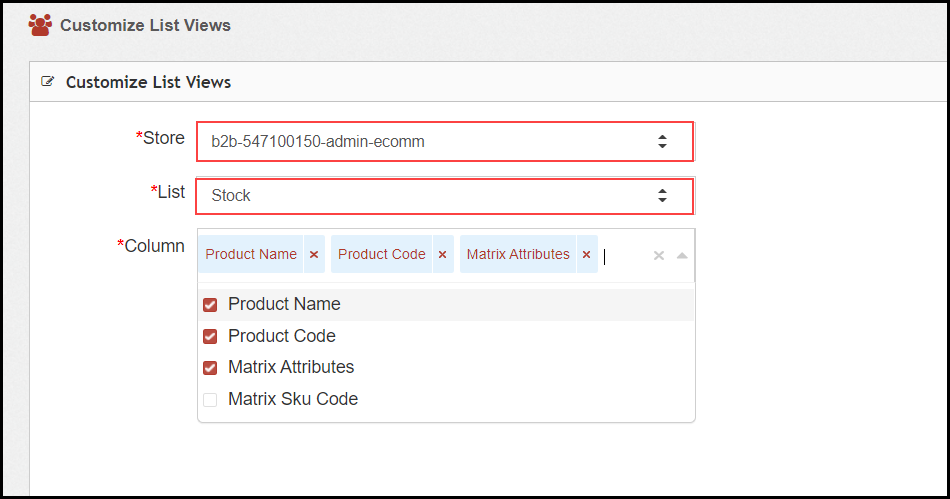
As an example, here in the below screenshot of ecomm admin platform, you can see the existing columns in the Stock list.

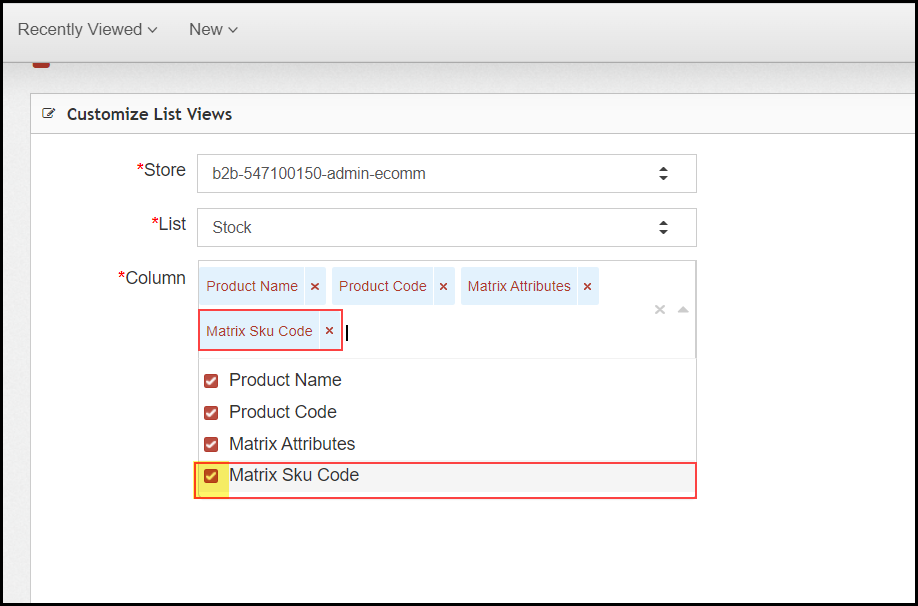
Let's add a column.
- In the back office, from available options, we are adding Matrix Sku Code.
- Once the necessary customization is done, click on Save.
You'll see a message saying, "Record updated successfully".

Now when you login to the ecomm admin platform, you can see the customization done.
Here is the above example, earlier Matrix Sku code column was missing but now after following the customization process, it has been added.

Updated 3 months ago
