POS Receipt Bar Code
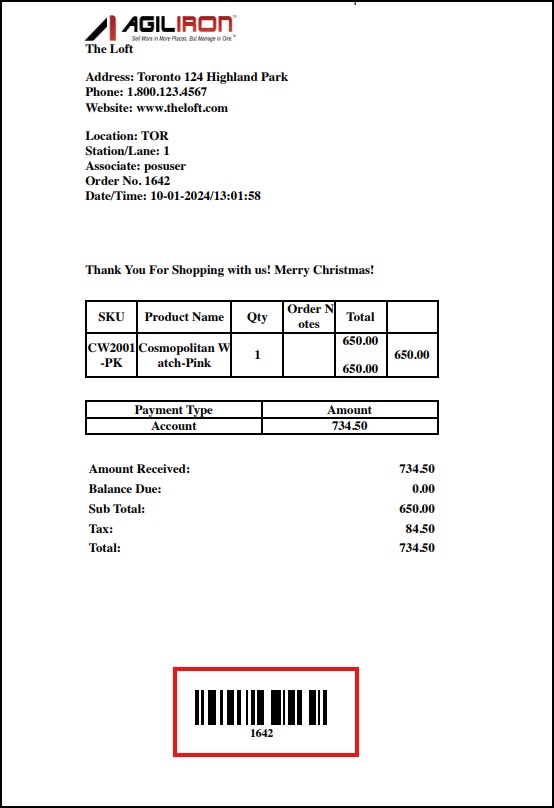
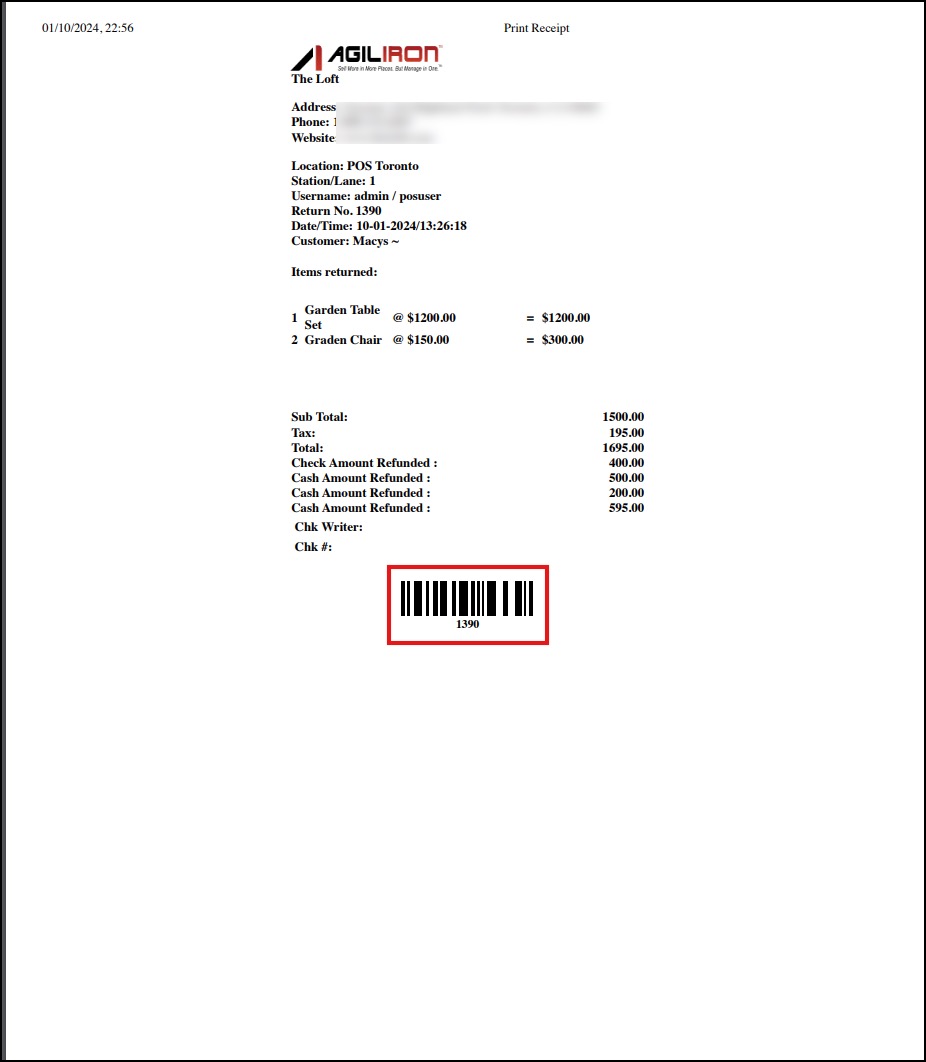
The default POS Sales Receipt will print with a bar code at the bottom as shown below.
This facilitates scanning the order number for sales orders, returns, exchanges, and receipt reprints.
The bar code is not included in the customizable templates by default, however, they can be added if desired.
- To enable the customized receipts, they must be selected in the POS Channel settings as outlined here.
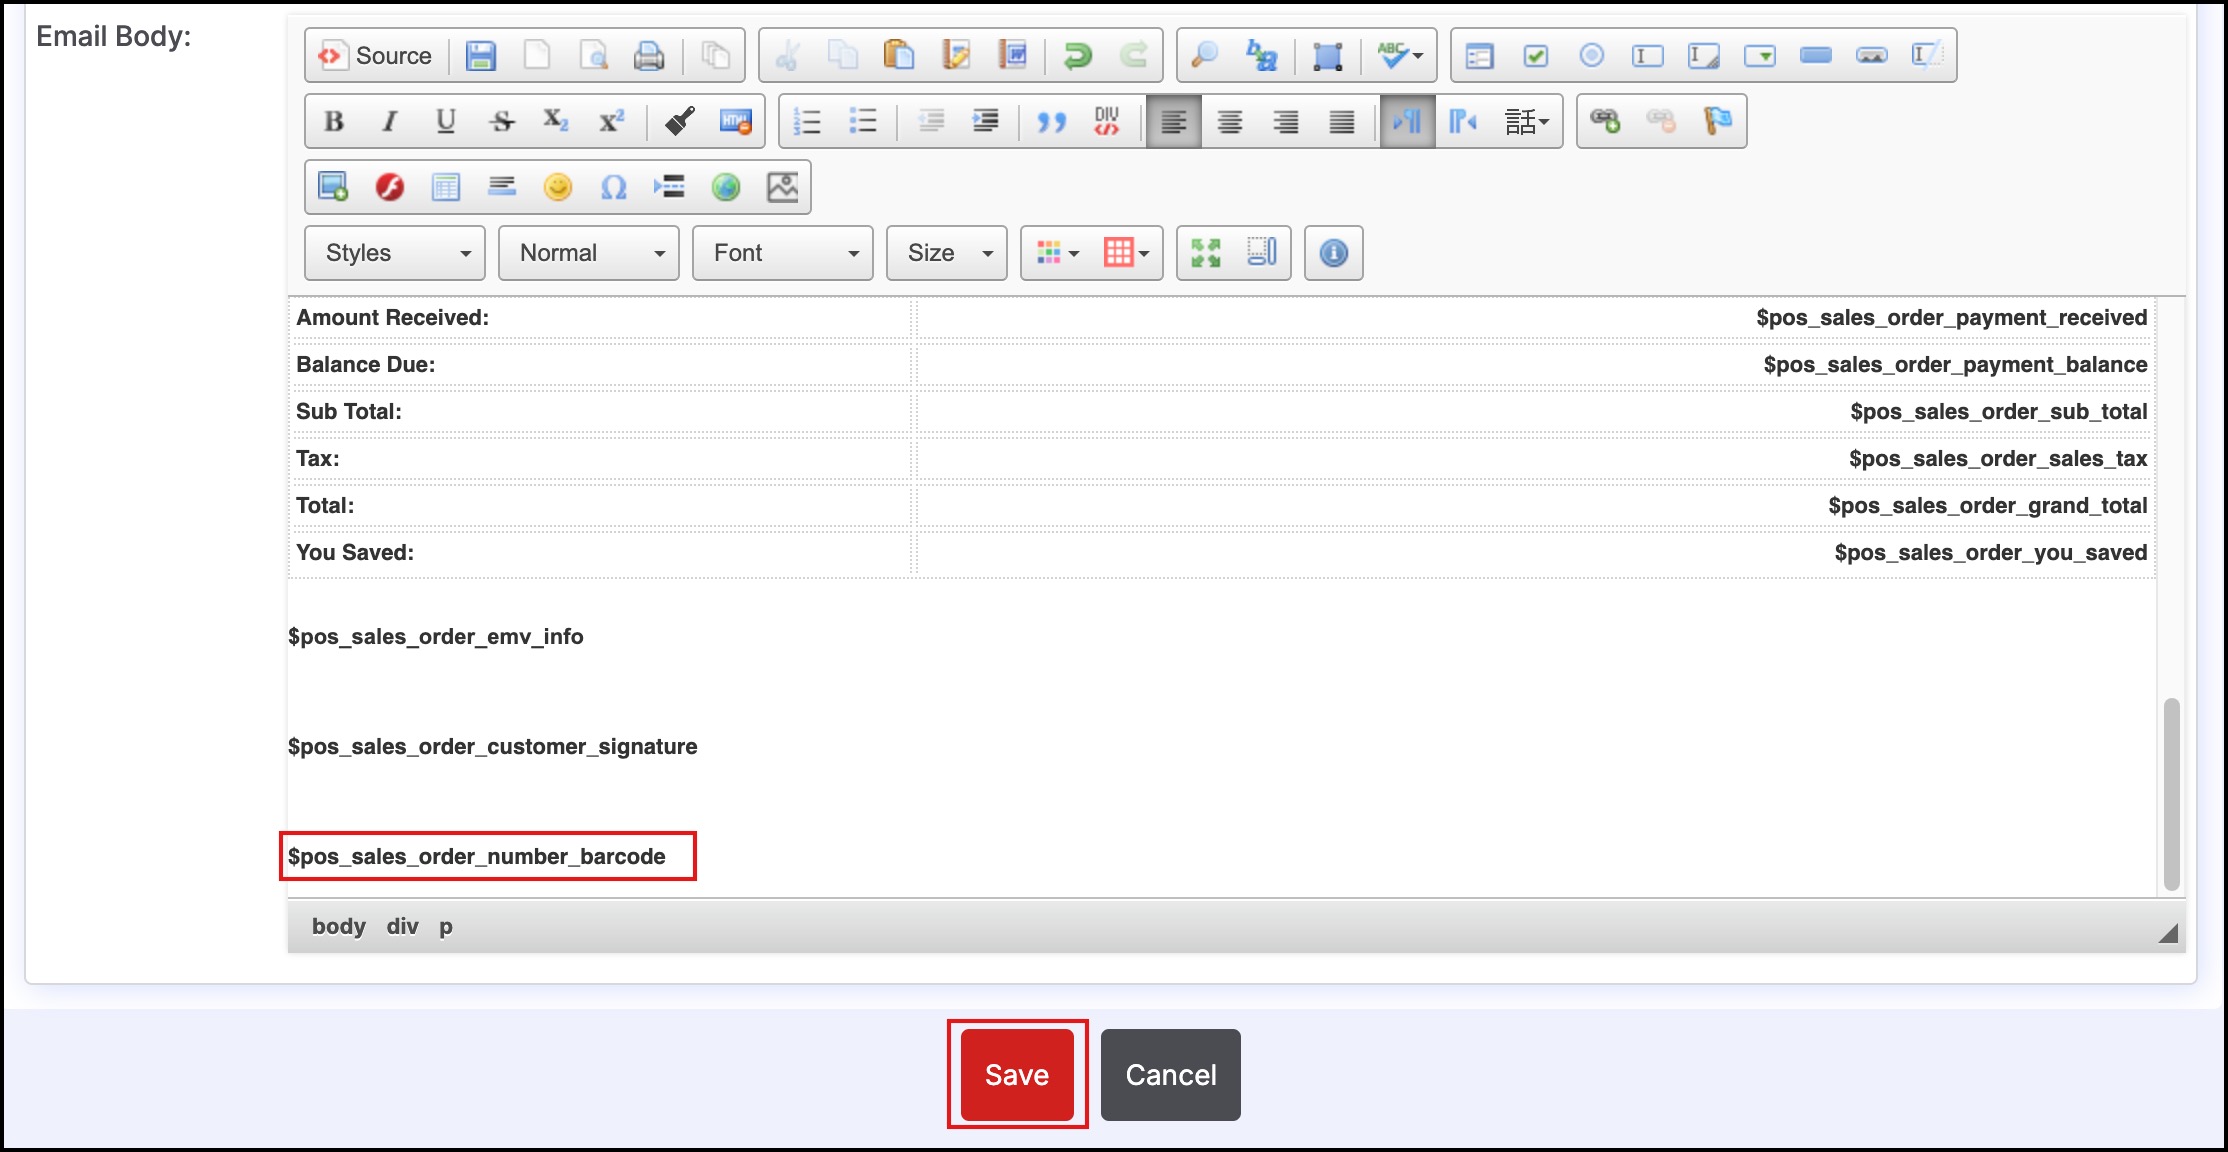
The example below demonstrates how to add the bar code field to the Sales Receipt.
To add, navigate to Settings > Templates and select POS Sales Receipt - Customizable
- In the Available Merge Fields section, select "POS Receipt Fields" from the drop down list.
- Select Sales Order Number Barcode
- Copy the field $pos_sales_order_number_barcode

- Scroll down to the "Email Body" section and paste the field in the area of choice.
- Click "Save" to update.
- The bar code will now appear on the customized receipt in the area in which it was placed.
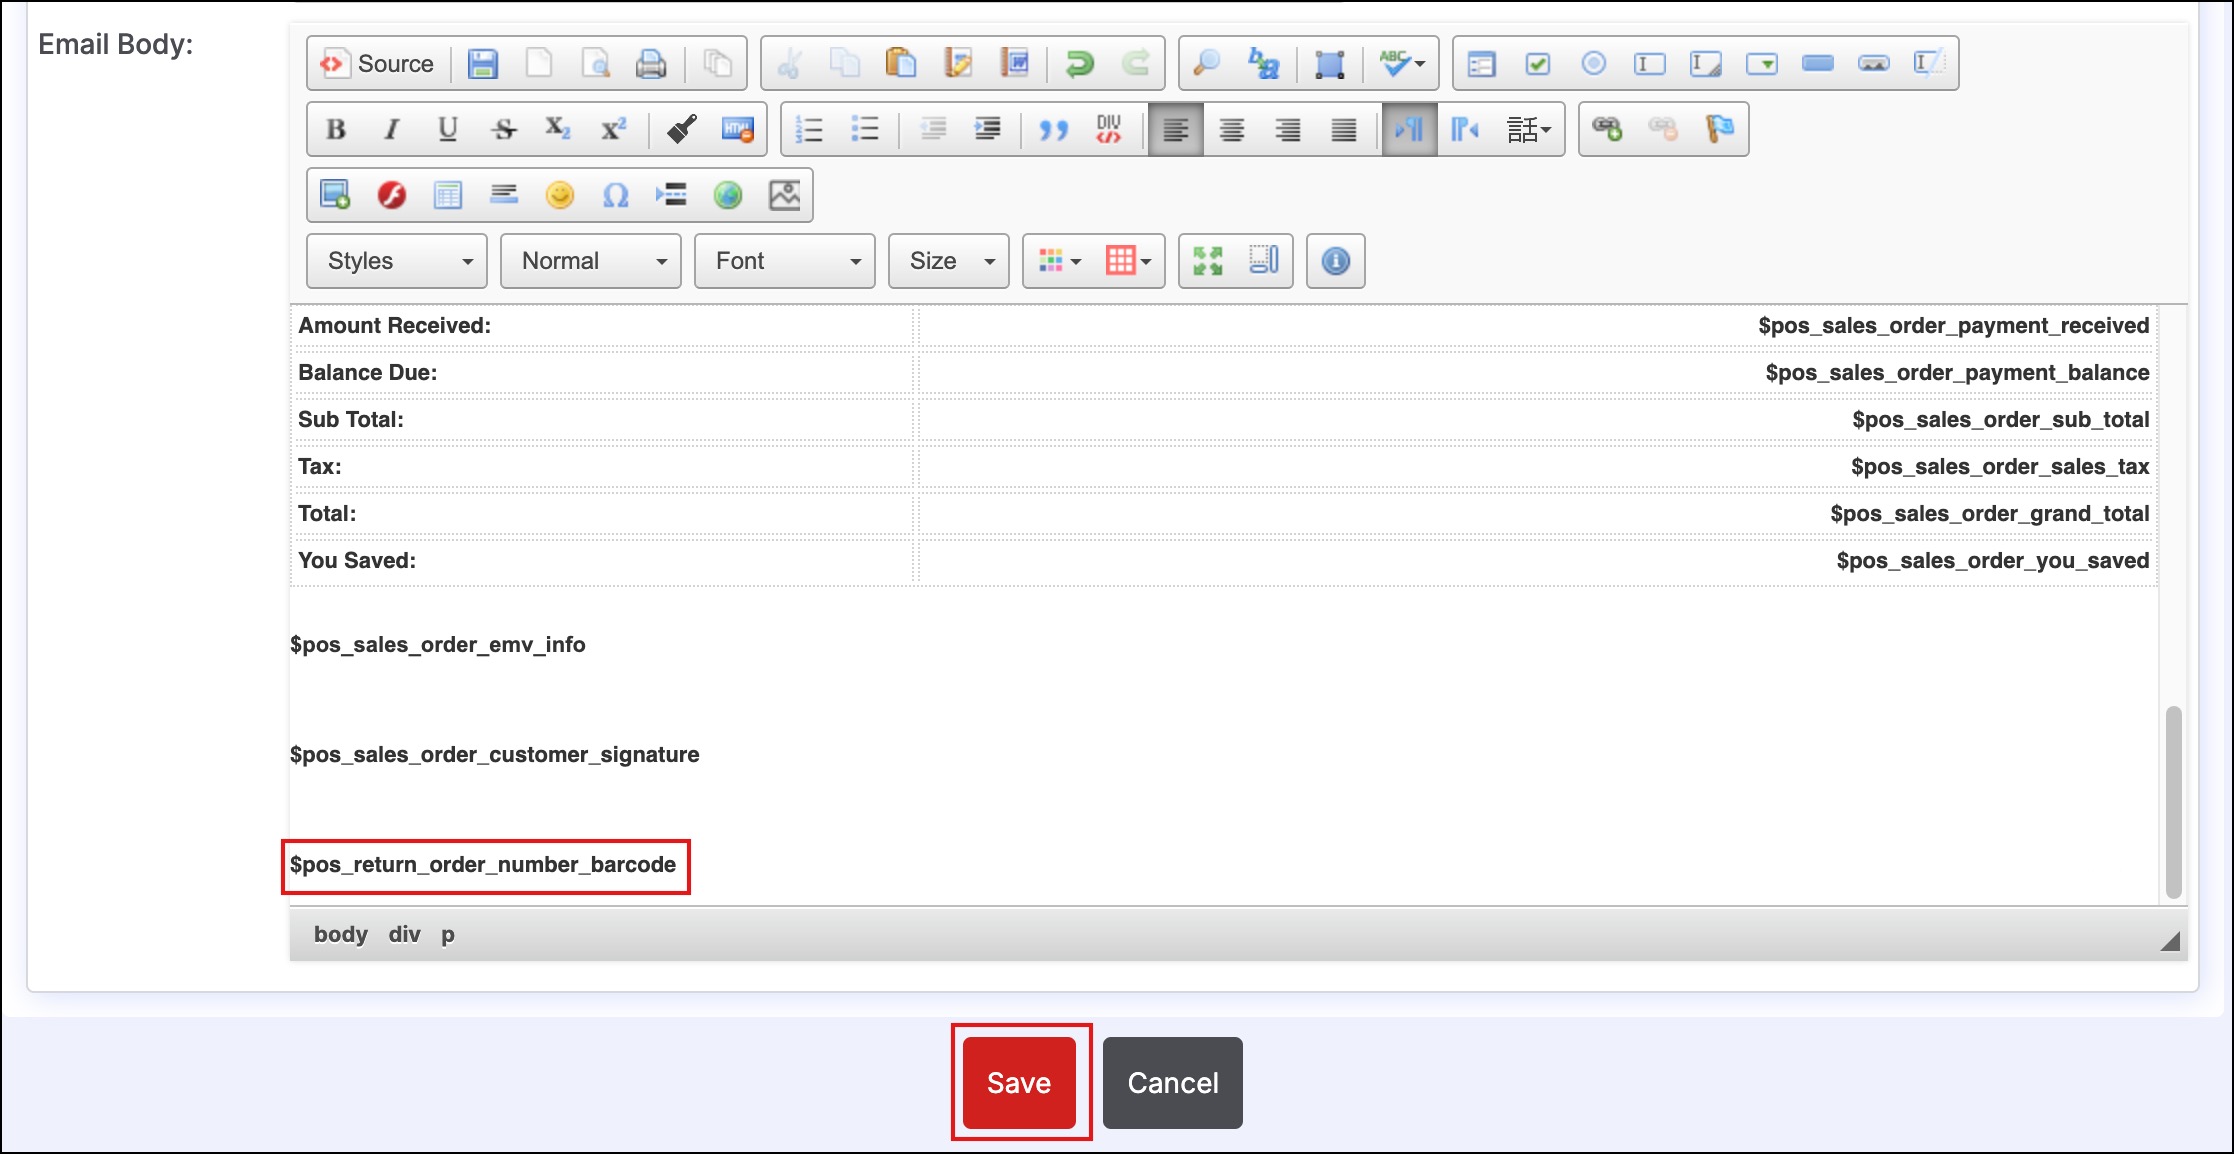
The bar codes can also be added to the Sales Return Receipts.
- Navigate to Settings > Templates and select POS Return Receipt - Customizable
- In the Available Merge Fields section, select "POS Receipt Fields" from the drop down list.
- Select Sales Return Number Barcode
- Copy the field $pos_return_order_number_barcode


- Scroll down to the "Email Body" section and paste the field in the area of choice.
- Click "Save" to update.
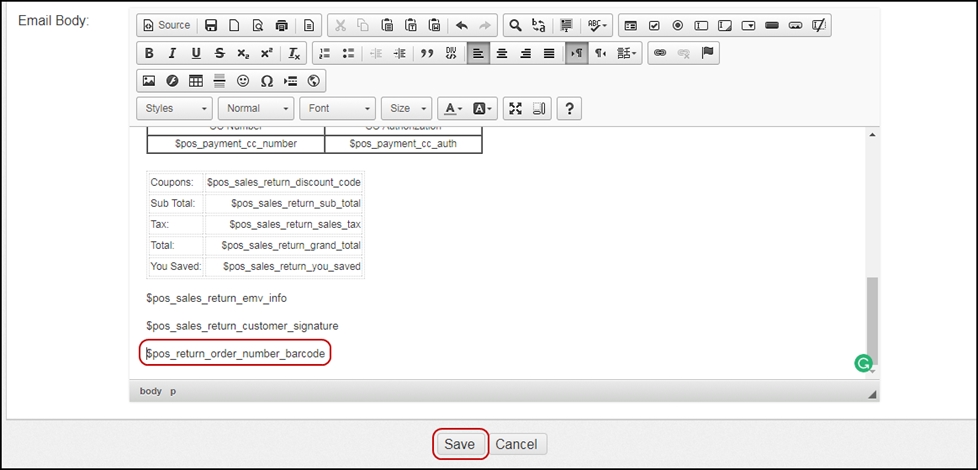
- The bar code will now appear on the customized receipt in the area in which it was placed.
Updated about 1 year ago
