Setting up your WooCommerce Store to Facilitate Integration with Agiliron
WooCommerce is one of the popular Shopping Cart plugins for WordPress.
If you have not installed WooCommerce plugin, please follow the steps below to install WooCommerce in WordPress.
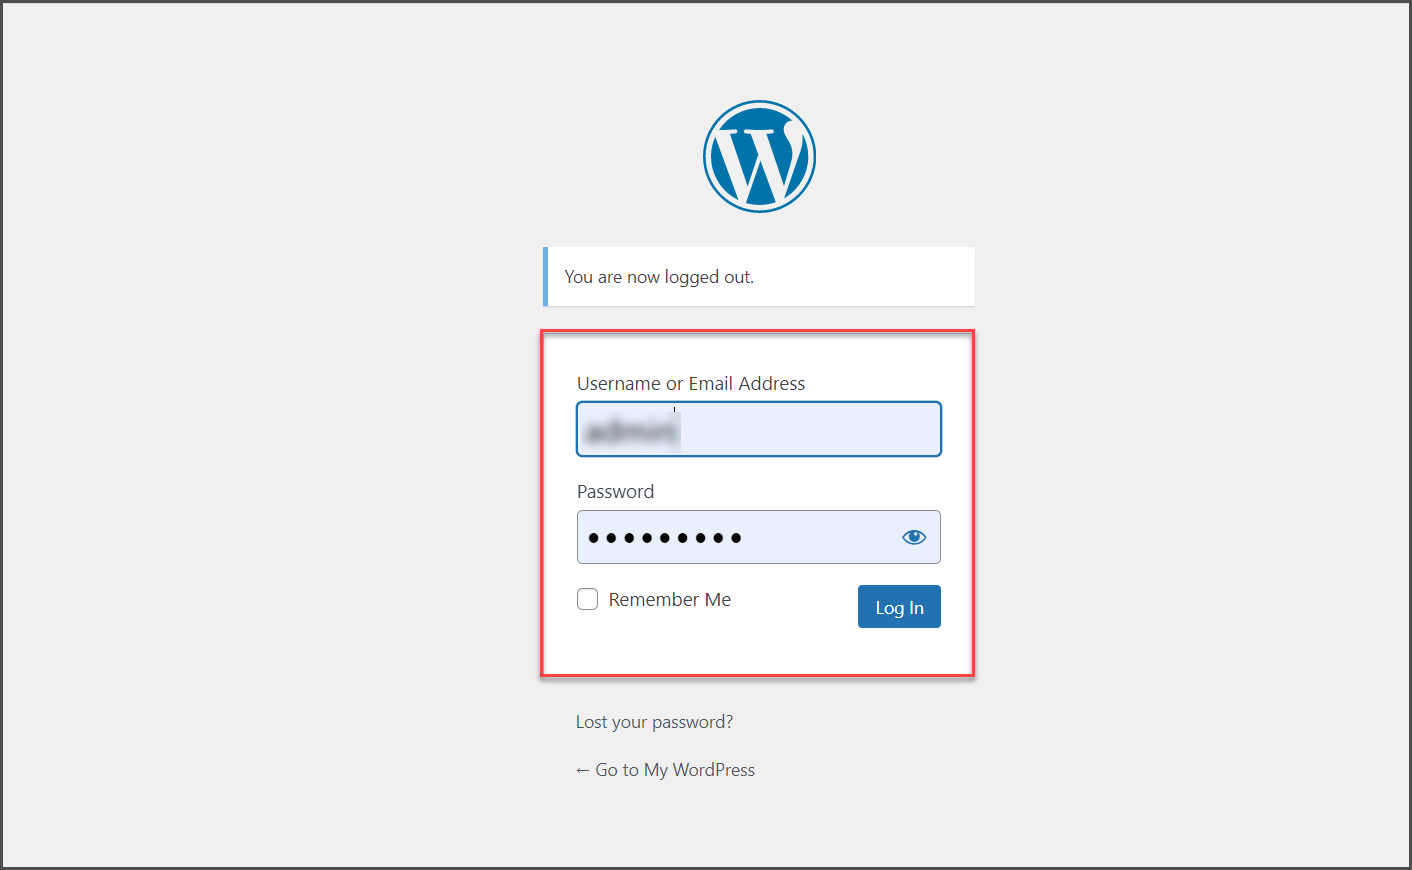
- Login to the WordPress admin panel
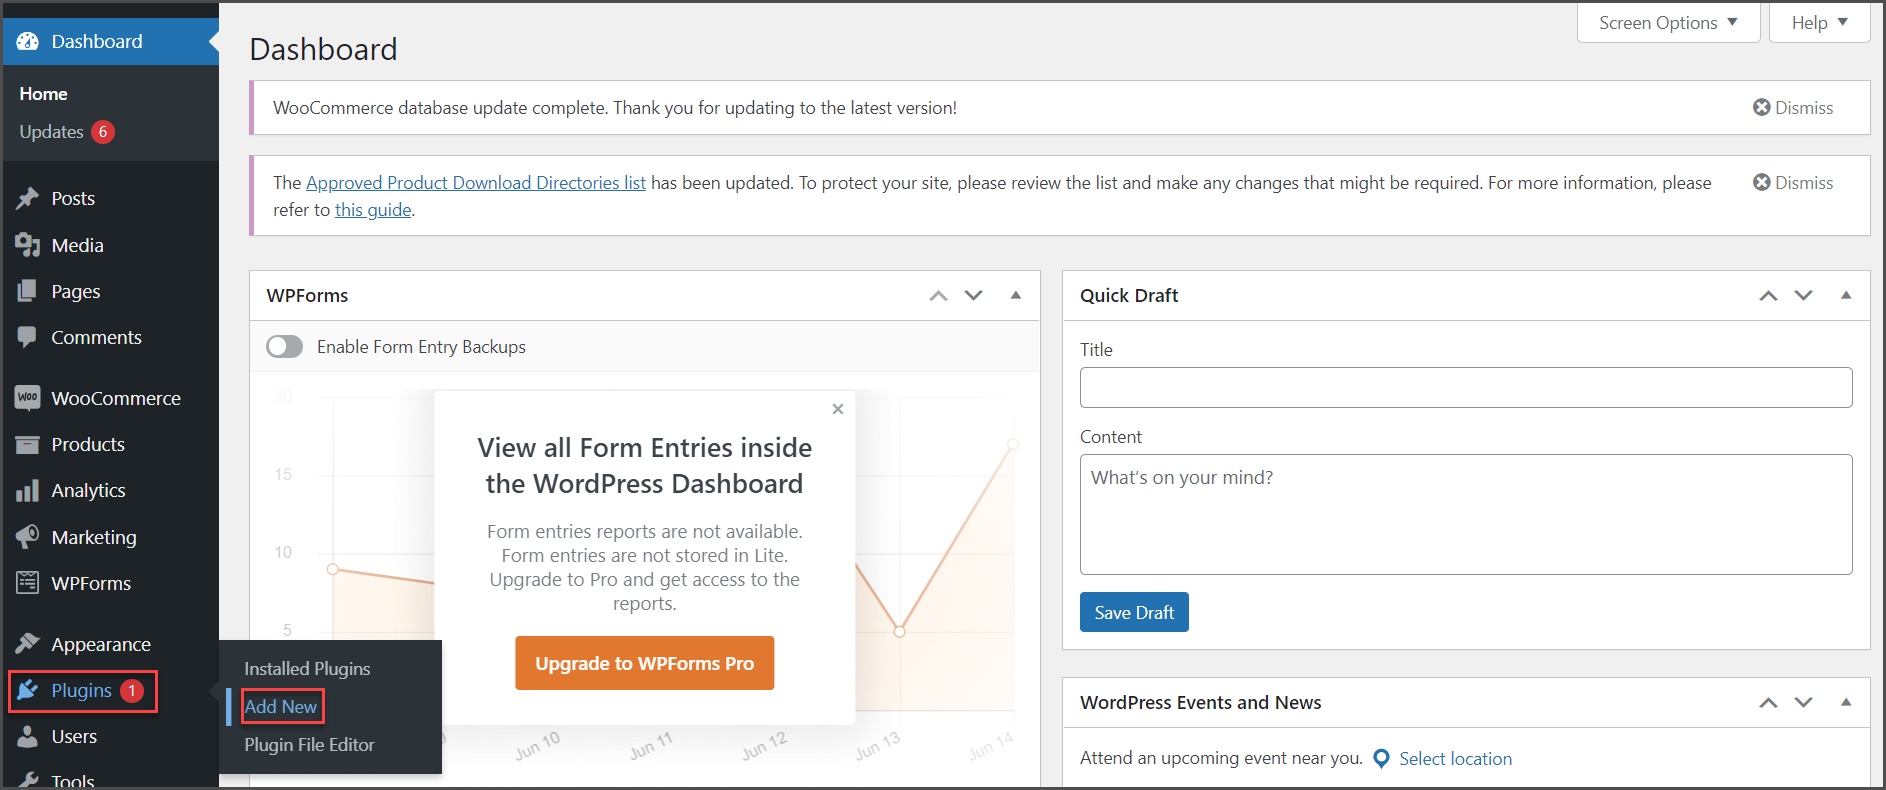
- Follow the "Plugins" menu and select "Add New"
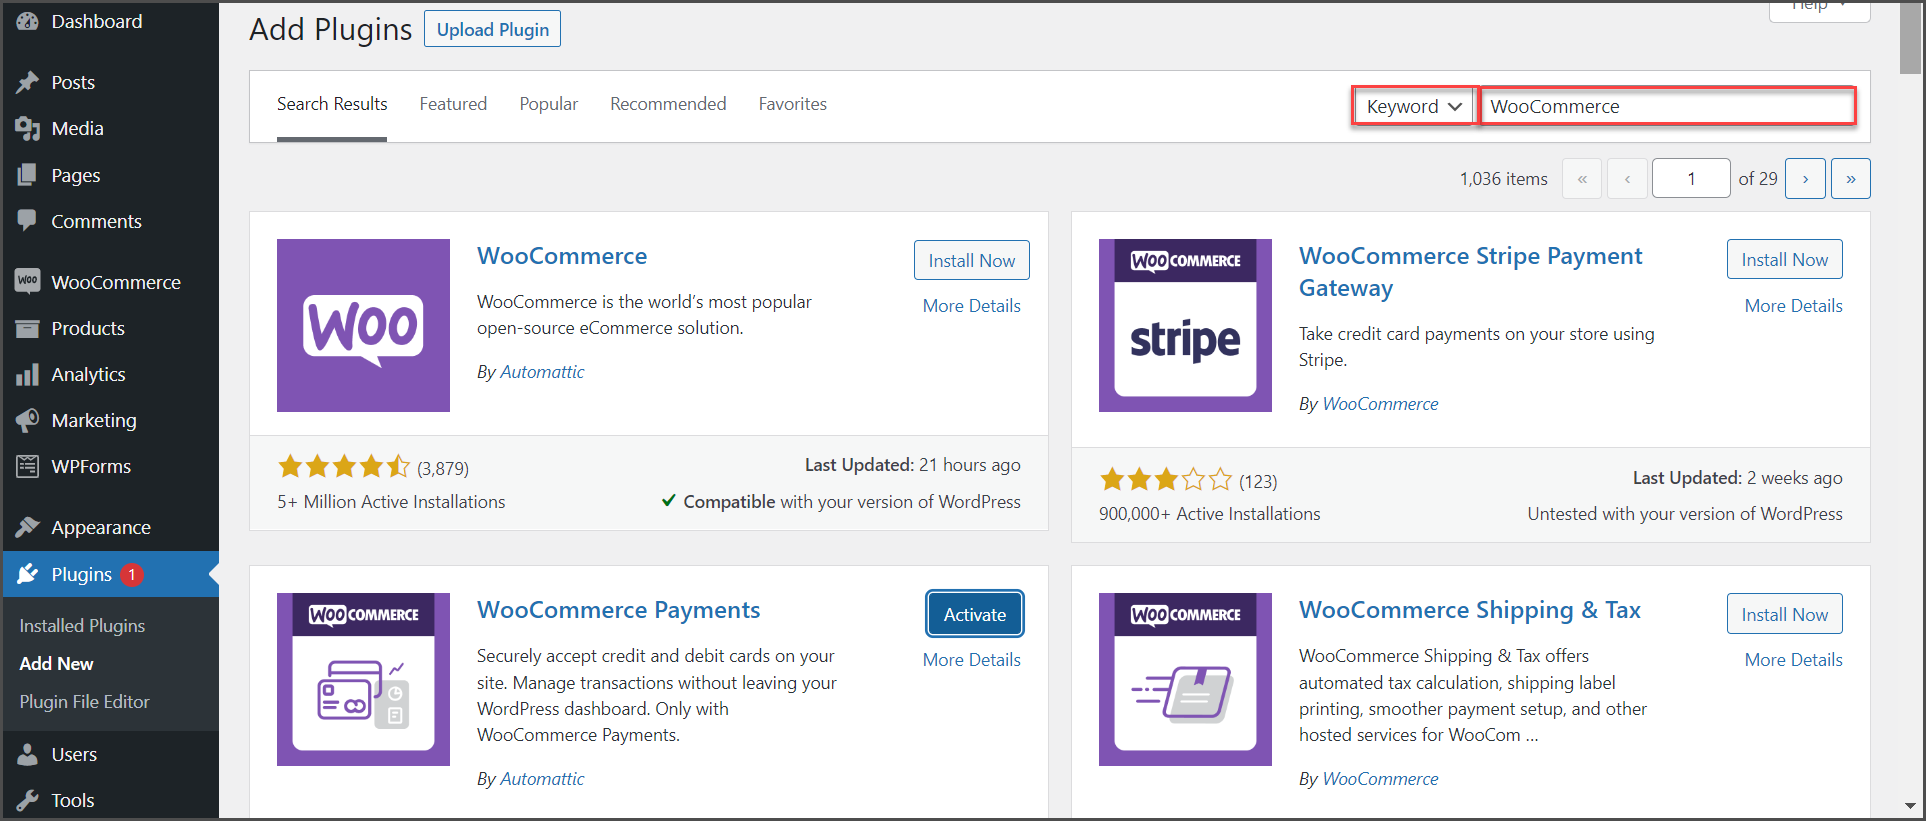
- Search for "WooCommerce" plugin
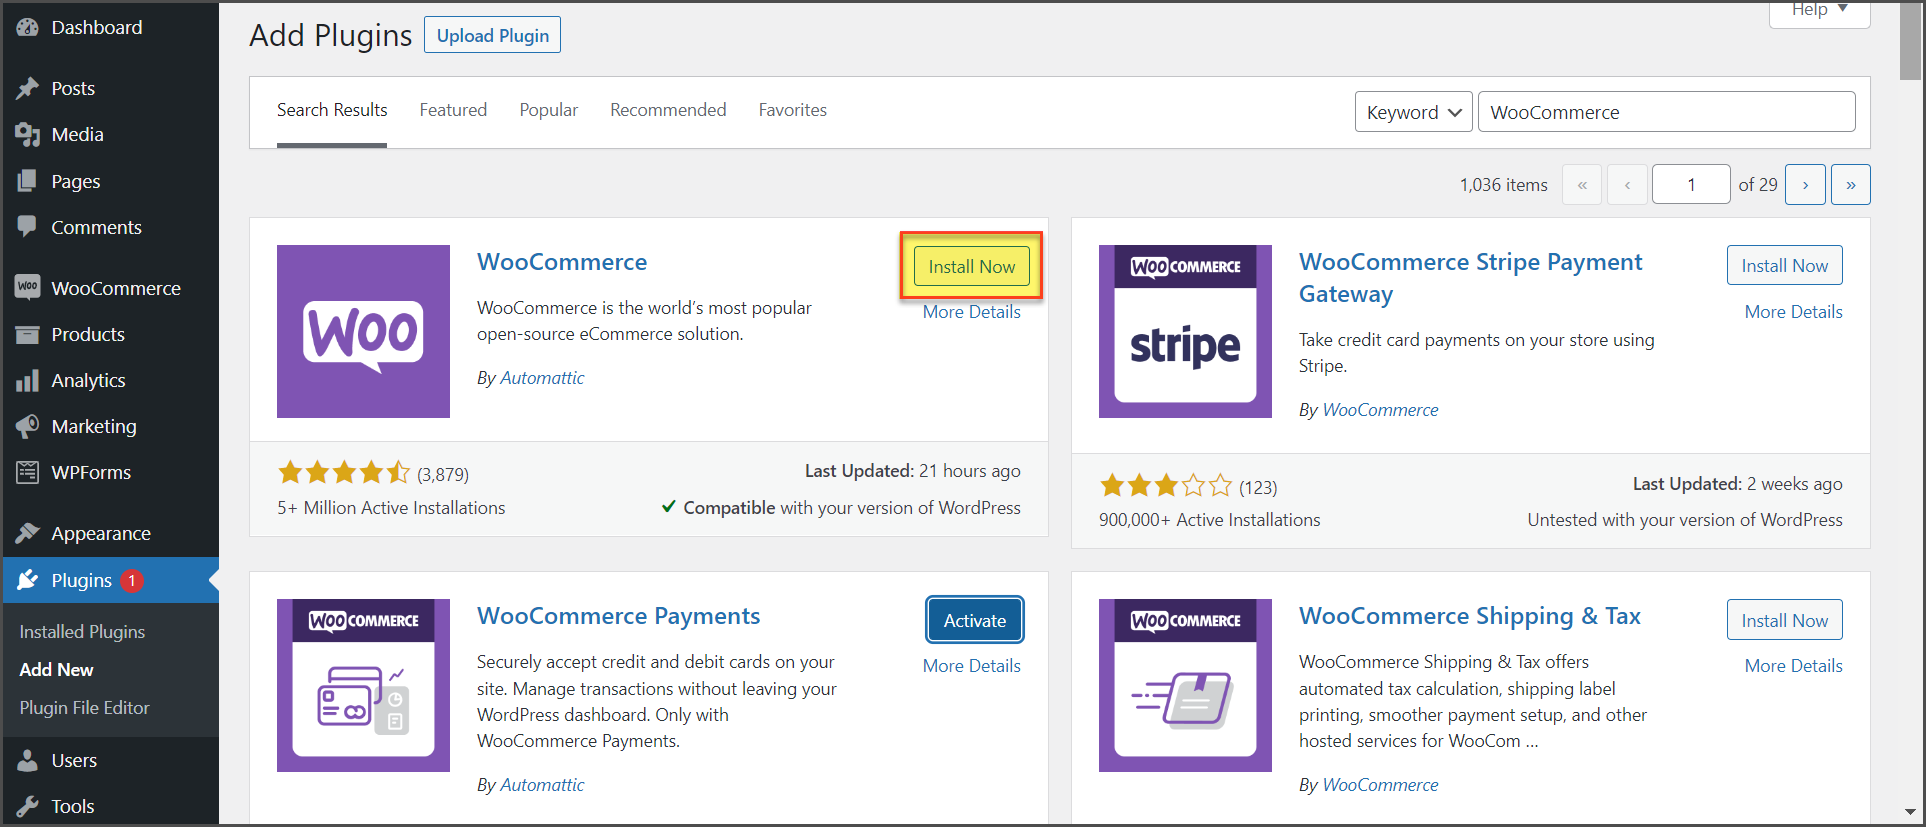
- Install the WooCommerce plugin.
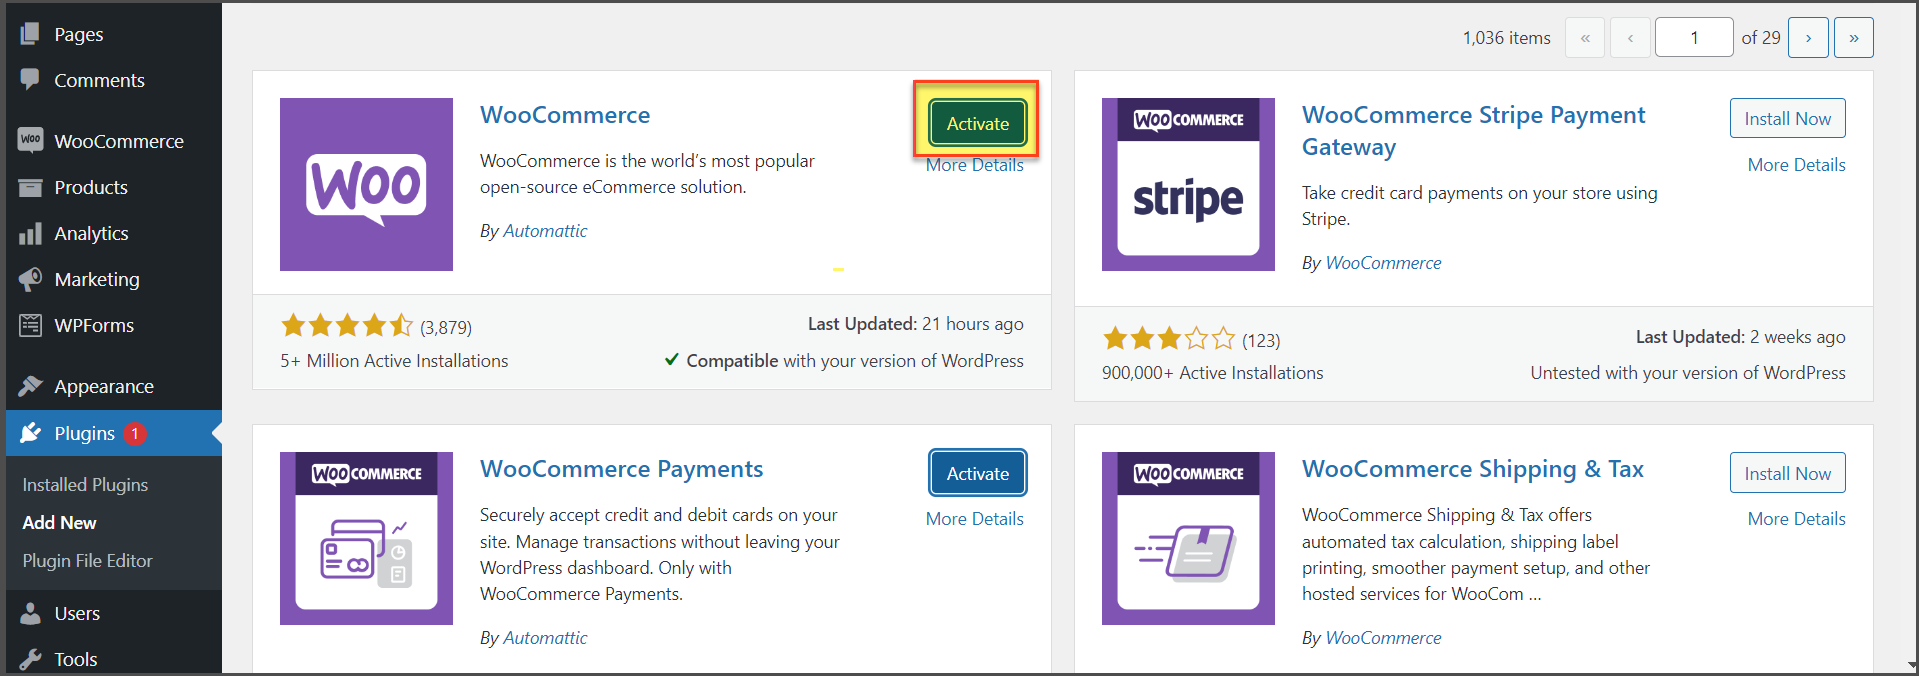
Once WooCommerce has been installed,
- The Agiliron WooCommerce API Plugin should be installed.
- The Agiliron WooCommerce API Plugin (a zip file) can be downloaded from here (requires WooCommerce 2.4+).
- Then follow the steps below.
- Note: If you are installing an update to the Agiliron WooCommerce API Plugin, and have downloaded the new version (using the link above), then
- "Deactivate" the existing "Agiliron WooCommerce API Plugin"
- then "Delete"
- and follow the steps below to "Add New".
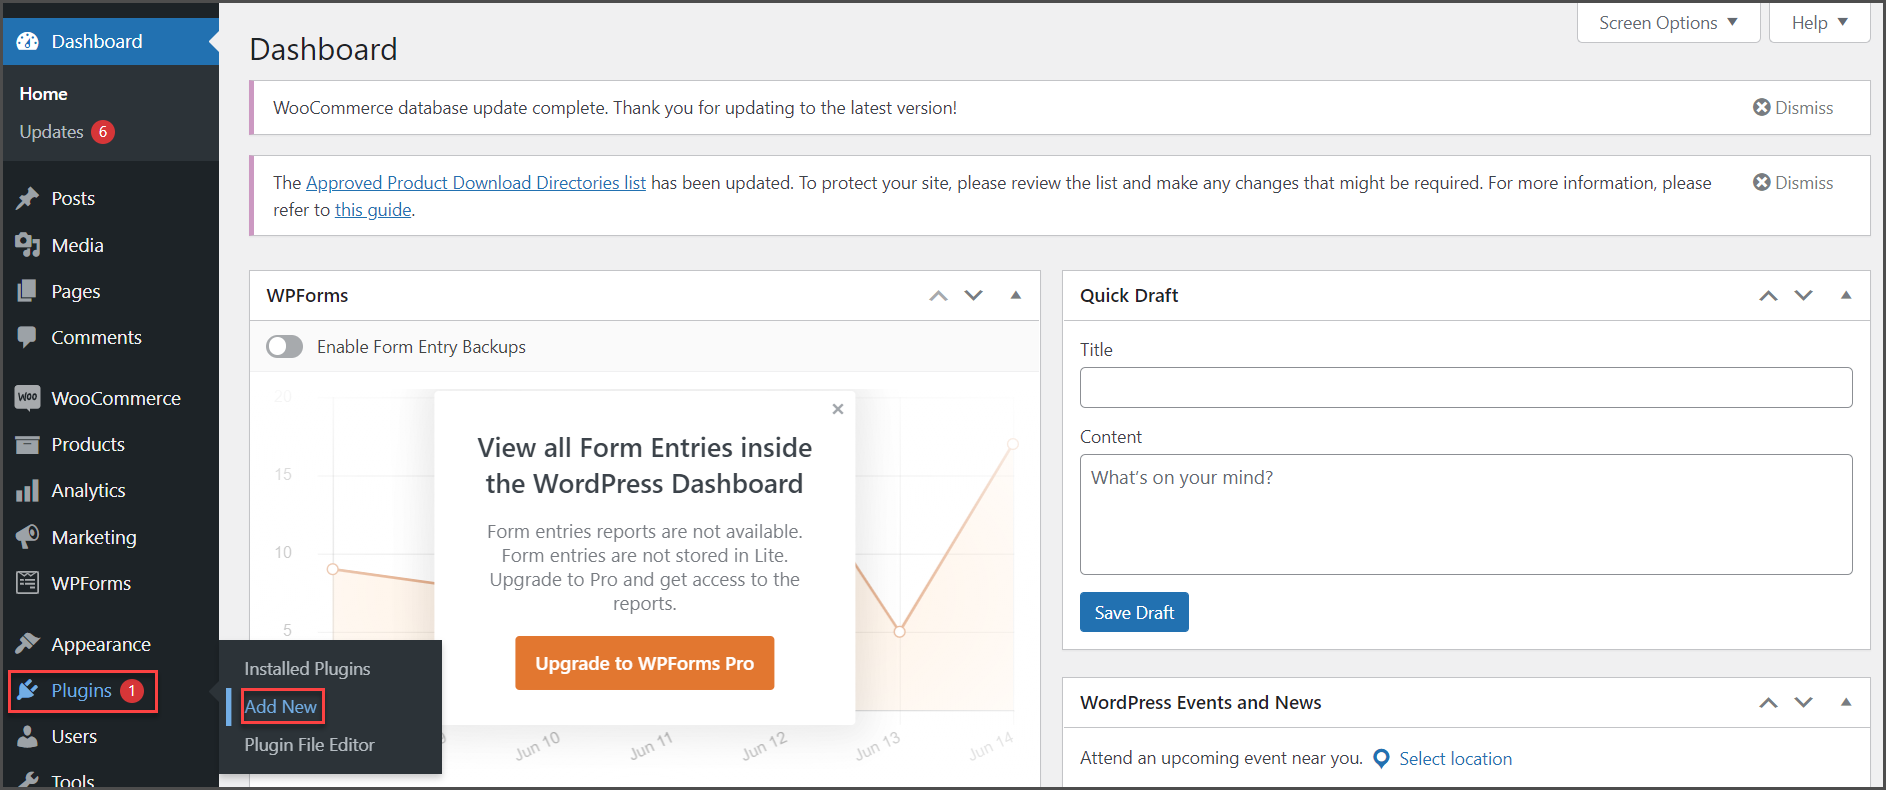
- Then click on Upload Plugin and follow the steps.


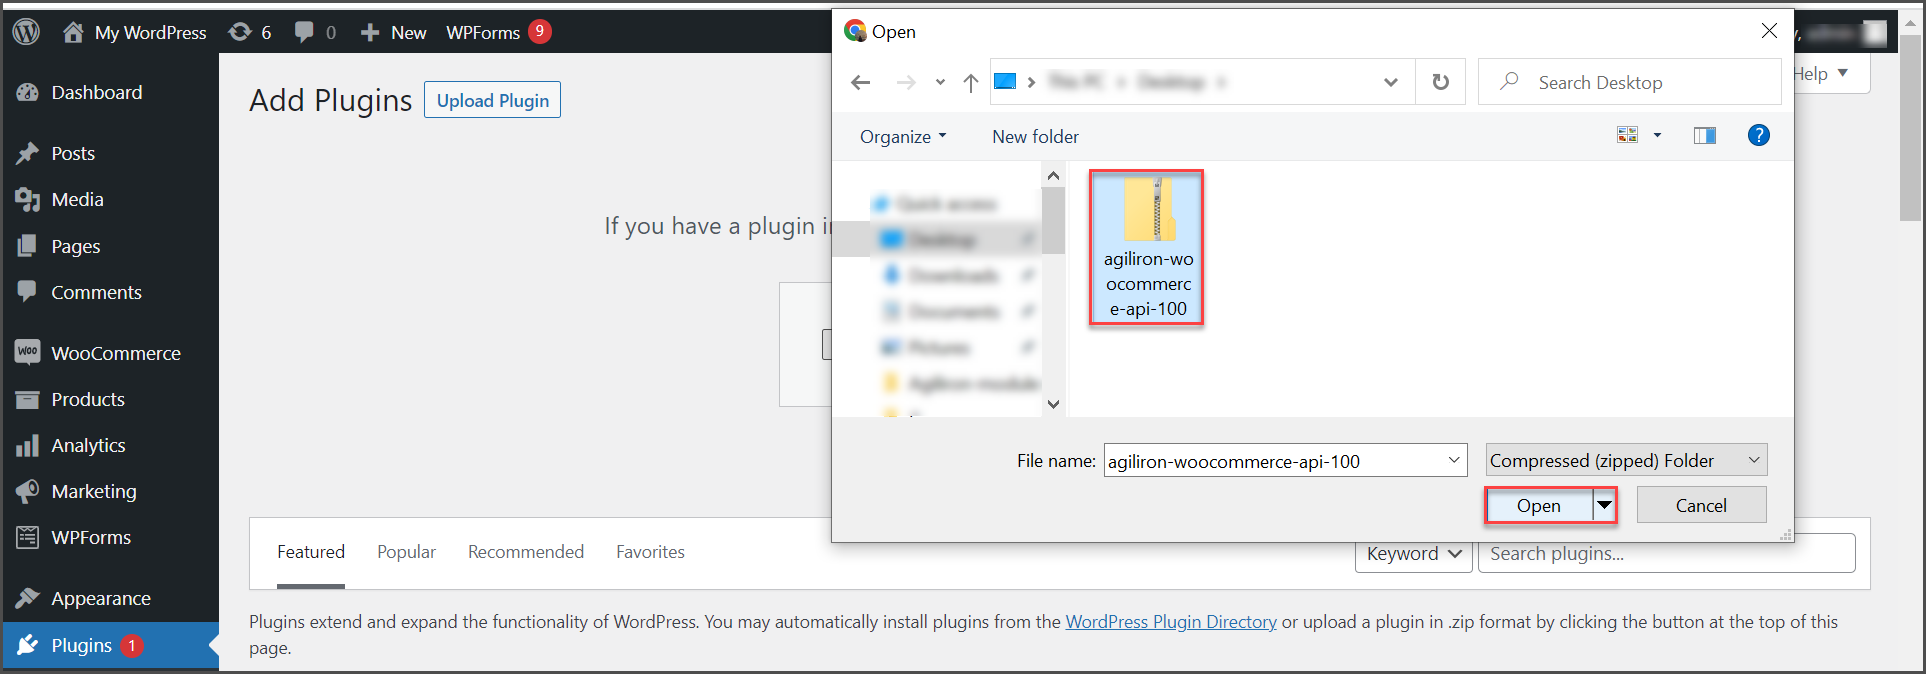


Once Agiliron WooCommerce API Plugin has been installed,
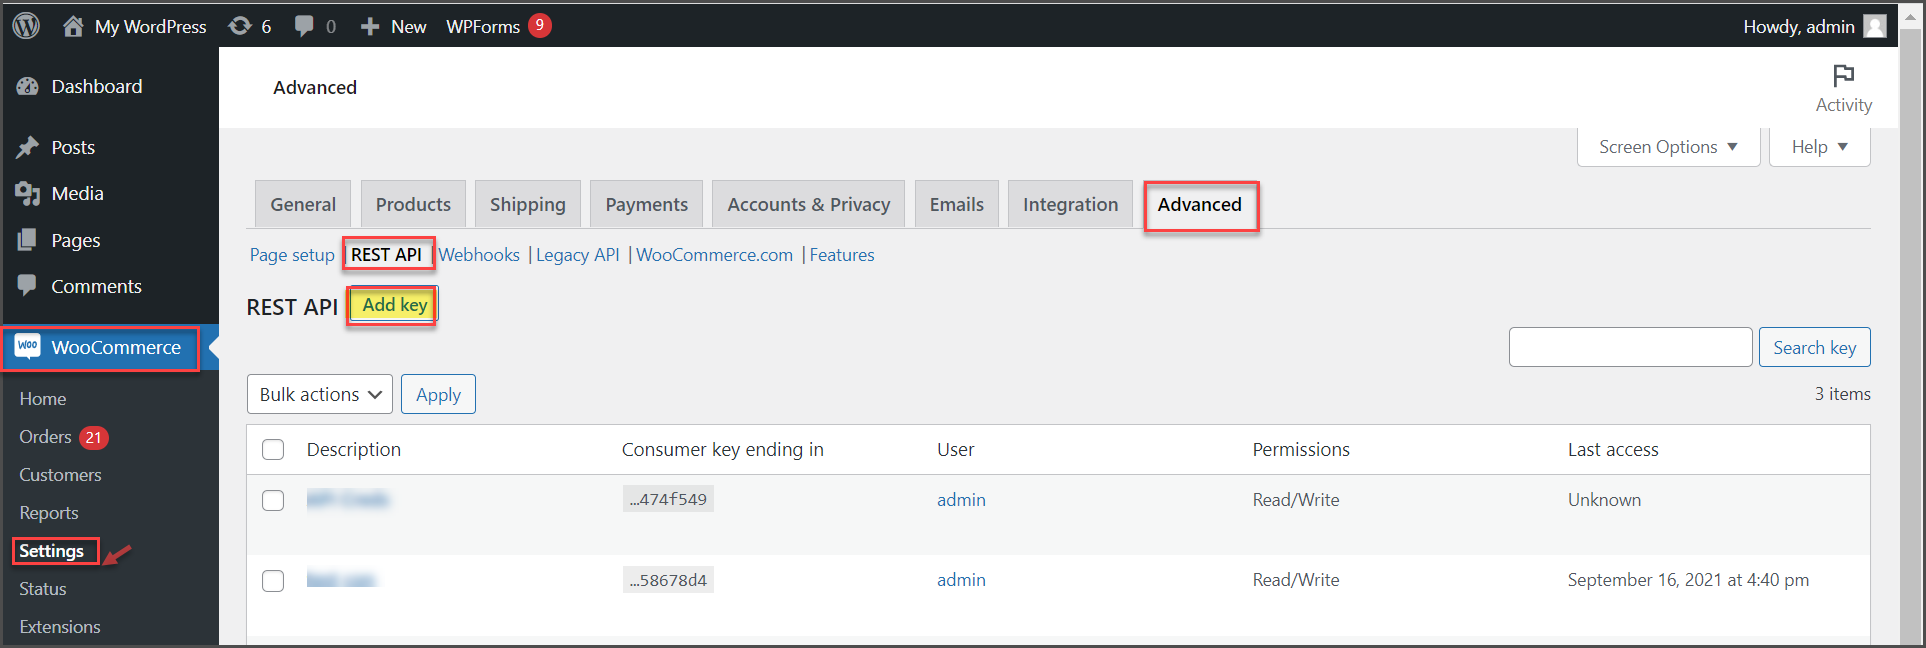
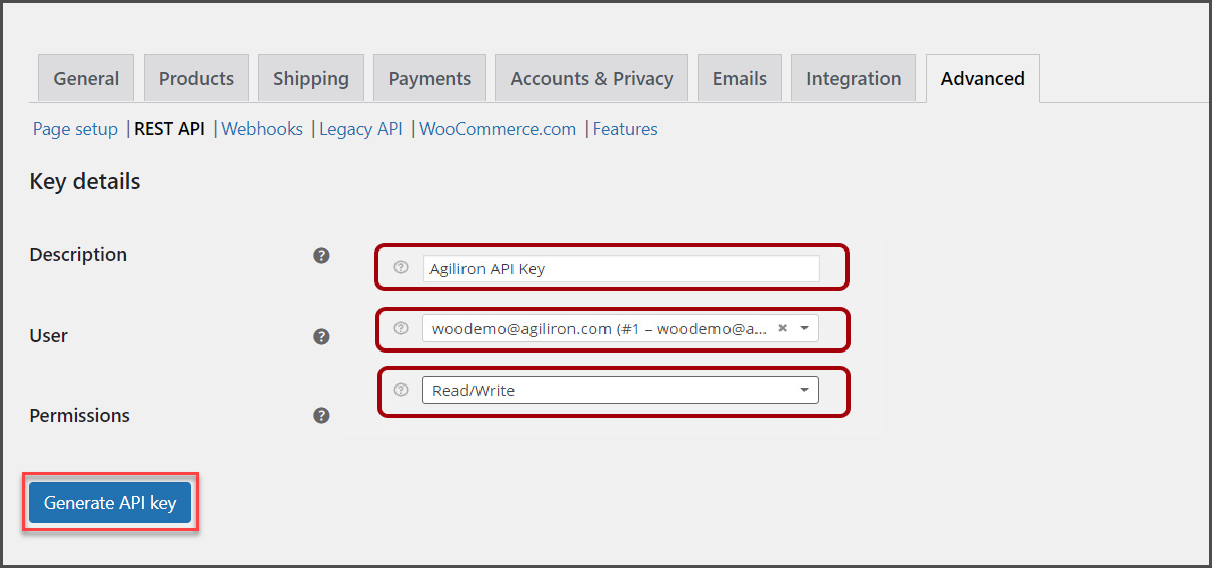
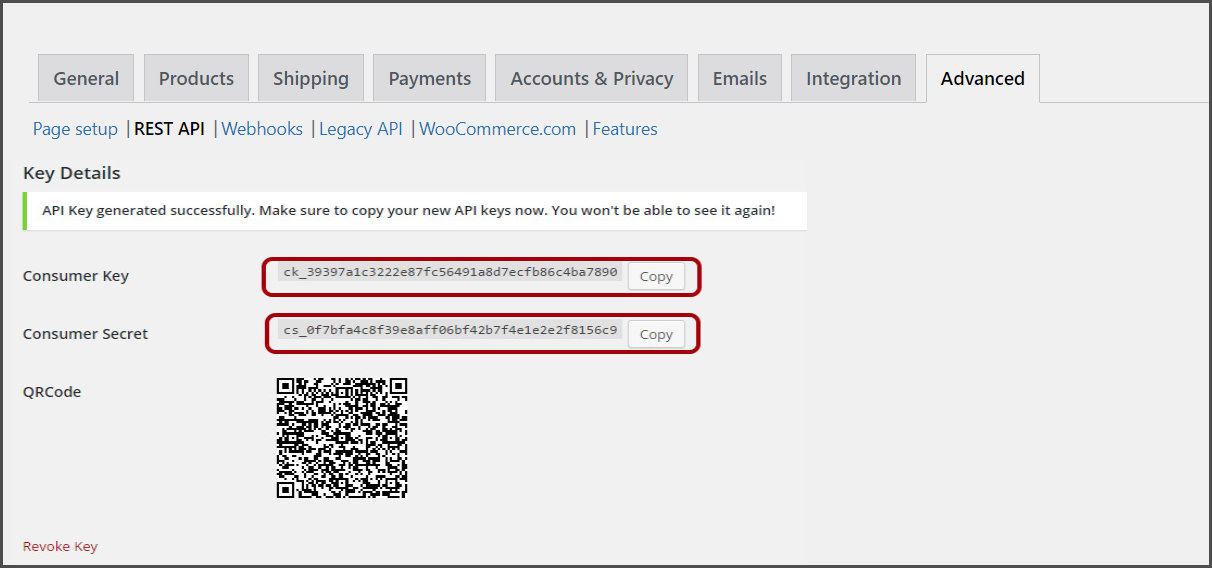
- We need to enable WooCommerce for API Access
- Please follow the steps below.
- Note the API Keys for transfer to Agiliron.
- Go to WooCommerce -> Settings.
Updated about 1 year ago
