Stock Adjustment
With the stock adjustment feature, users can change the number of units in the stock. Adjustment can be made due to varied reasons like item damage, breakage, transferred, disassembly, unfurnished, etc.
To perform Stock Adjustment
- Login to Warehouse management account.
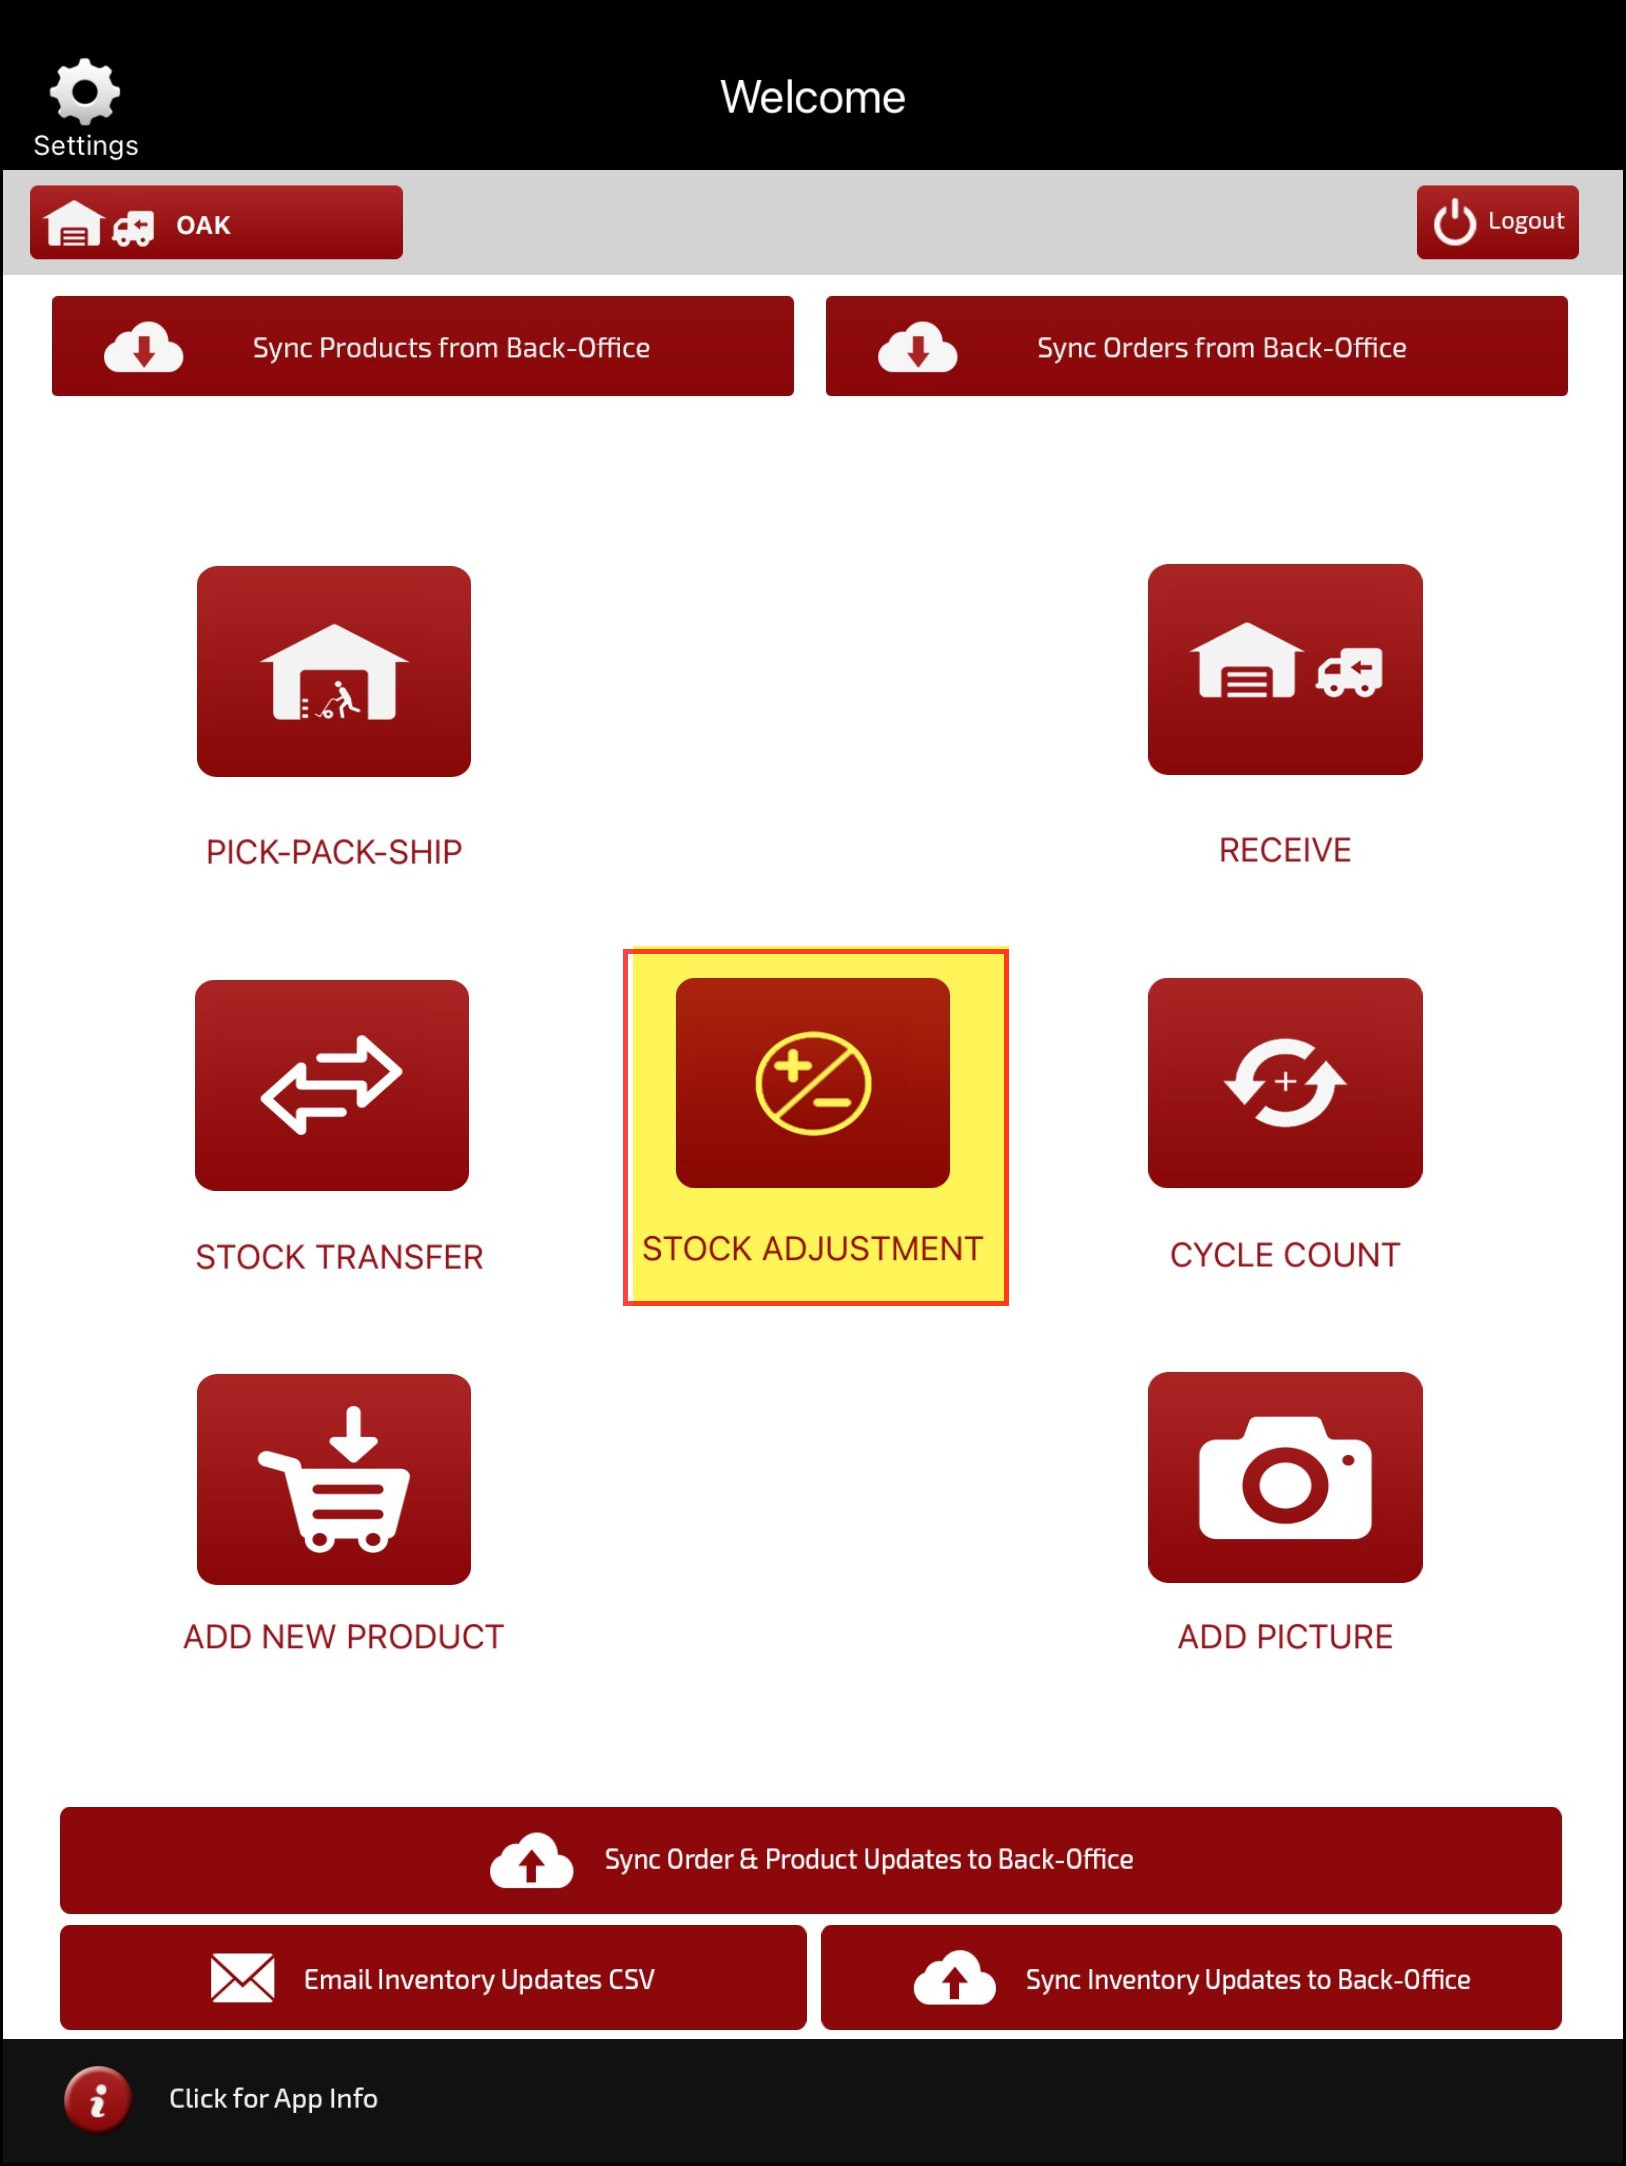
- On the home page, click on Stock Adjustment.

When the Stock Adjustment opens you can see the products and their details in a tabular format.
- If scan units is enabled for Stock Adjustment then you can see "+ sign" under Adjusted Qty column (against each product) to add quantity to be adjusted.
- Once added, click on Done.
Note - In case there are many products, you can search a particular product, either by entering product detail like product name, code, barcode etc. in the search box. Or you can click on camera icon and scan the product barcode.
After clicking on Done when you once again click on the Stock Adjustment on Home Page and go to Stock Adjustment, you will notice the status of the product for which you adjusted quantity have turned green.
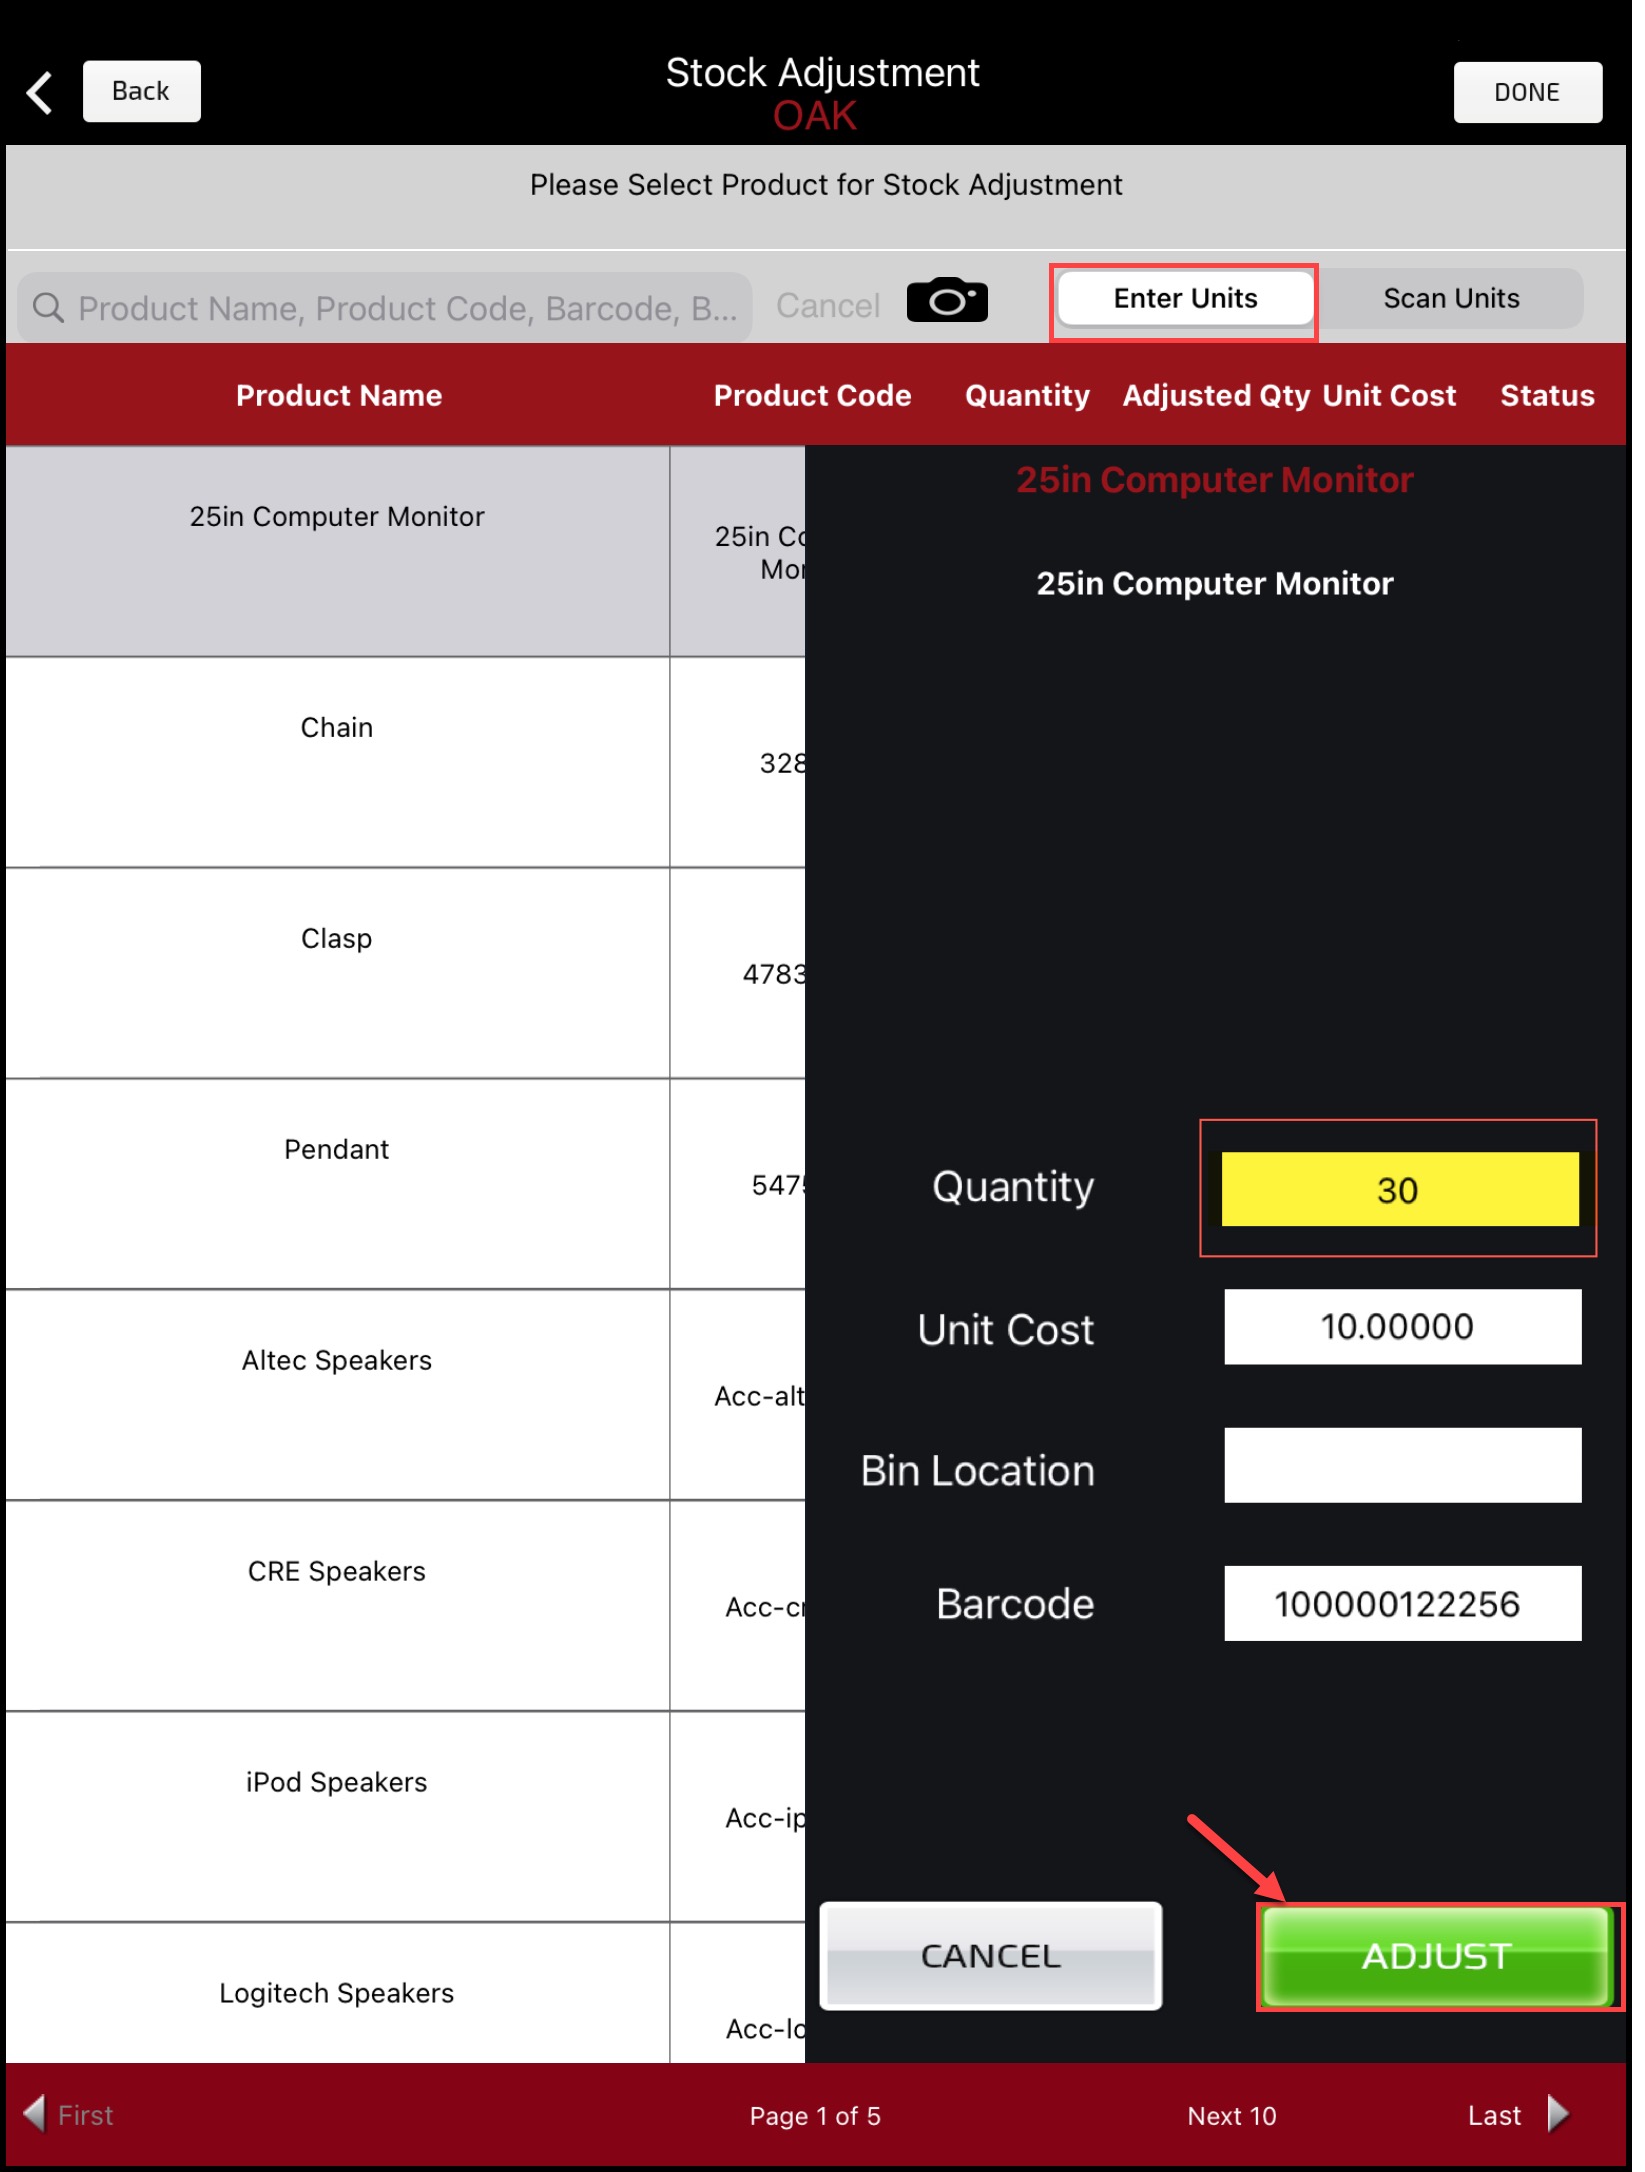
- If scan units is disabled for Stock Adjustment (Enter Units is enabled), select the product for which you want to adjust quantity.
- A pop-up black screen will open where you need to enter the adjusted quantity.
- Next, click on the Adjust button.

You will notice the status of the product for which you adjusted quantity have turned green.
- Lastly, you need to click on the Sync Inventory Updates to Back-Office button present on the home page, so that whatever updates you've made get reflected in the back office.

Updated about 1 year ago
