Add Product Picture
This section will demonstrate how to add an image to the product through the cross-platform warehouse app.
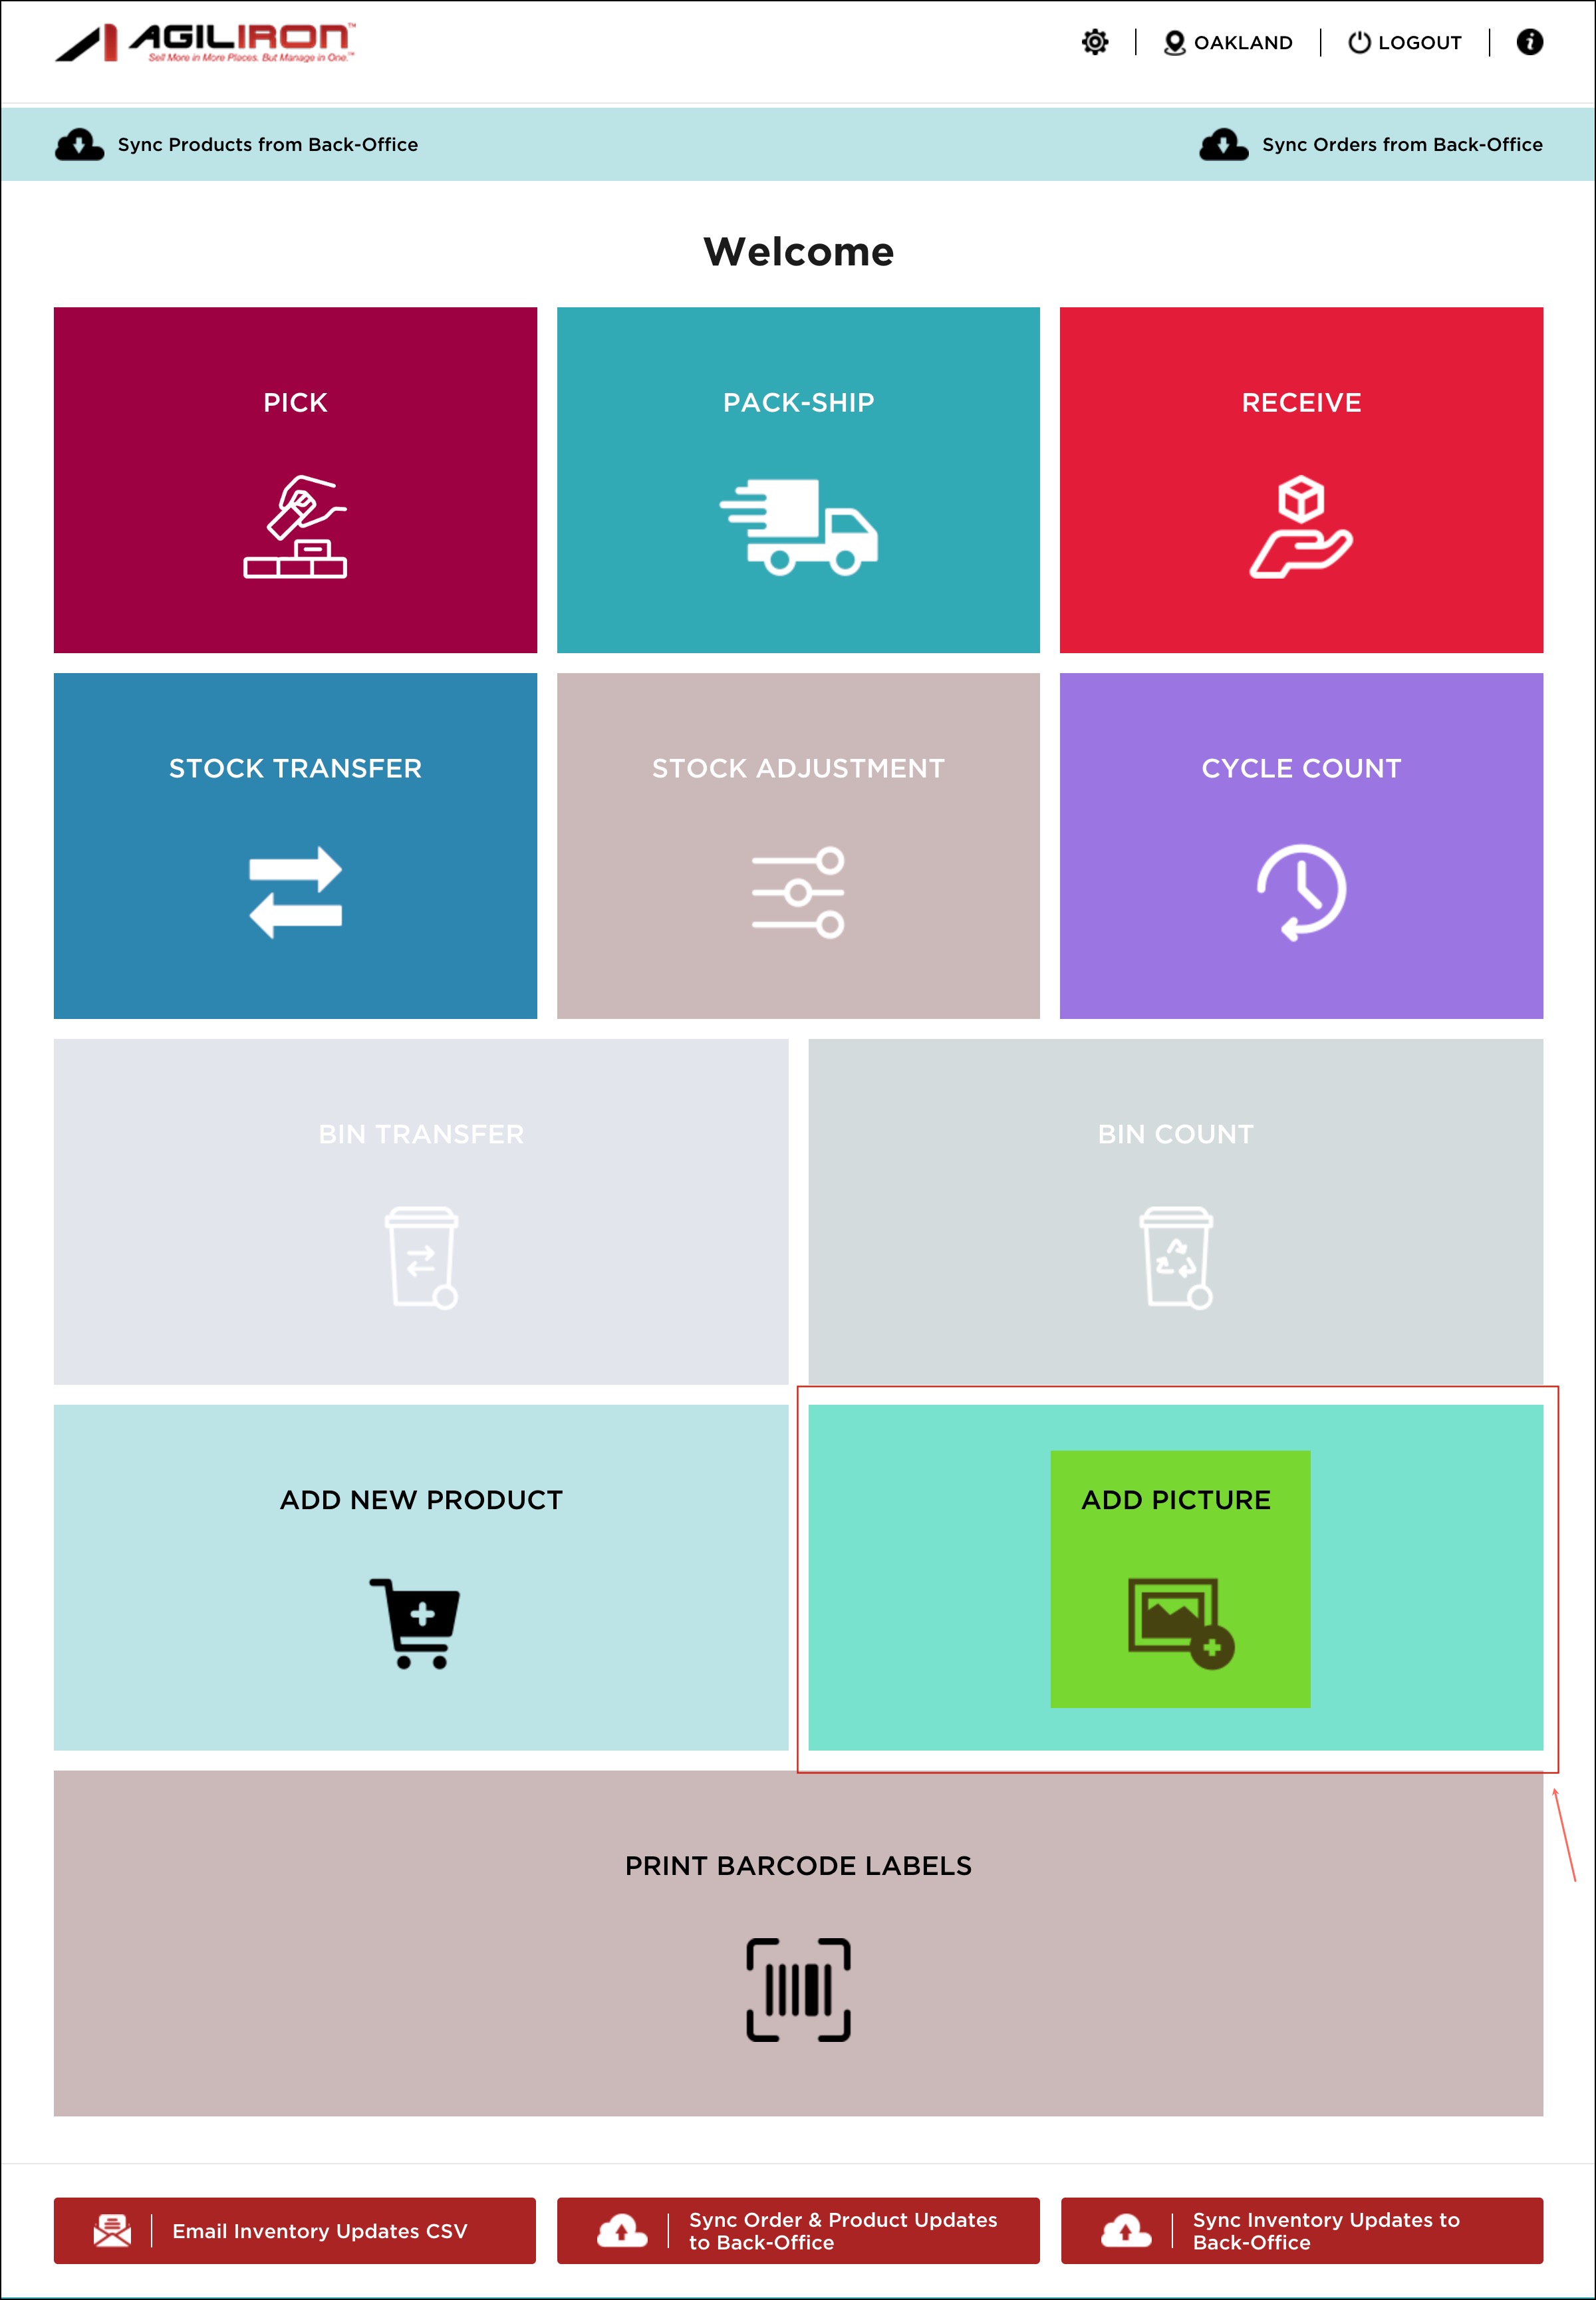
Select the "Add Picture" button on the home screen to begin.
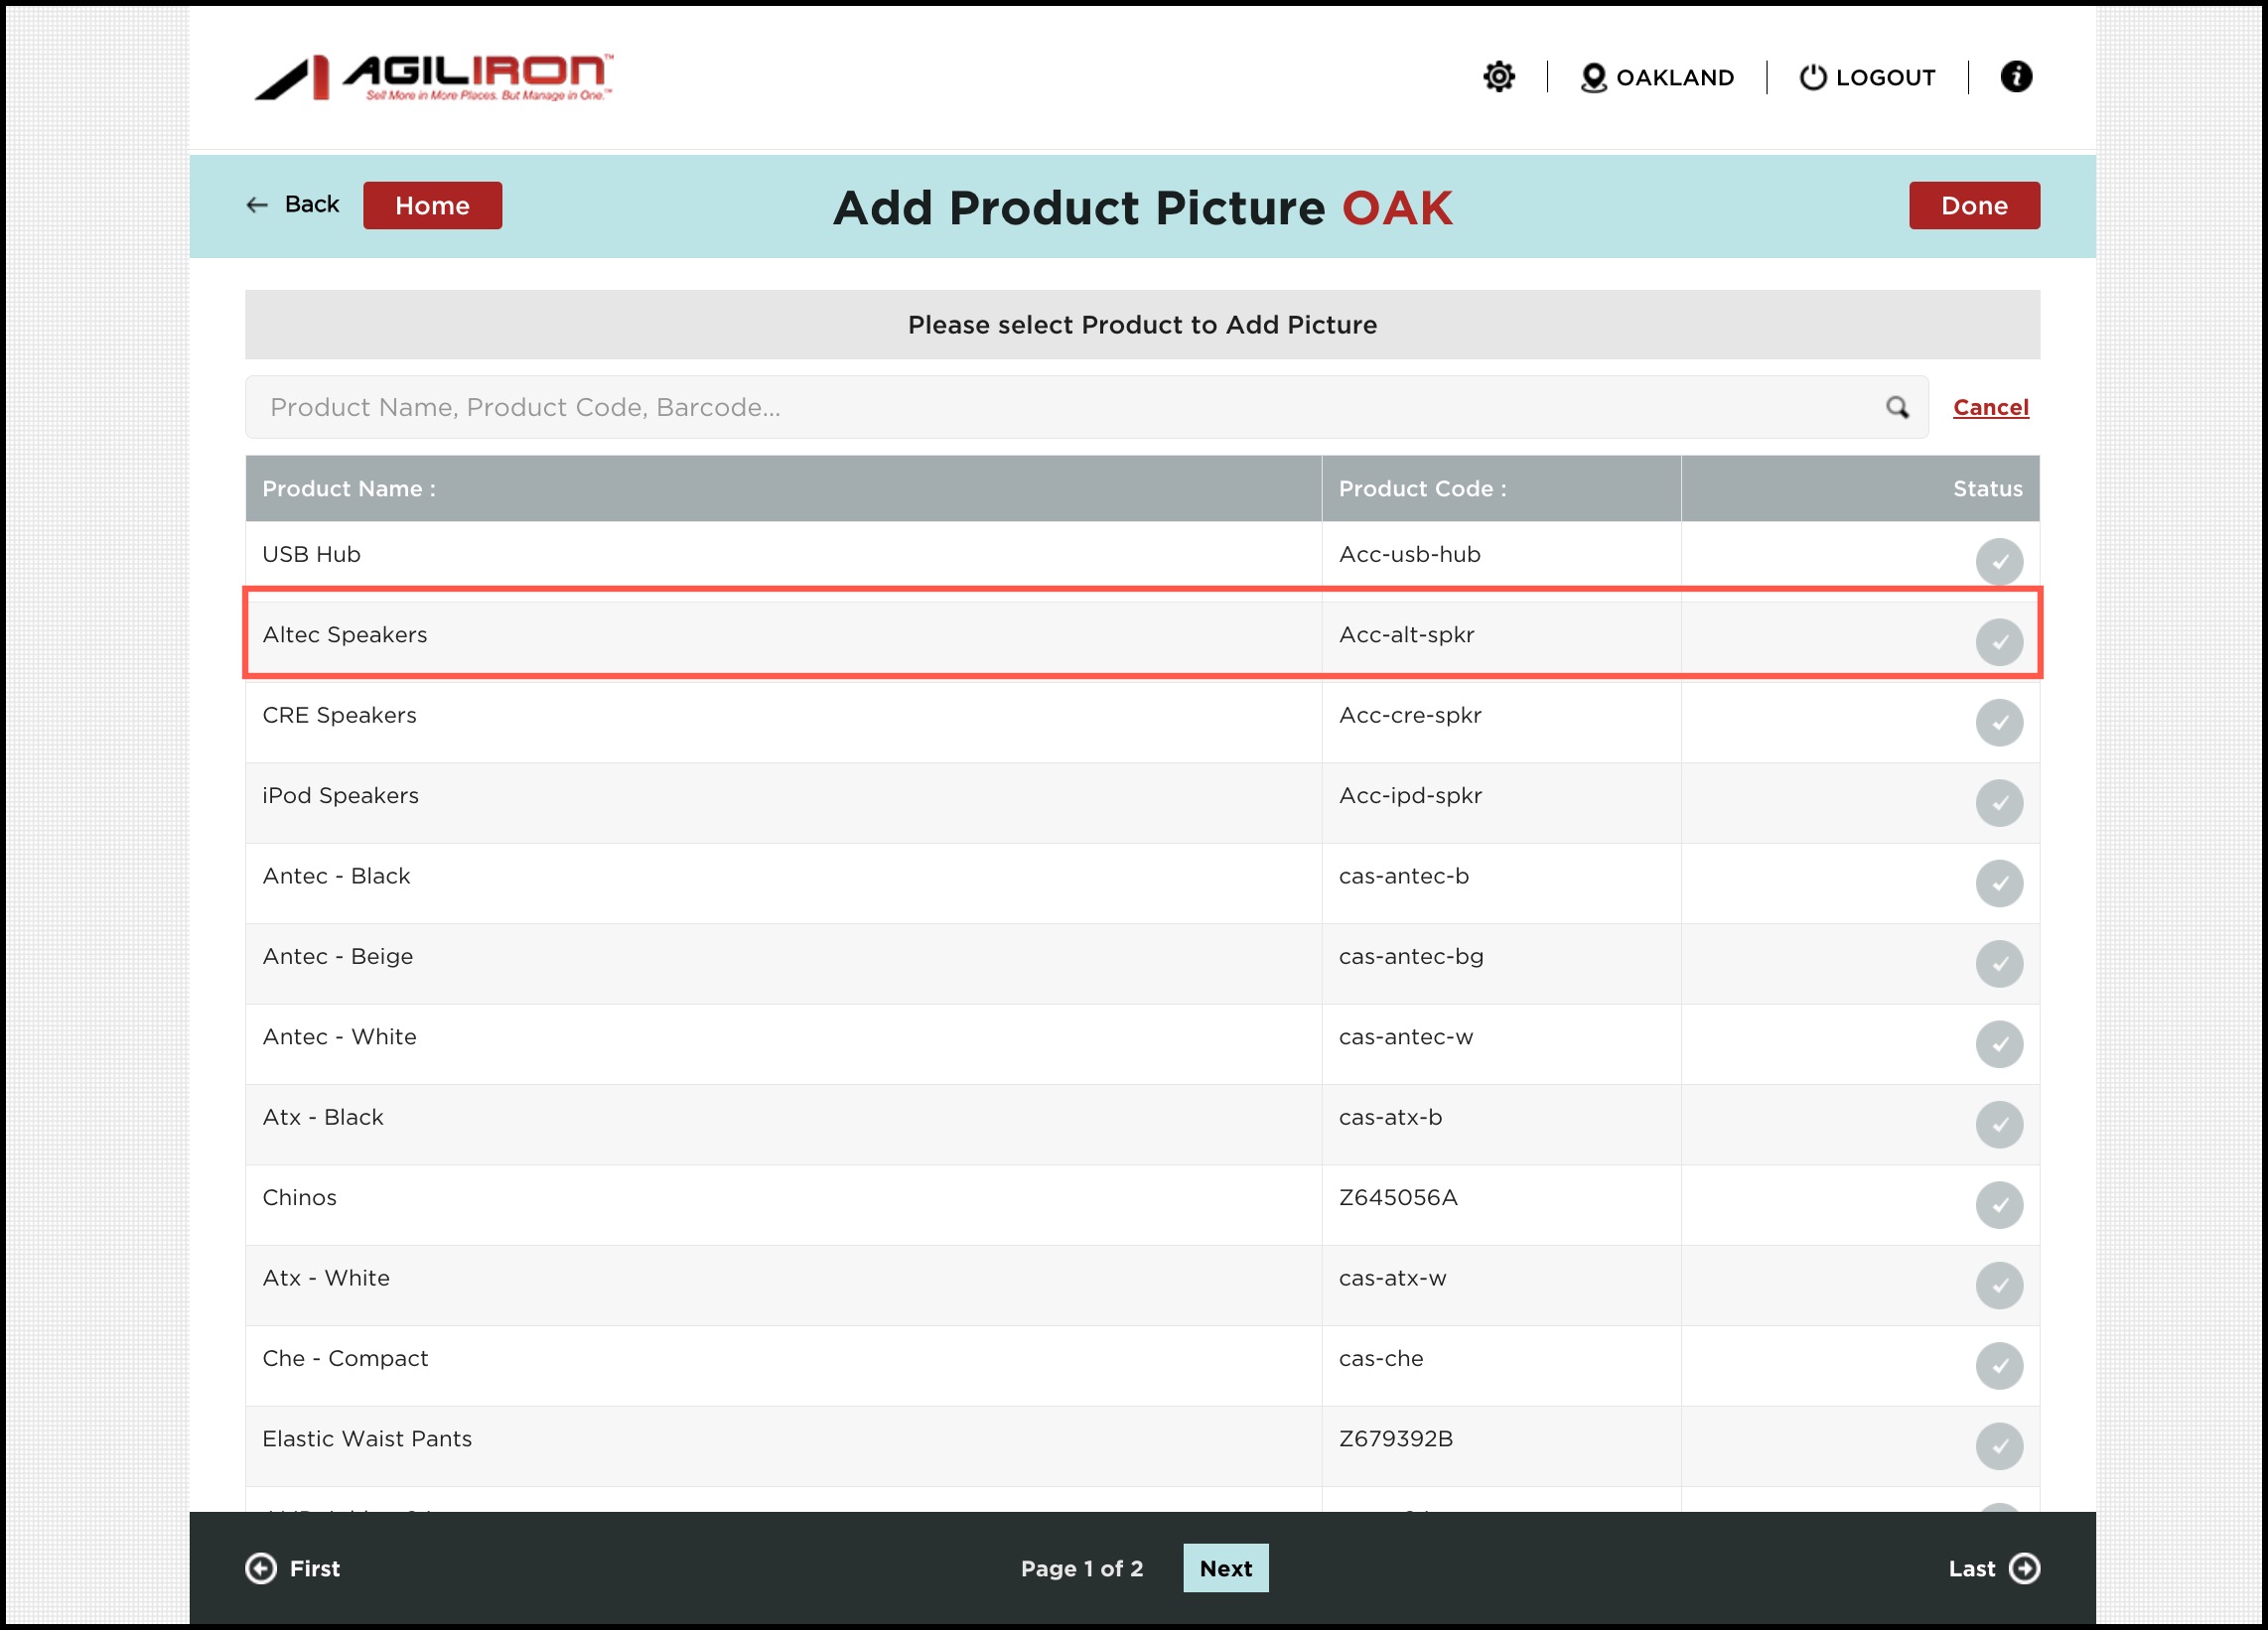
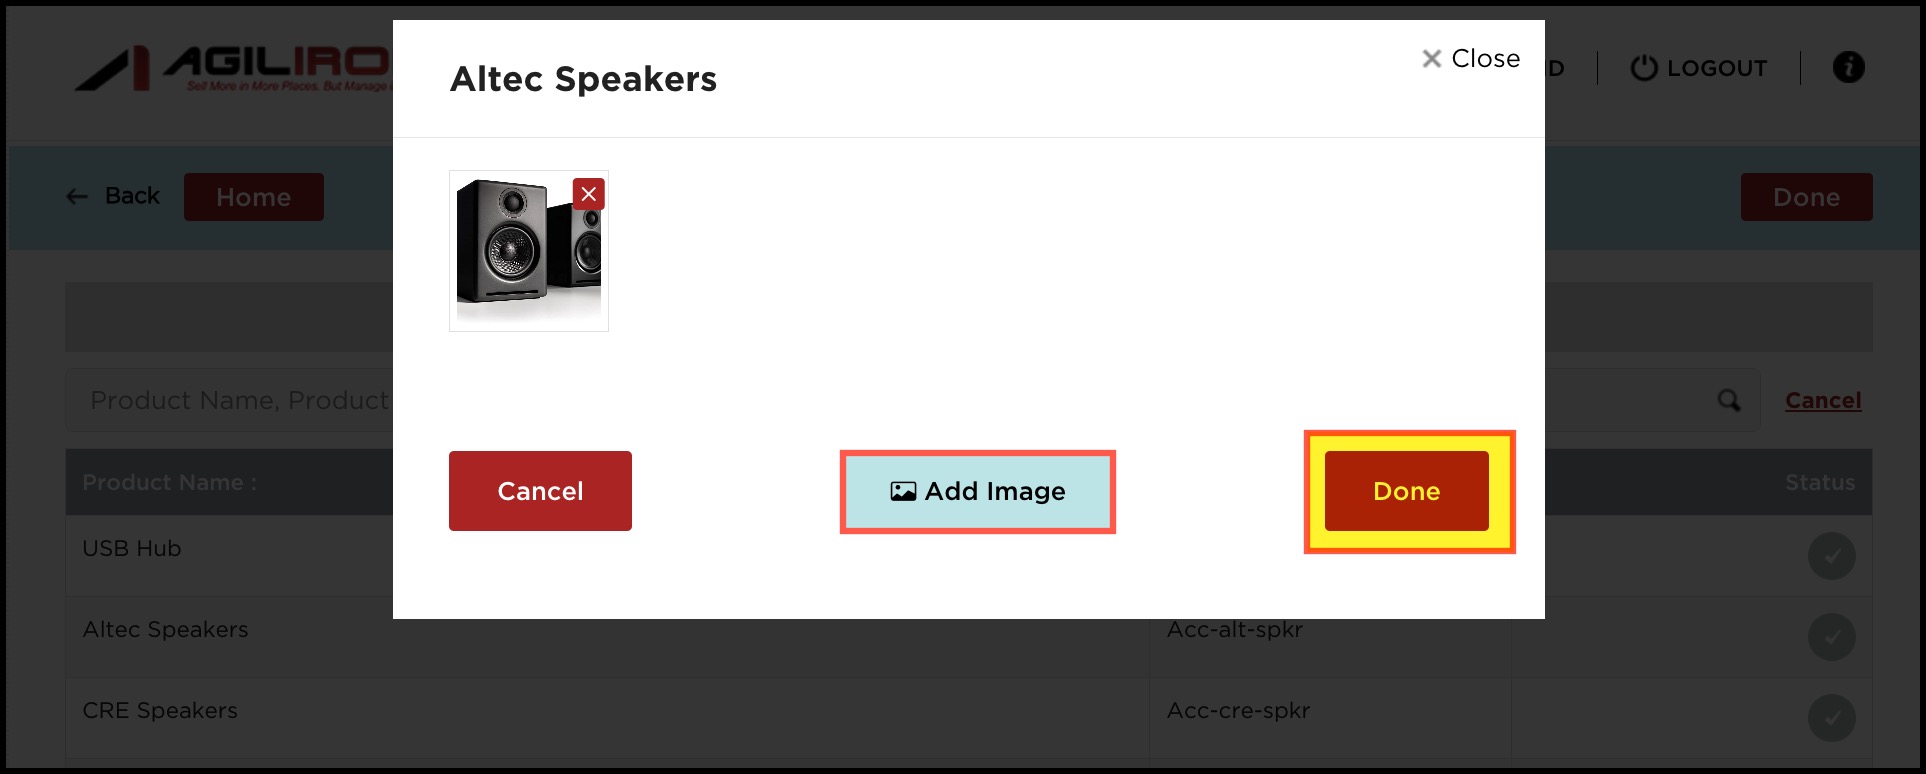
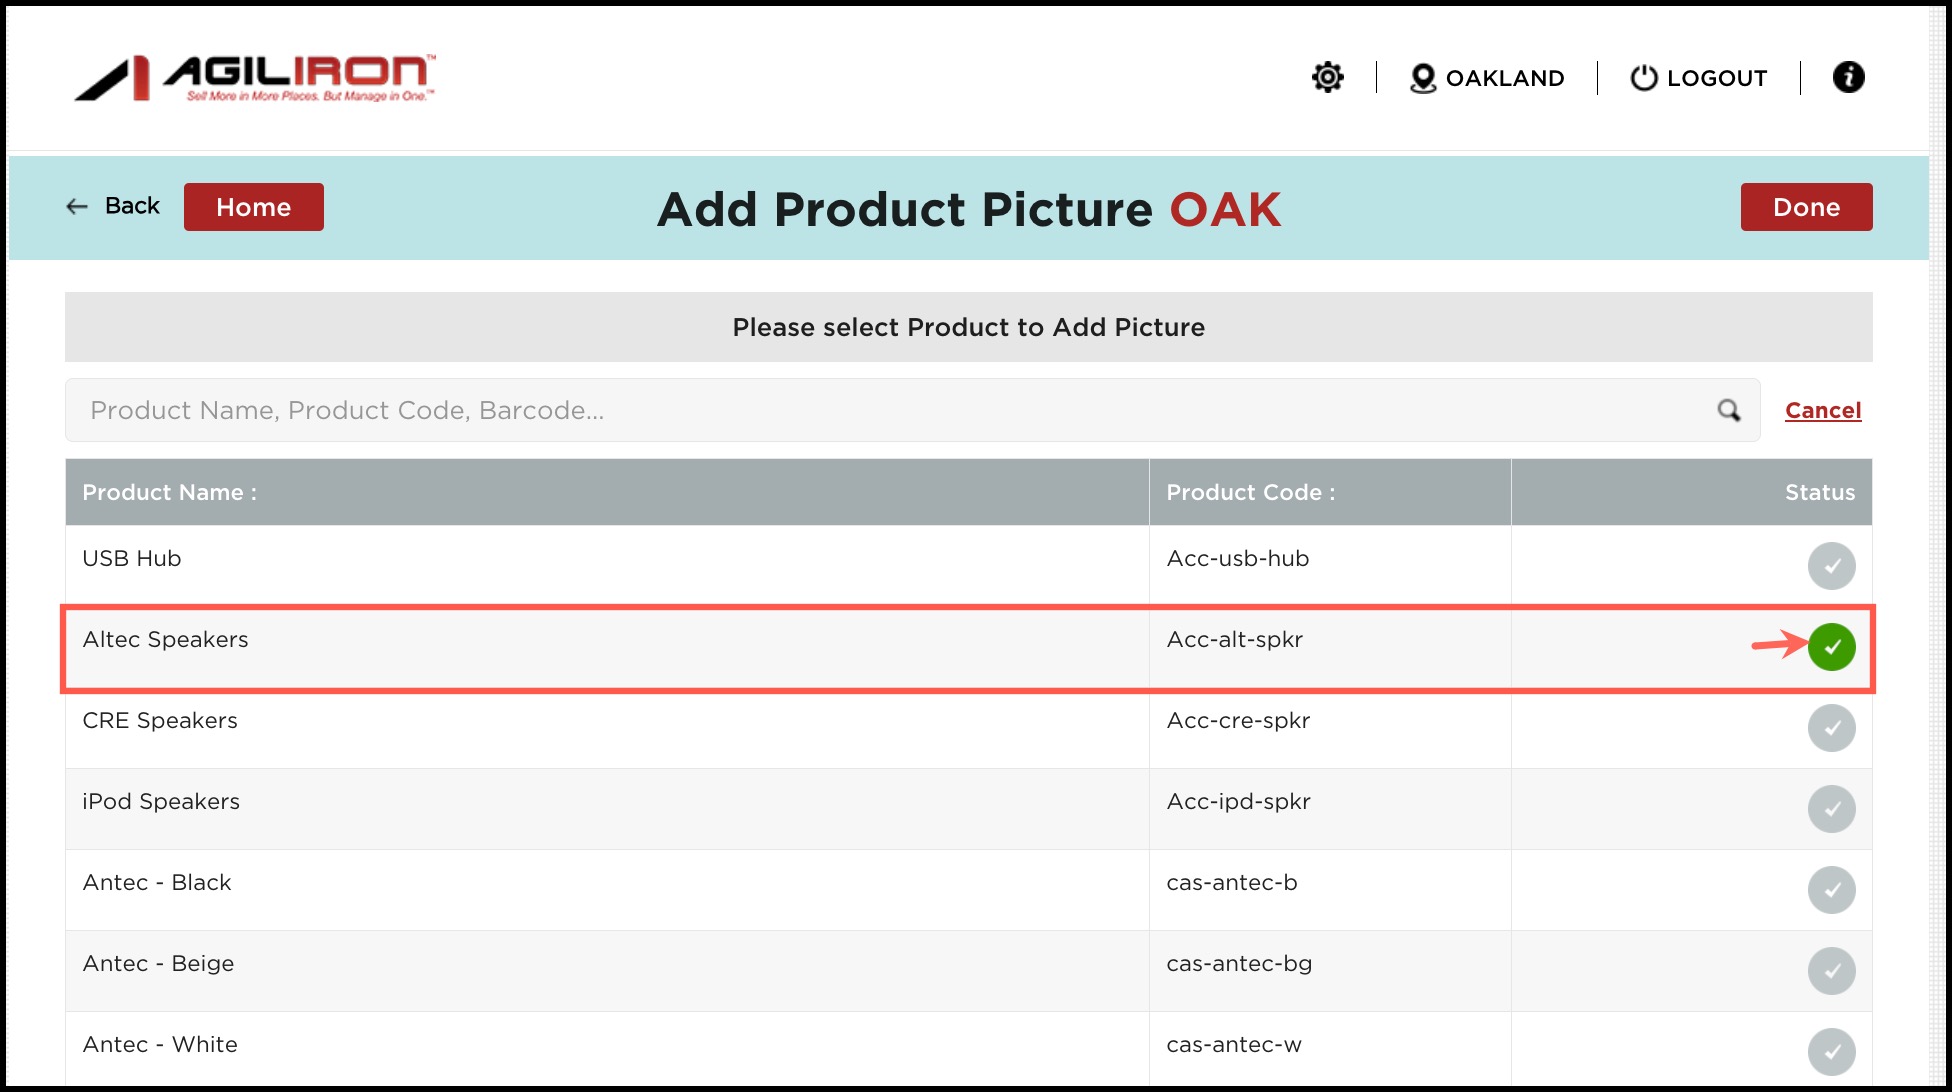
- Select any product from the list to add a picture.
- Click "Add Image".
- Images can be added by taking a photo, clicking on Open Camera option, or by choosing the Gallery option and selecting an image from the photo gallery.
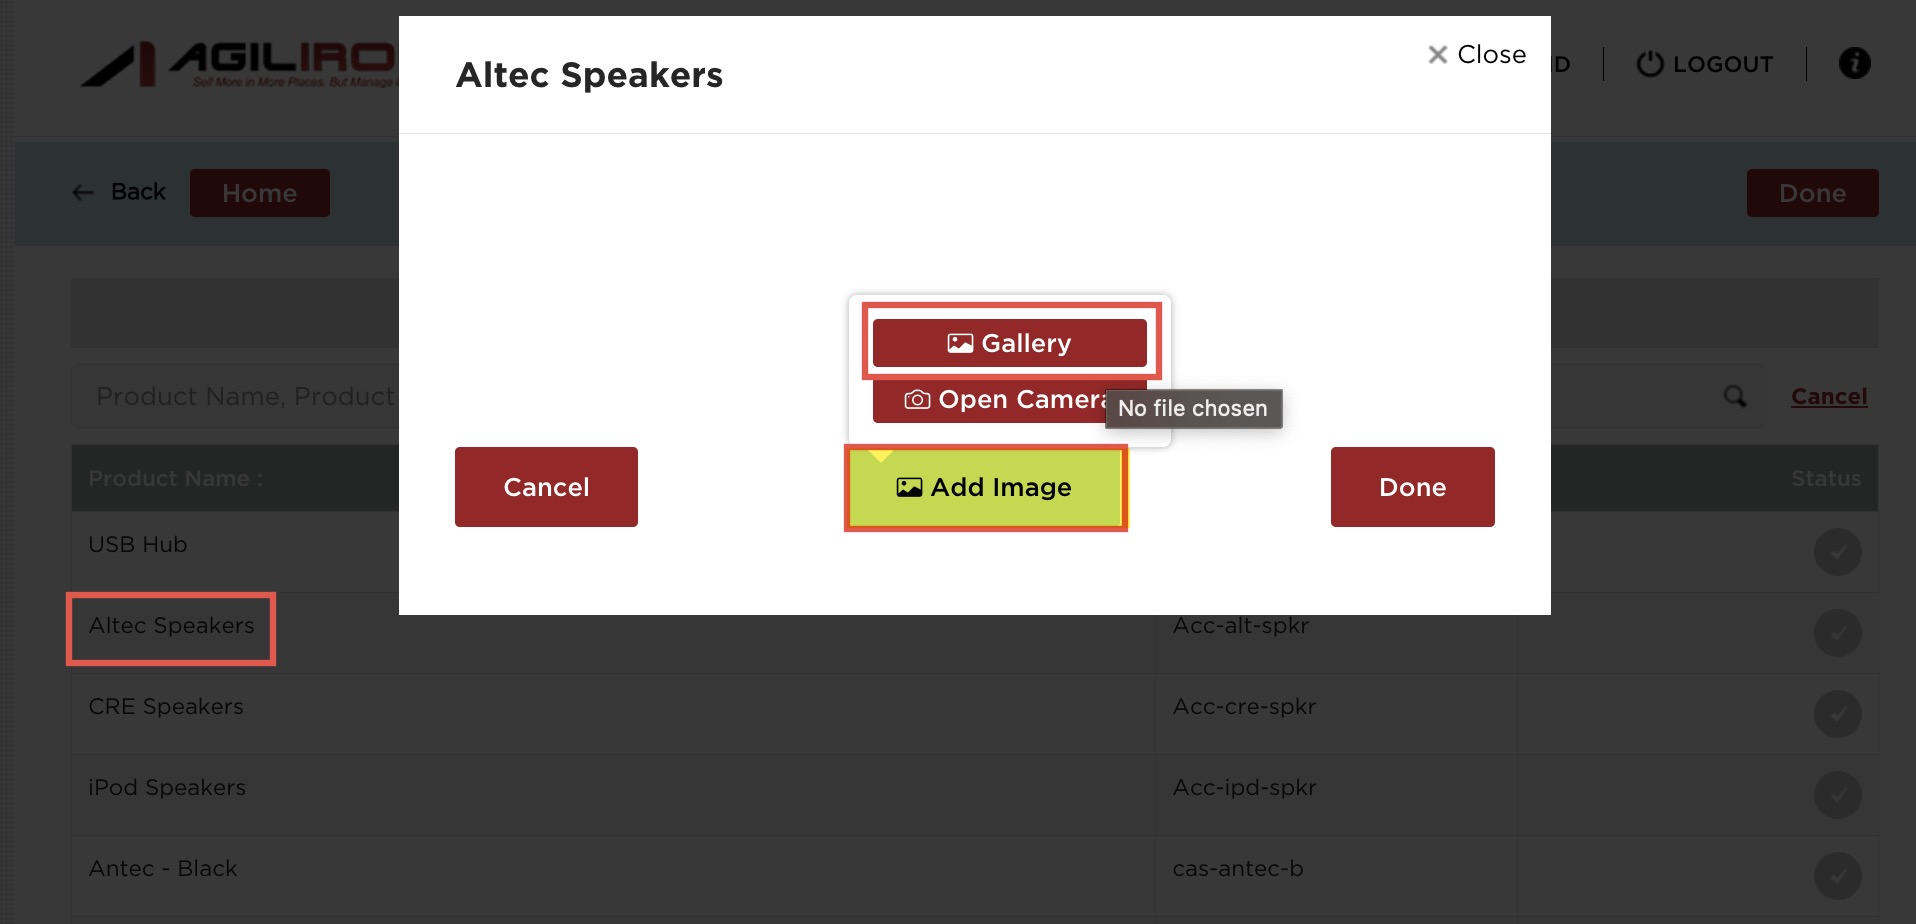
In case you select Open Camera, a pop-up will appear asking for permission to access the camera/image gallery. Click "OK" to continue.
After selecting the image, click on Save.
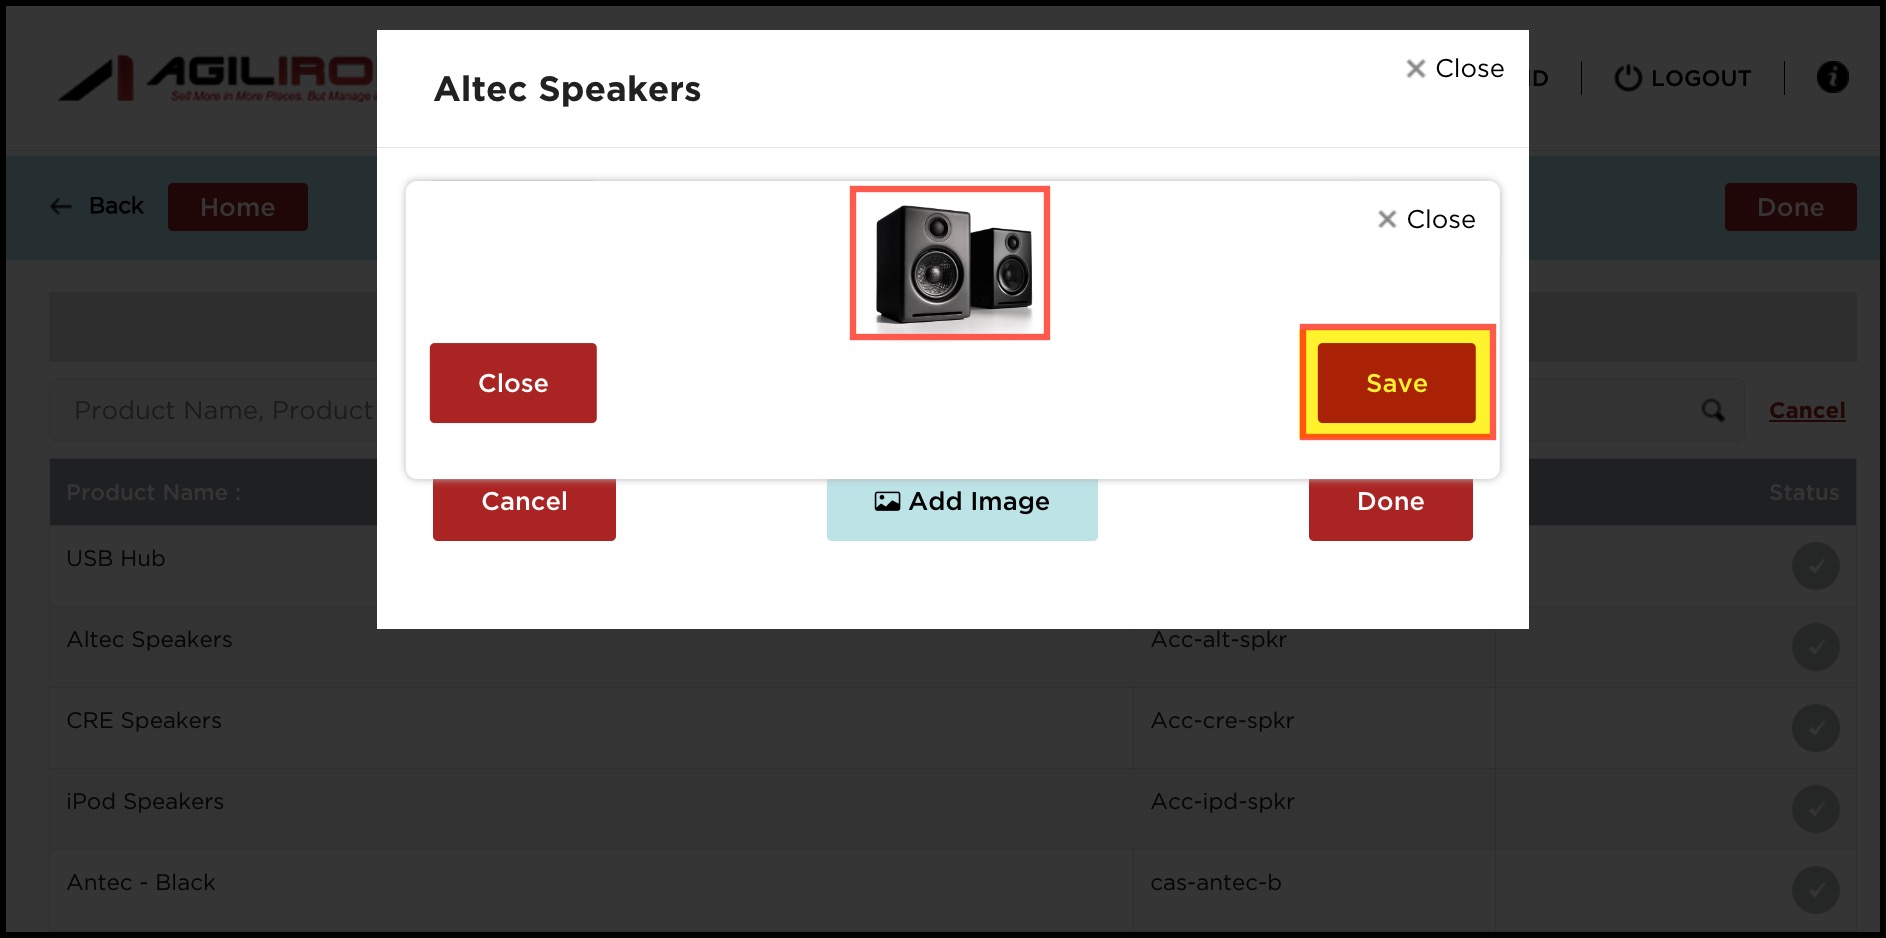
- You can select multiple images by clicking on Add Image again.
- Click on Done.
- A green checkmark will appear in the Status column indicating the product picture has been updated.
When all images have been added, select "Done", "Home" or "Back" to return to the home screen.

- Select "Sync Order & Product Updates to Back-Office" to save the product data.

Updated 7 months ago