- Add/Change Inventory
-
Click on the "Products" tab
-
Click on the "Product Name" link.
-
Click on the "Stock Locations" tab
-
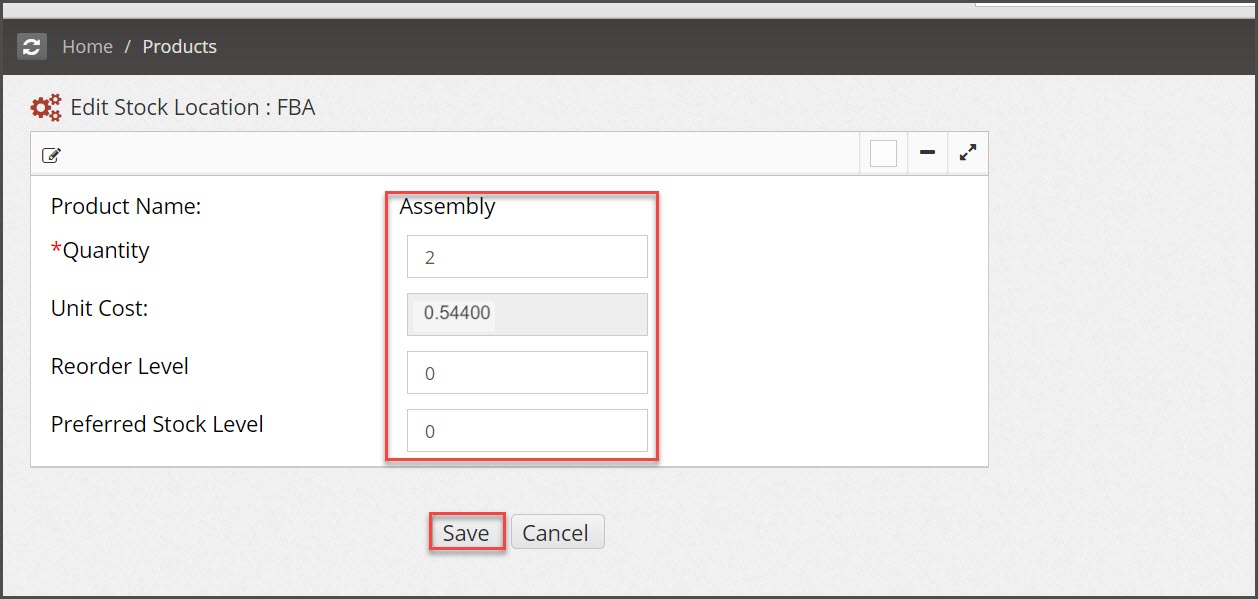
Click on the "Set" icon for the location where you will add inventory.

- In the window that comes up make the necessary changes and click the "Save" button. The quantity specified is the current inventory quantity on hand + any that need to be added. For e.g. if 2 items in inventory, to add one item, specify 3 in the Quantity field.
- Based on the Assembly component specification, the inventory of the underlying components is examined for availability to complete the assembly quantity specified.
- If one/more components are not available, the system will provide an error message.
- If the components are available, the system will automatically move inventory from the components to the Assembly and assign a work order in the system for completing the assembly.

On adding new assembly inventory, component parts are pulled from inventory, and a work order to build the assembly is automatically generated in the system for the "Product Stock Manager" set for that product in the product form. An email notification is also sent to the "Product Stock Manager" for that product.
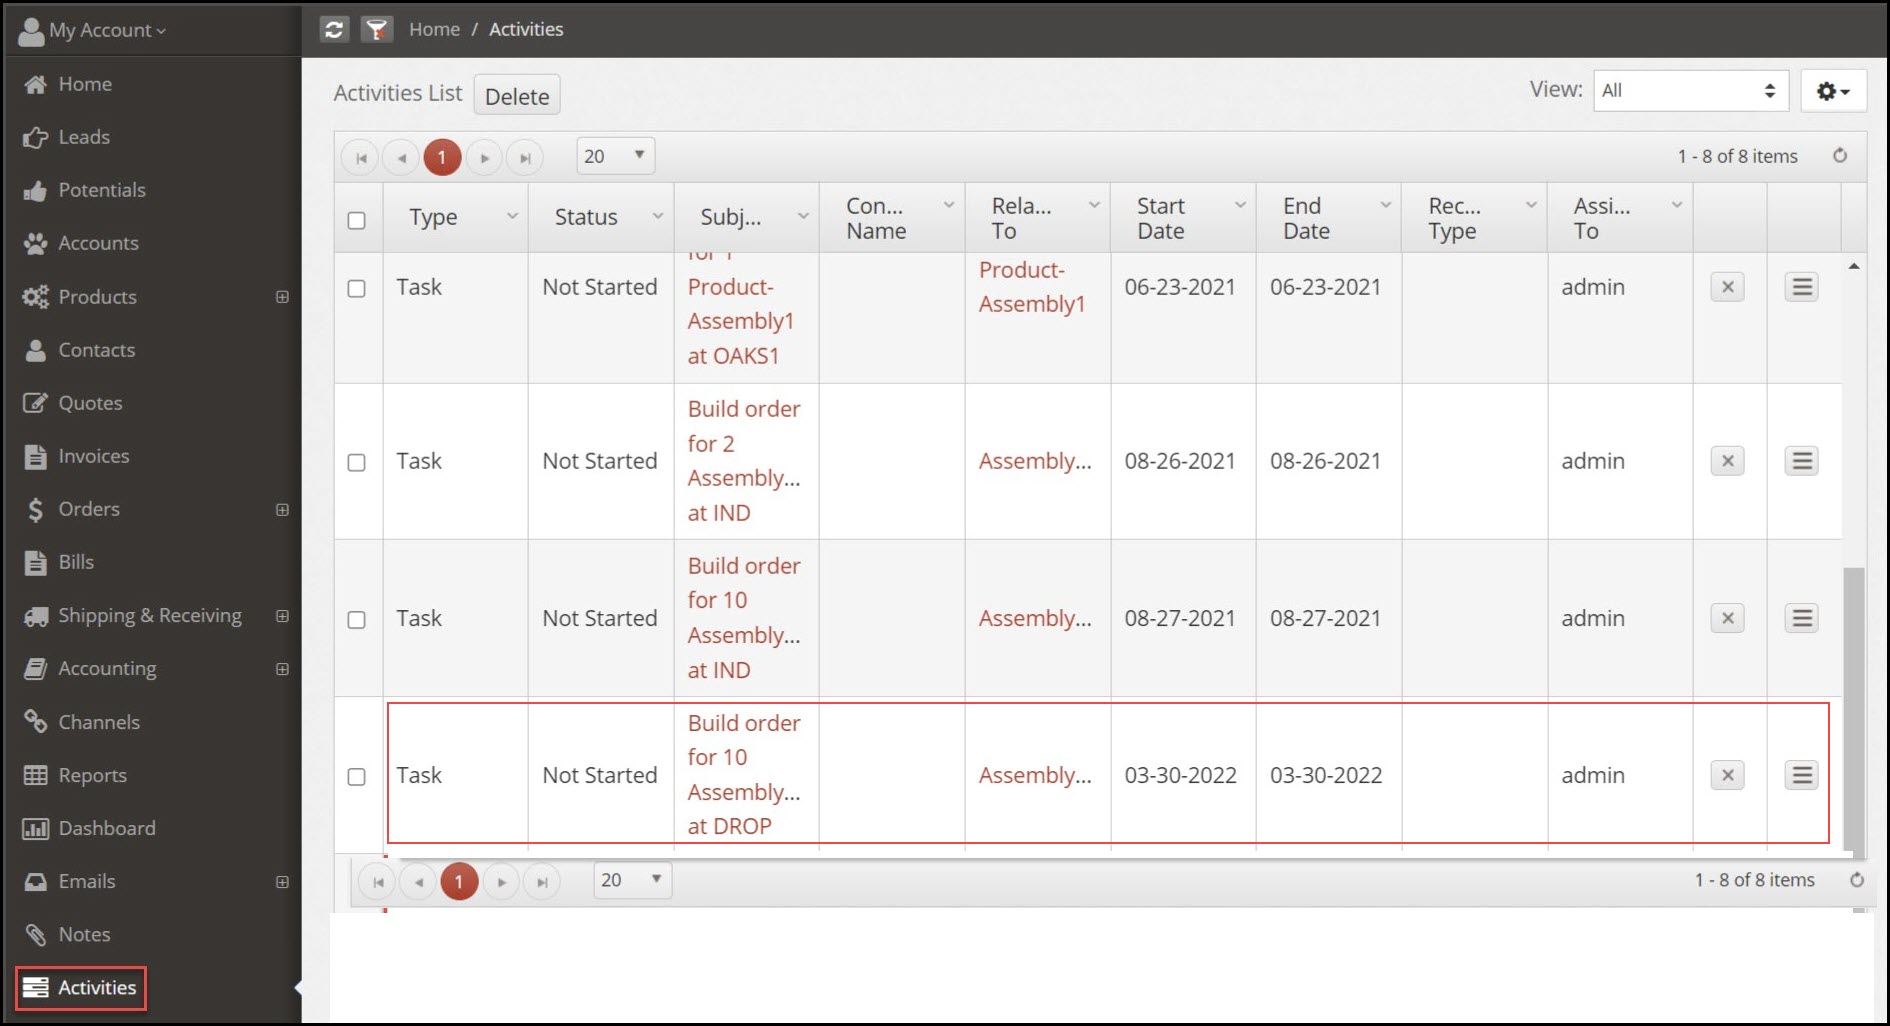
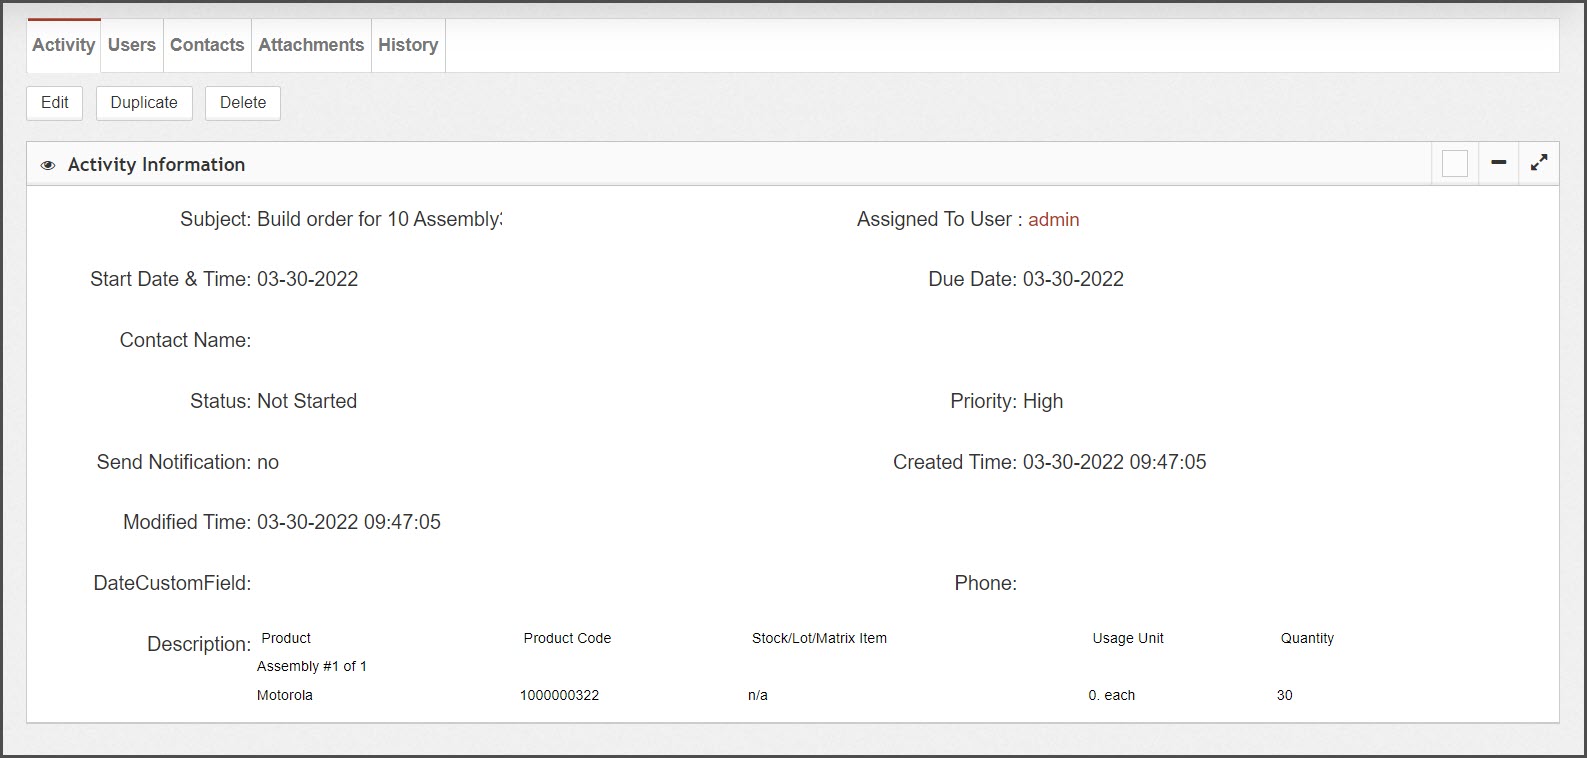
To see the work order, go to the "Activities" tab. A task with "Not Started" status is created and the "Description" field in the work order contains all the details to facilitate the assembly - the component parts, quantities and usage units. The task is assigned by default to the "Product Stock Manager" for the assembly product.

Selecting the task will display the build order as shown below.

Updated about 1 year ago
