- Add Inventory
- Click on the "Products" tab
- Click on the "Product Name" link
- Click on the "Stock Locations" tab
- Click on the "Add" icon for the location where you will add inventory.

- In the form that comes up
- Enter the "Lot Number"
- Enter the "Qty in Lot"
- Enter the "Created" and "Expiration" date/time - by default this will show the current date/time and expiration 24 hours from current date and time
- Select "Operator" - This drop-down list is populated from "Settings > Picklist Settings > Edit Product Picklist > Lot Operation" and can be customized with the names of manufacturing operators.
- Enter any "Description" information.
- Click the "Save" button.

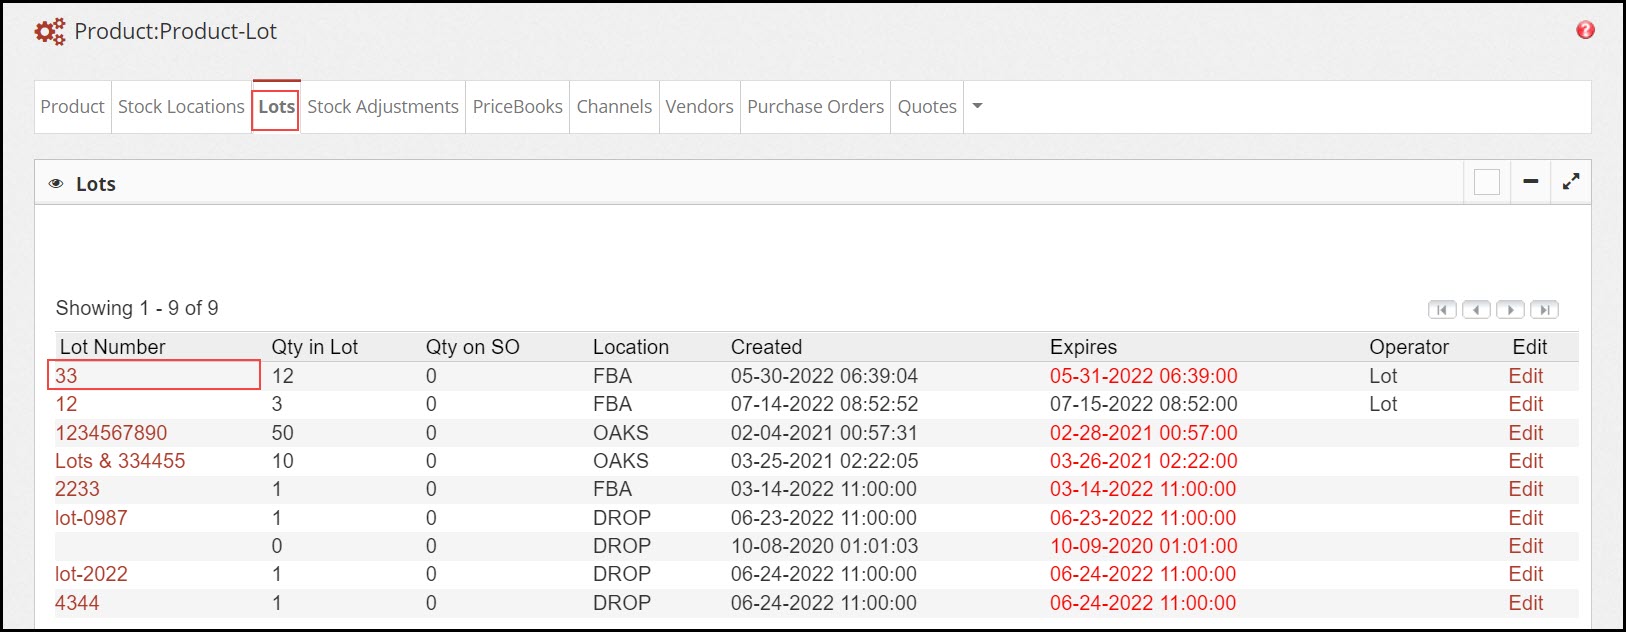
- The new lot item will now display under the Lots tab.

Updated 12 months ago
