-- Stripe Payment Terminal Setup
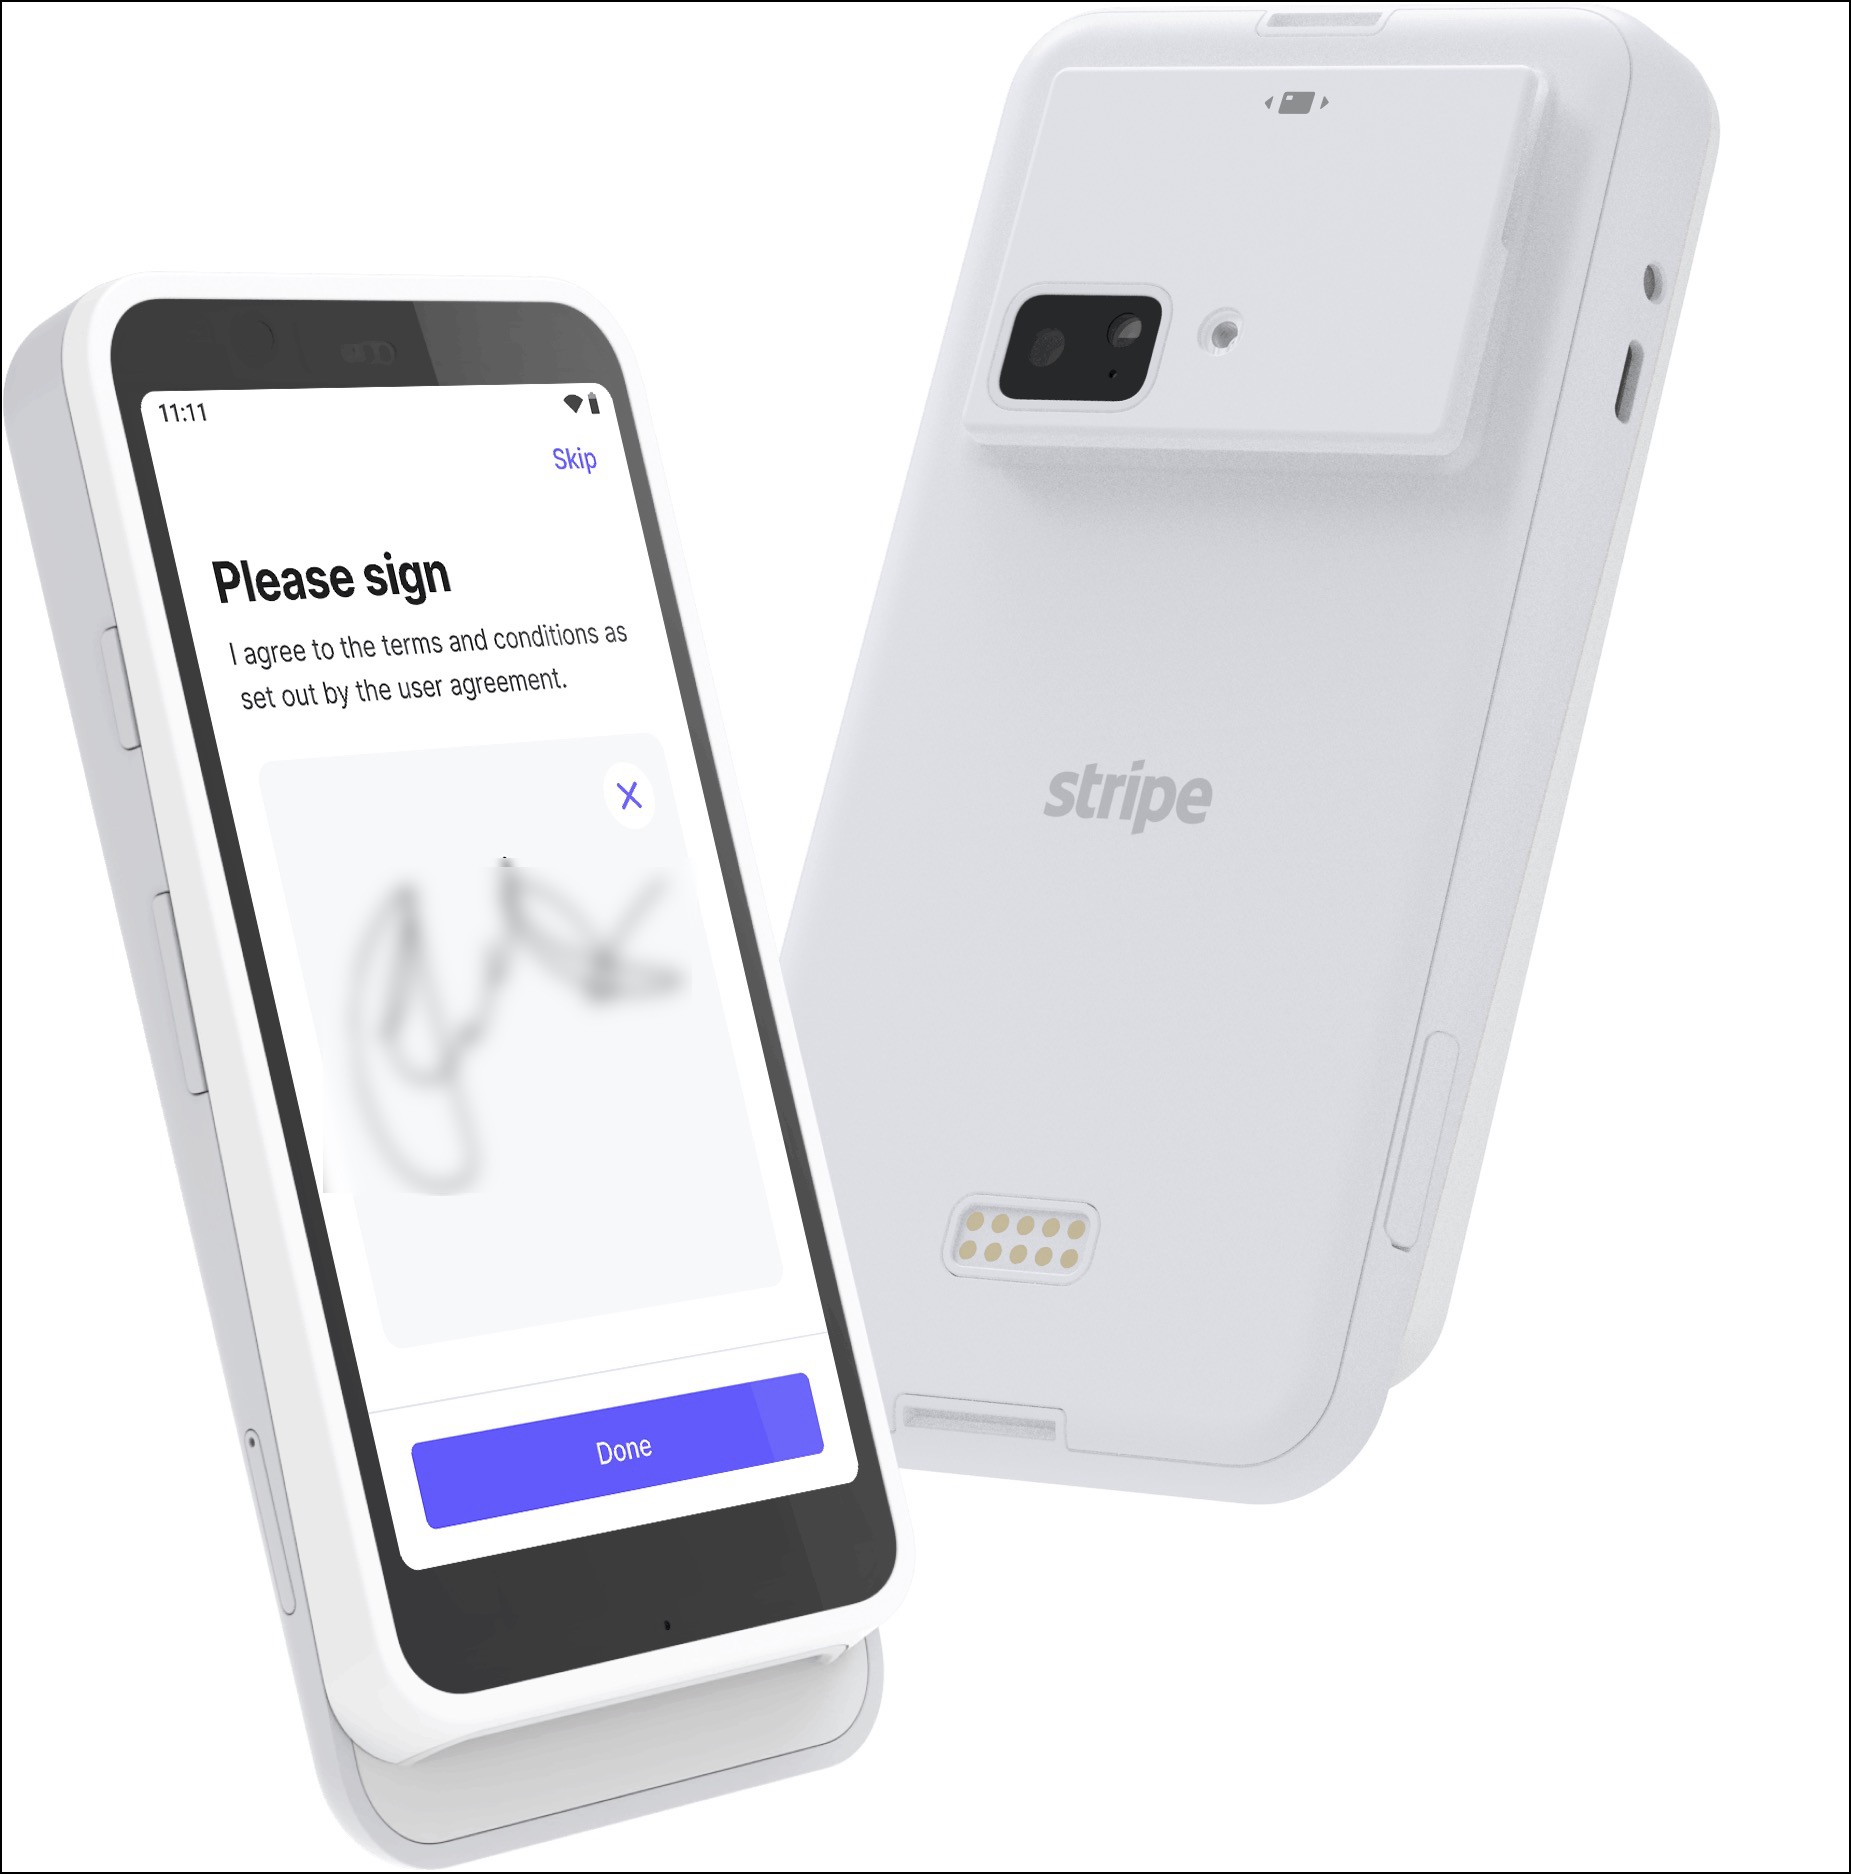
Agiliron in collaboration with Stripe as the payment processor supports Stripe Reader S700
Stripe Reader S700 is an Android-based device that is compatible with any desktop.
With this method, payment processing happens directly from the terminal to the payment processor (Stripe), and checkout communication takes place between Agiliron and Stripe's payment terminal.
Payment Types:
- EMV chip cards
- Contactless cards and digital wallets
- Magstripe cards
Connectivity Requirements:
- Ethernet (requires dock or hub)
- Wi-Fi
- Bluetooth connection for accessories
- It also supports Offline mode
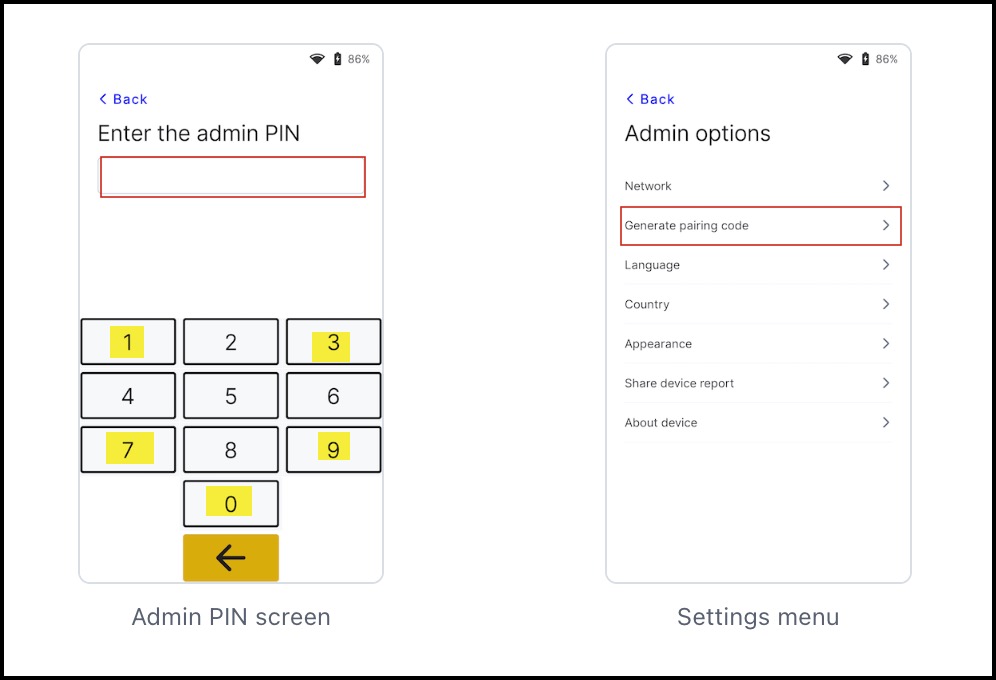
Access settings
This is important for generating a pairing code that allows device registration.
- On your Stripe Reader, when you click on the Settings button, you will be asked to enter the admin PIN, which is 07139.
- After that, you can Generate a pairing code for device registration.
Set up Stripe Reader S700
- Learn how to setup Stripe Reader S700 - https://docs.stripe.com/terminal/payments/setup-reader/stripe-reader-s700
POS Channel Setup
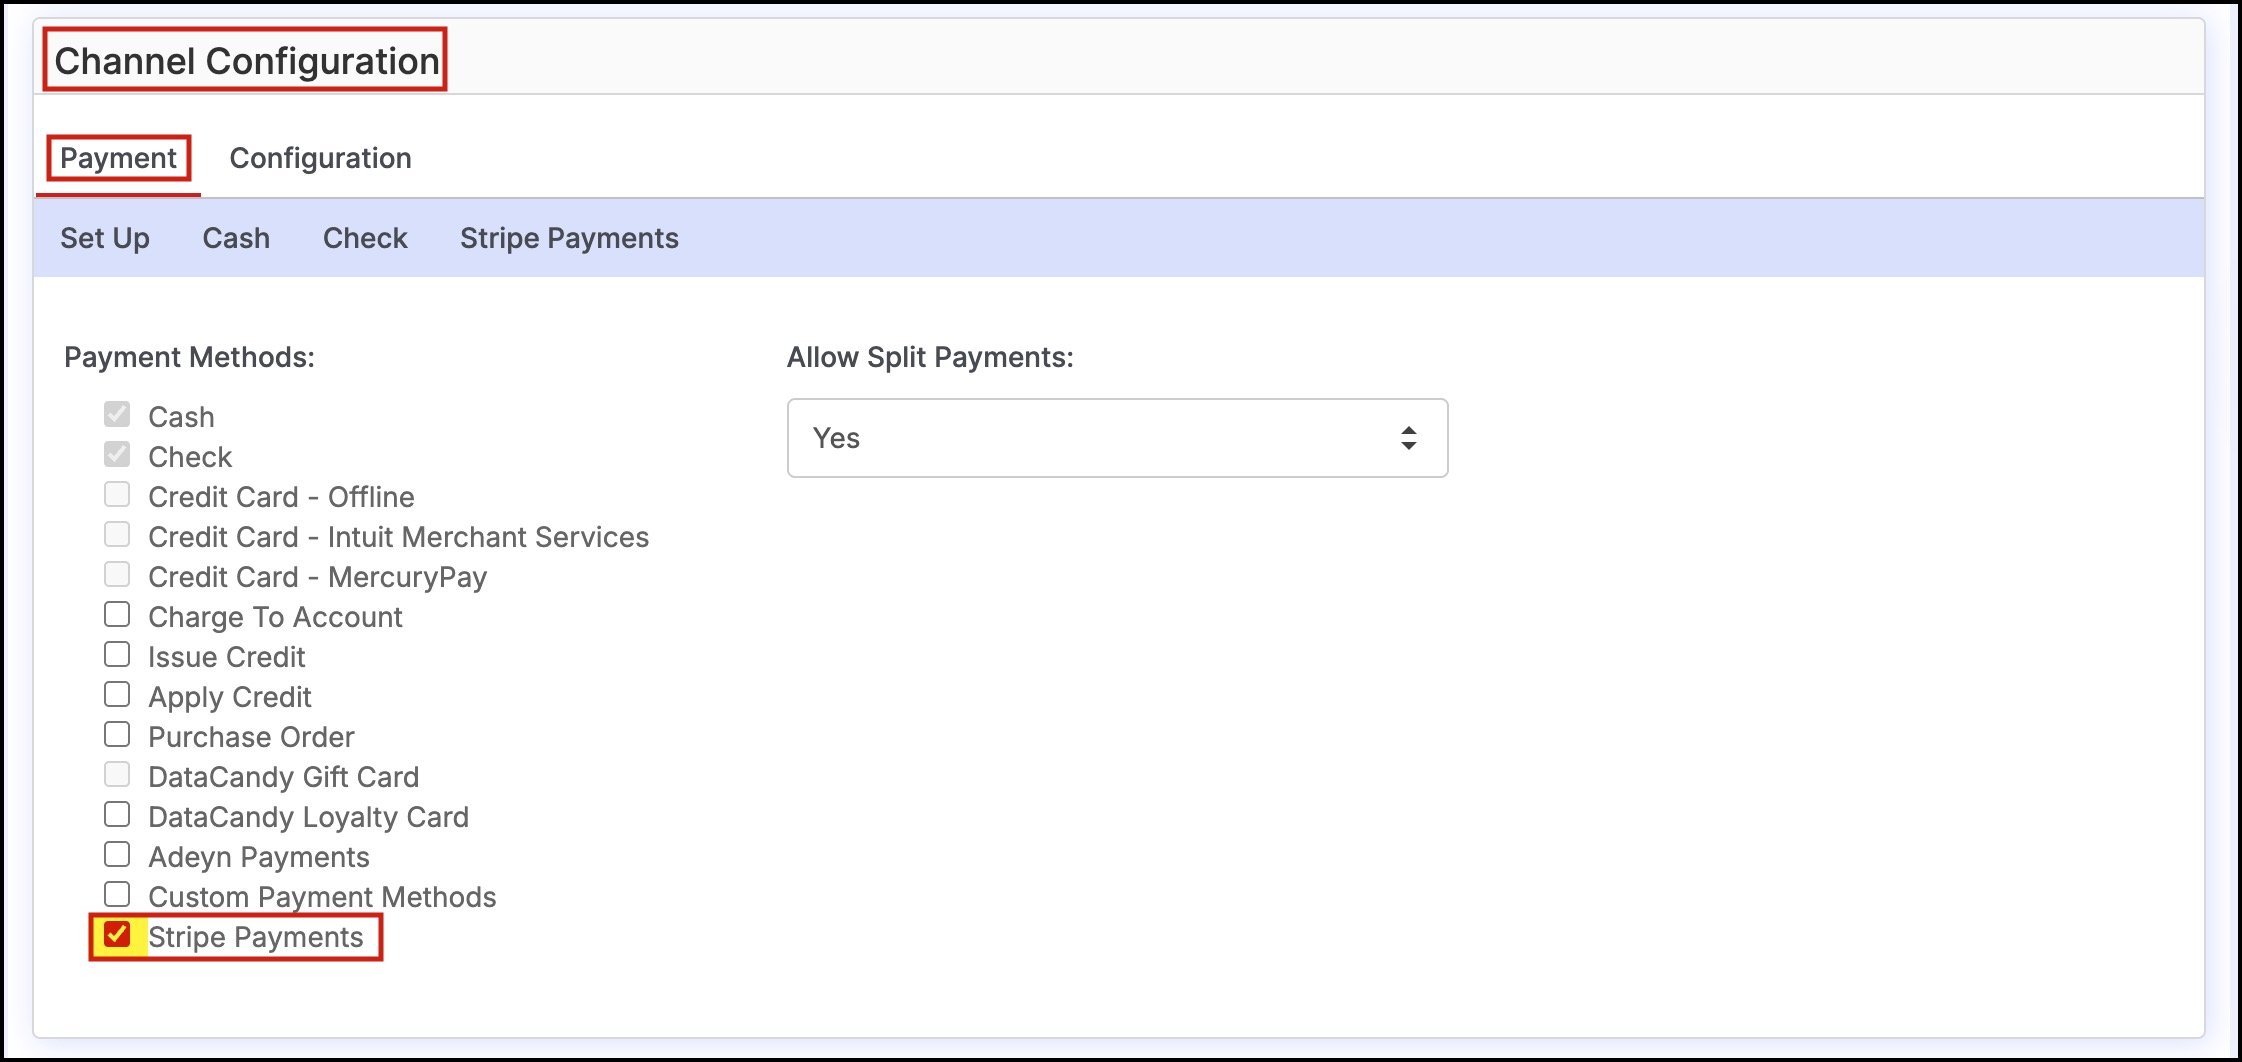
To enable Stripe Payment Processor in the POS Channel:
- Navigate to Settings -> Channels in the back office.
- Click the "Edit" button next to the channel.
- Verify that Stripe Payments is selected as a payment processor on the "Payment" tab.
Note - Refer to the Stripe payment processing guide to know how to enable the connection between Stripe and your Retail POS channel.
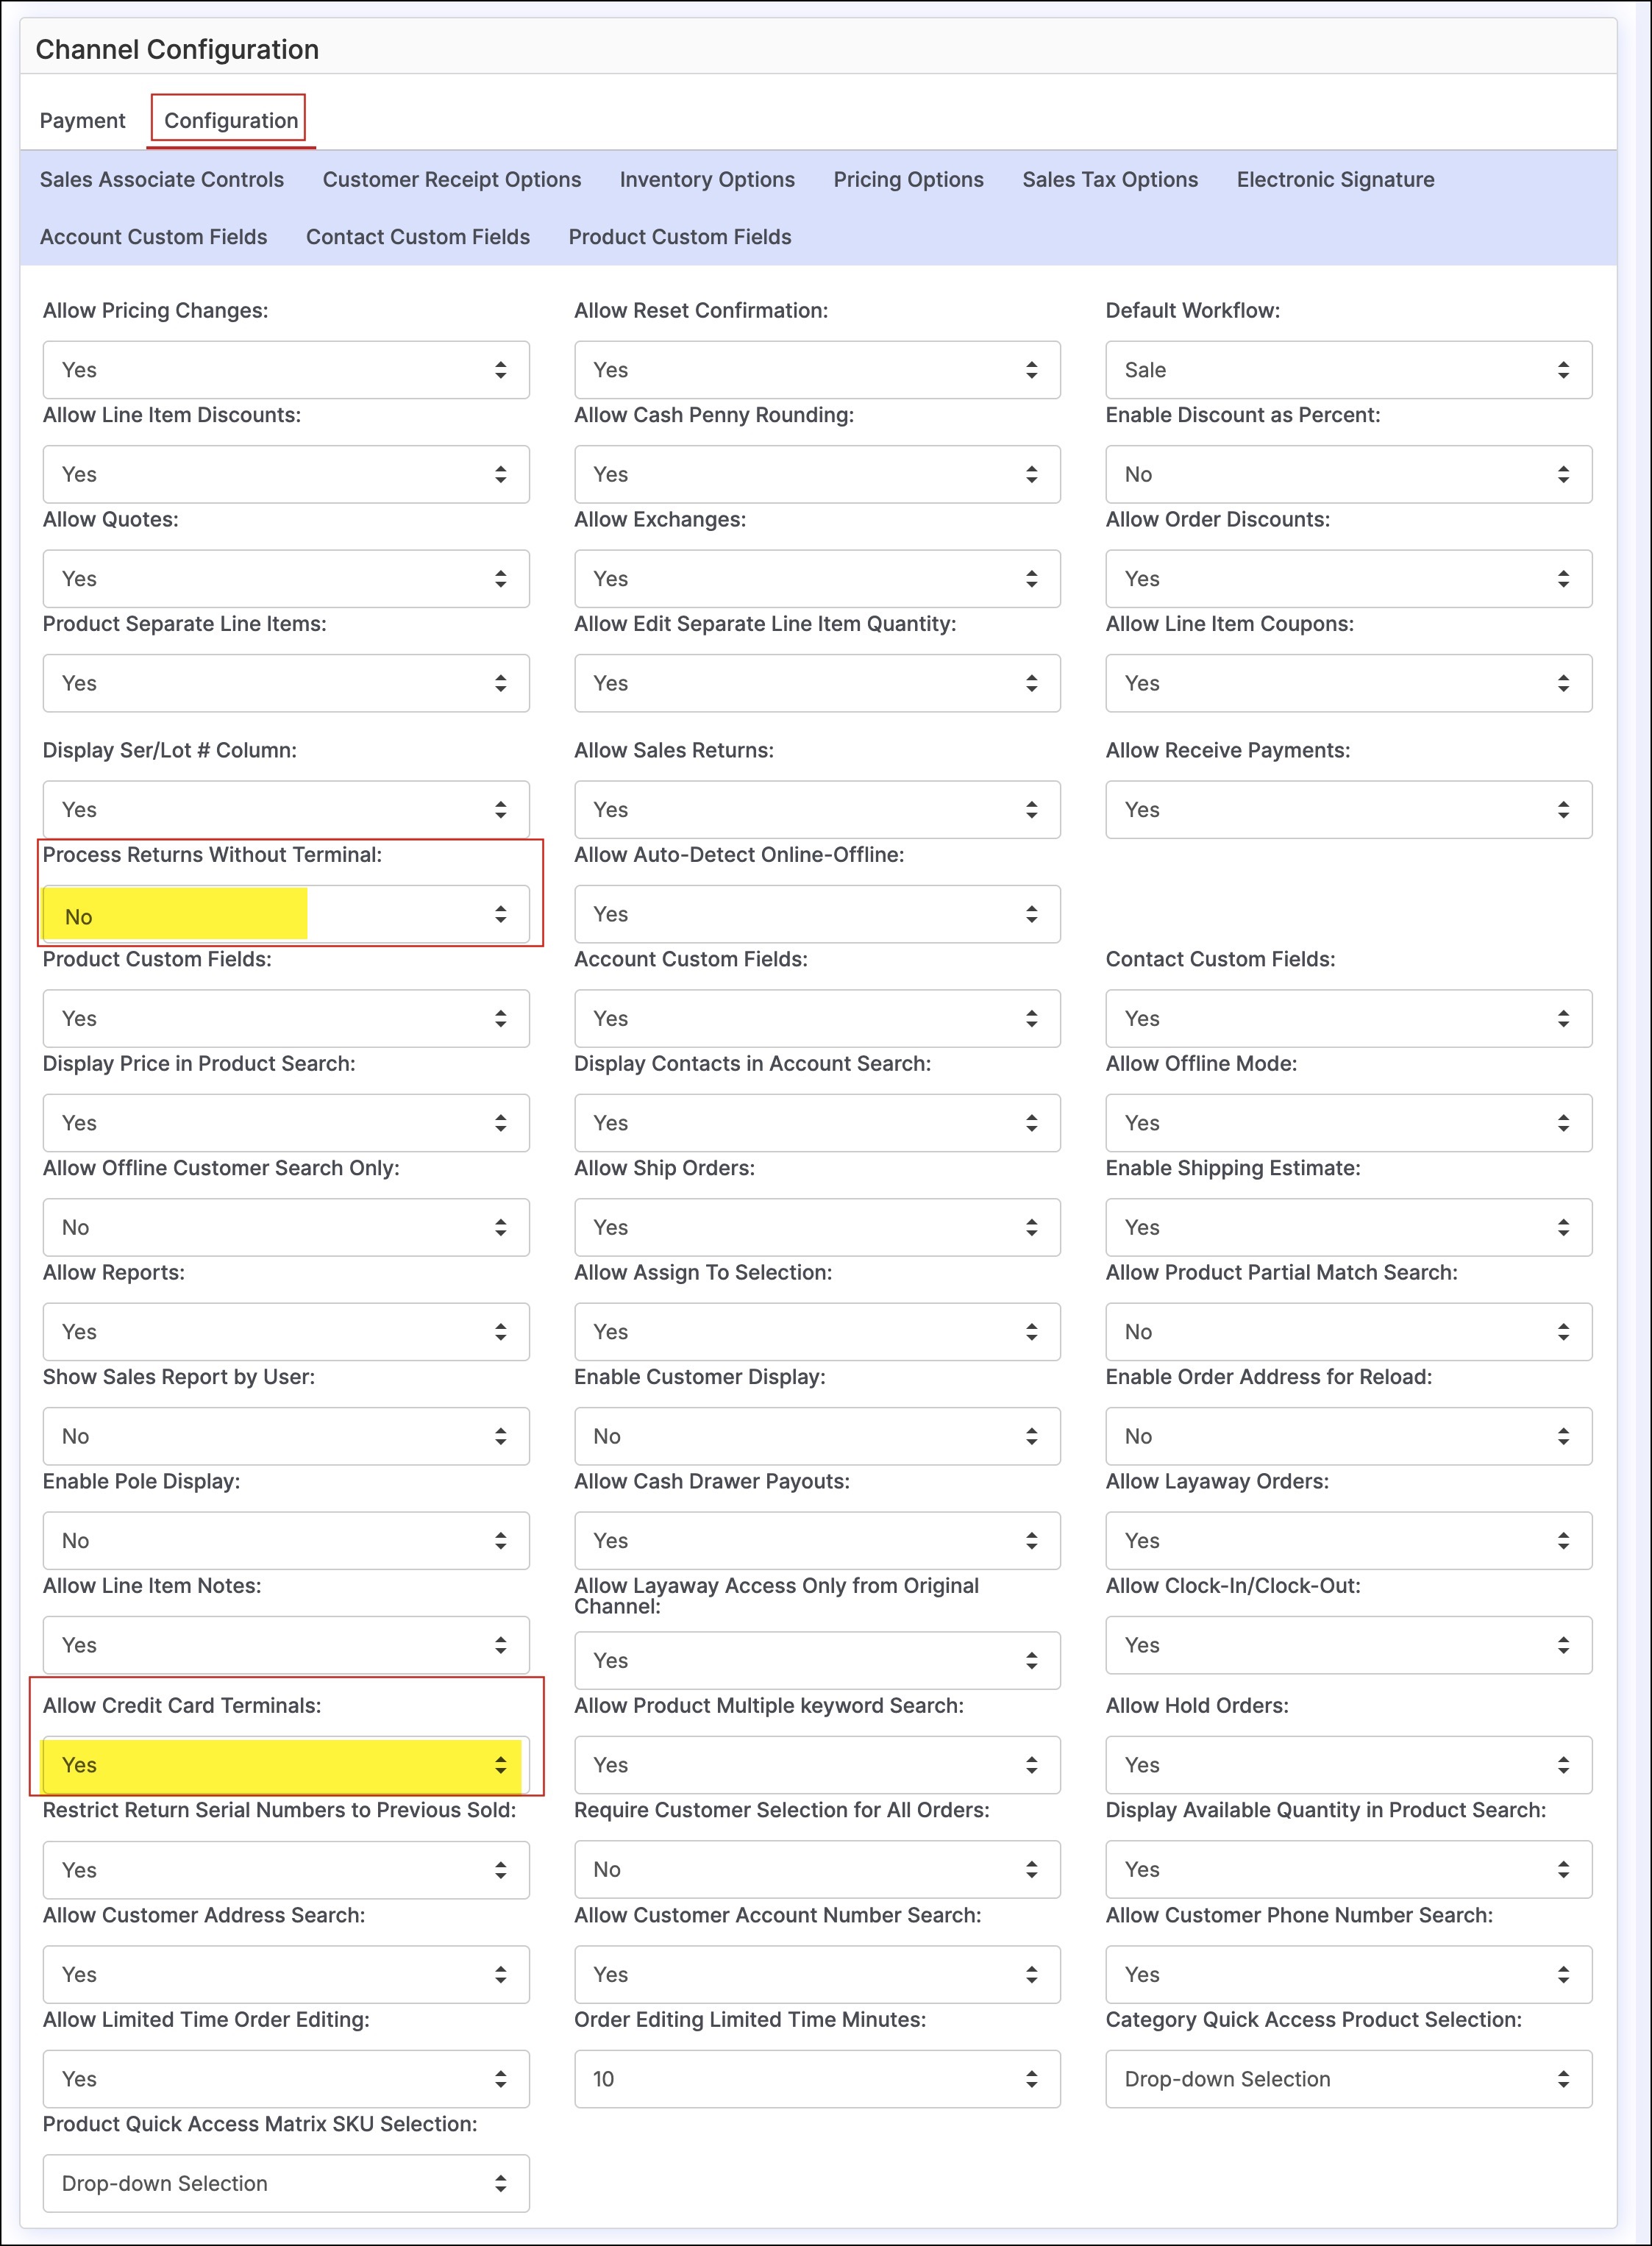
- Next, click on the "Configuration" tab.
- Scroll down to "Allow Credit Card Terminals" and set to "Yes".
- Also, if you want to process returns with the terminal, then set Process Returns without Terminal to "No".
- Click "Save" to finish.

Device Pairing and Setup
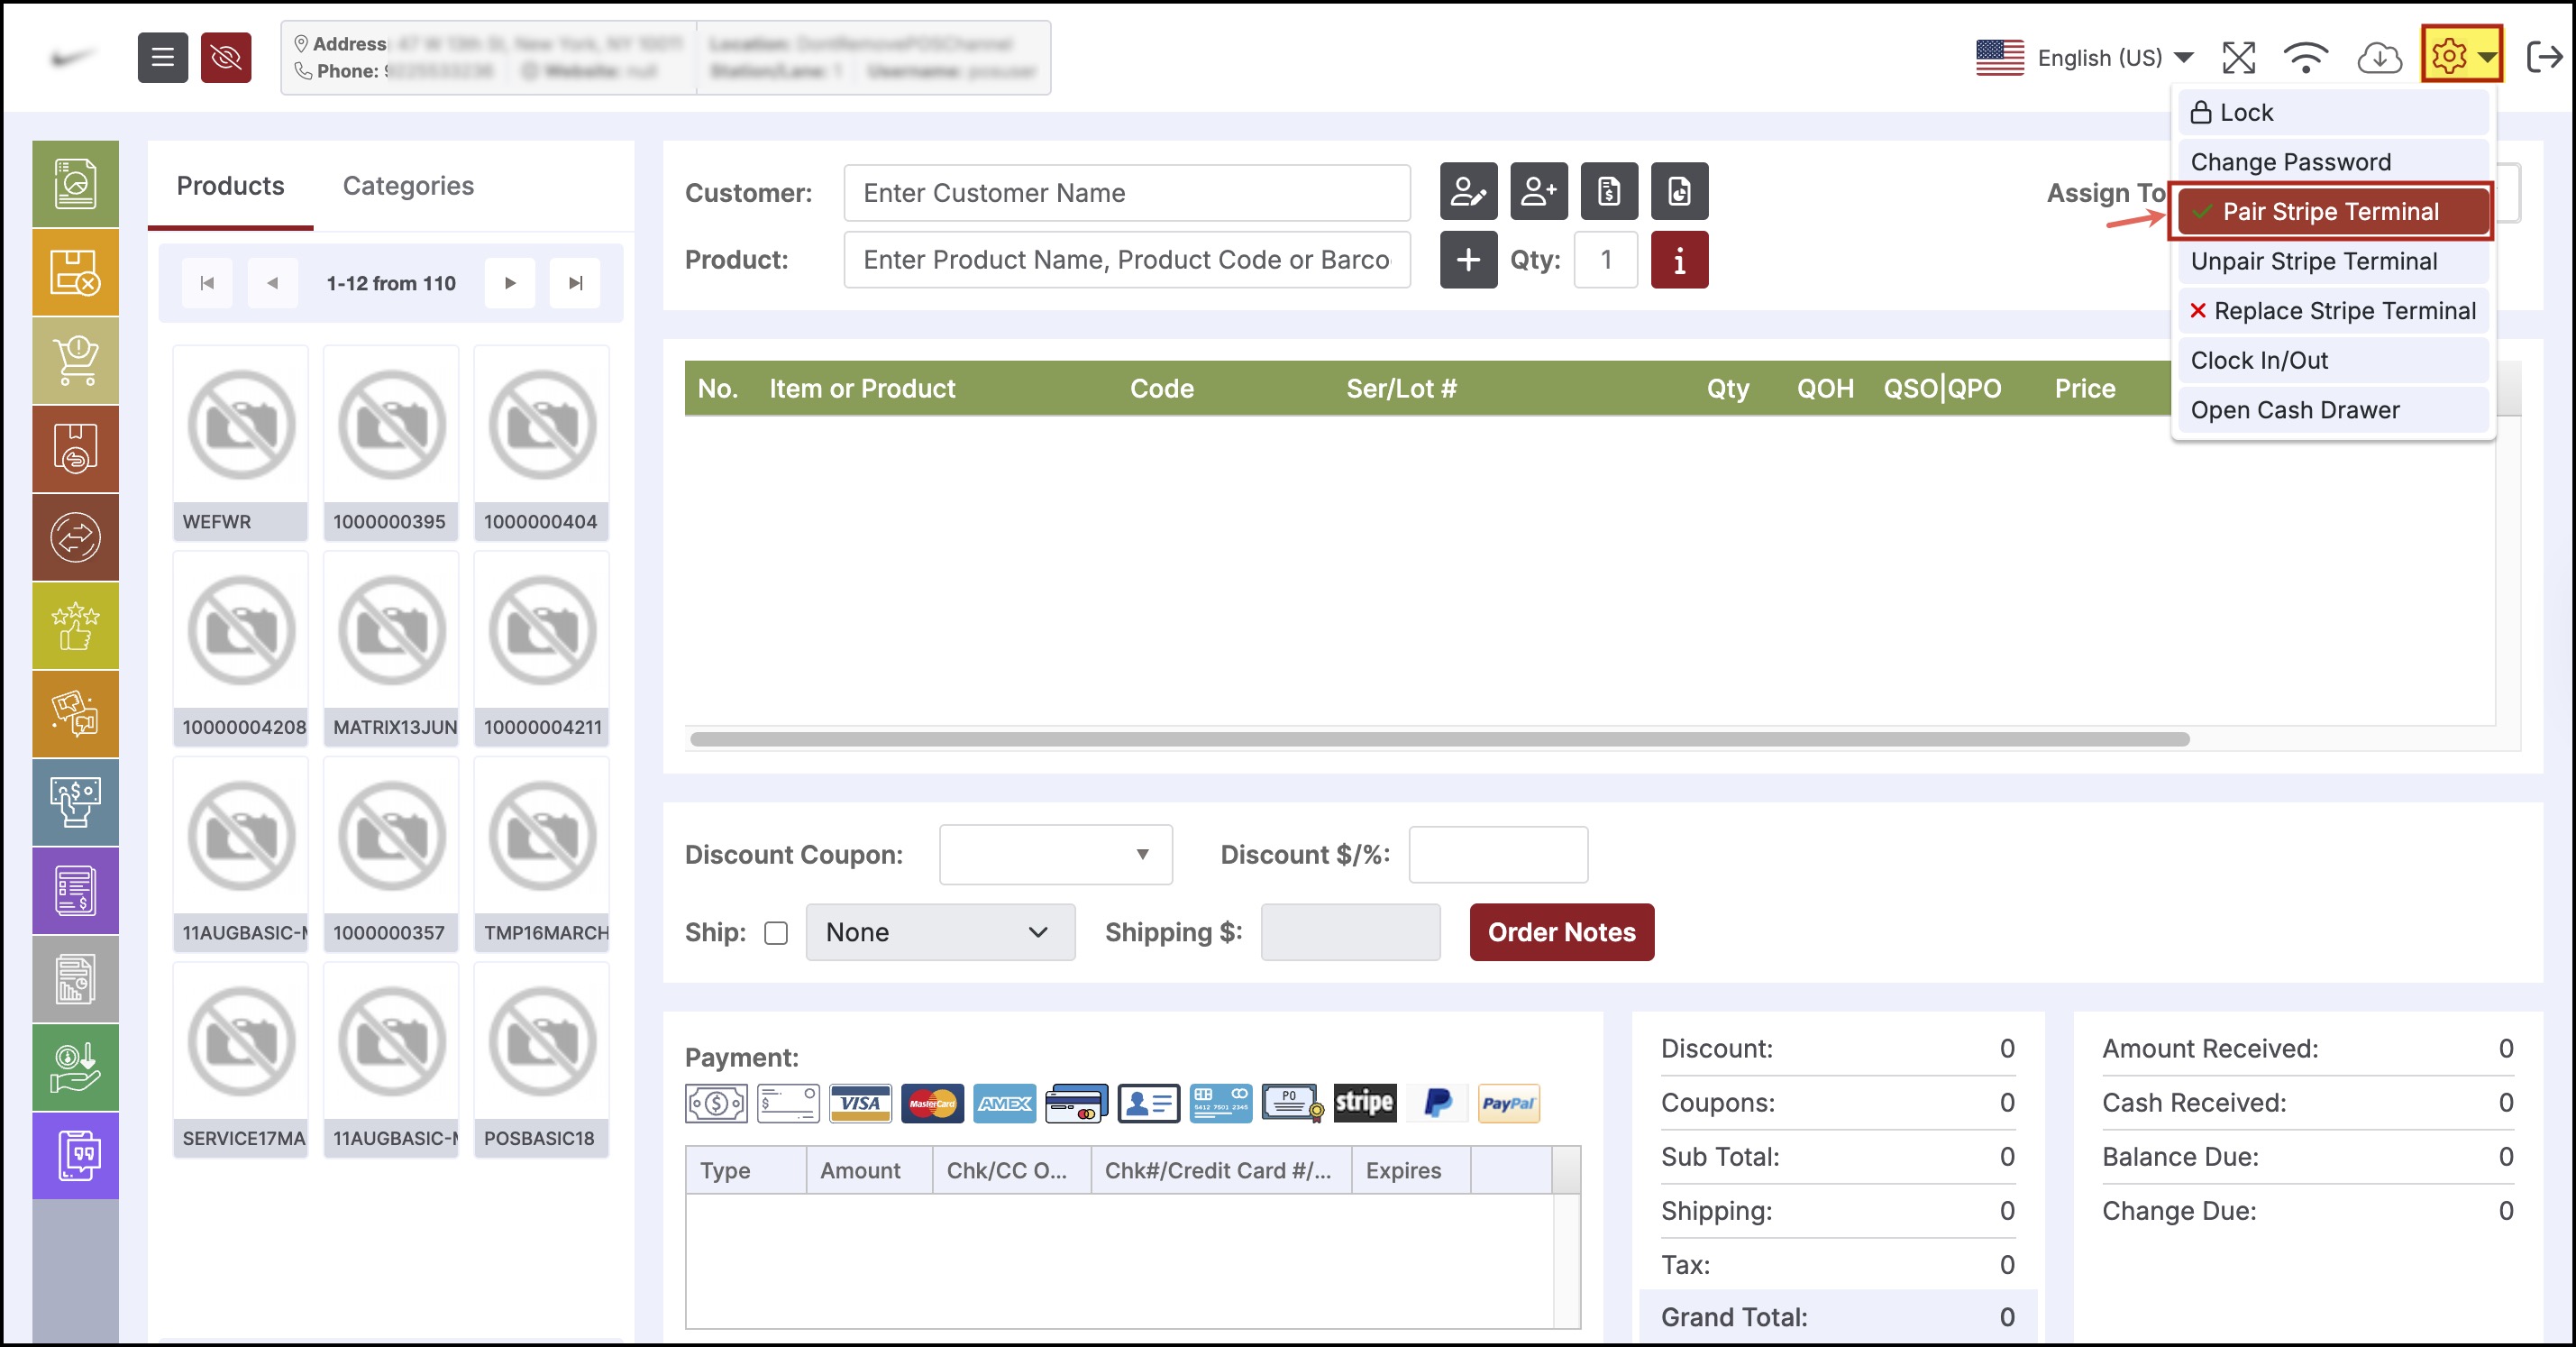
- Log in to the POS Channel to pair the device.
- Click on the gear icon on the top right side of the screen.
- Select "Pair Stripe Terminal".
NOTE: The Stripe terminal device must be connected to the same WiFi or internet connection as the POS channel for the pairing to work.
- A pop-up box will appear, verify your contact information (please make sure to enter the contact information that is the same as in your Stripe account)
- Enter the Registration Code that was generated during the pairing process and click "OK".
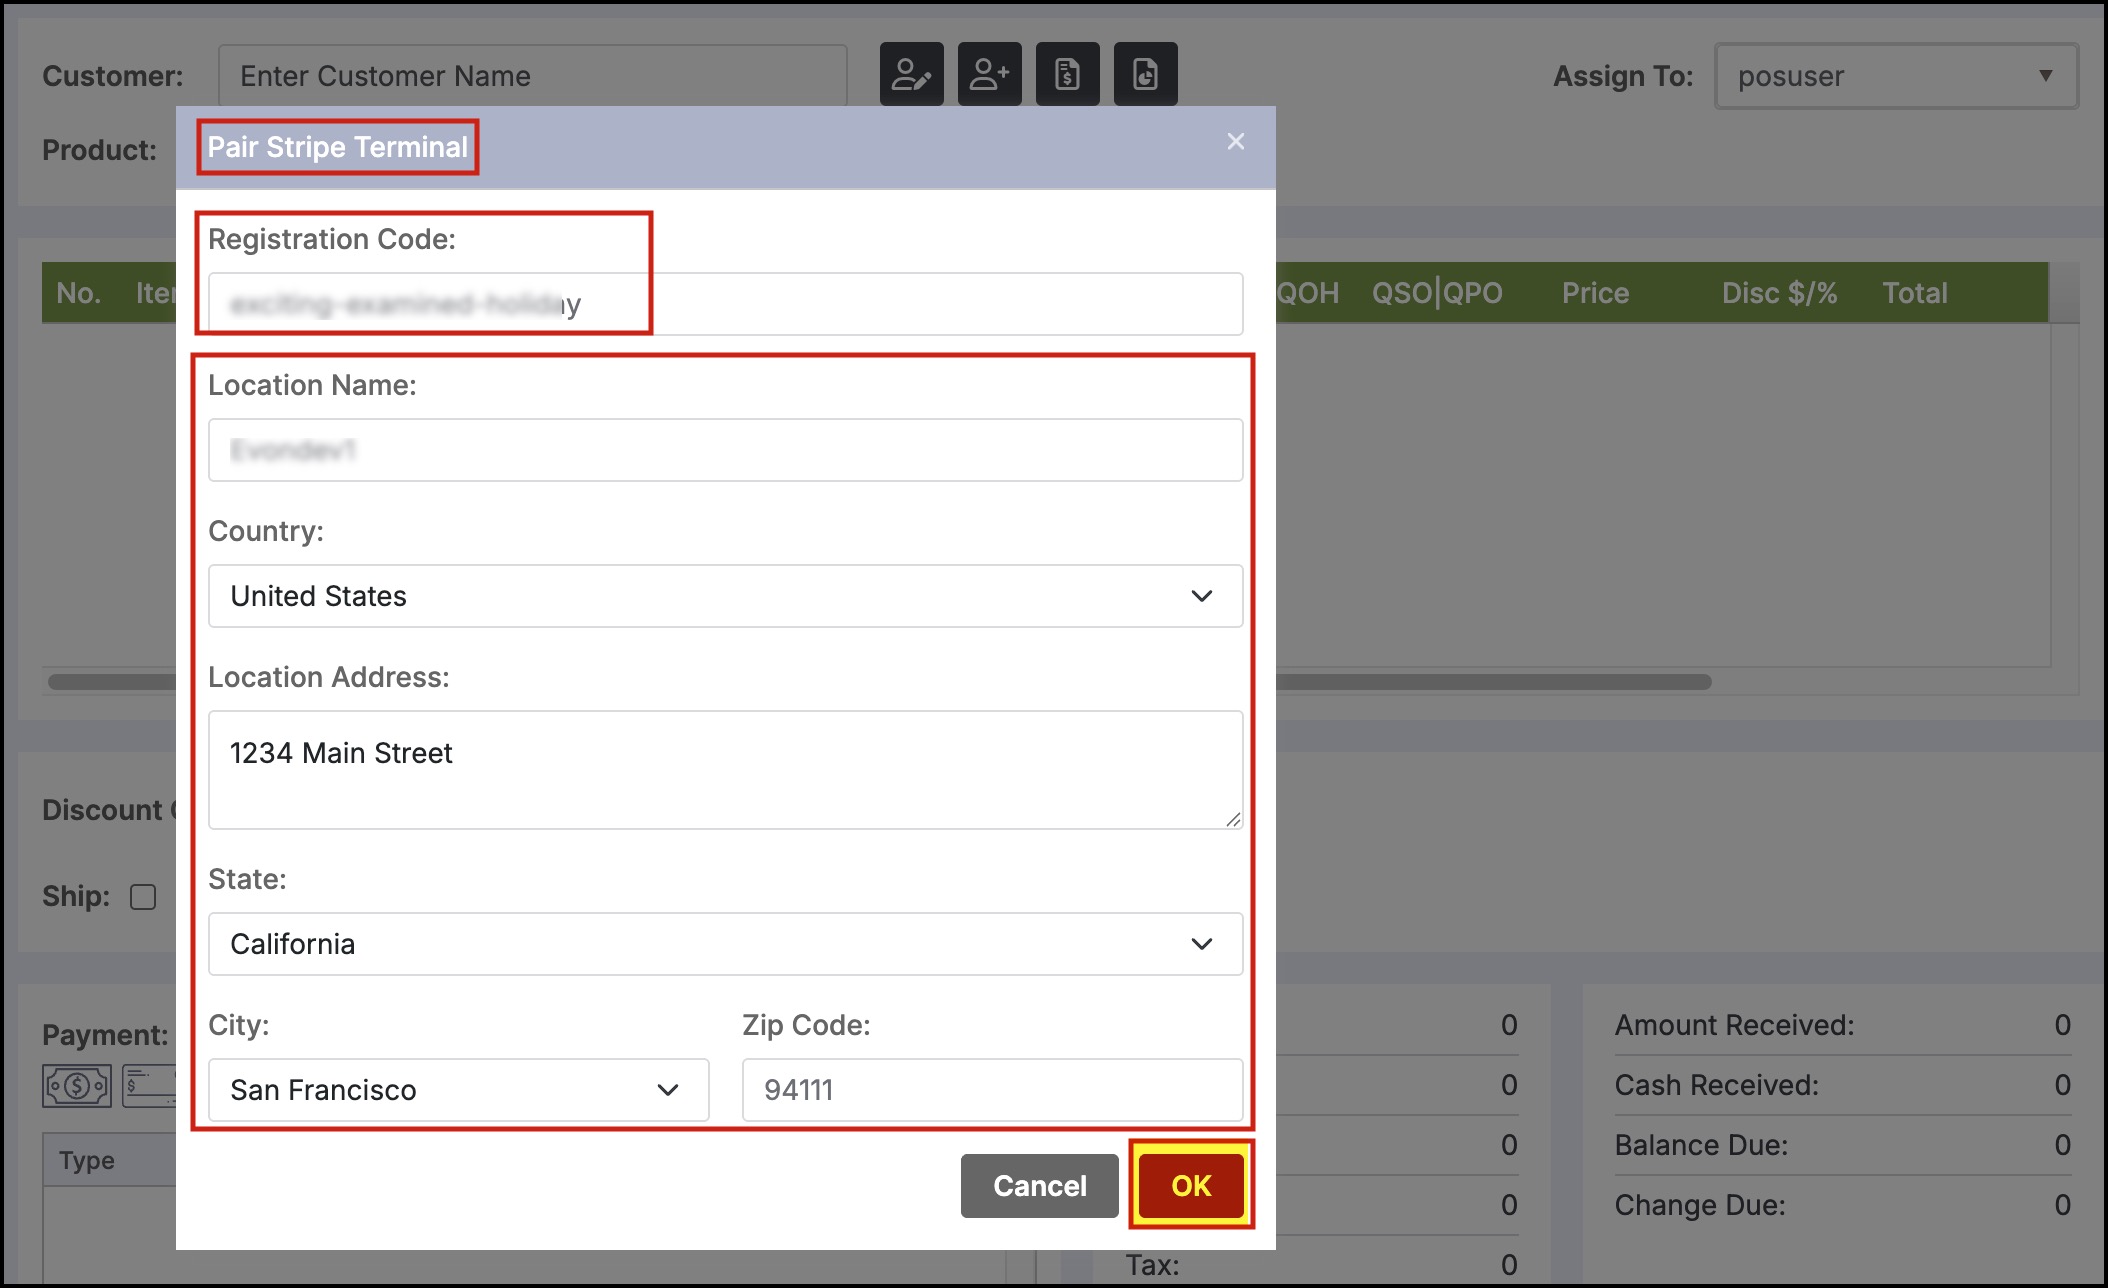
Note - Location Name can be user-specific (it does not necessarily have to be any actual location name; it can be anything in general, like a username).
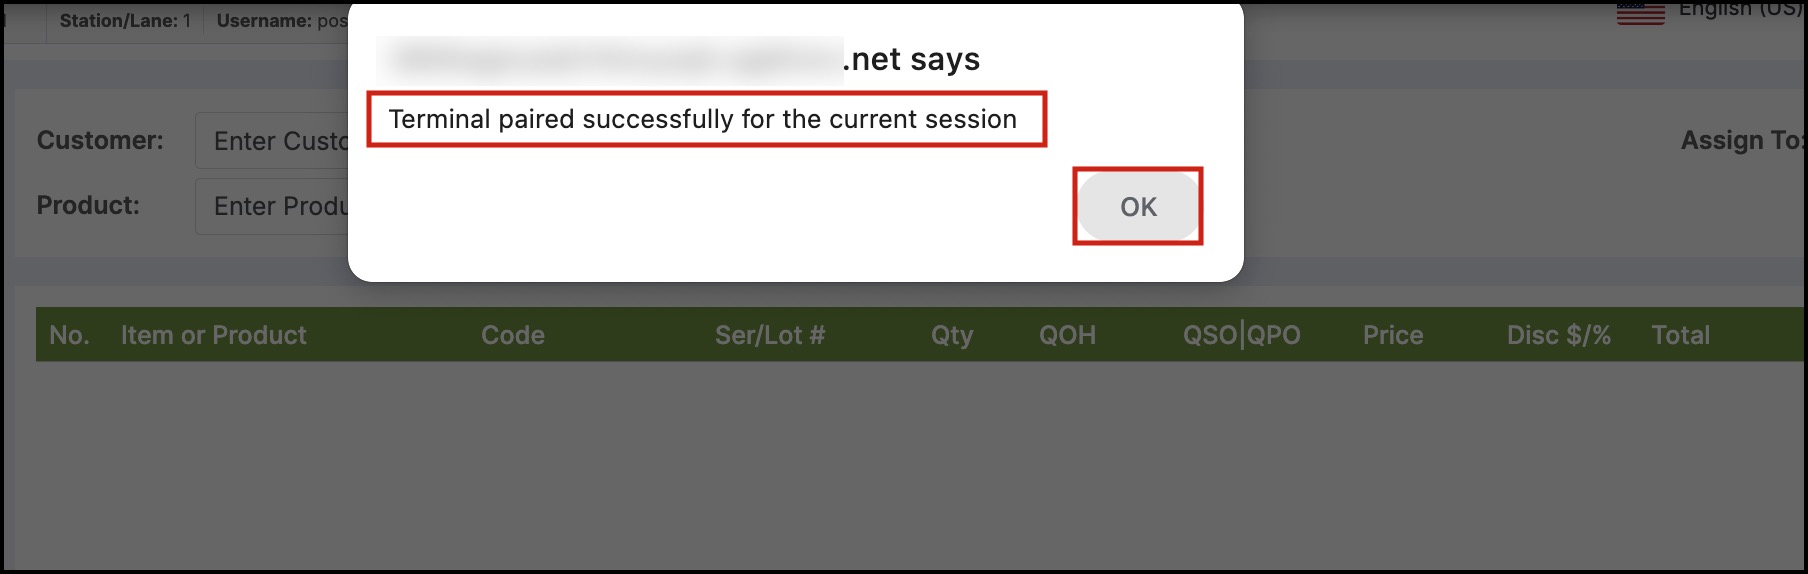
Pairing Successful message on POS
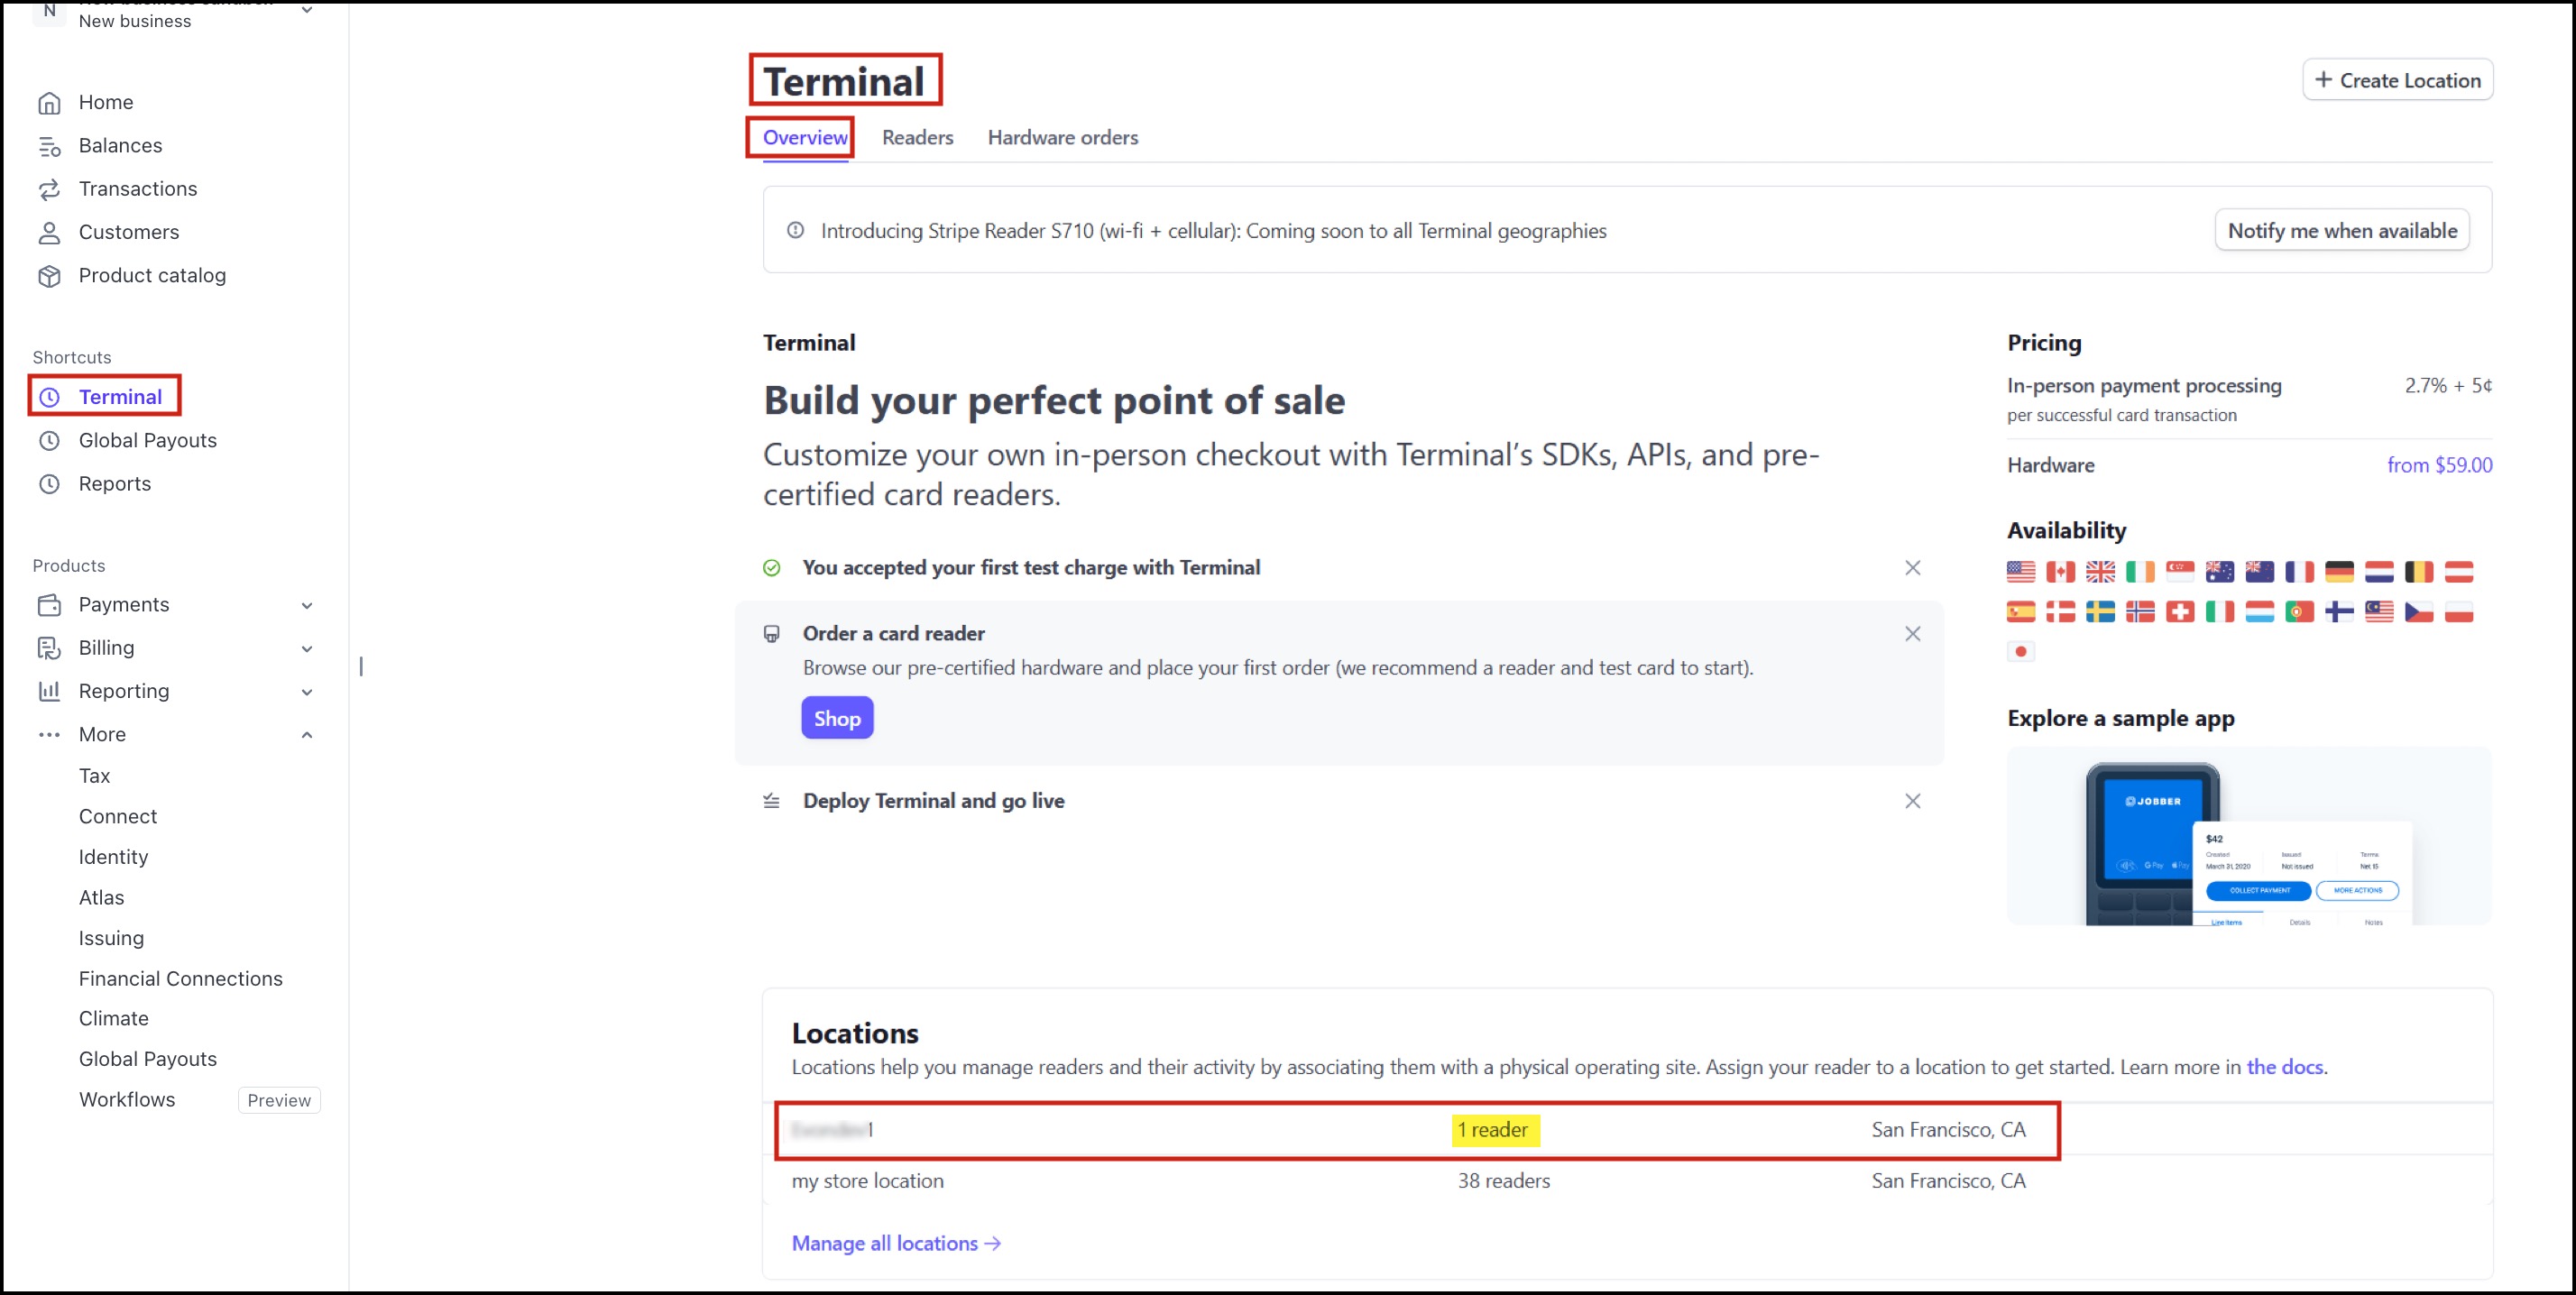
You can also check on your Stripe account, if the connection is successful.
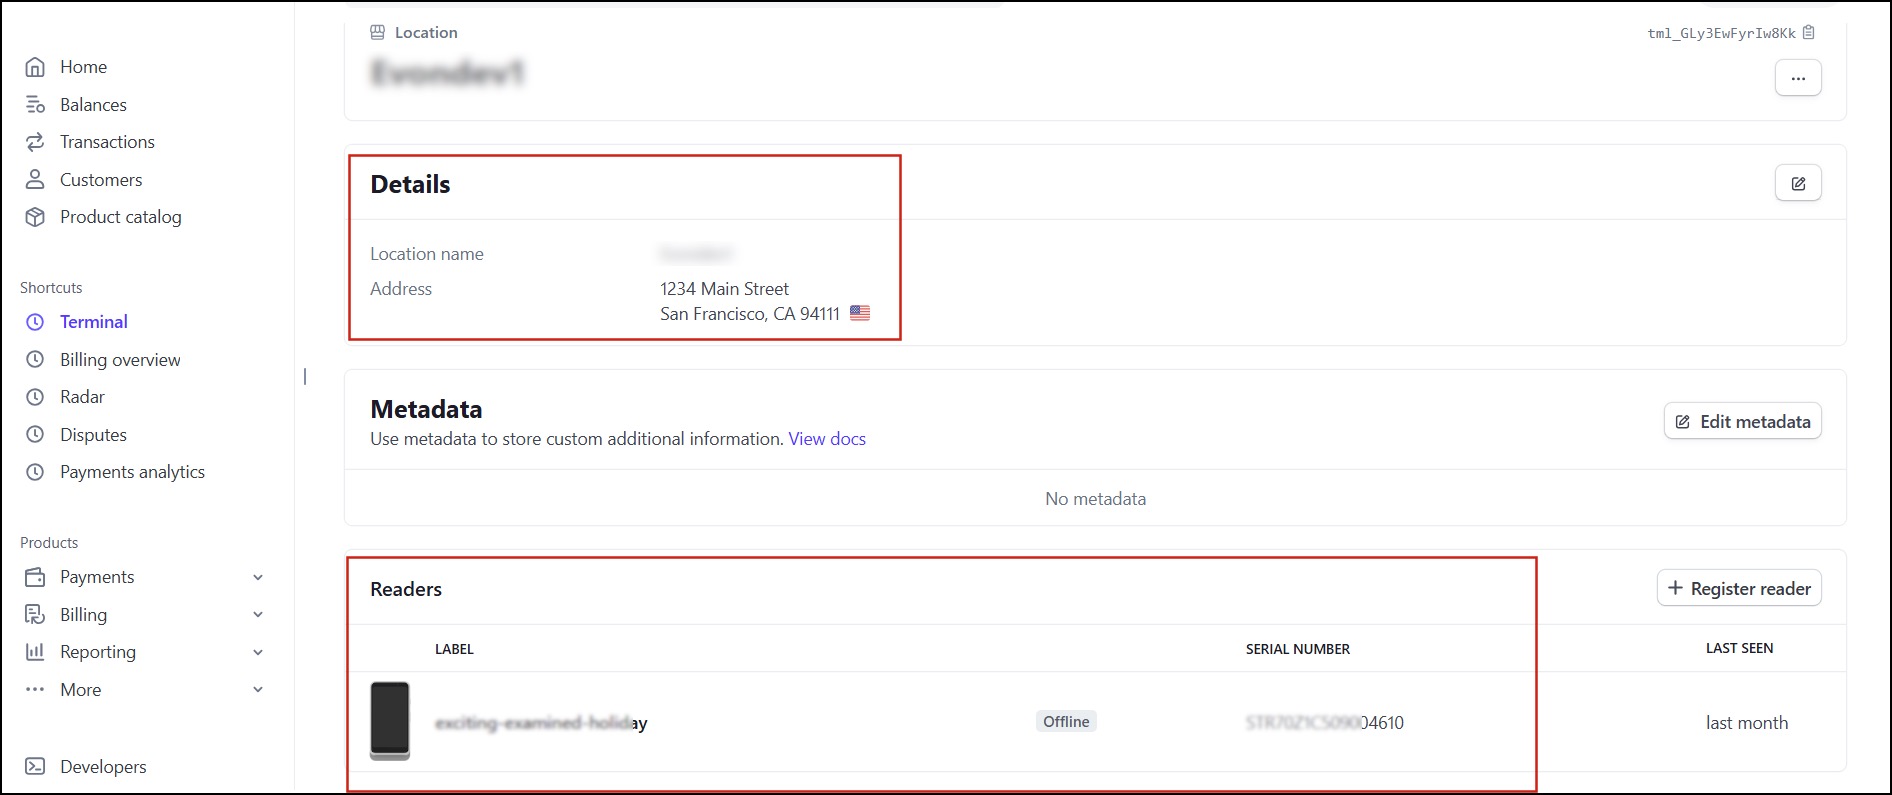
- On the dashboard, when you go to the Terminal tab, you can see the location you added and the assigned reader.
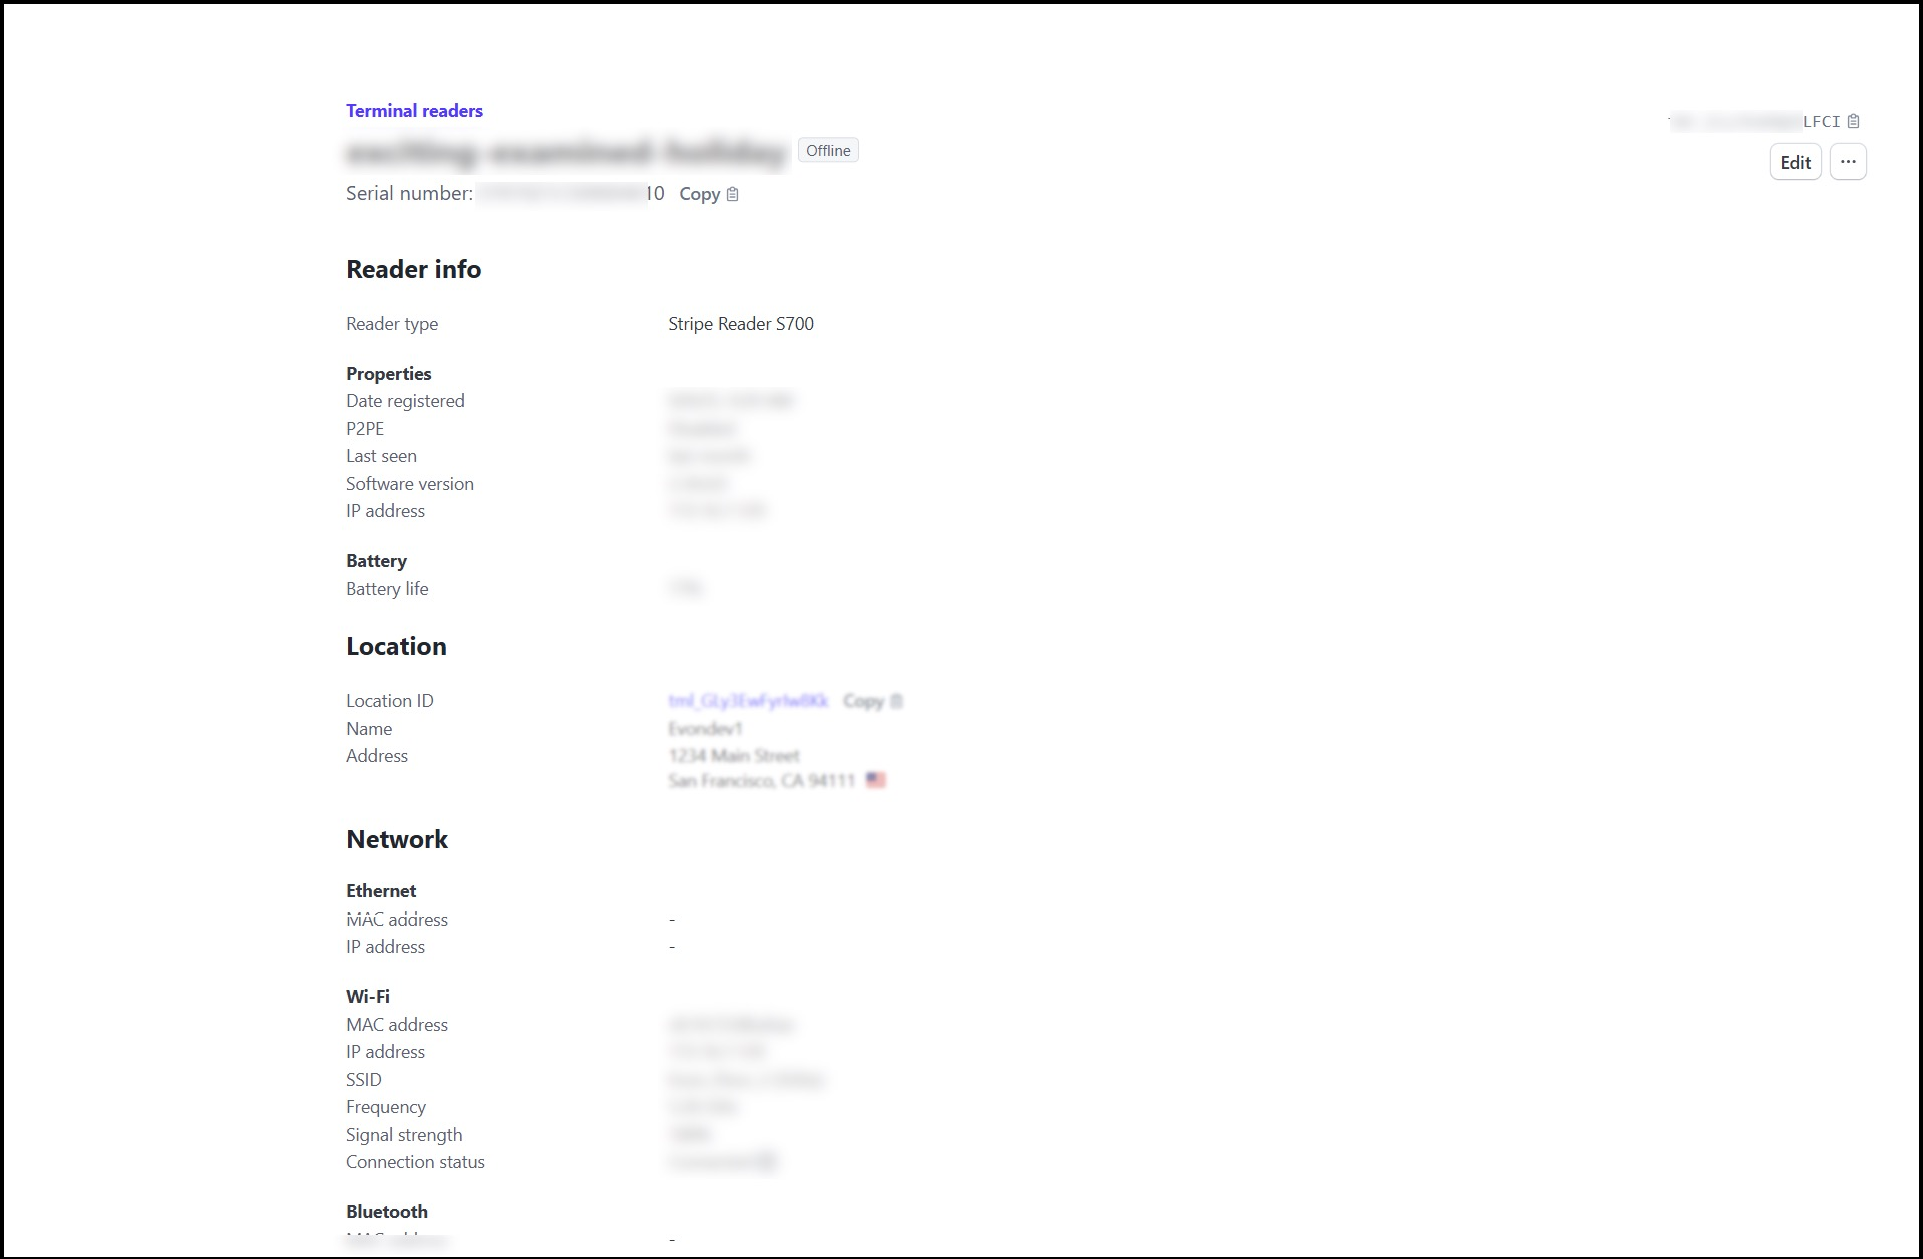
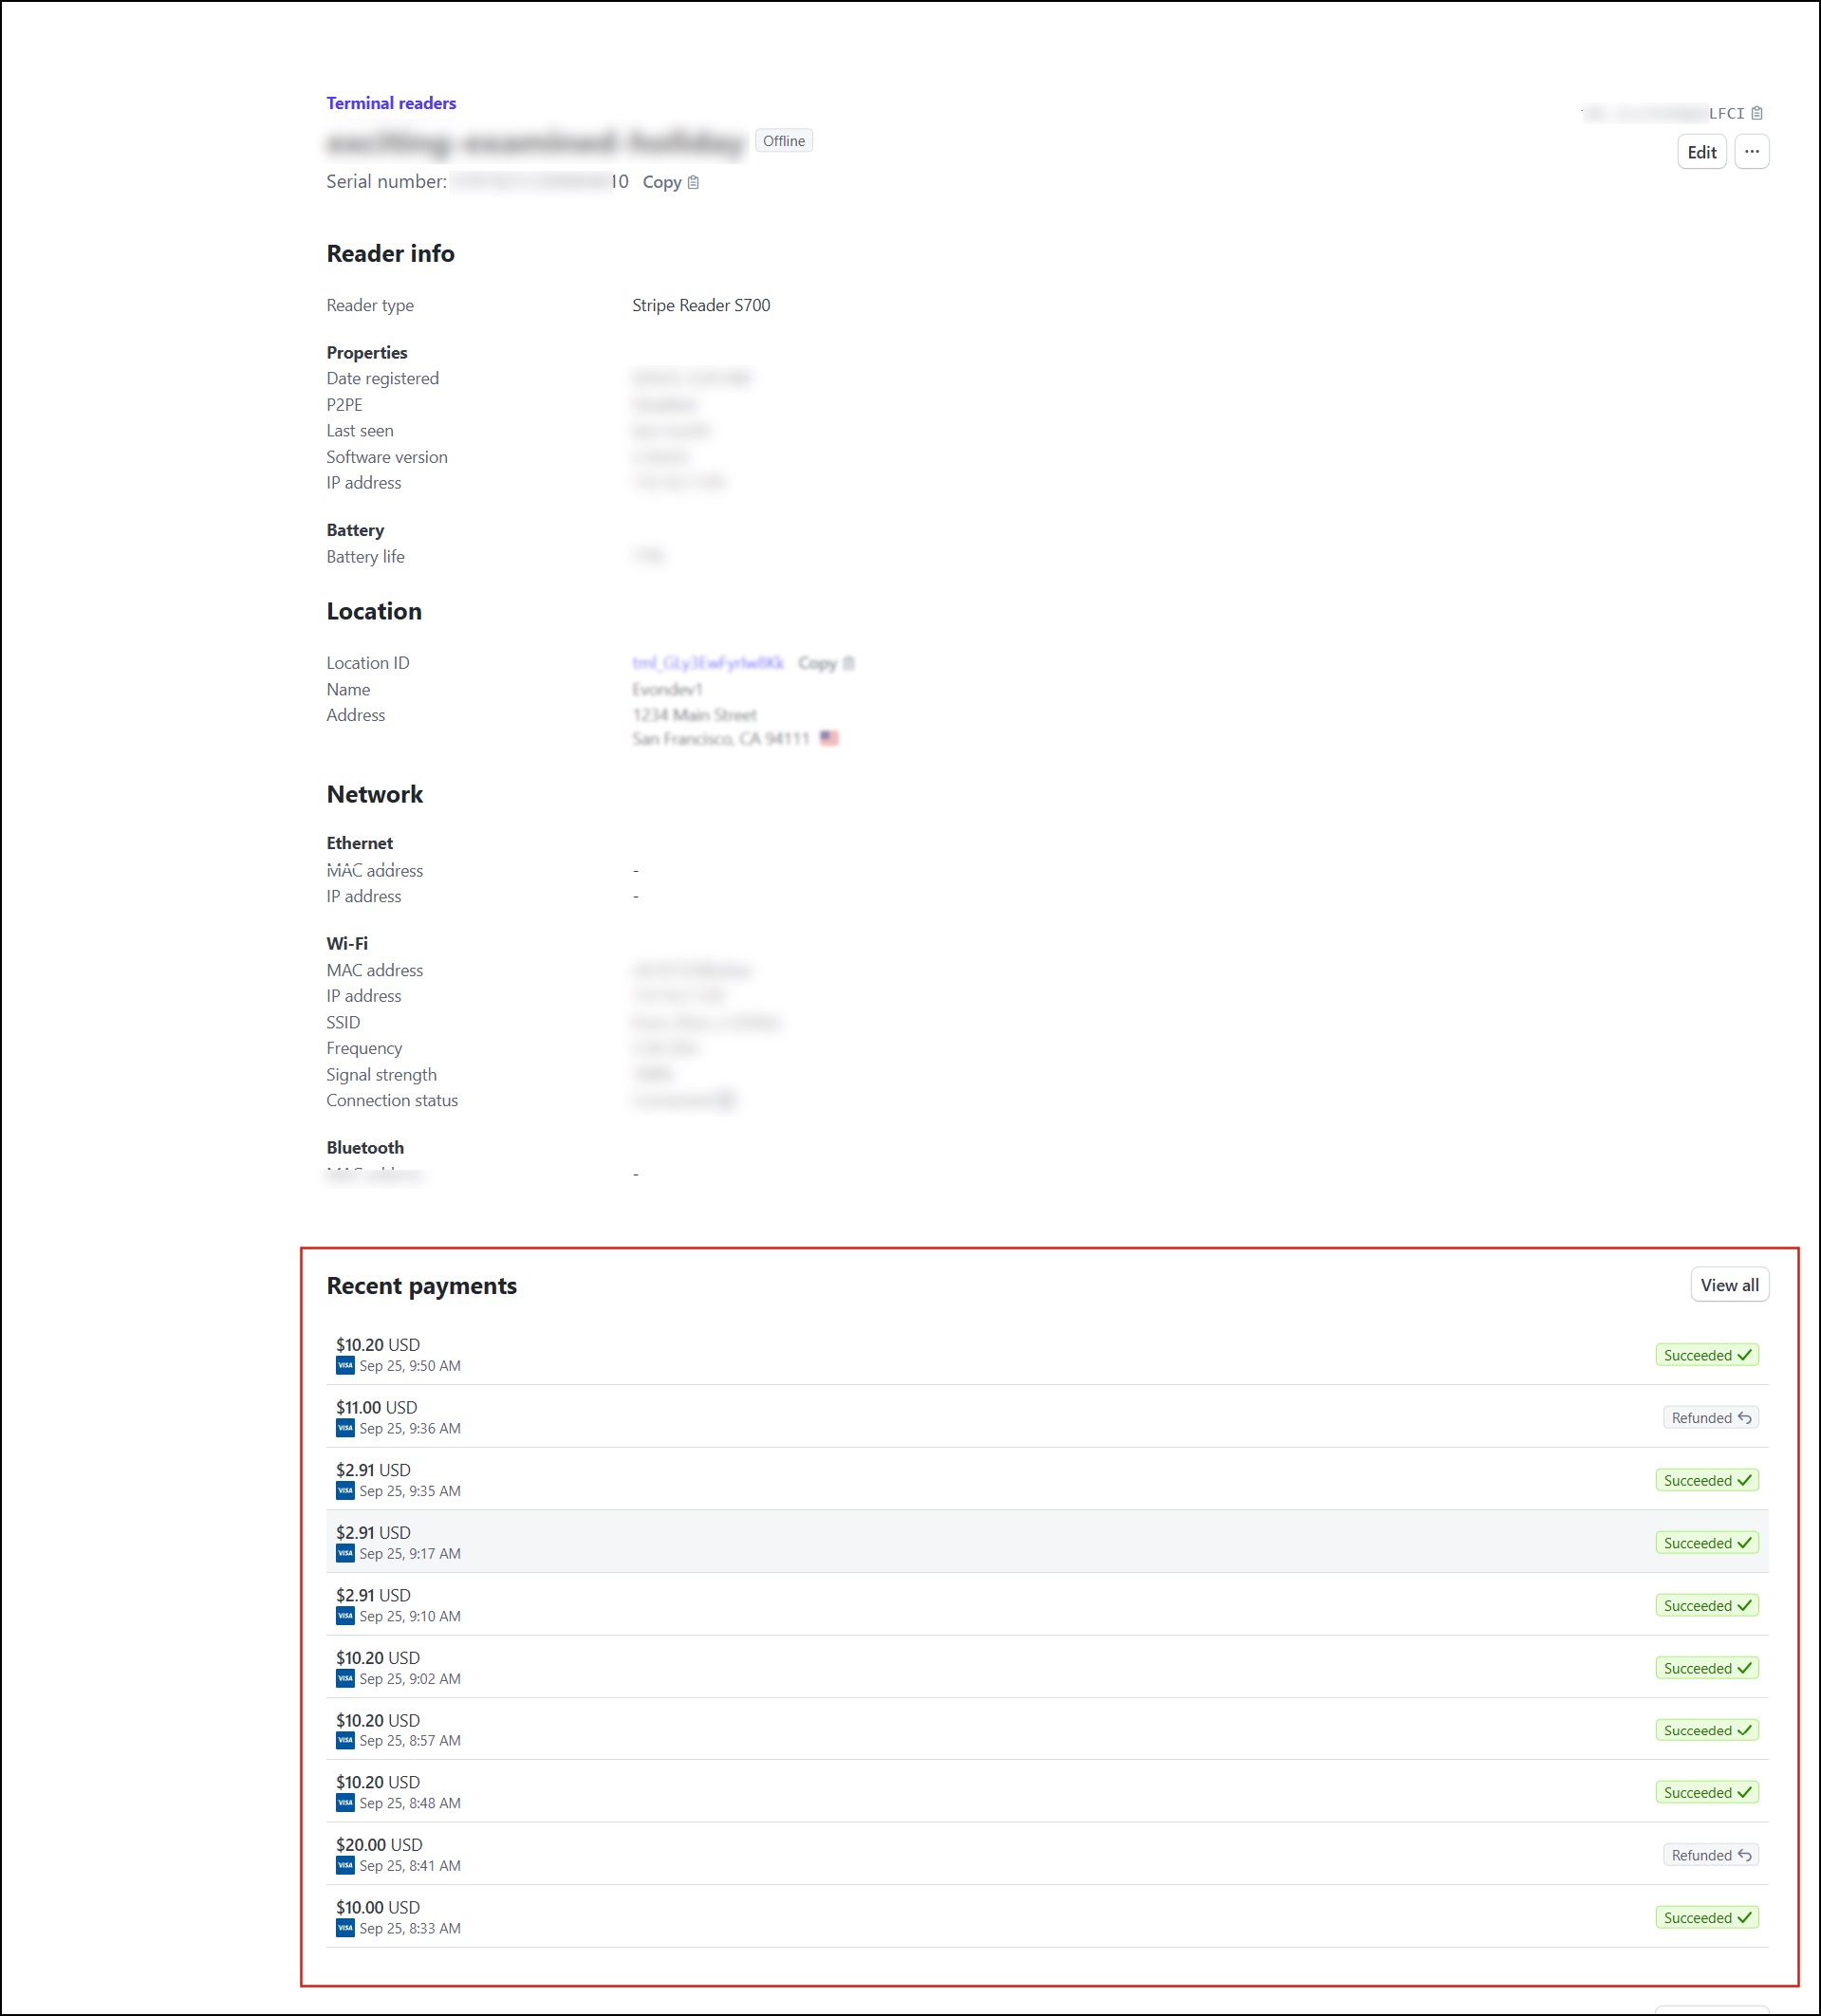
- Clicking on the location will display further details. Here you can see your registration code, listed under Readers-> Label. Click on it.
- This will bring up a screen with more information.
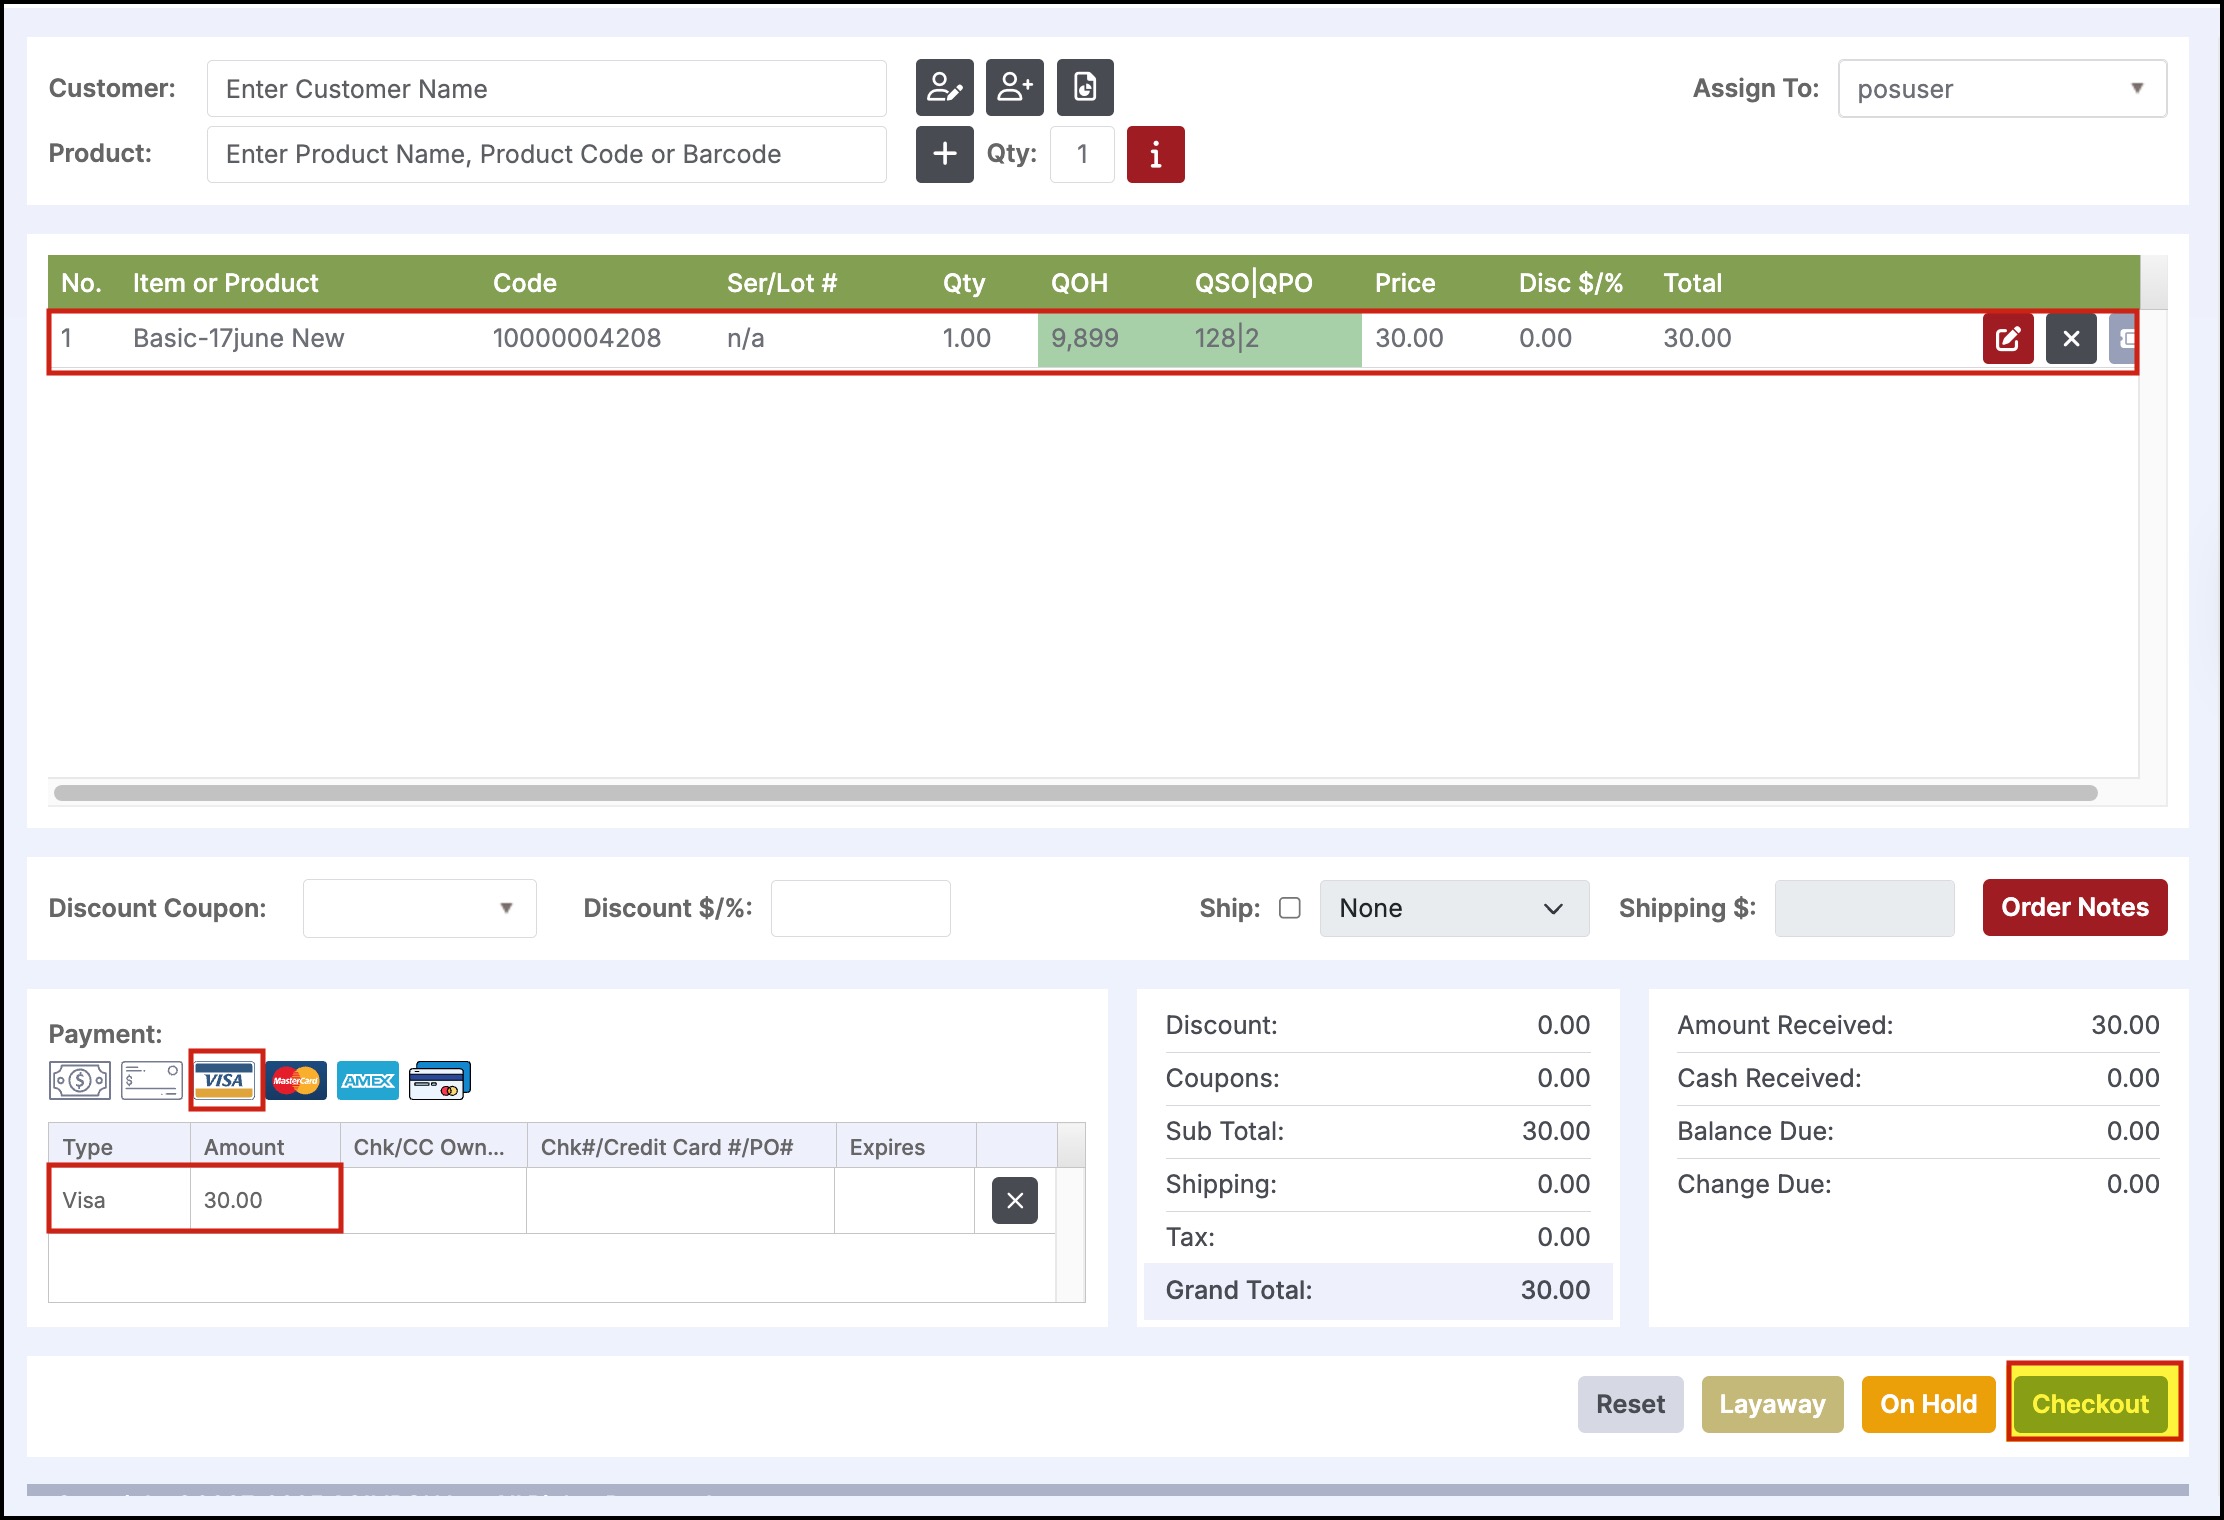
- Once the pairing is successful, you can add products, select a payment method (no need to enter the card details), and click on Checkout.
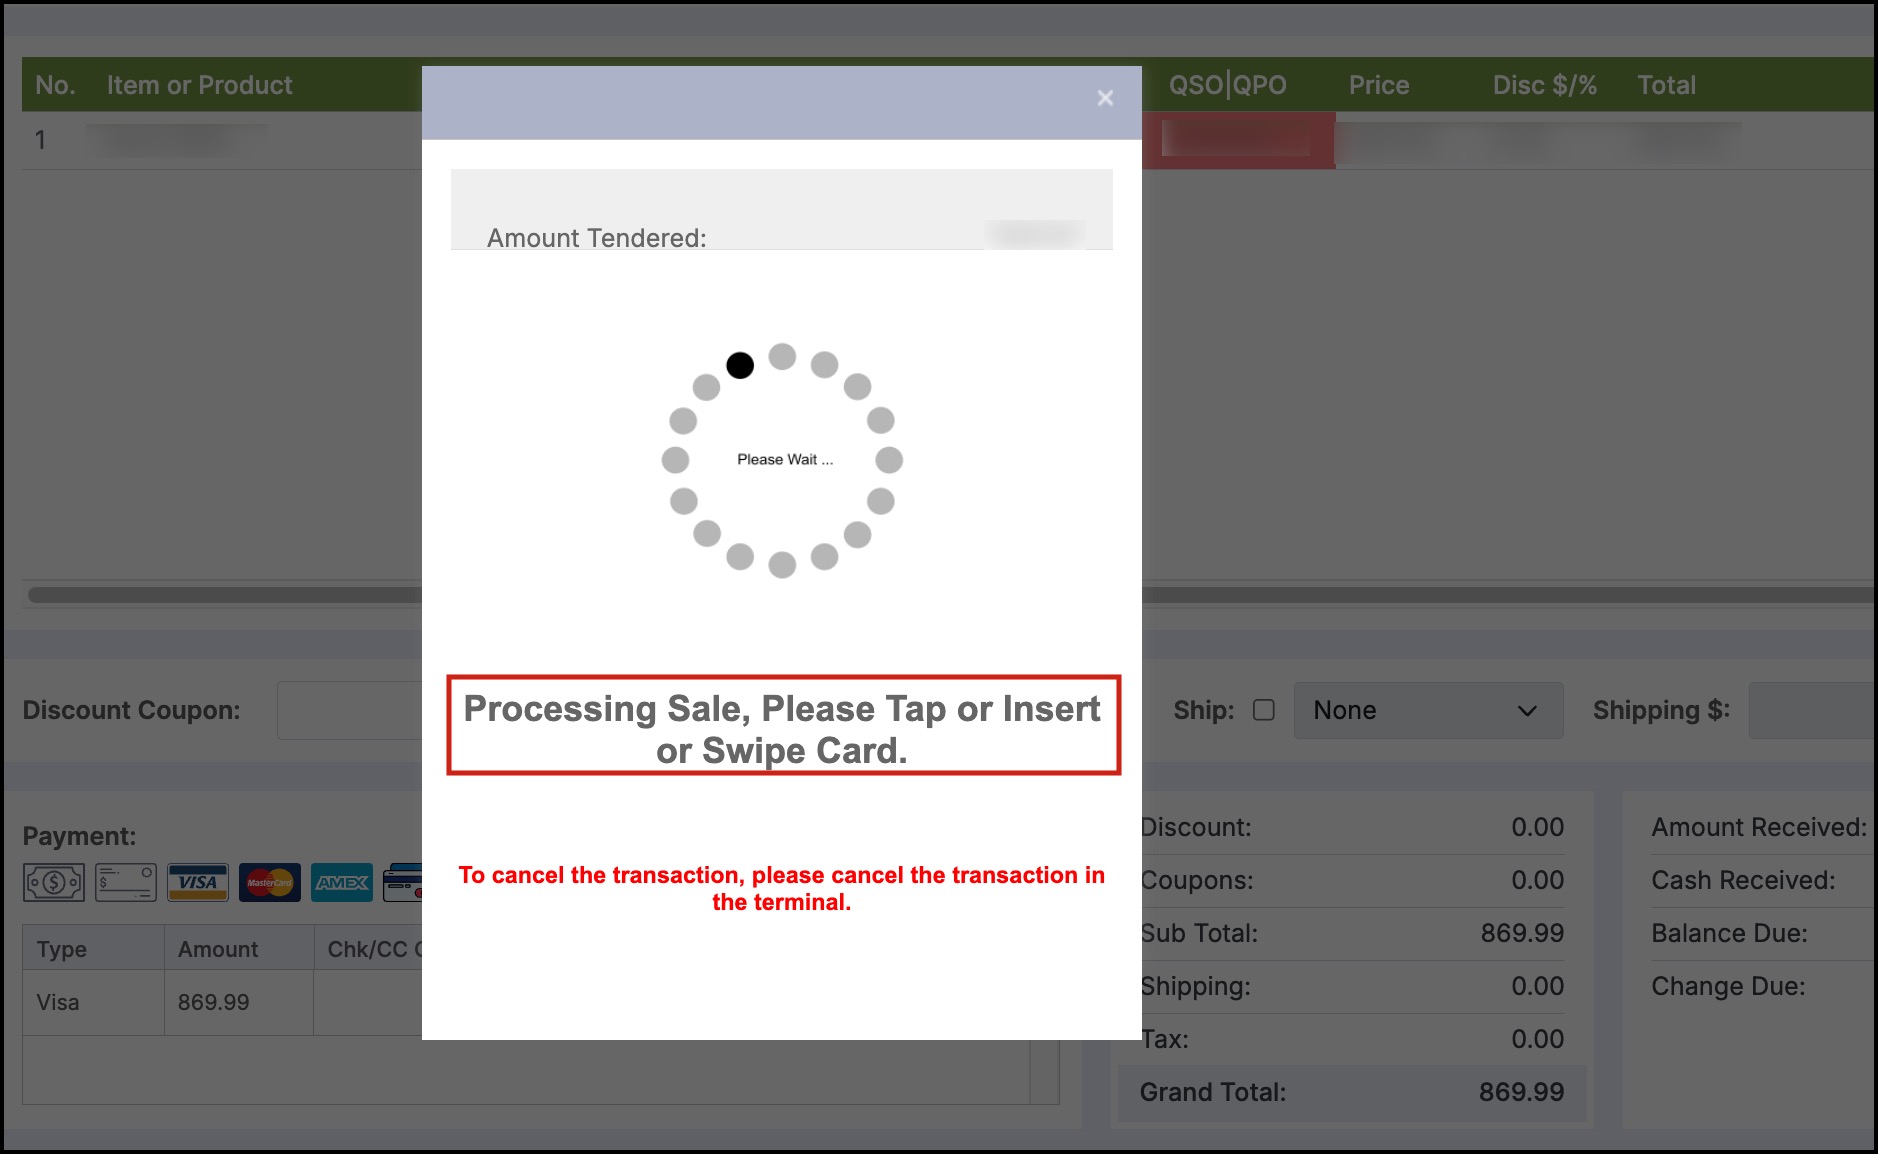
The sale will start processing.
- Tap/Swipe the credit card.
- The card will be processed from the terminal directly to your payment processor (Stripe).
- After the payment processing is finished, log in to your Stripe account.
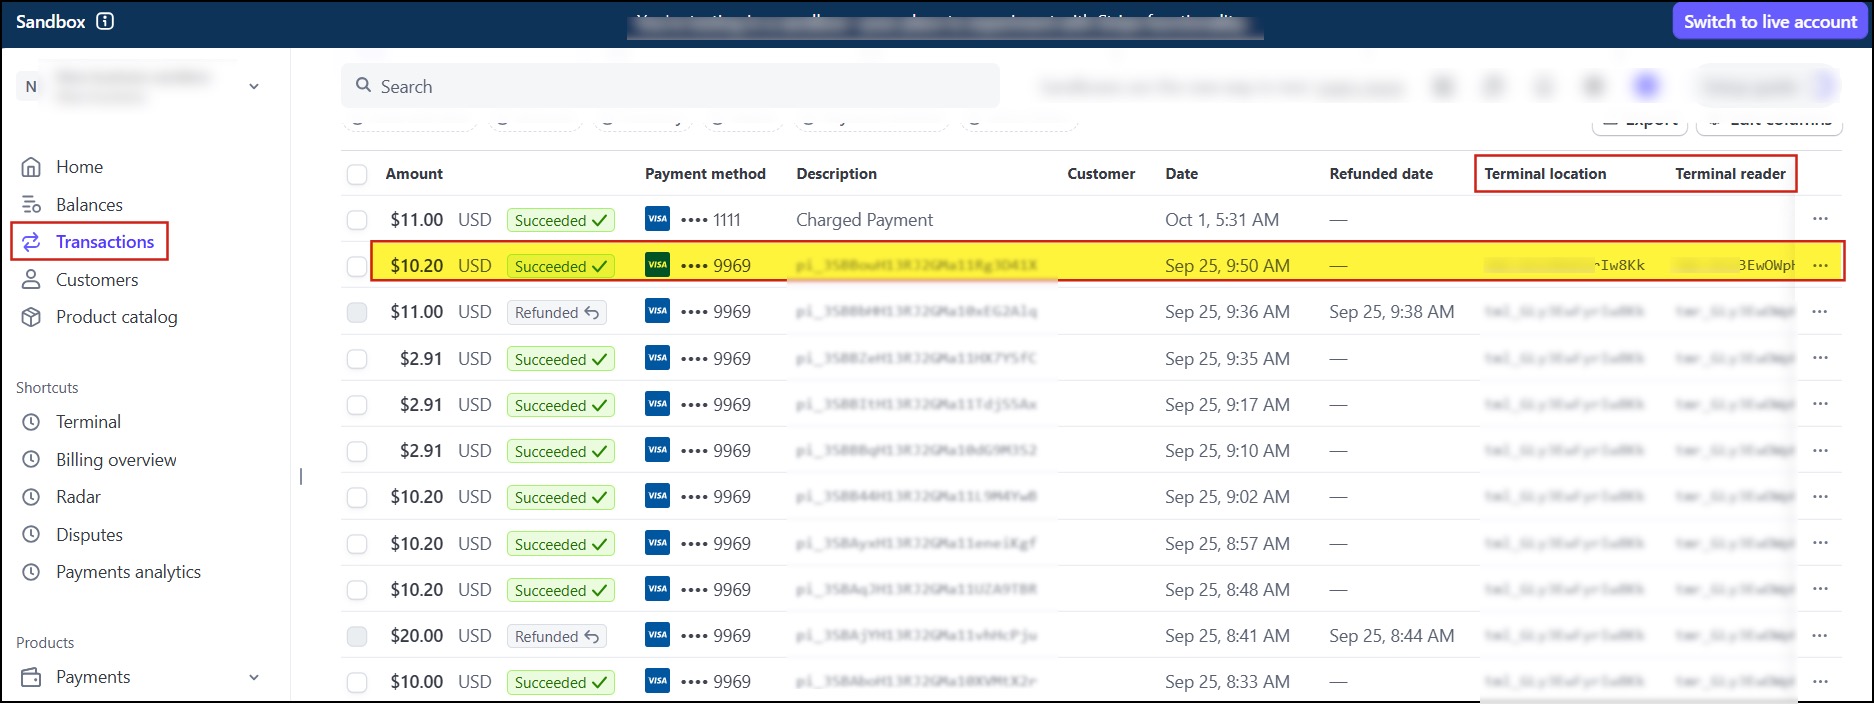
- Go to the Transactions -> Payments tab, where you can see the transactions processed through POS. The ones processed using Terminal will display Terminal location and Terminal reader.
Recent payments using Terminal will also be listed under the Terminal tab (click on location-> Registration Code).
Unparing and Replacing the Terminal
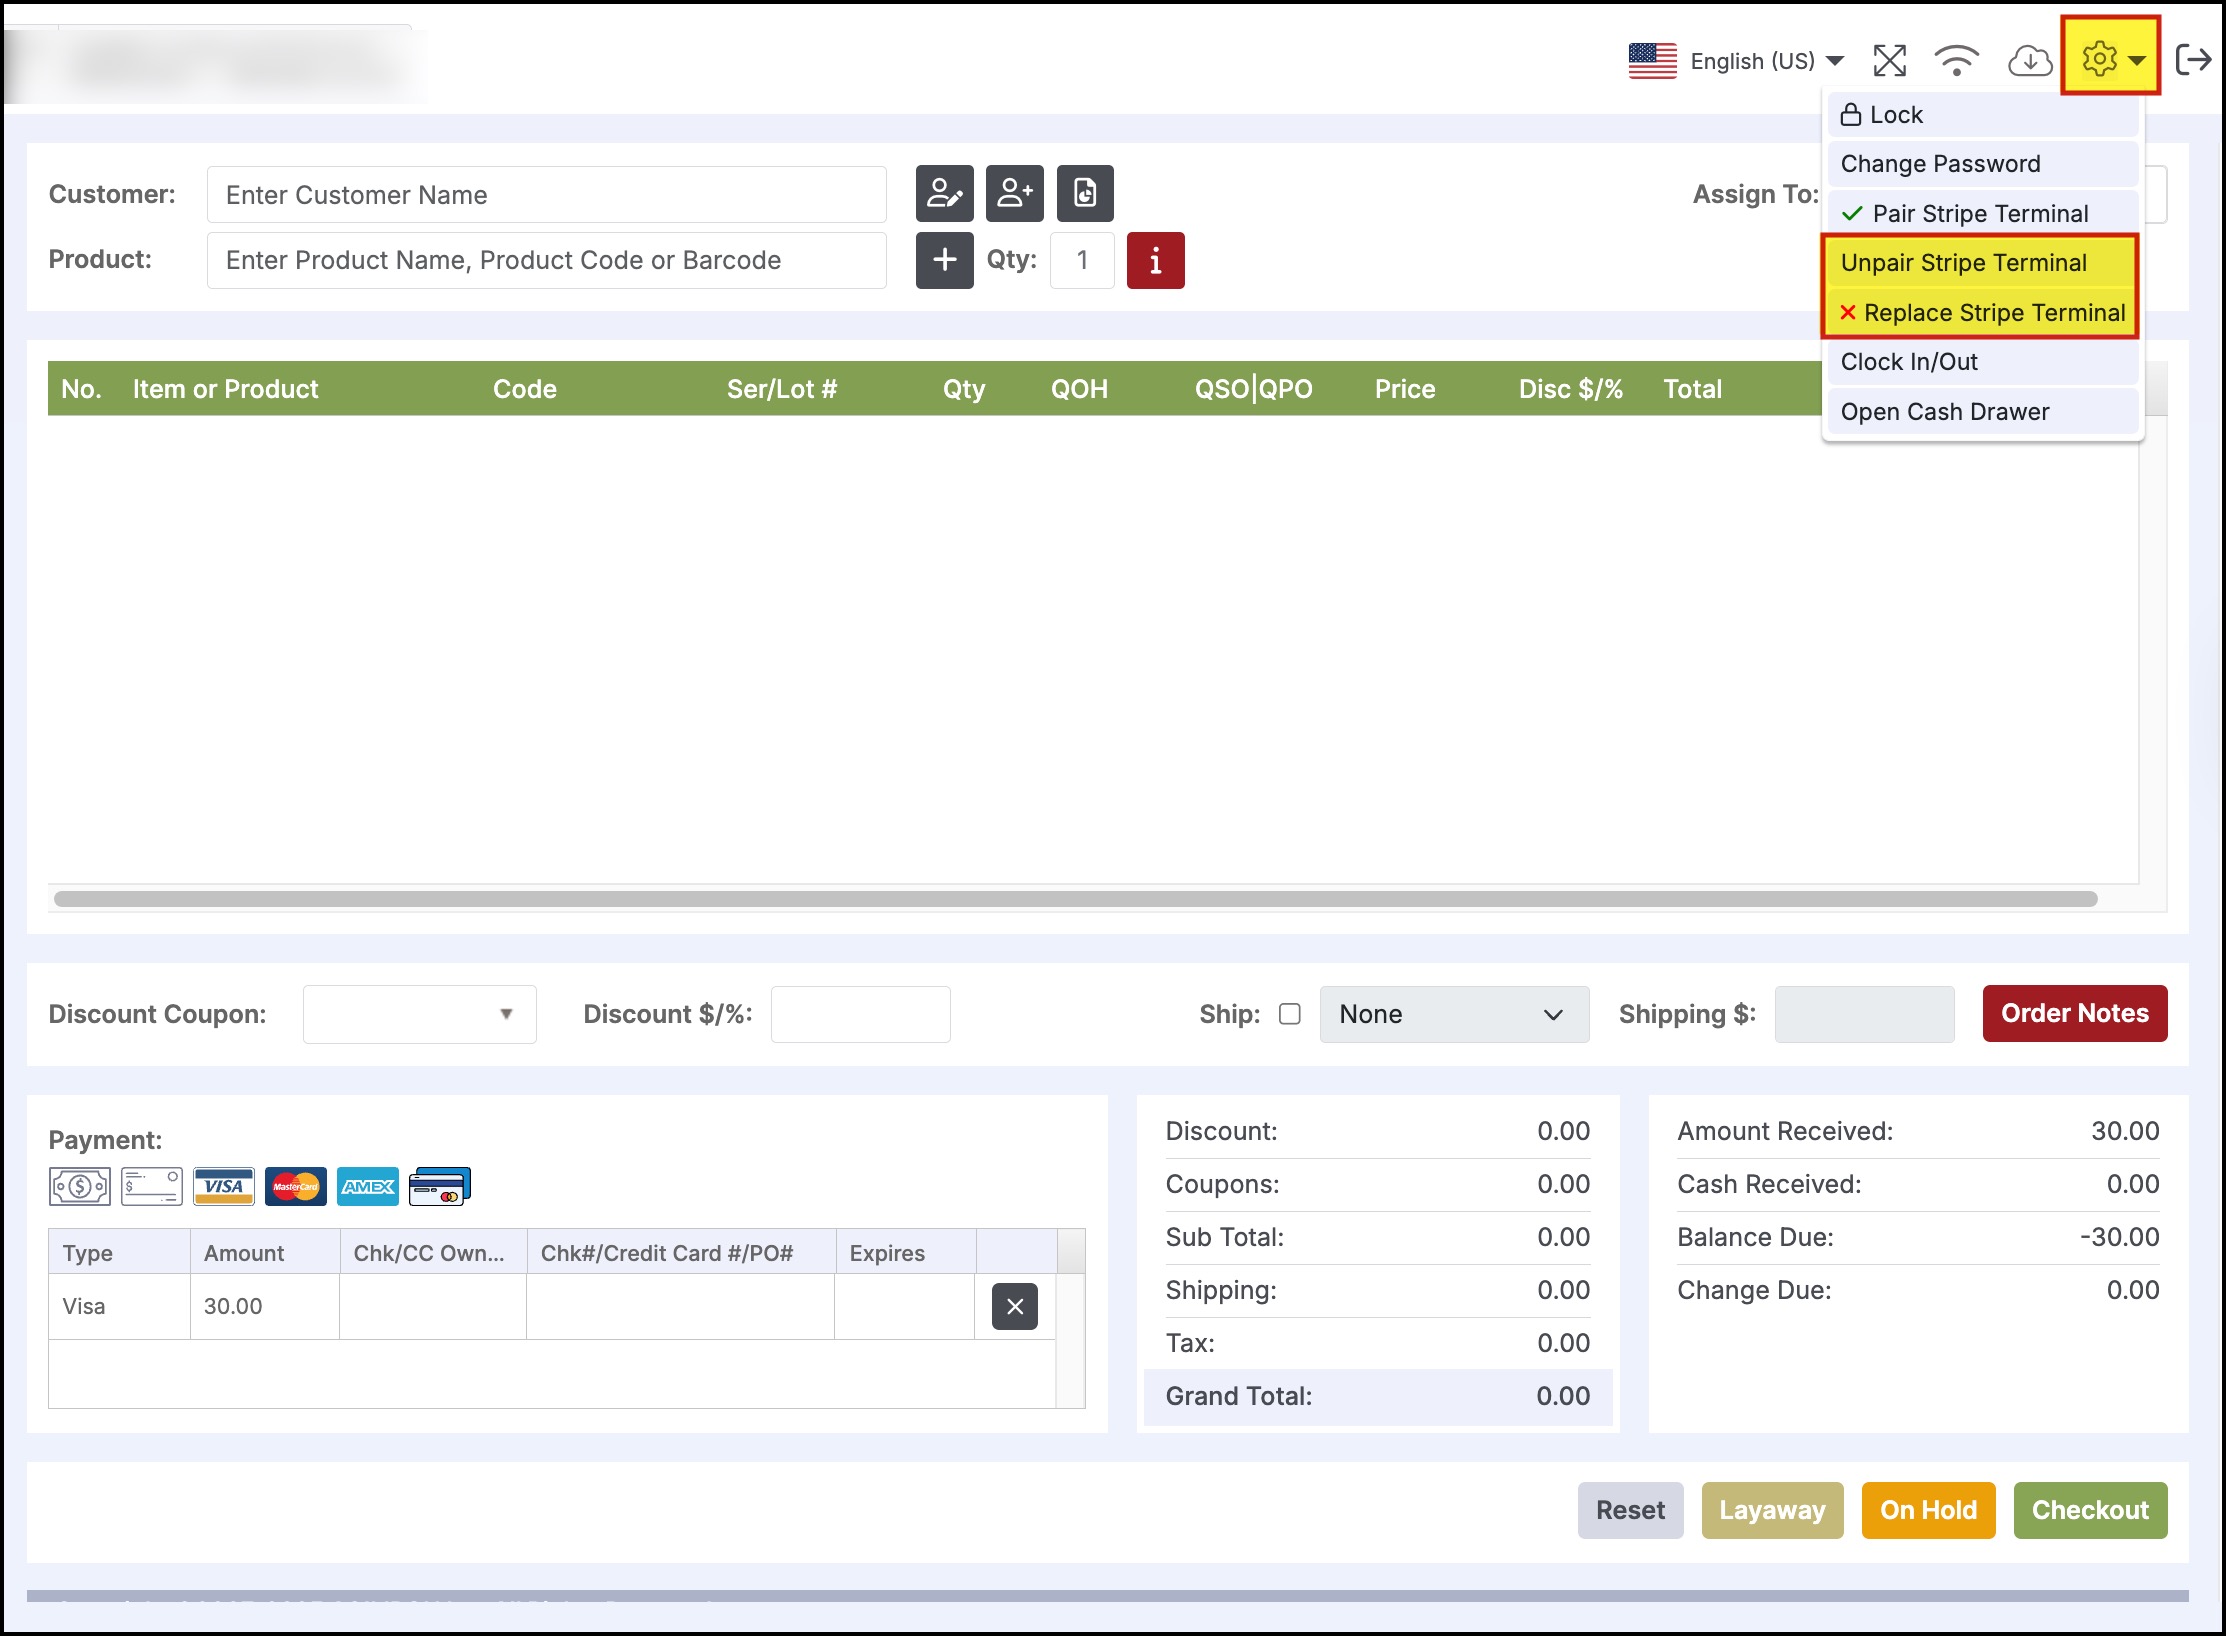
To unpair the Stripe Terminal, click on the Gear icon on the top right corner of the screen.
- Select "Unpair Stripe Terminal".
- A pop-up will appear stating that the terminal has been unpaired successfully.
To replace the terminal with a new one, select the "Replace Stripe Terminal" option and follow the wizard to complete setup.
Updated 5 months ago